
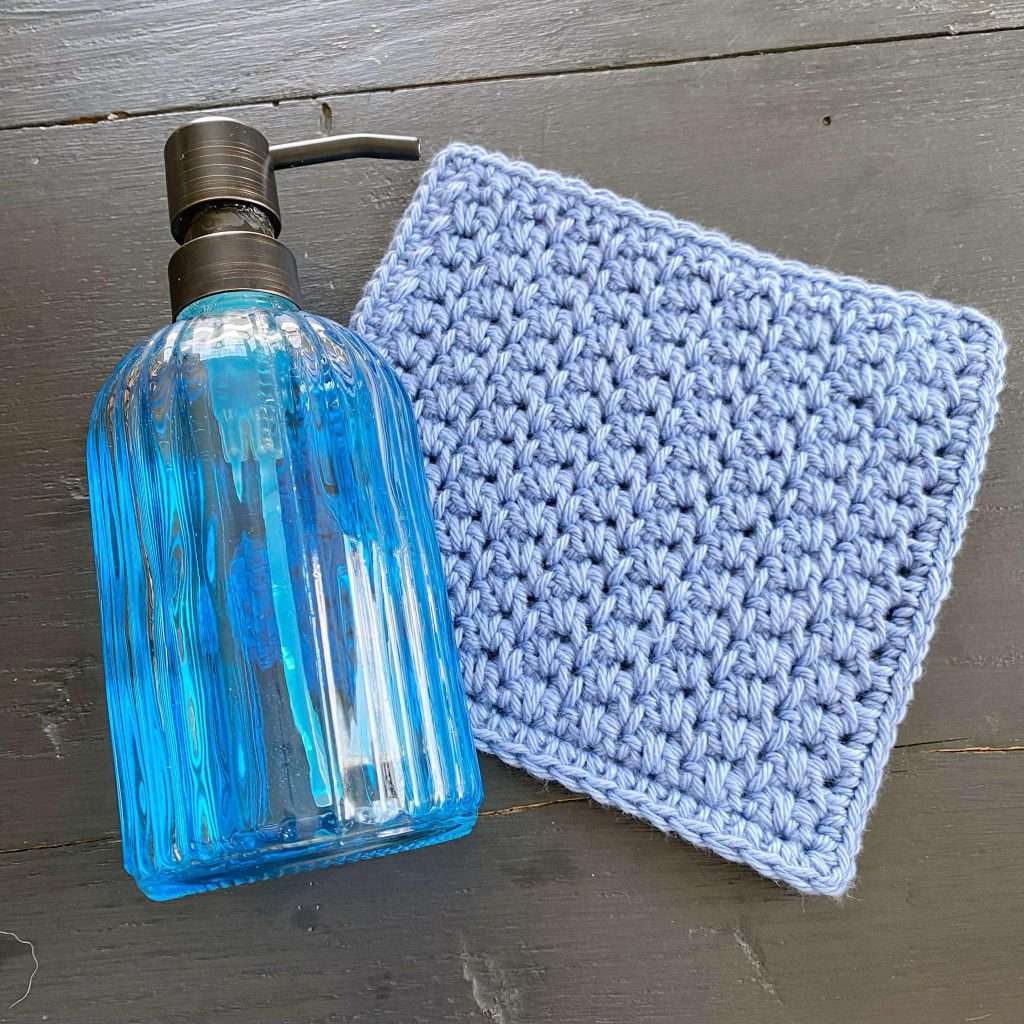
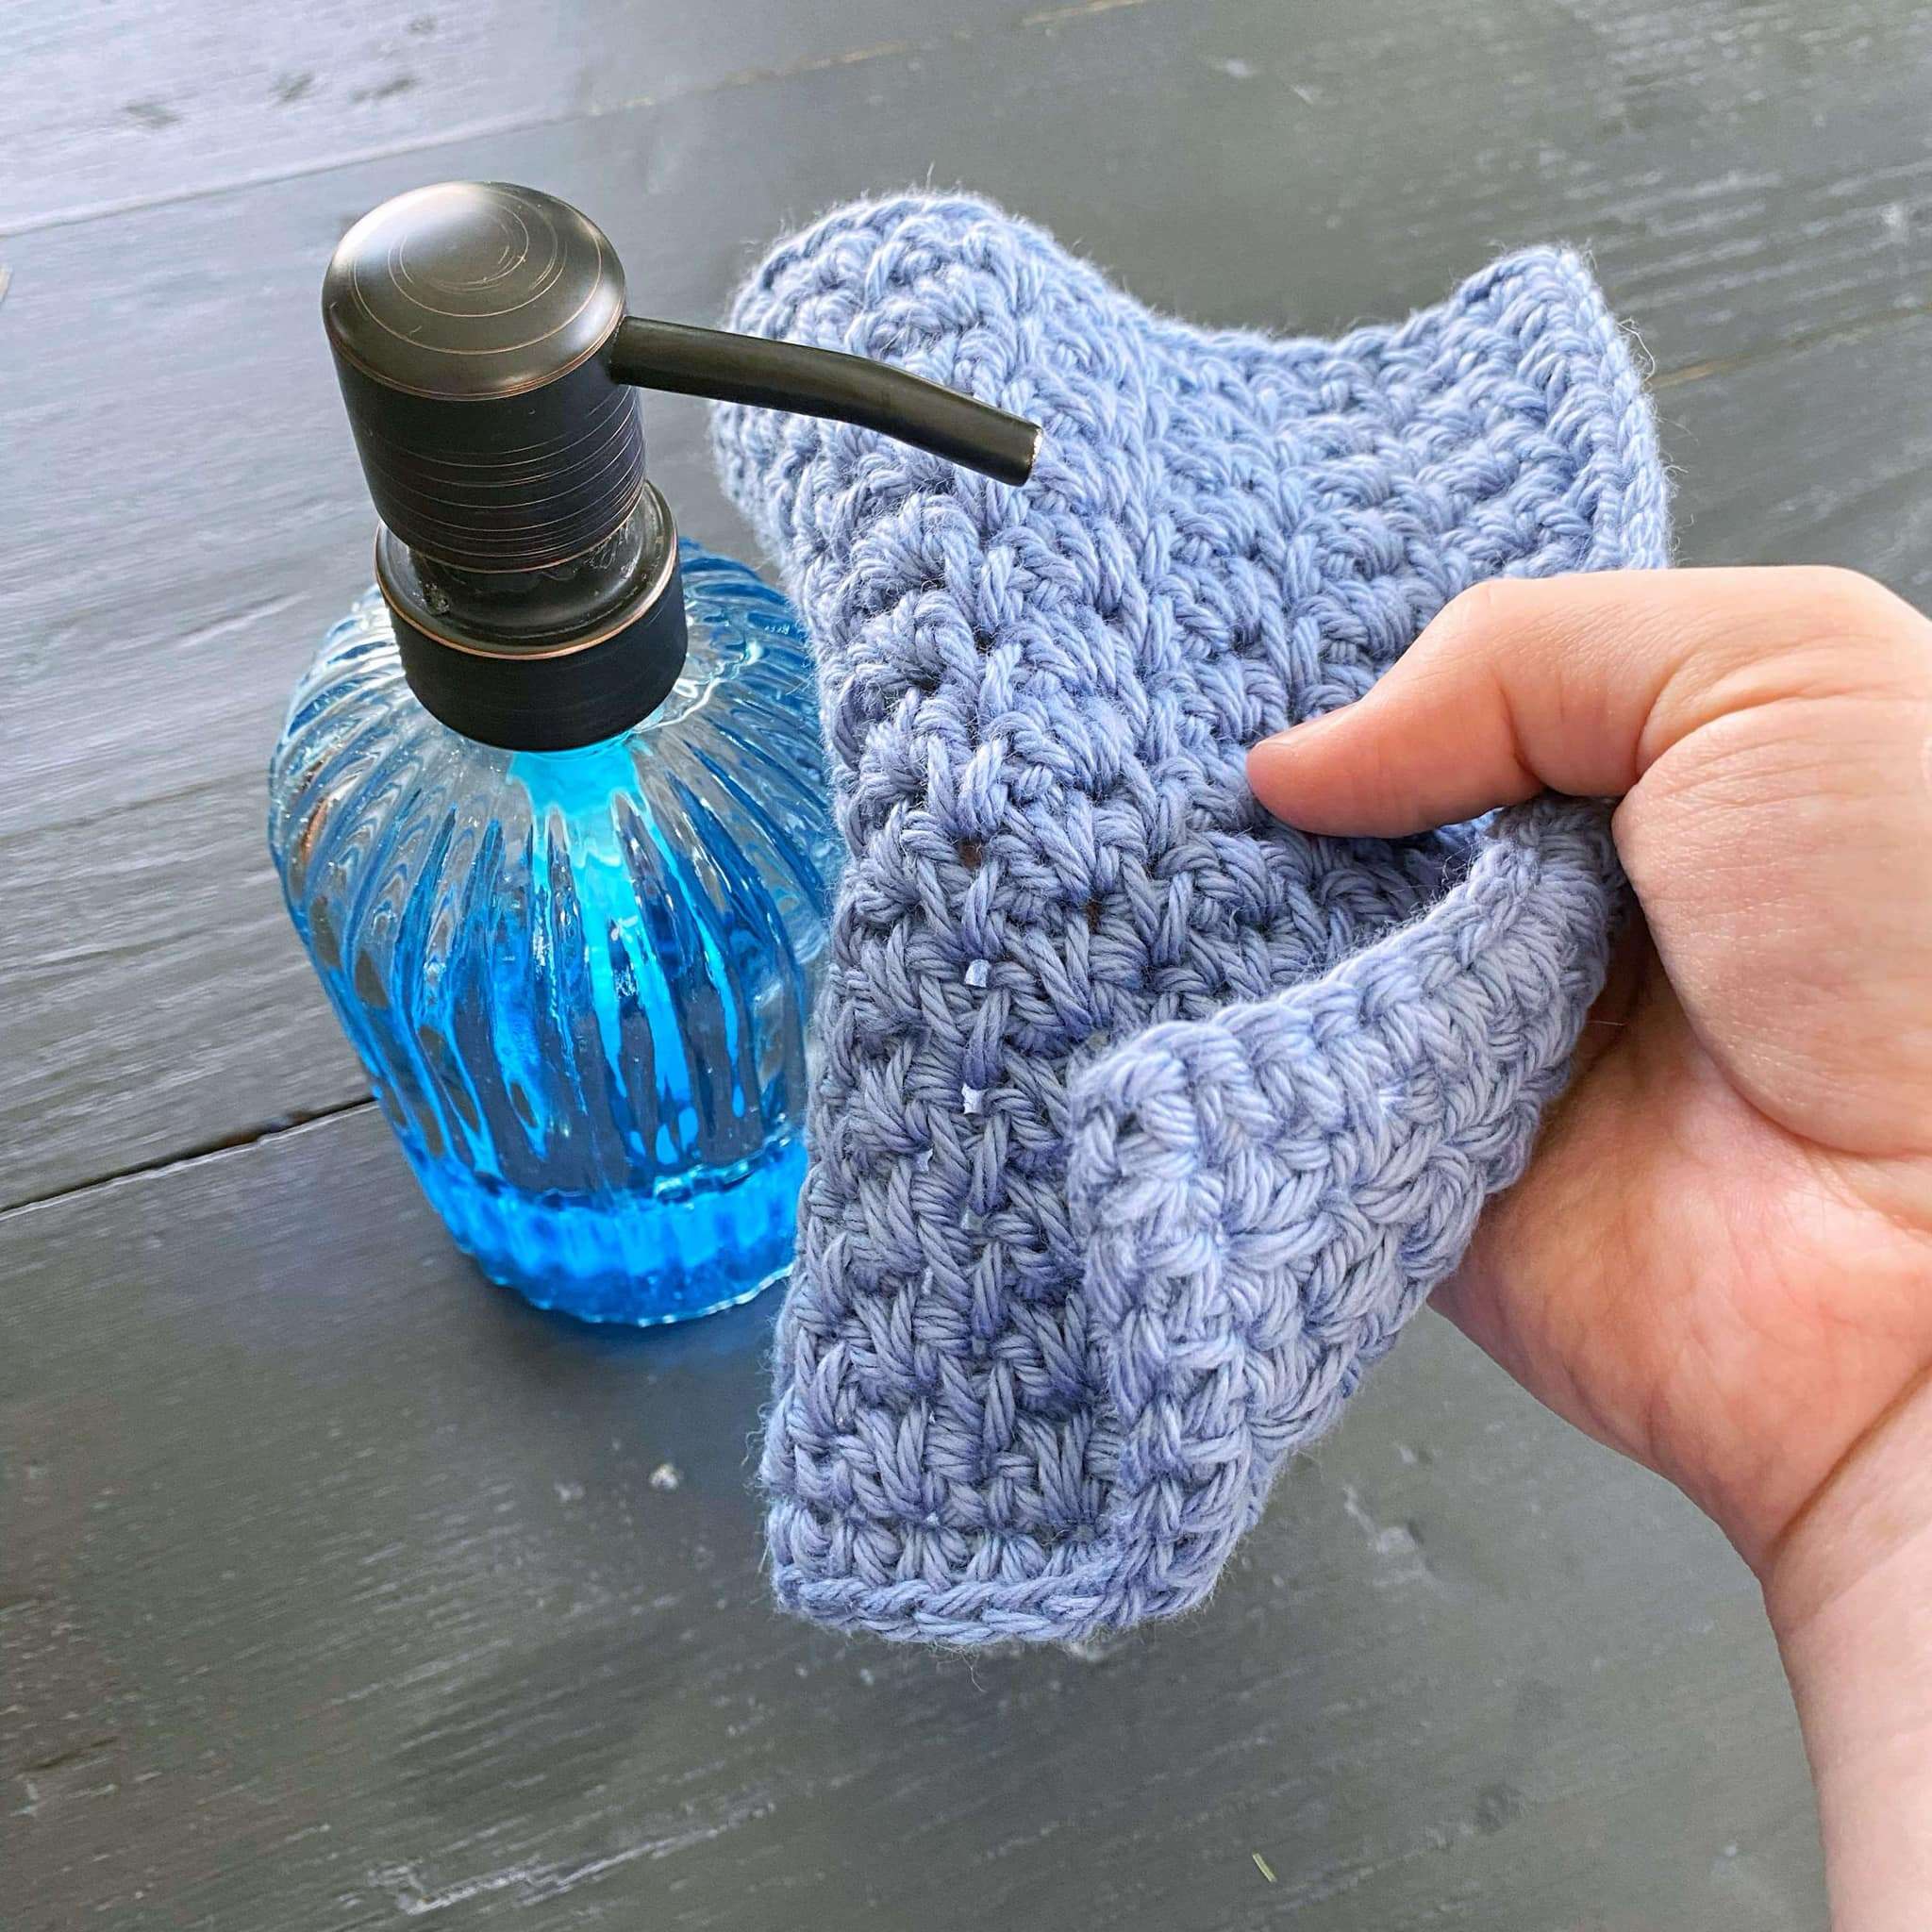
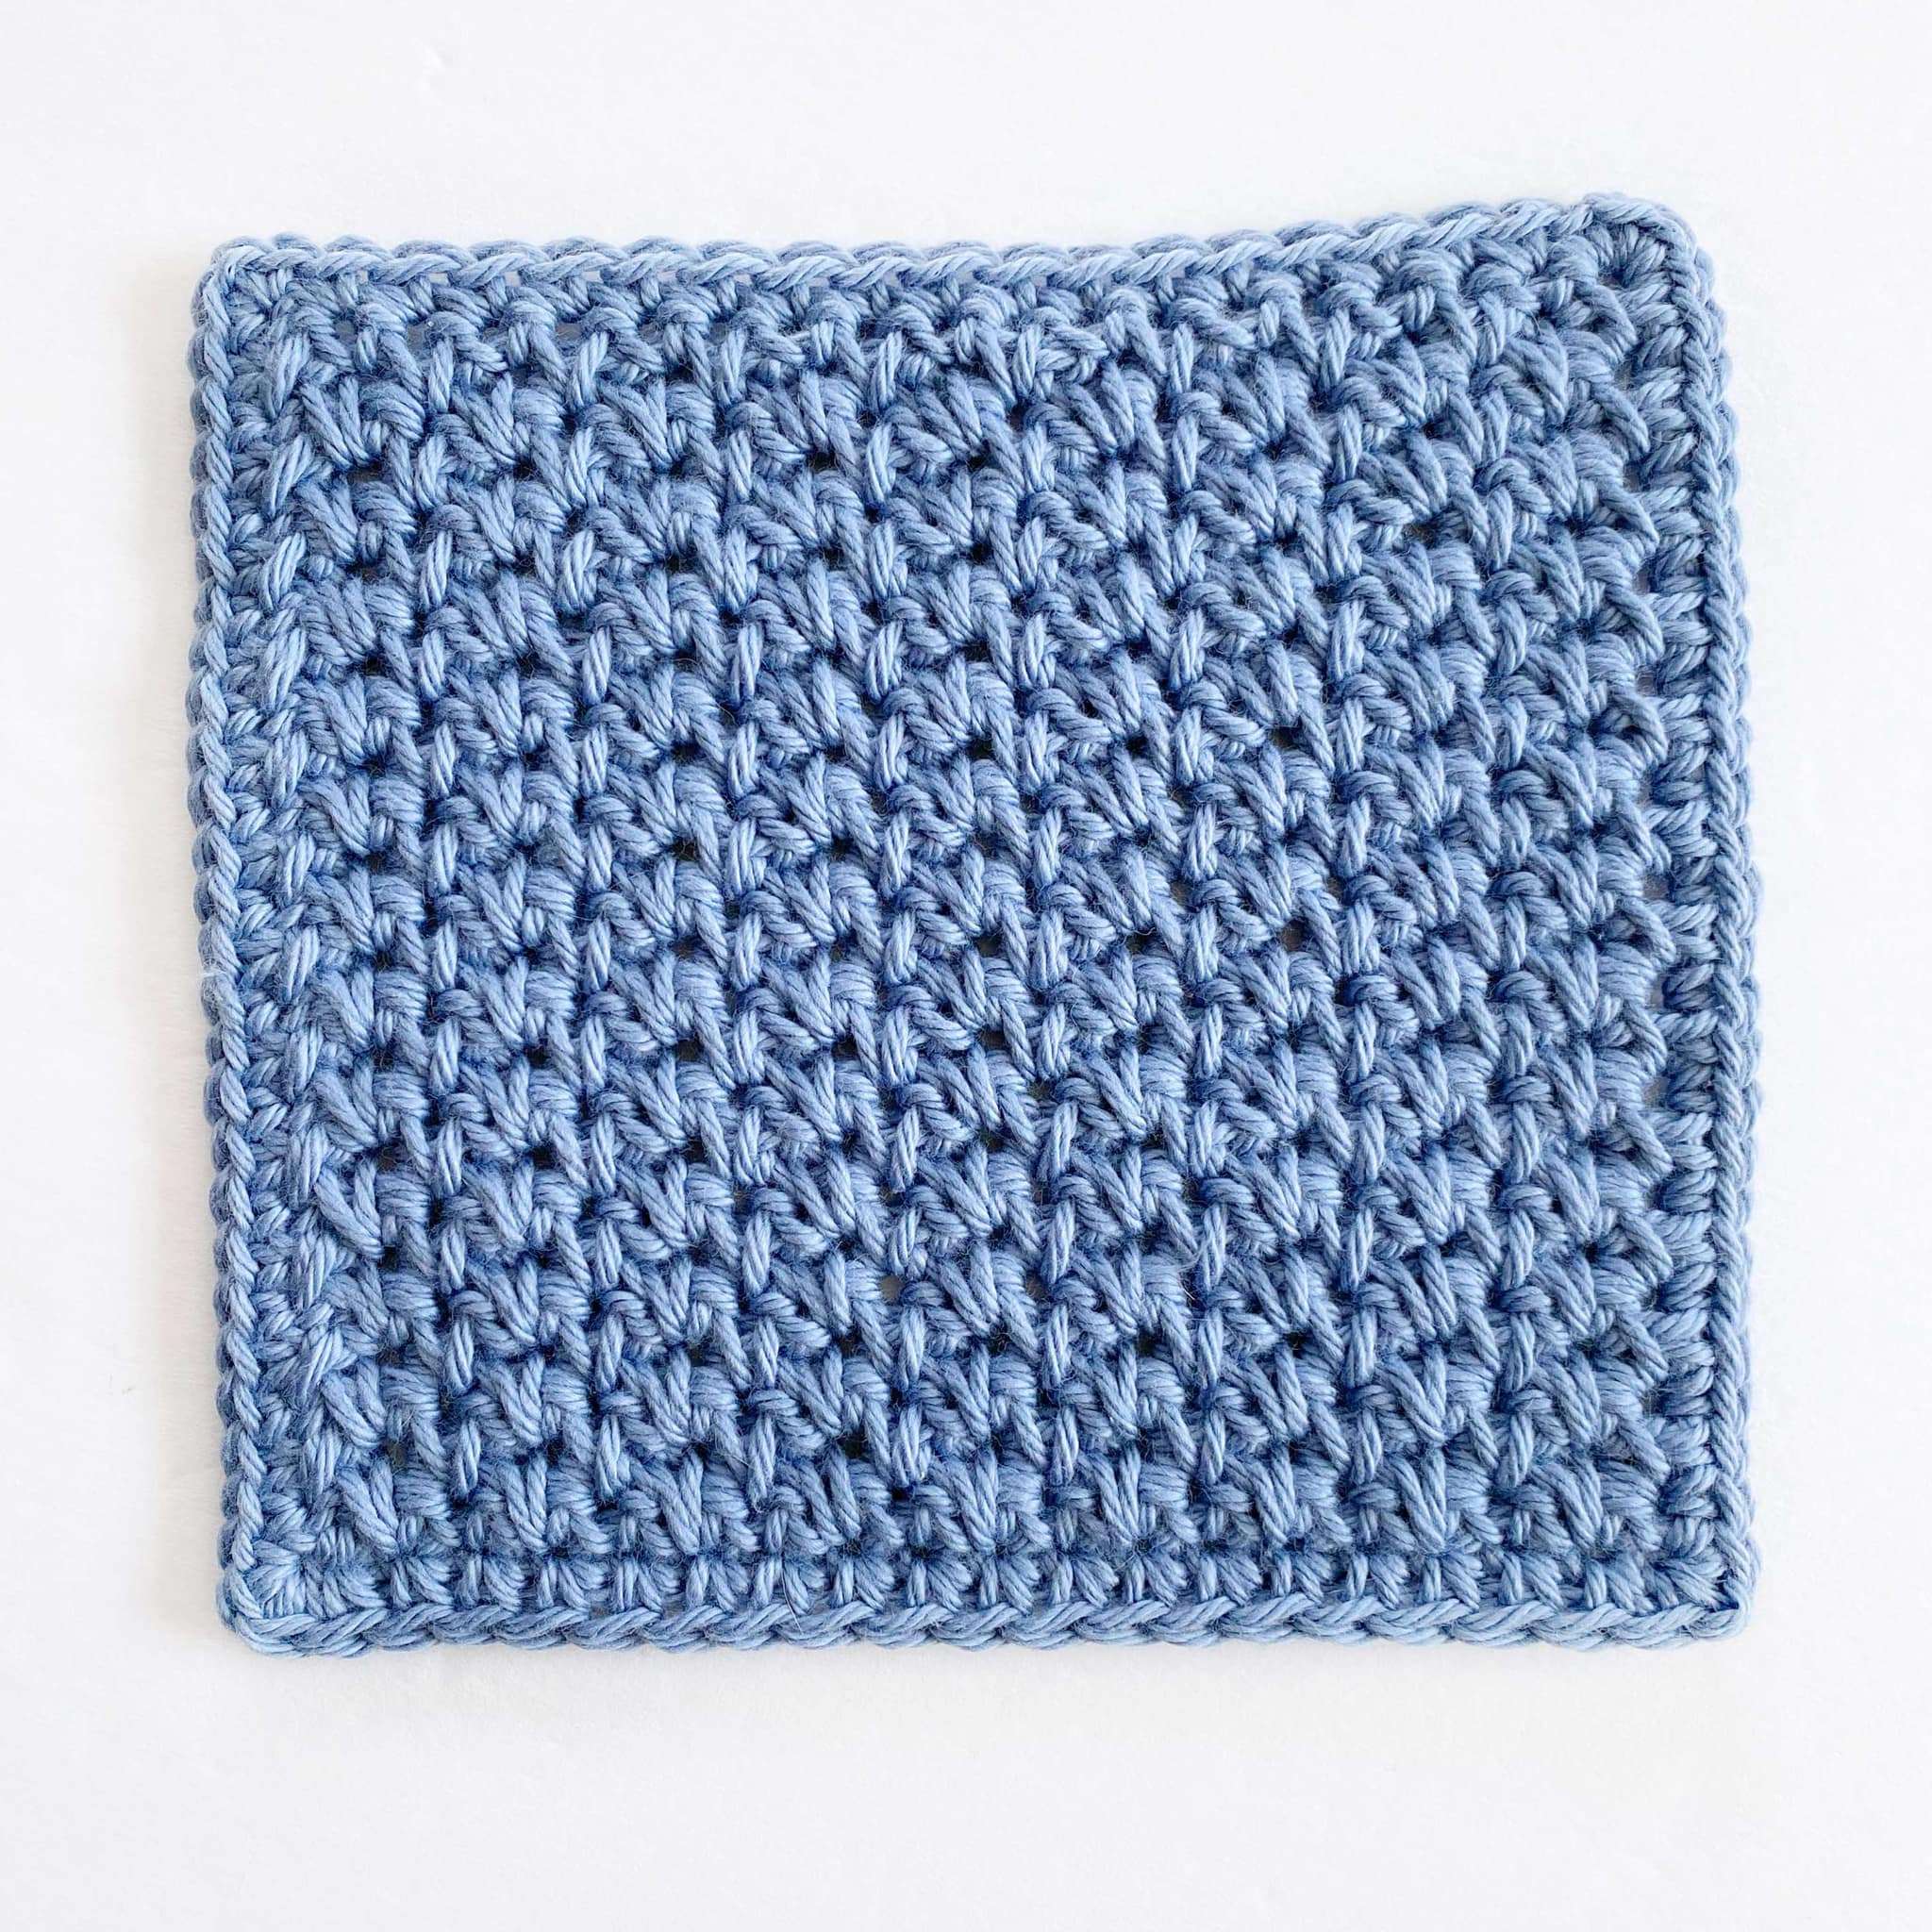
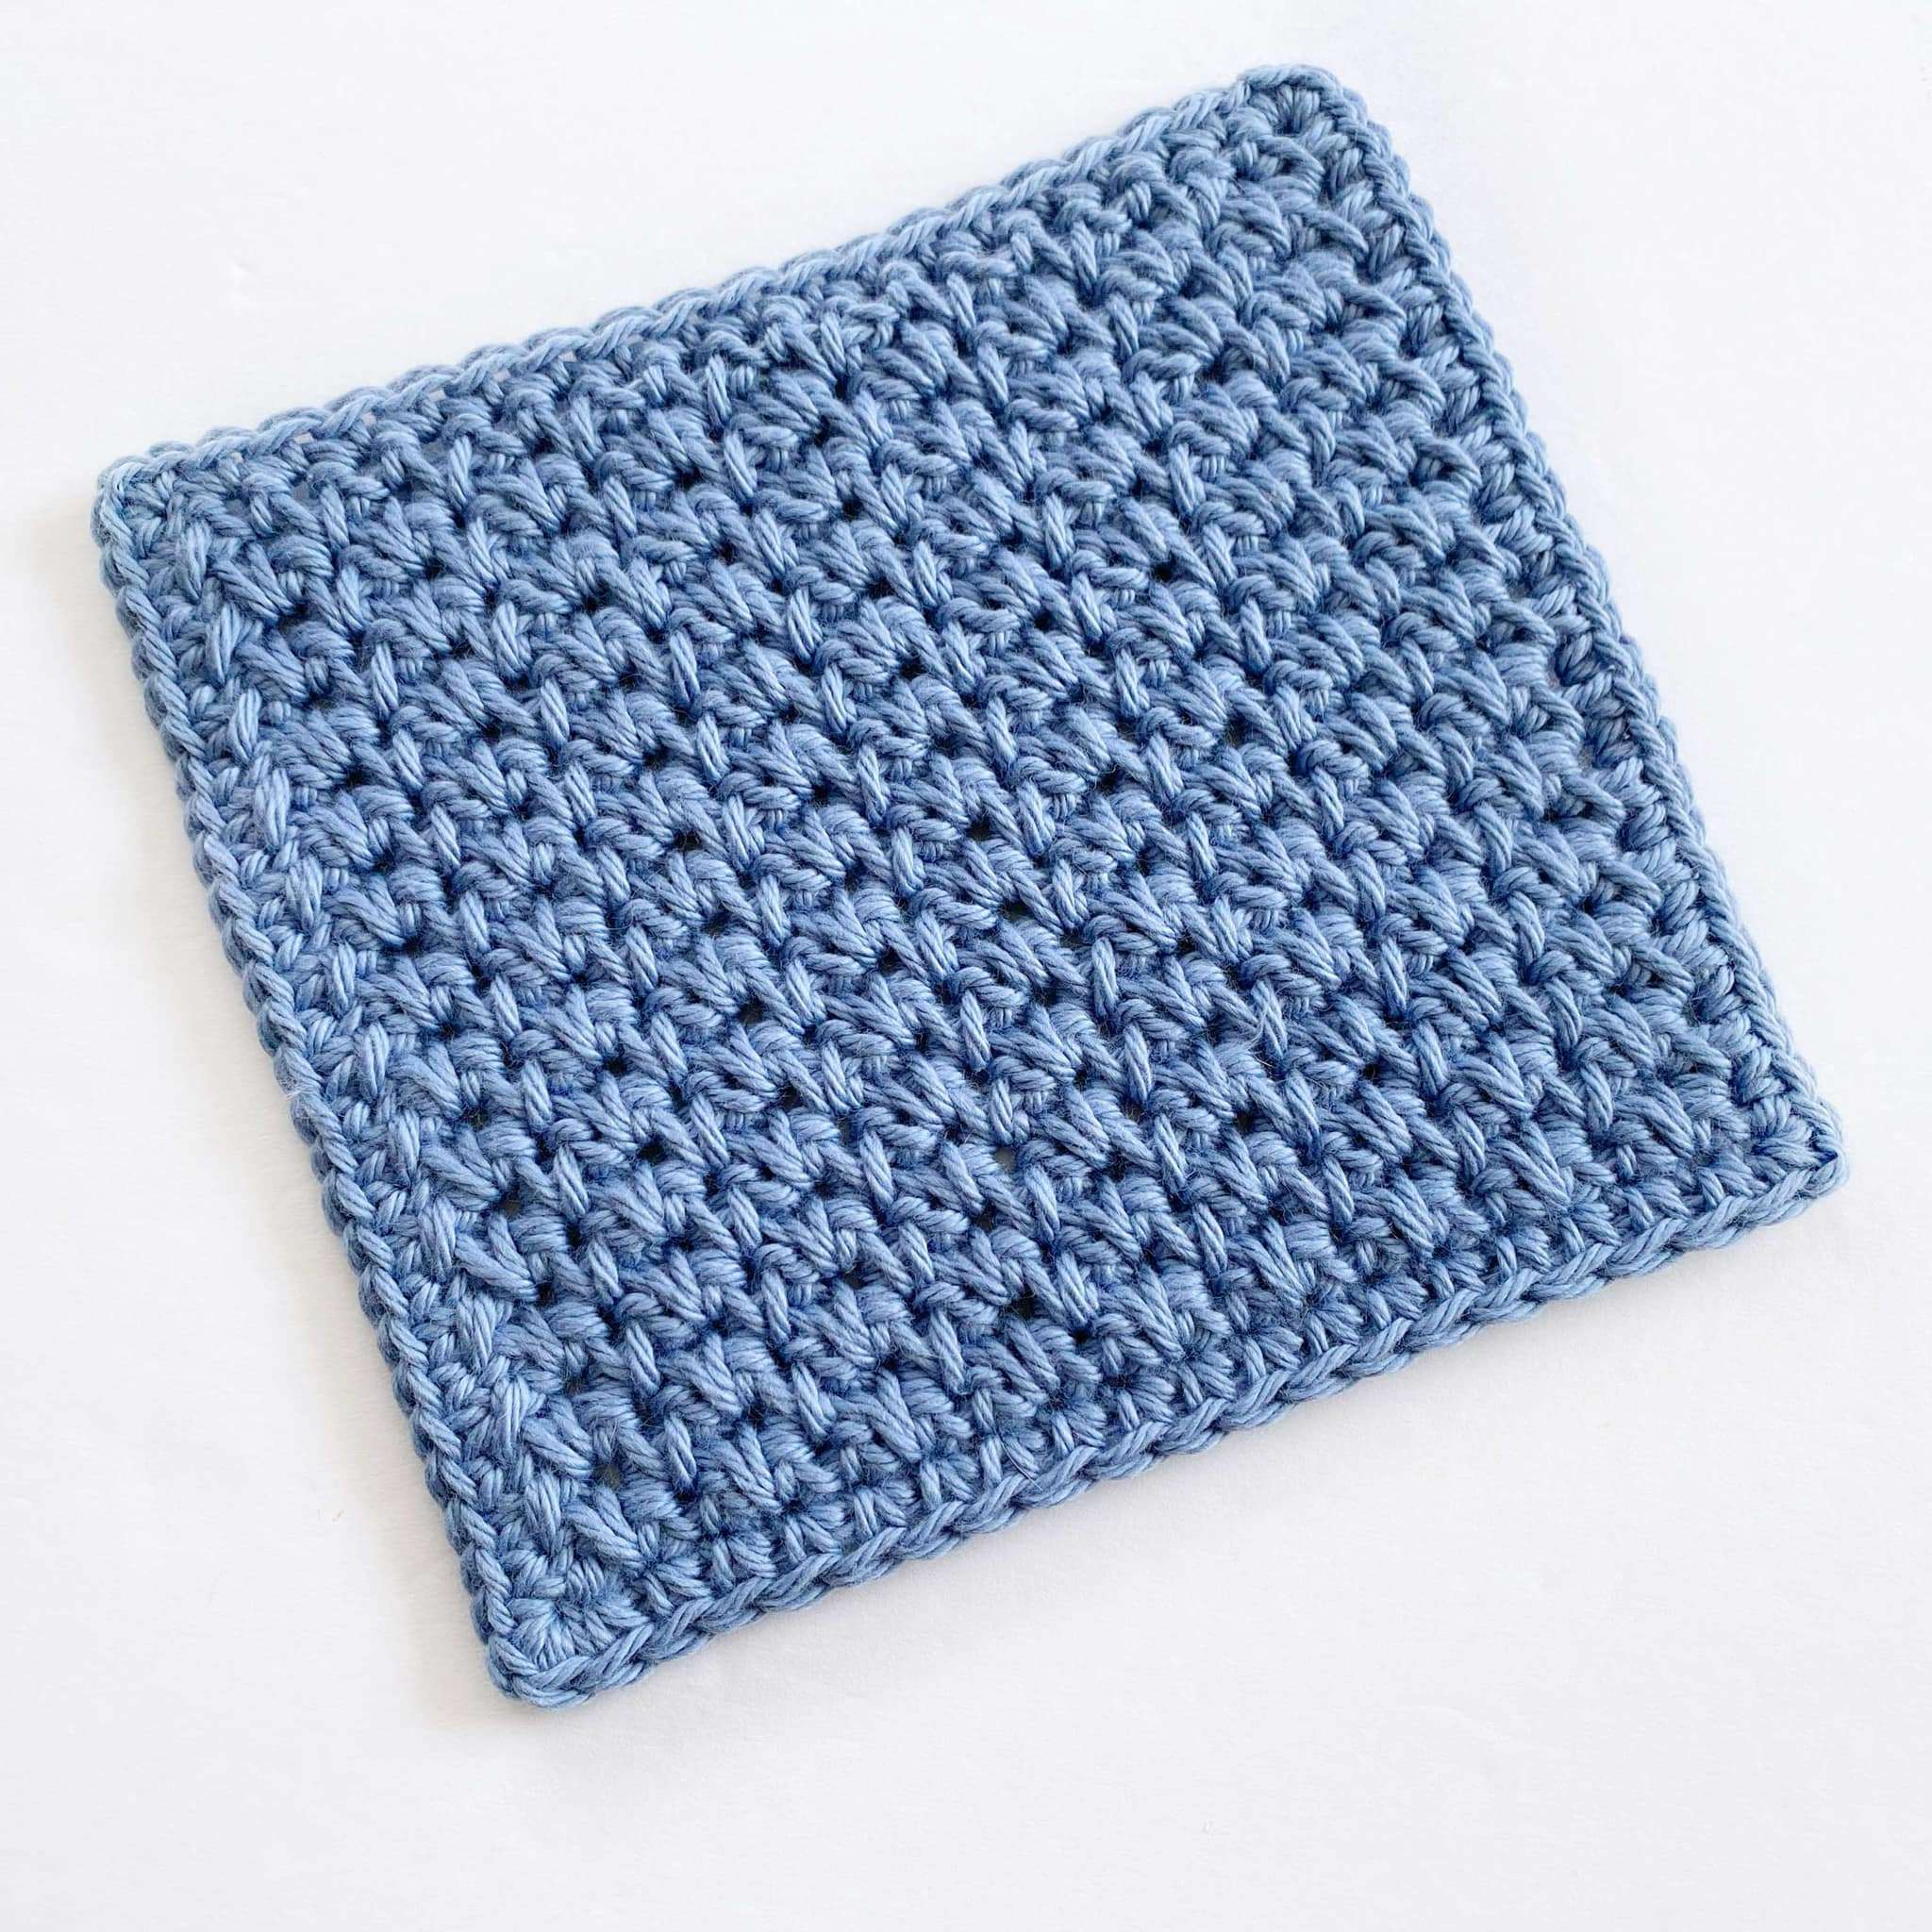
Hi guys! In this post, you’ll learn how to crochet a simple textured dishcloth using the alternating spike stitch. This stitch uses a combination of single crochets and spike stitches to create a beautiful texture that is thick and absorbent. This makes it perfect for dish/washcloths.
Many of you have reached out to ask if I can turn my potholder patterns into dishcloths because you love to learn new stitches and techniques on a smaller scale.
While I can’t promise that all of my potholders will be turned into dishcloths, I’m going to pick the ones that are the most functional.
This is my first dishcloth pattern, so it’s only fitting that it features my favourite stitch: the alternating spike stitch – you can find a step-by-step stitch tutorial here.
I hope you enjoy the pattern, learn a new stitch, and make something functional for you and your loved ones.
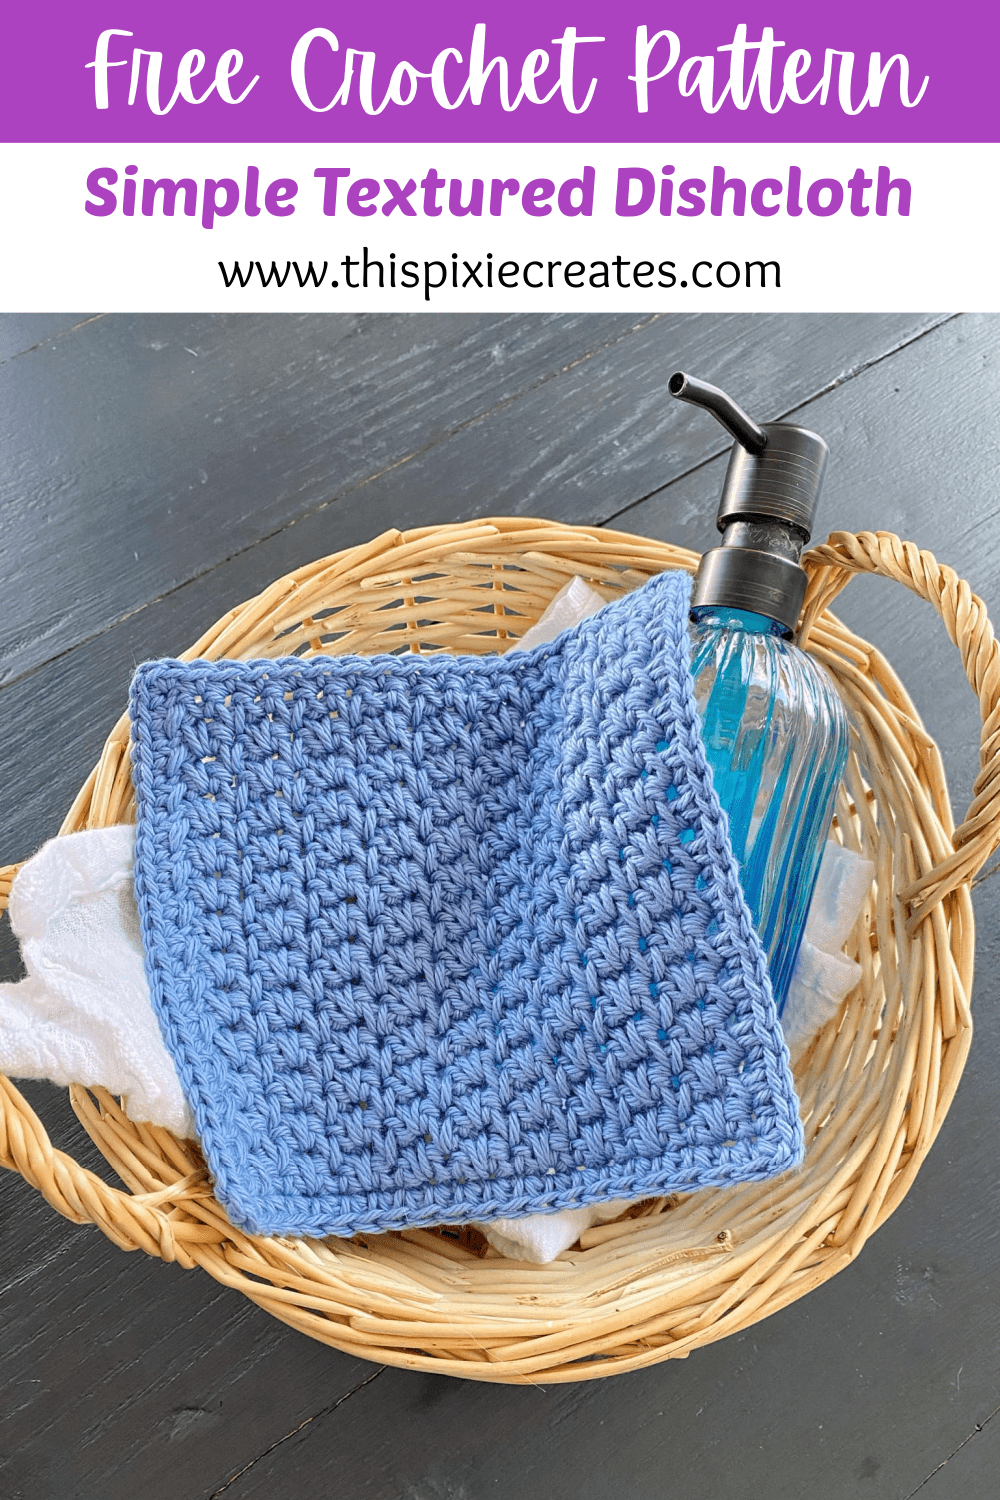
Pin this Simple Texture Crochet Dishcloth – HERE!
Pinning this pattern really makes a difference because it gets the pattern circulating, so other crocheters can see it. Thank you for taking the time to pin this Simple Texture Crochet Dishcloth pattern!
This post contains affiliate links that support the content on ThisPixieCreates. Find more information about affiliate links, as well as my Privacy & Disclosures Policy here.
Materials:
Yarn:
- Yarn Note: You can use ANY medium 4 (worsted/aran) weight yarn as a substitute. I chose to use cotton yarn because it is absorbent and easy to wash, but you can use any yarn fiber you’d like.
- I Love this Cotton Yarn, Weight 4 Medium Worsted Yarn (100% Cotton, 180 yd / 165 m, 3.5 oz / 100 g)
- Colour: Stonewash
Yardage:
- Colour A: 55 yds / 50 m
Abbreviations:
- St – stitch
- Ch – chain
- Sp – space
- Sl st – slip stitch
- Sc – single crochet
- Spike – spike stitch (tutorial below)
- Sk – skip
- YO – yarn over
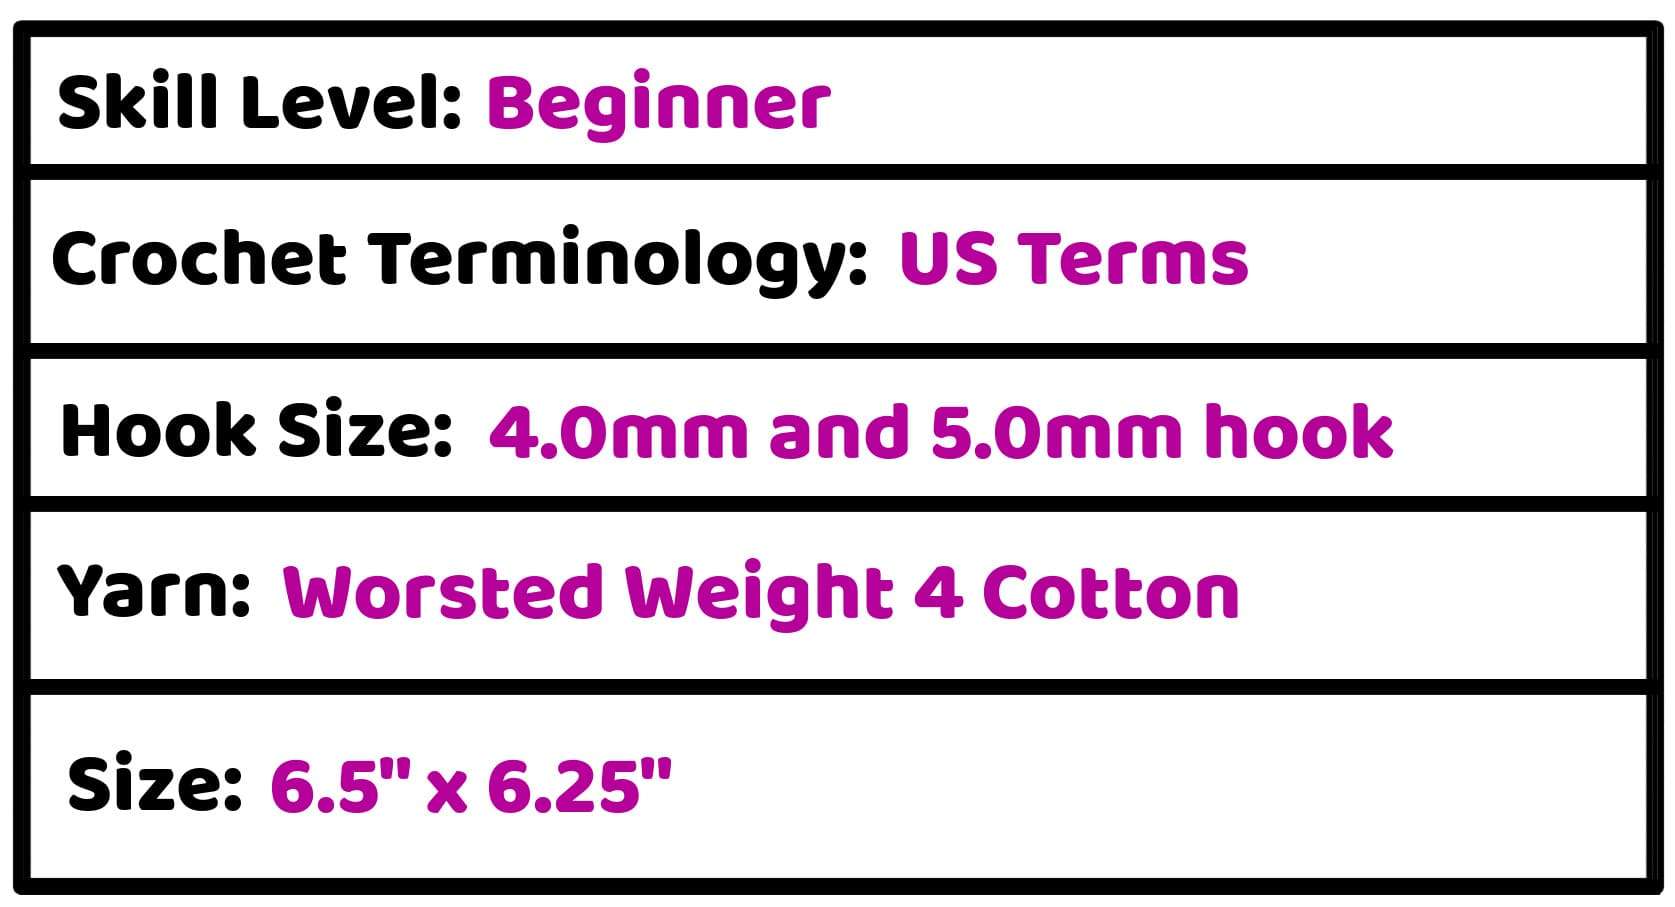
Gauge: Approximately 12 sts x 17 rows = 4” x 4”
Trouble with Gauge?
- If you have less than 12 sts and 17 rows in 4”, try using a thinner weight 4 yarn or a smaller crochet hook, until you meet the gauge.
- If you have more than 12 sts and 17 rows in 4”, try using a thicker weight 4 yarn or a larger crochet hook, until you meet the gauge.
Pattern Measurement:
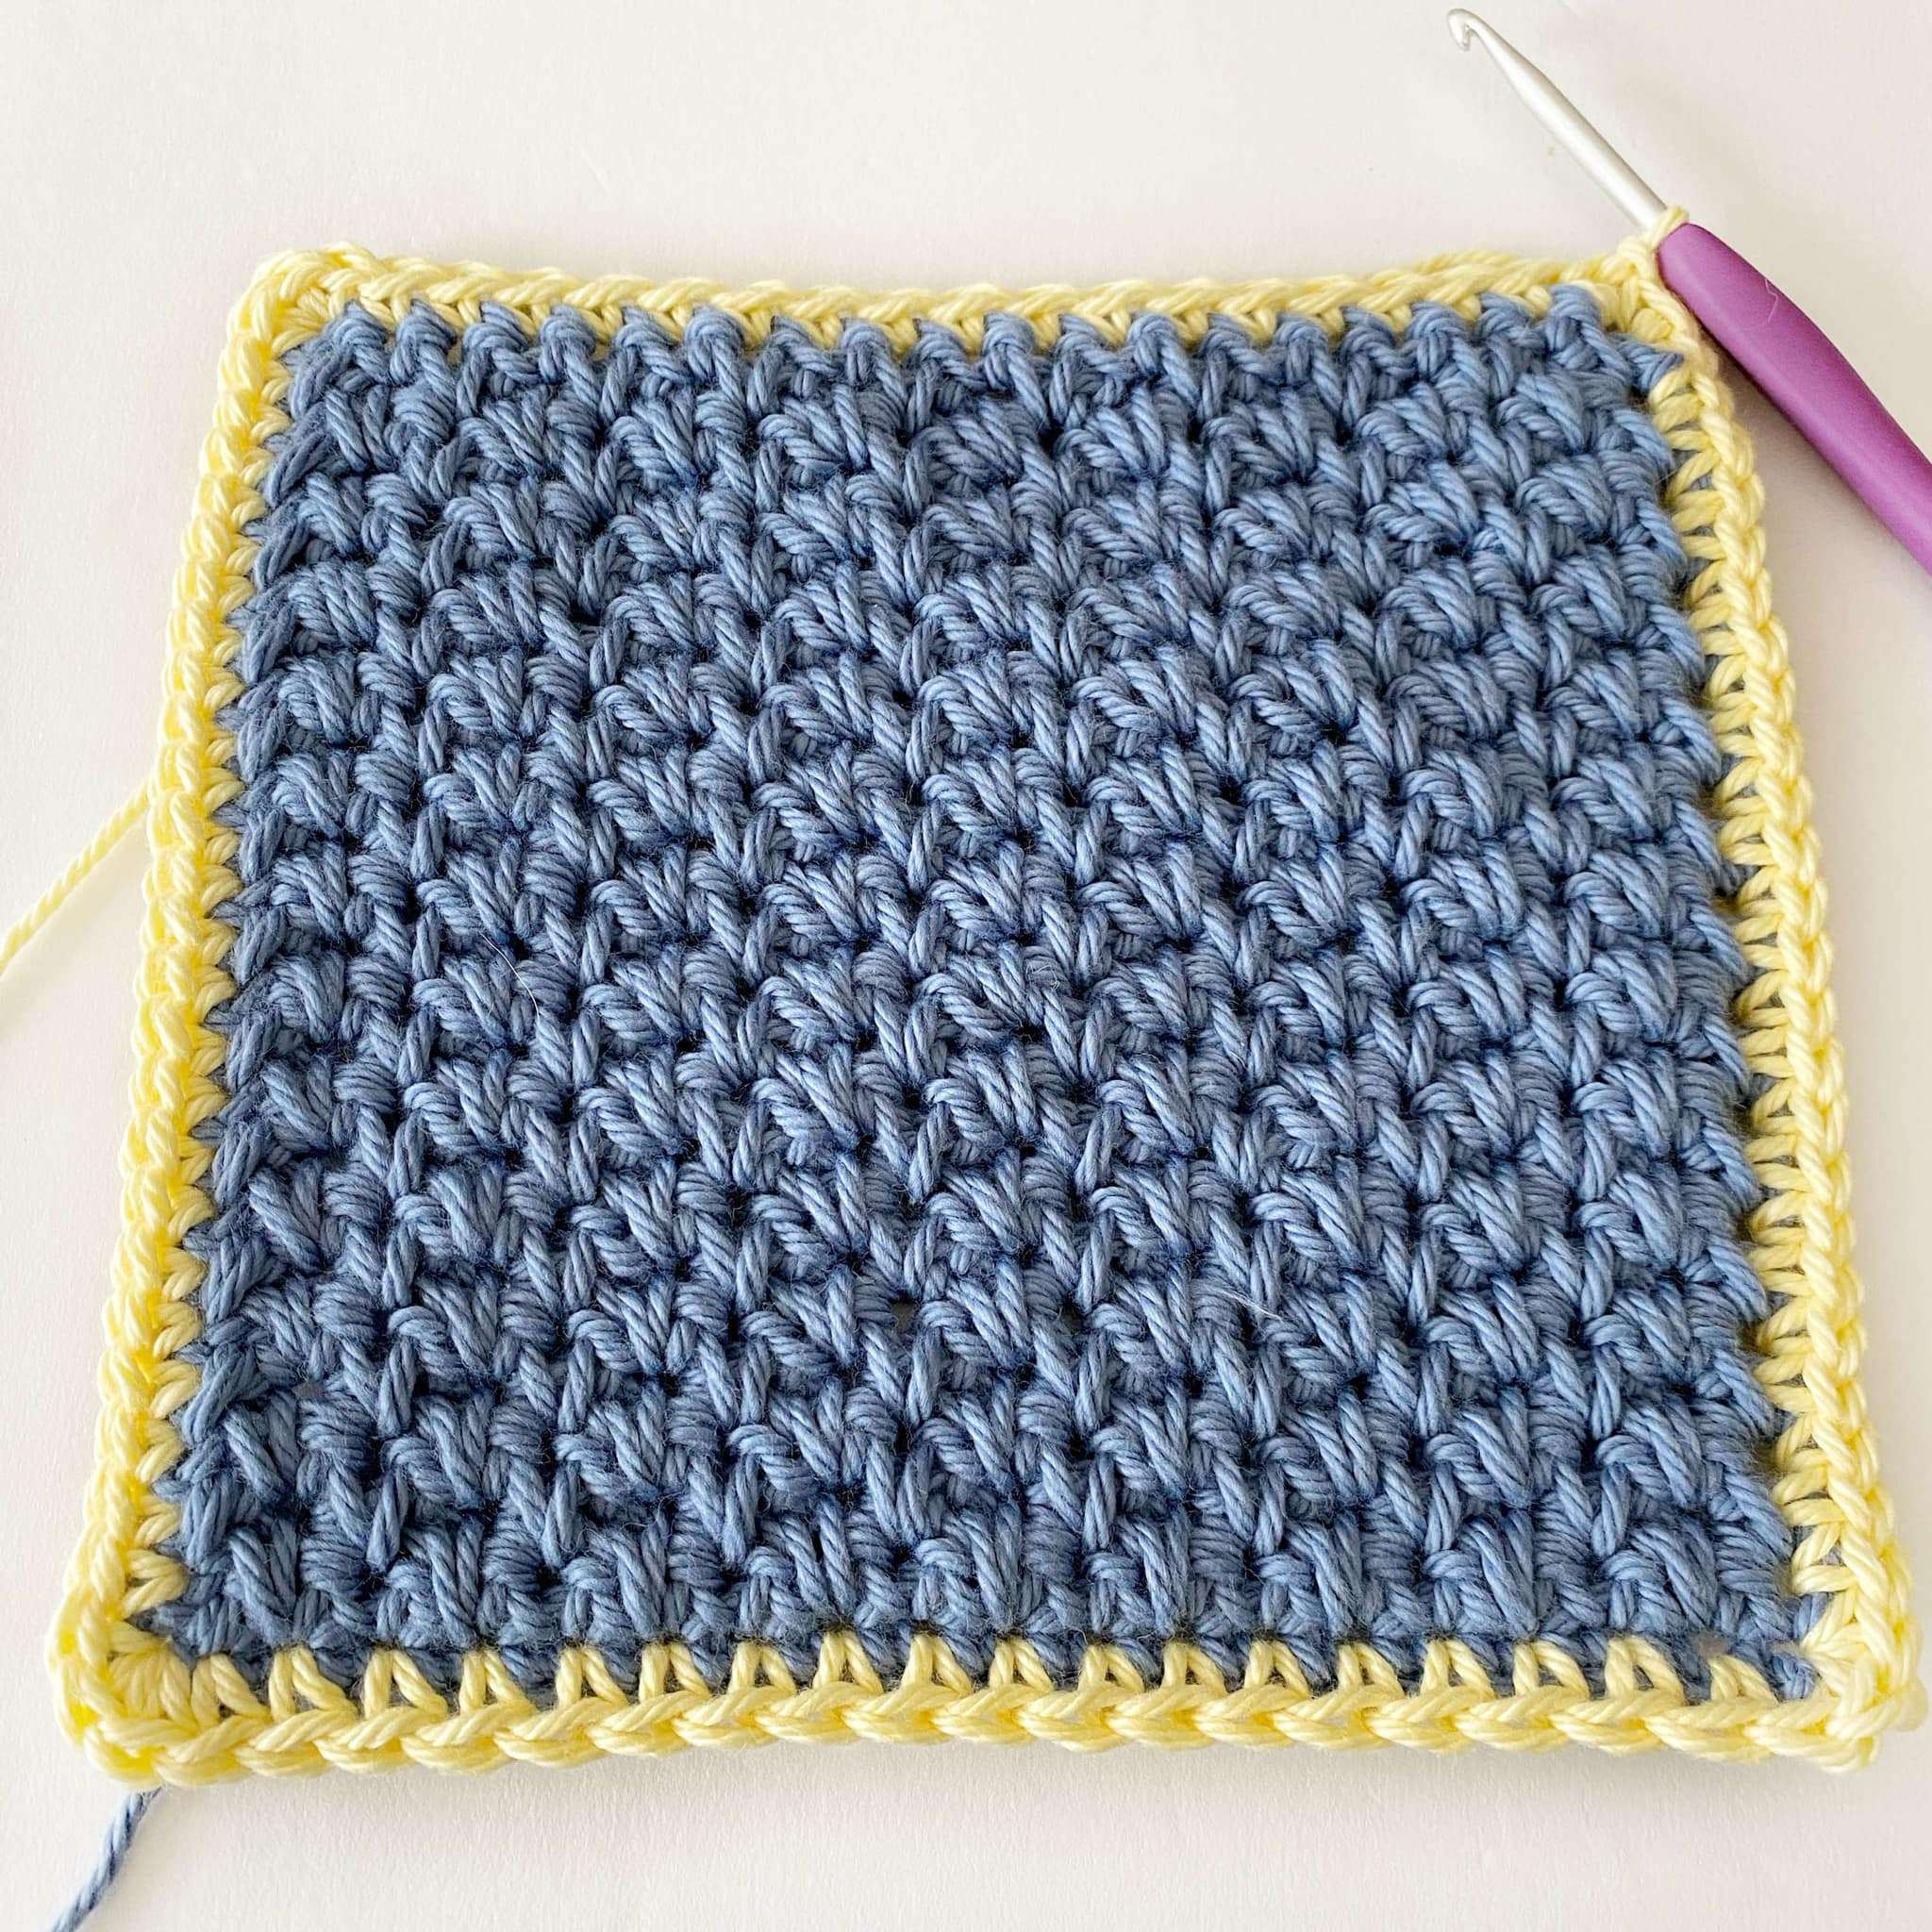
This Simple Texture Crochet Dishcloth measures approximately 6.5″ wide x 6.25″.
I prefer smaller dishcloths because there is less fabric to work with when washing the dishes. However, if you’d like to create a custom sized dish cloth to suit you, please follow the “Customize the Size of your Dishcloth” instructions below.
Customize the Size of Your Dishcloth:
The original pattern makes a dishcloth measuring 6.5″ x 6.25″, but if you’d like to make a different size, follow the instructions below:
- Width: Chain an even number until happy with the width.
- Length: Repeat Rows 3 – 4 until happy with the length of the dishcloth, then proceed to the border.
Other Patterns that Use the Alternating Spike Stitch:
If you love this thick textured stitch, then you’ll love the following blanket and potholder pattern.


Spike Stitch Photo Tutorial
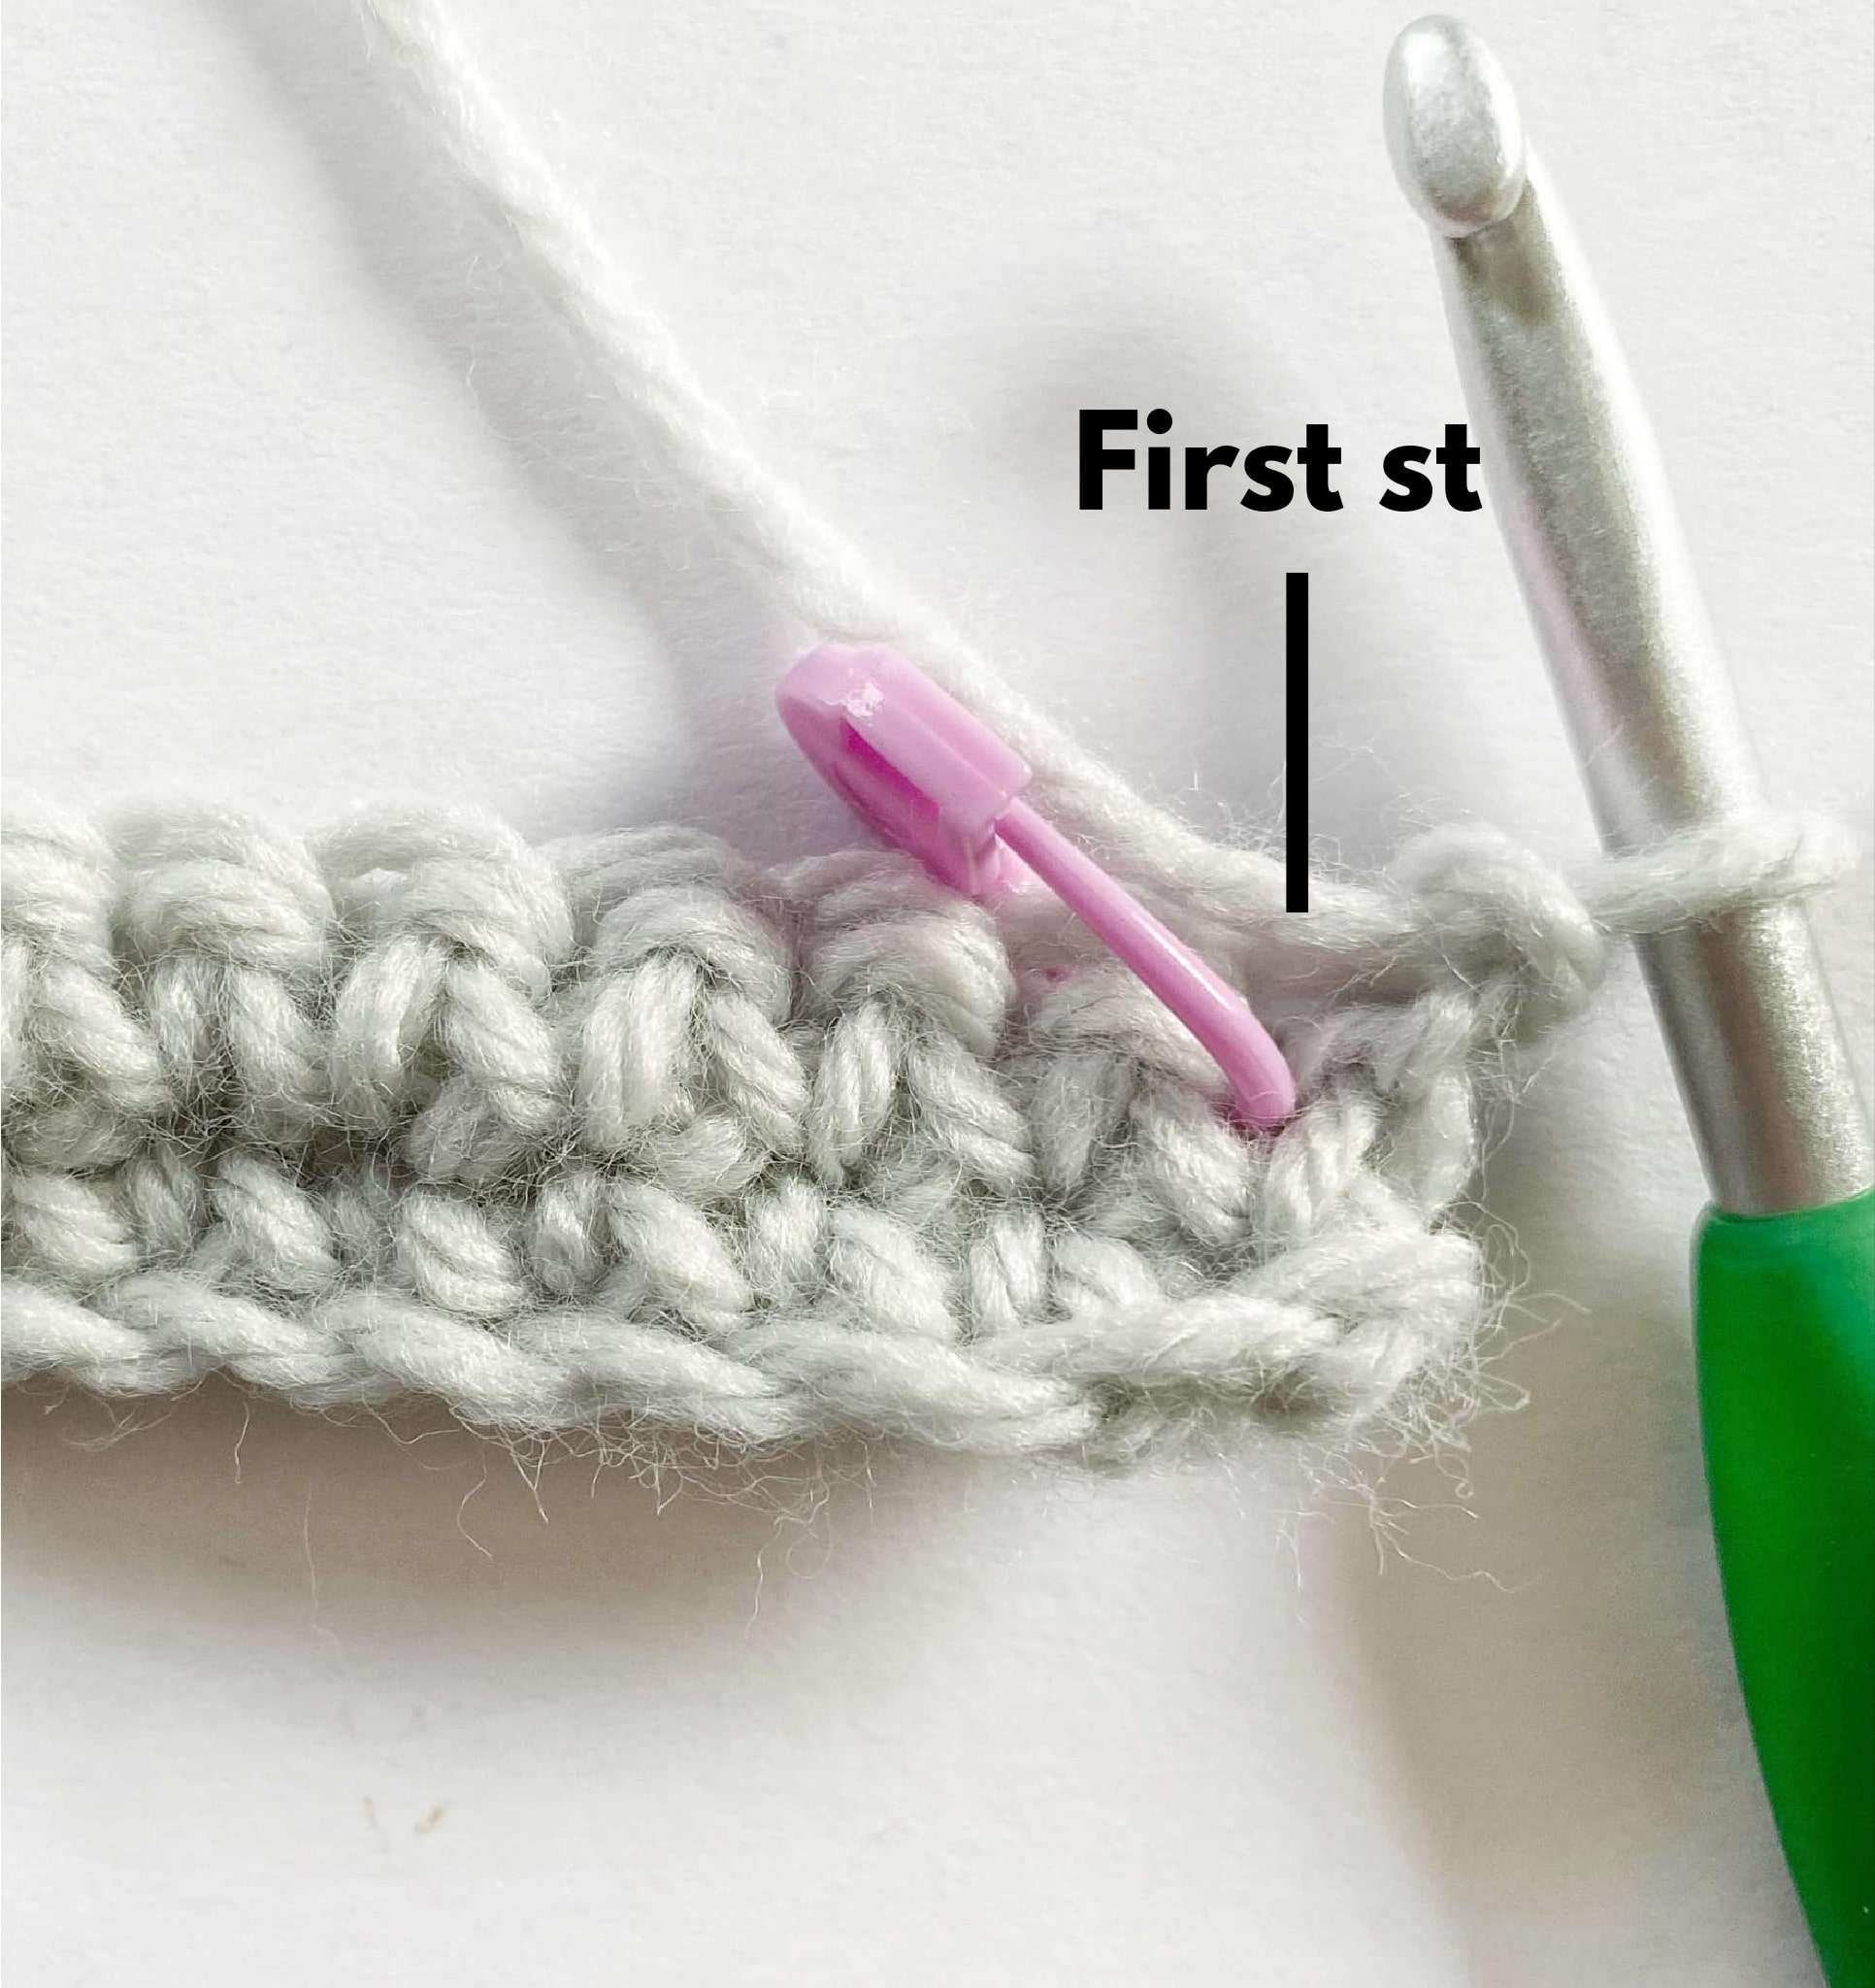
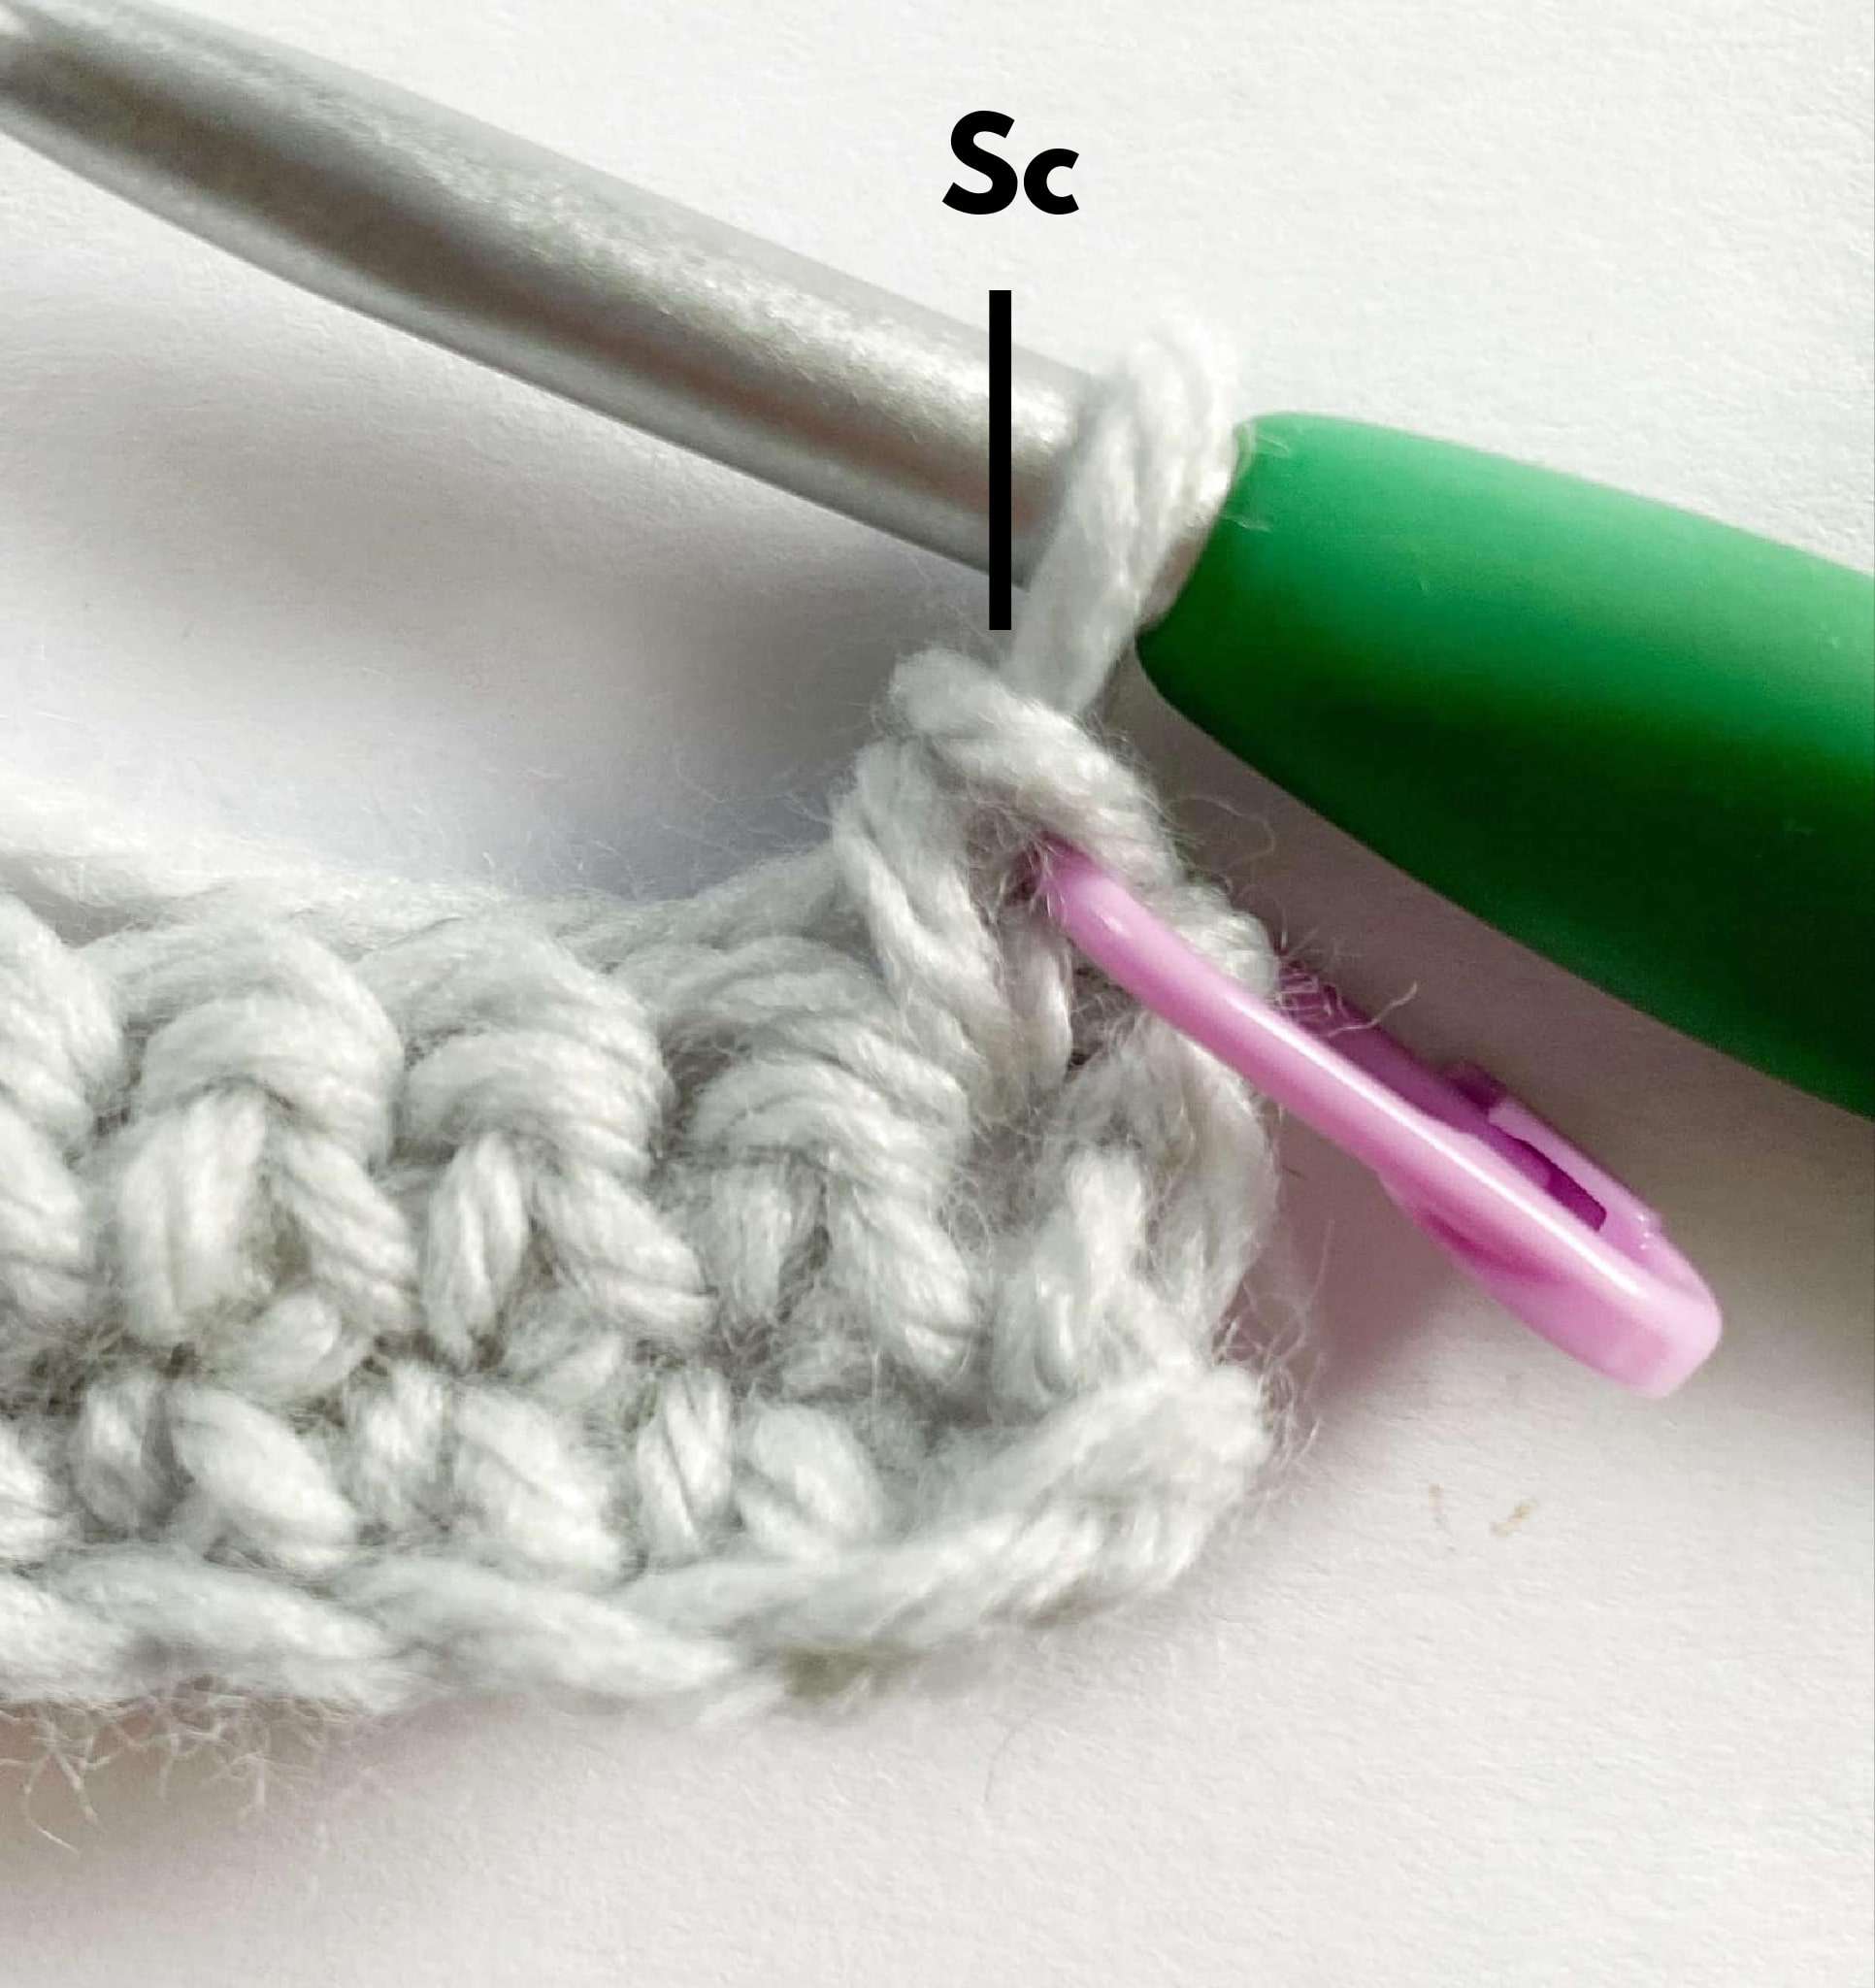
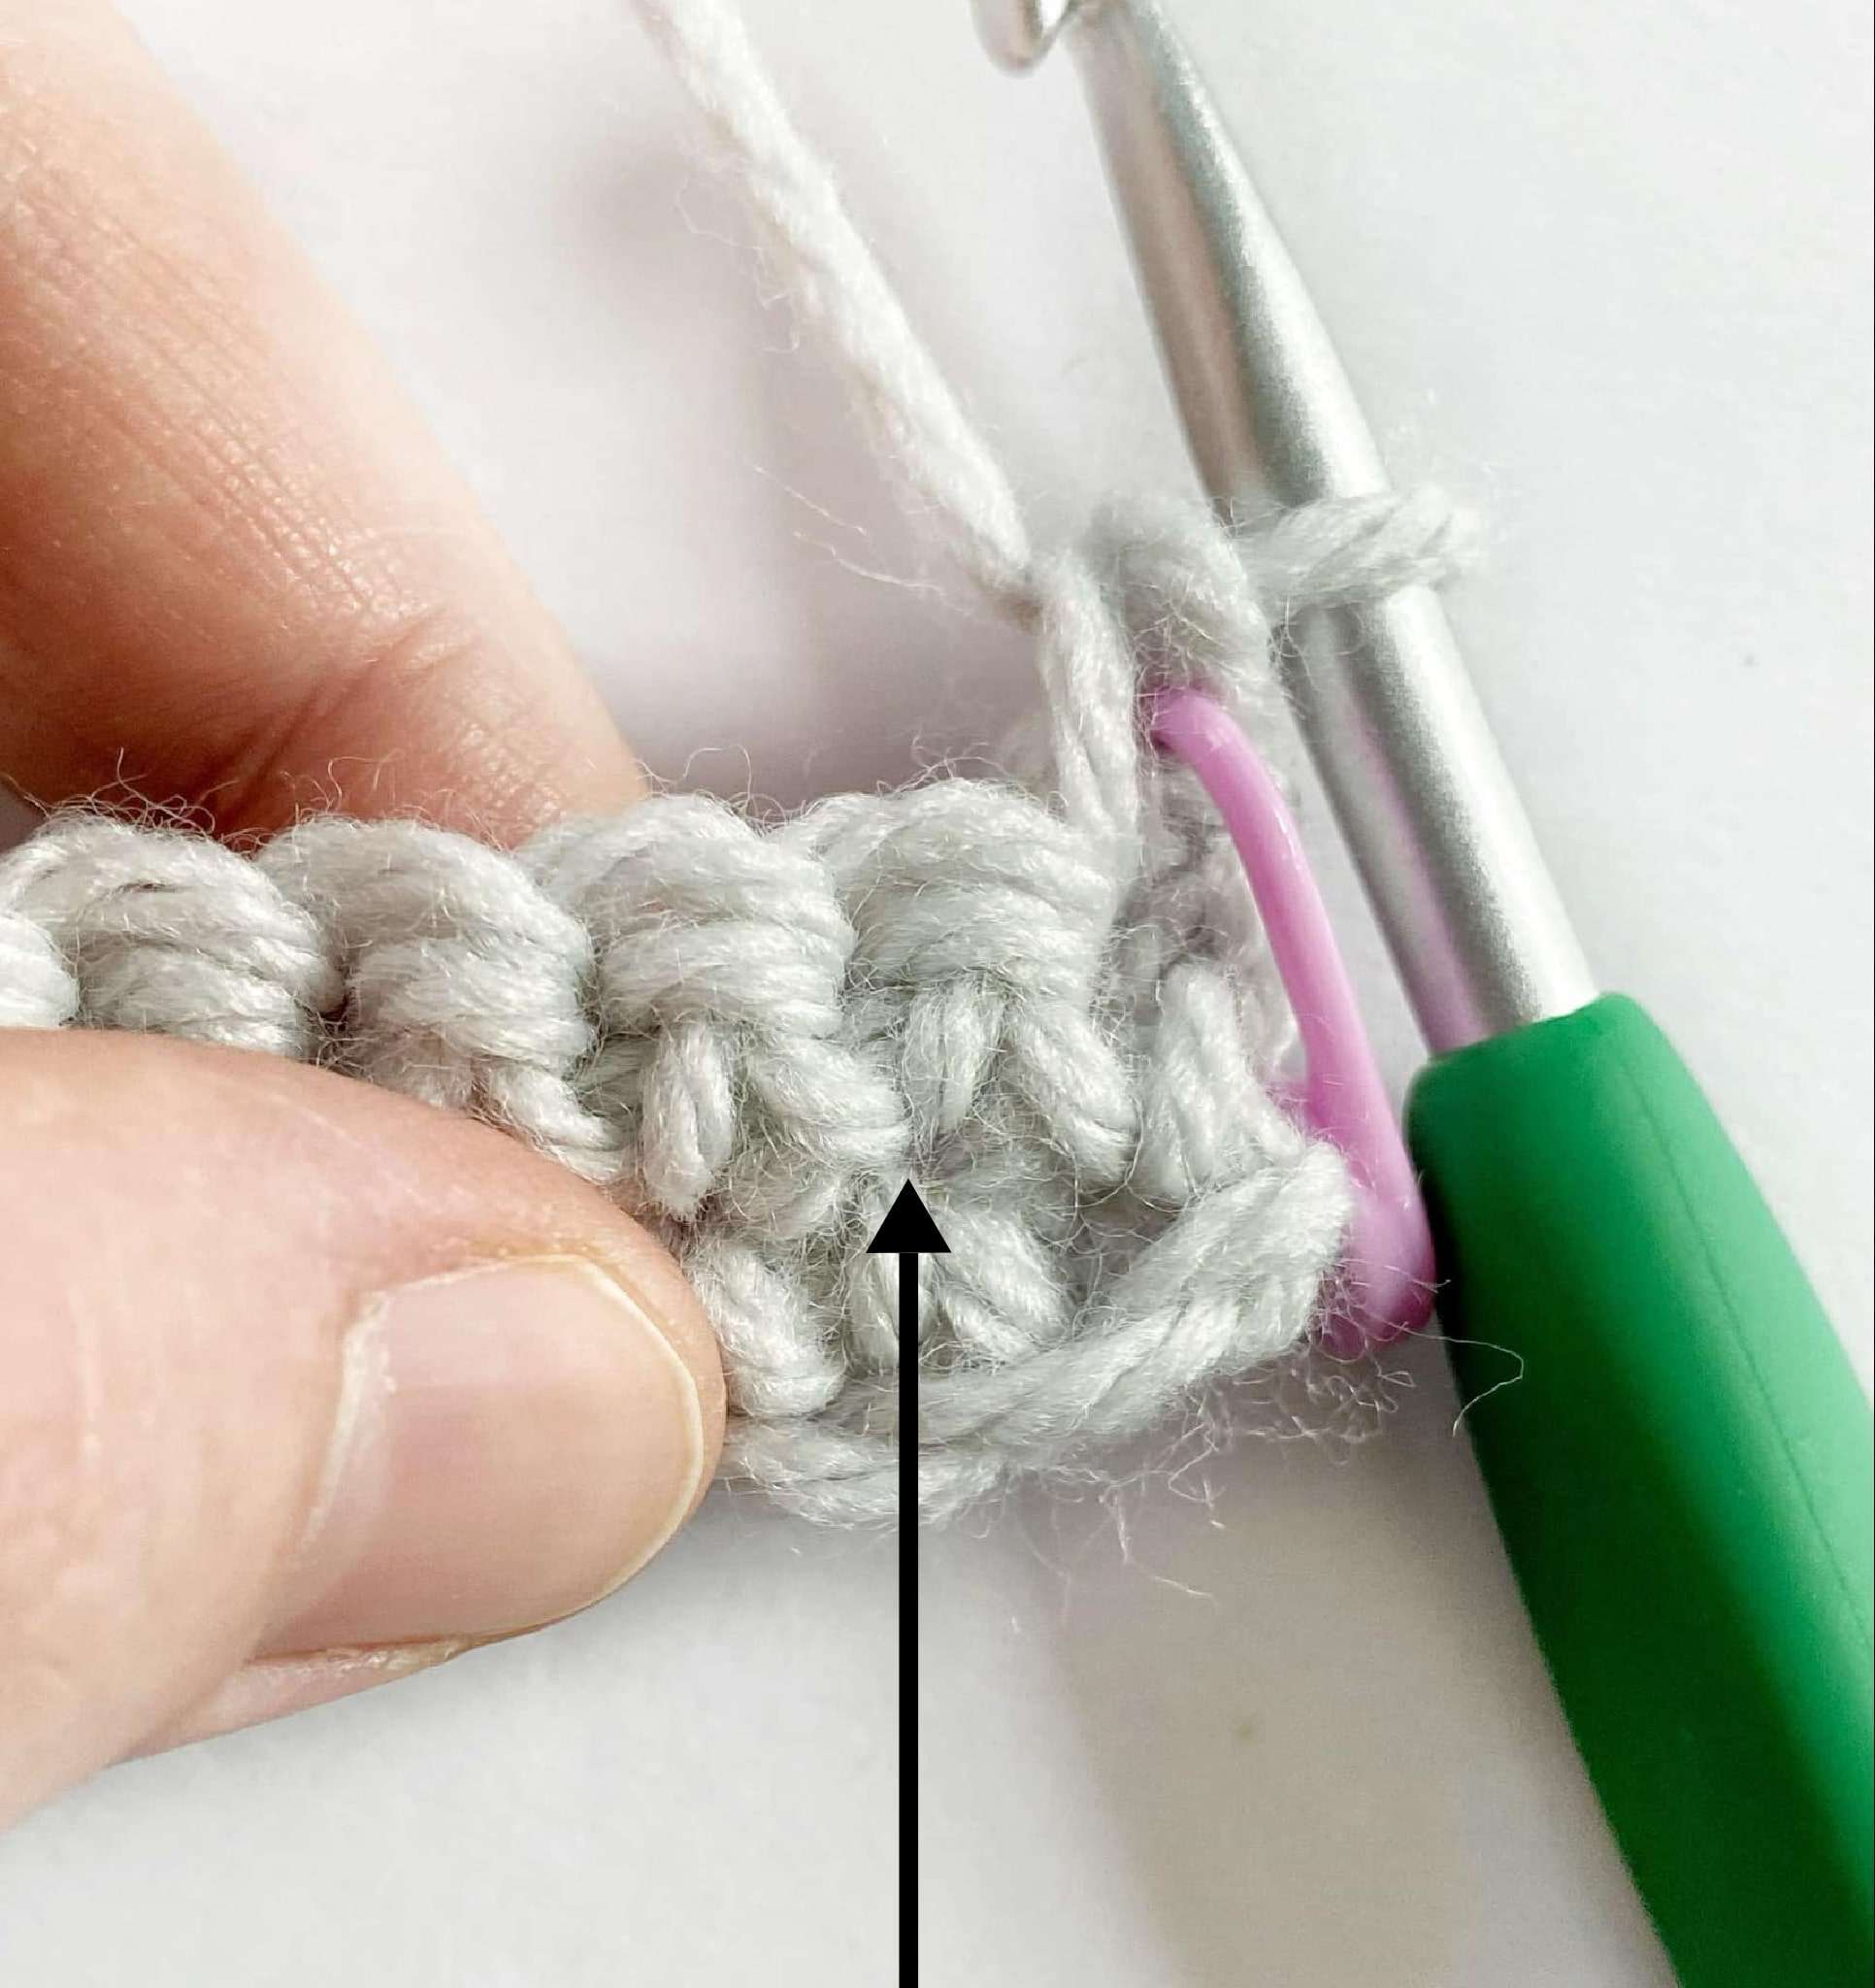
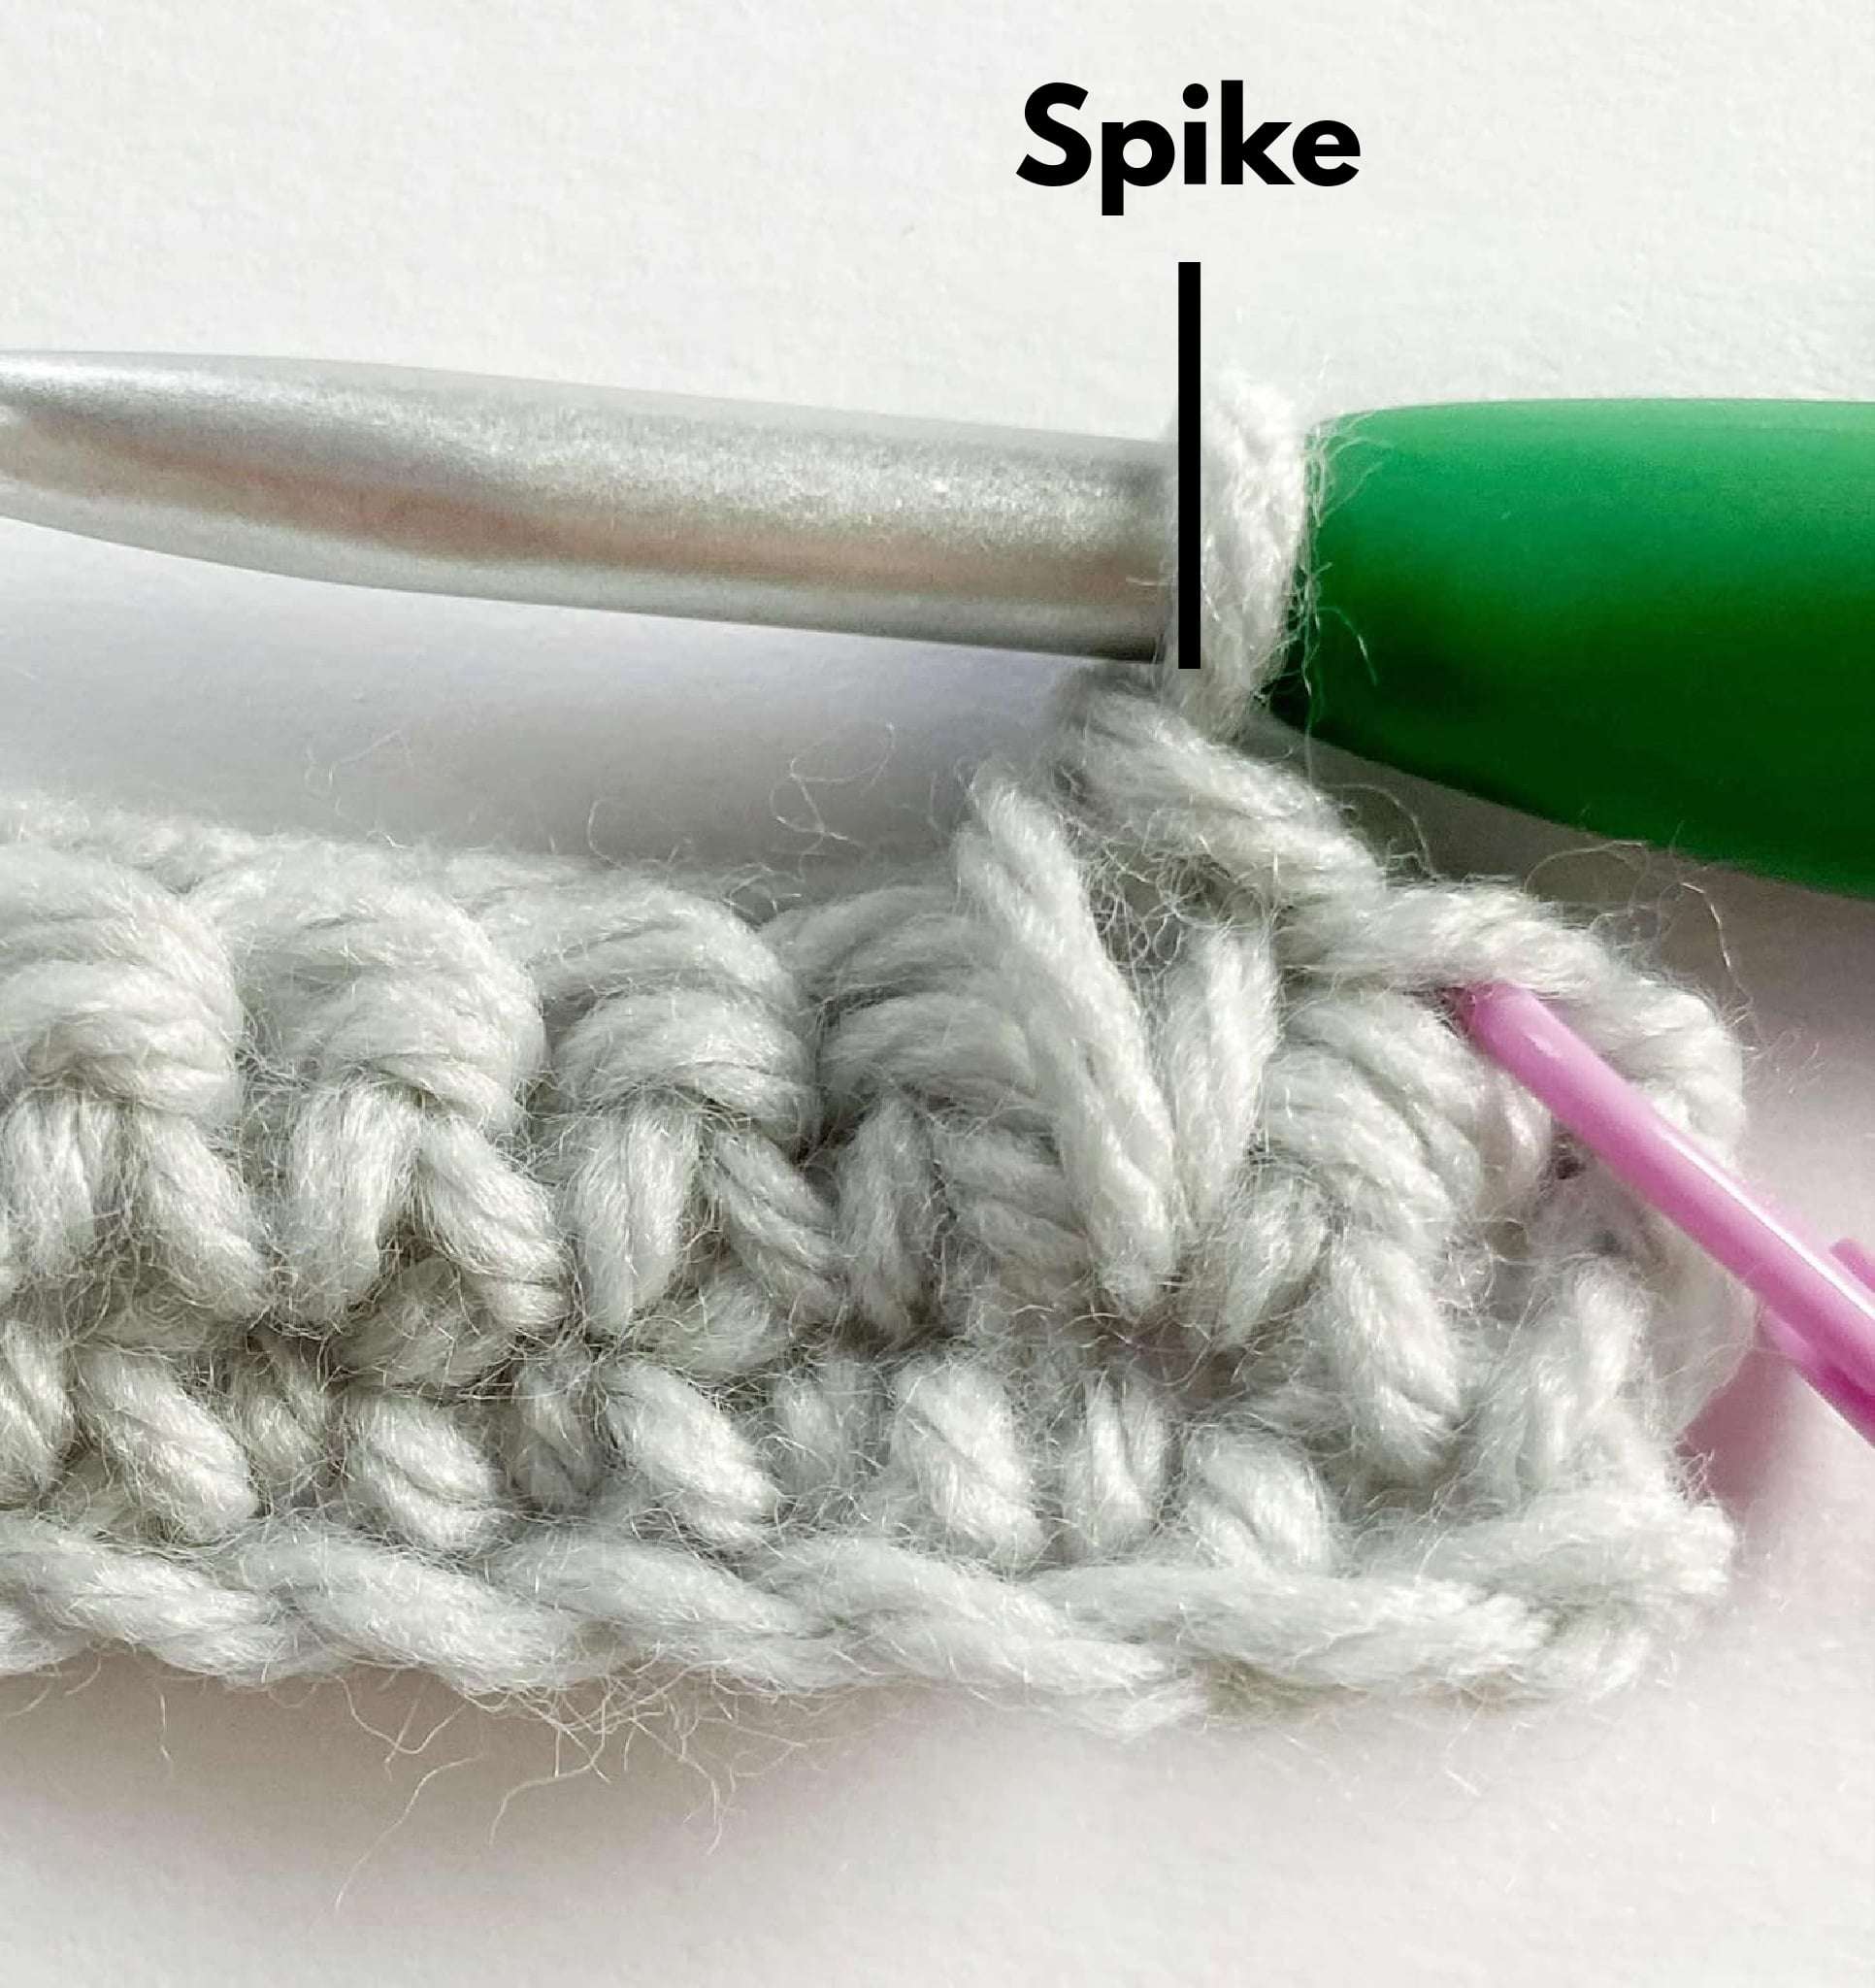
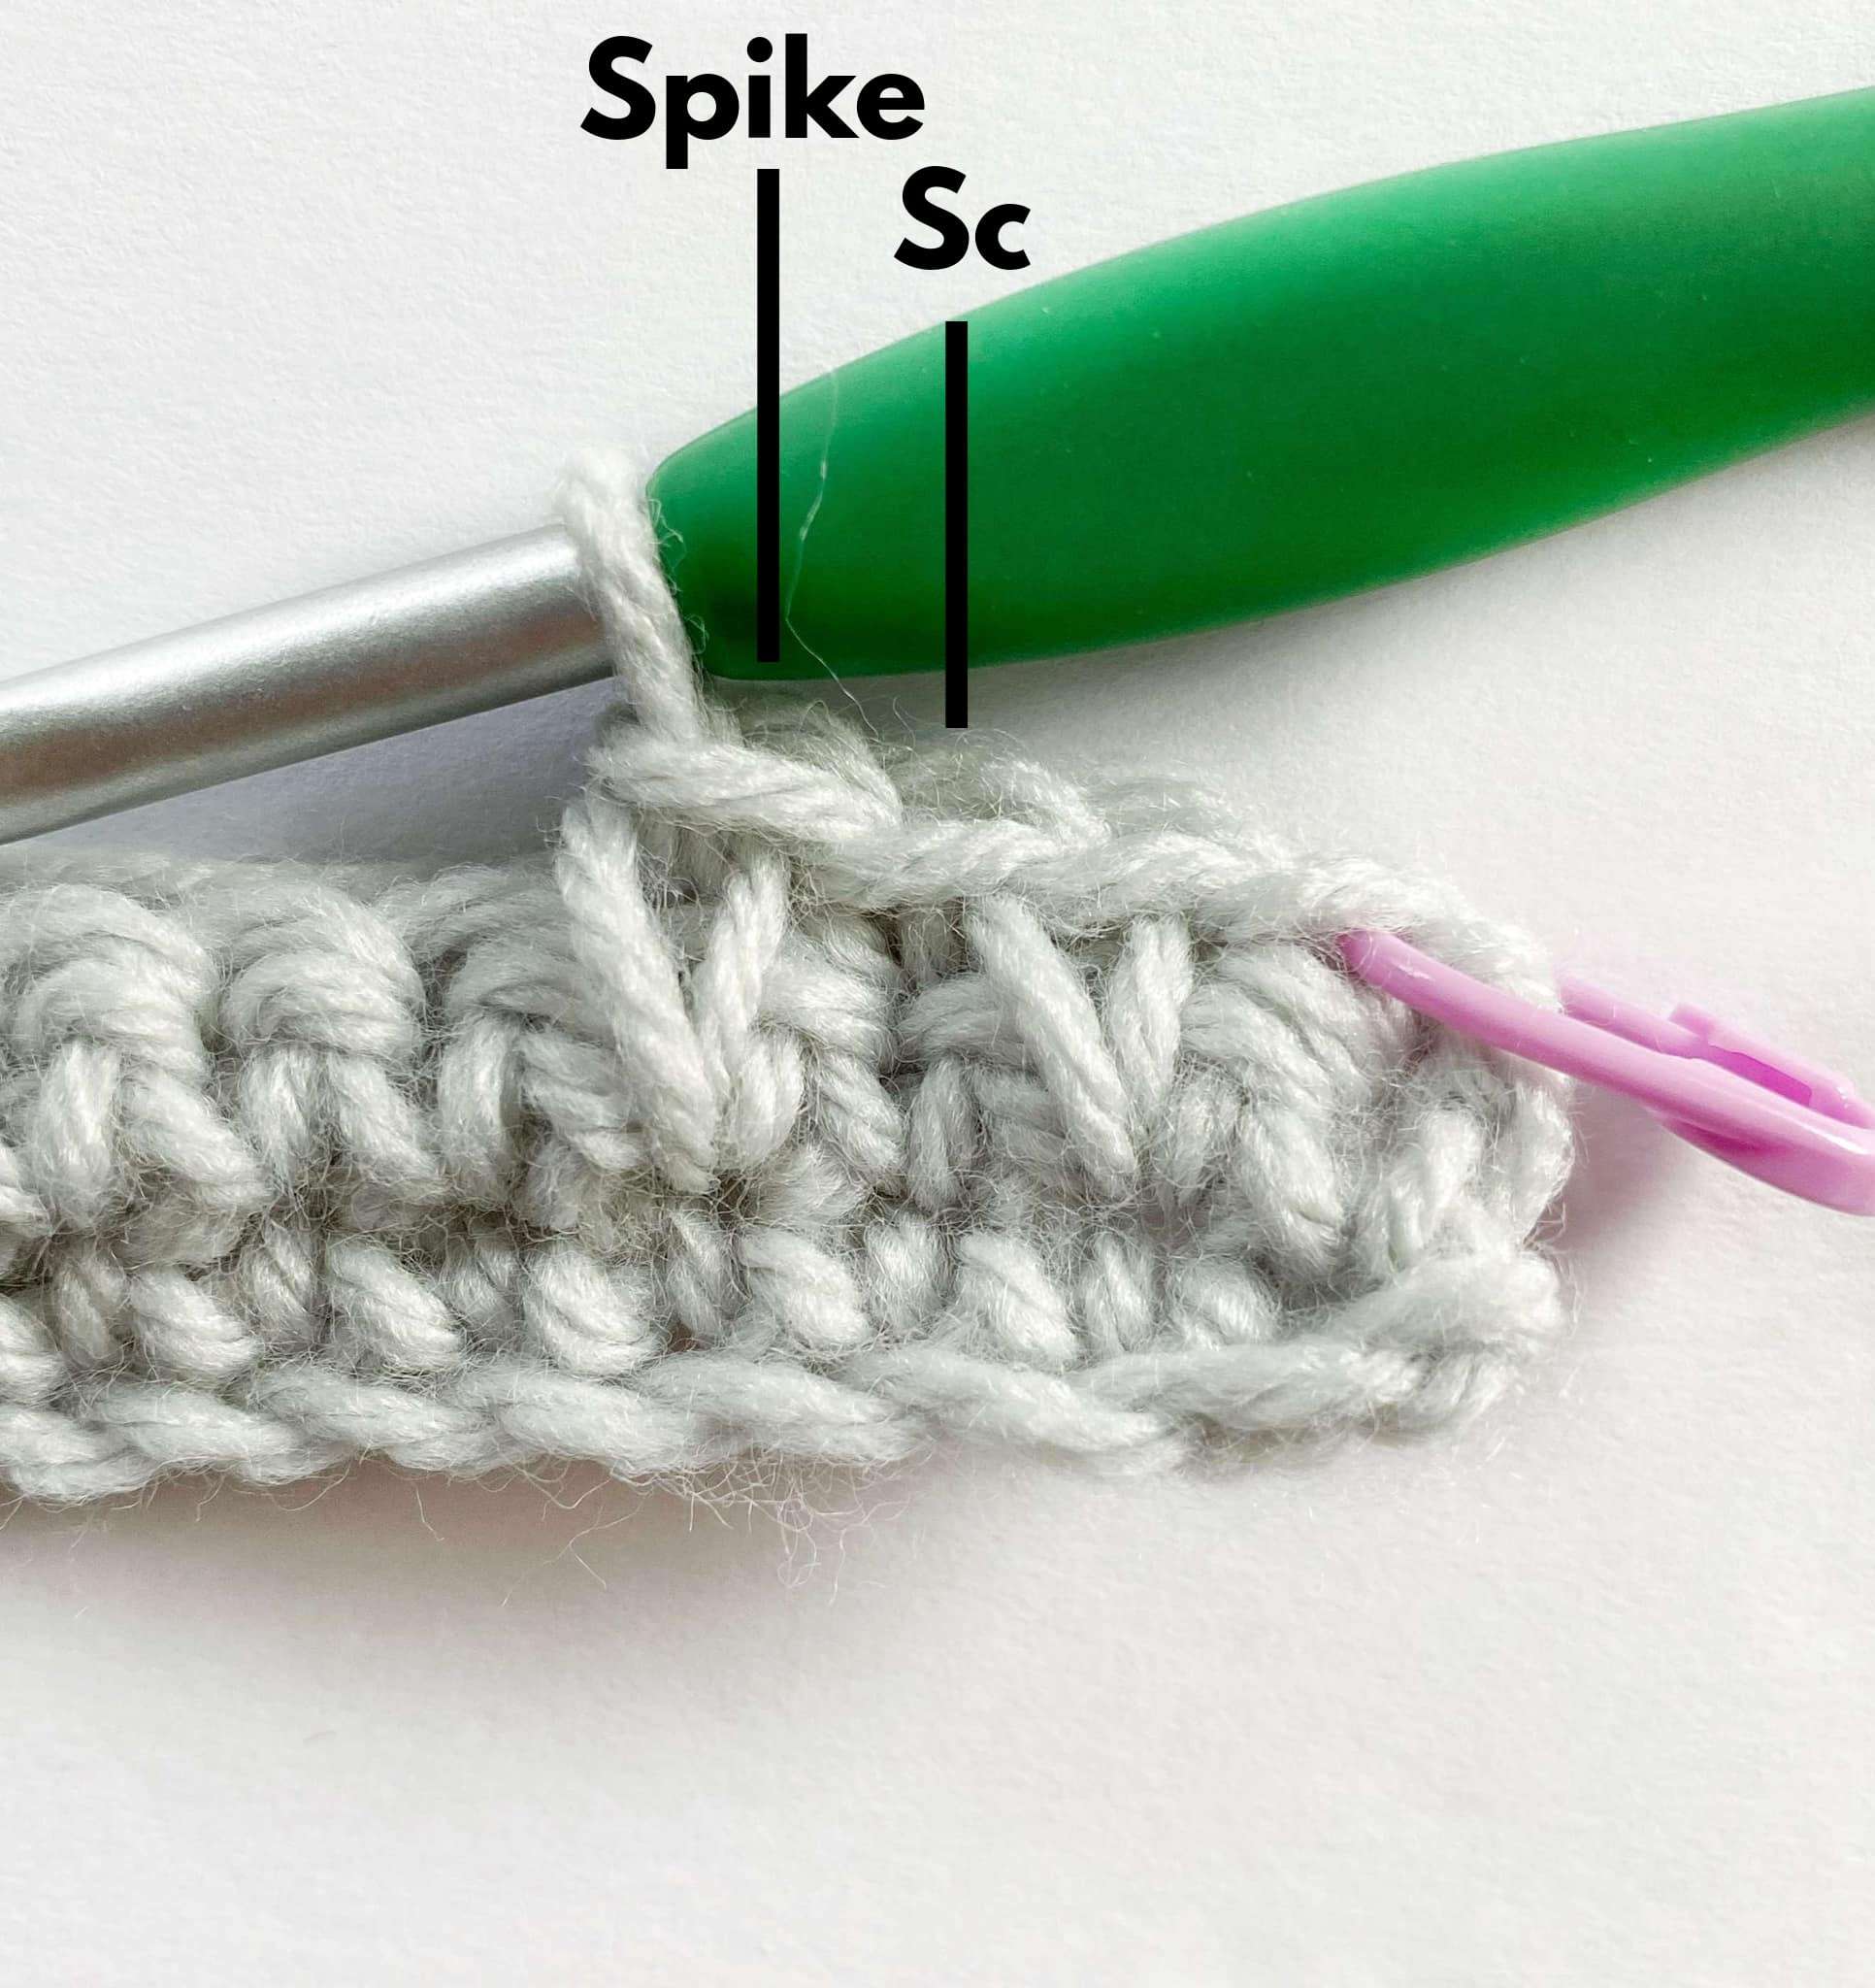
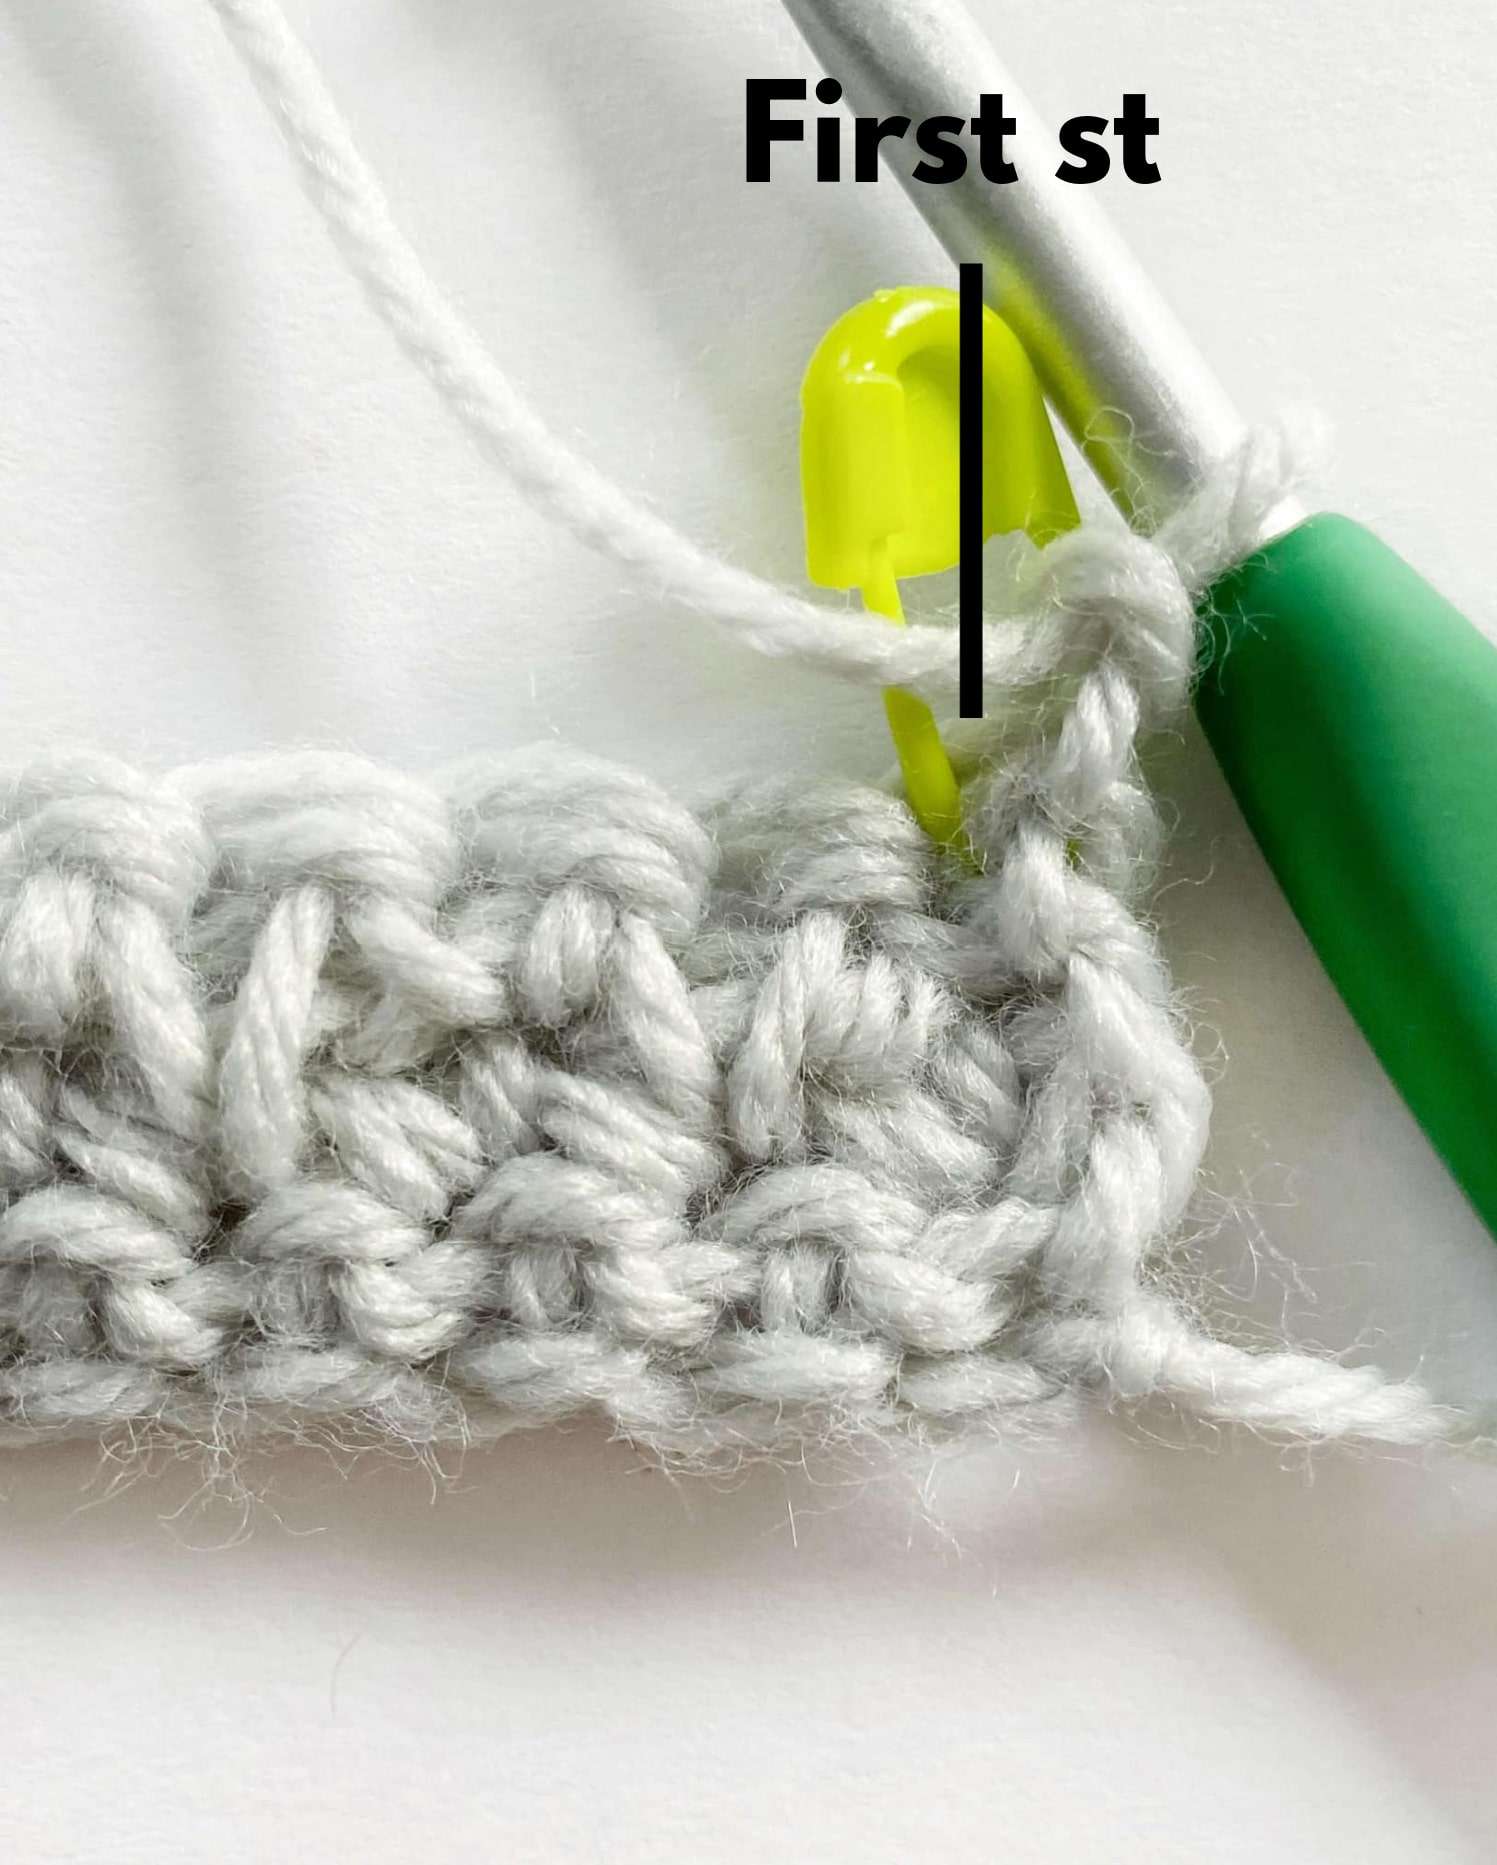
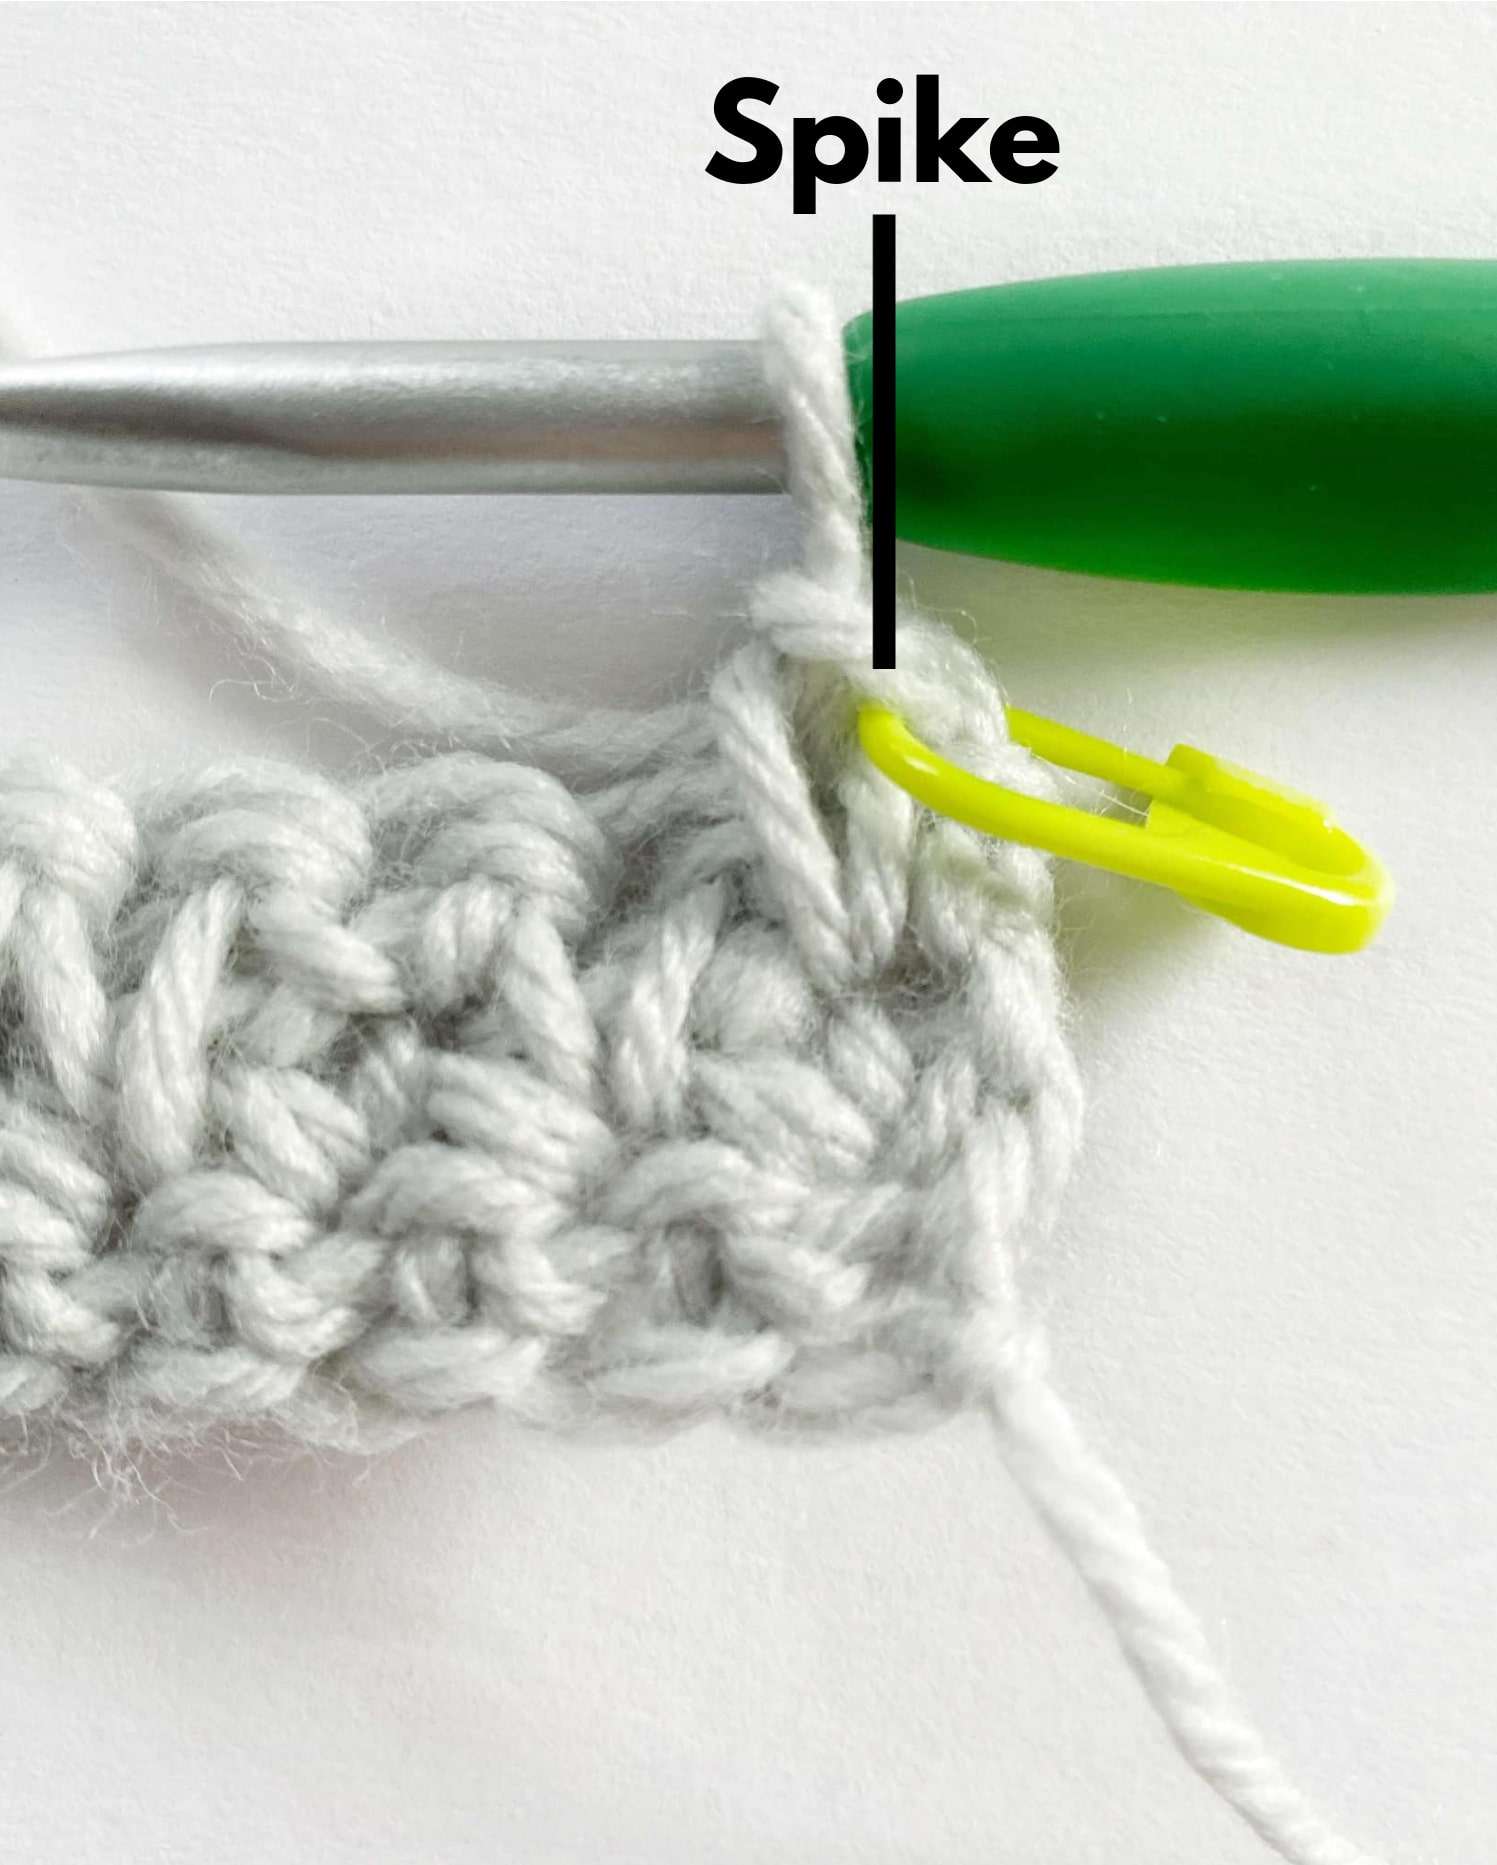
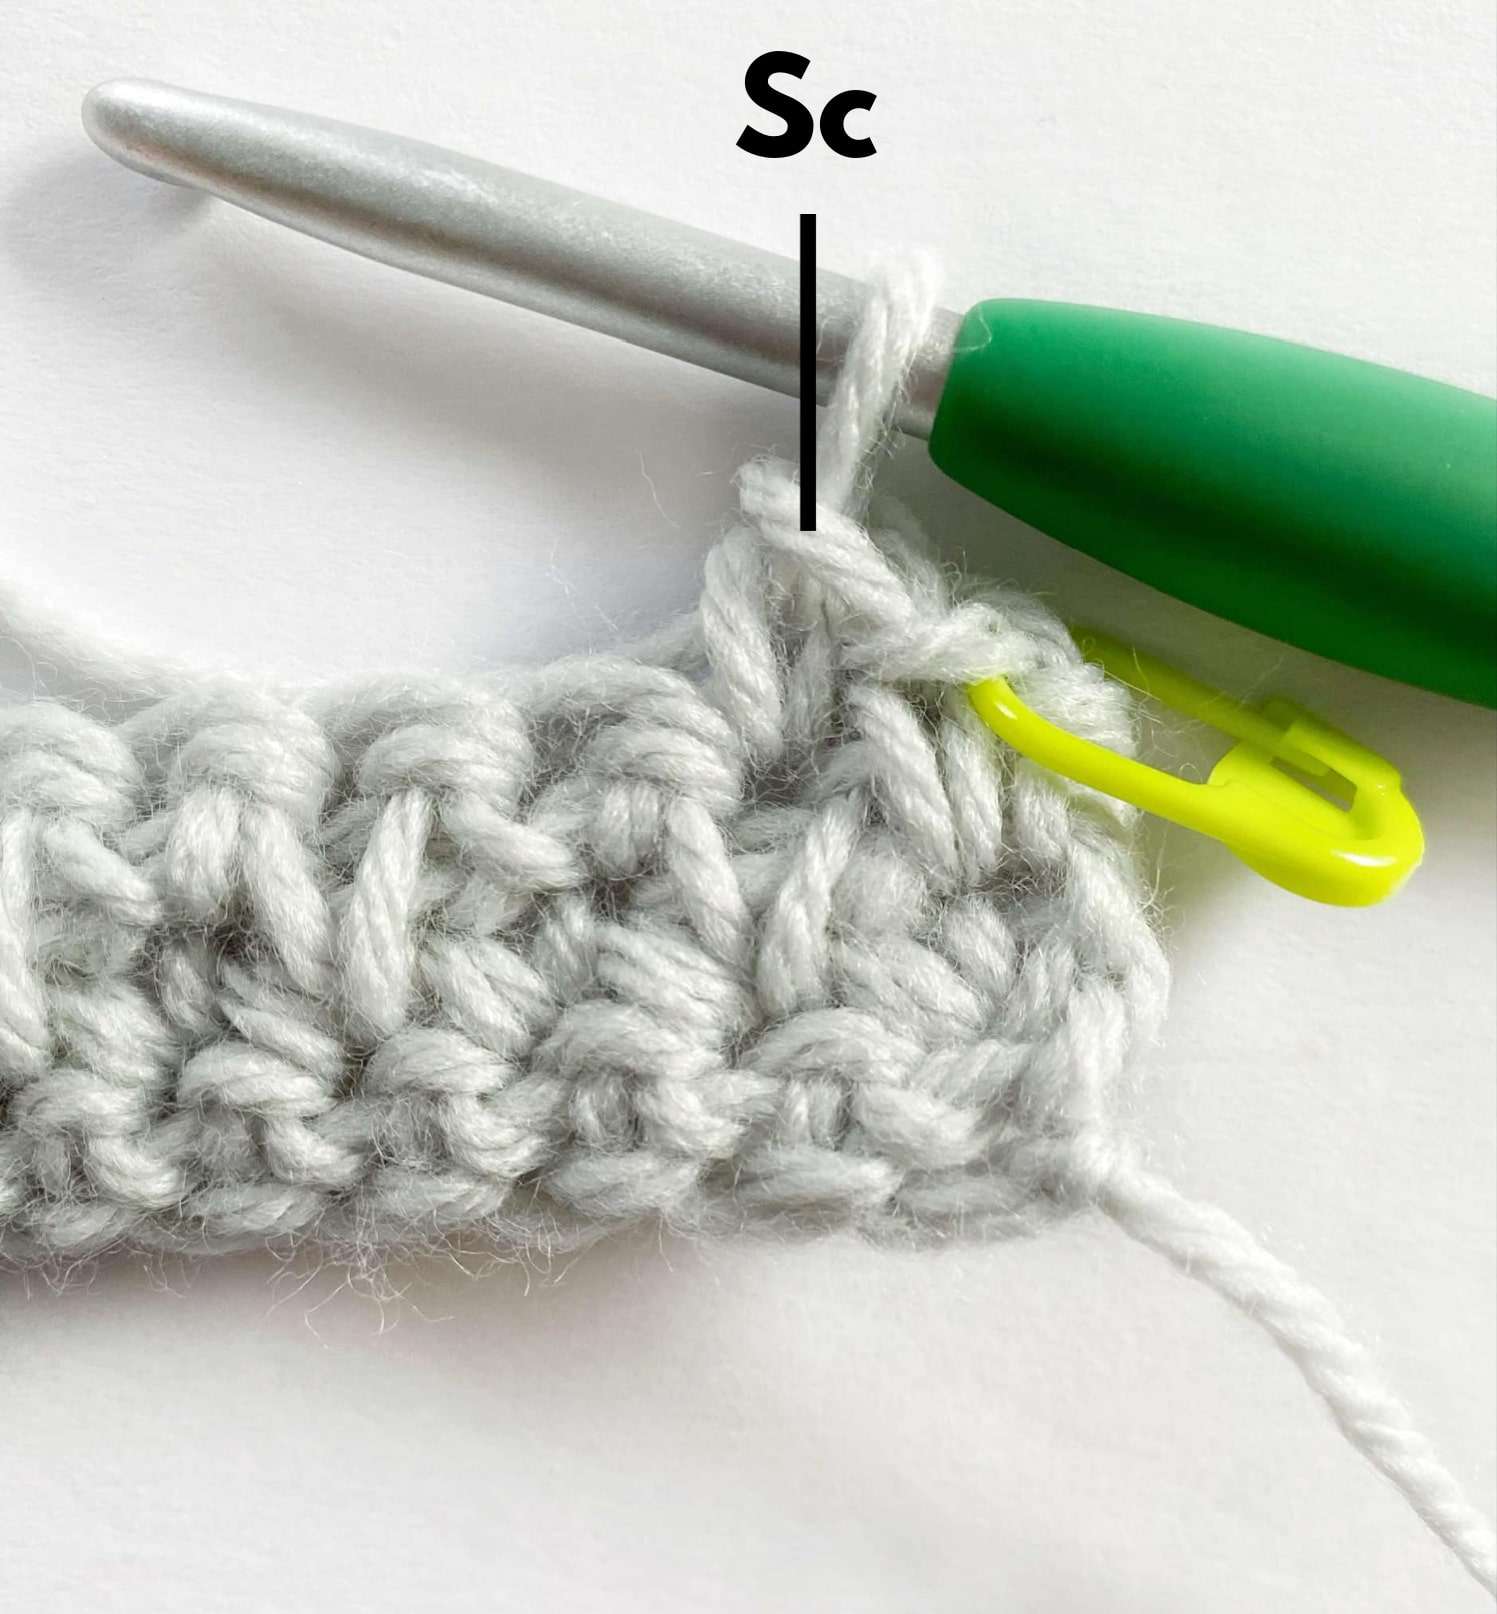
Each Spike stitch is worked into the st one row below.
- Insert the hook into the indicated st one row below.


- YO and pull up the loop until it reaches the height of the current row.

- YO and pull through both 2 loops to complete the st!

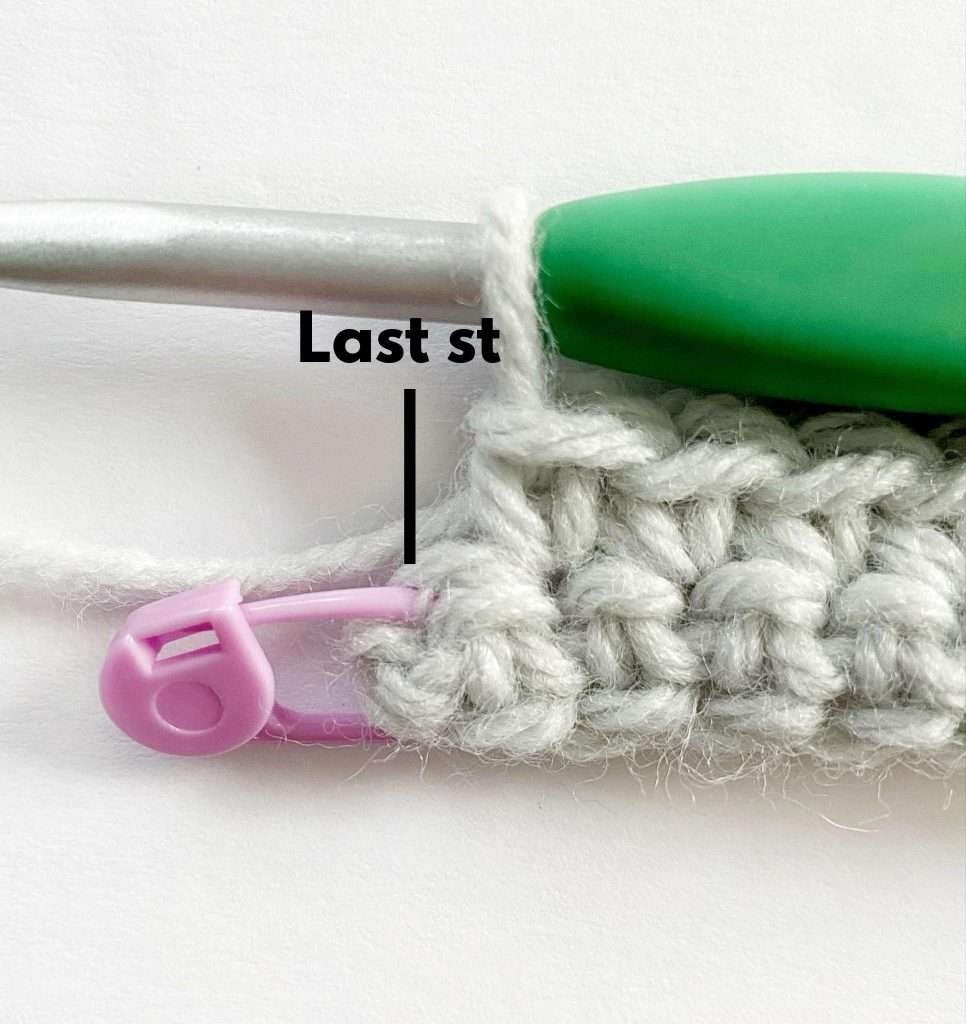
Tip for Straight Edges:
To create straight edges along your dishcloth, here’s my tip:
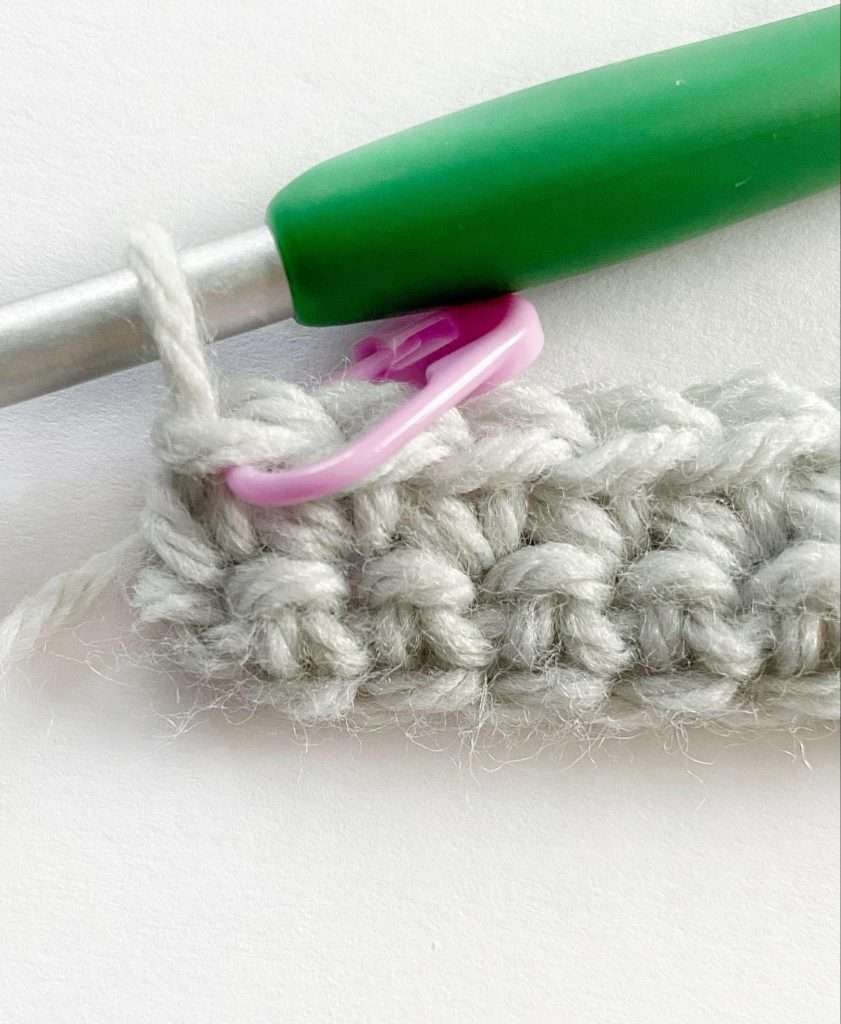
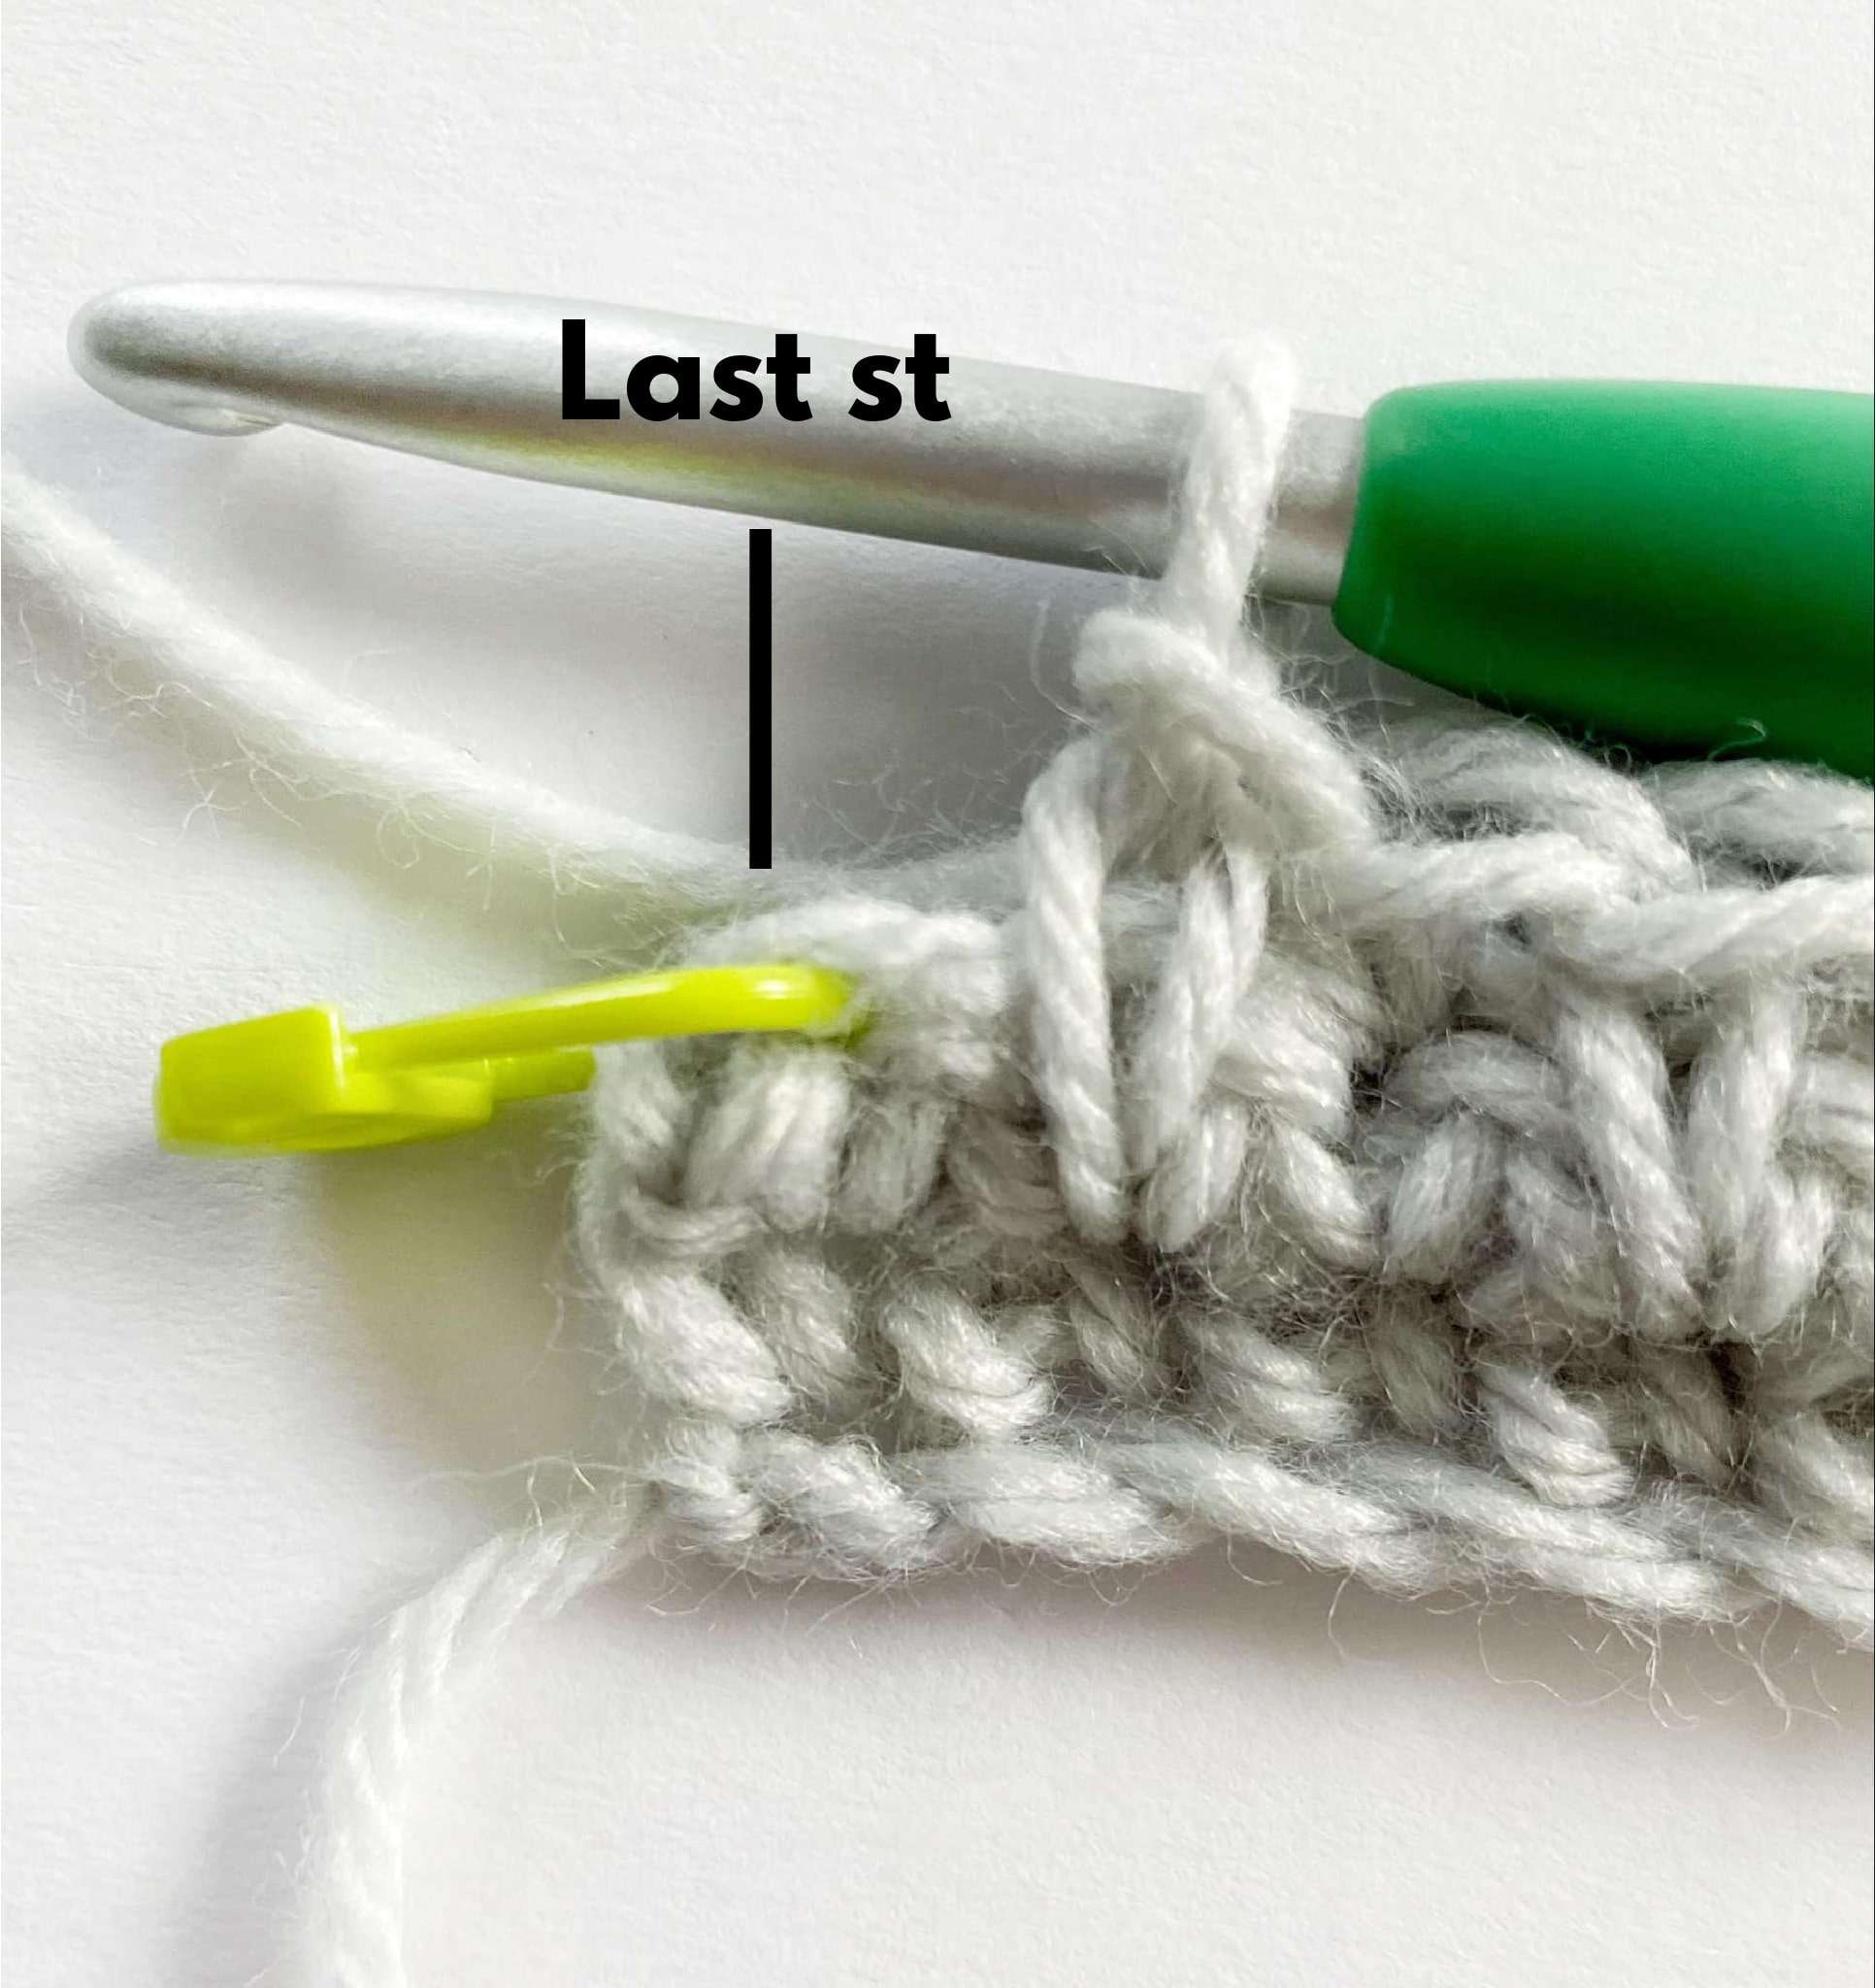
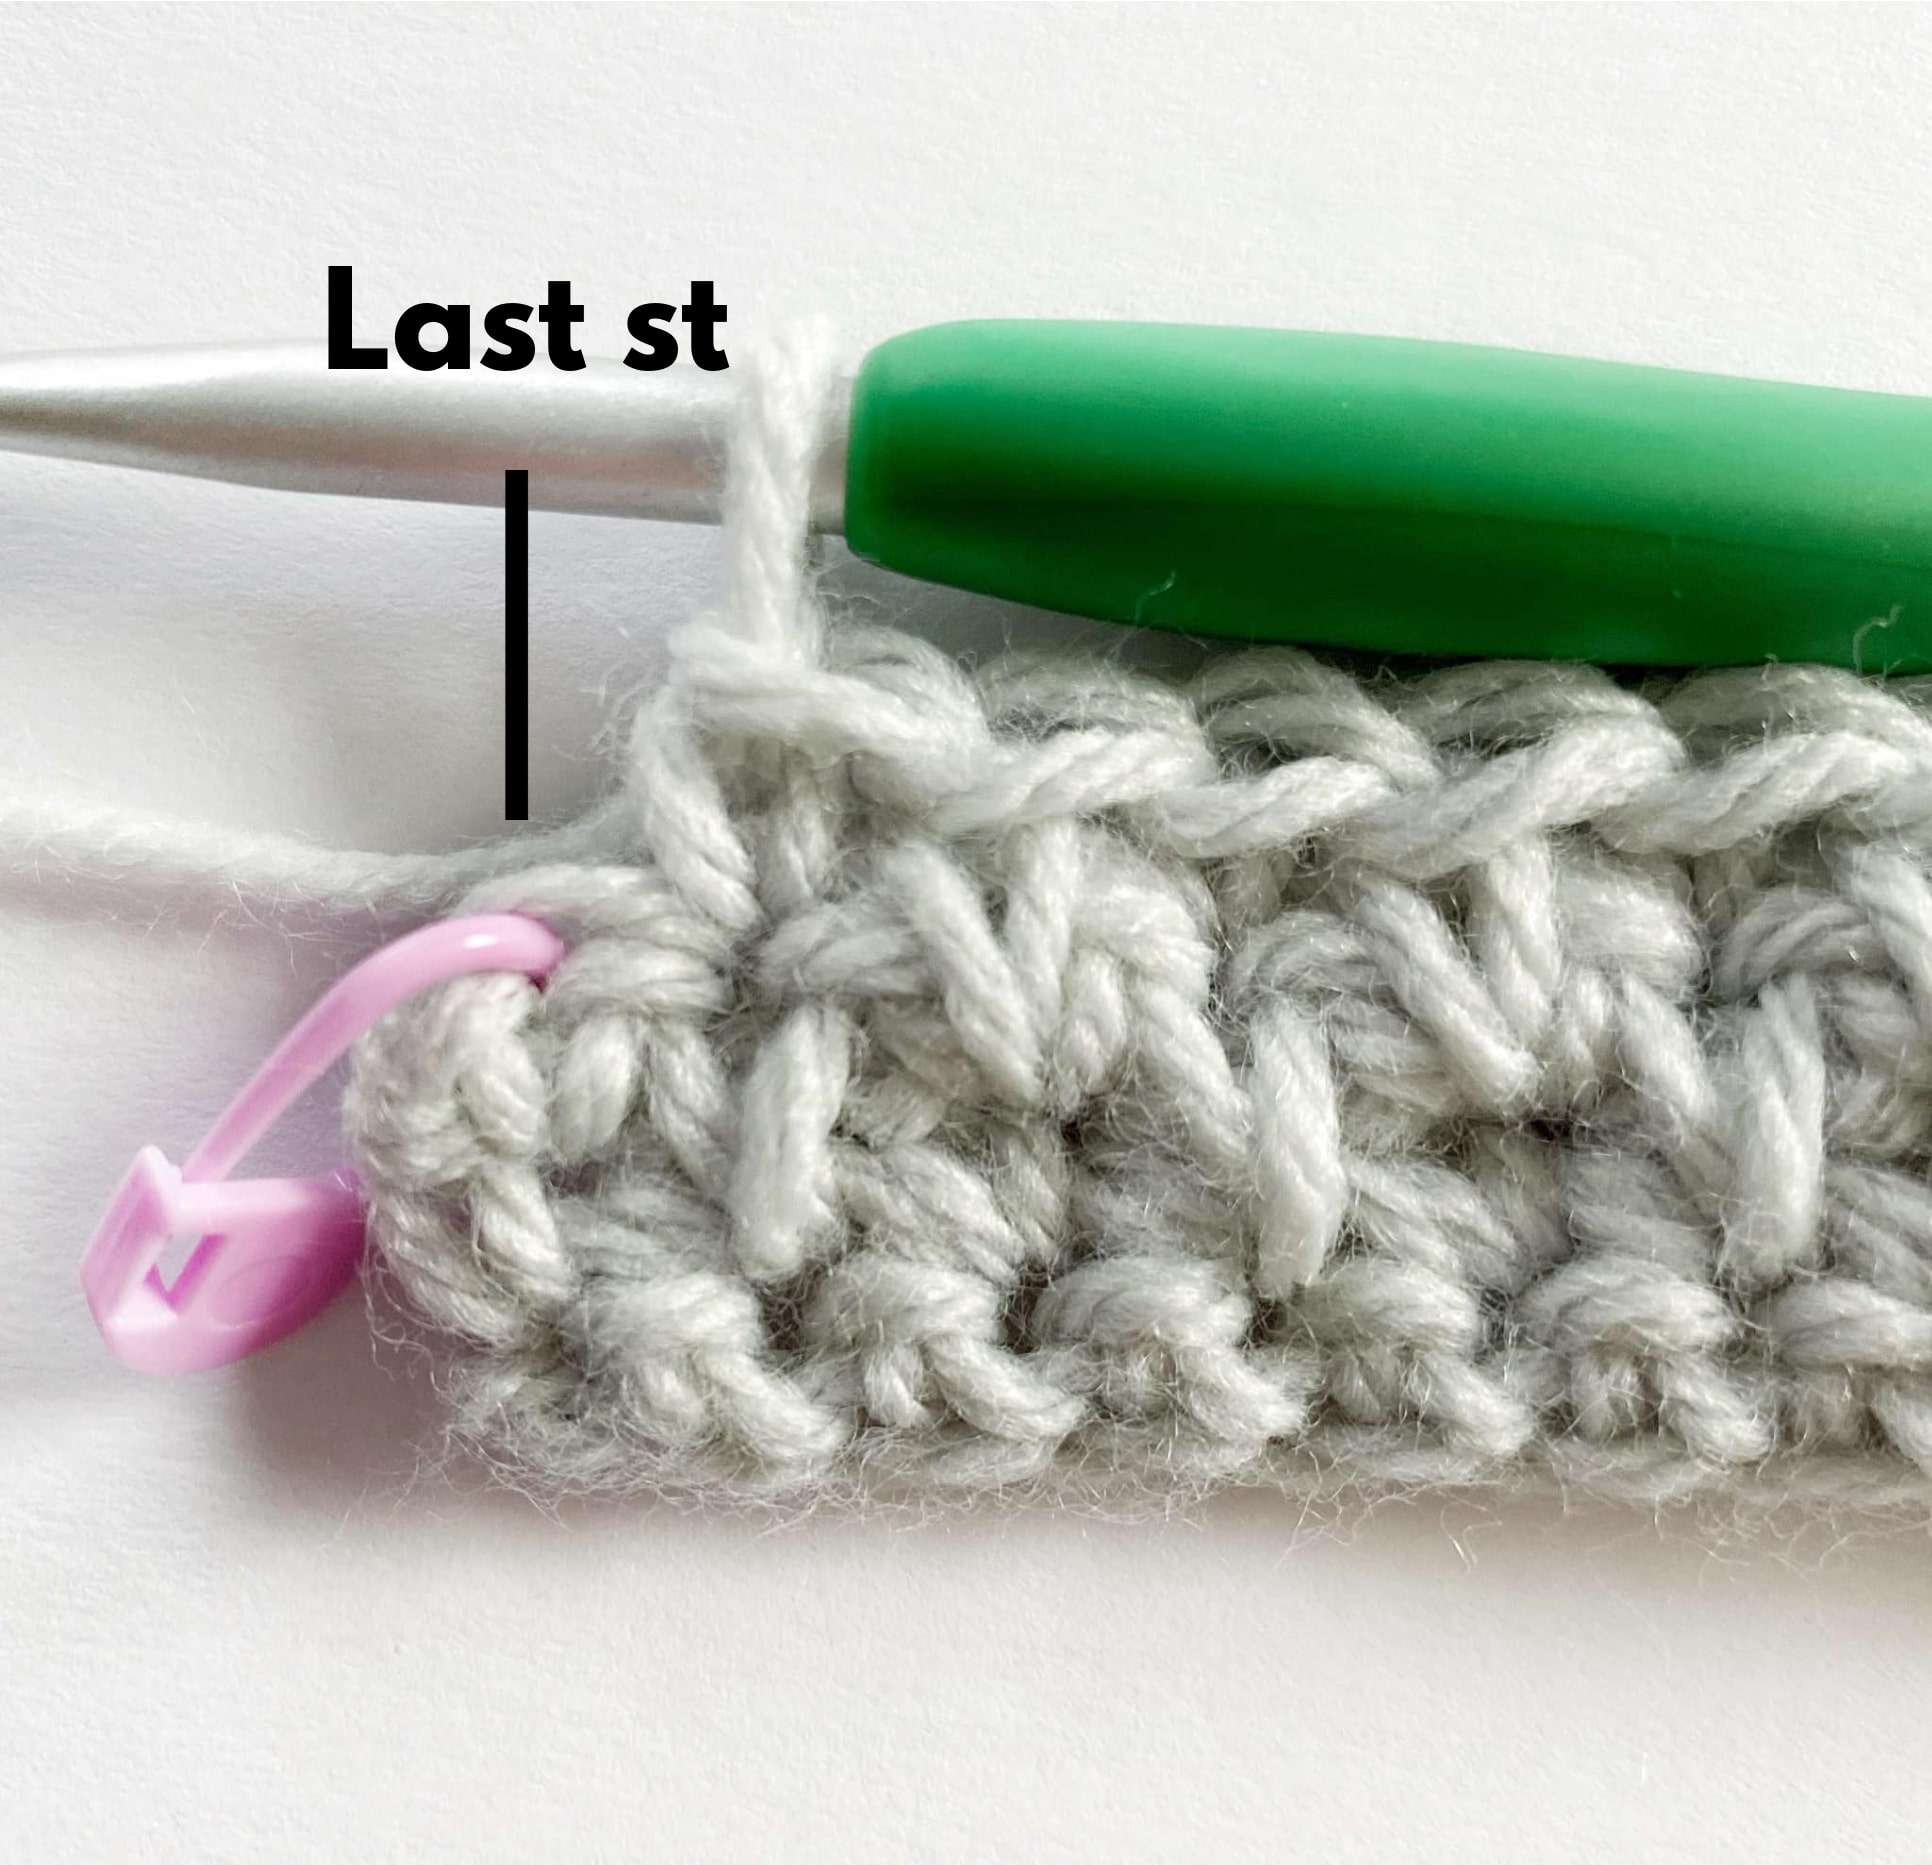
- For Row 3, instead of making a sc into the last st of the row, skip the last st, and insert the hook into the beginning ch 1 of the previous row. Make a sc into this ch-1.
If you’d like more of a visual, here is a step-by-step tutorial for this straight edge tip here.
Pattern:
With a 5.0mm hook: Ch 20 (or any even number)
Row 1:
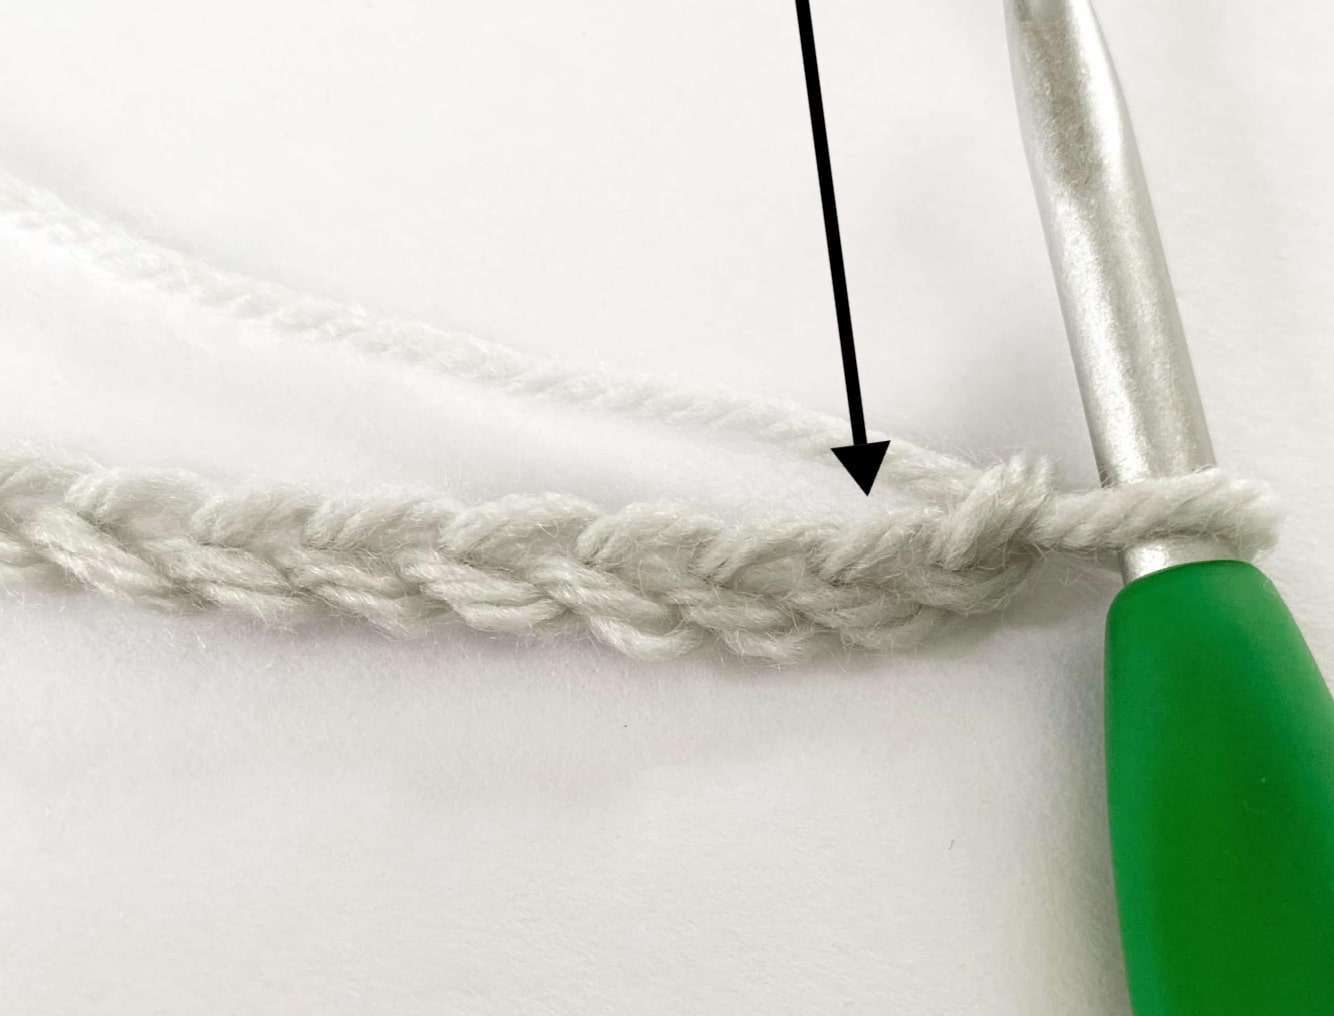
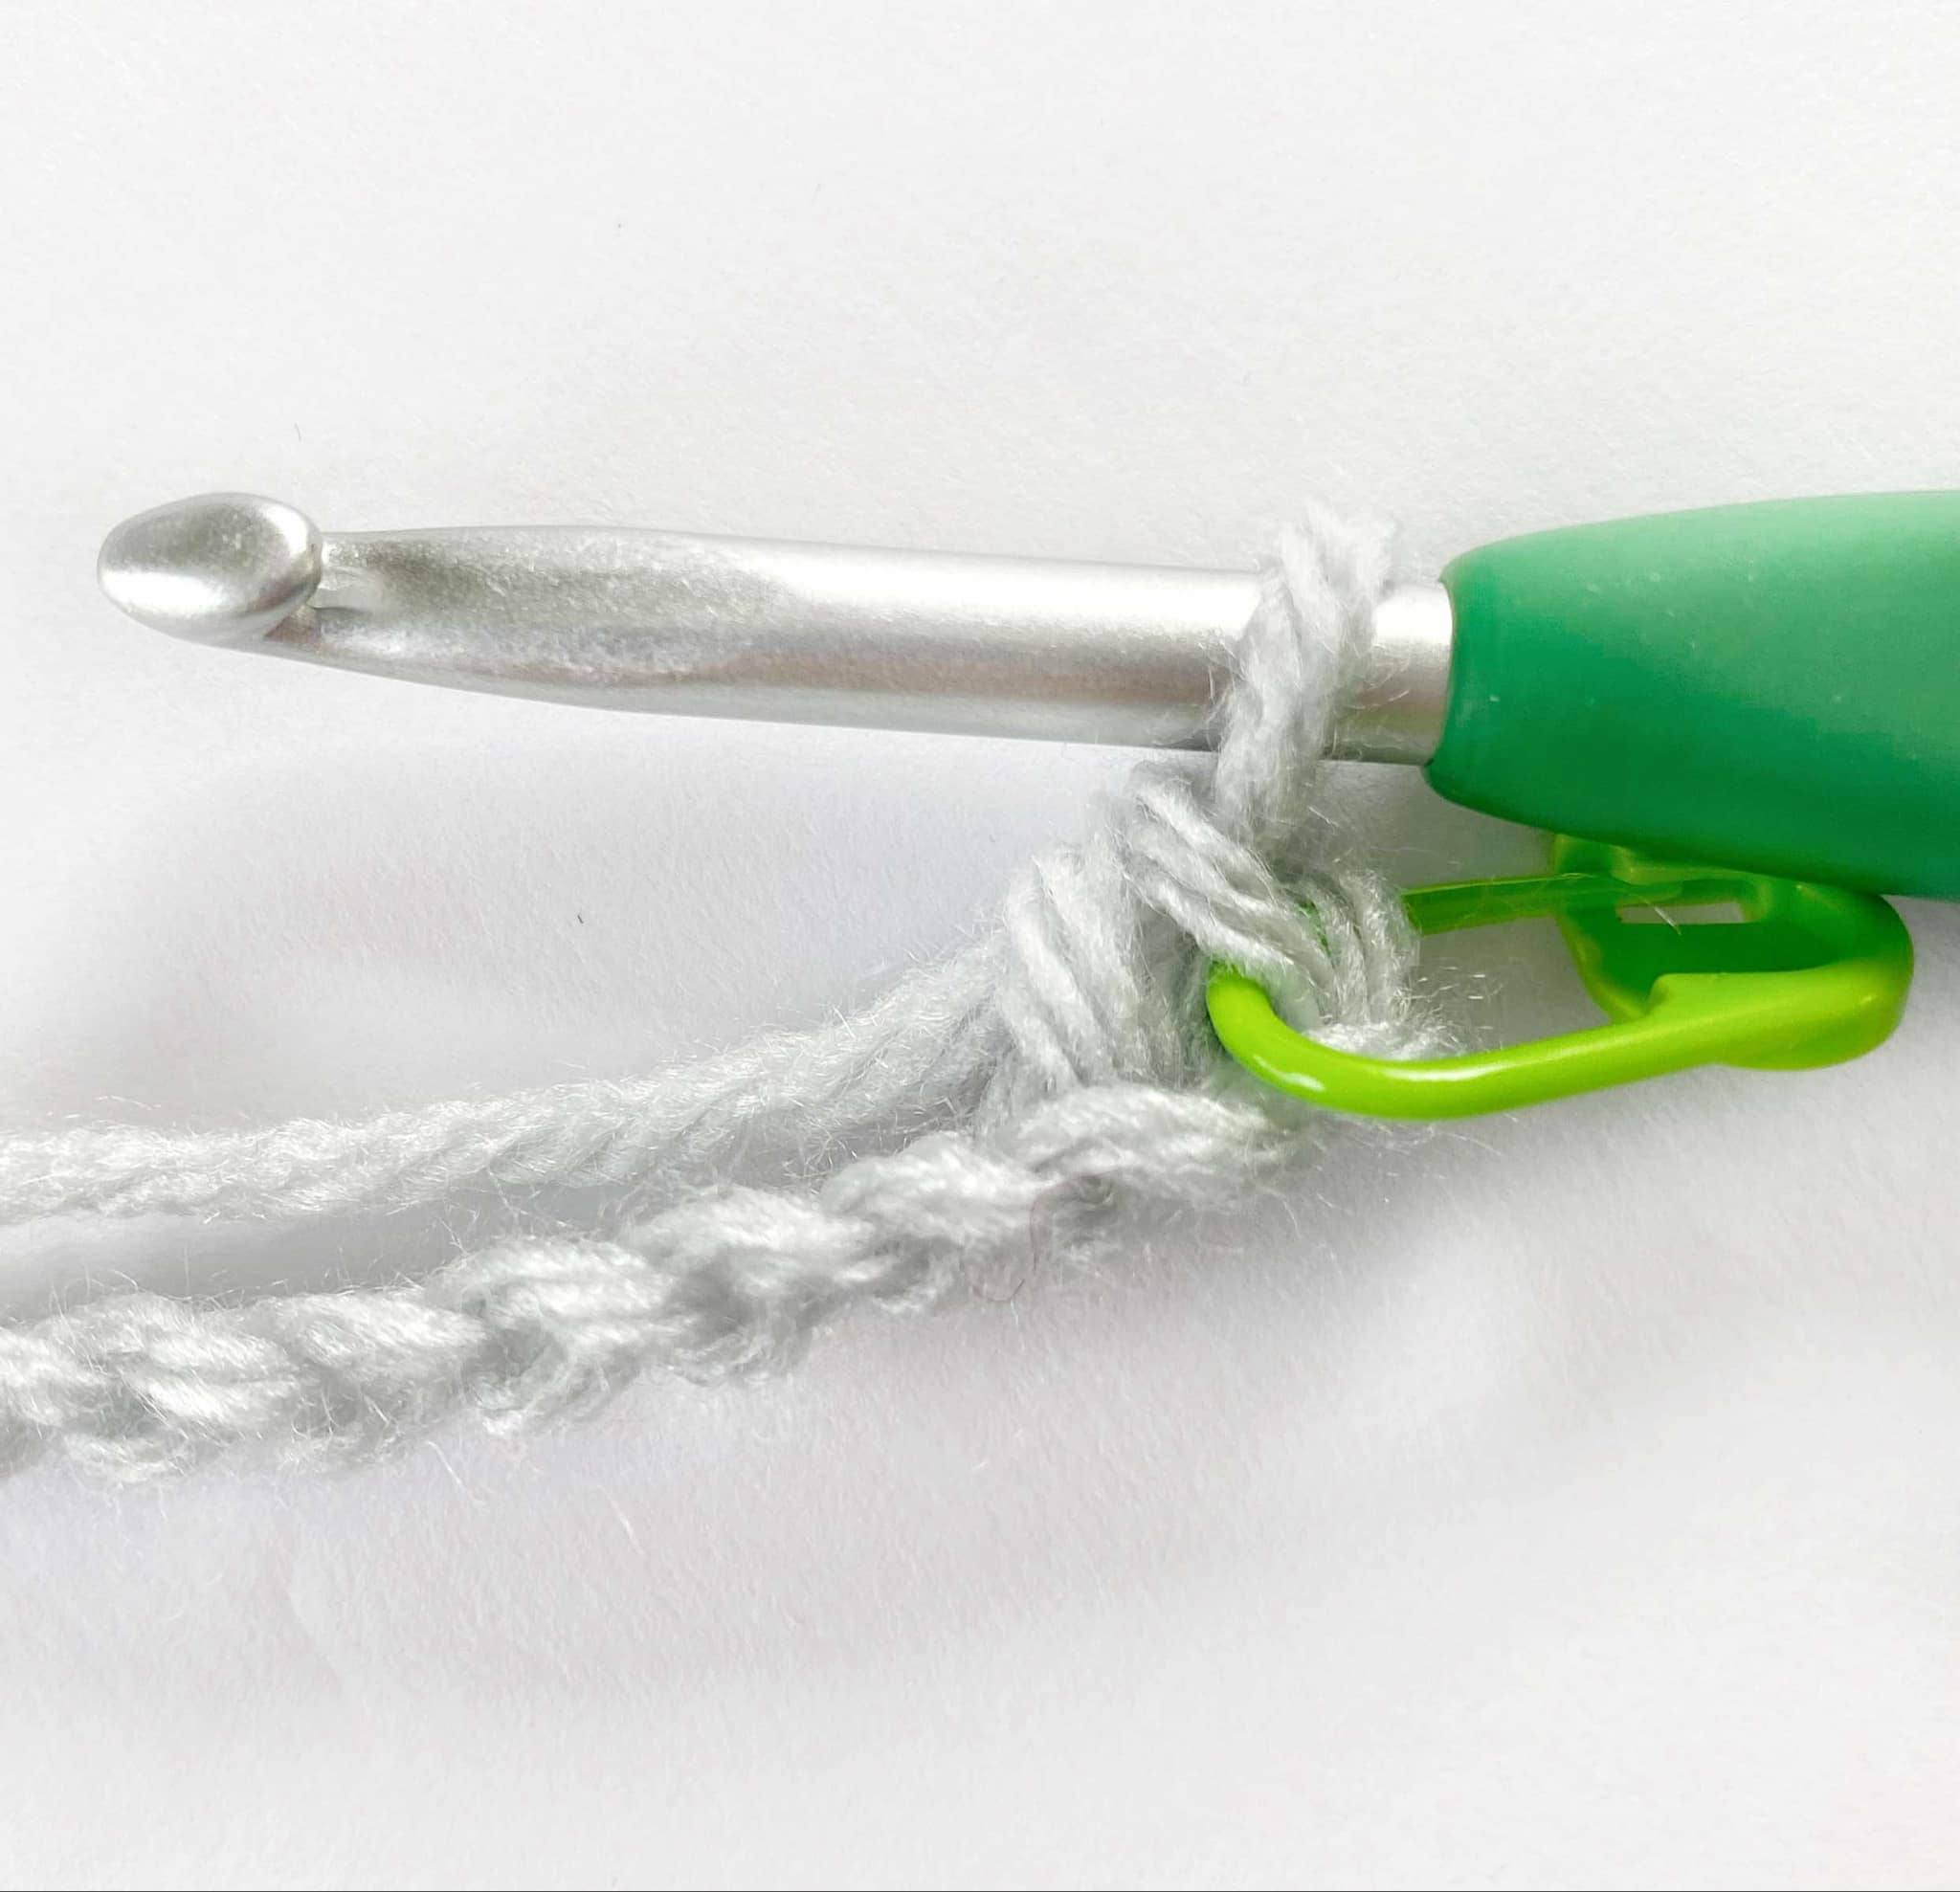
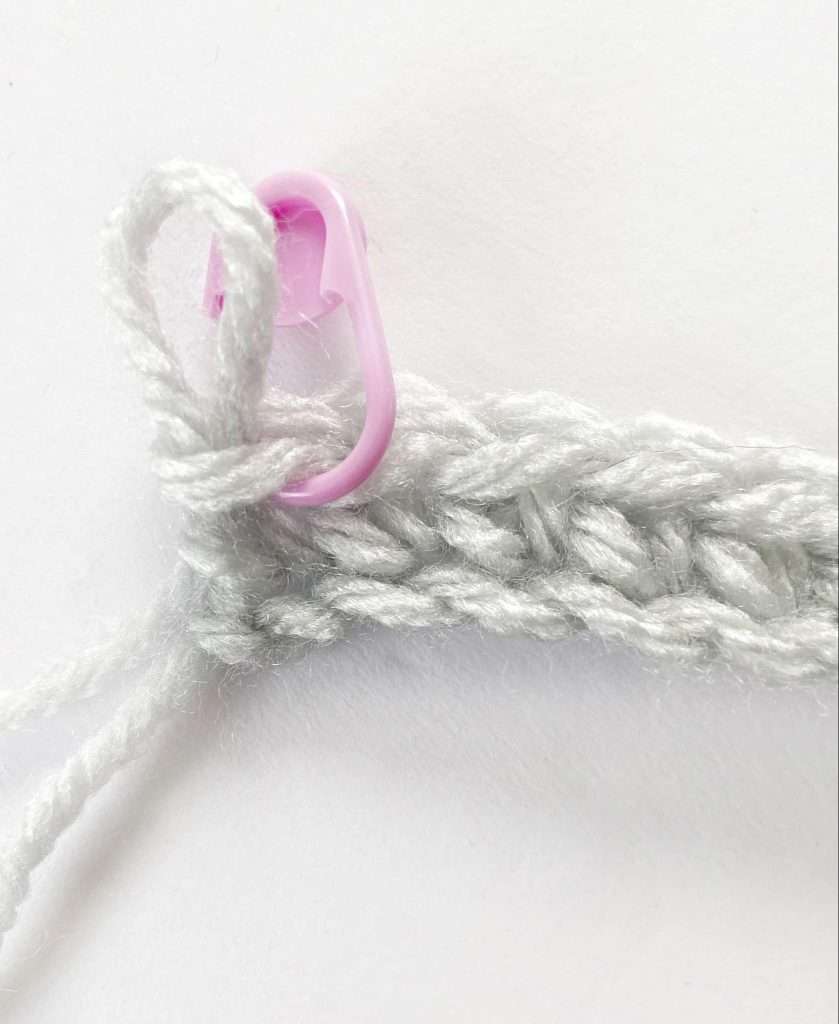
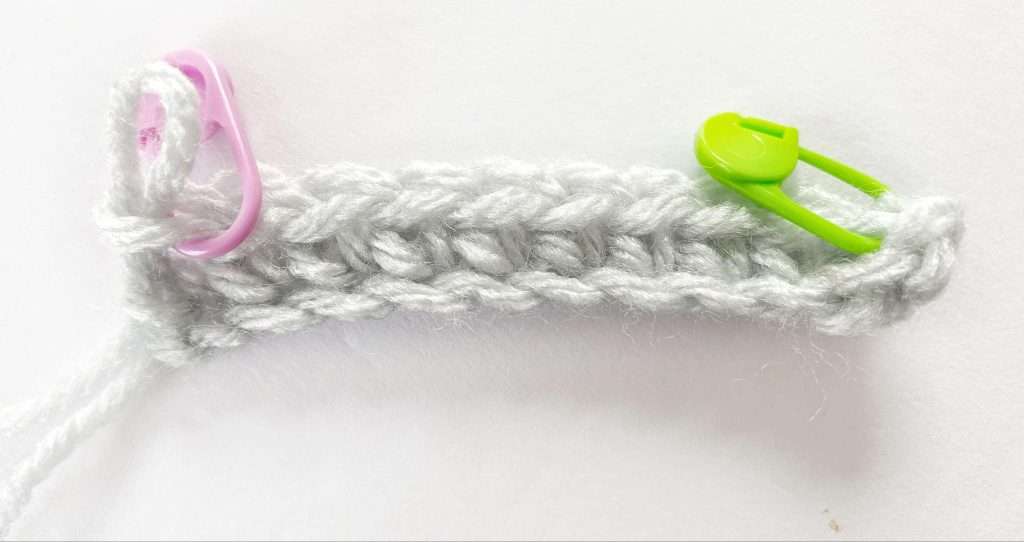
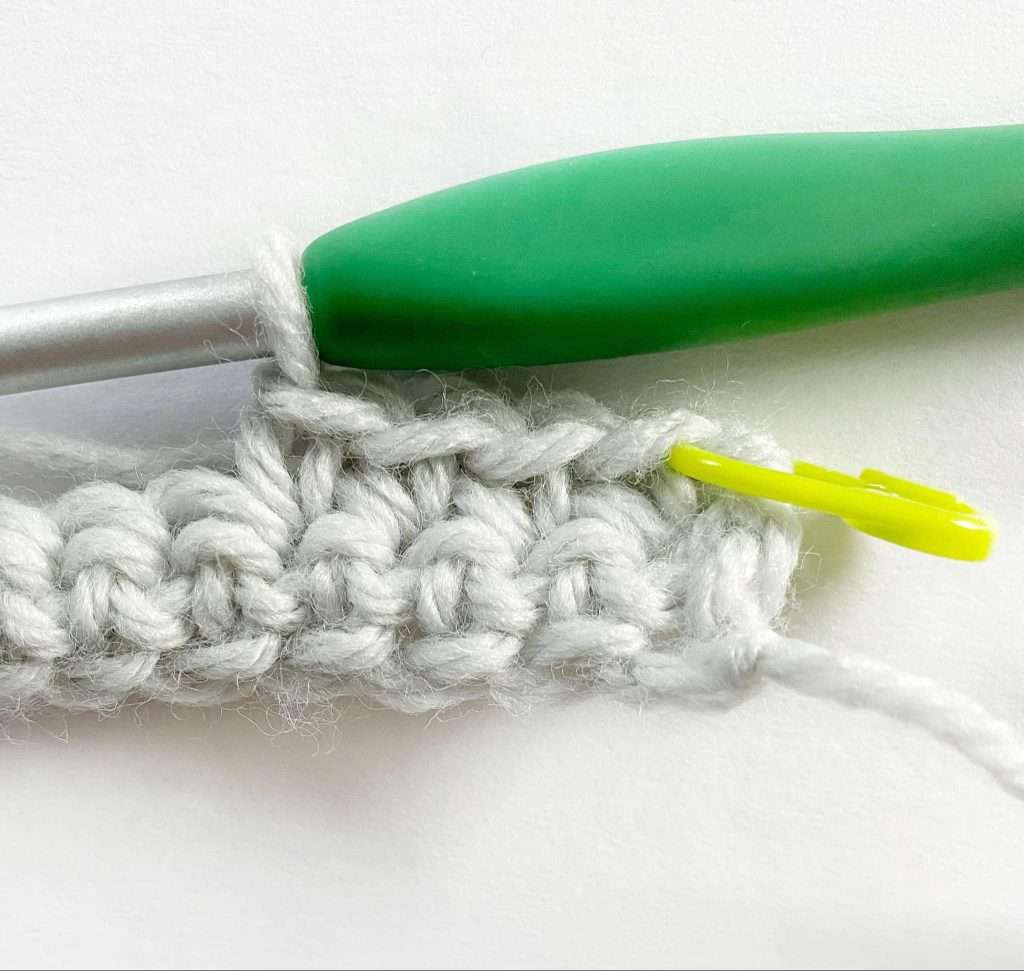
- With a 4.0mm hook: Ch 1, sc in second ch from hook – mark the first sc with a stitch marker.
- Sc in each ch across – mark the last sc with a stitch marker.
- Turn.
- Stitch Count: 19 sc
Row 2:
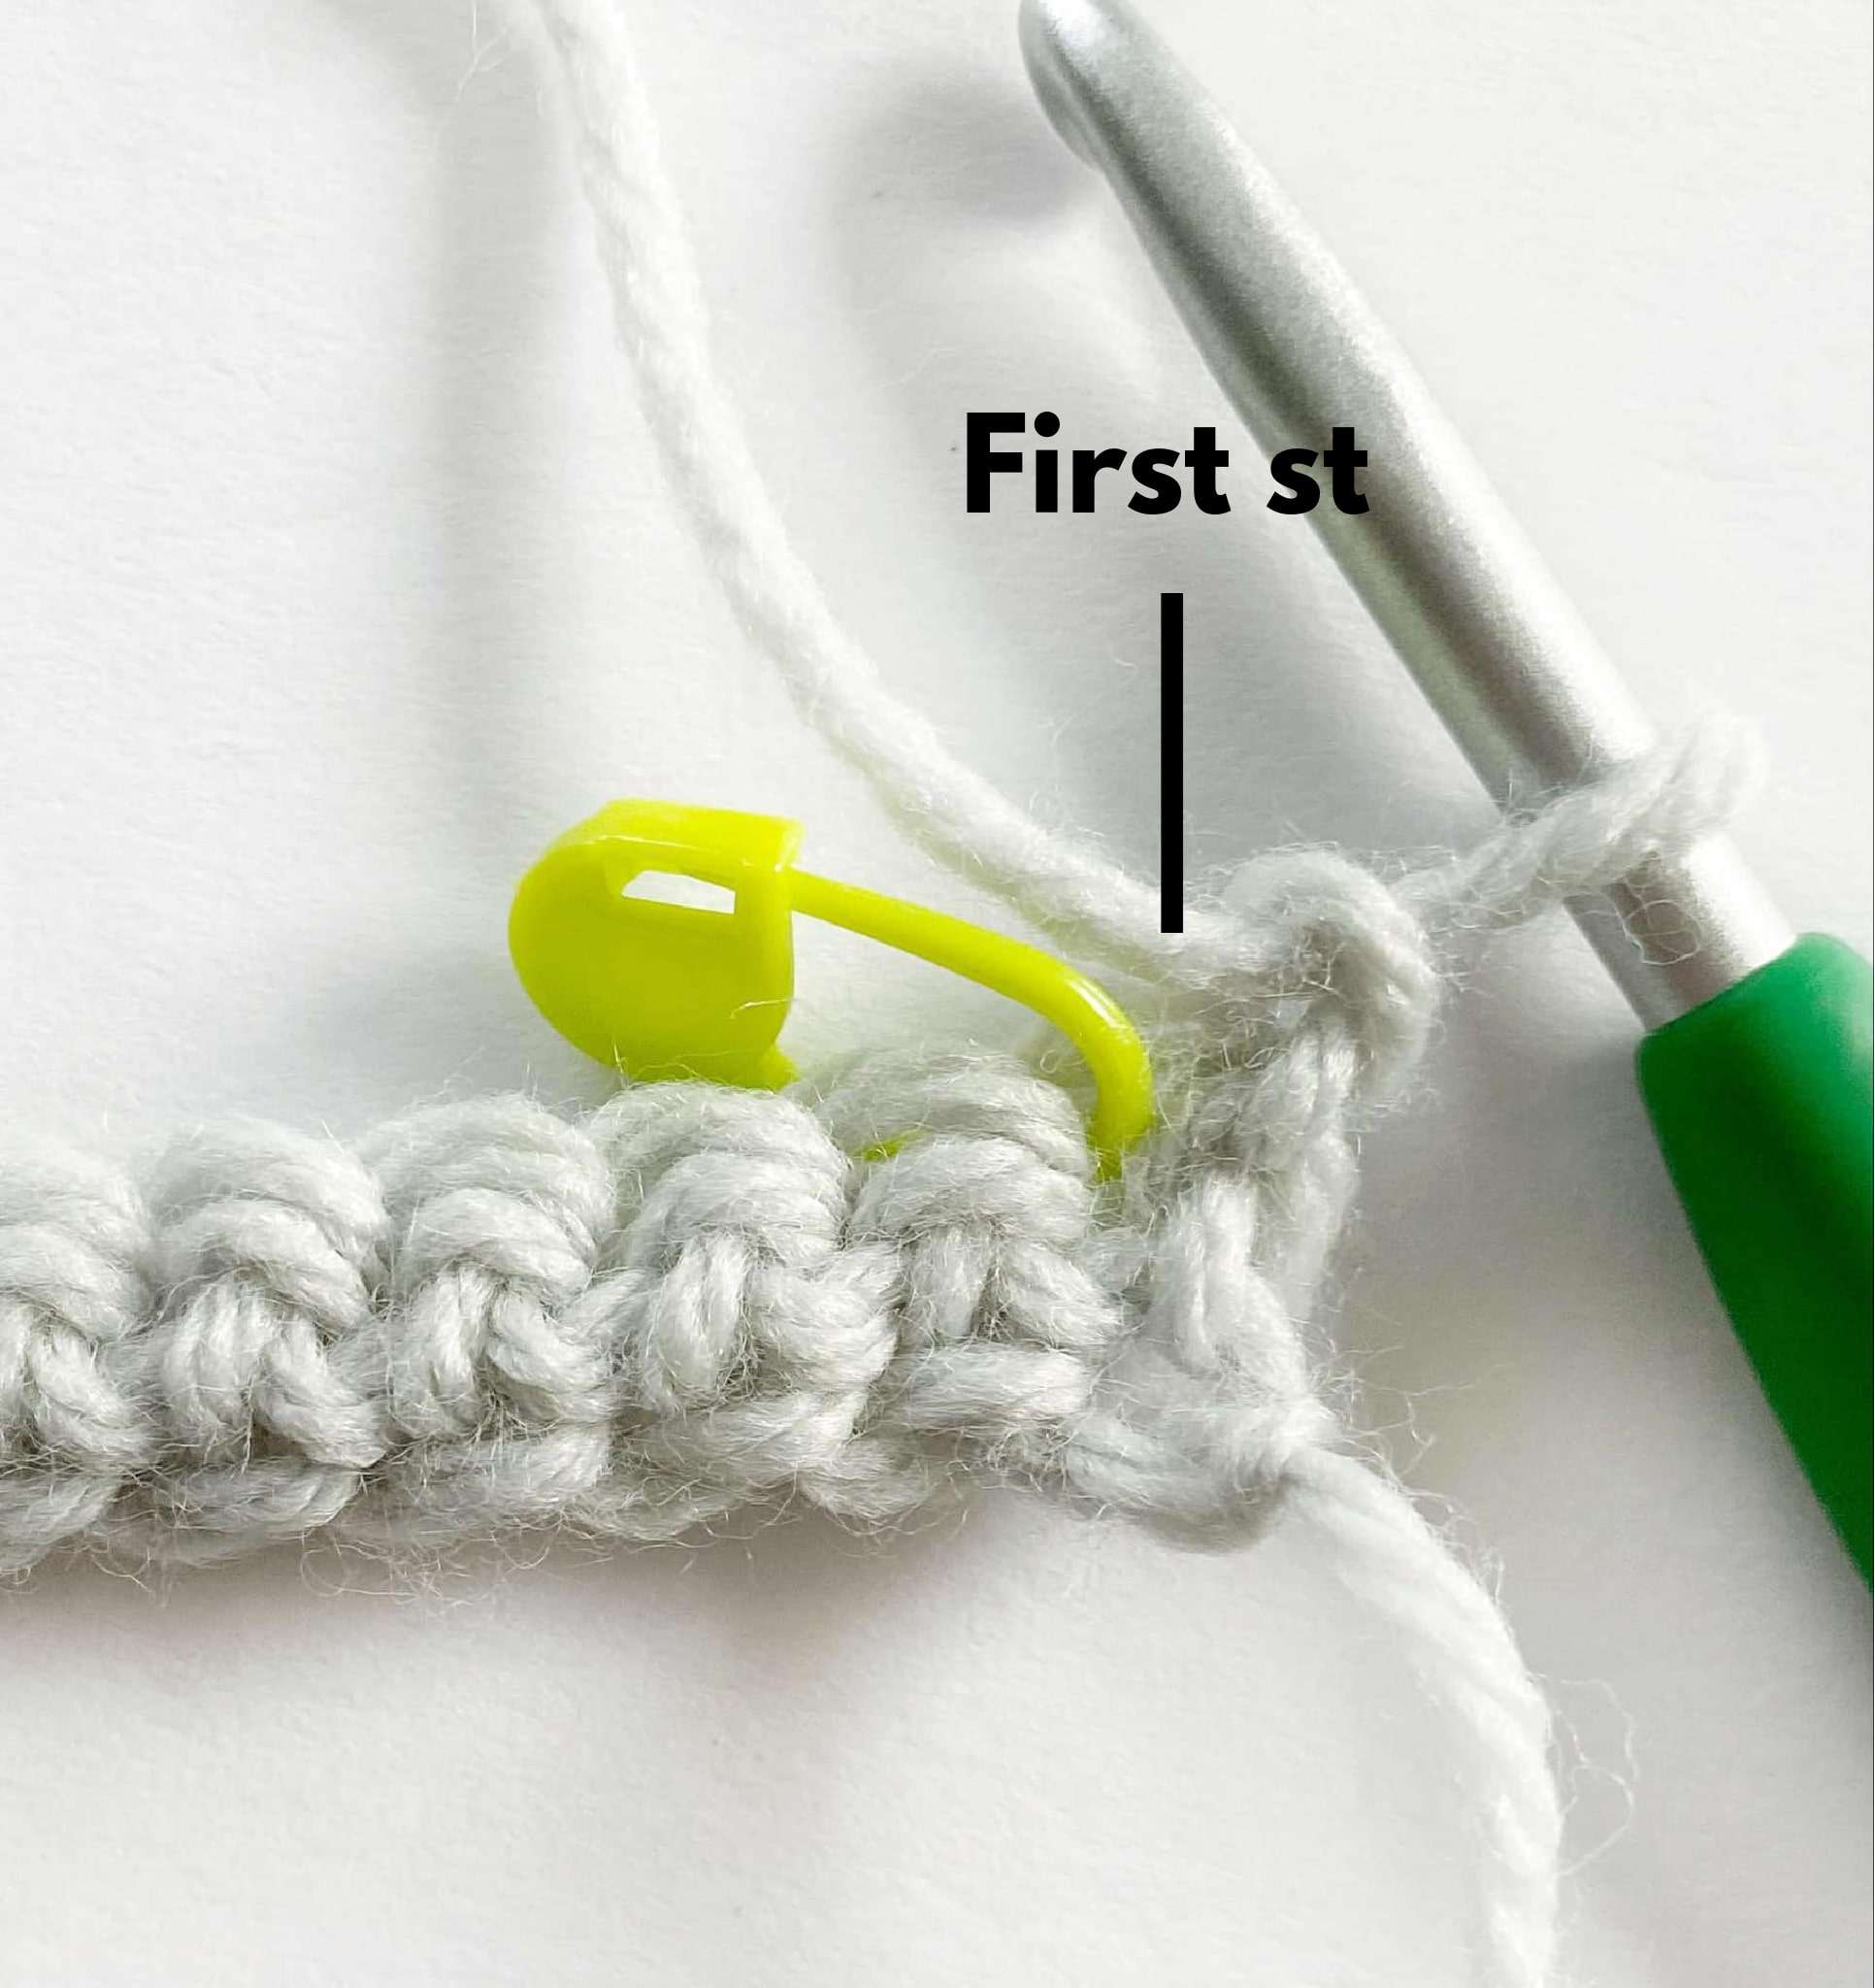
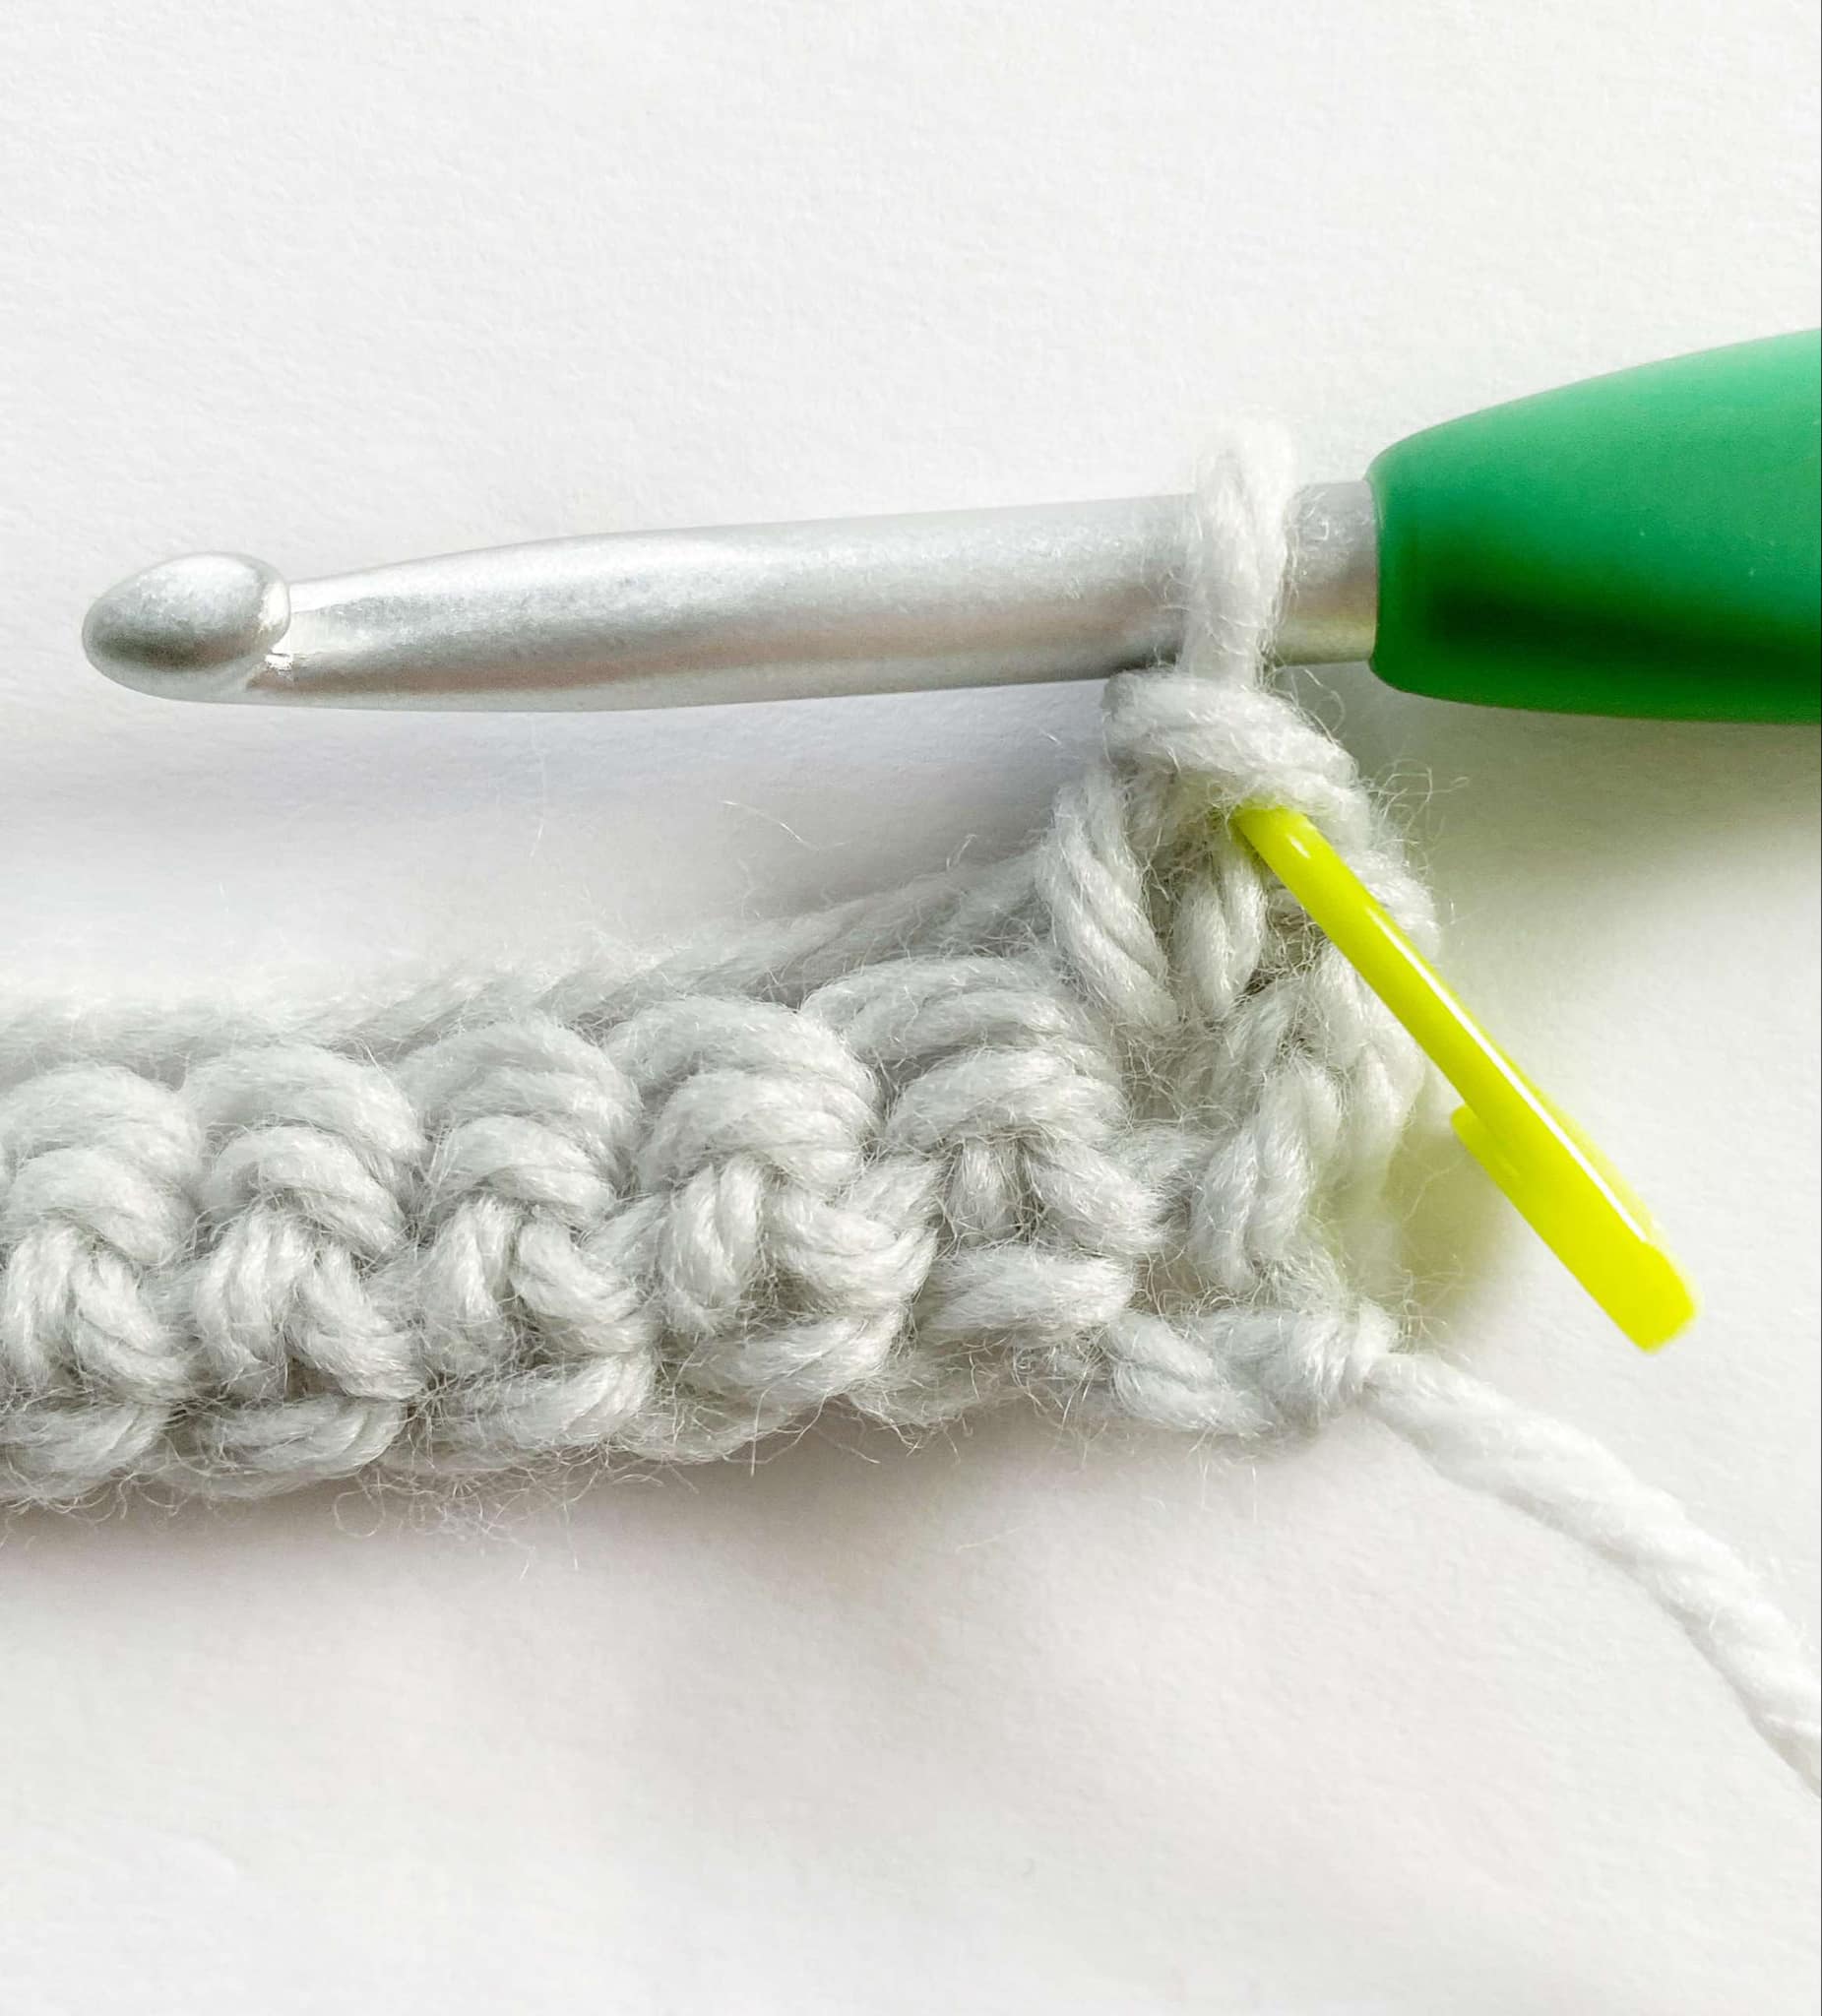
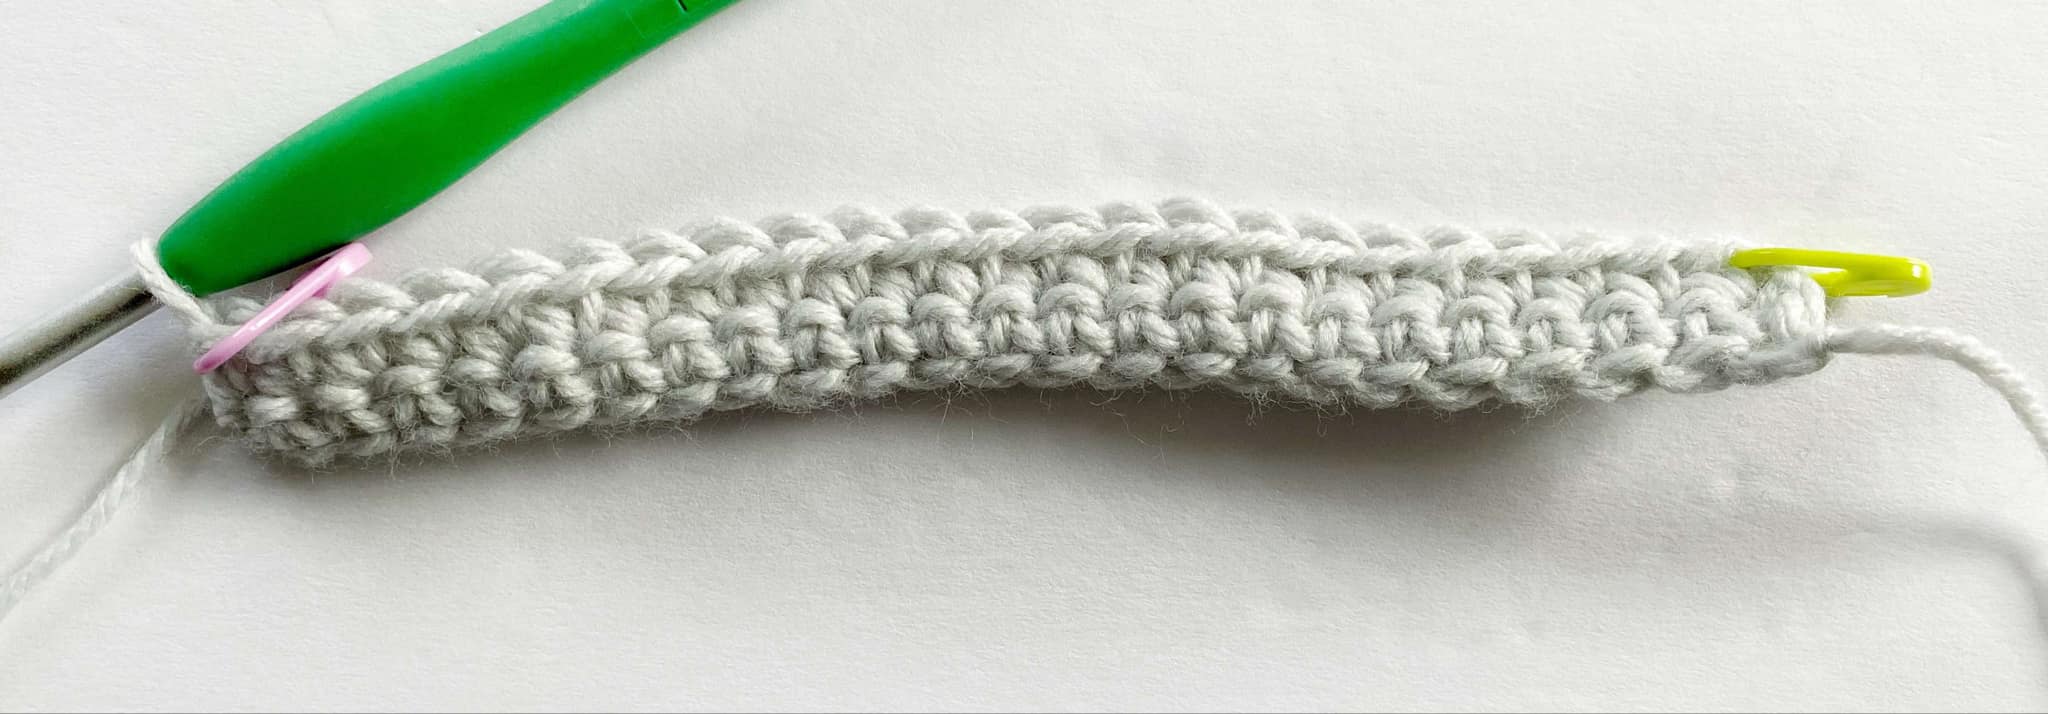
- Ch 1, sc in each st across. Mark the first and last sc with a stitch marker.
- Turn.
- Stitch Count: 19 sc
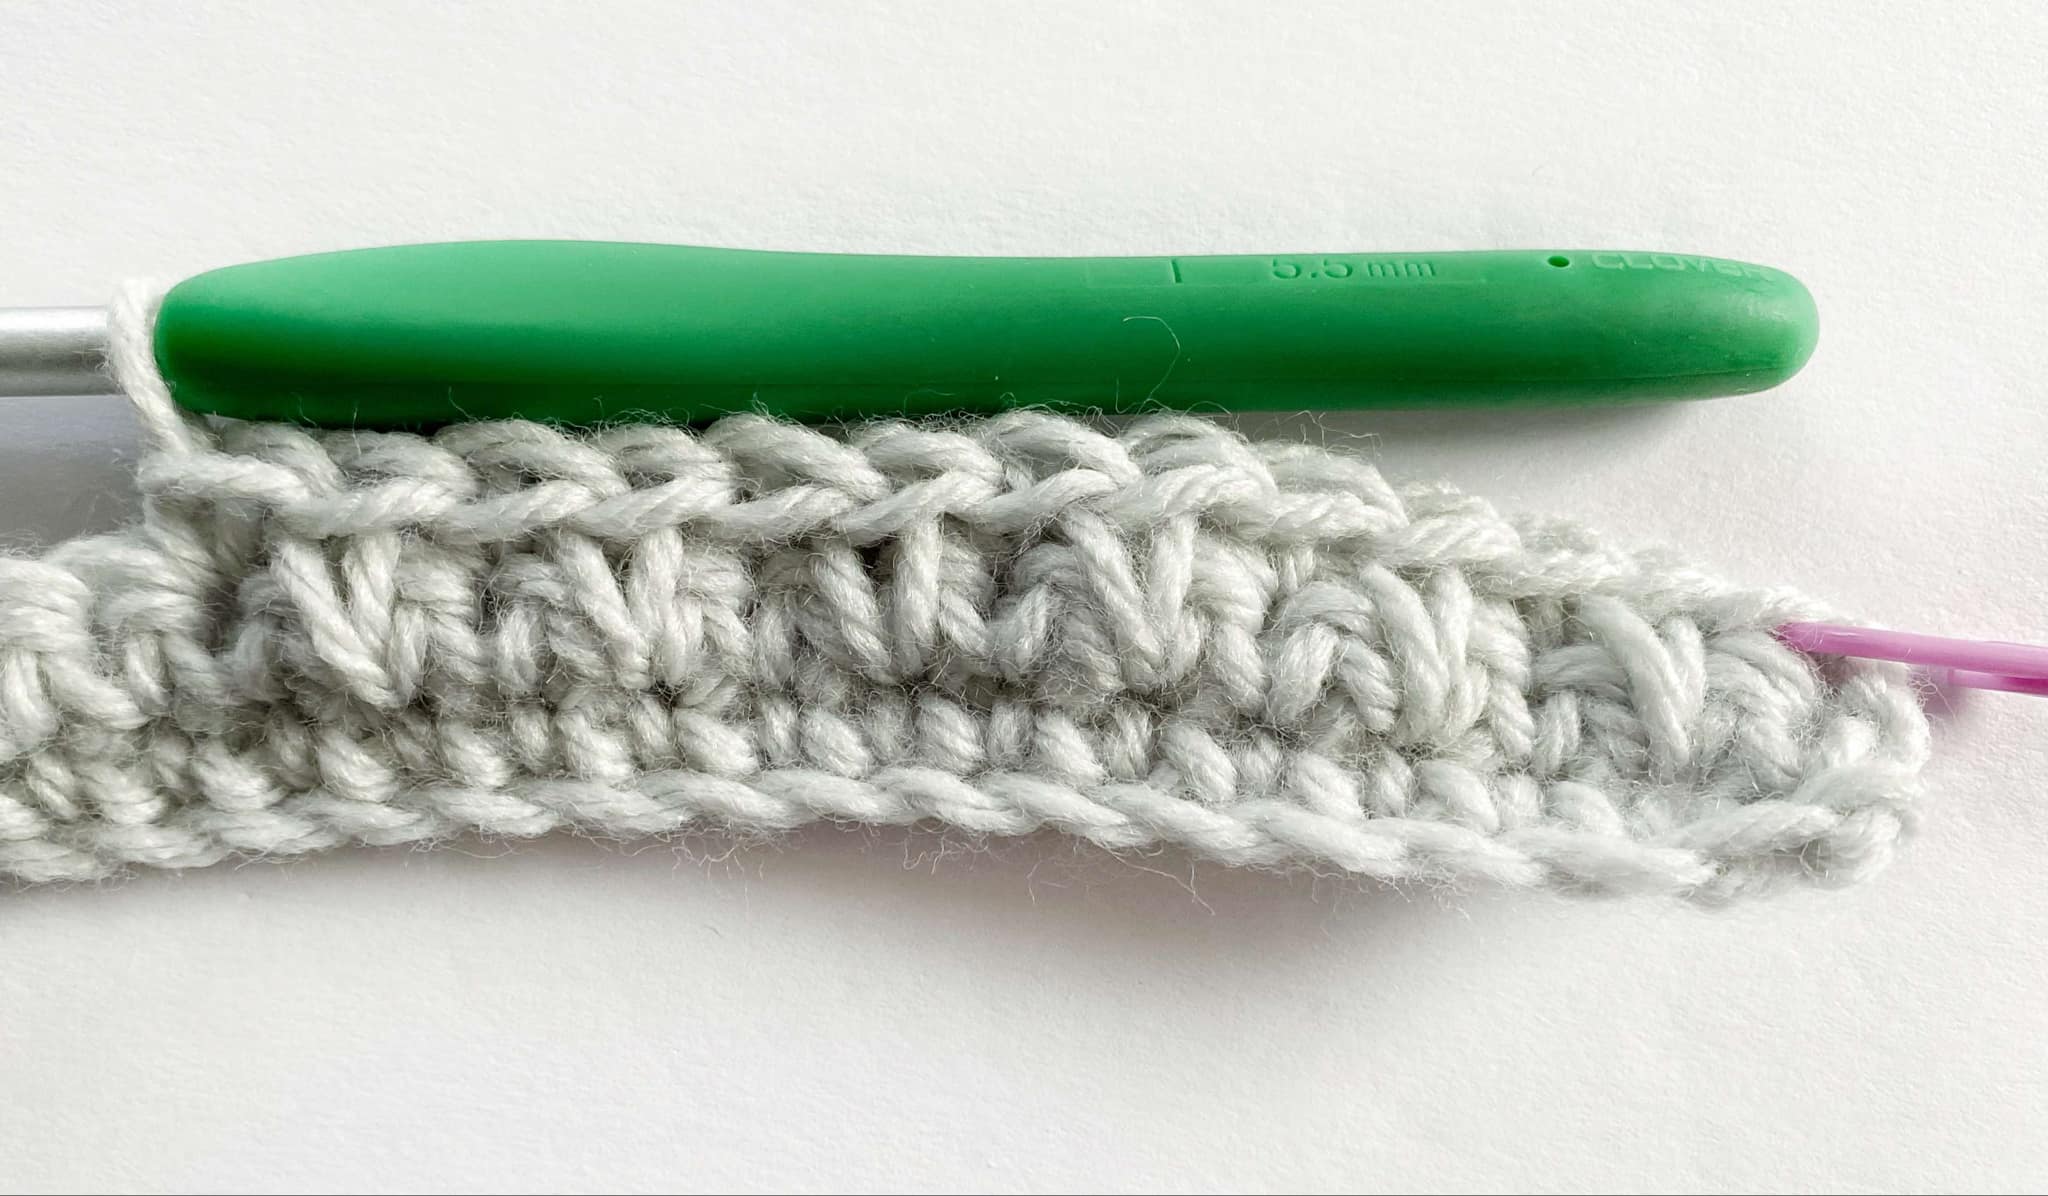
Row 3:
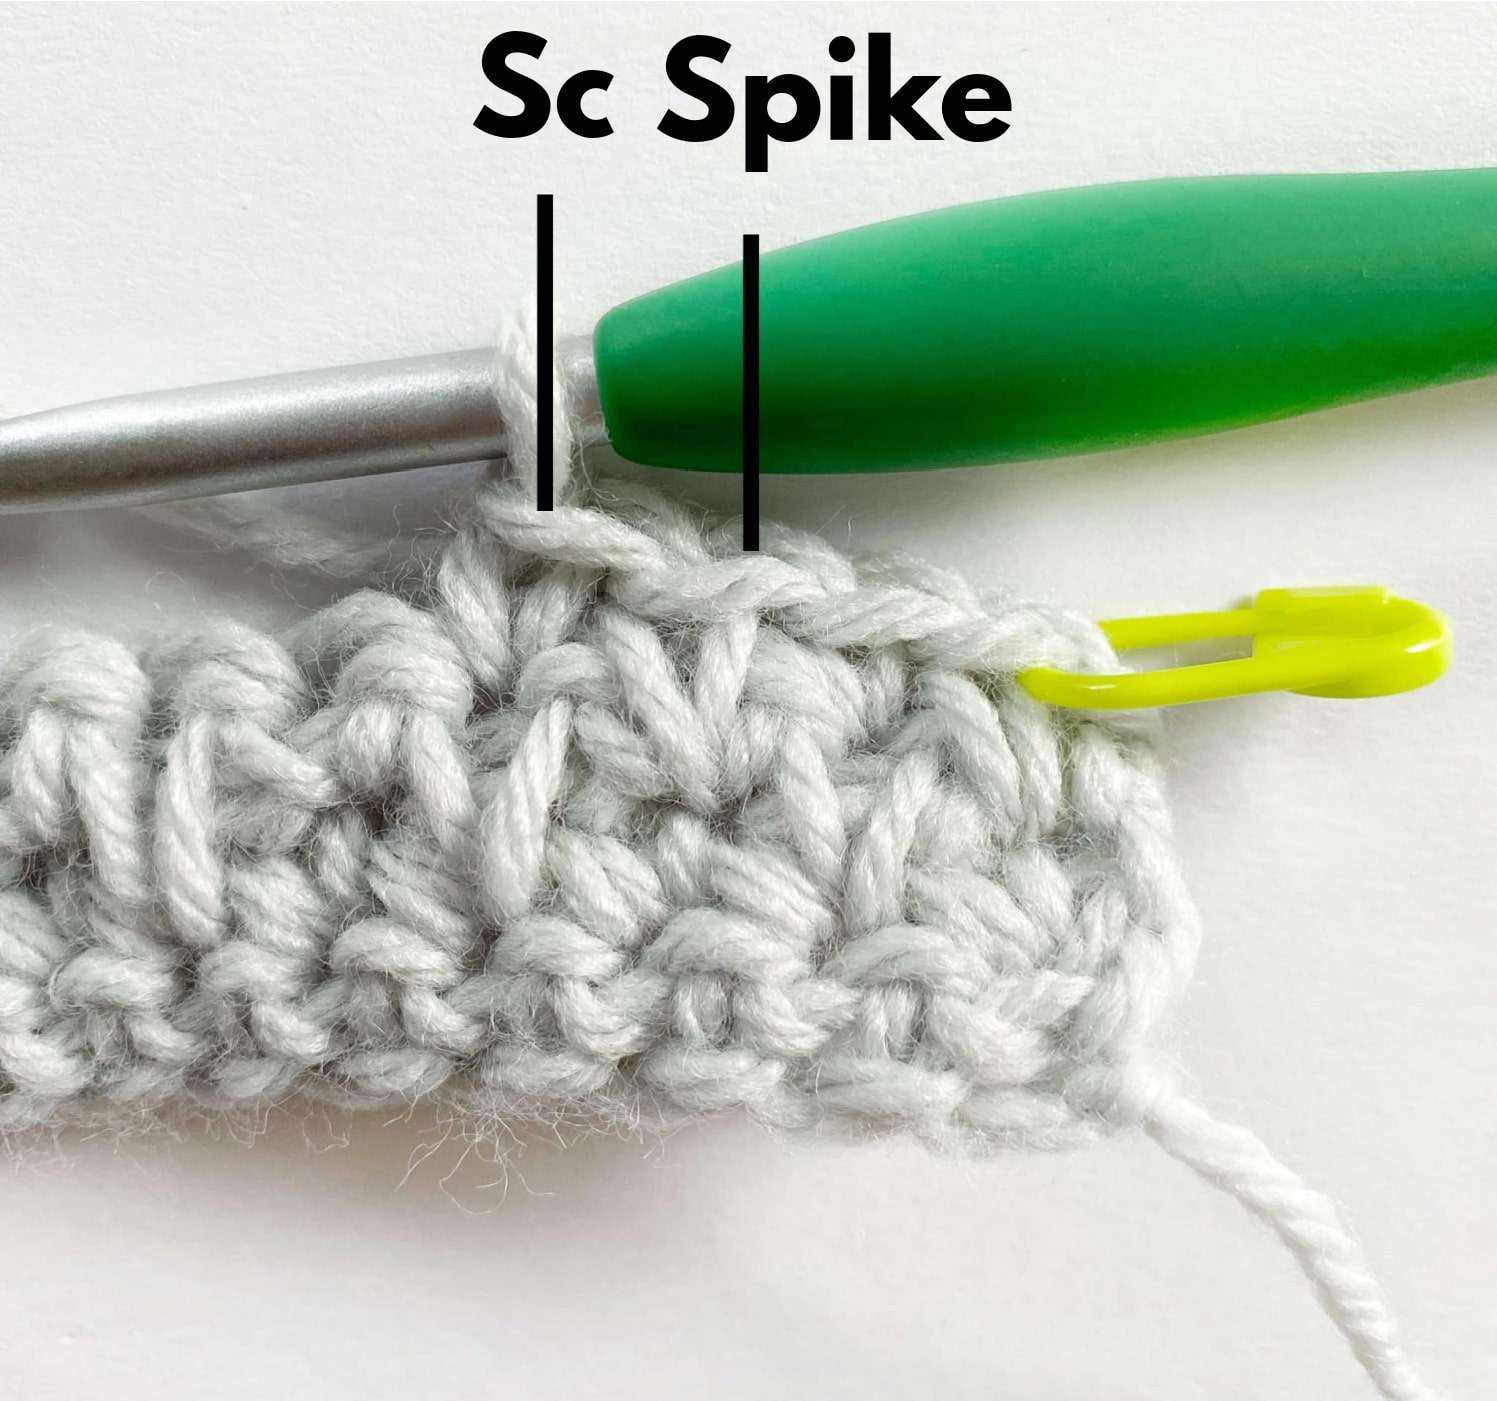
- Ch 1, sc in first st – mark this sc with a stitch marker.
- Spike in next st.
- [Sc in next st, Spike in next st] until 1 st remains.
- Sc in last st – mark last sc with a stitch marker.
- Turn.
- Stitch Count: 10 sc, 9 spike
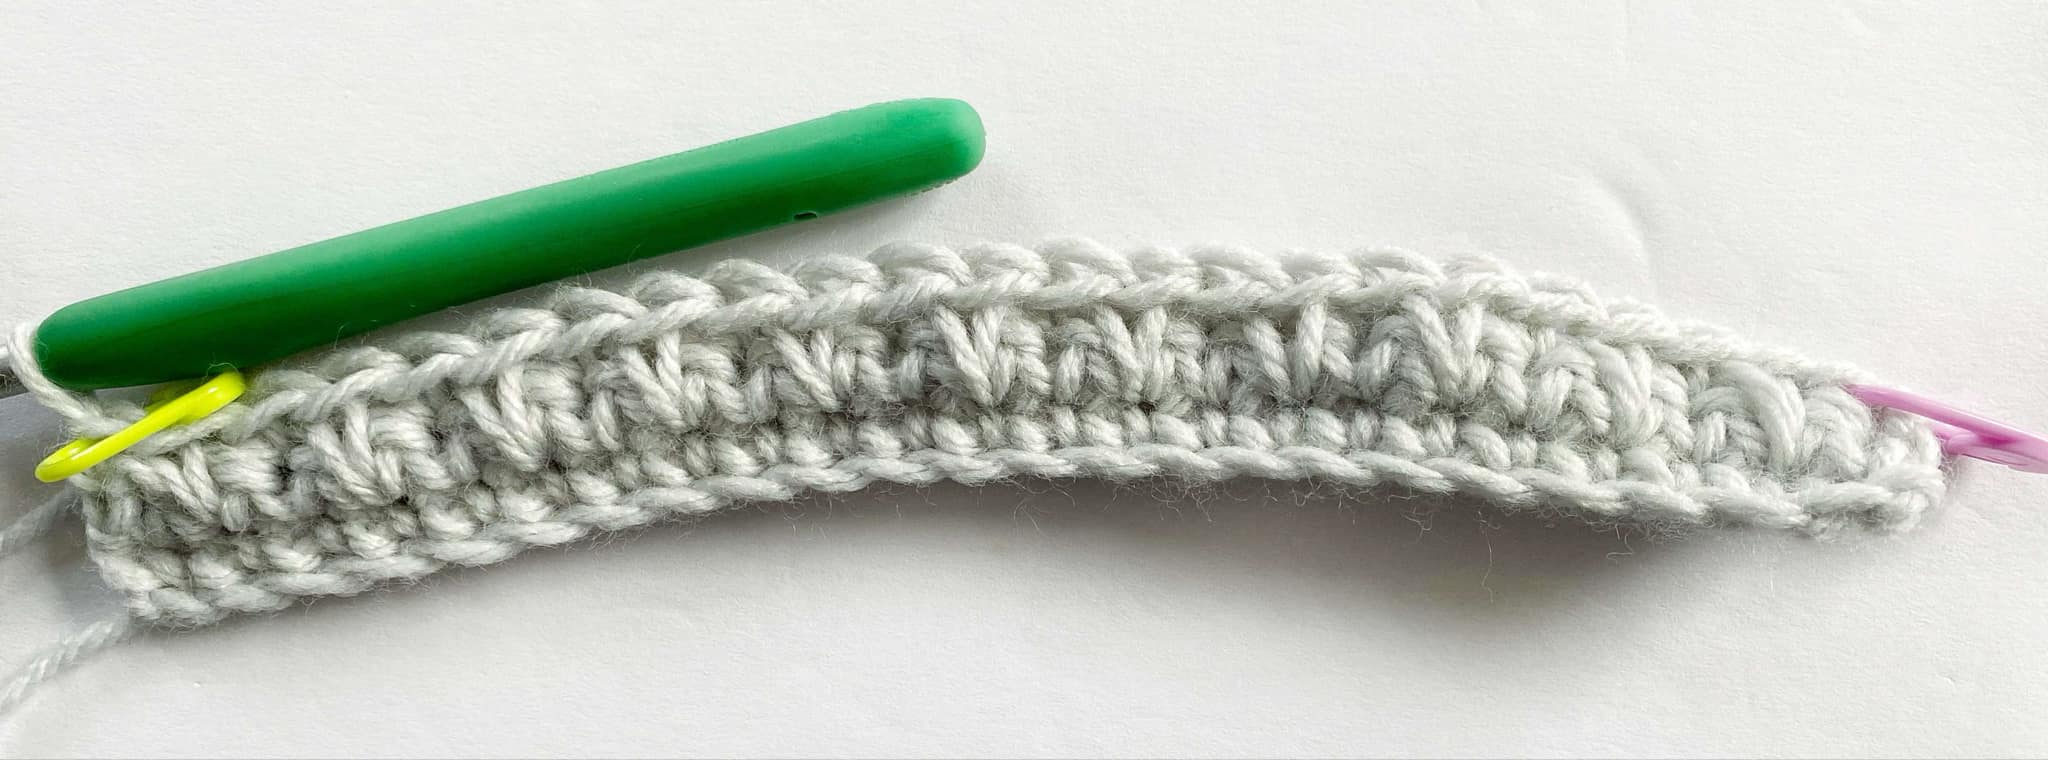
Row 4:
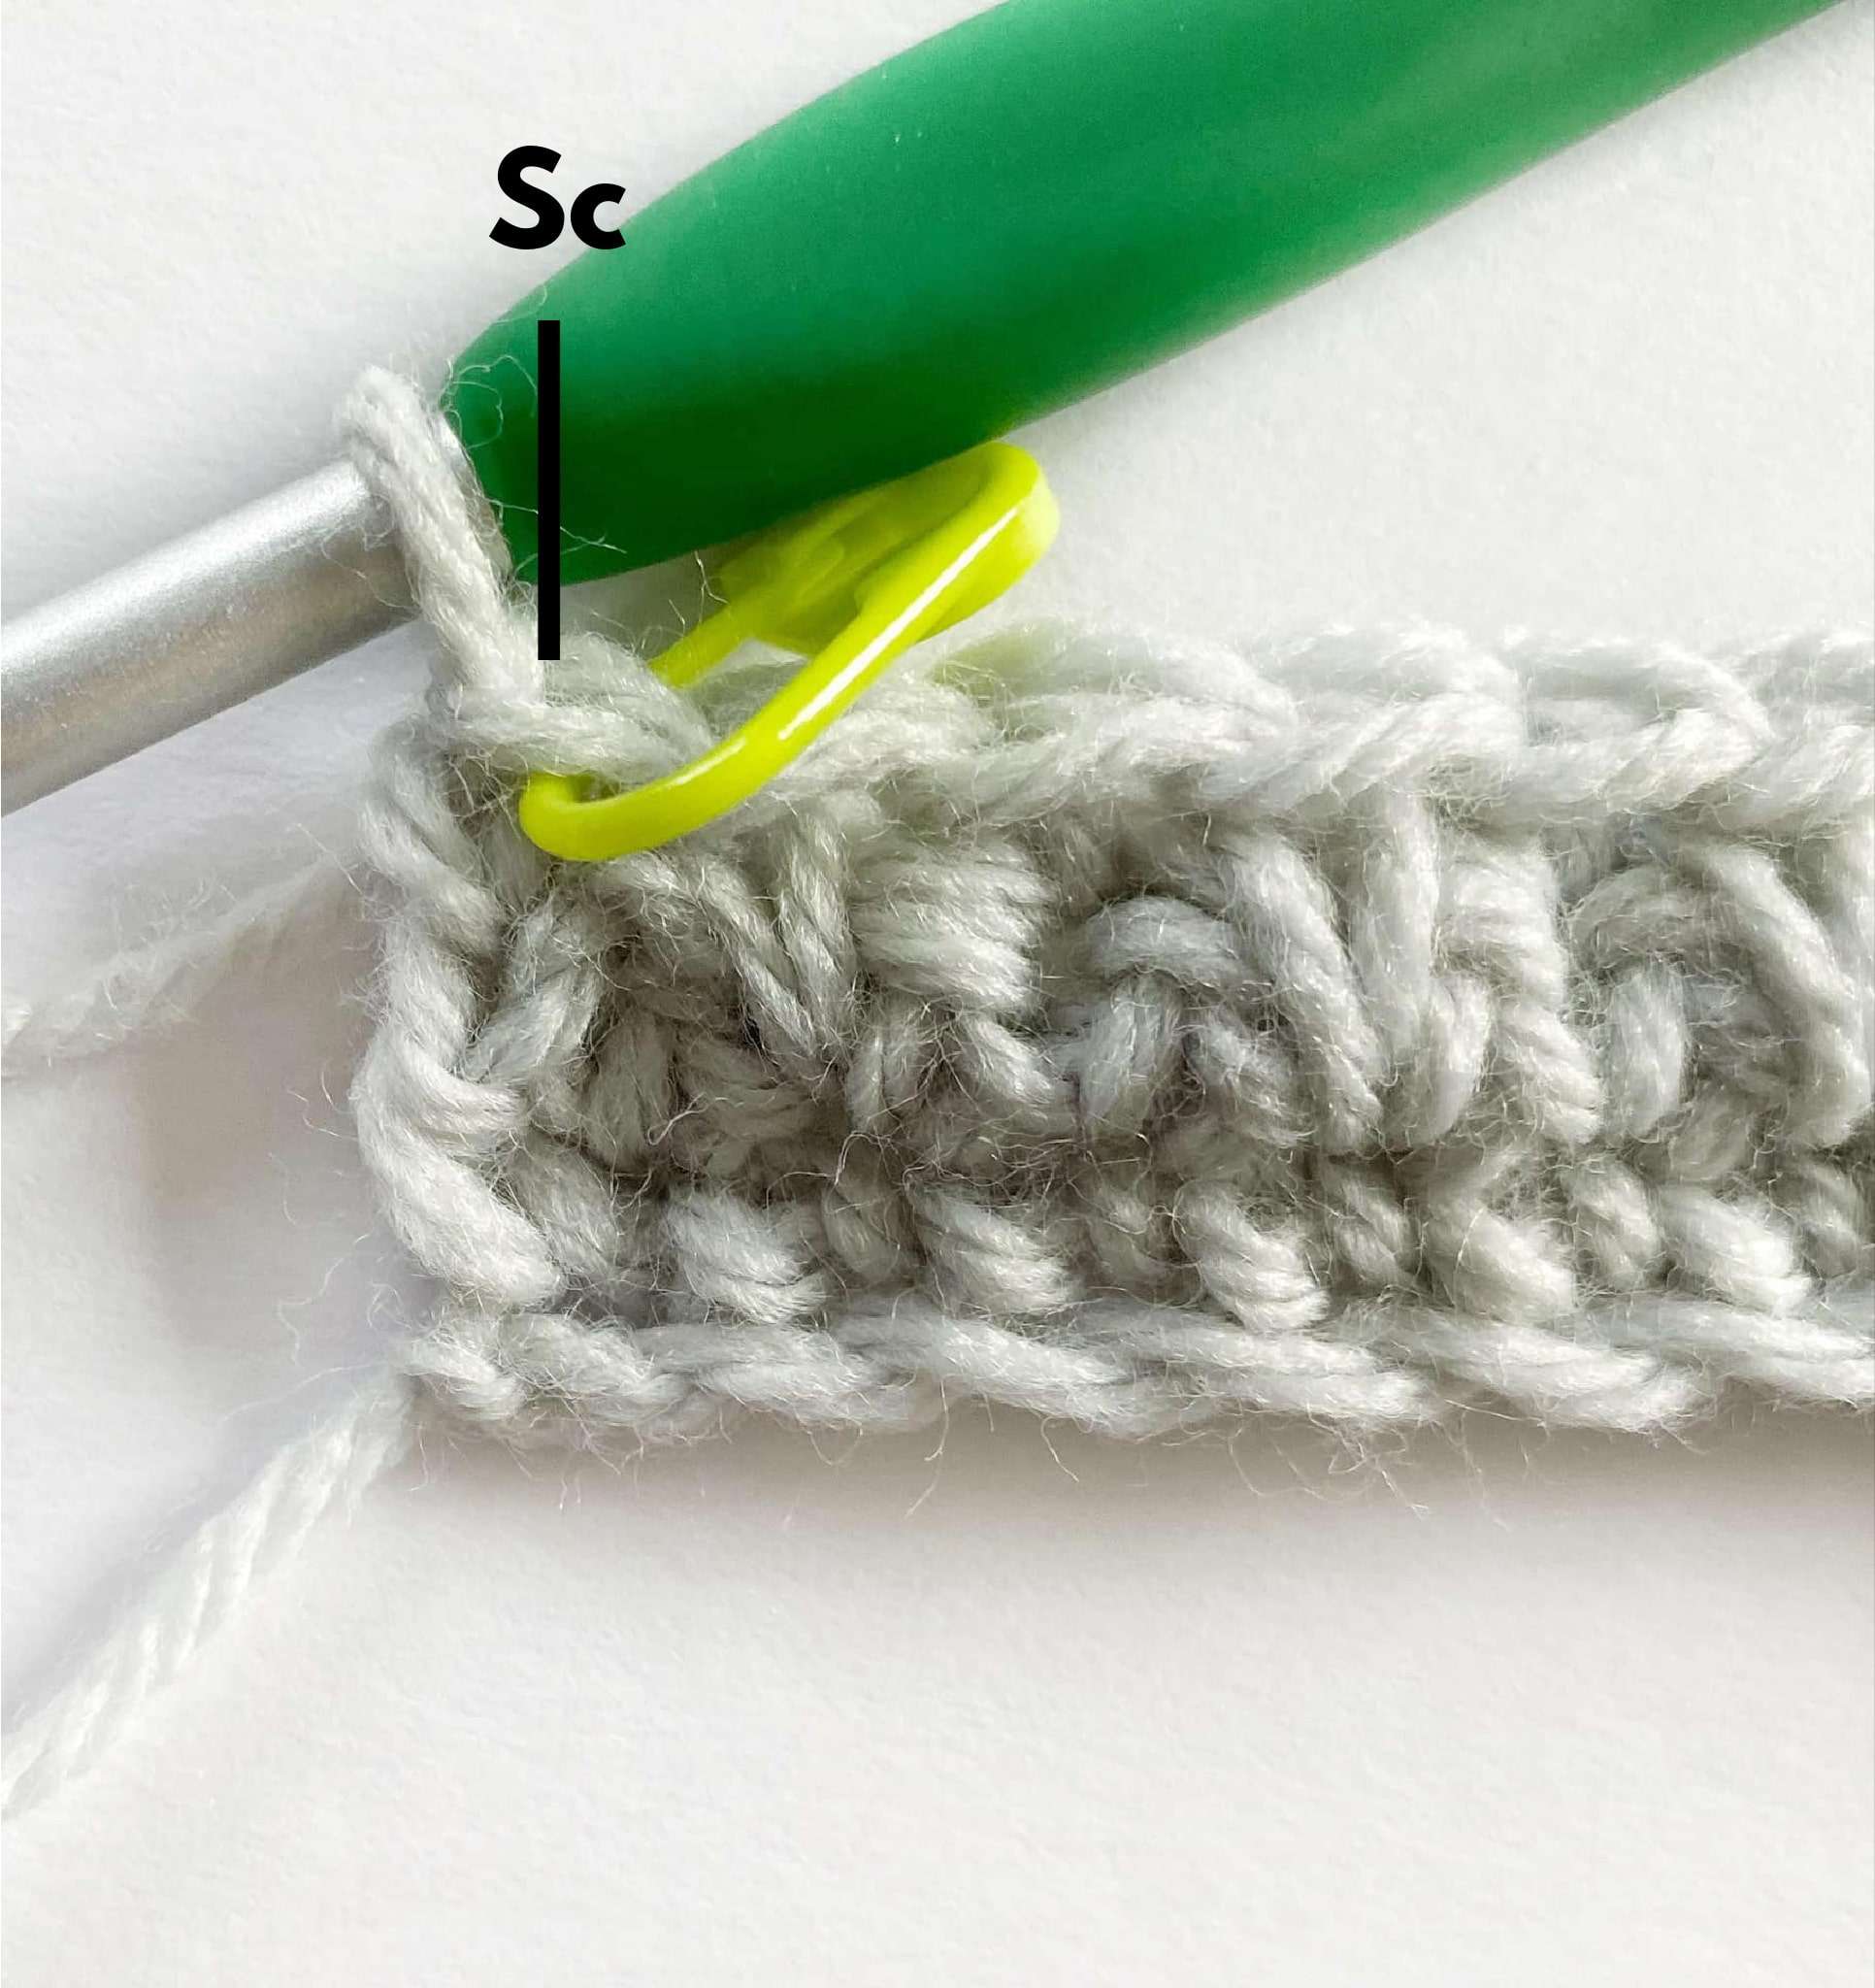
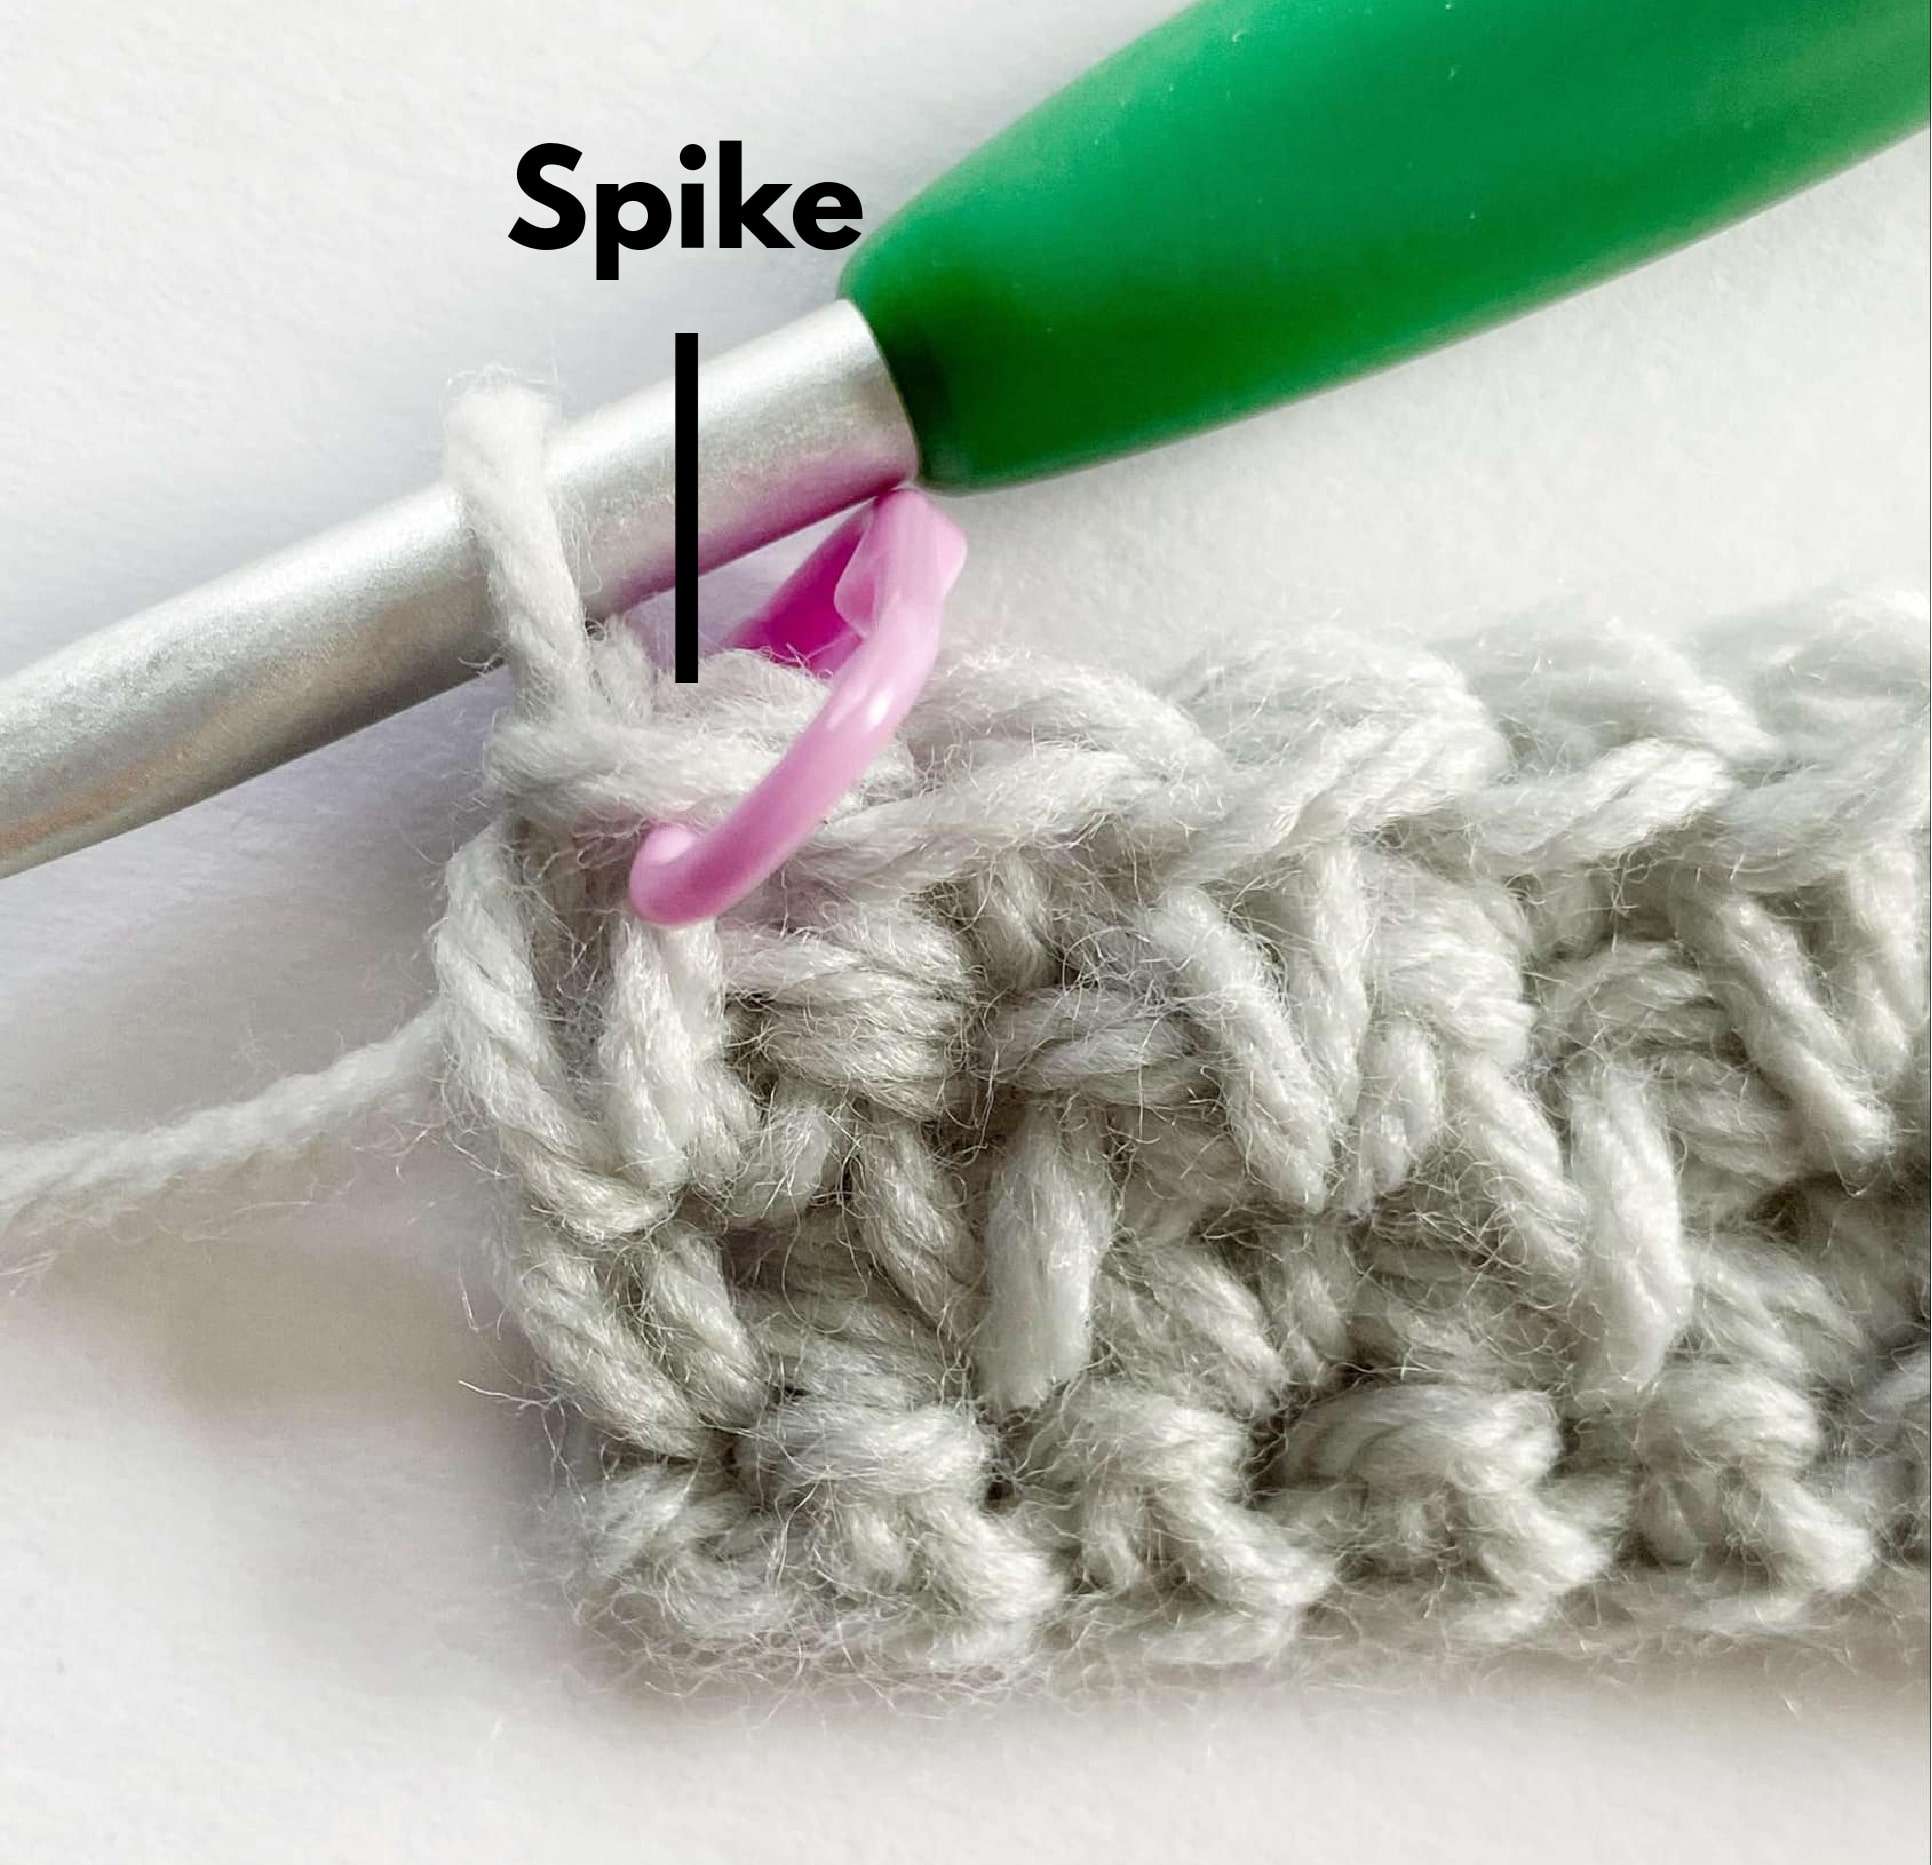
- Ch 1, Spike in first st – mark this Spike with a stitch marker.
- Sc in next st.
- [Spike in next st, sc in next st] until 1 st remains.
- Spike in last st – mark last Spike with a stitch marker.
- Turn.
- Stitch Count: 9 sc, 10 spike
Rows 5 – 26:
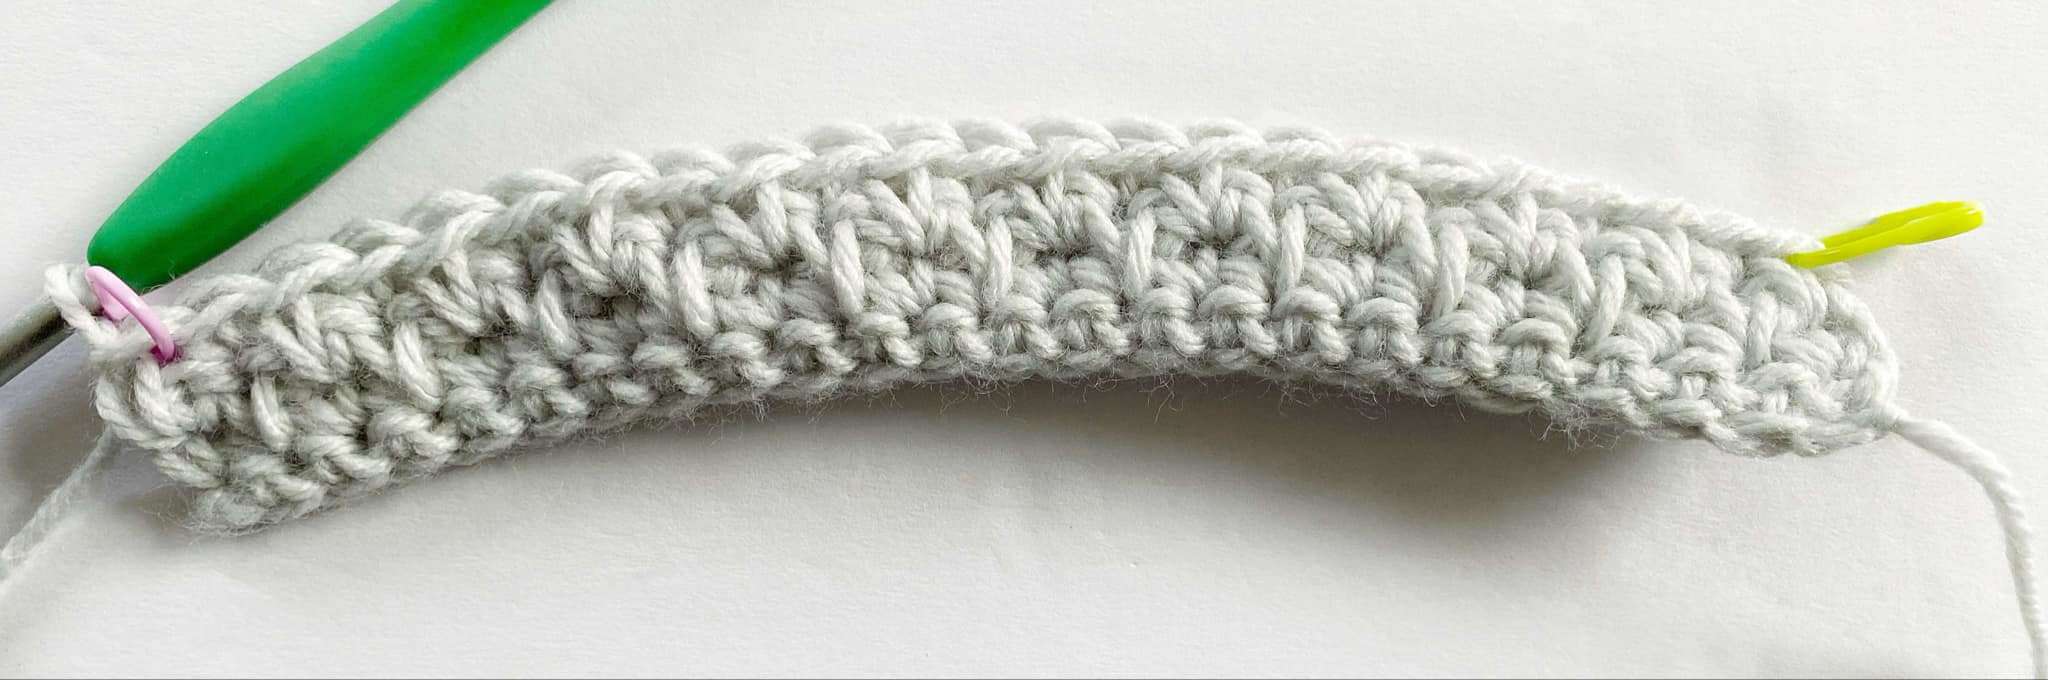
Repeat Rows 3 – 4. Row 26 is a Row 4 repeat. Proceed to the border without fastening off.
Border:
- Turn your work so the back side of Row 26 is facing you.
Top Edge: Ch 1, sc in each st across until 1 st remains. 3 sc into the last st. Rotate the dishcloth to work along the left side.
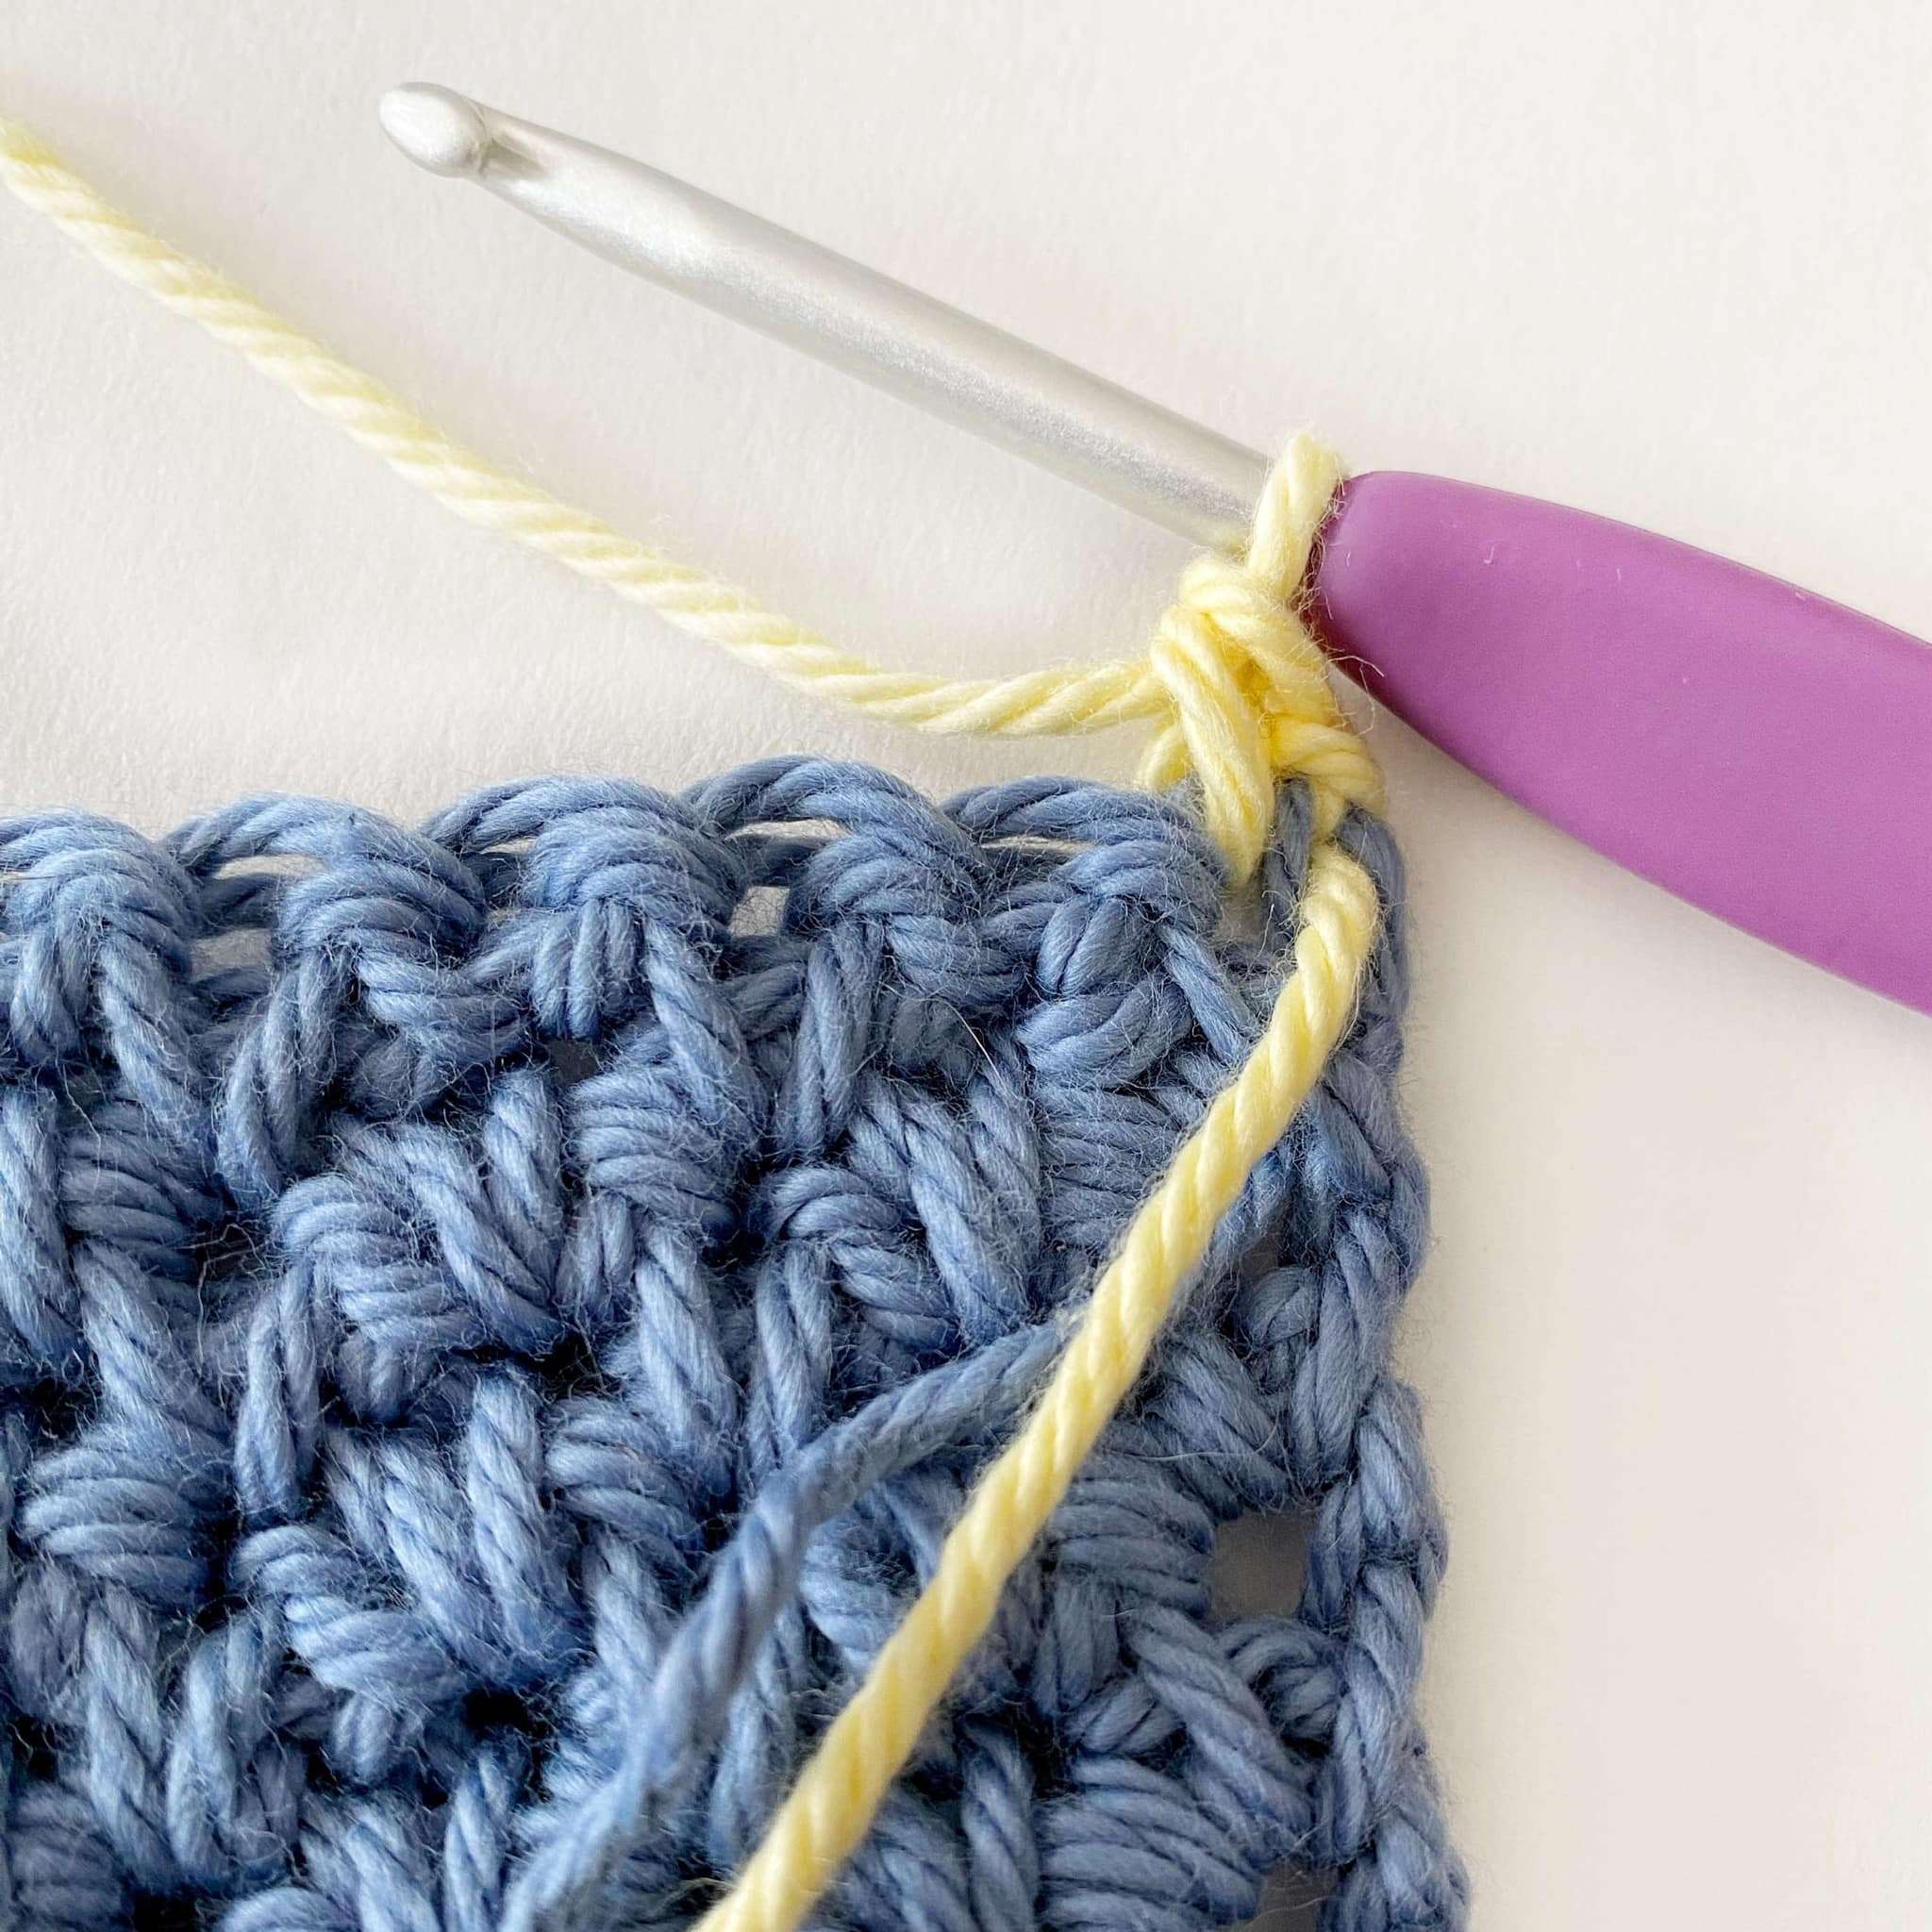
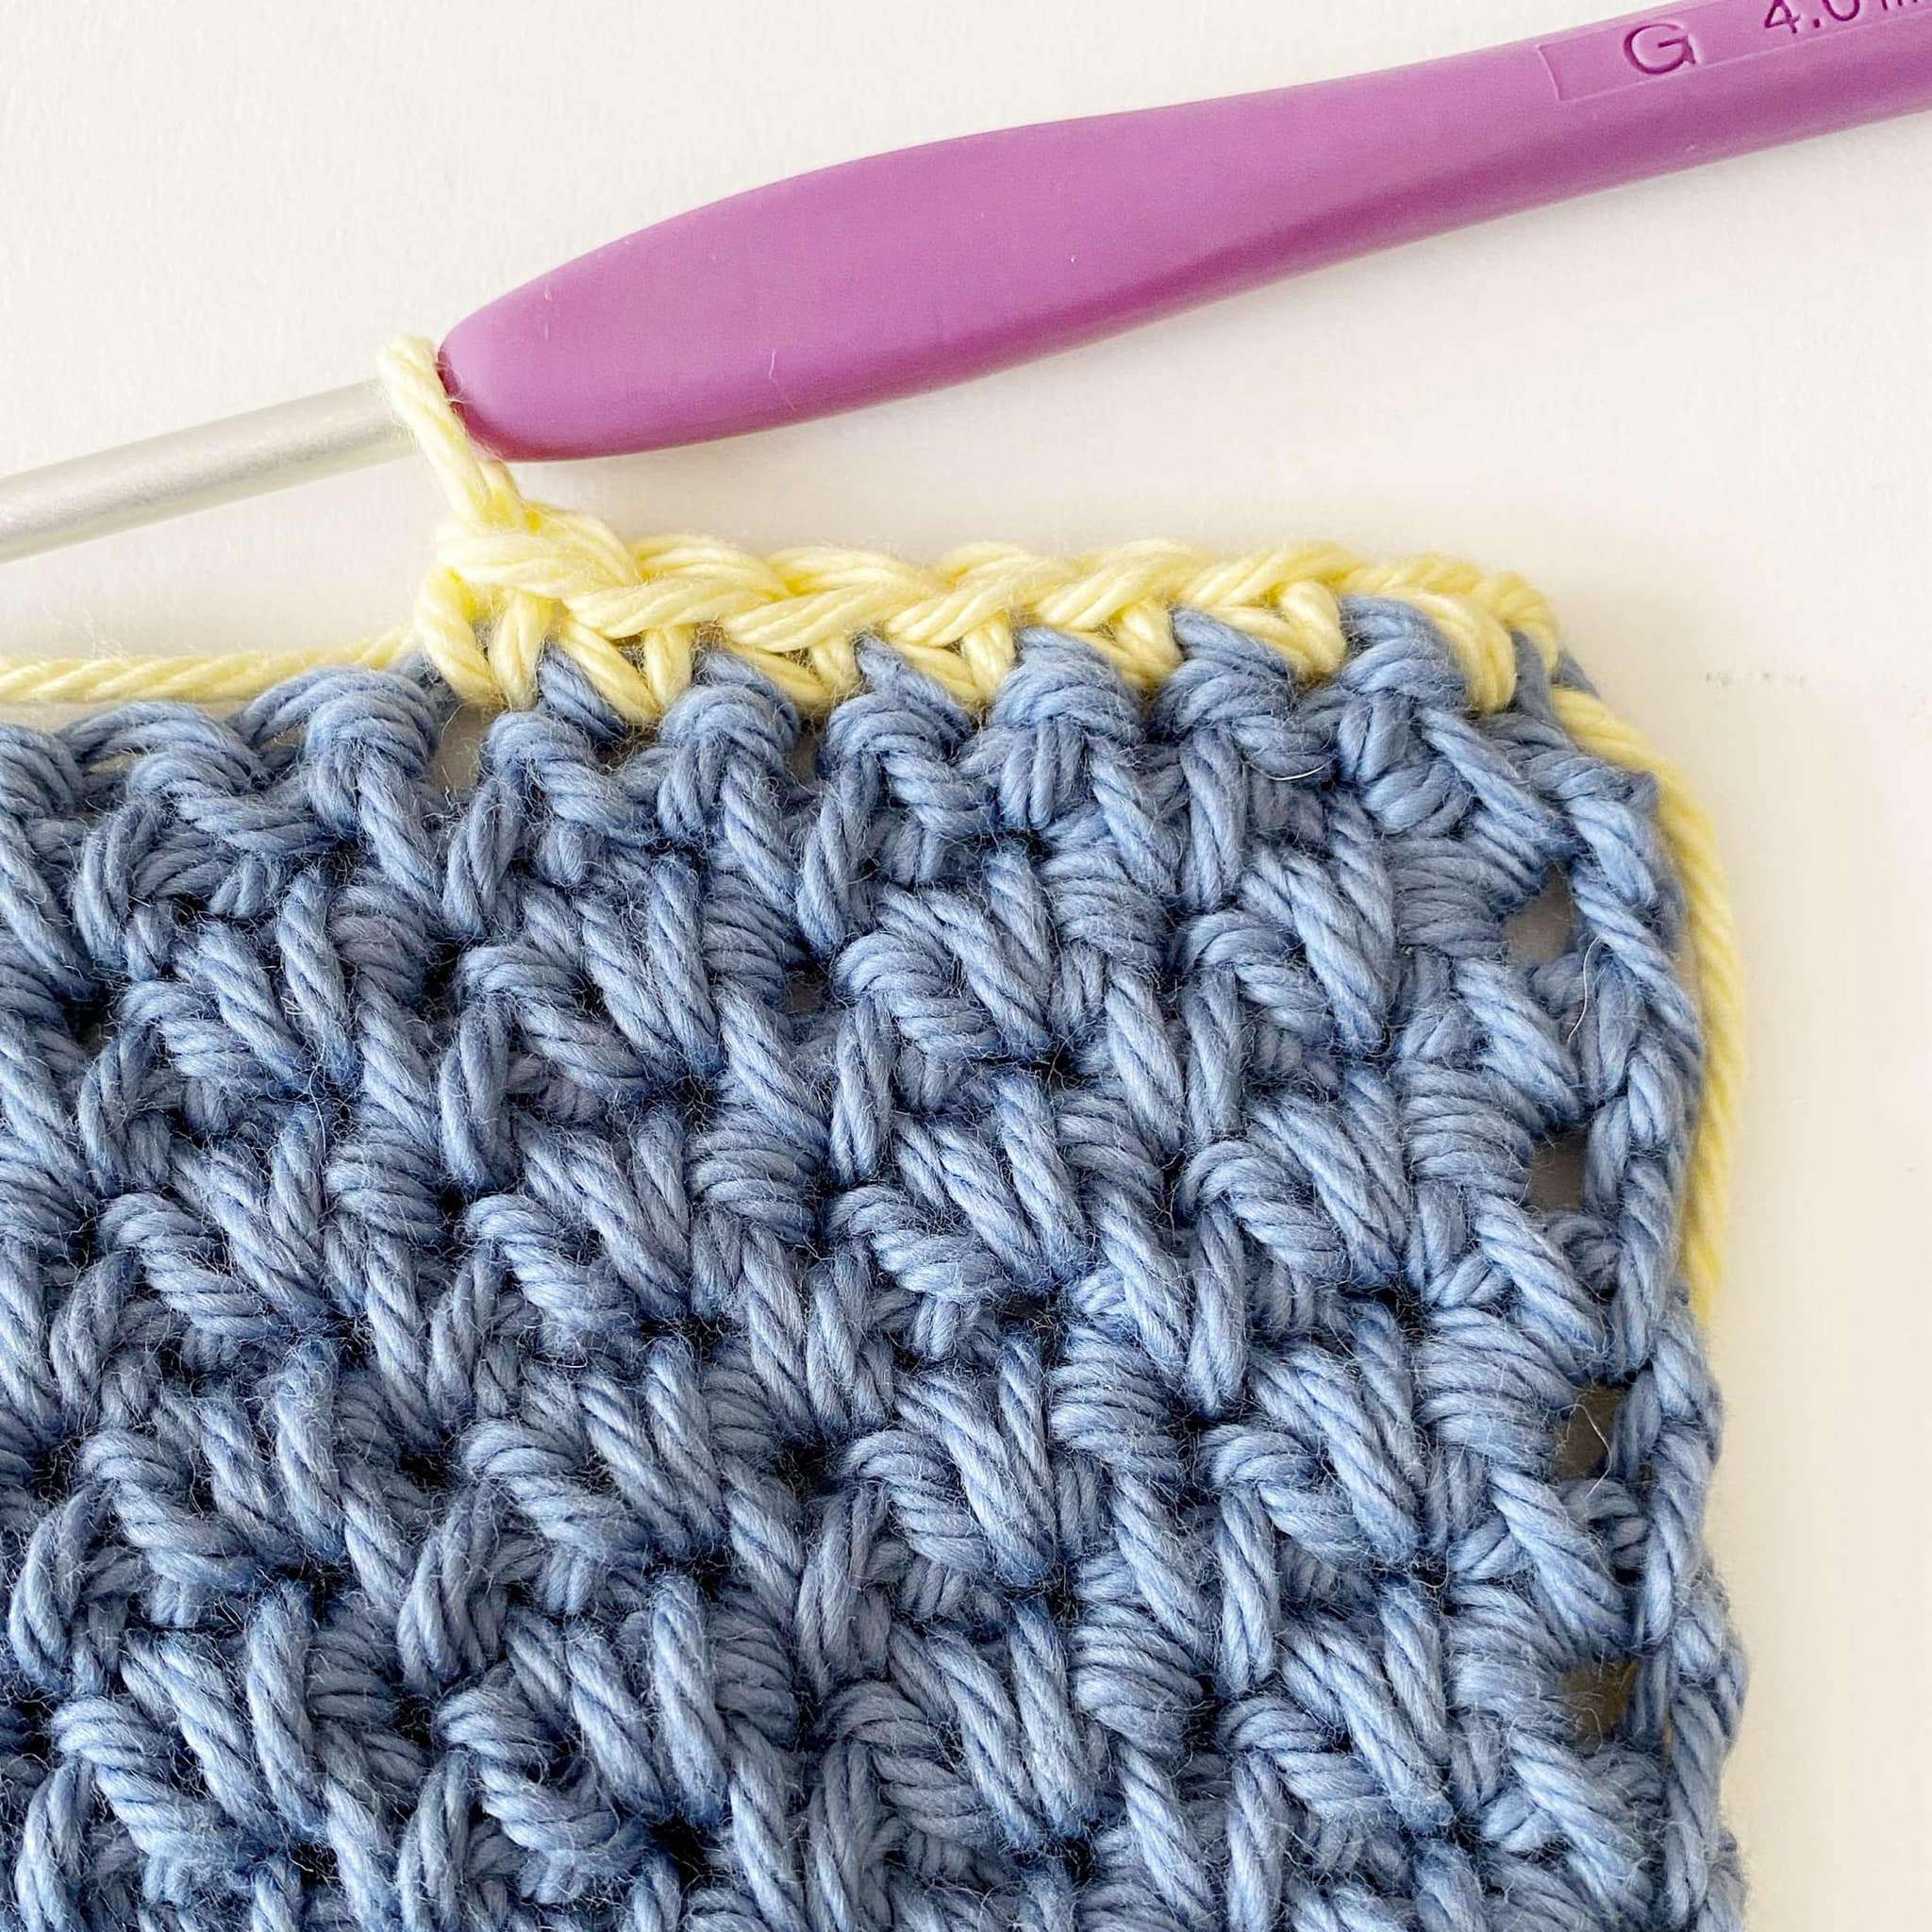
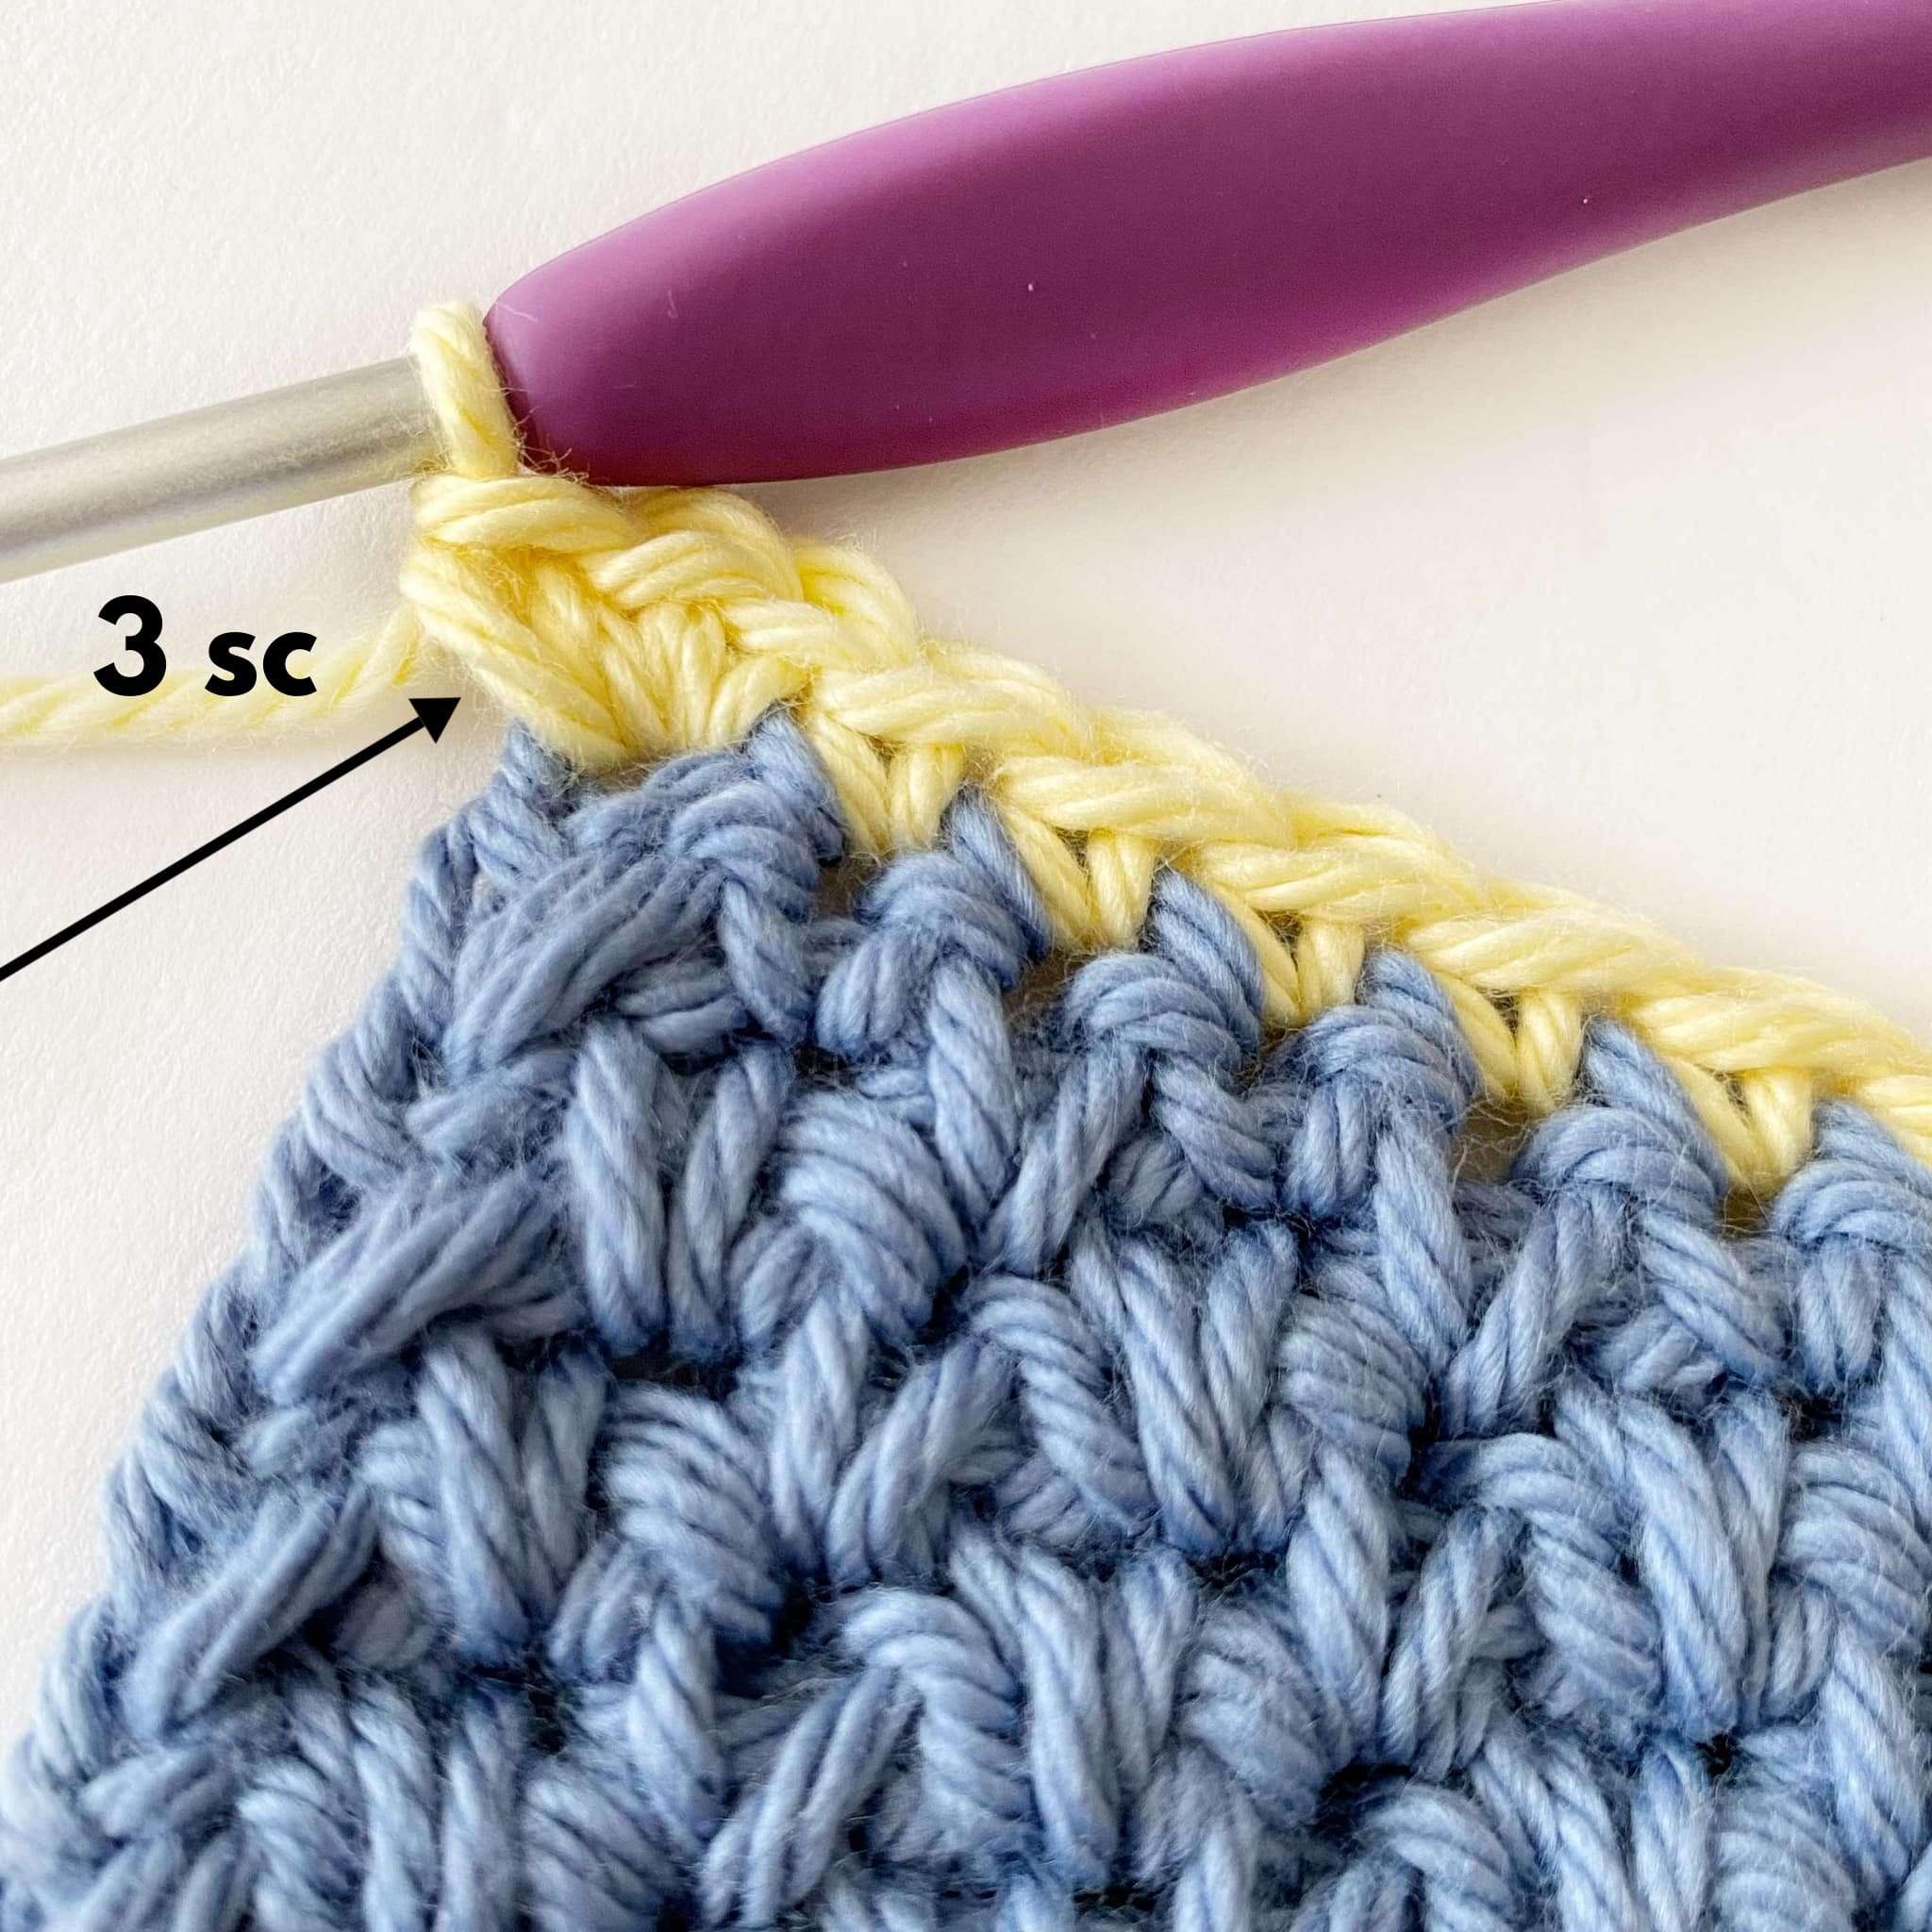
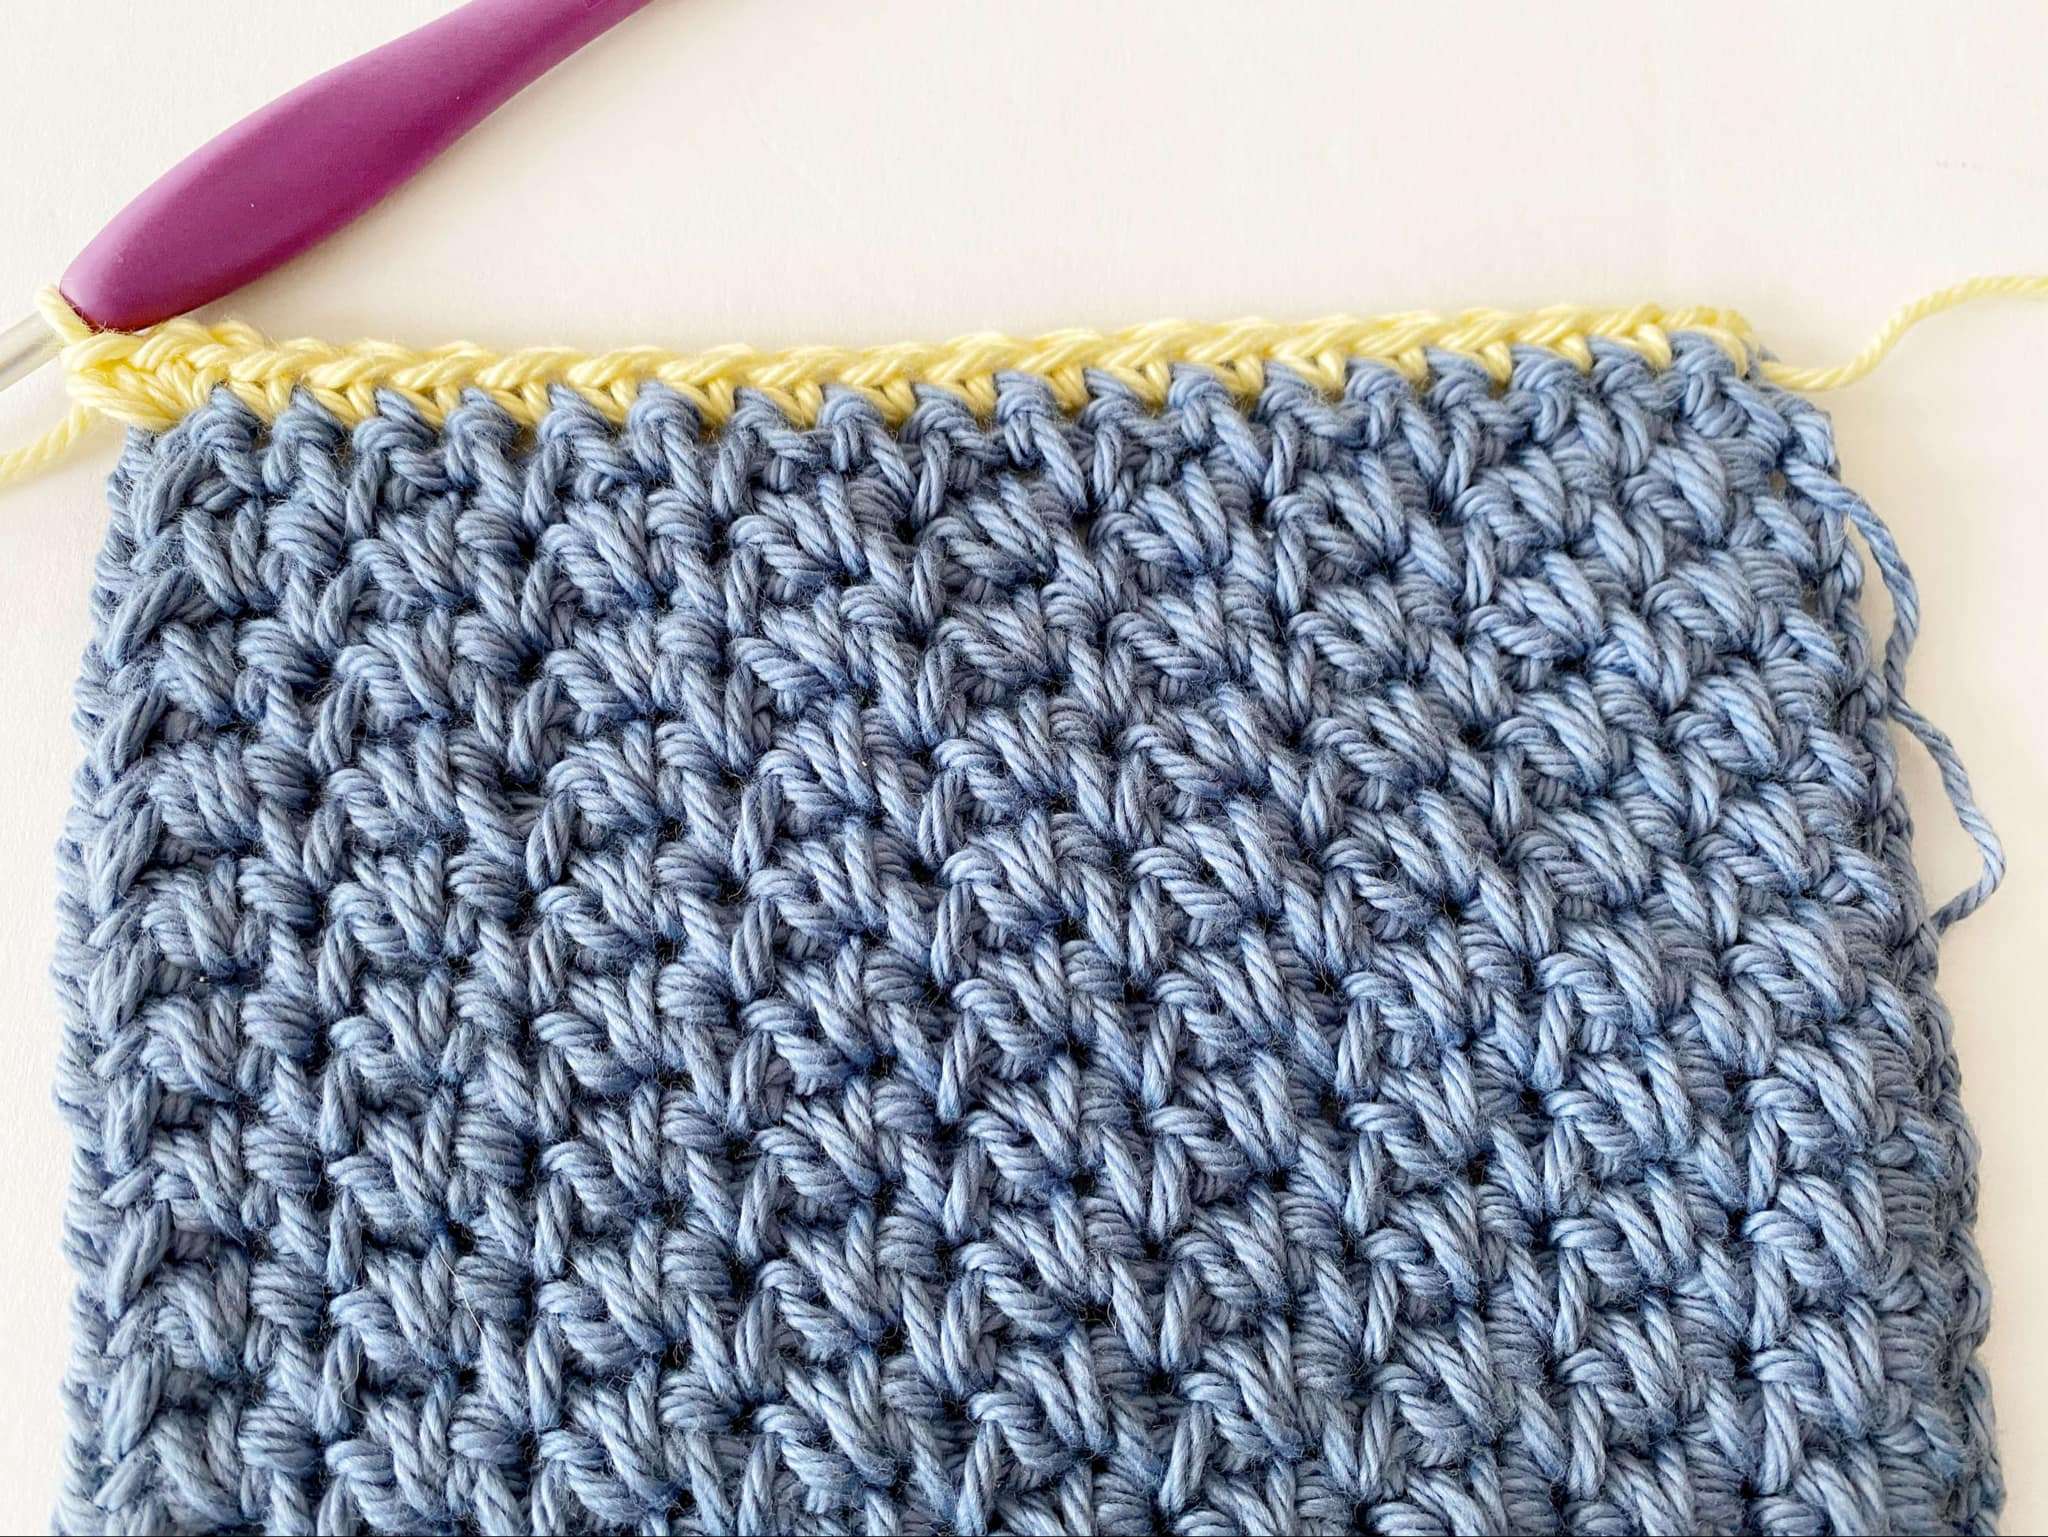
Left Side: Sc into the side of each row across until 1 row remains. 3 sc into the last row. Rotate the dishcloth to work along the bottom edge.
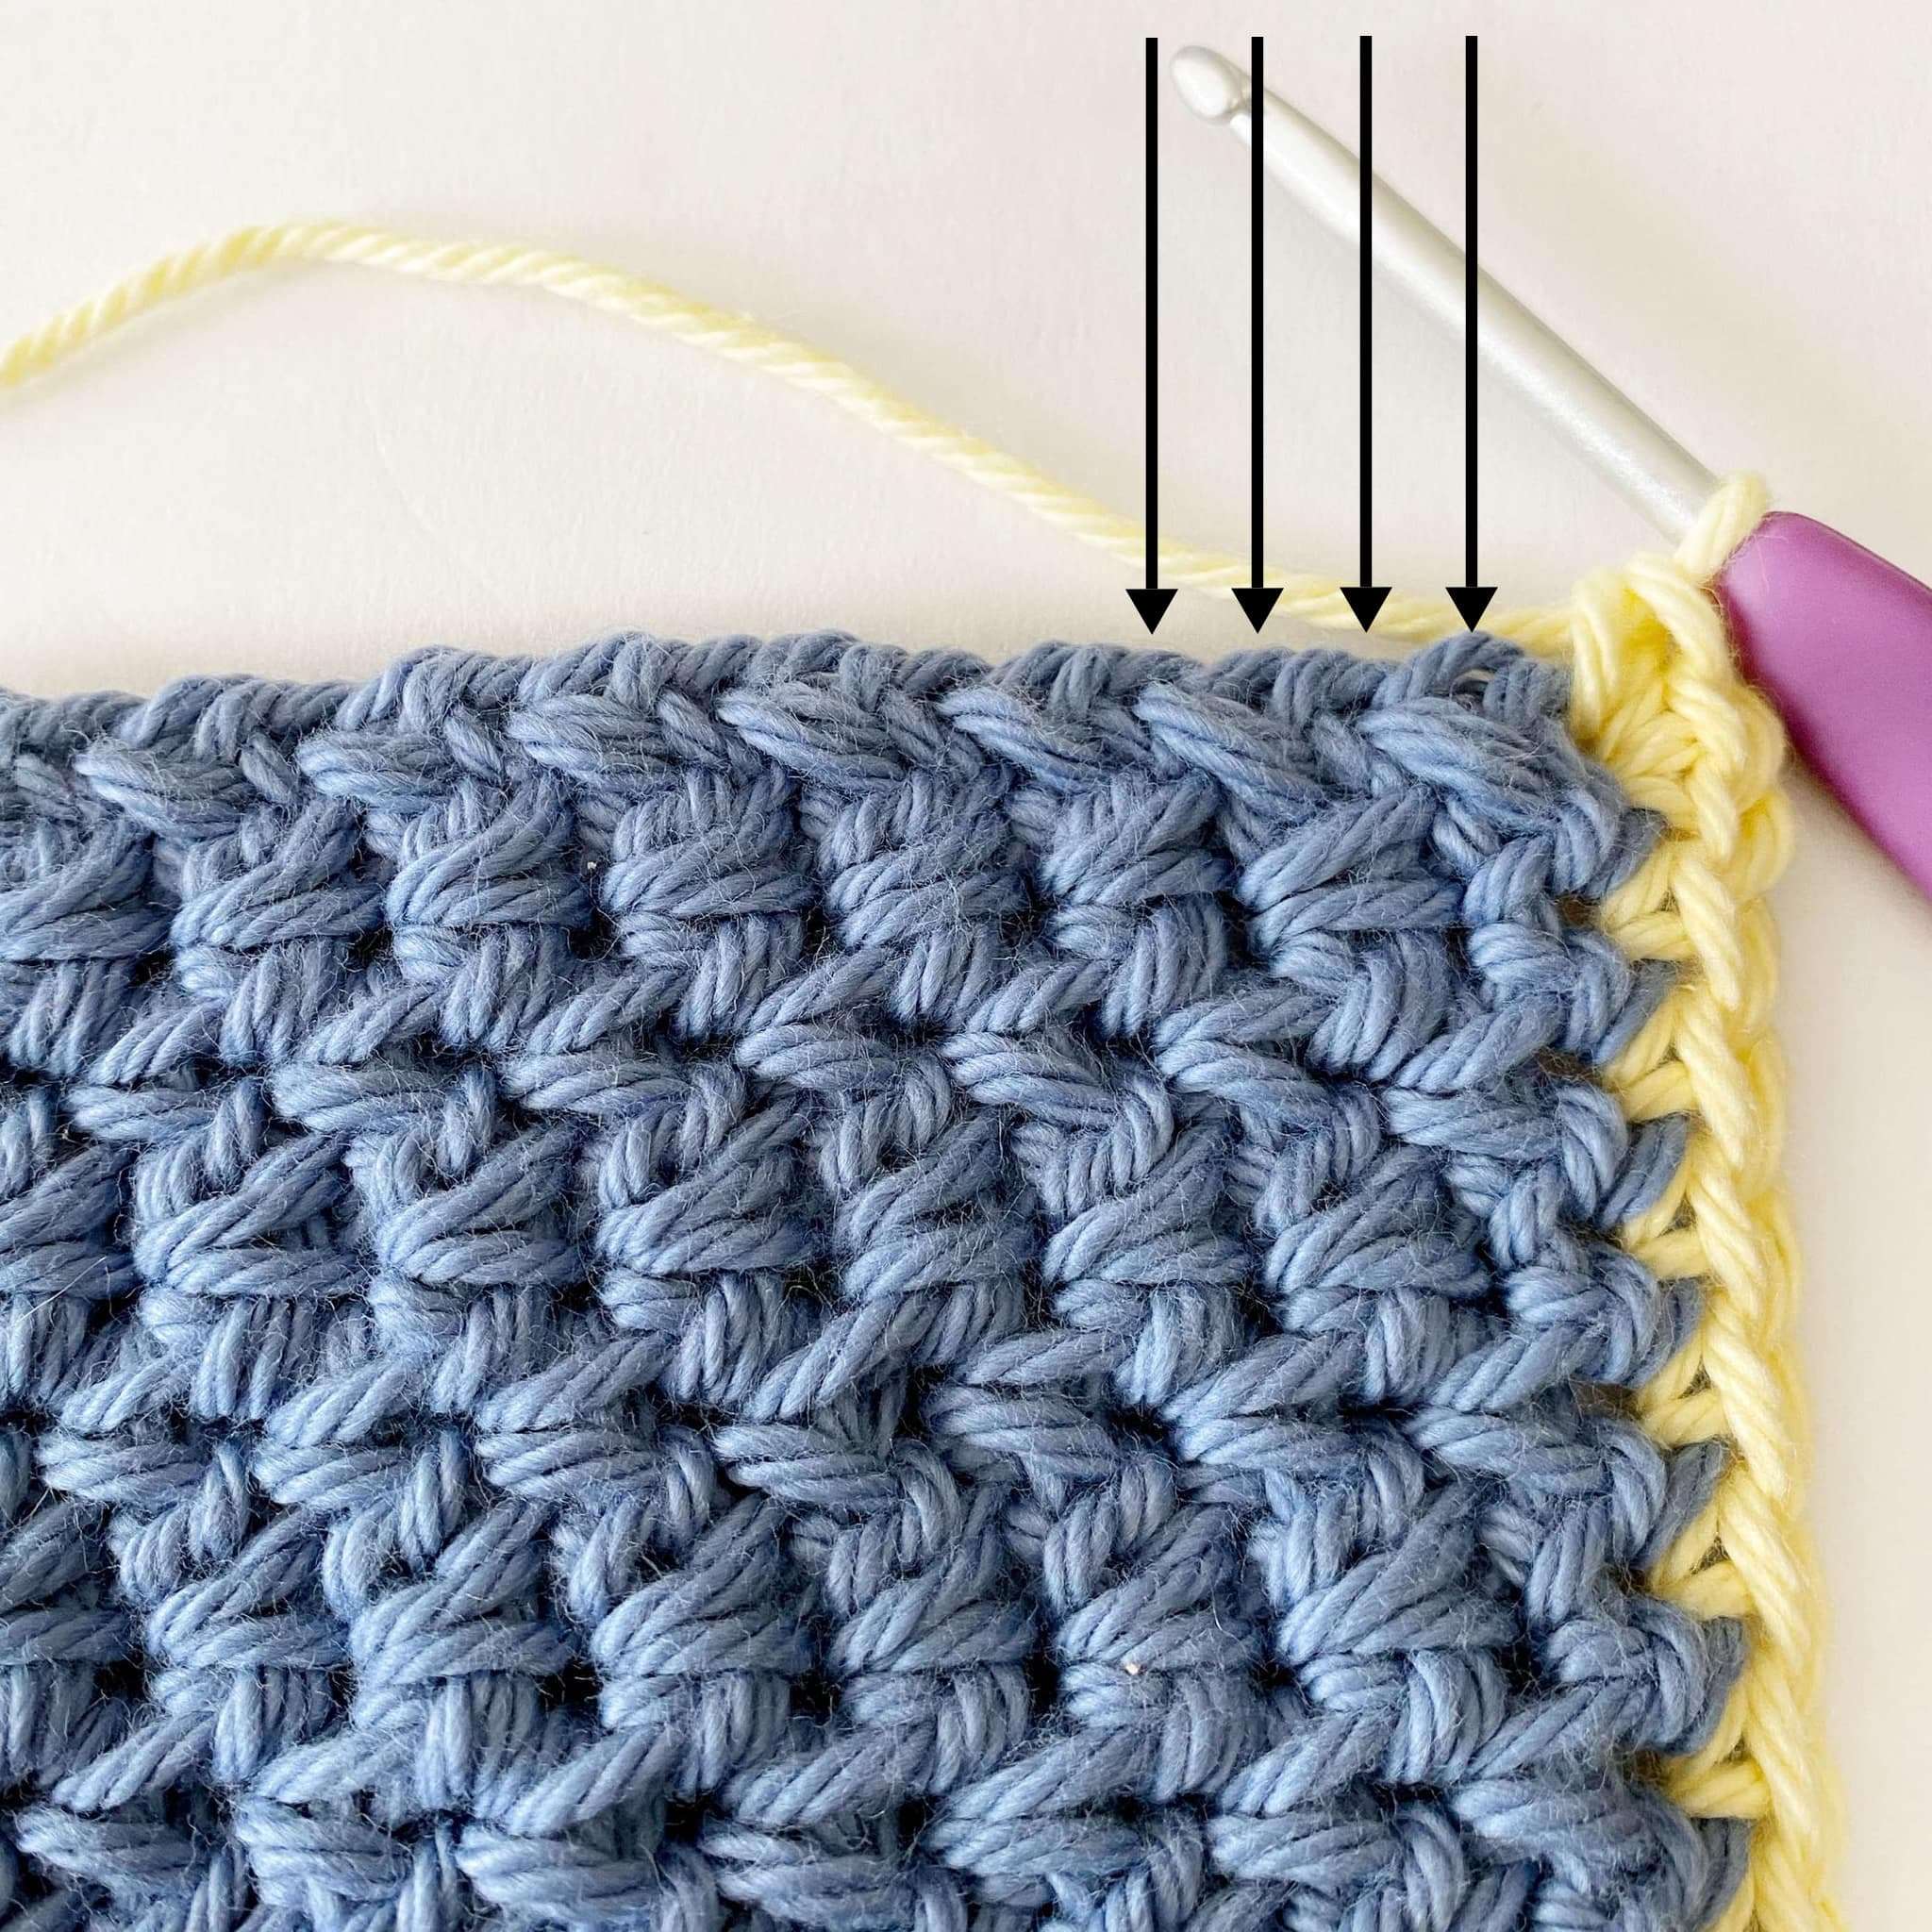
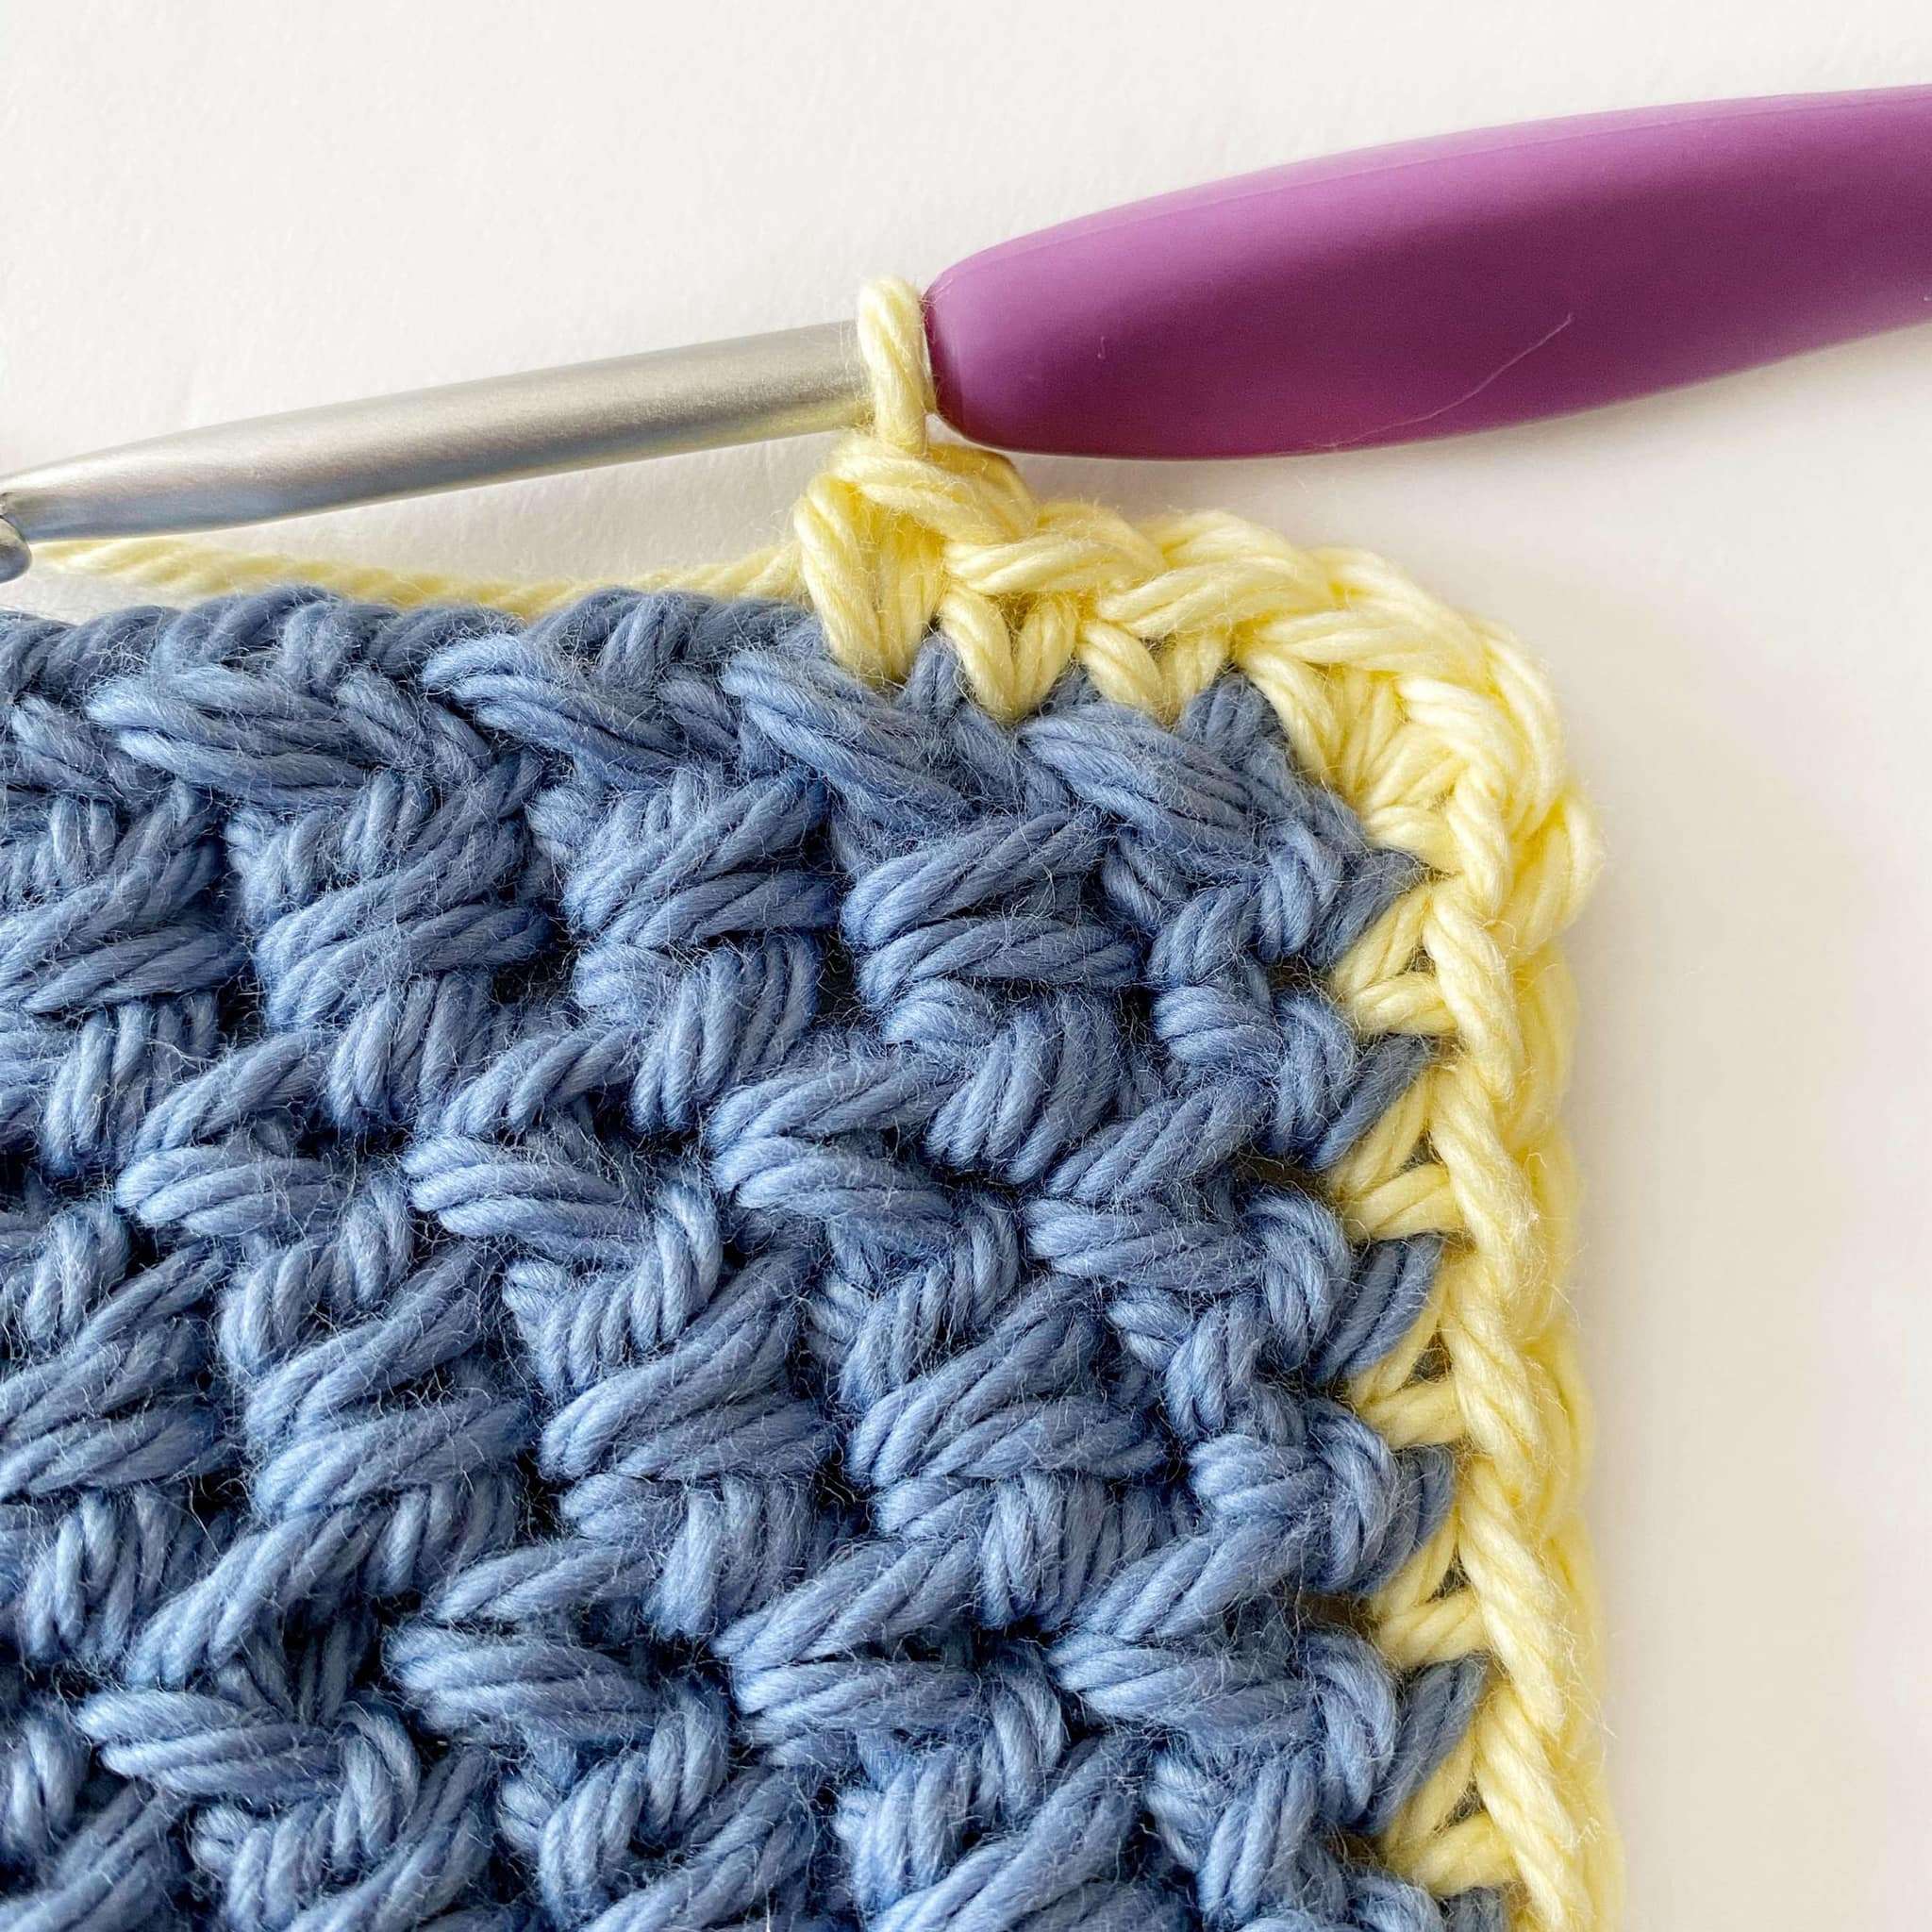
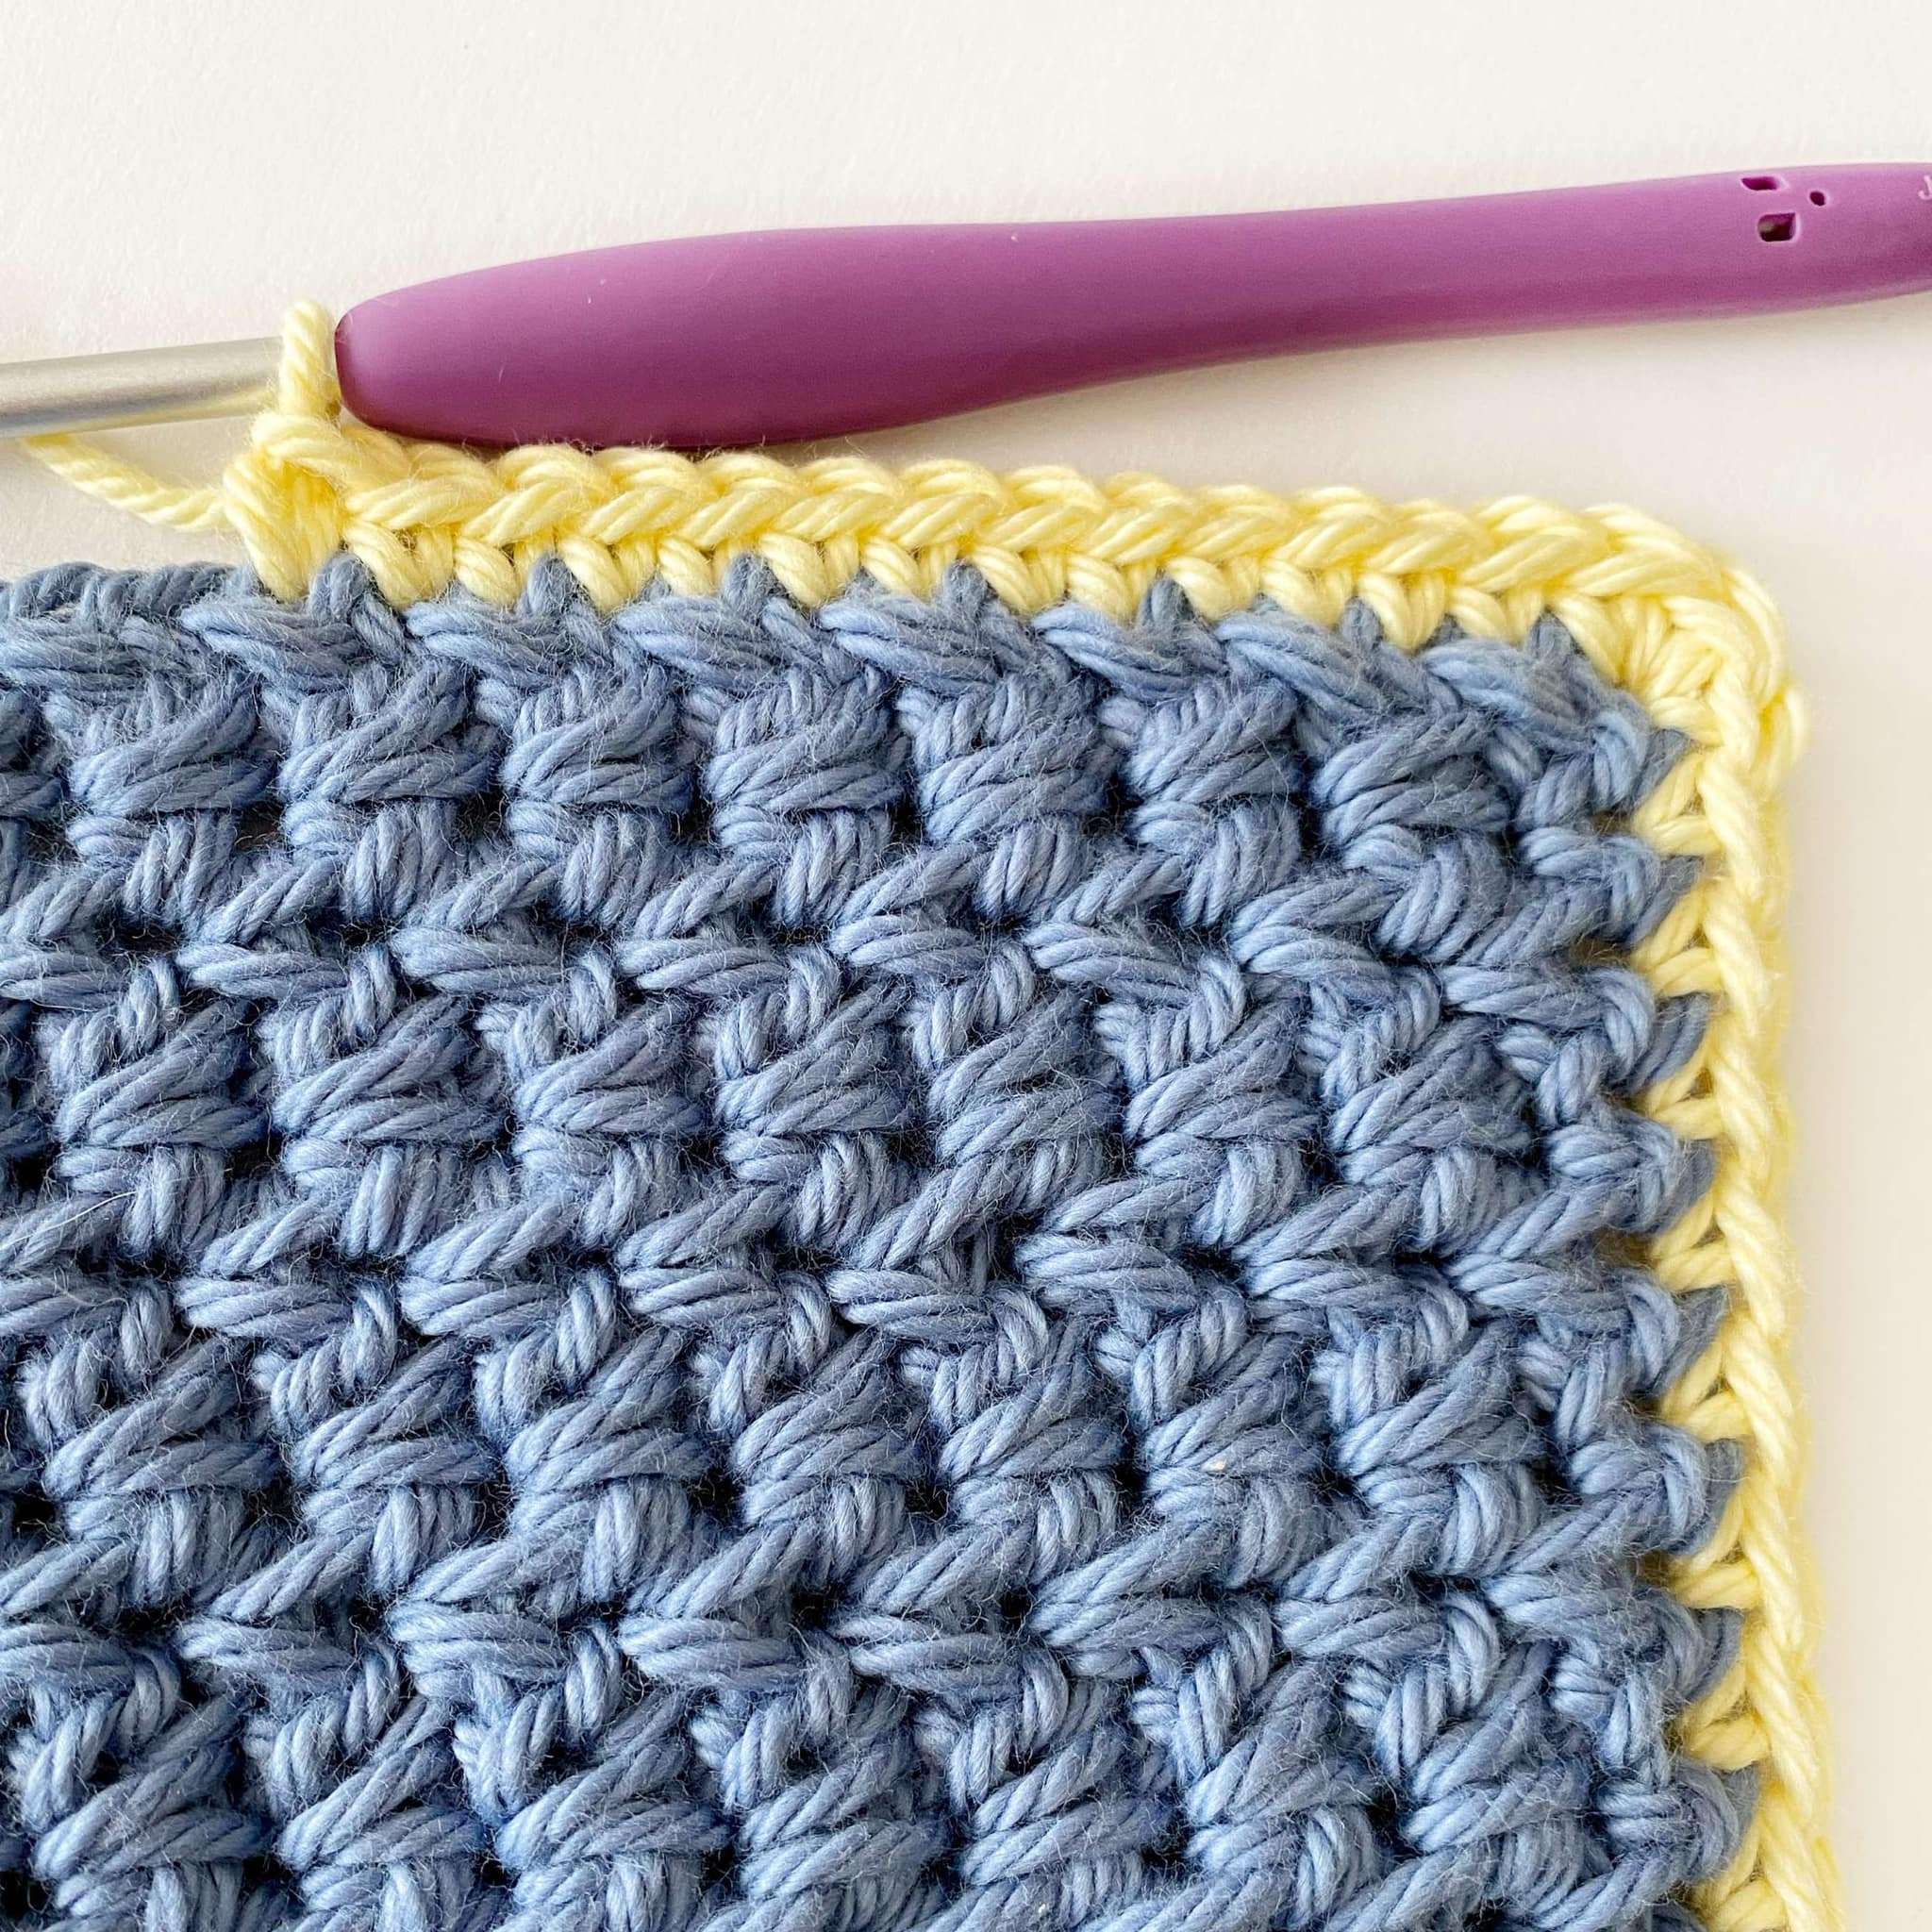
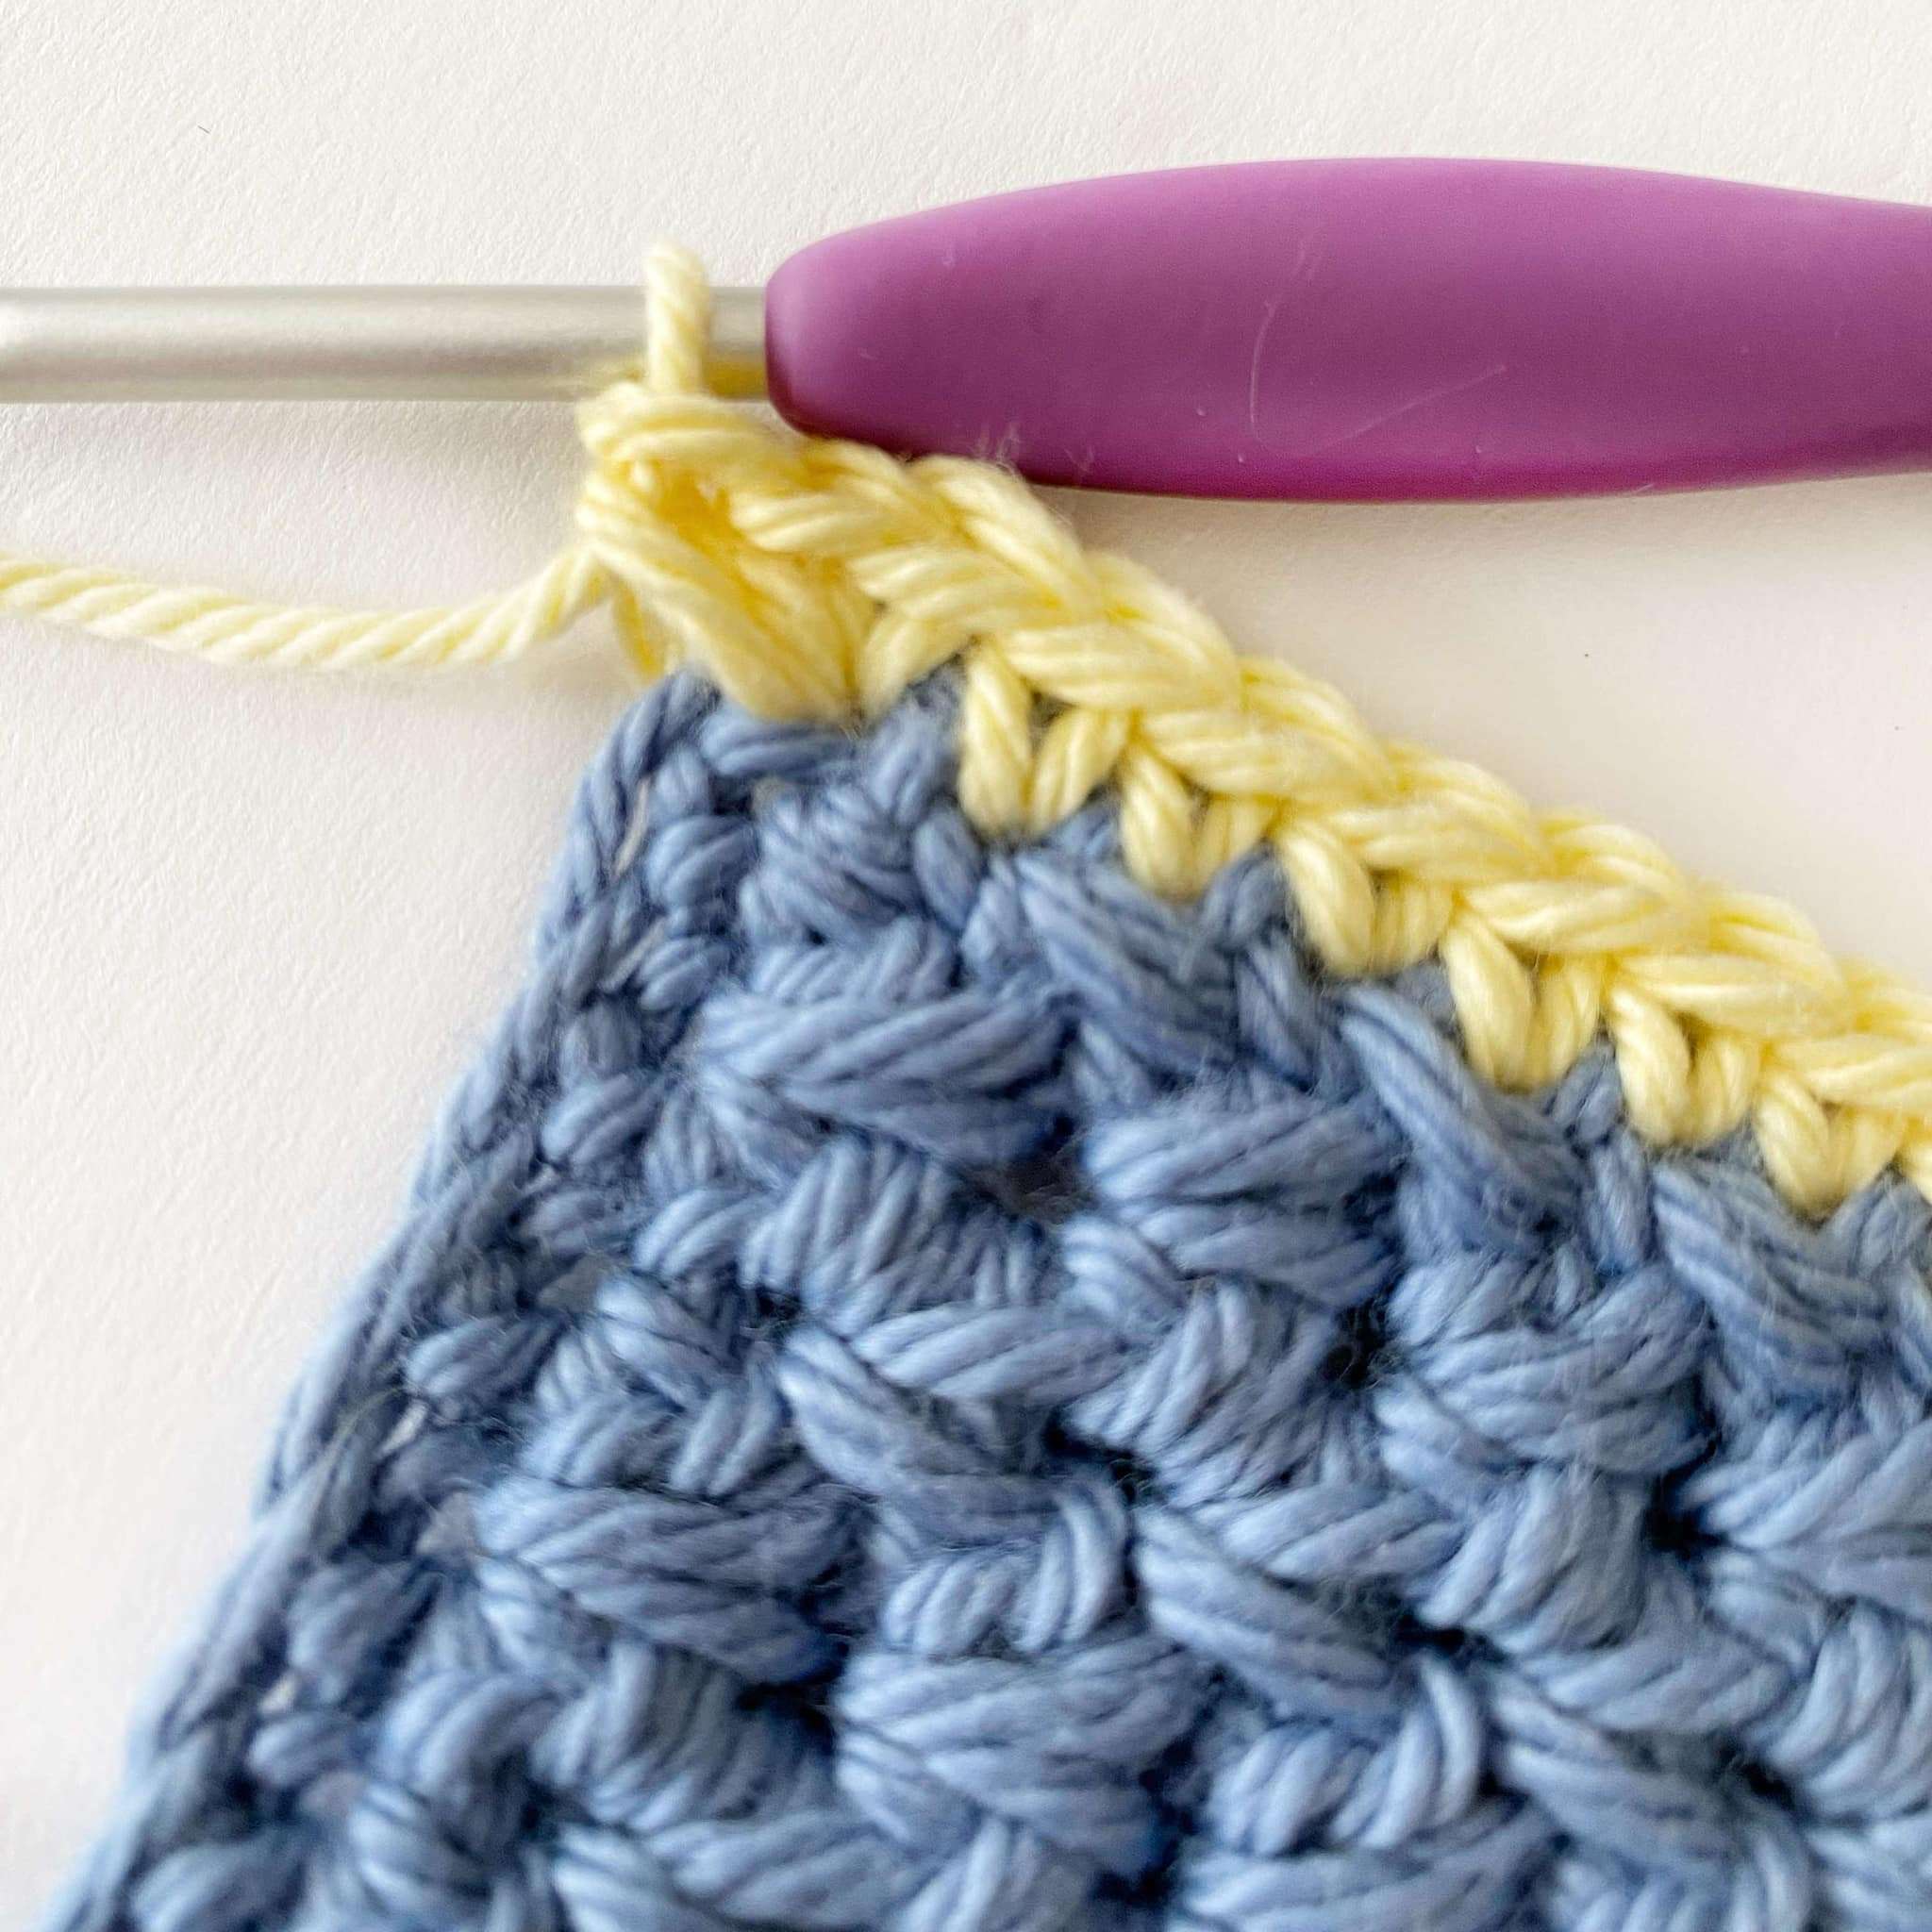
Bottom Edge: Sc in the top of each sc of Row 1 until 1 st remains. 3 sc into the last st. Rotate the dishcloth to work along the right side.
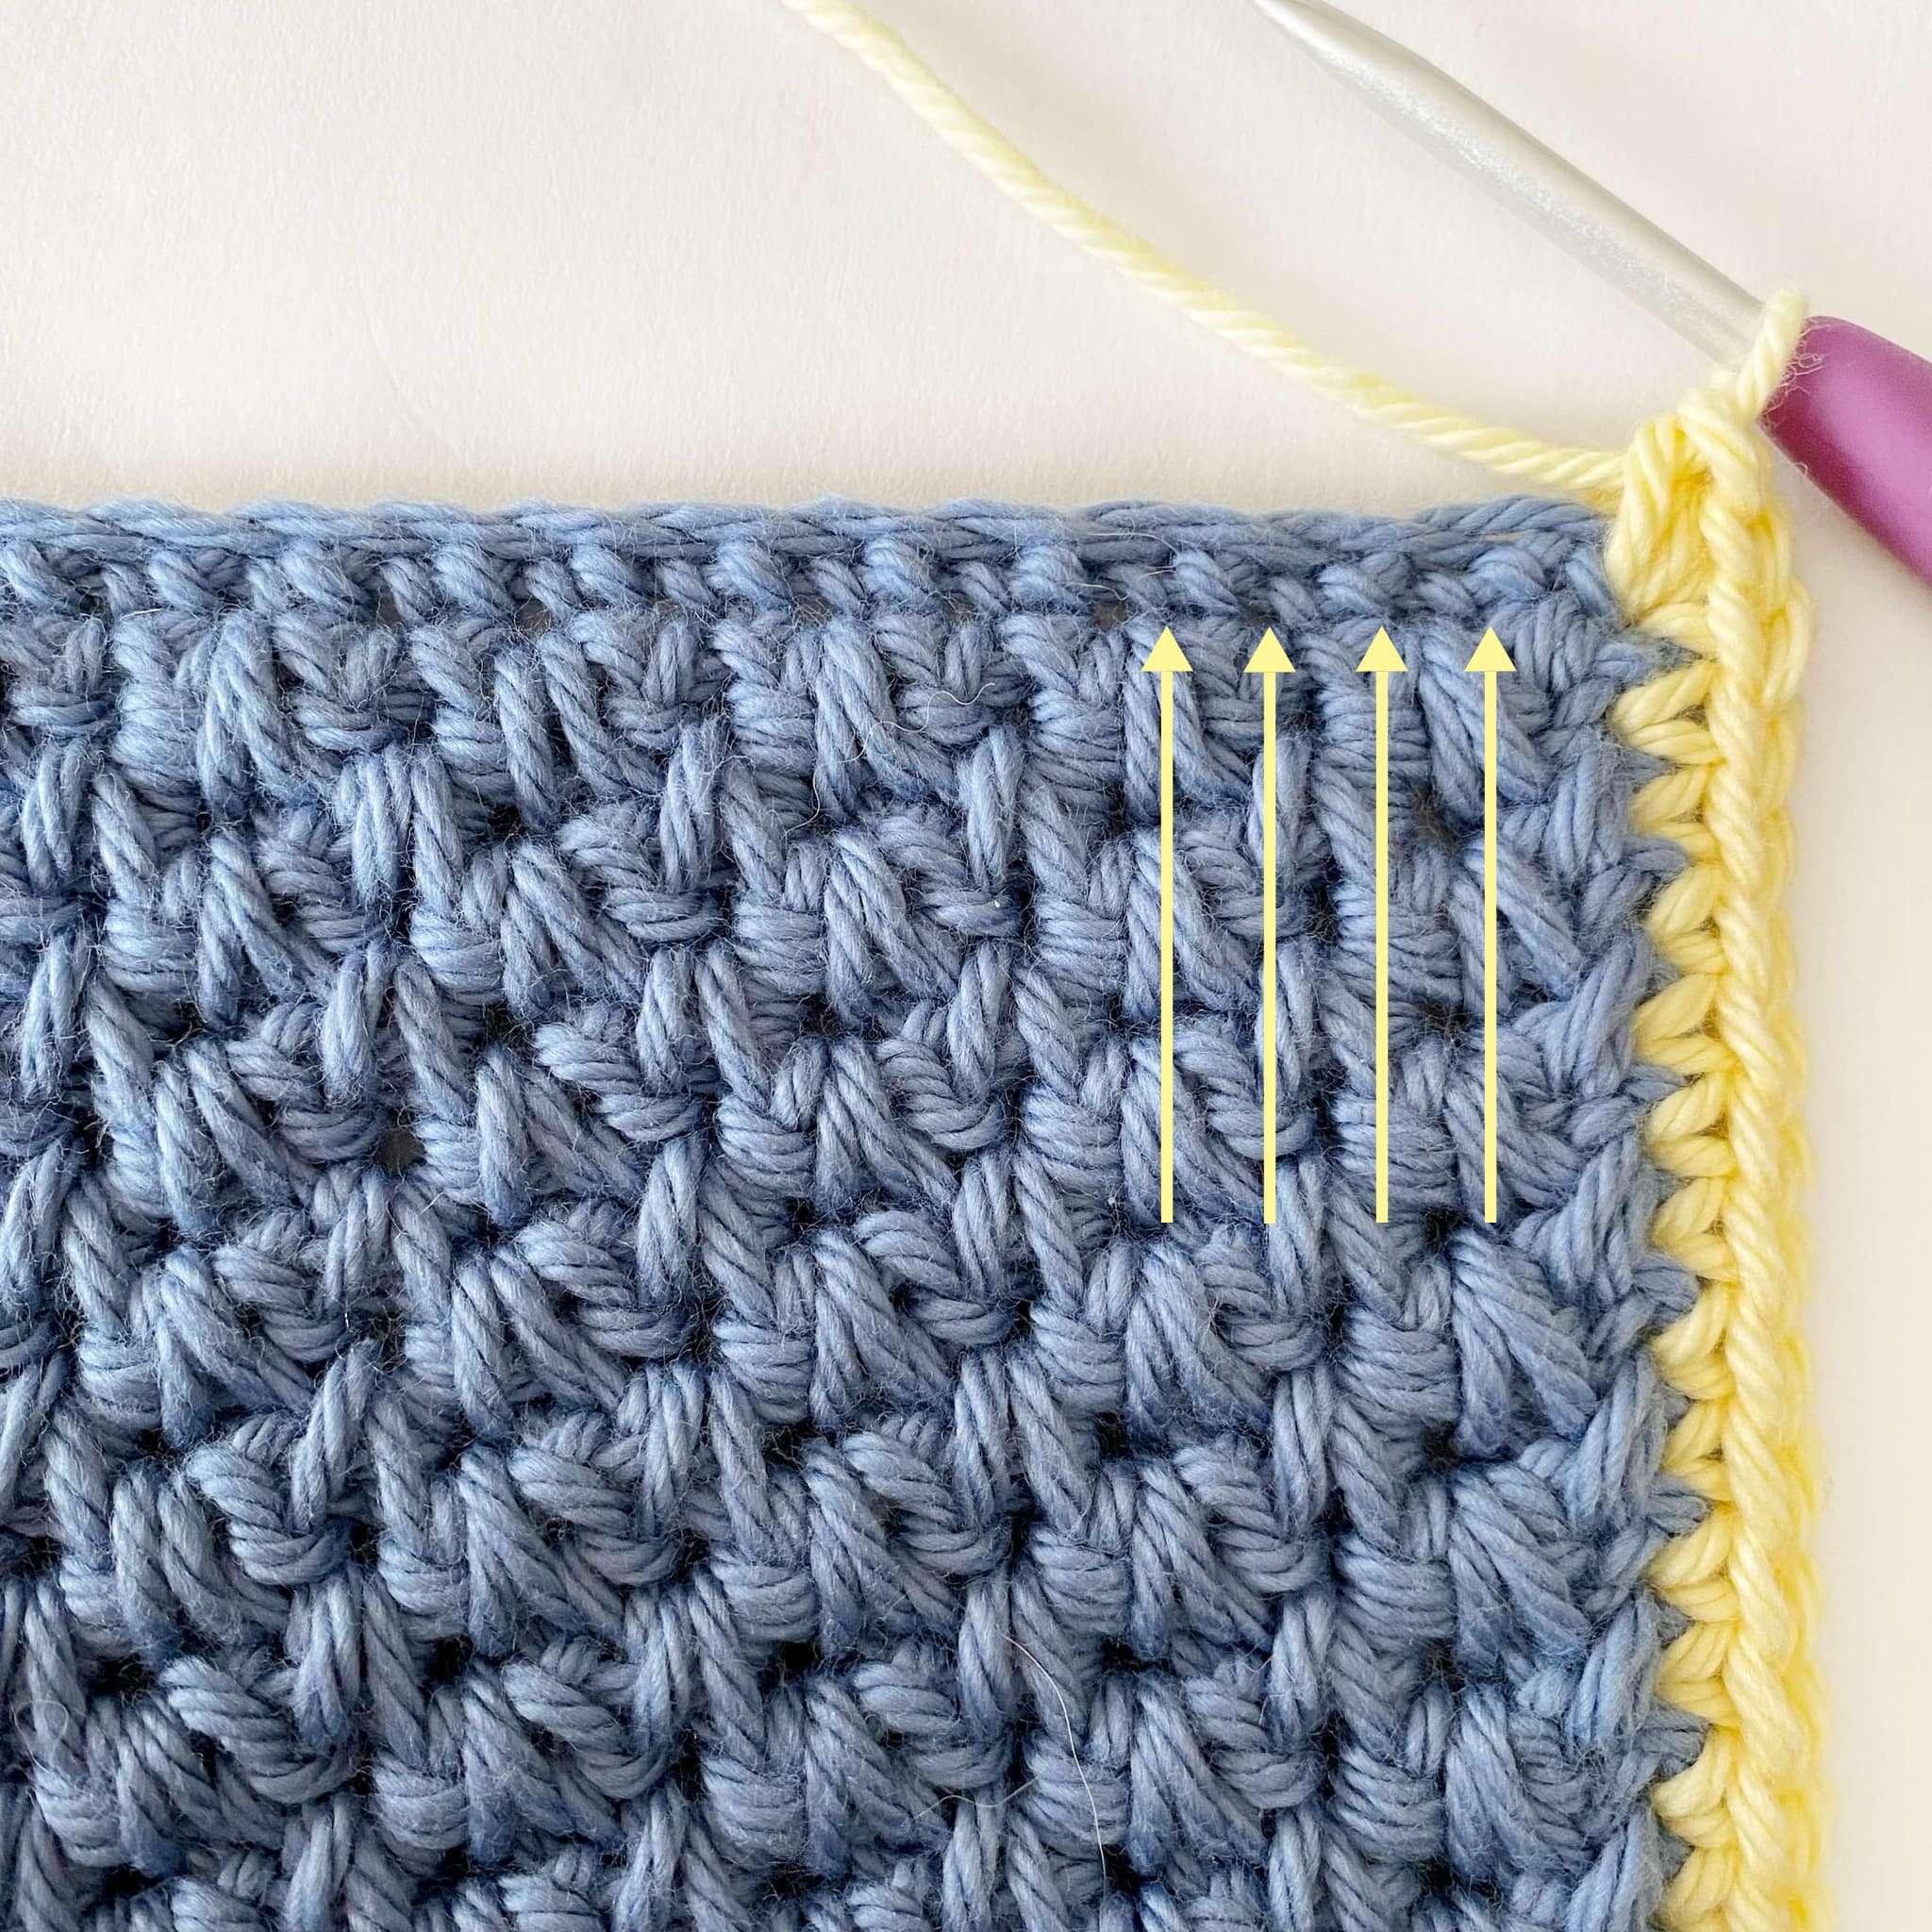
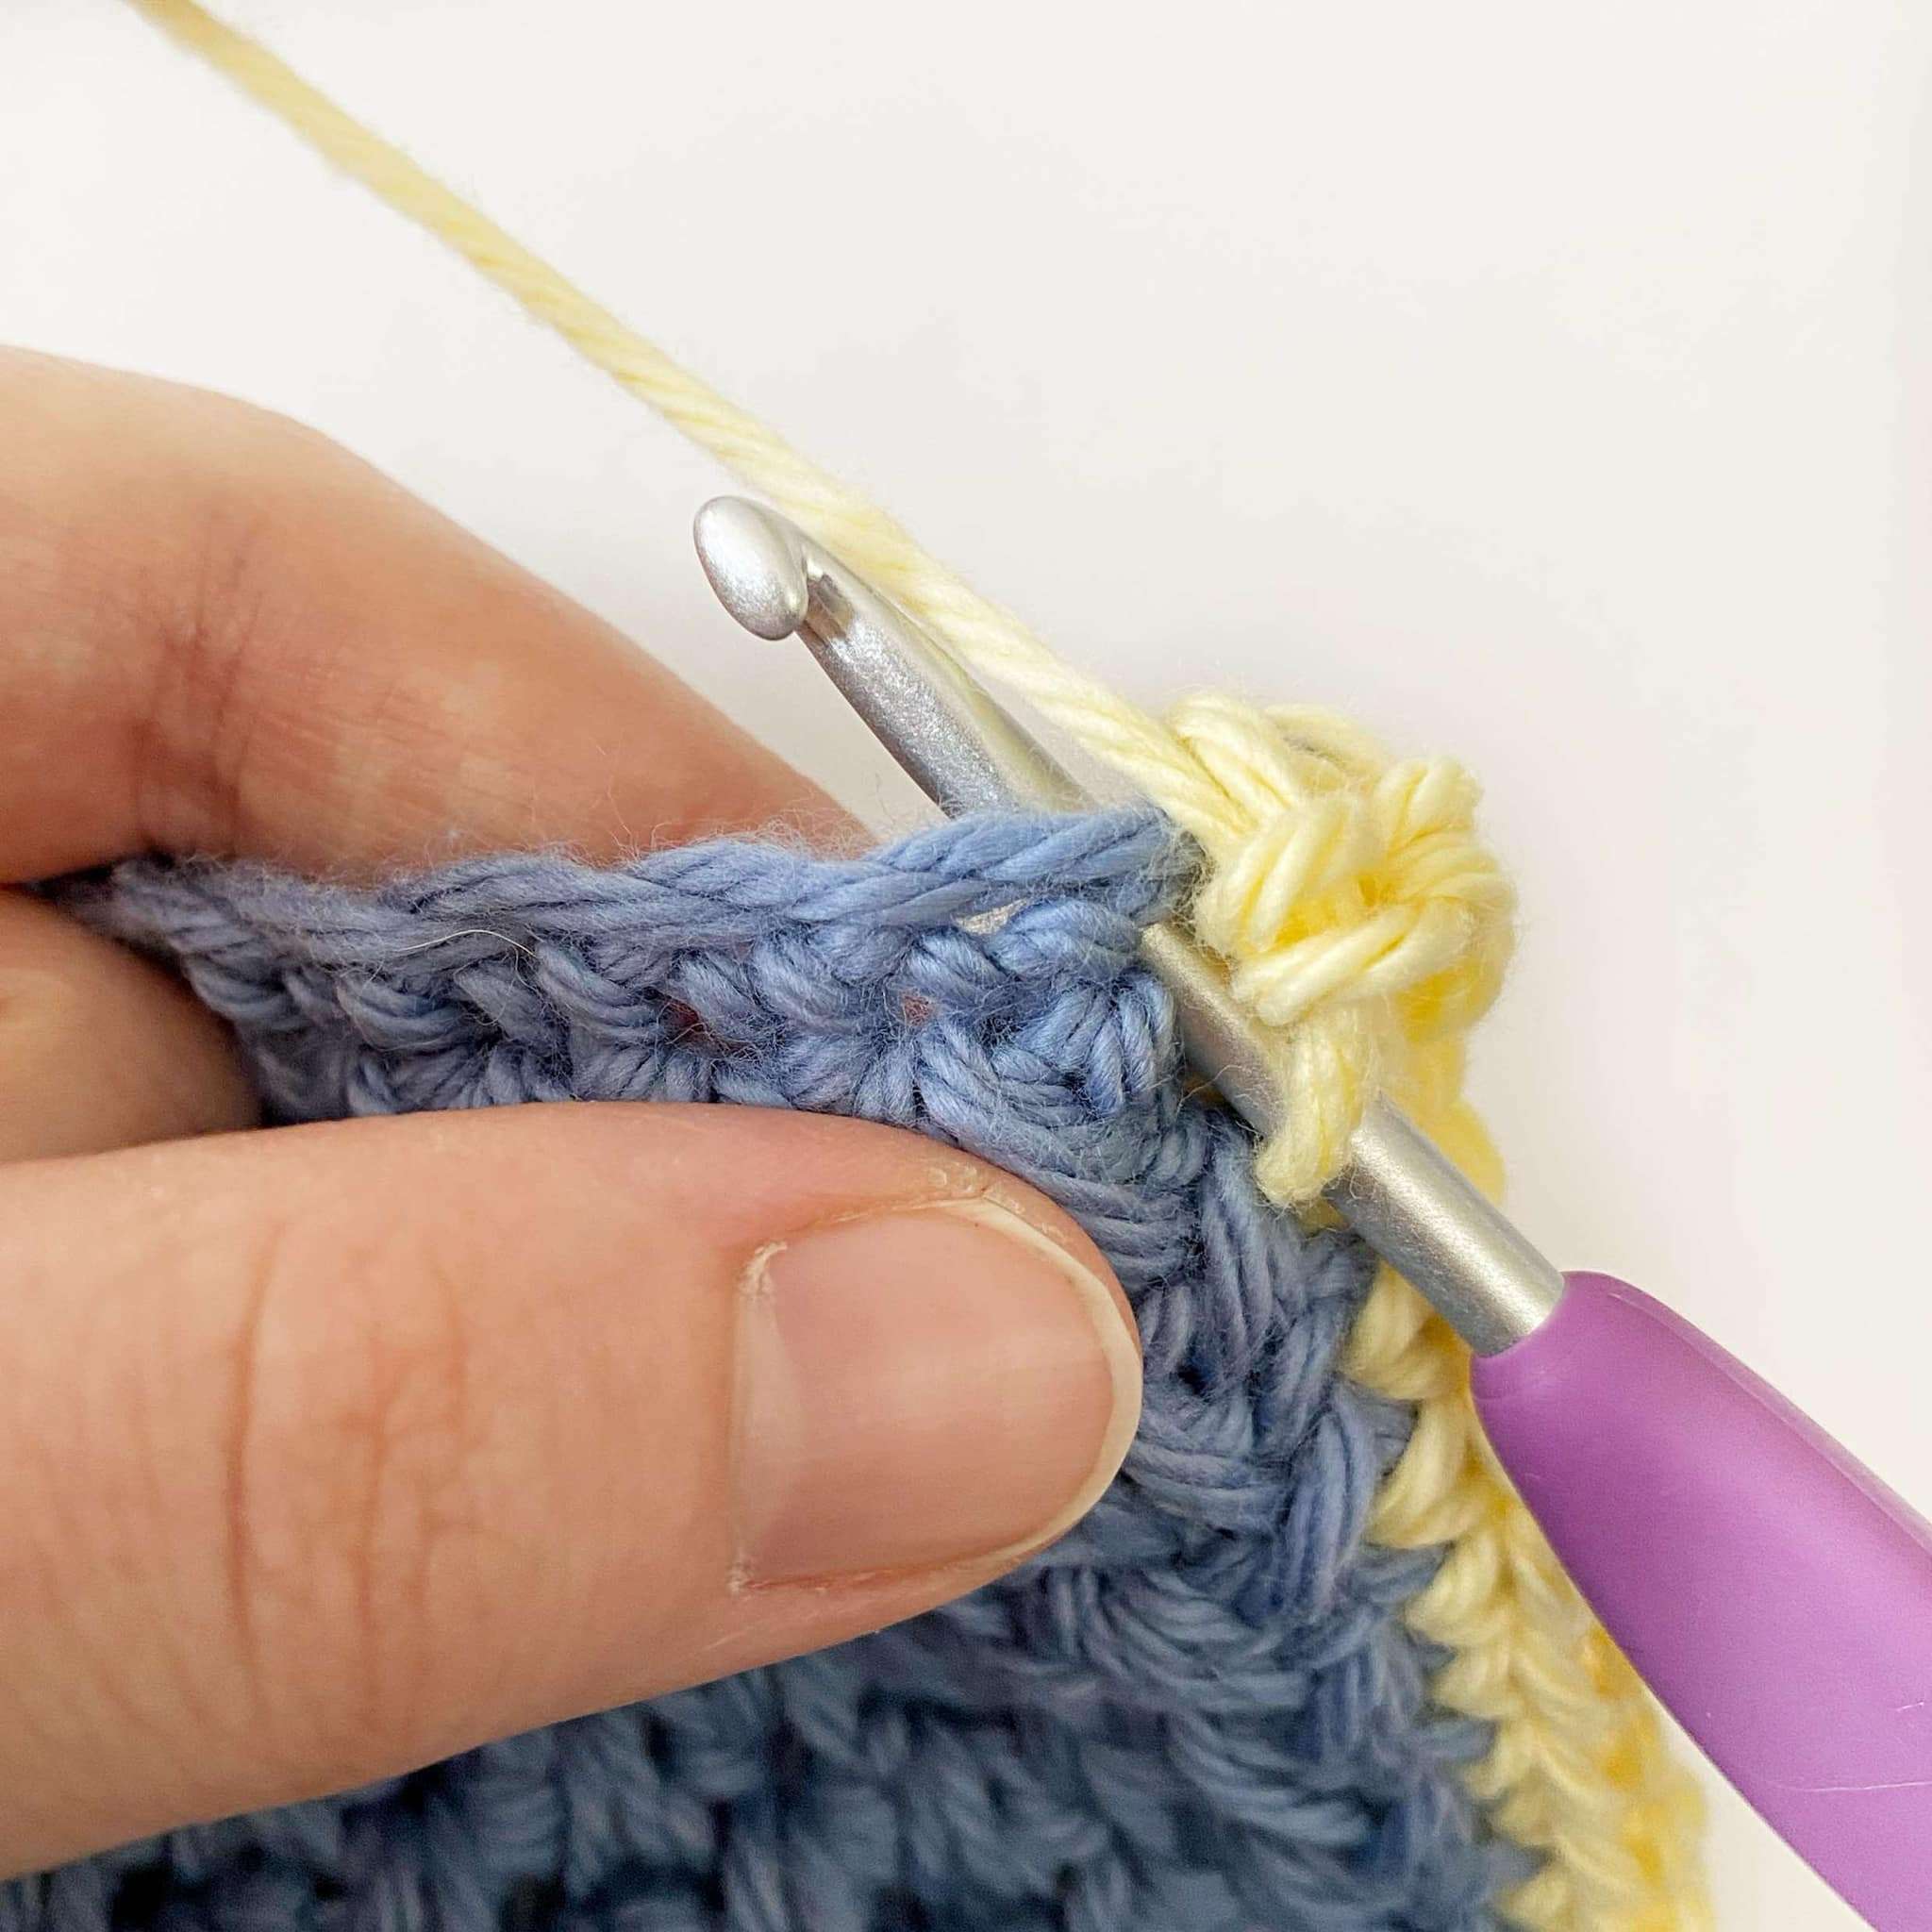
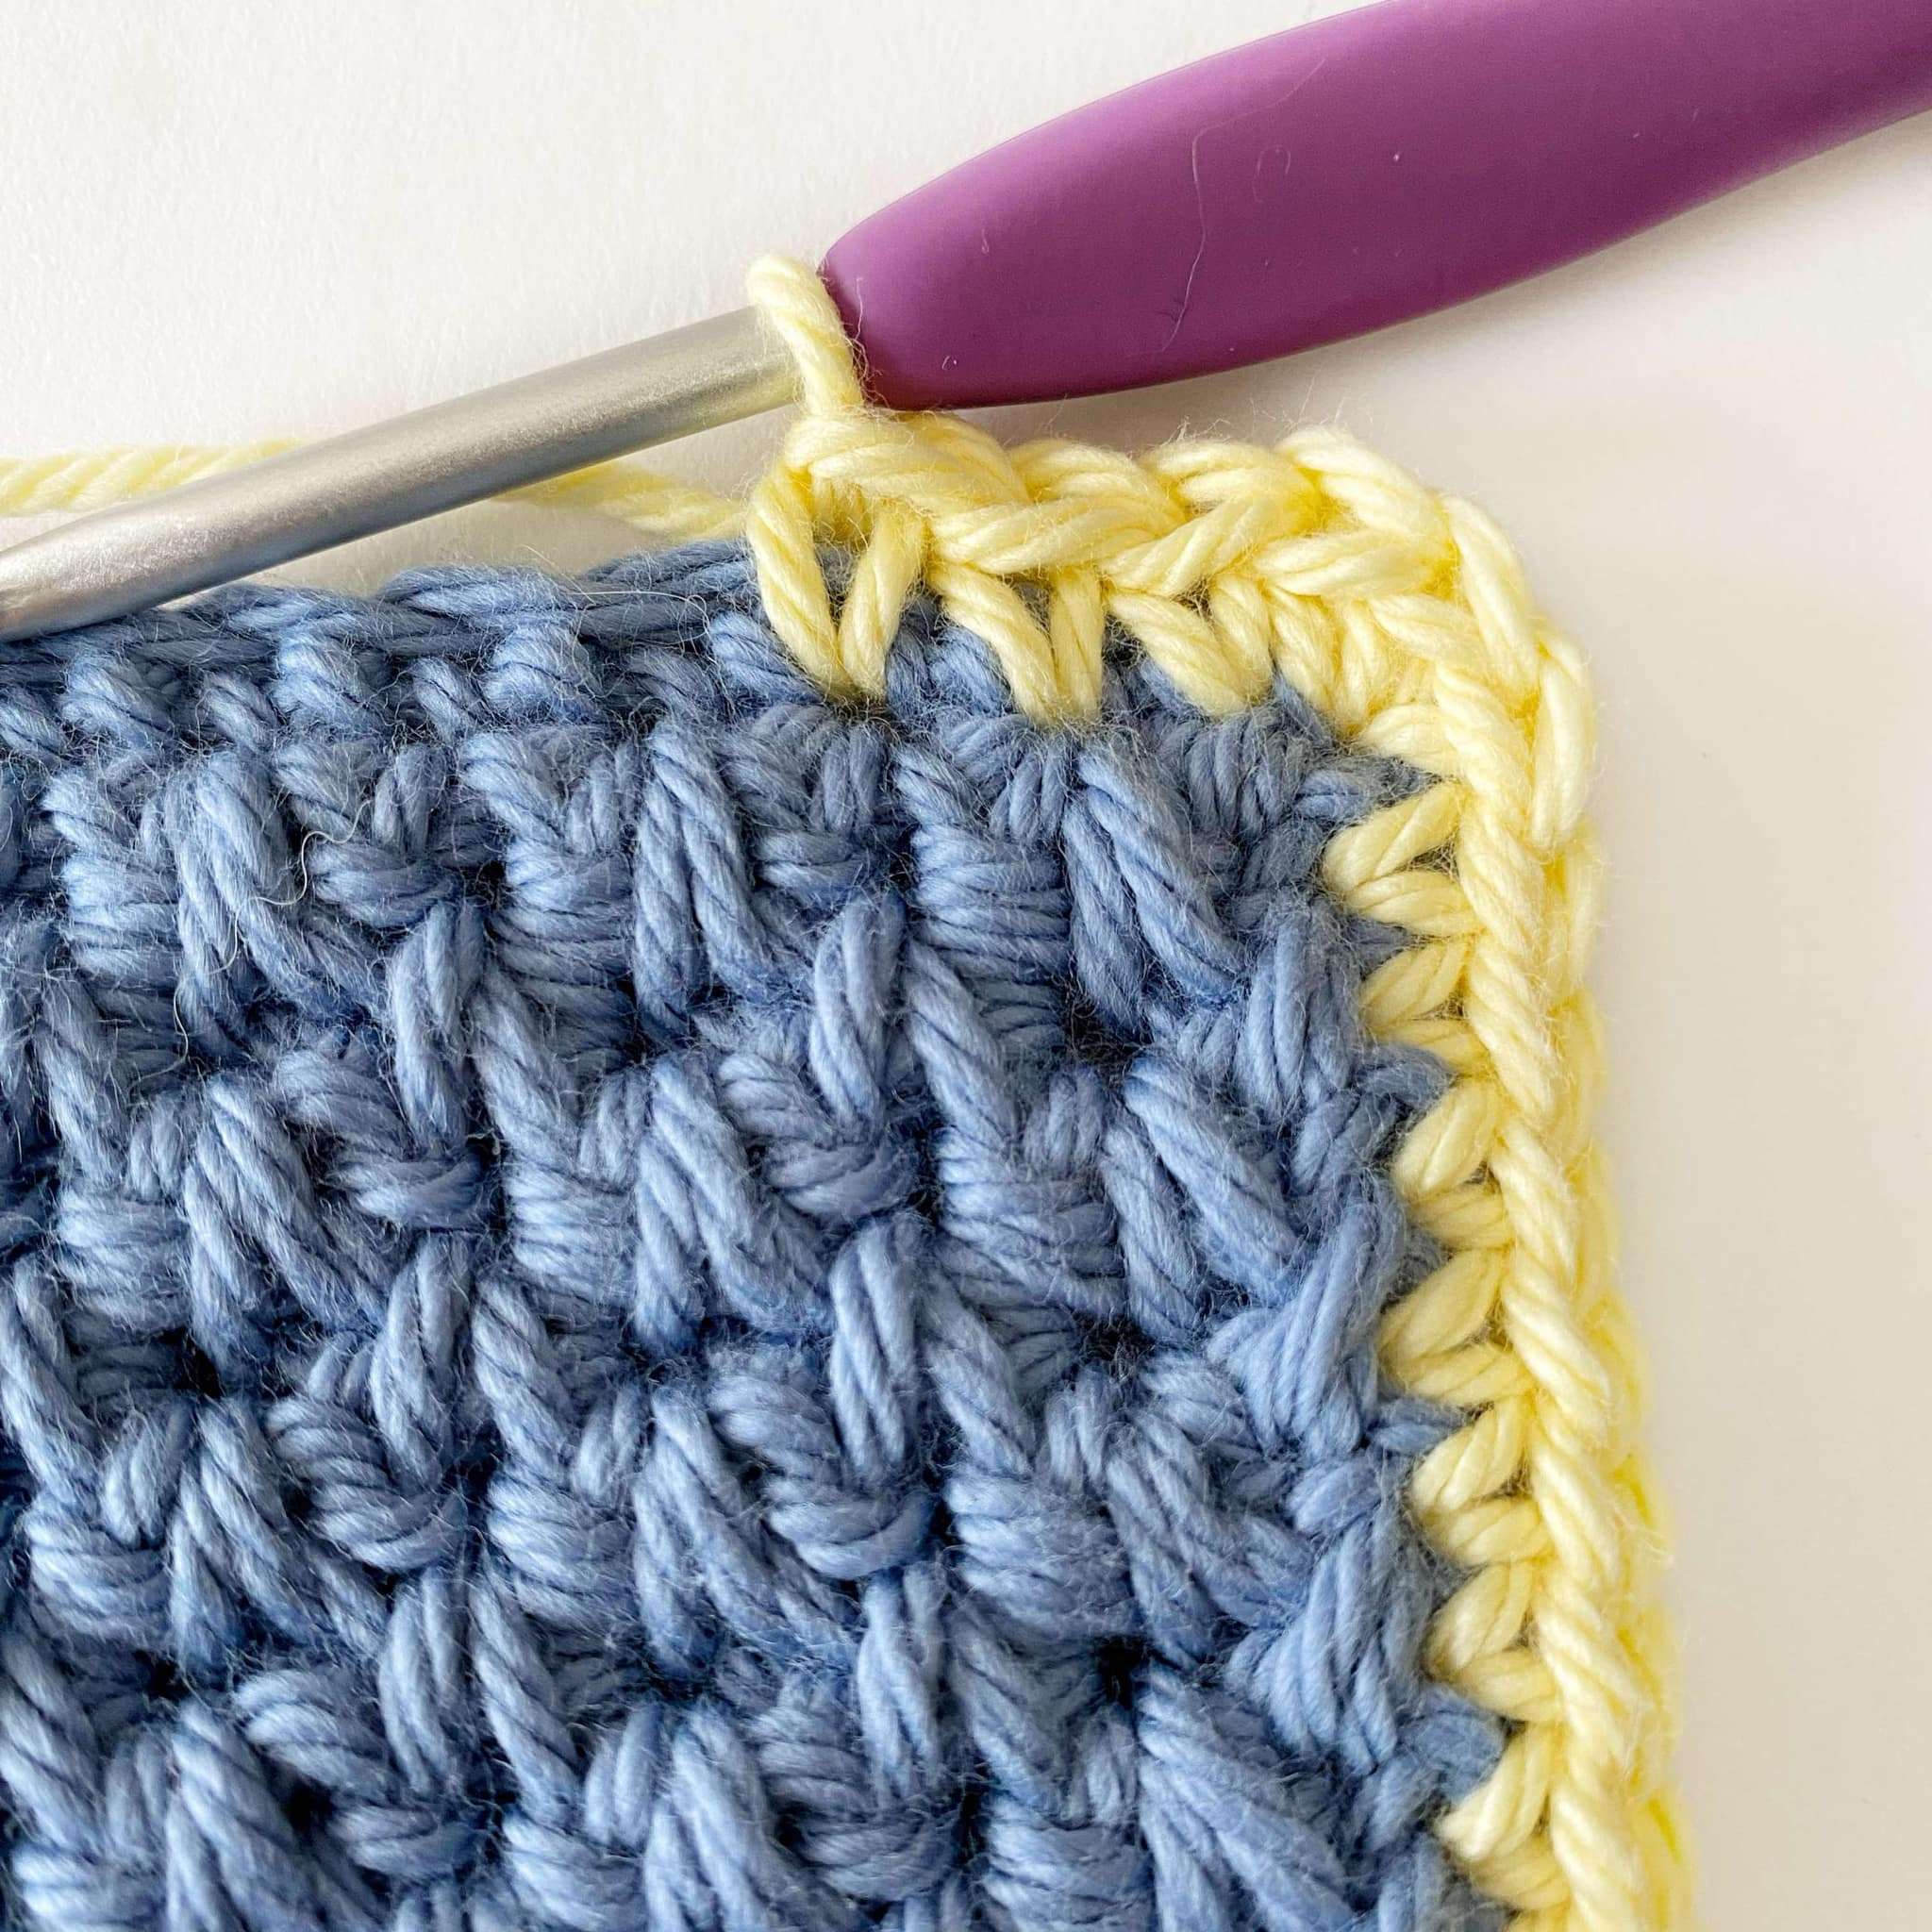
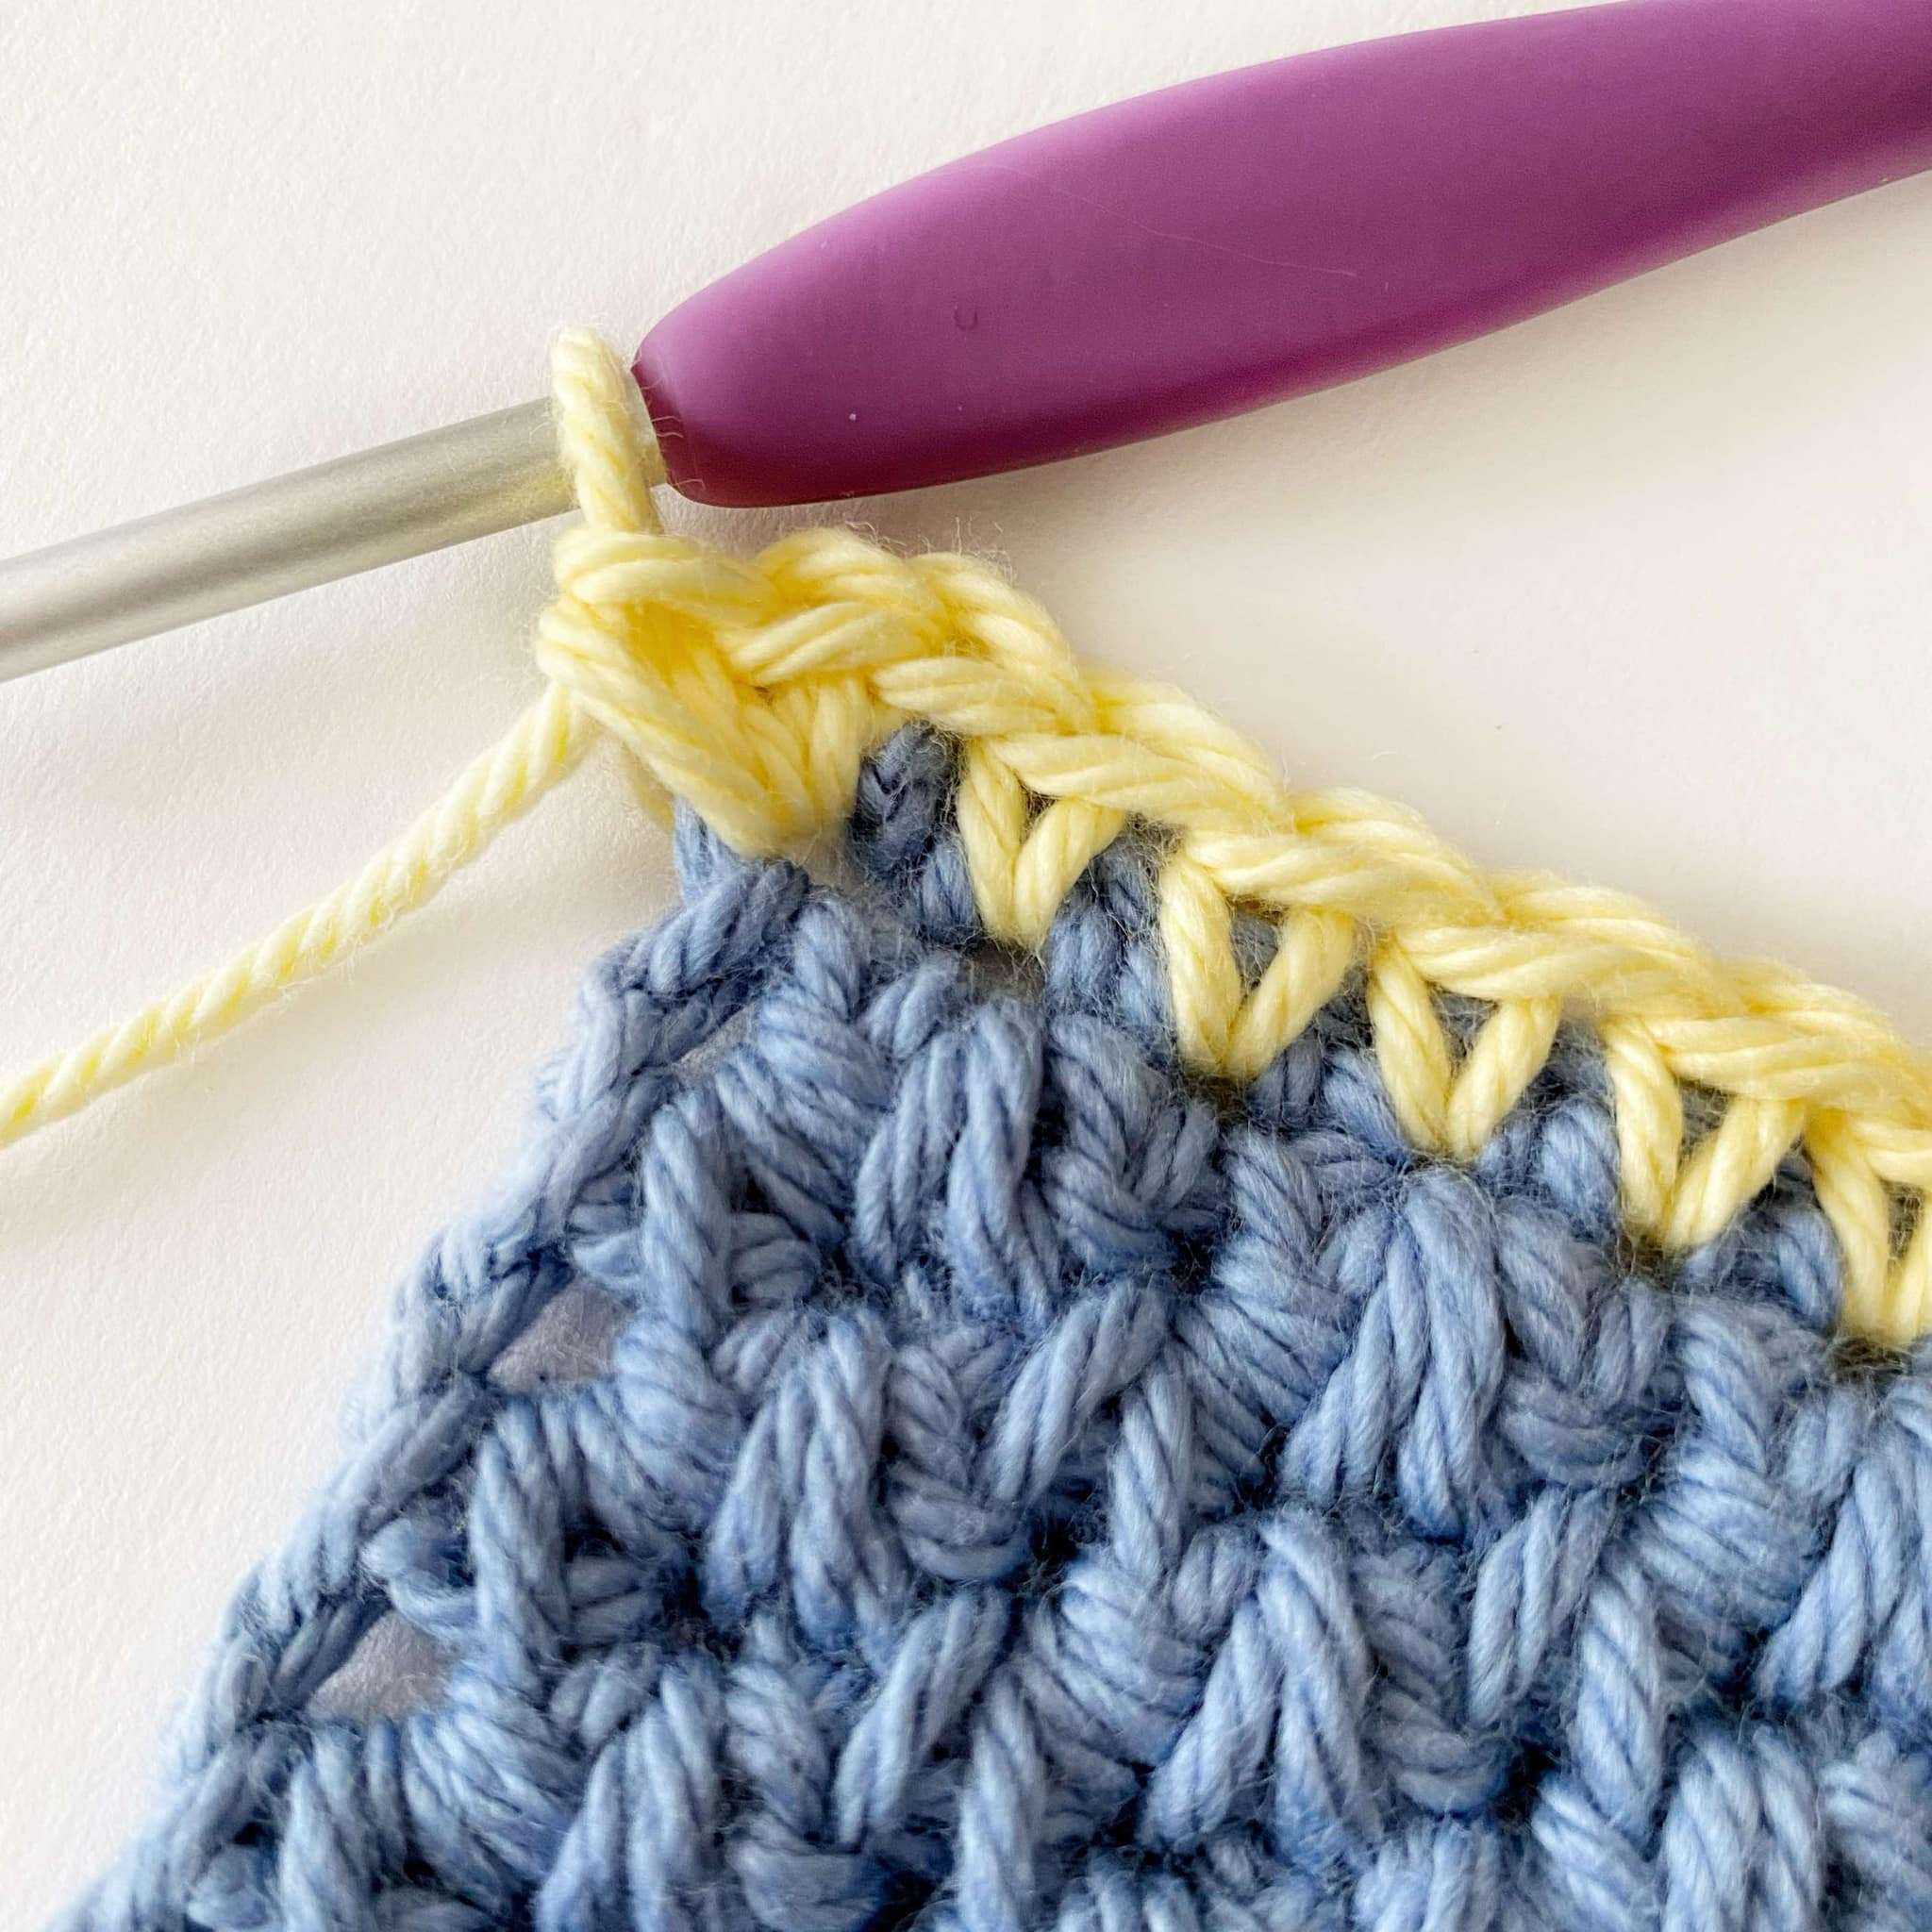
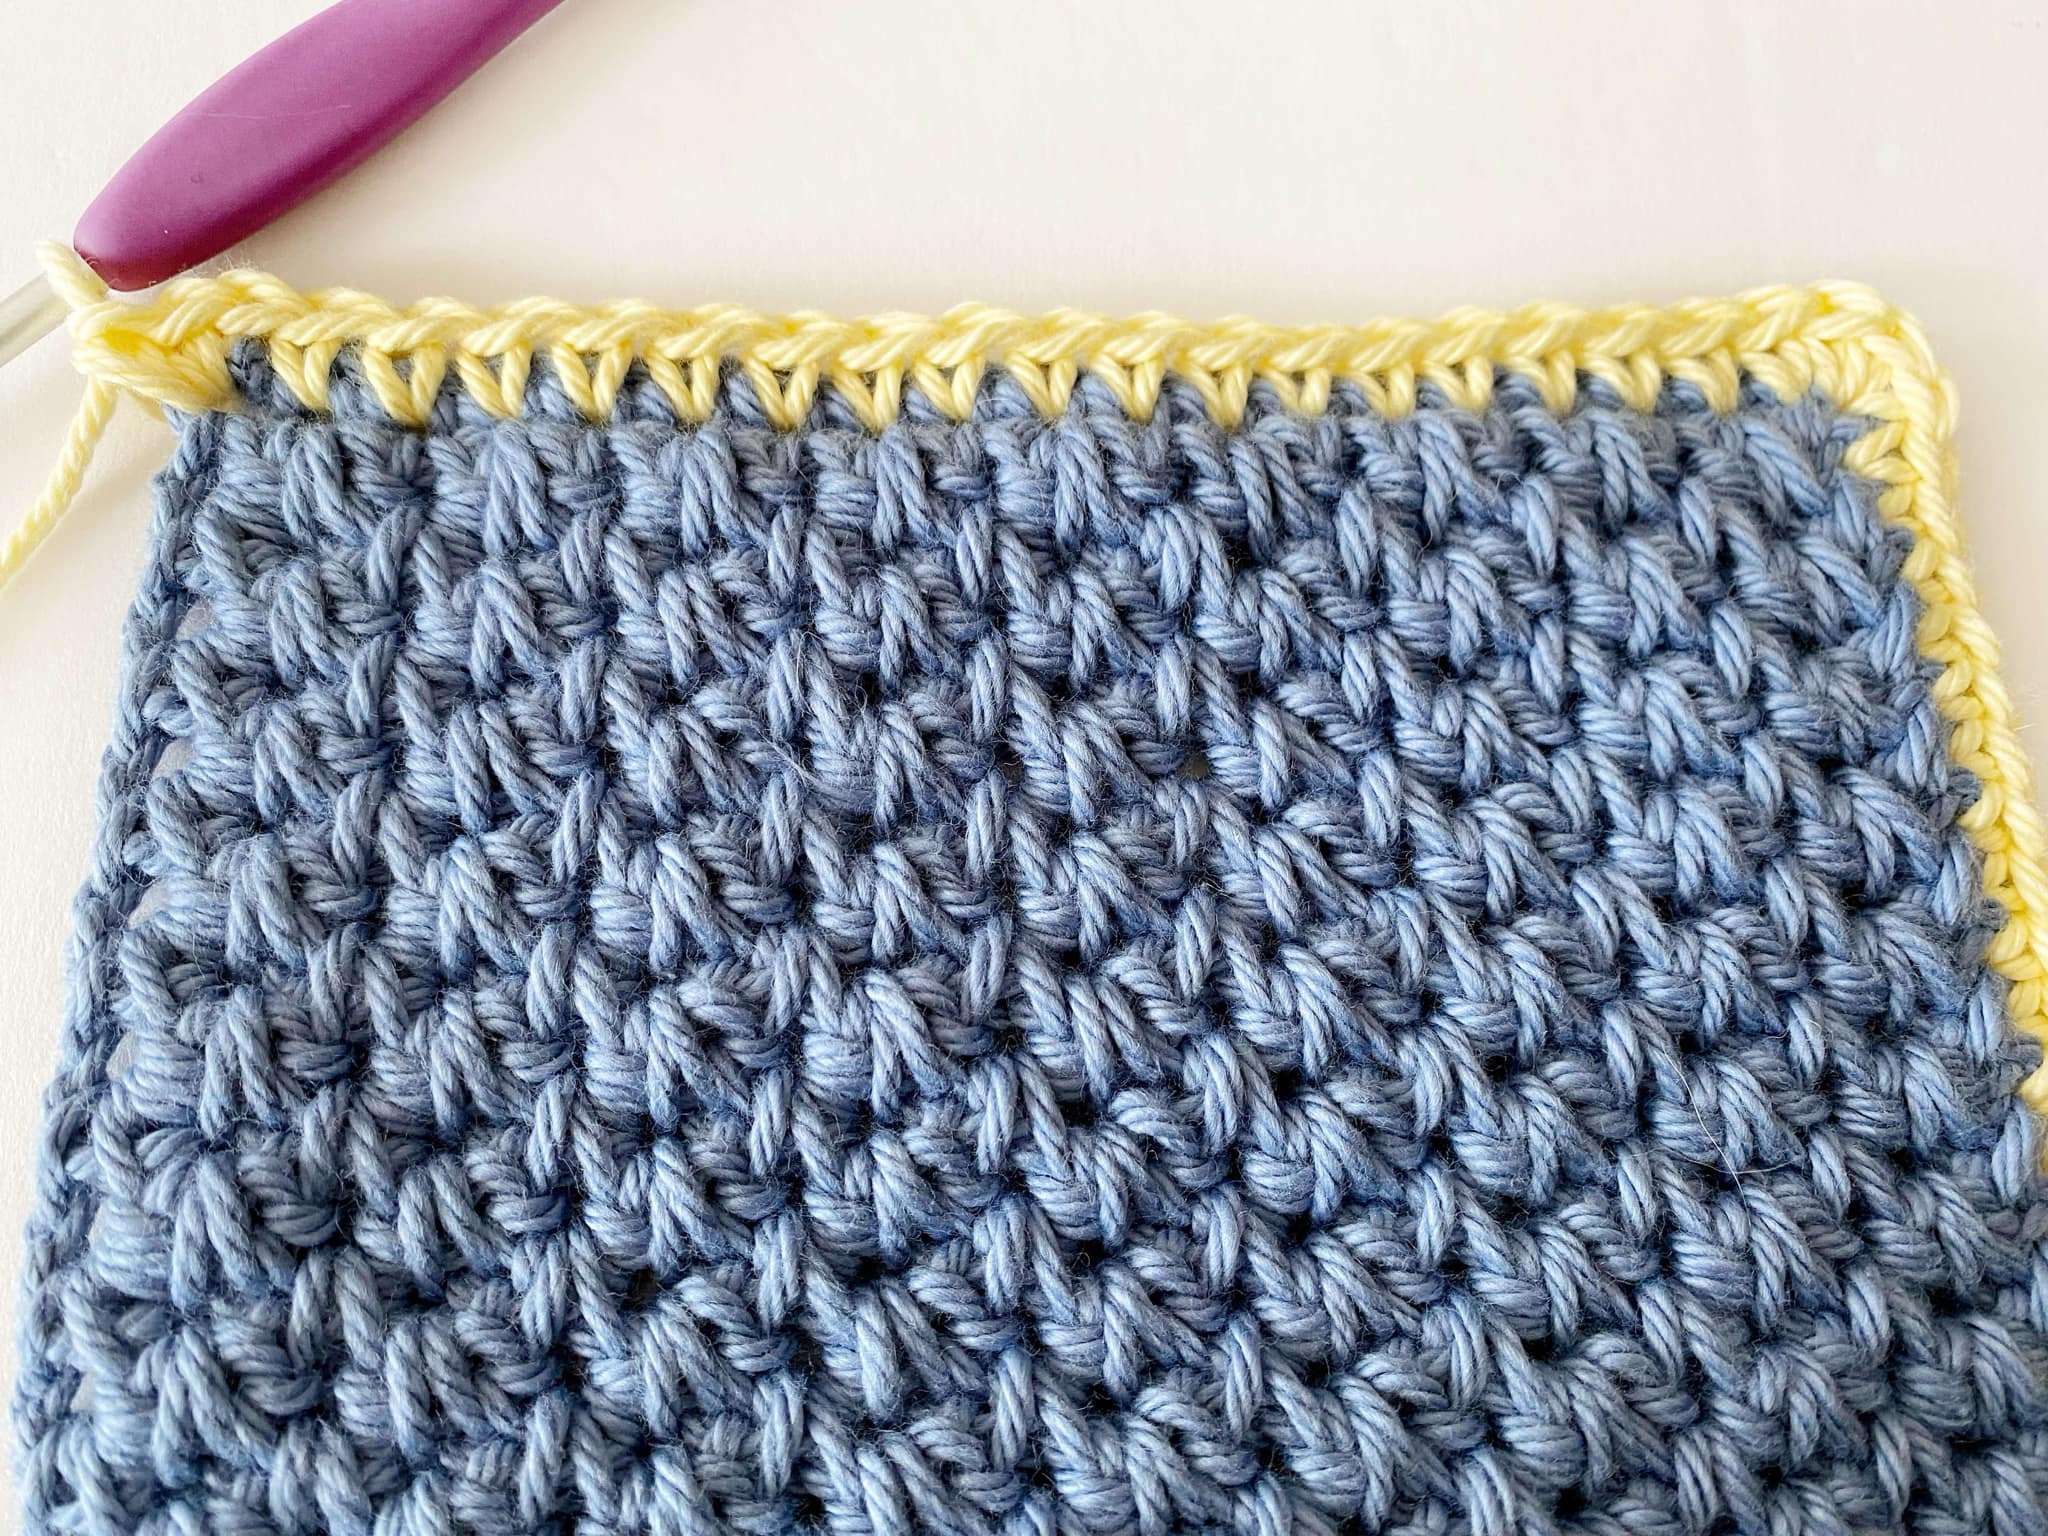
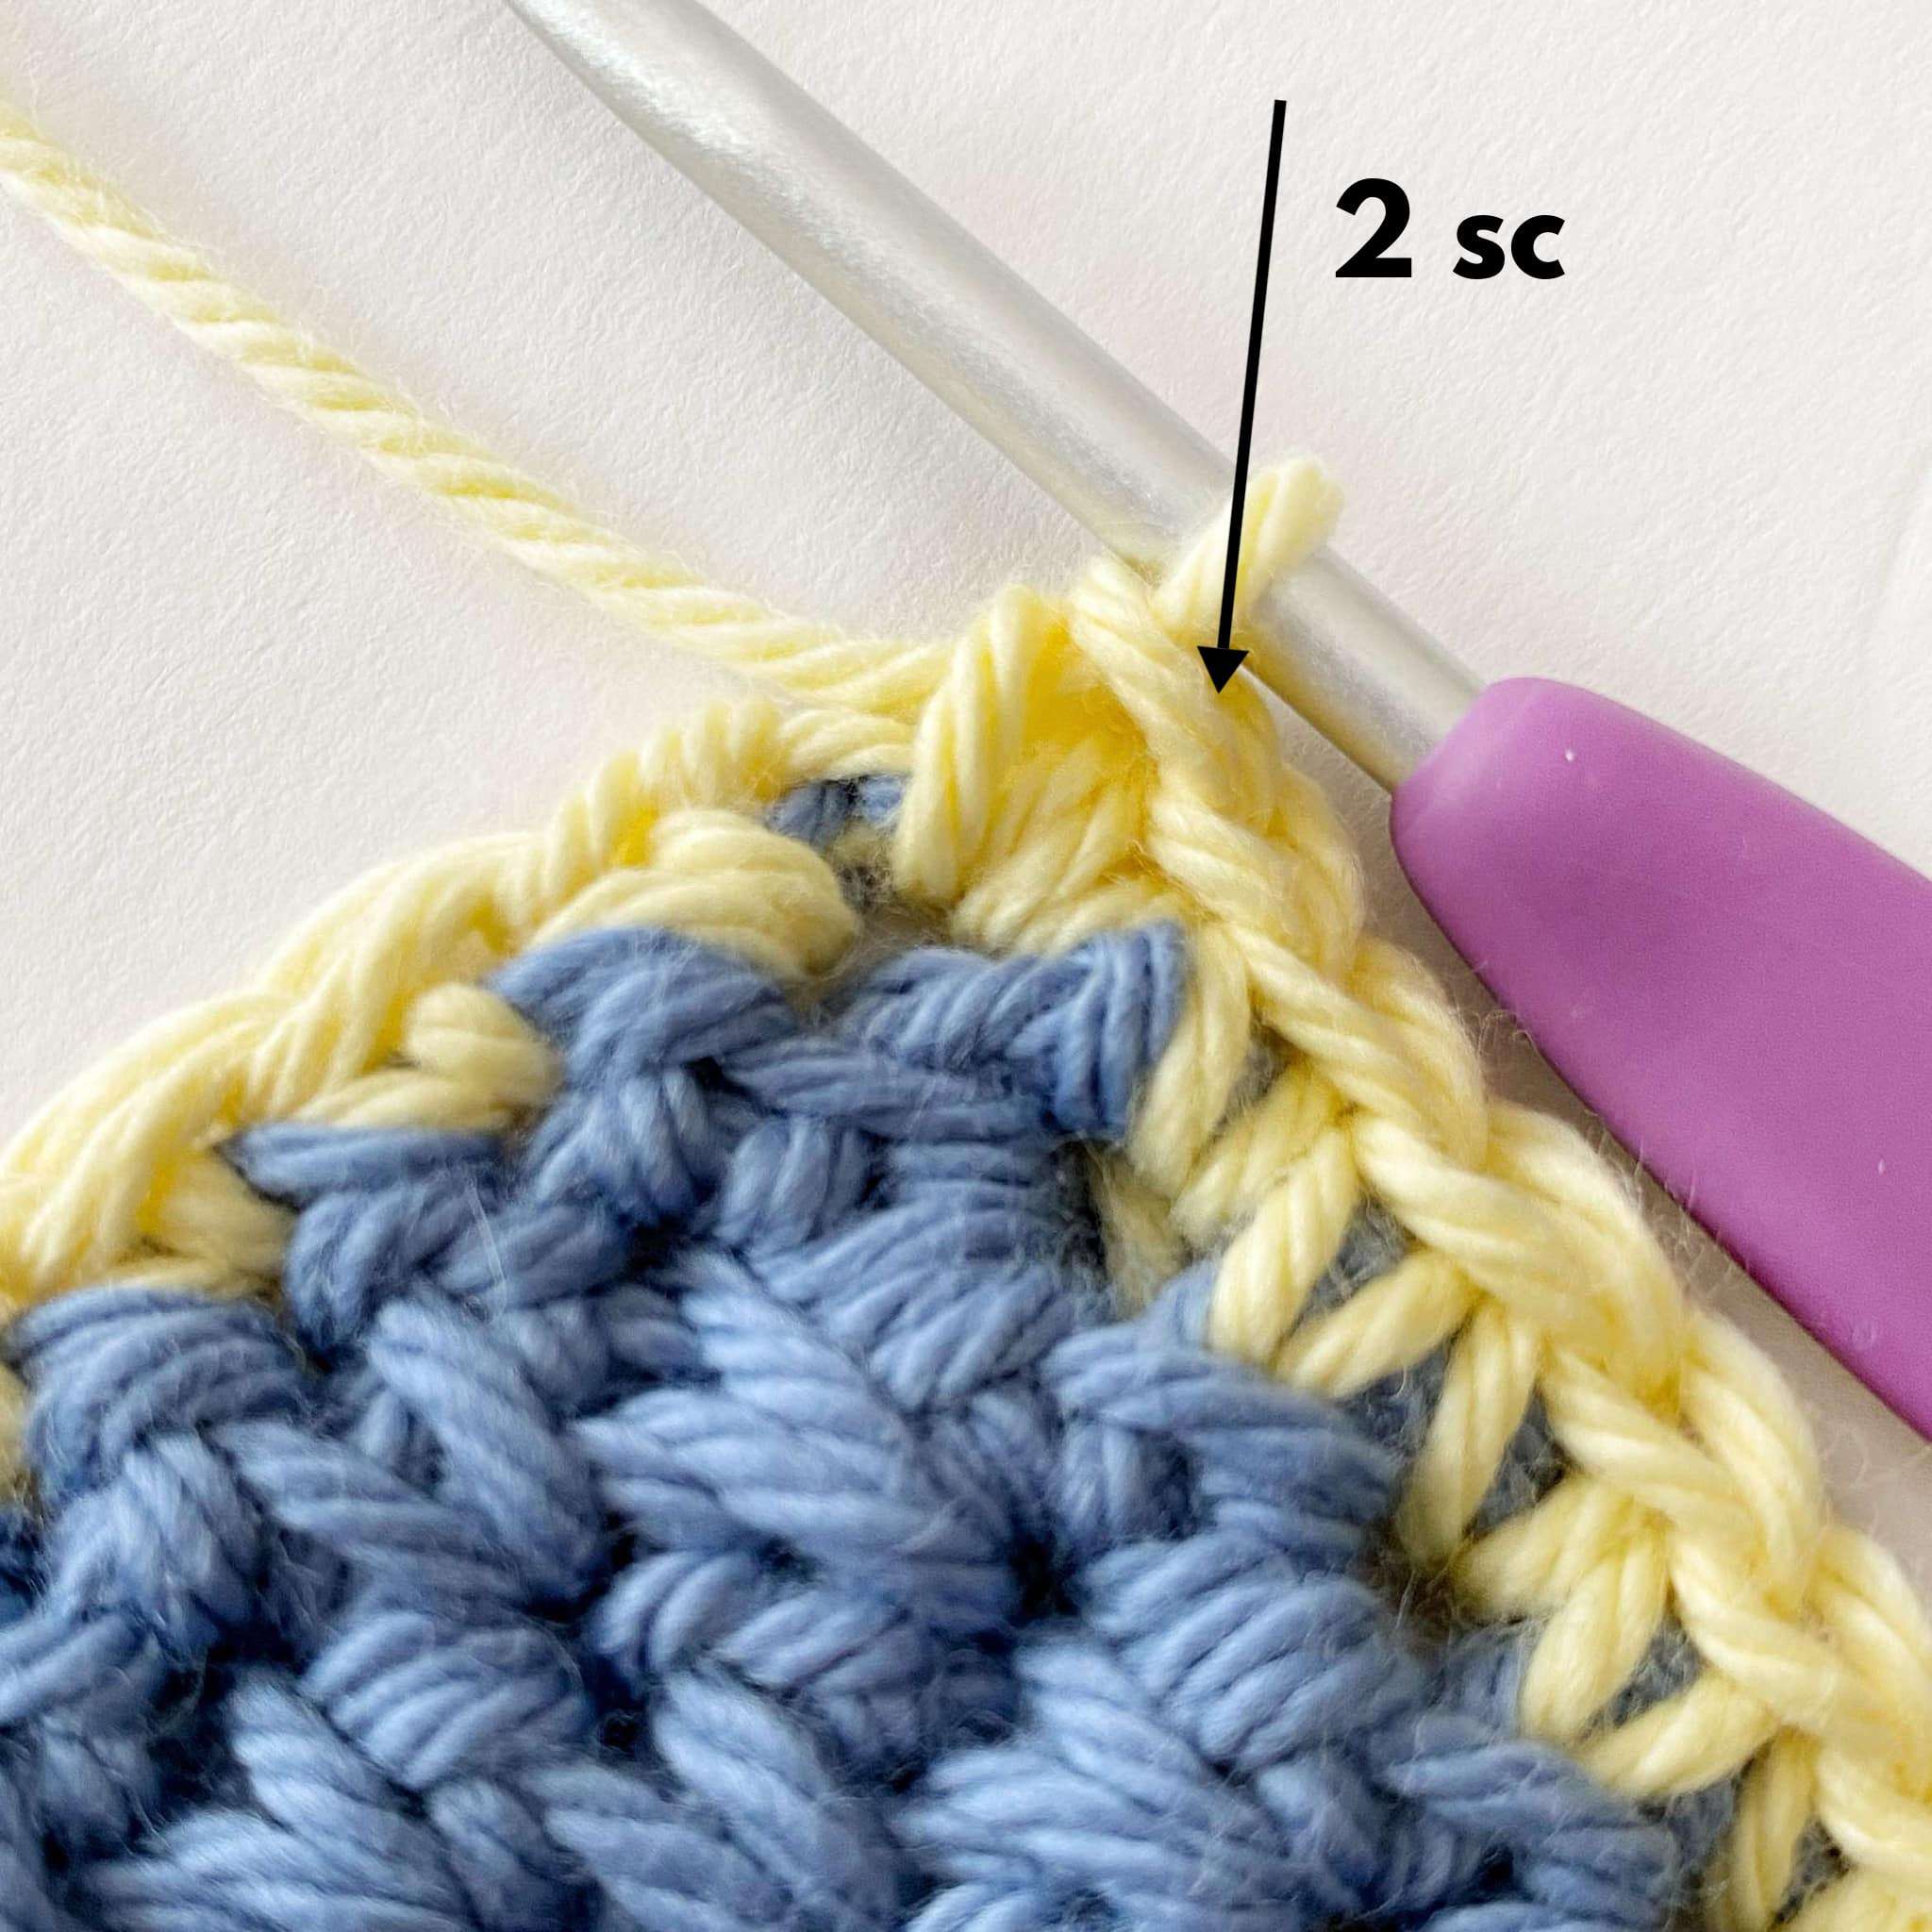
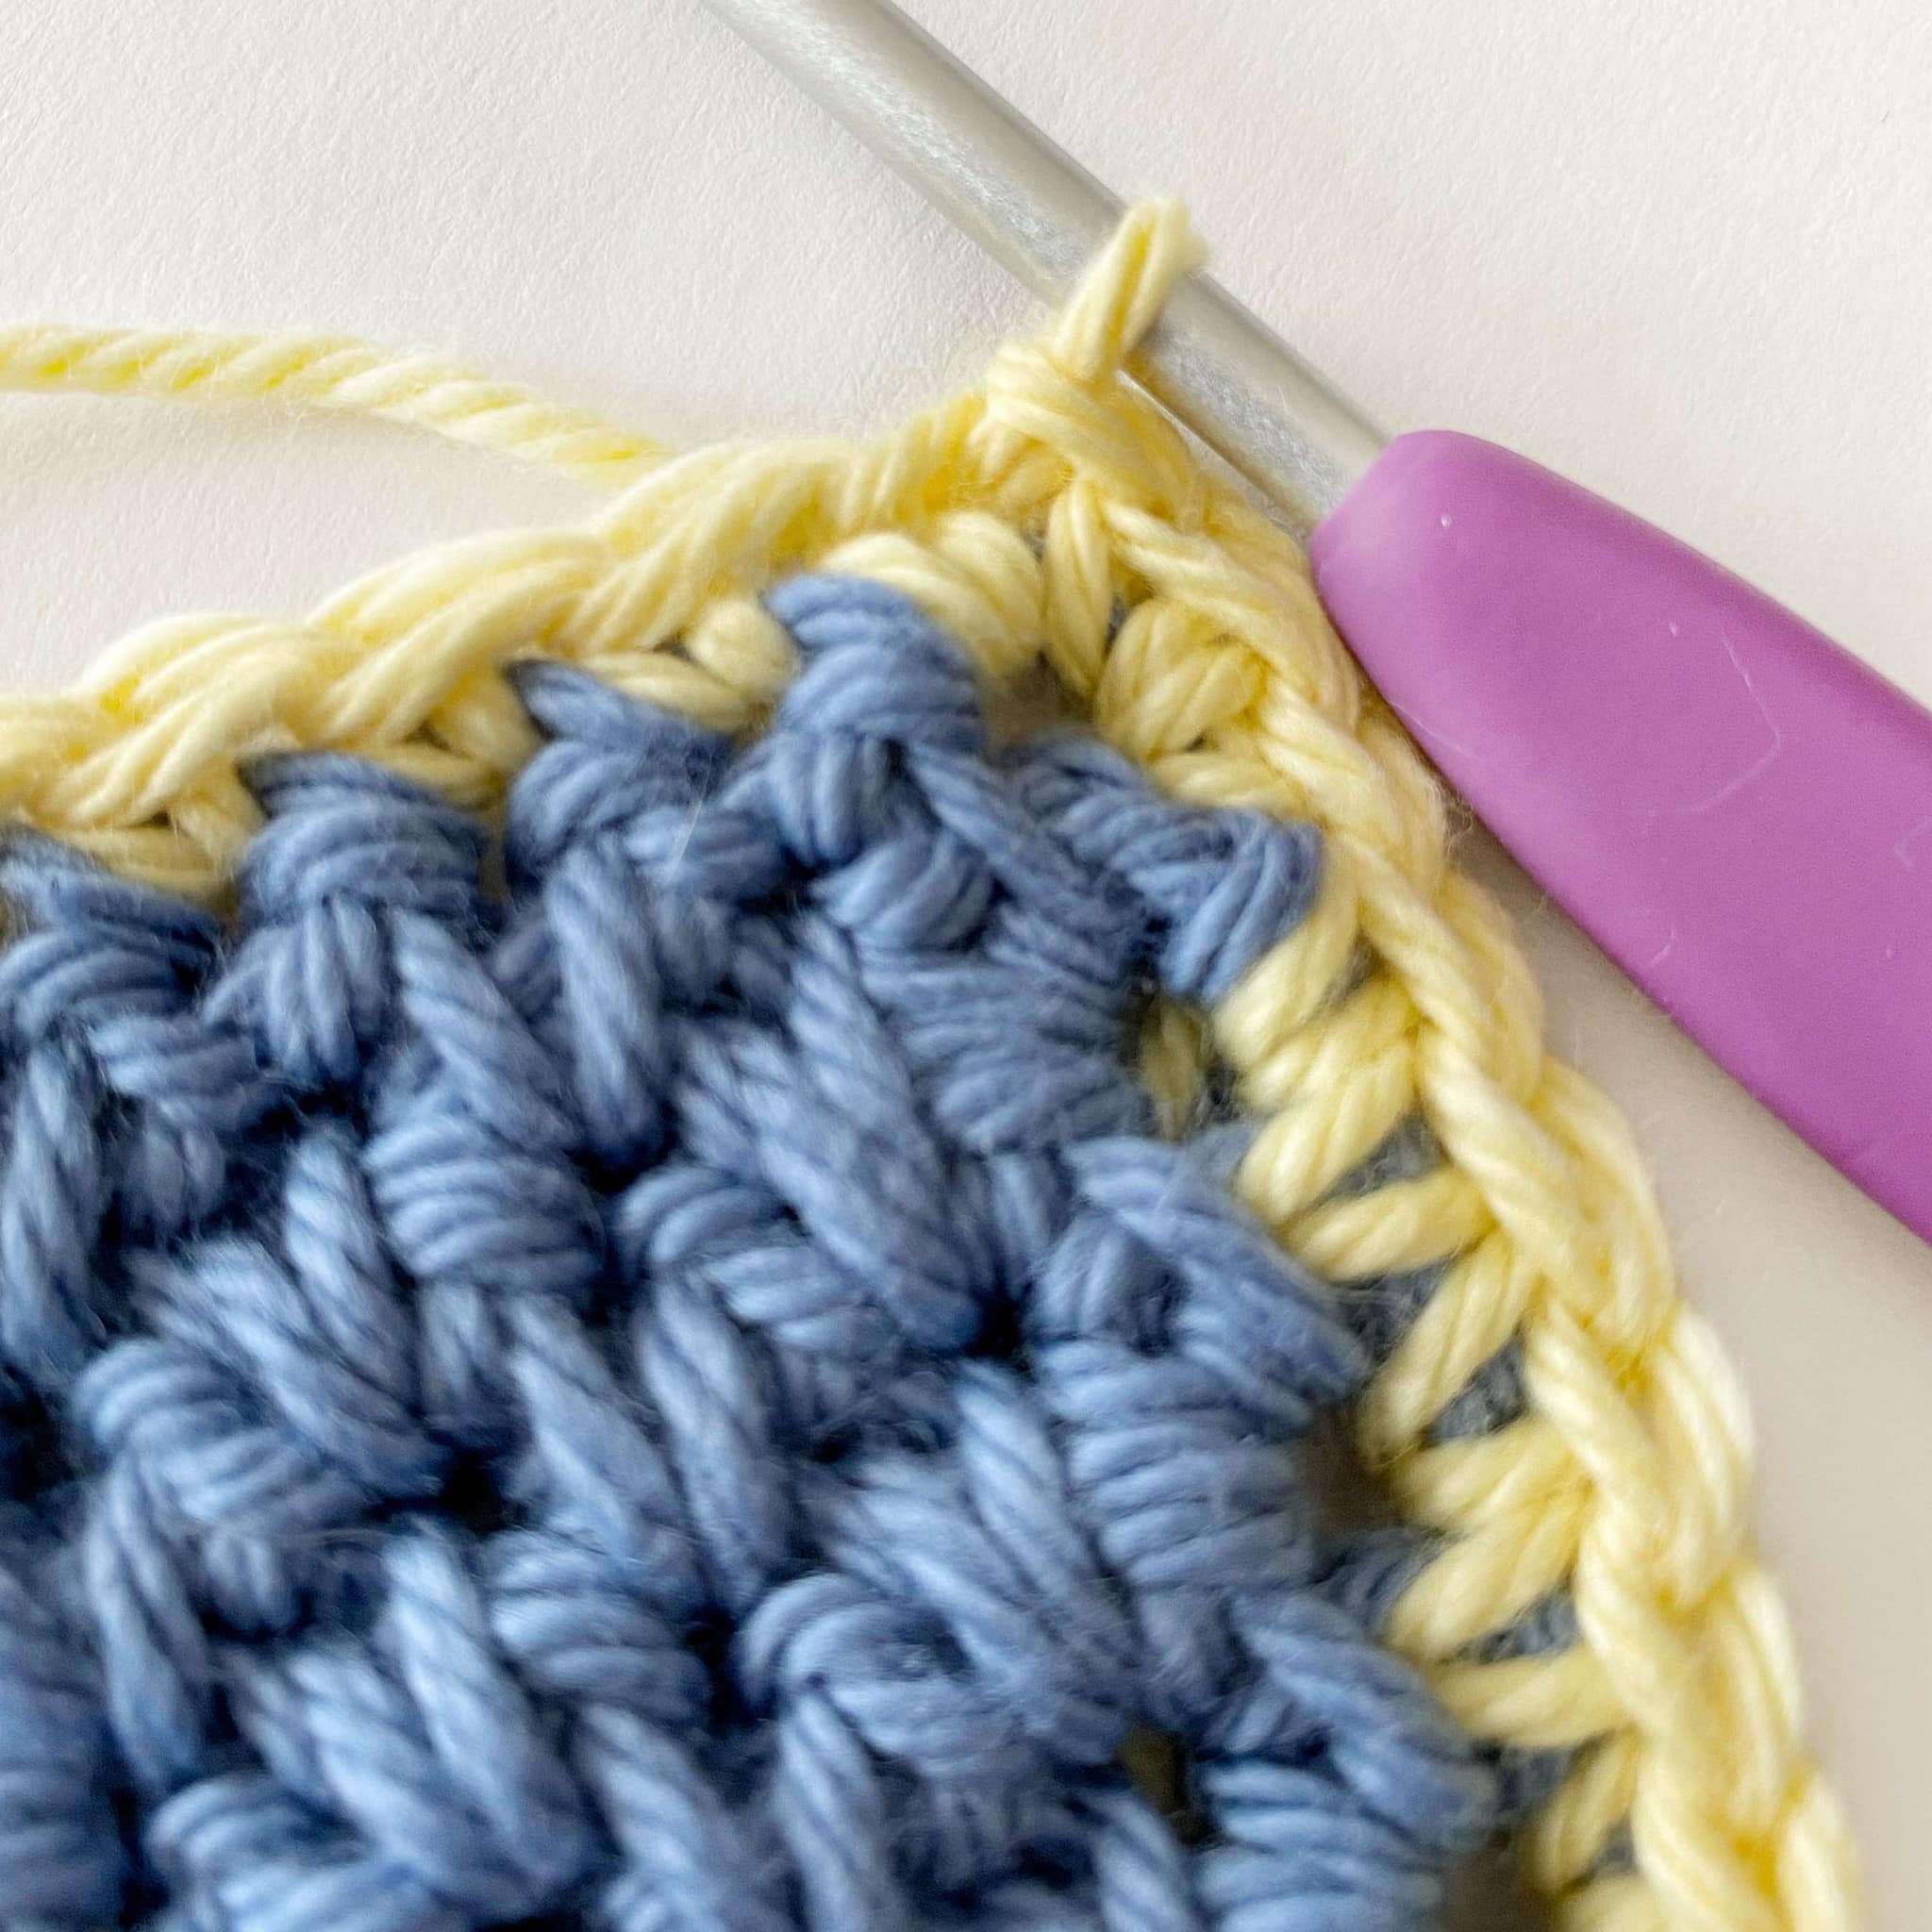
Right Side: Sc into the side of each row across until 1 row remains. 2 sc into the last row to complete the first corner. Join the last sc to the first sc with a sl st.
Blocking your Work:
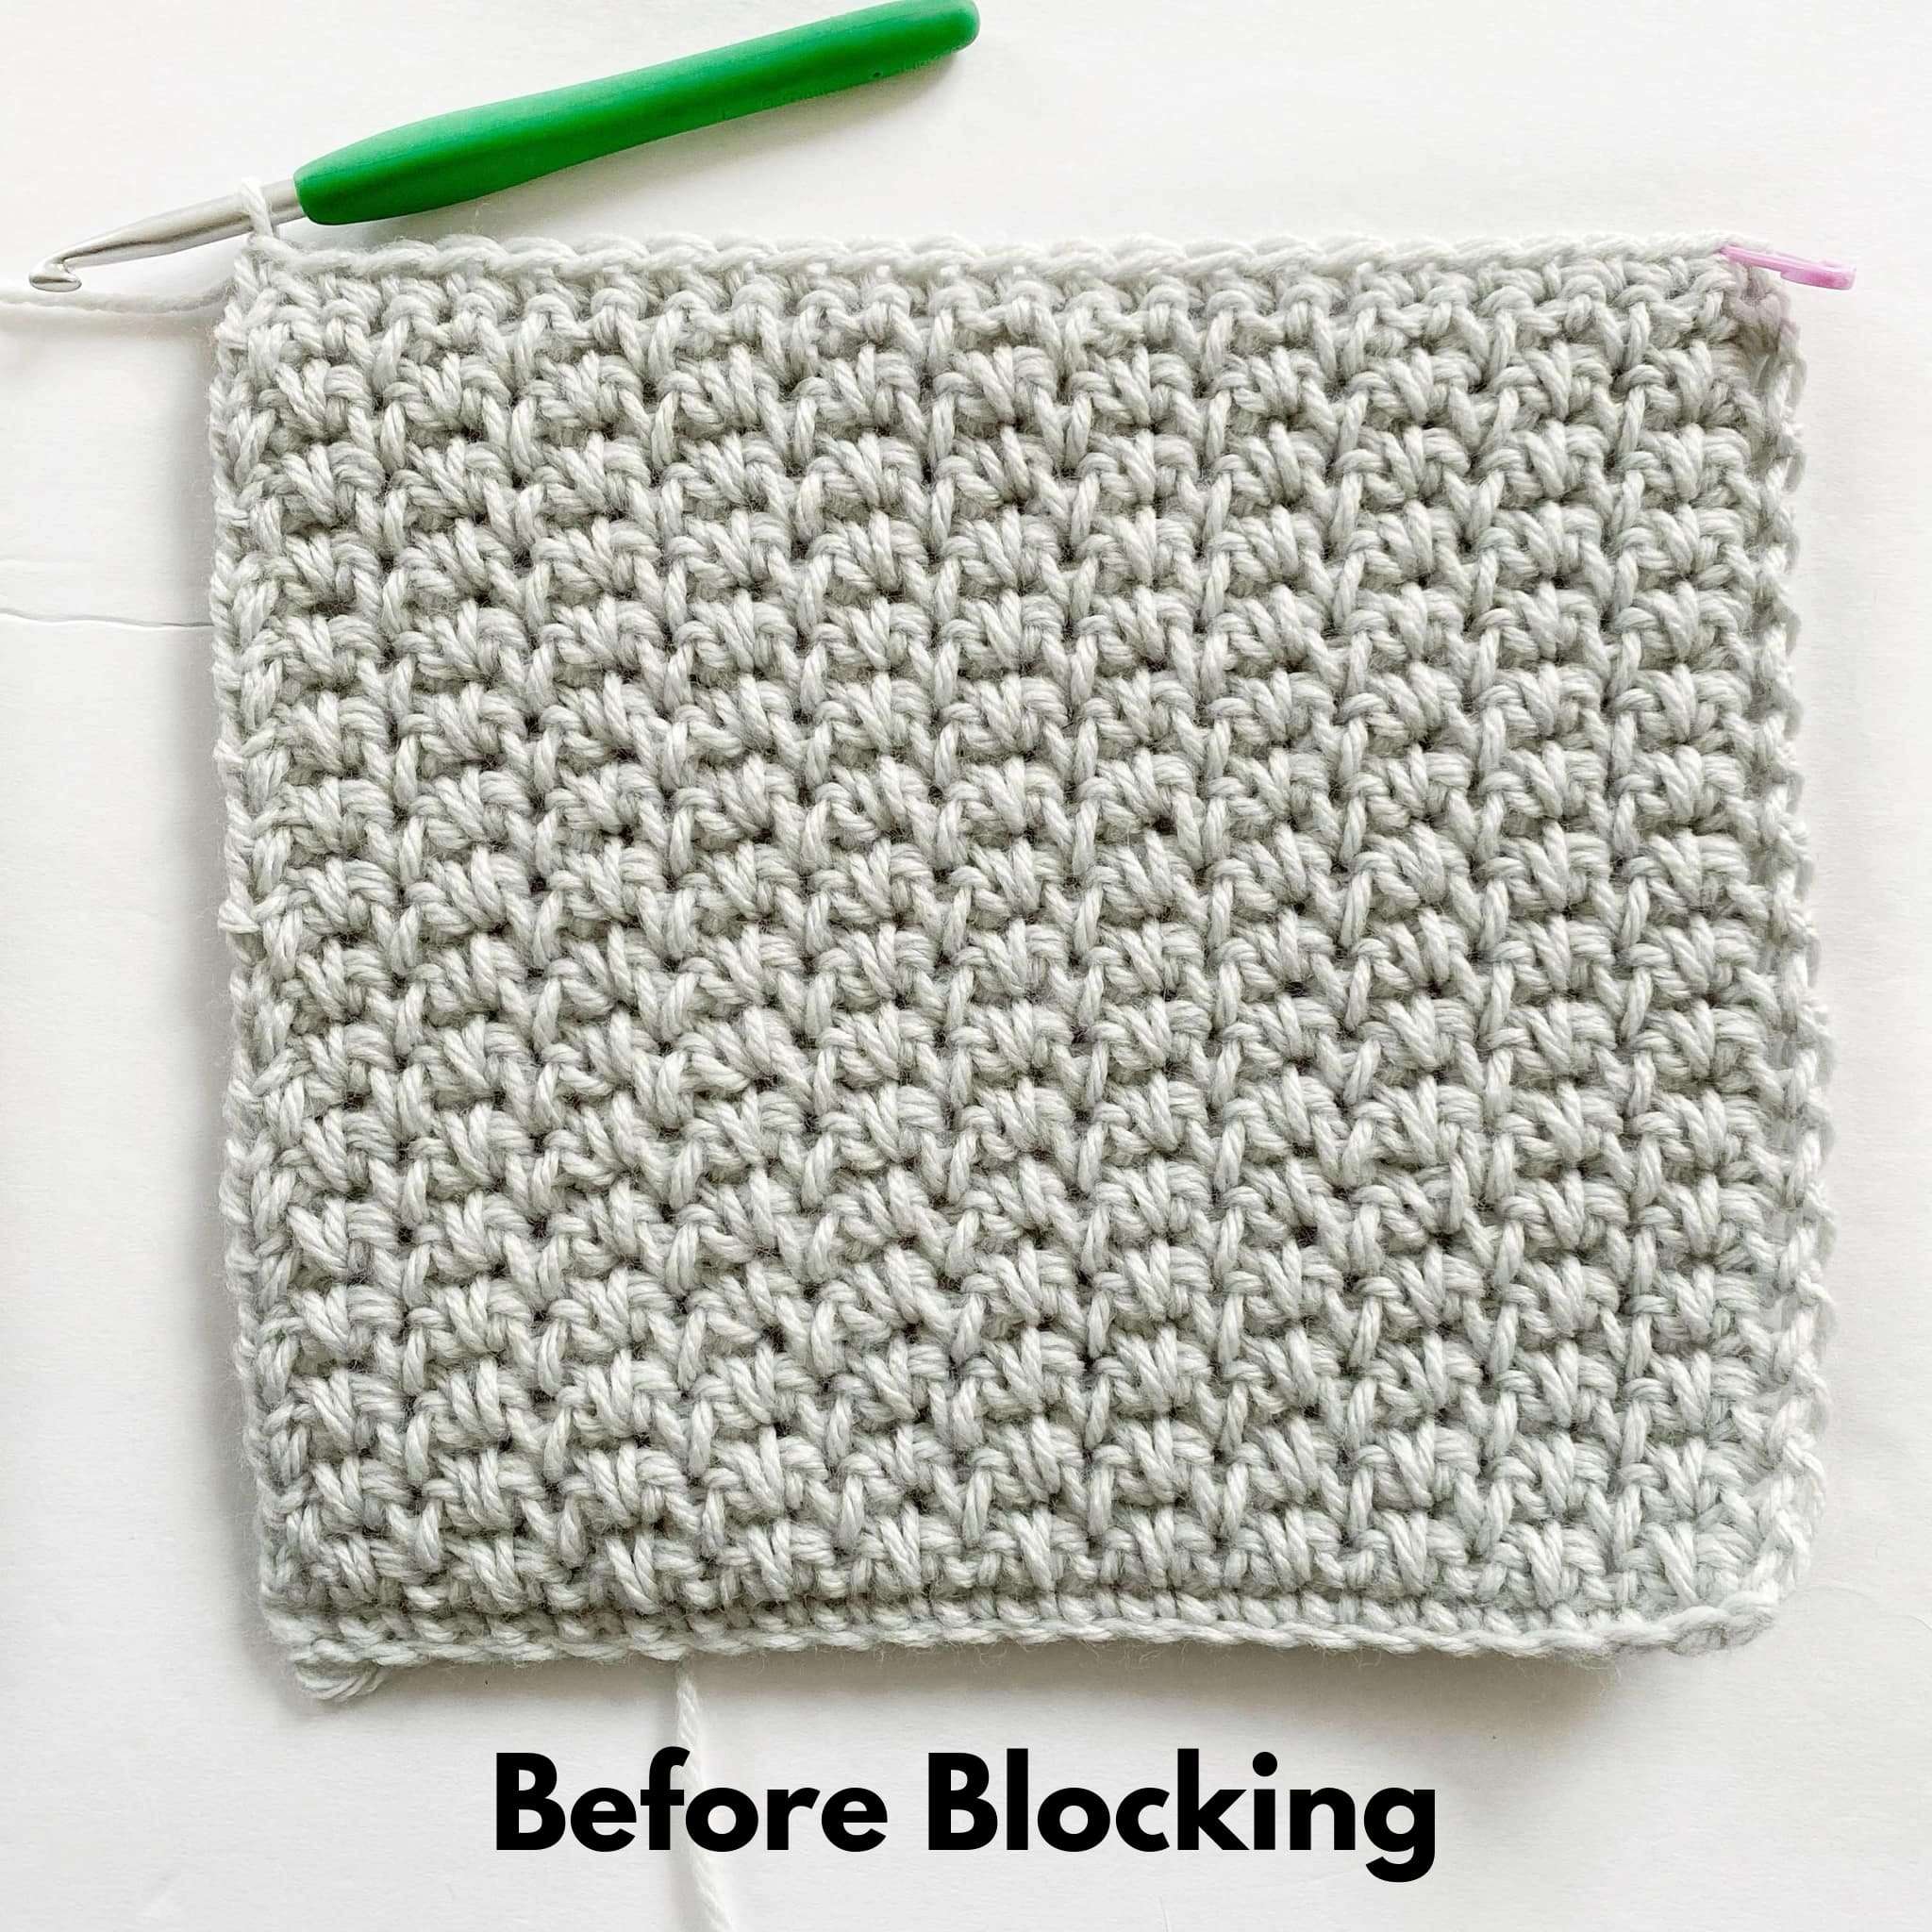
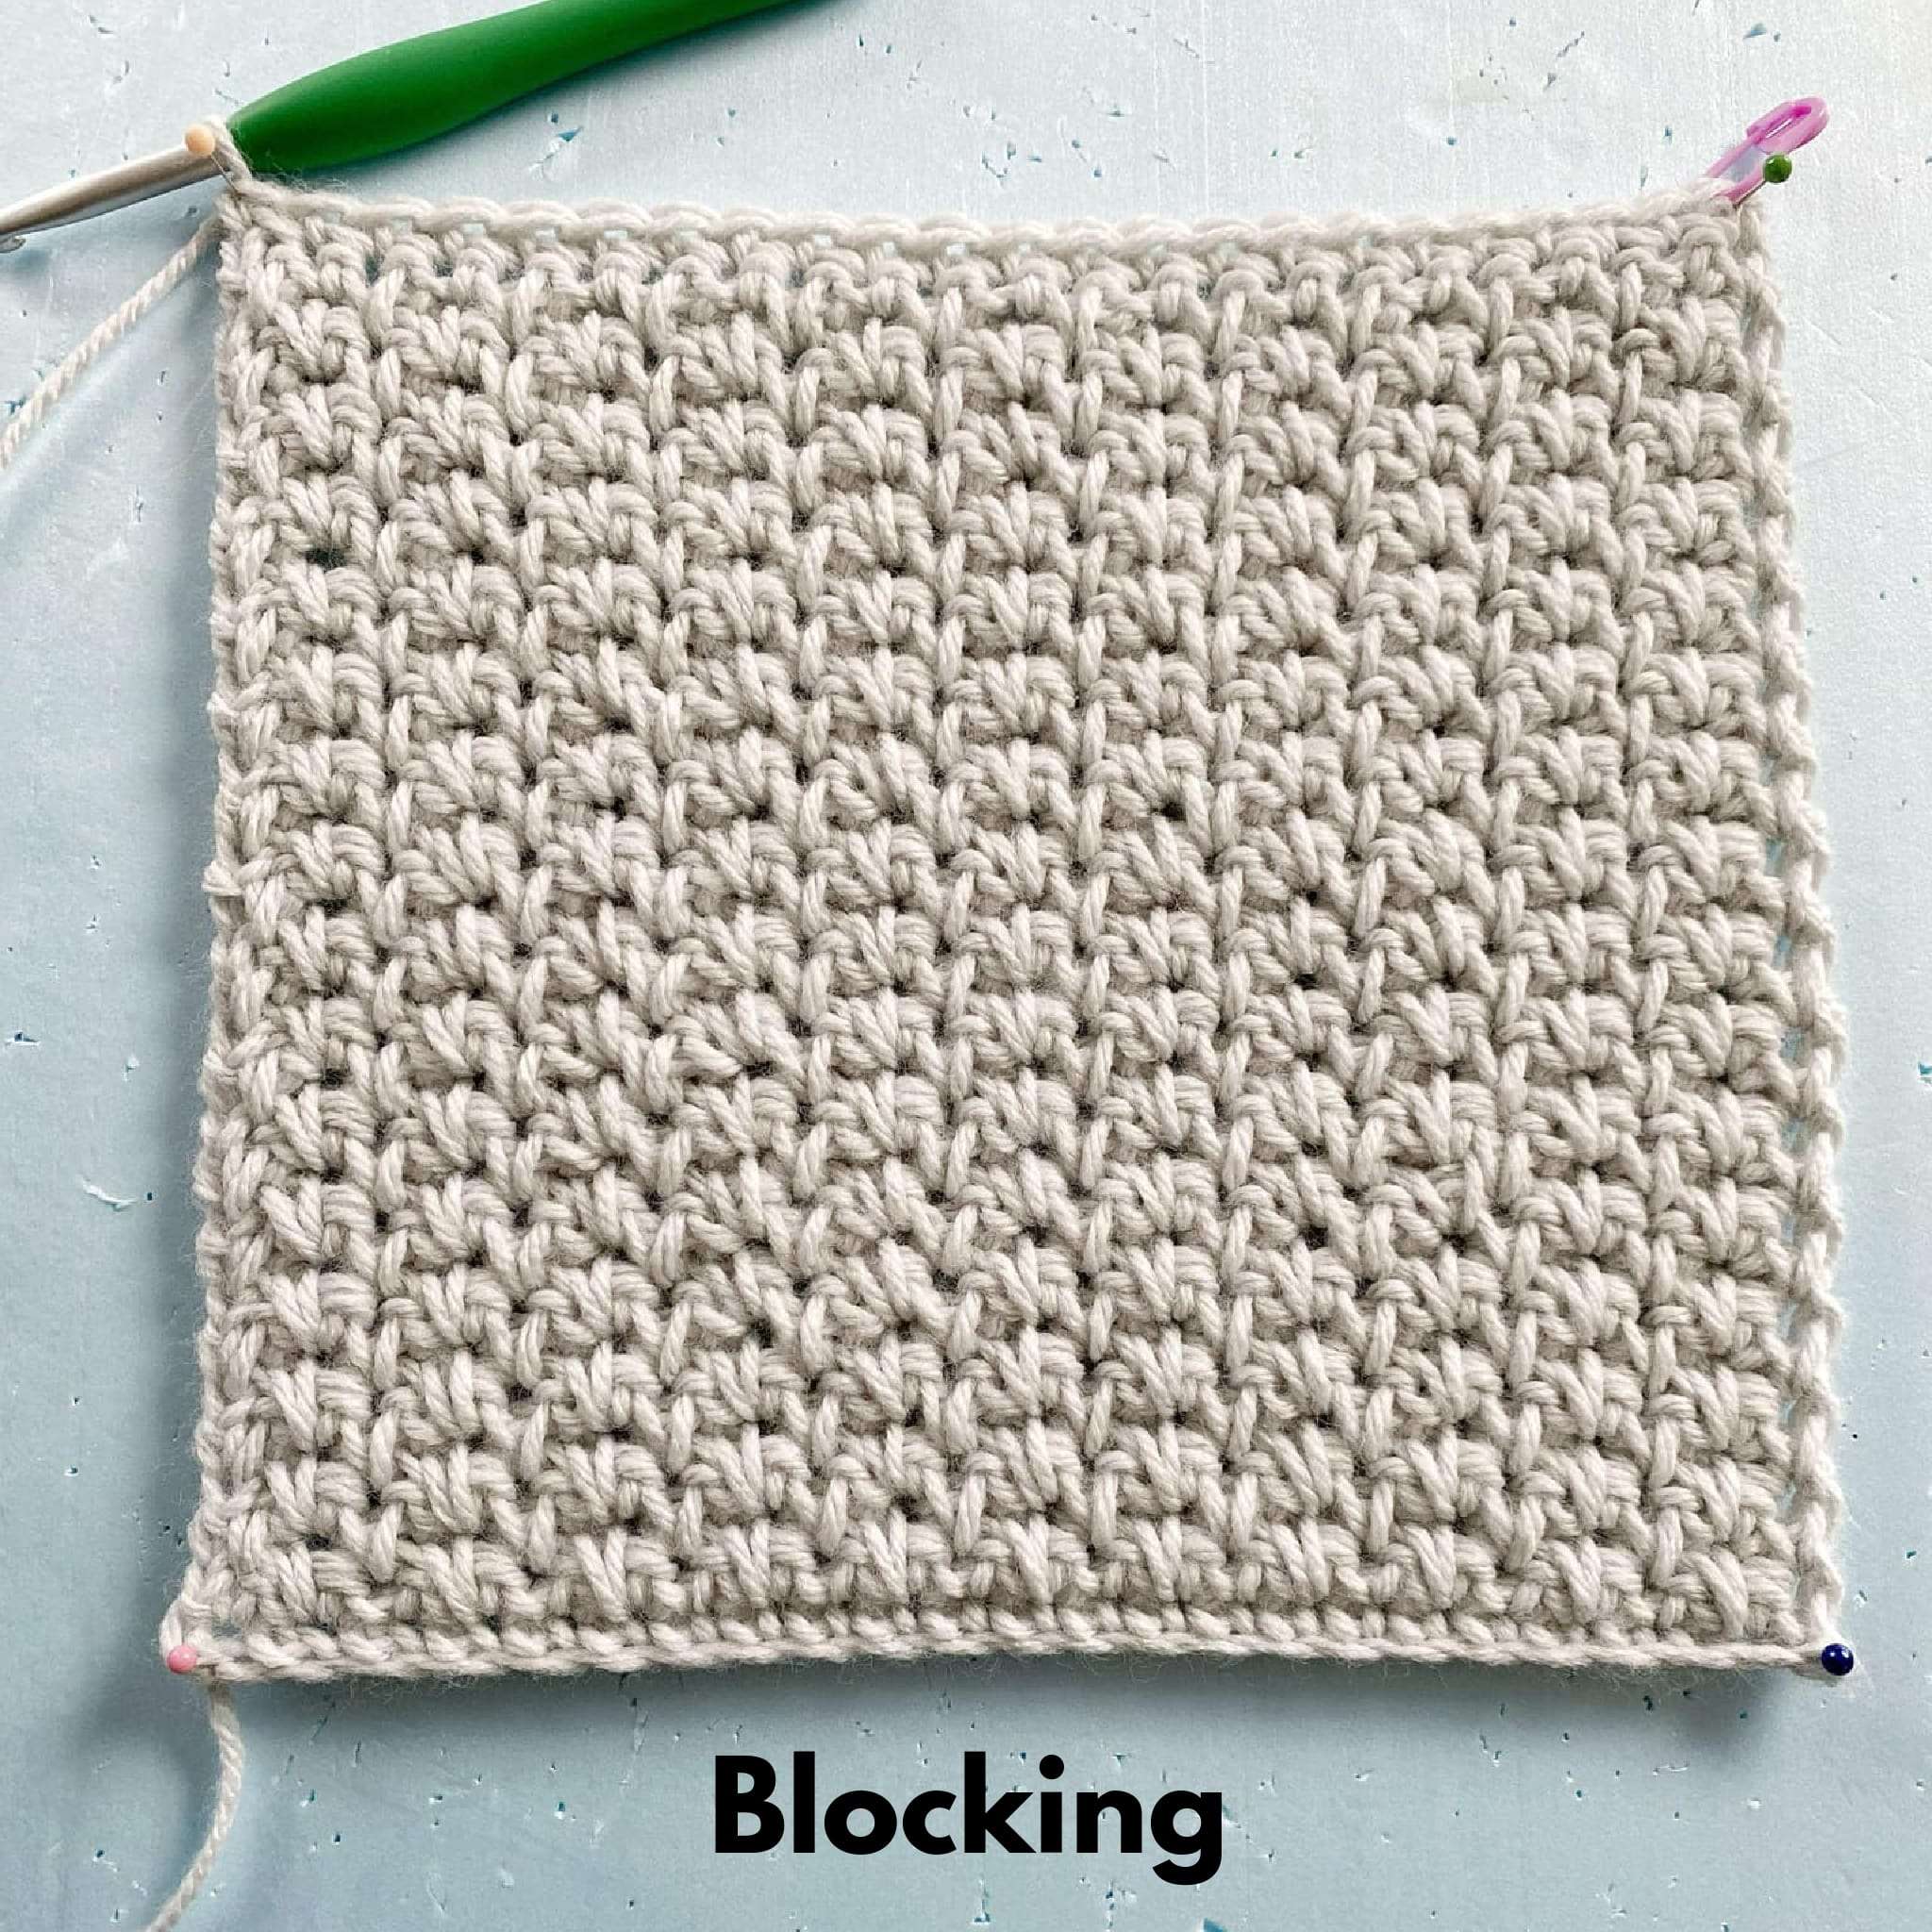
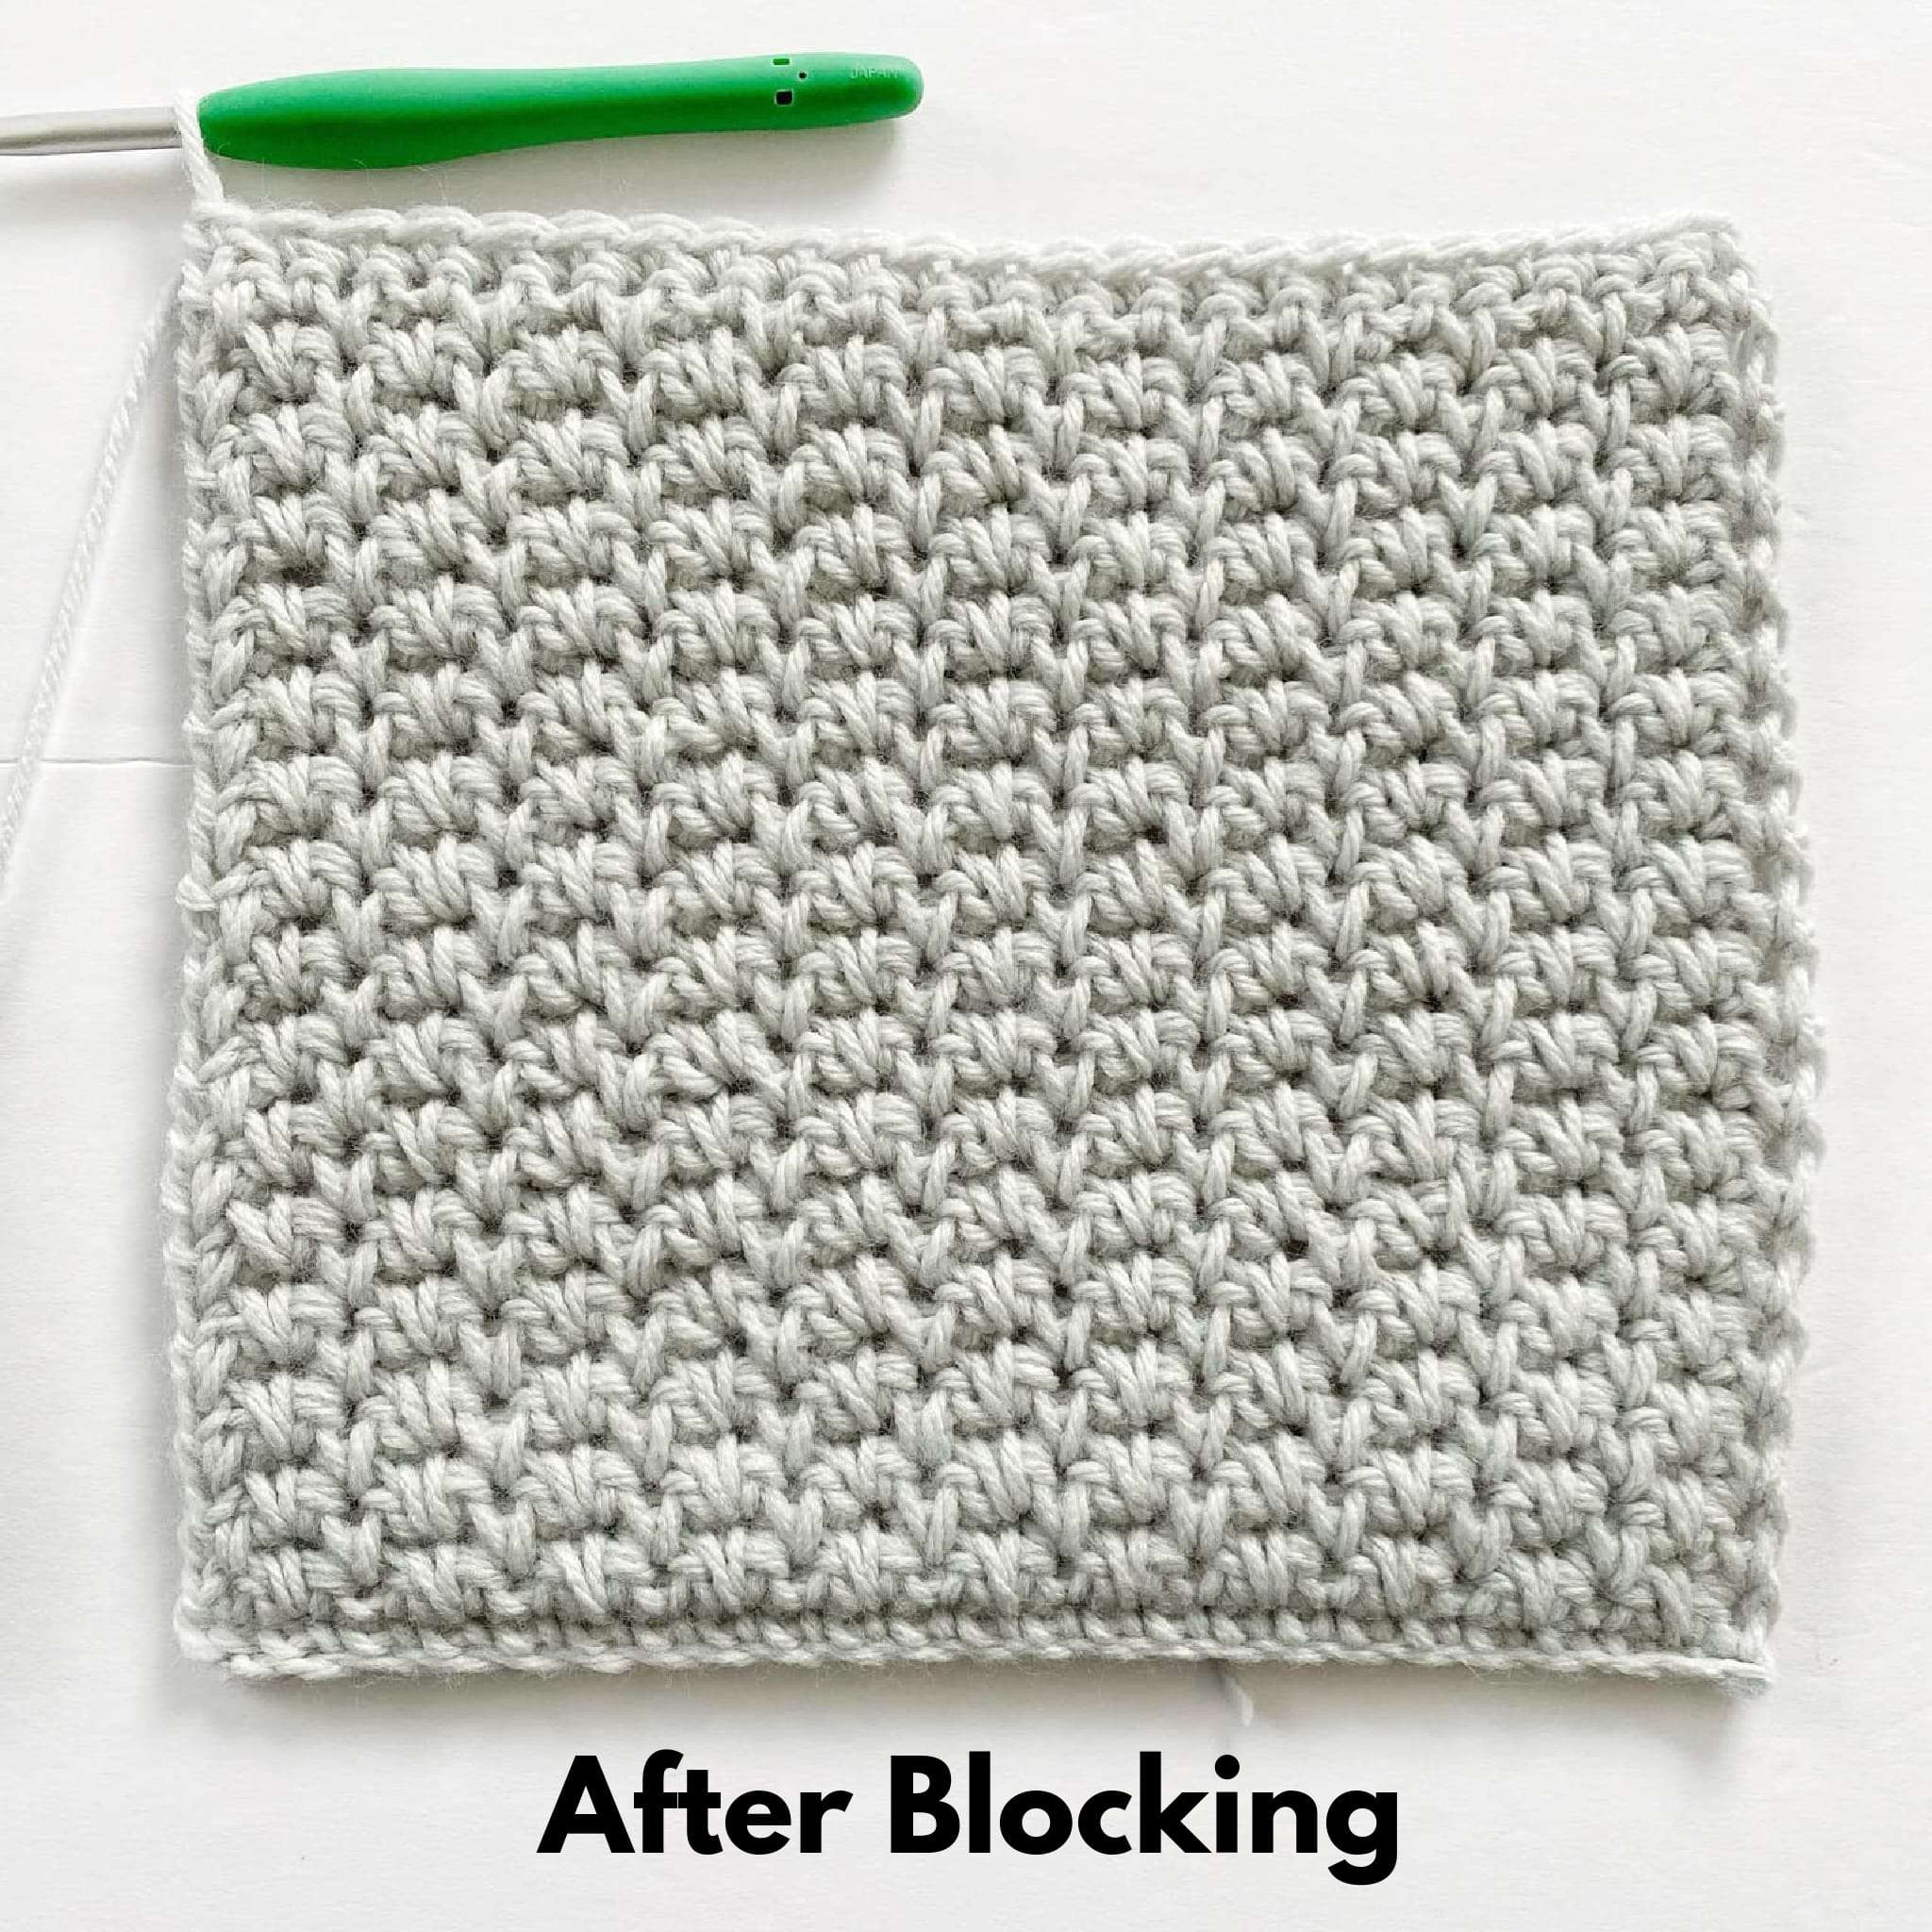
Blocking your dishcloth is optional, but it helps straighten the edges and relax the stitches, so your work lies flat.
To block your work, pin your dishcloth in place with straight pins; steam your dishcloth, making sure to stay at least 2″ away from the fabric; gently press the steam/water into the fabric; let it dry completely, and unpin it.
I hope you enjoyed making this simple textured crochet dishcloth. If you have any questions, please send me a message through my Contact page.
Disclaimer: You are welcome to sell items that you’ve made from this pattern; however, you are not allowed to use my pictures or sell my pattern as your own (Copyright @ ThisPixieCreates).
Enjoy your day, and happy crocheting!
Sincerely,
Dayna