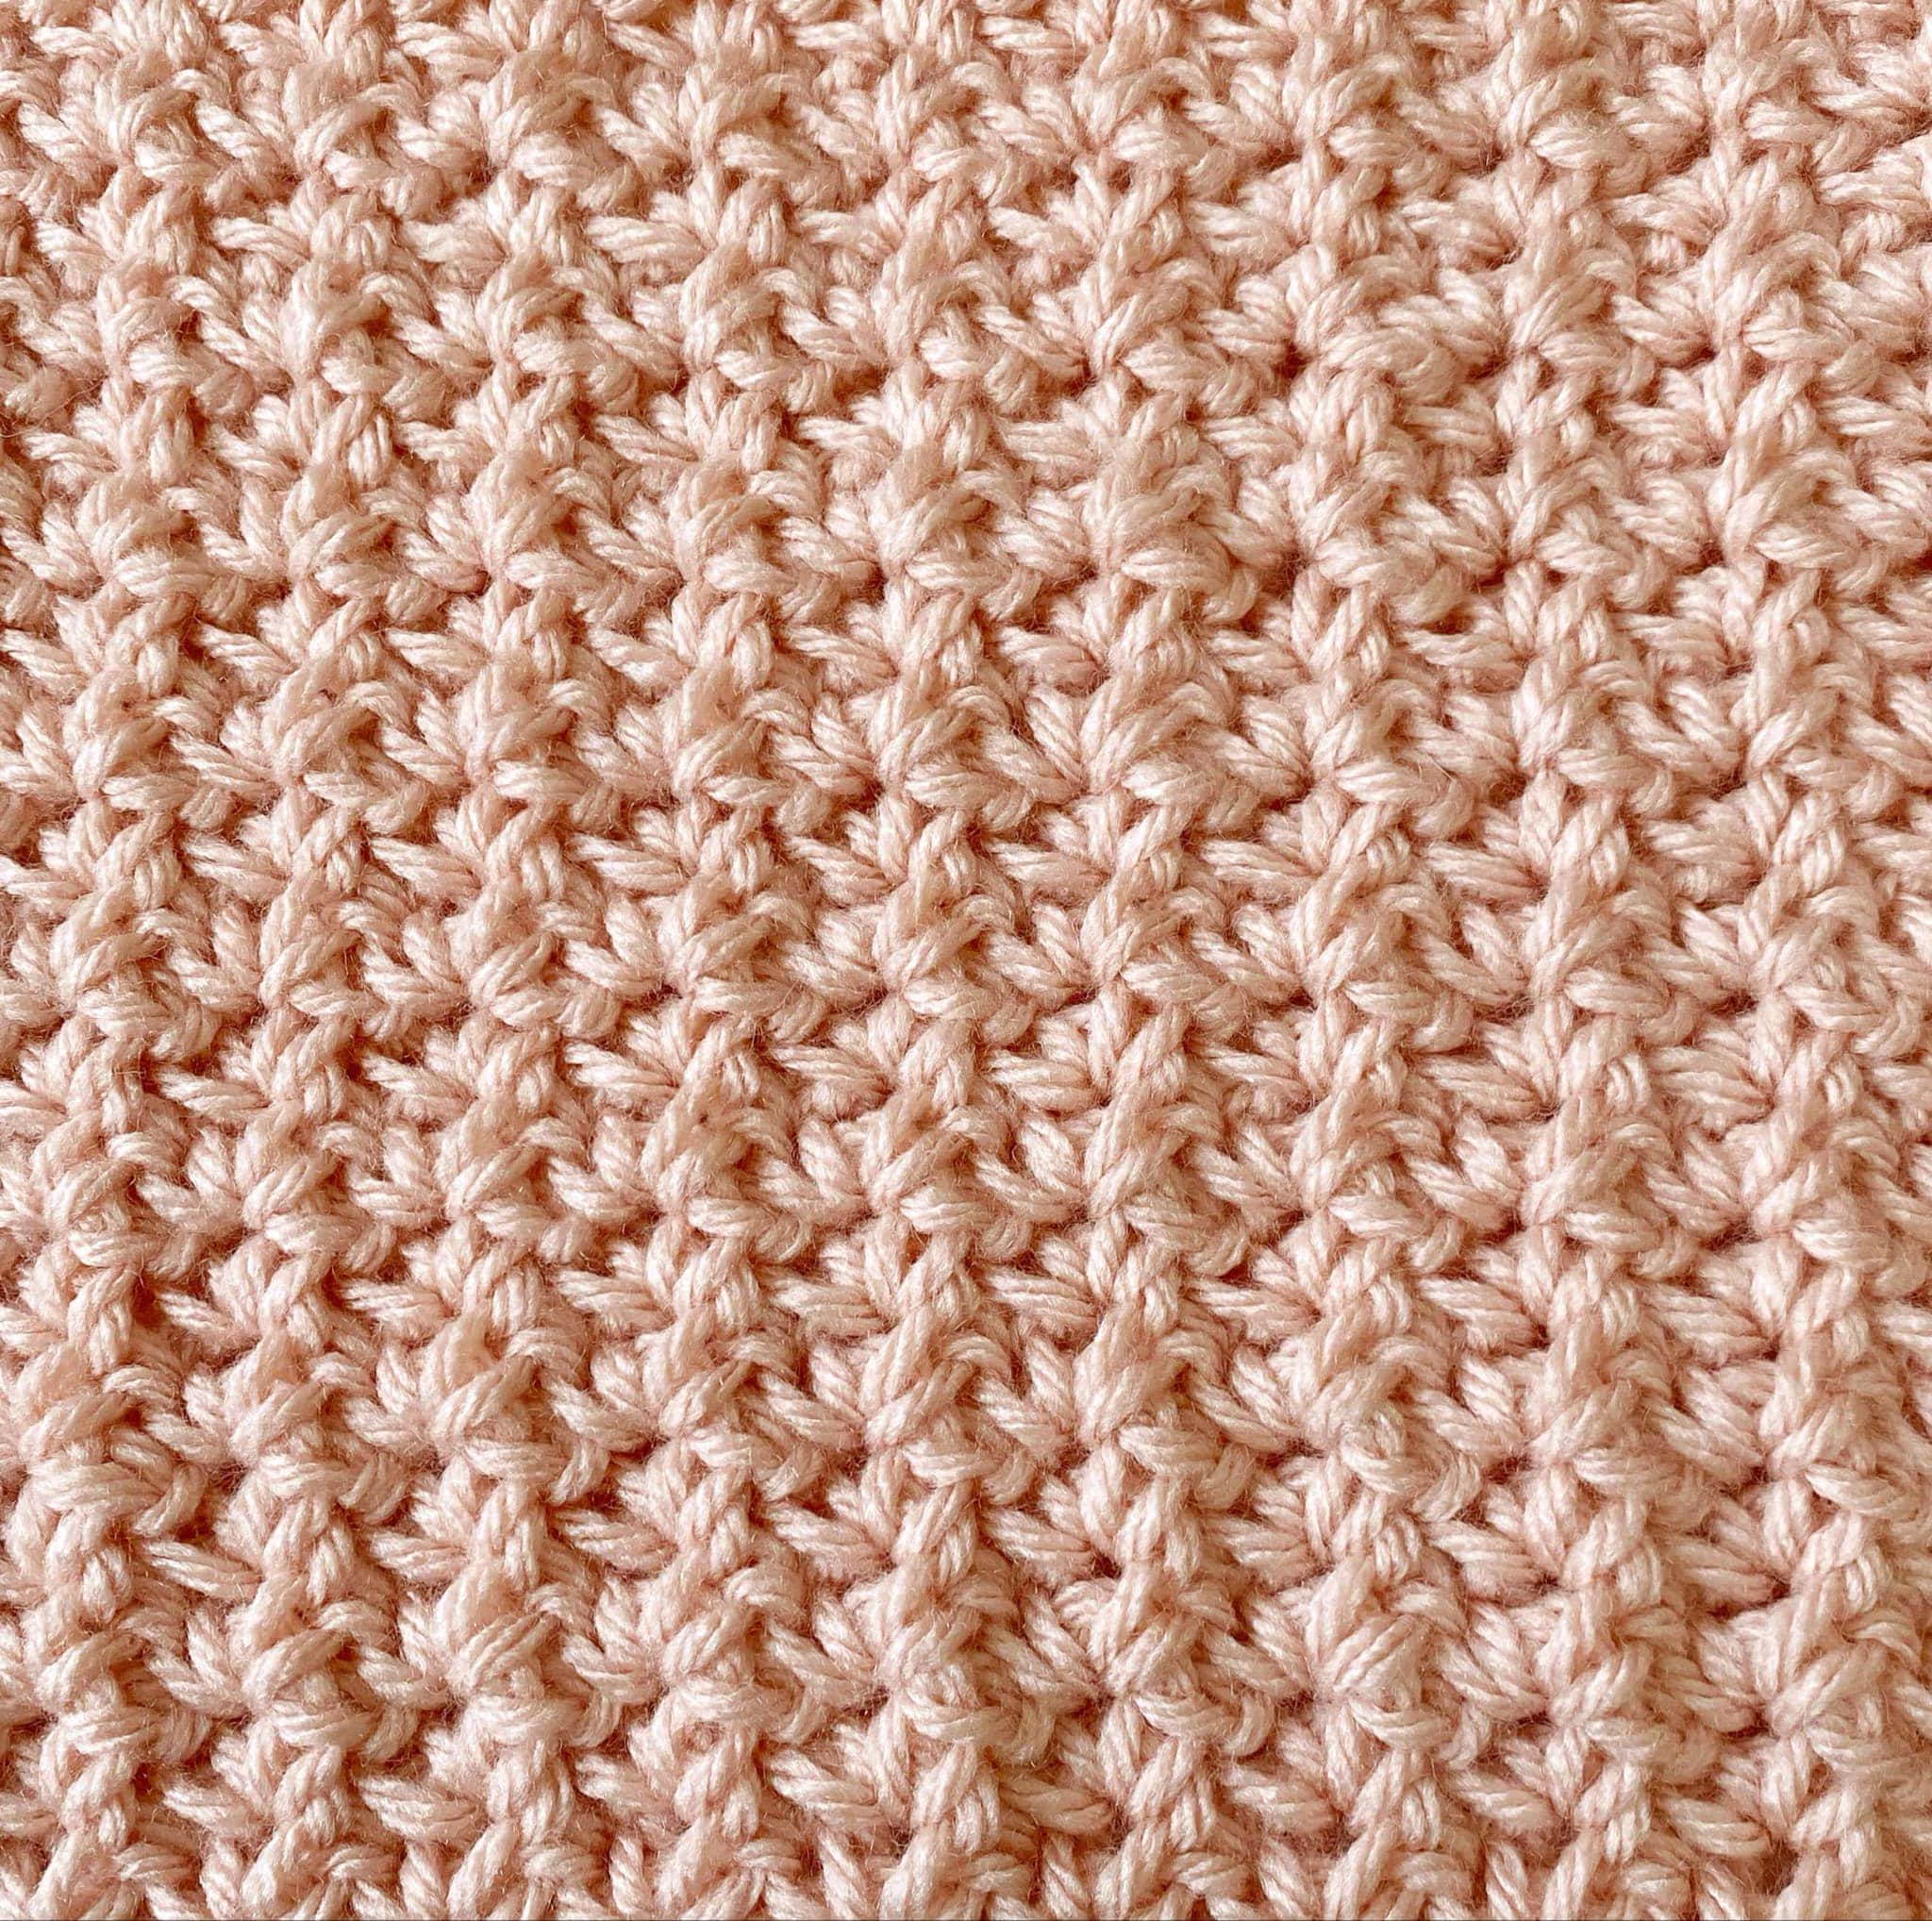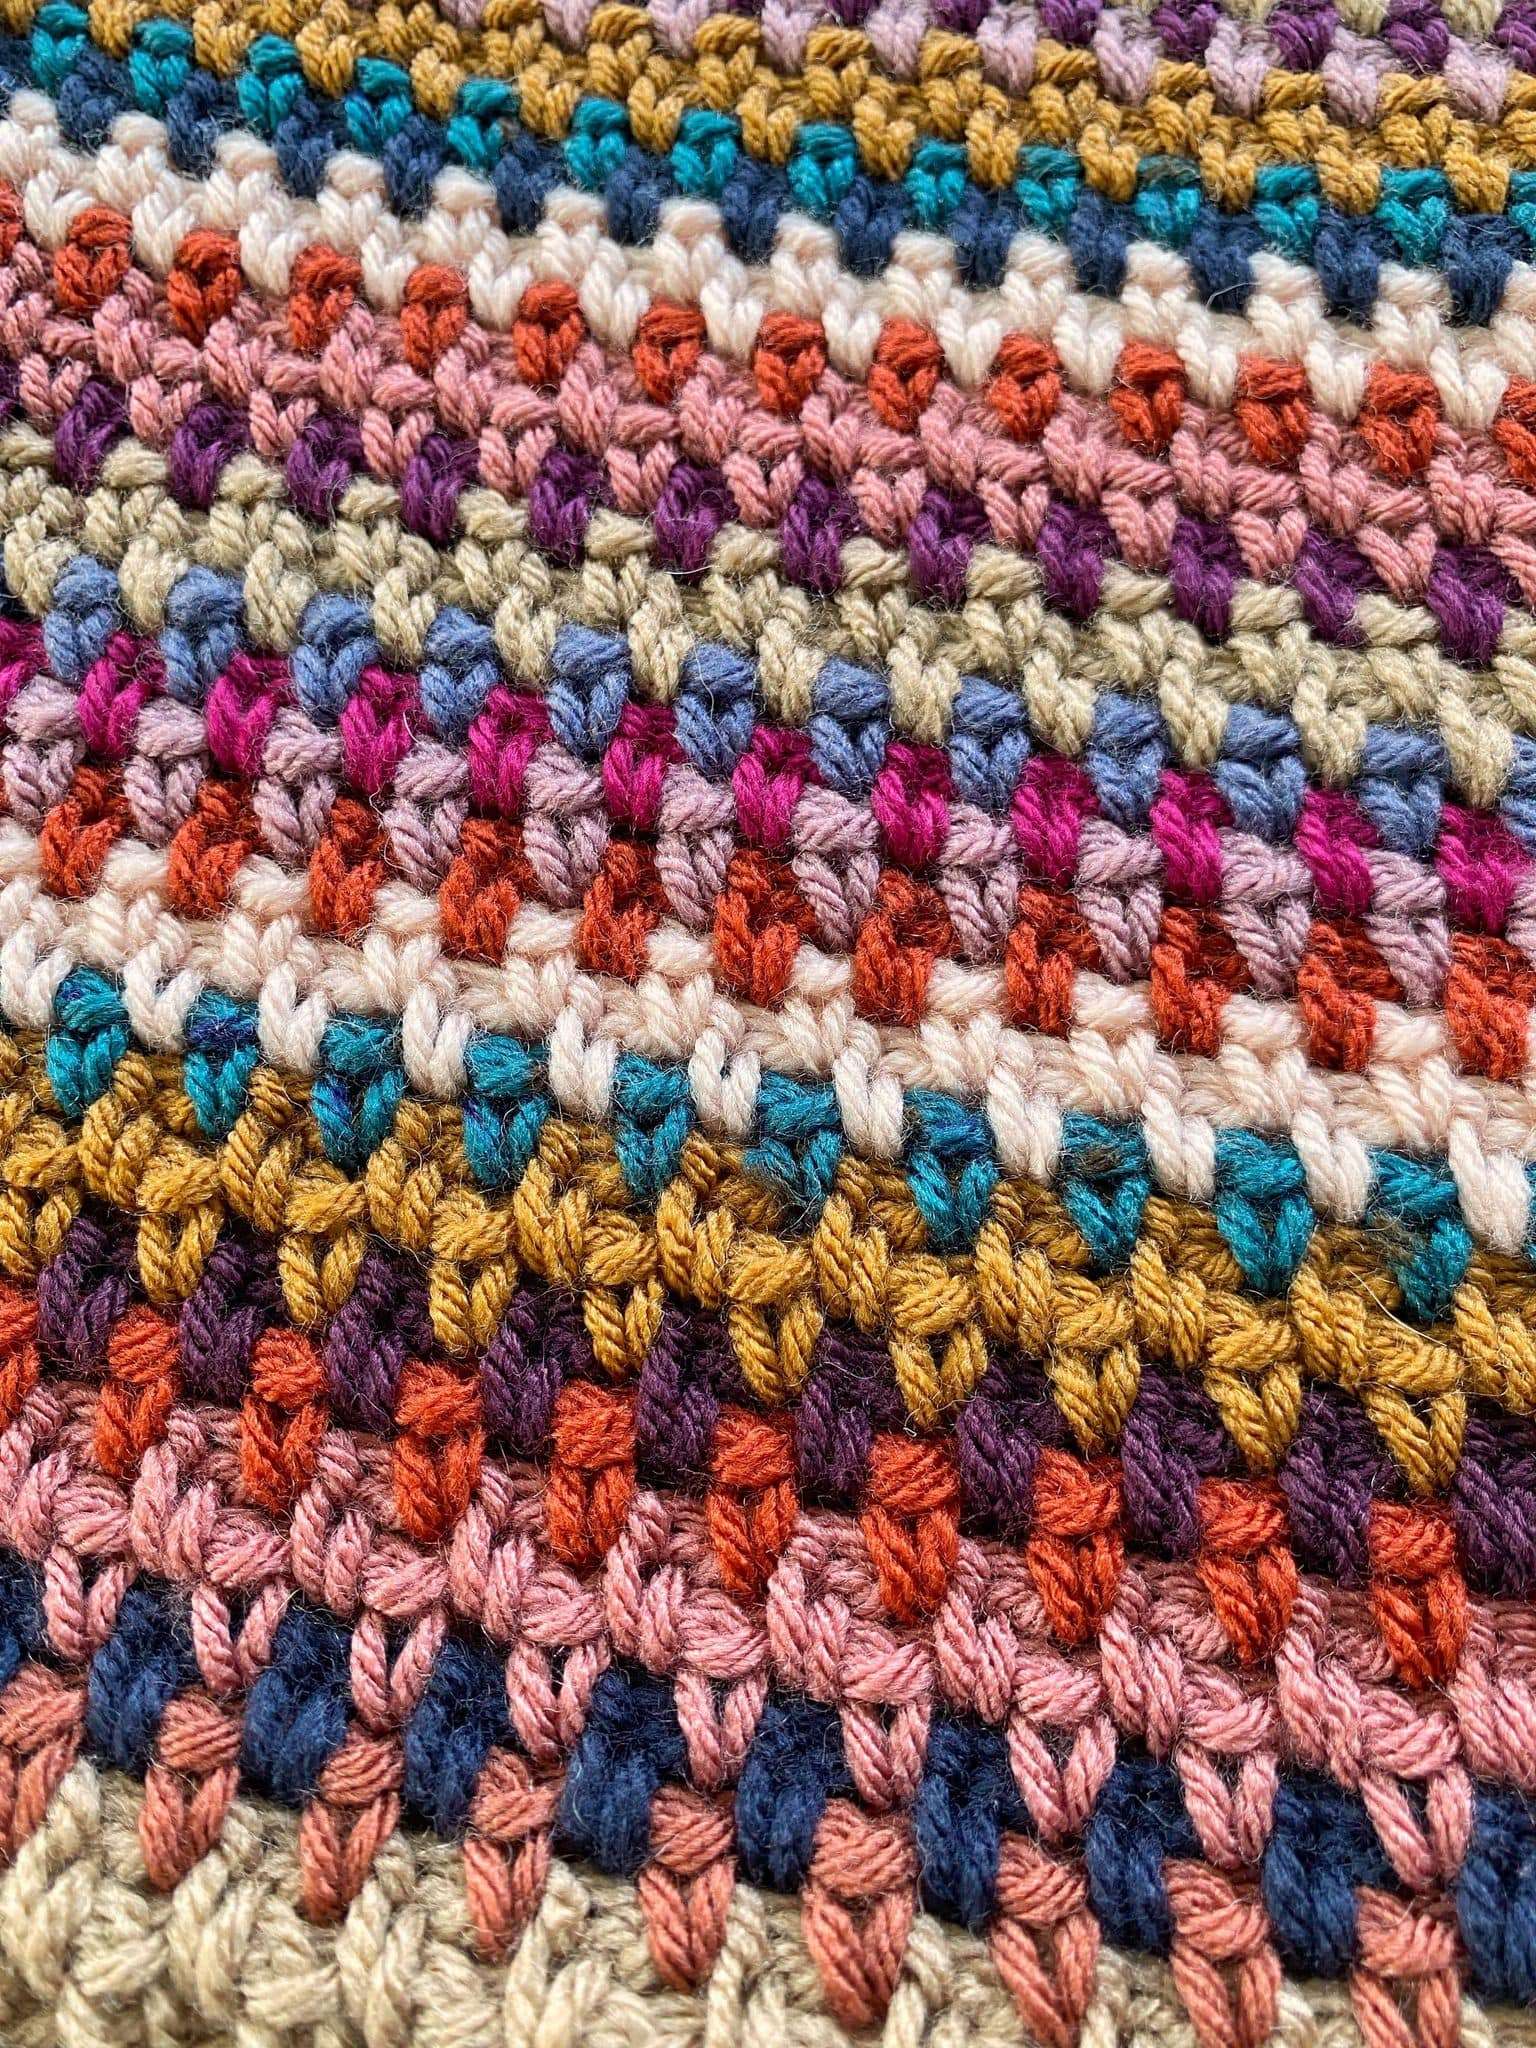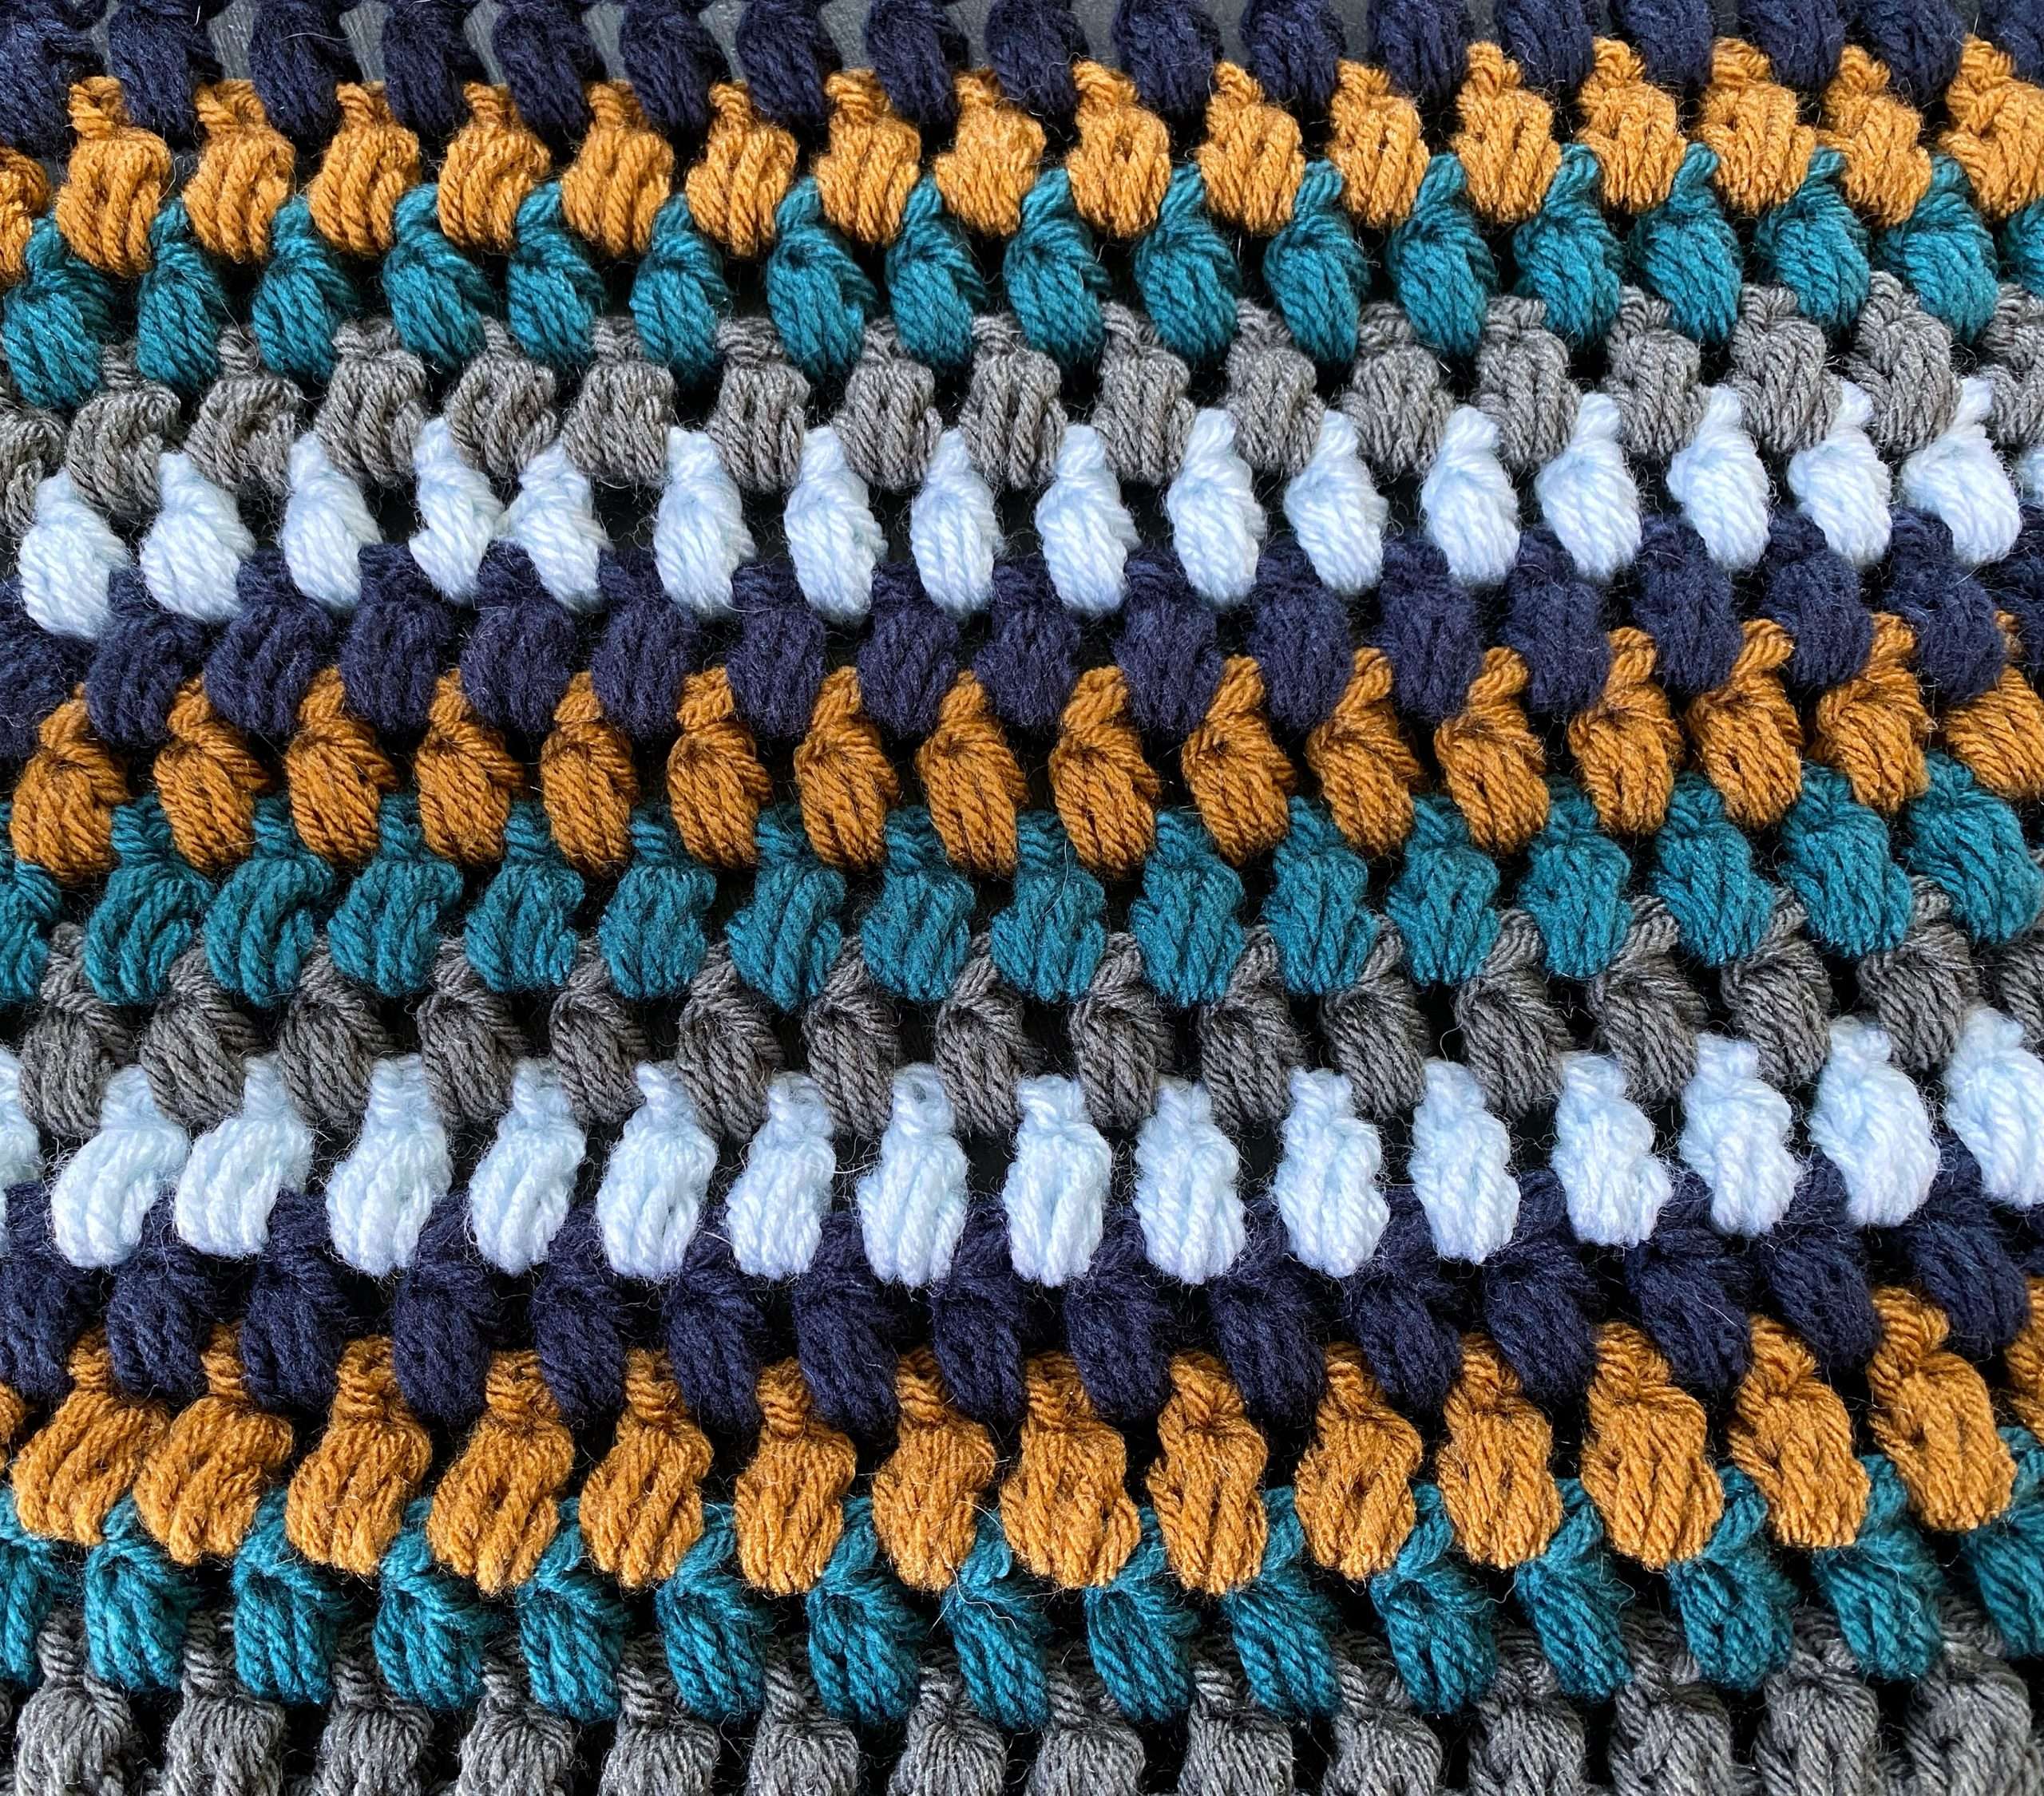
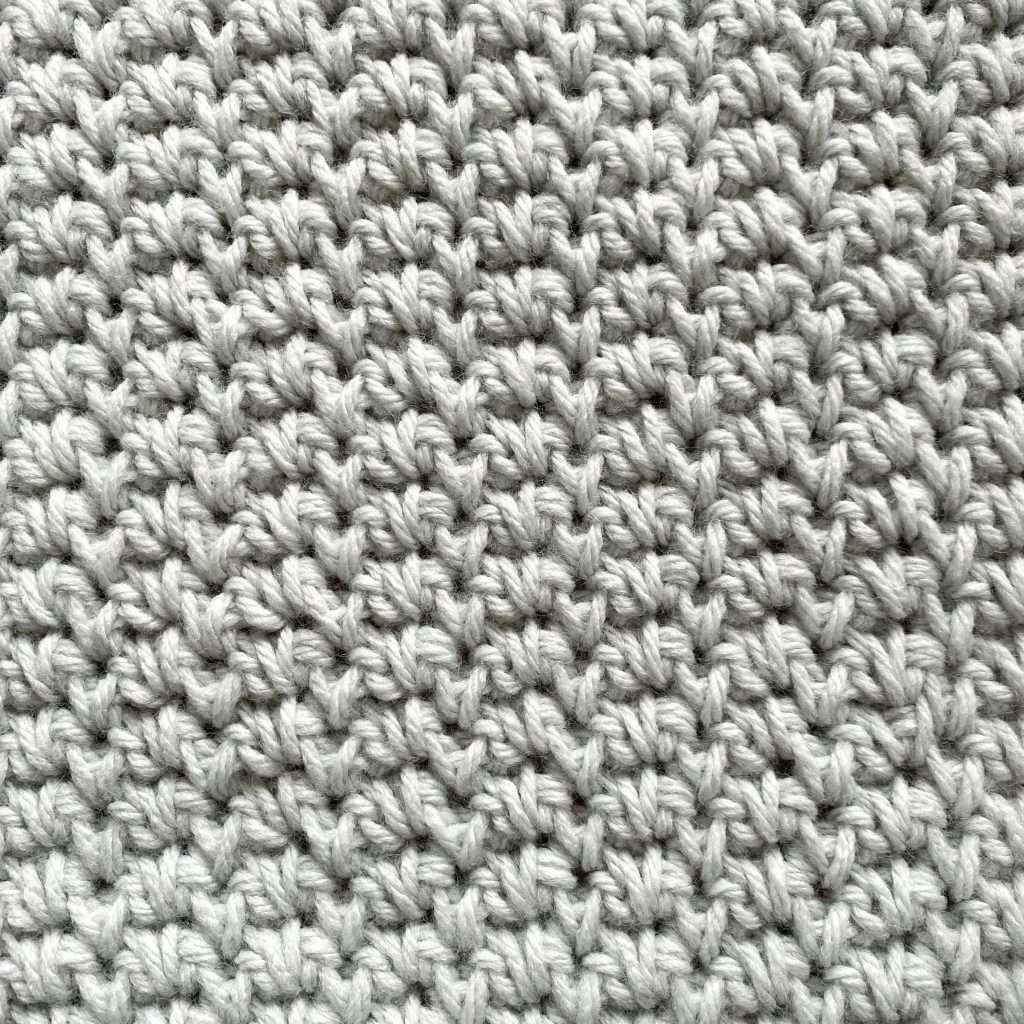
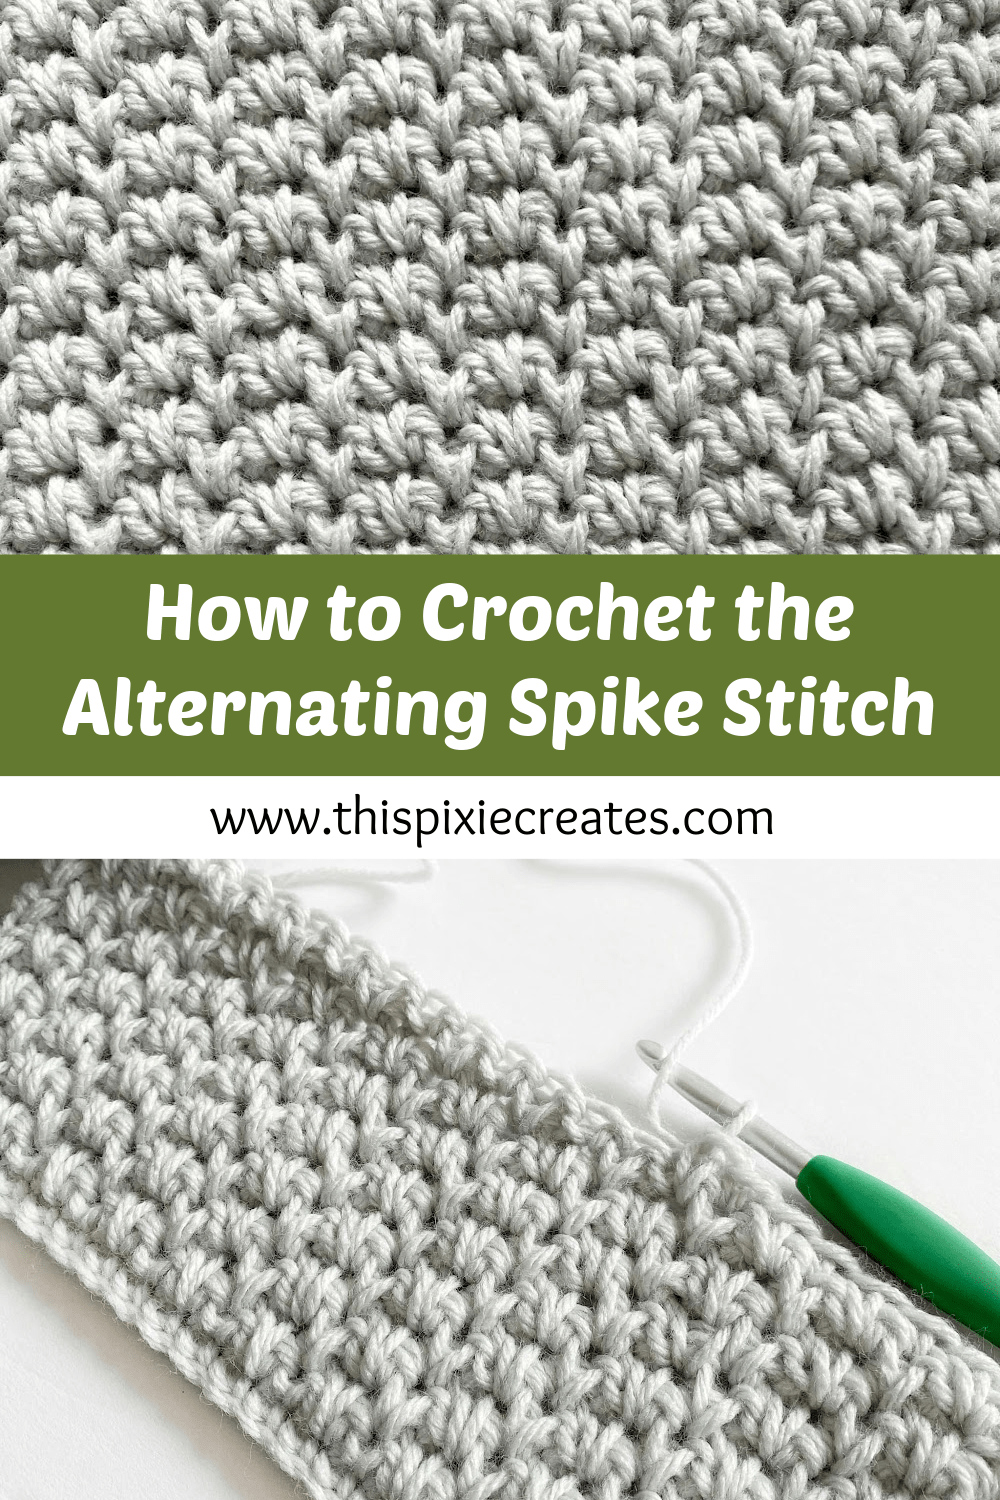
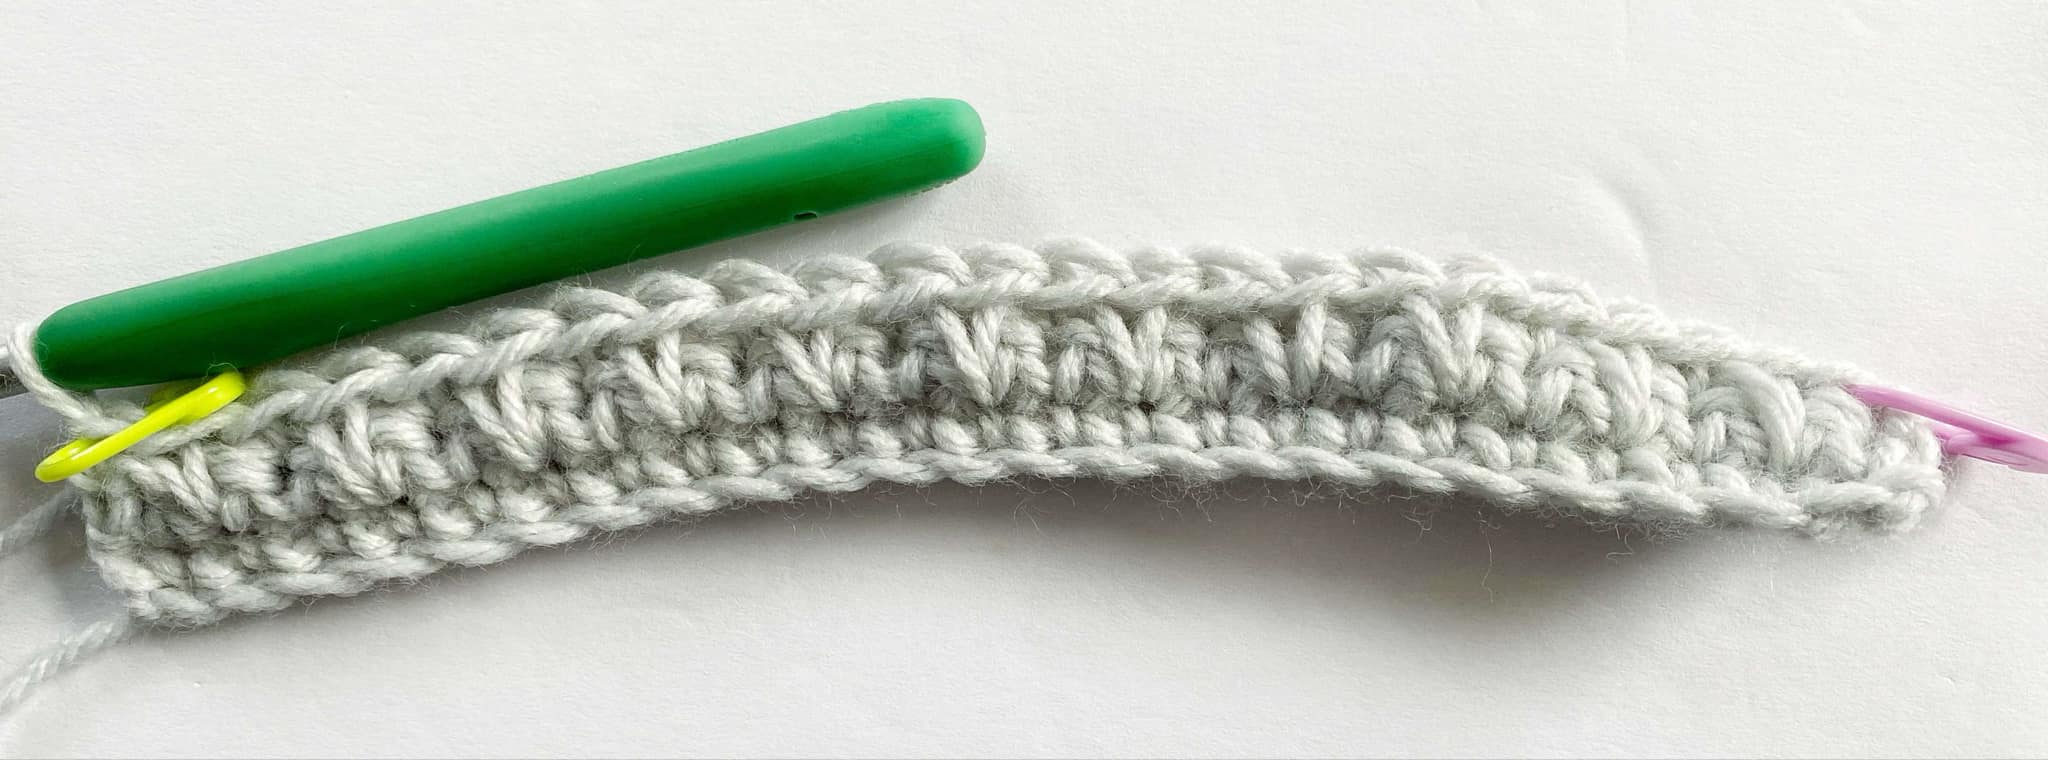
Hi guys! If you’re looking for a dense, textured stitch with no holes, then you’ll love the alternating spike stitch. This stitch uses a combination of single crochets and spike stitches to create a beautiful, thick texture that is perfect for blankets, winter accessories, and potholders.
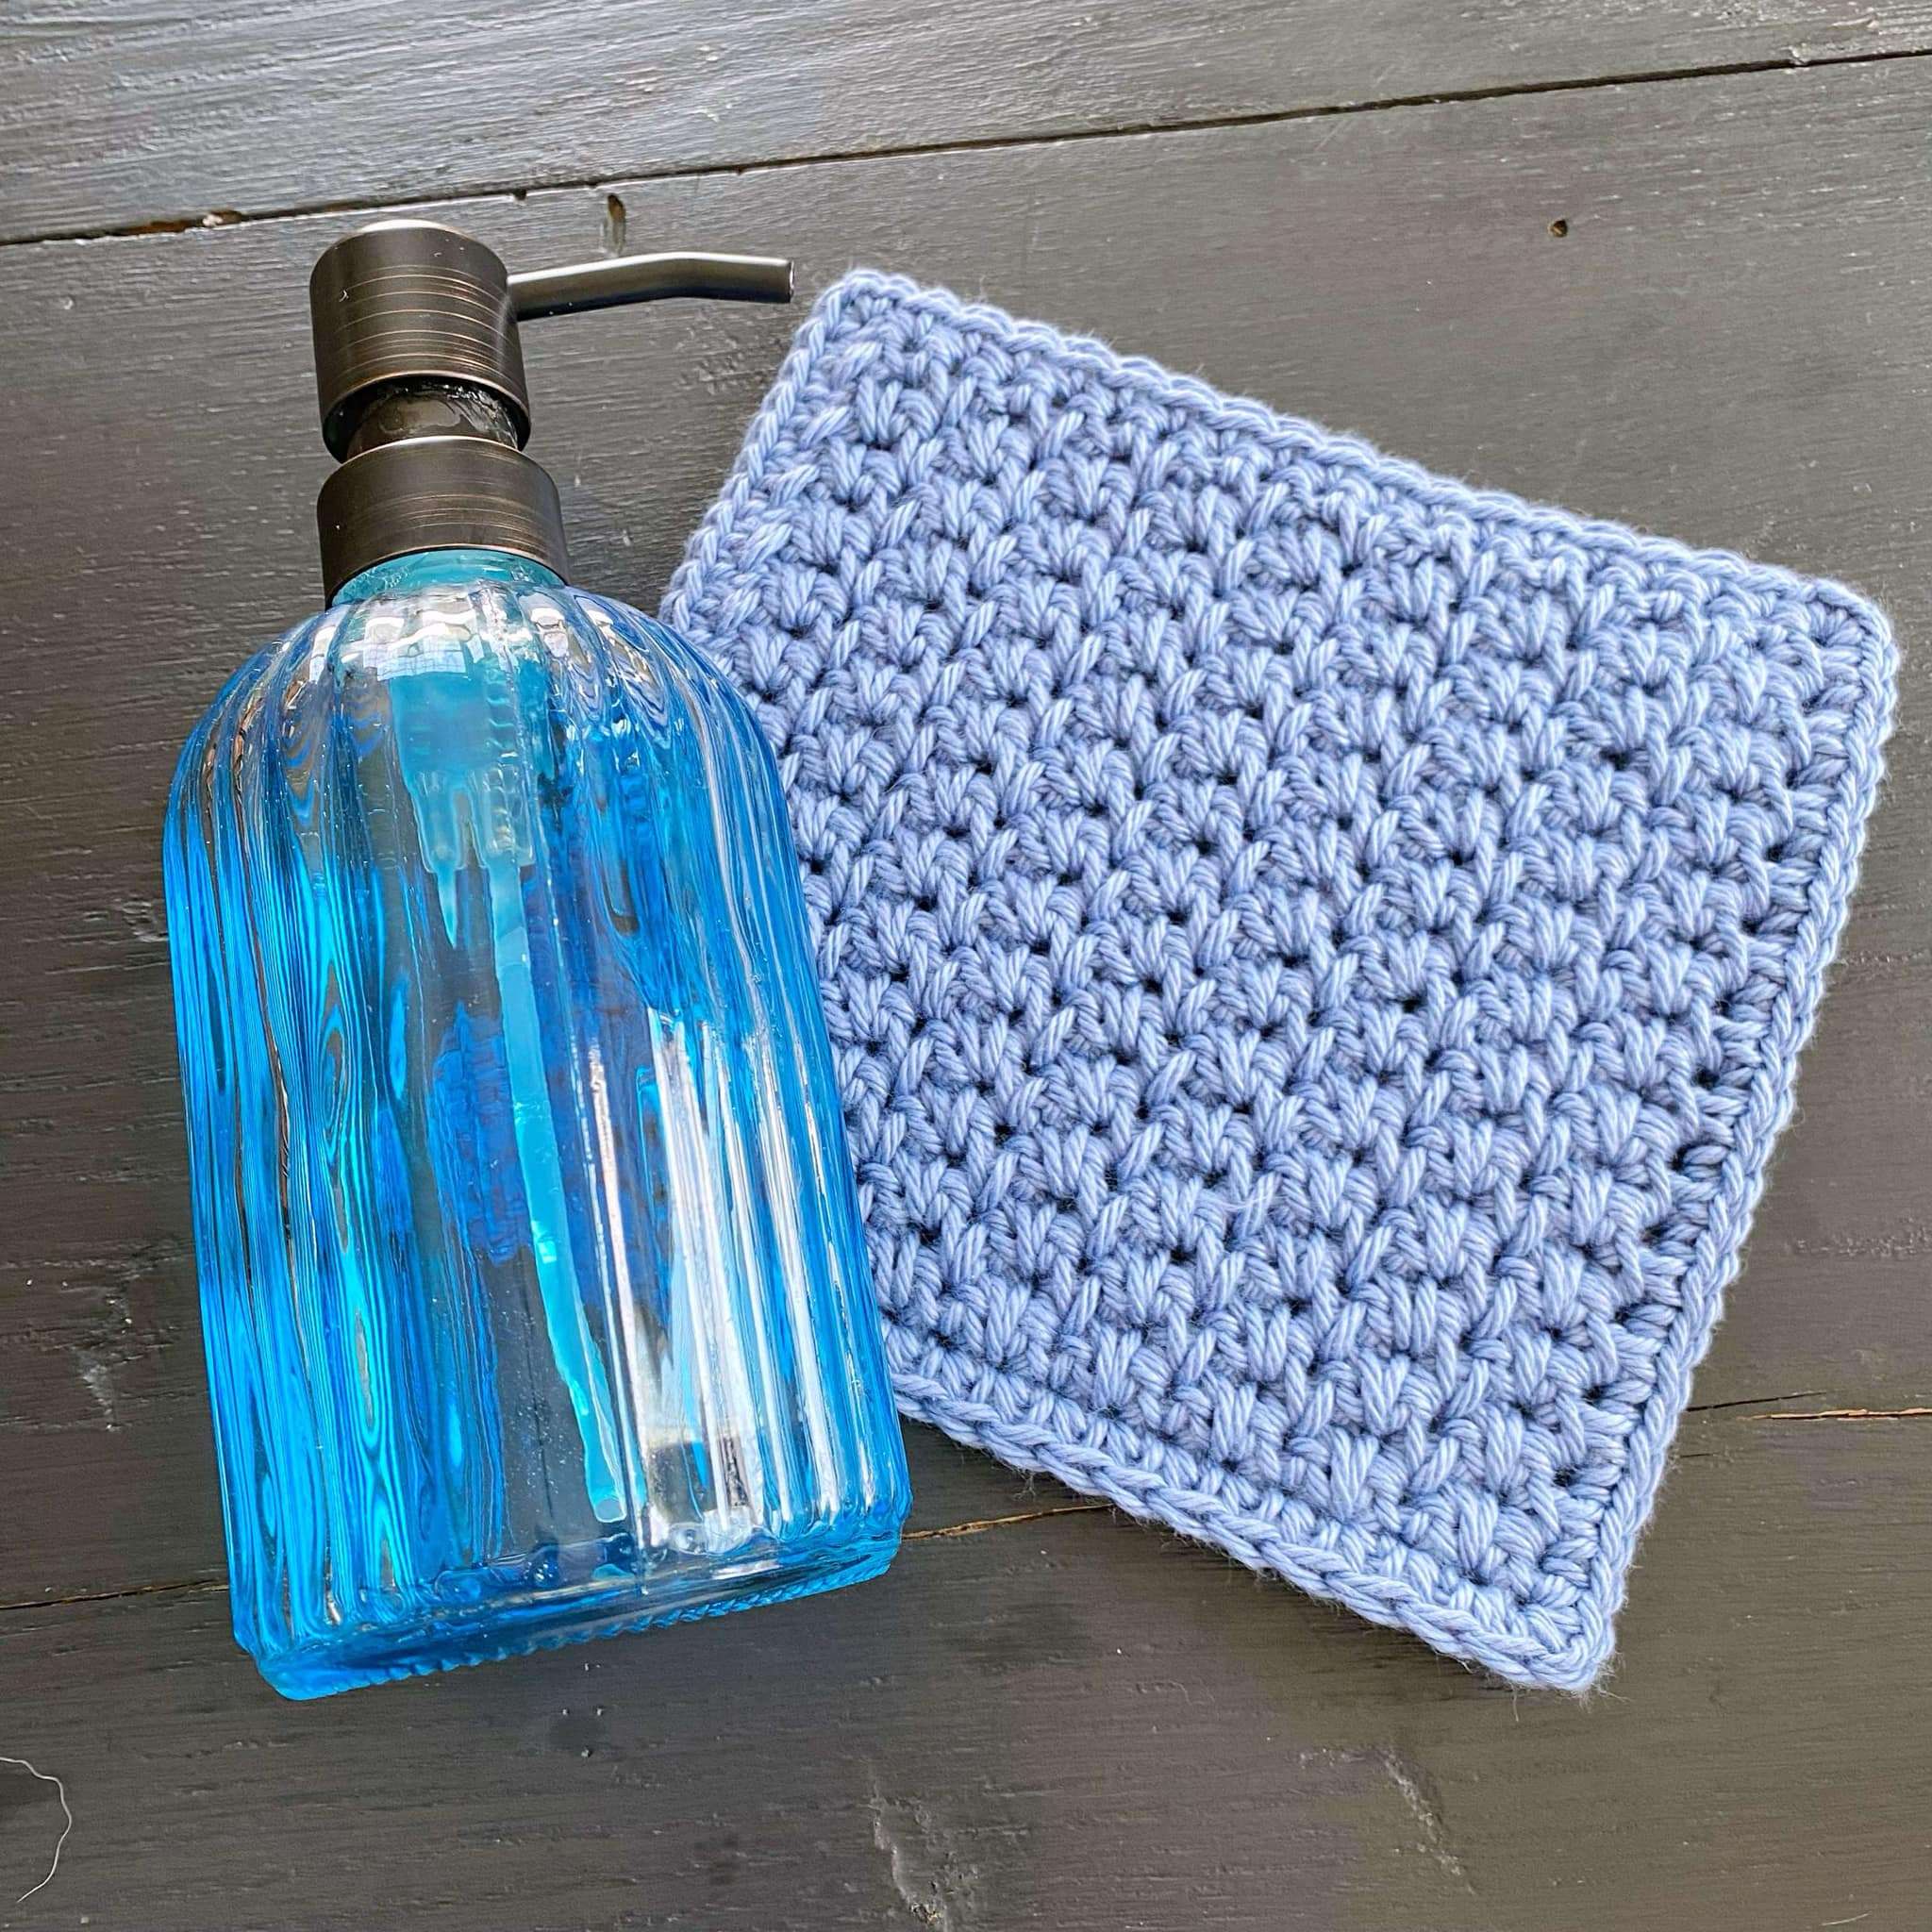
I used this stitch in the Smiles for Miles Blanket to make a thicker blanket for my sweet nephew. No little hands and feet will be getting stuck in this stitch!
Let’s dive into the step-by-step tutorial below.
Pin this Alternating Spike Stitch Tutorial for Later – Here!
Patterns that Use the Alternating Spike Stitch:
Practice the alternating spike stitch in these fun crochet patterns.


Abbreviations:
- St – stitch
- Ch – chain
- Sp – space
- Sc – single crochet
- Spike – spike stitch (tutorial below)
- YO – yarn over
Alternating Spike Stitch Tutorial:
- Note: You can use any yarn and hook size for this tutorial.
- Tip: Use a slightly larger hook to make your starting chain, then switch to a smaller hook for the remainder of the stitch tutorial.
- Ex. Use a 6.0mm hook for the starting chain, and a 5.5mm hook for the rest.
Ch 24 (or any even number)
Row 1:
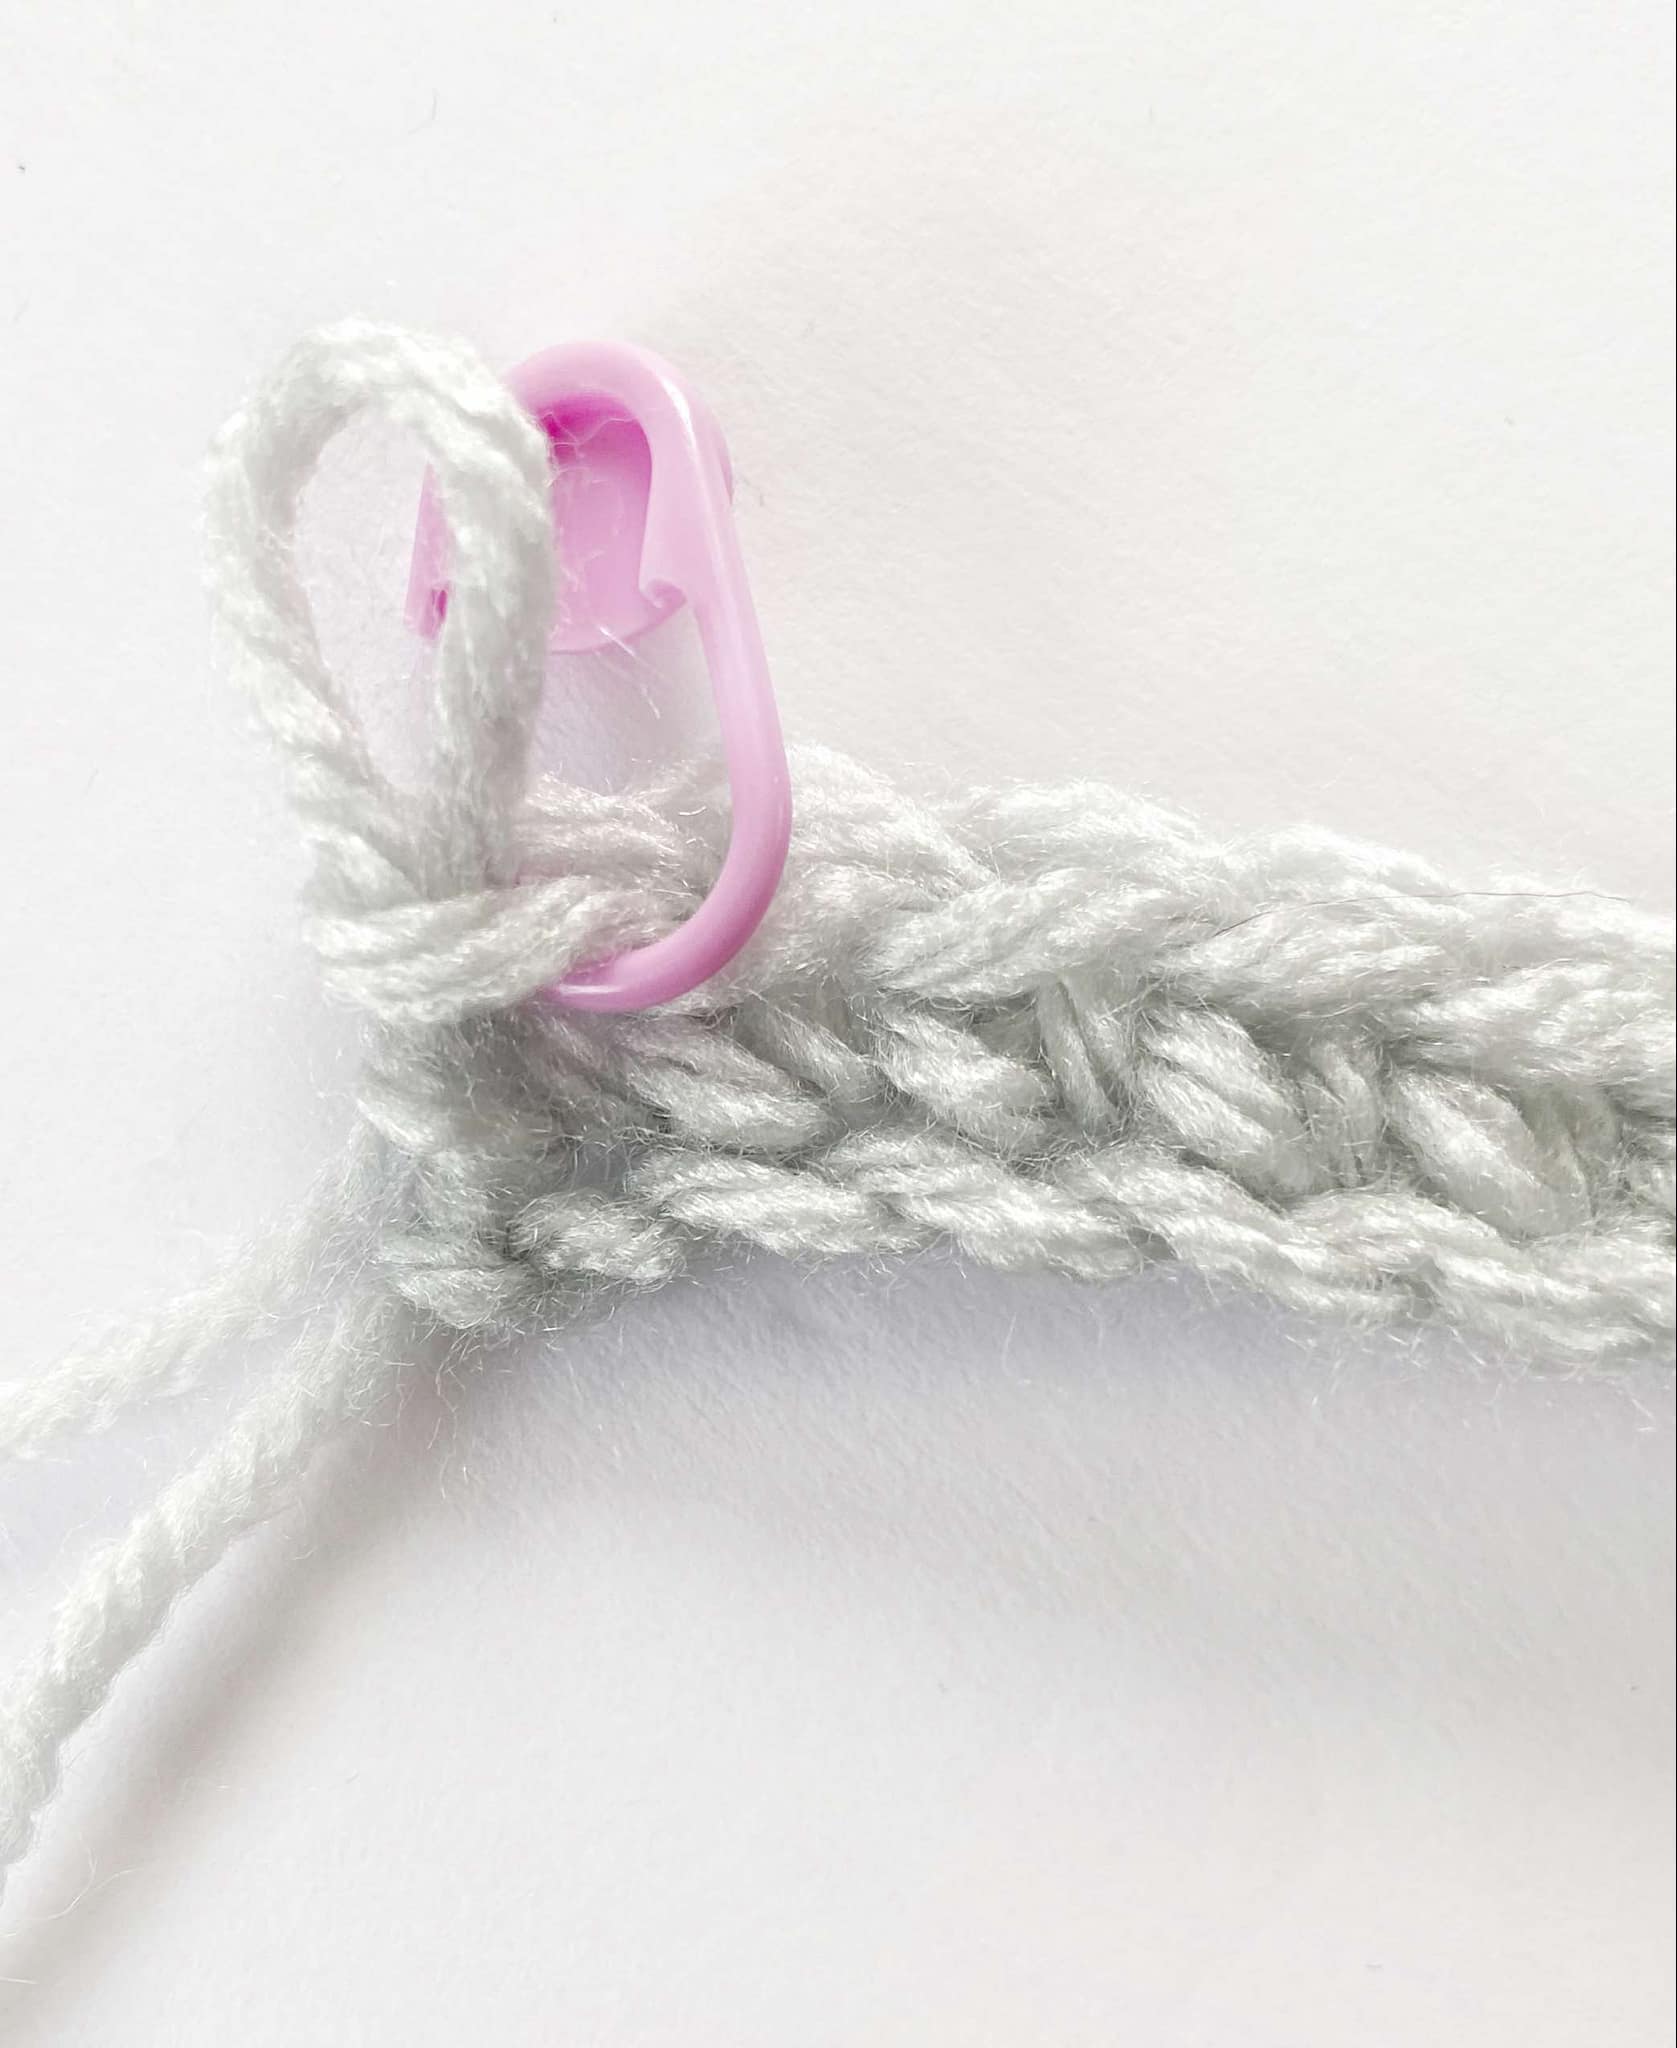
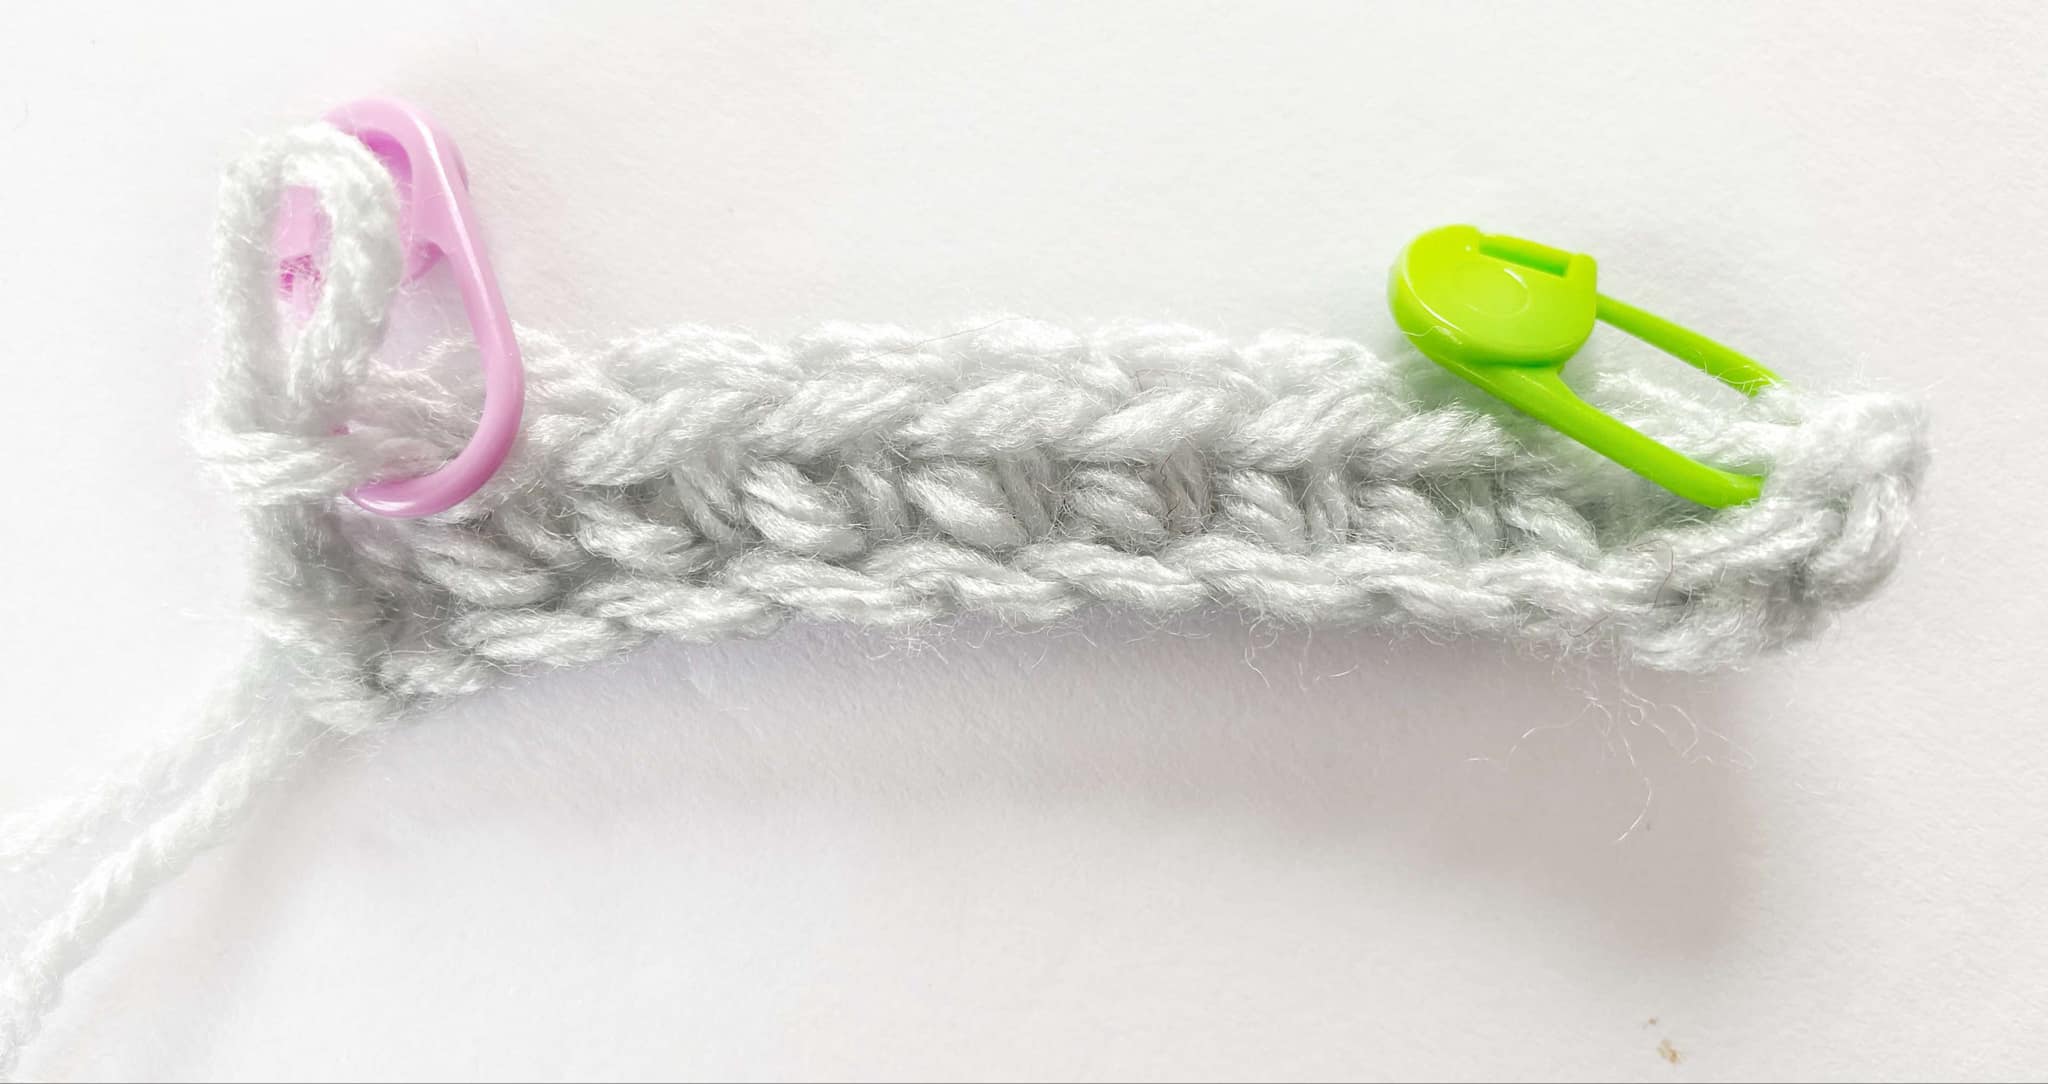
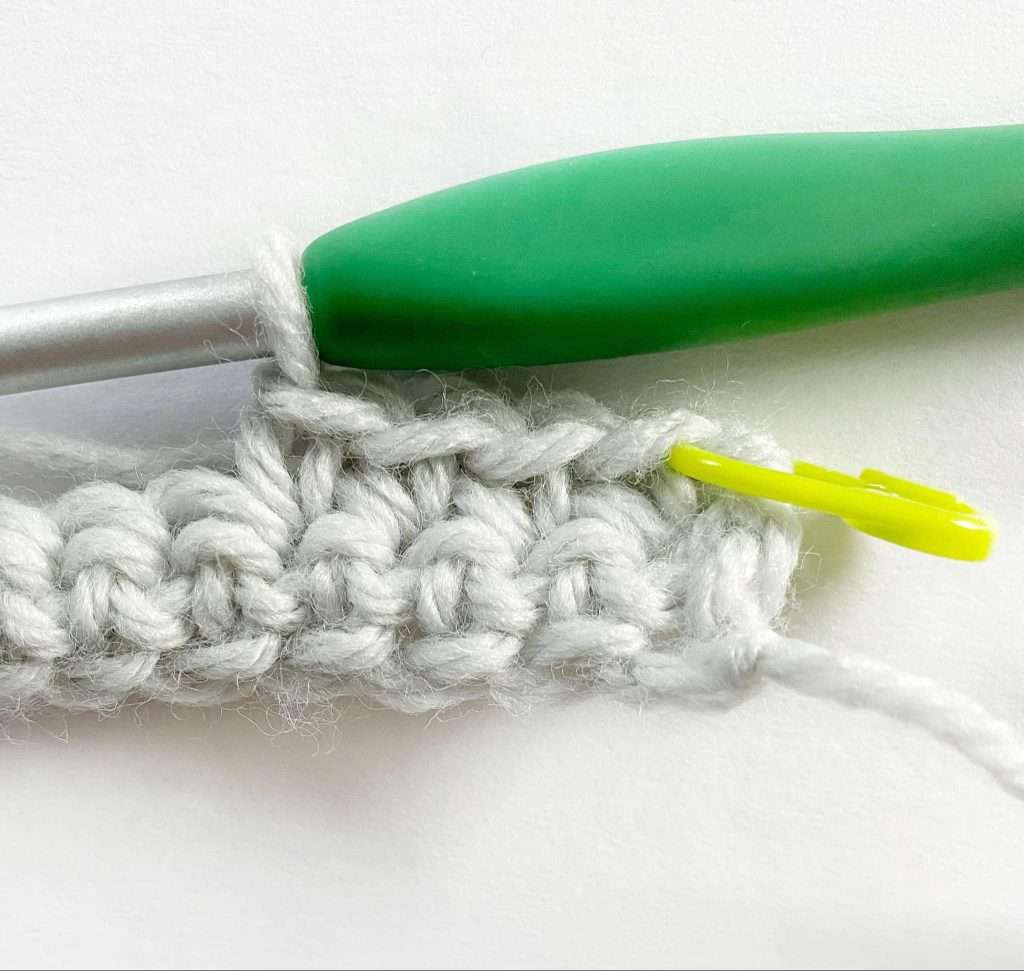
- Ch 1, sc in second ch from hook – mark the first sc with a stitch marker.
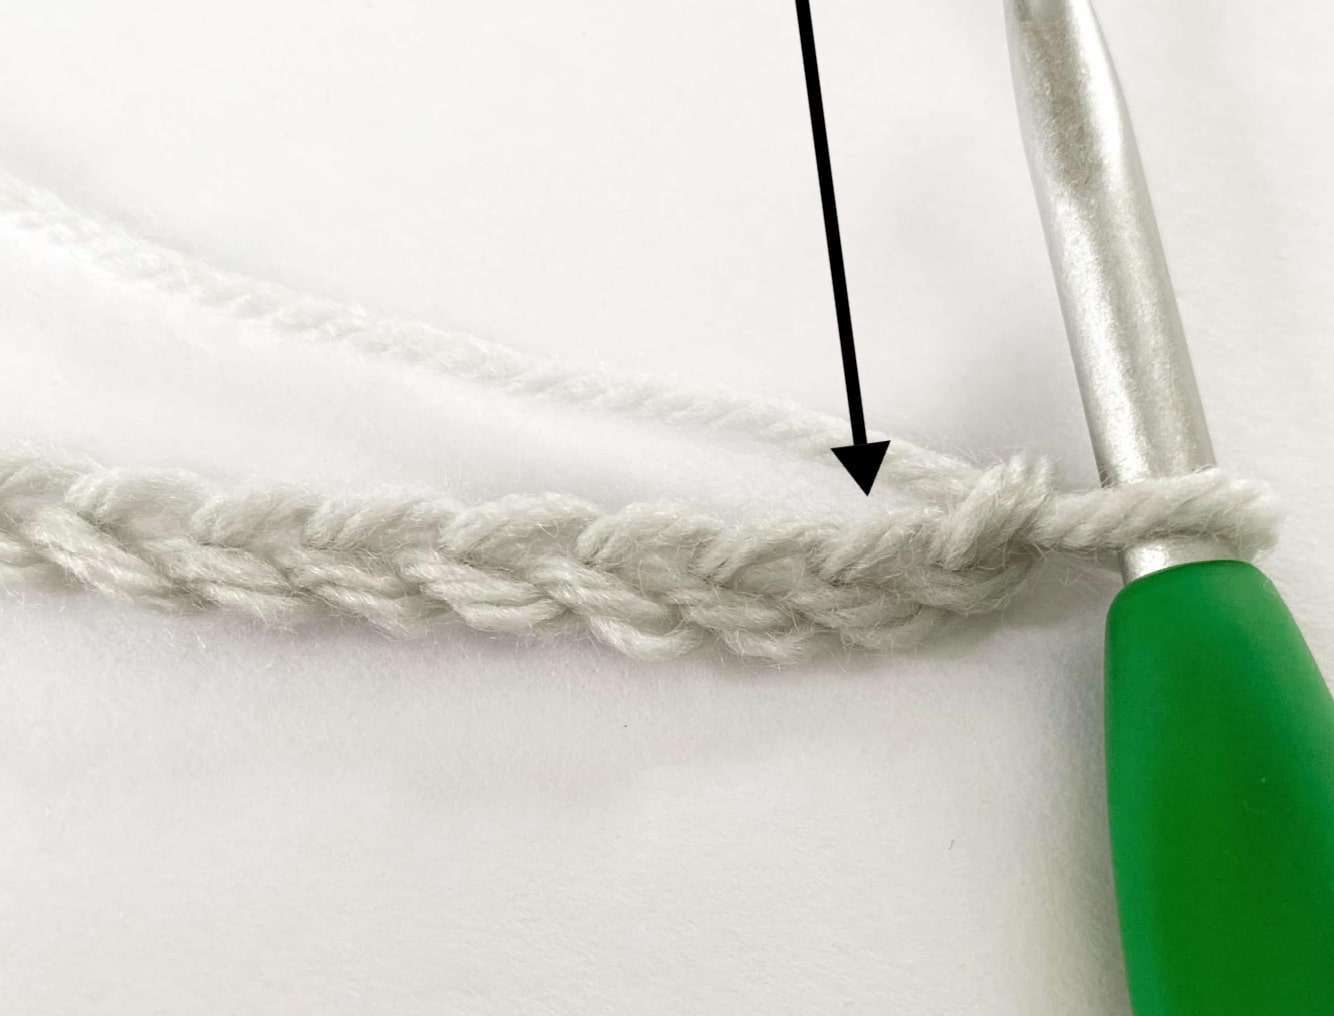
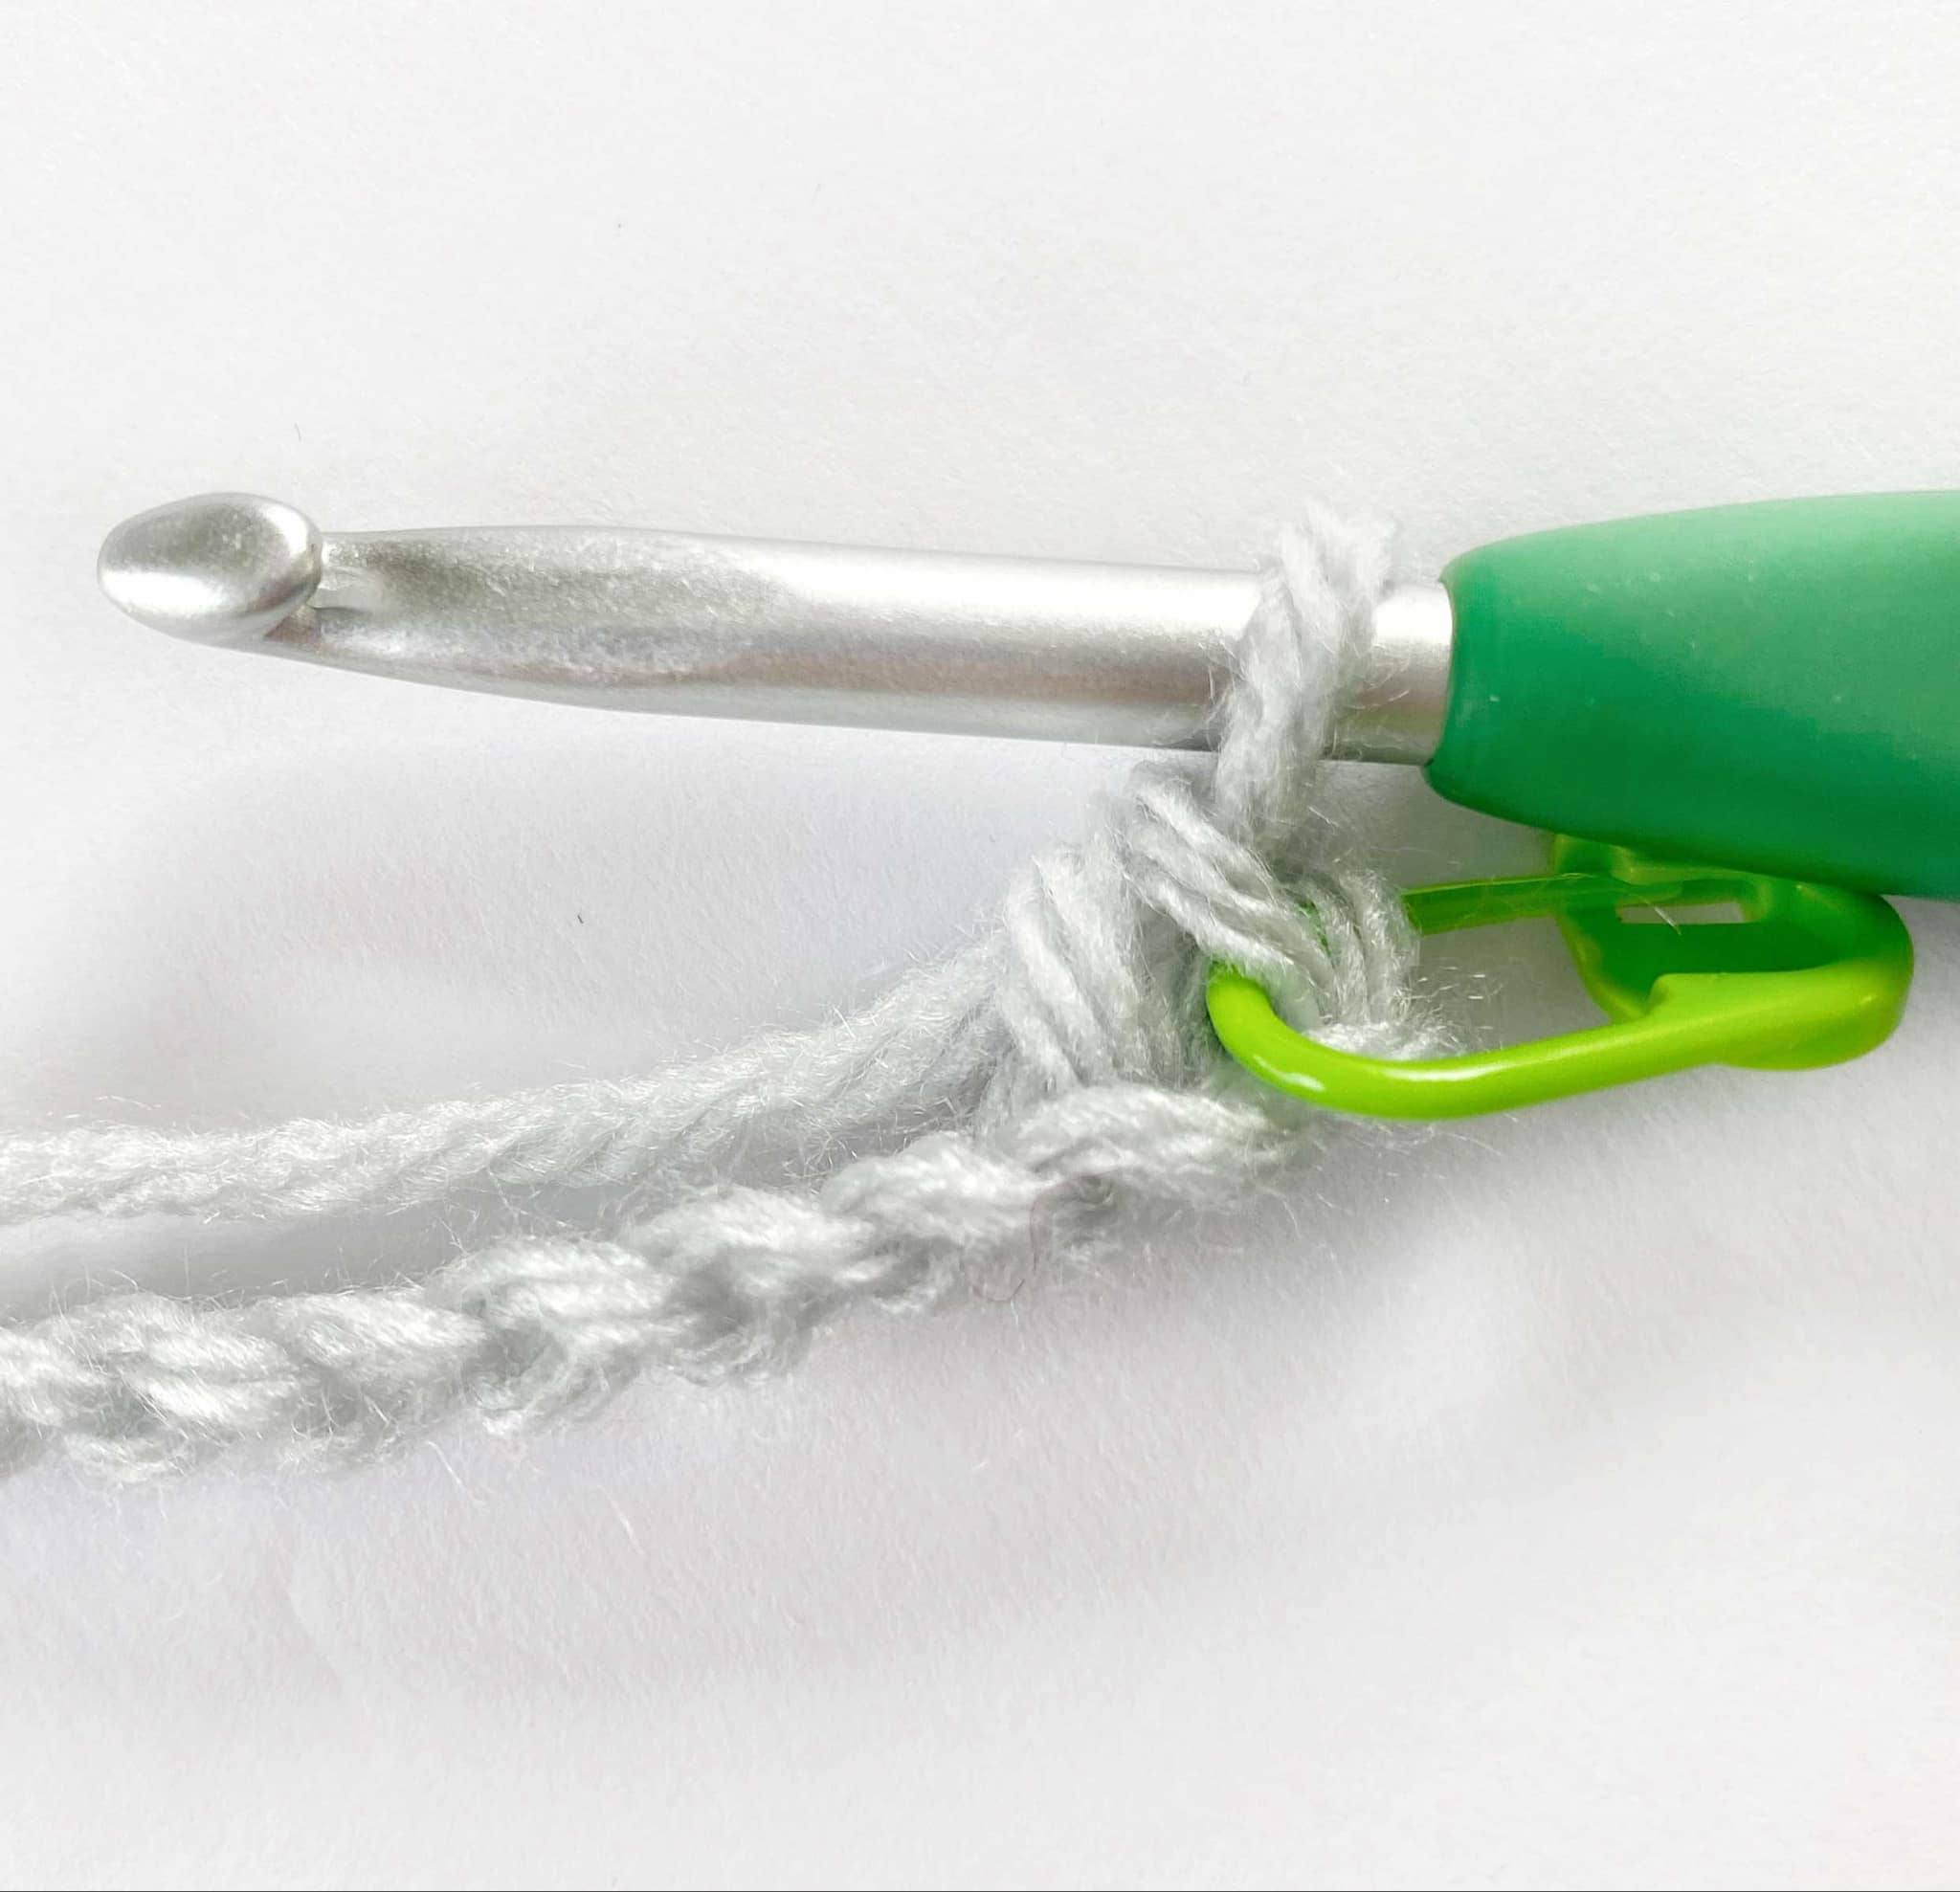
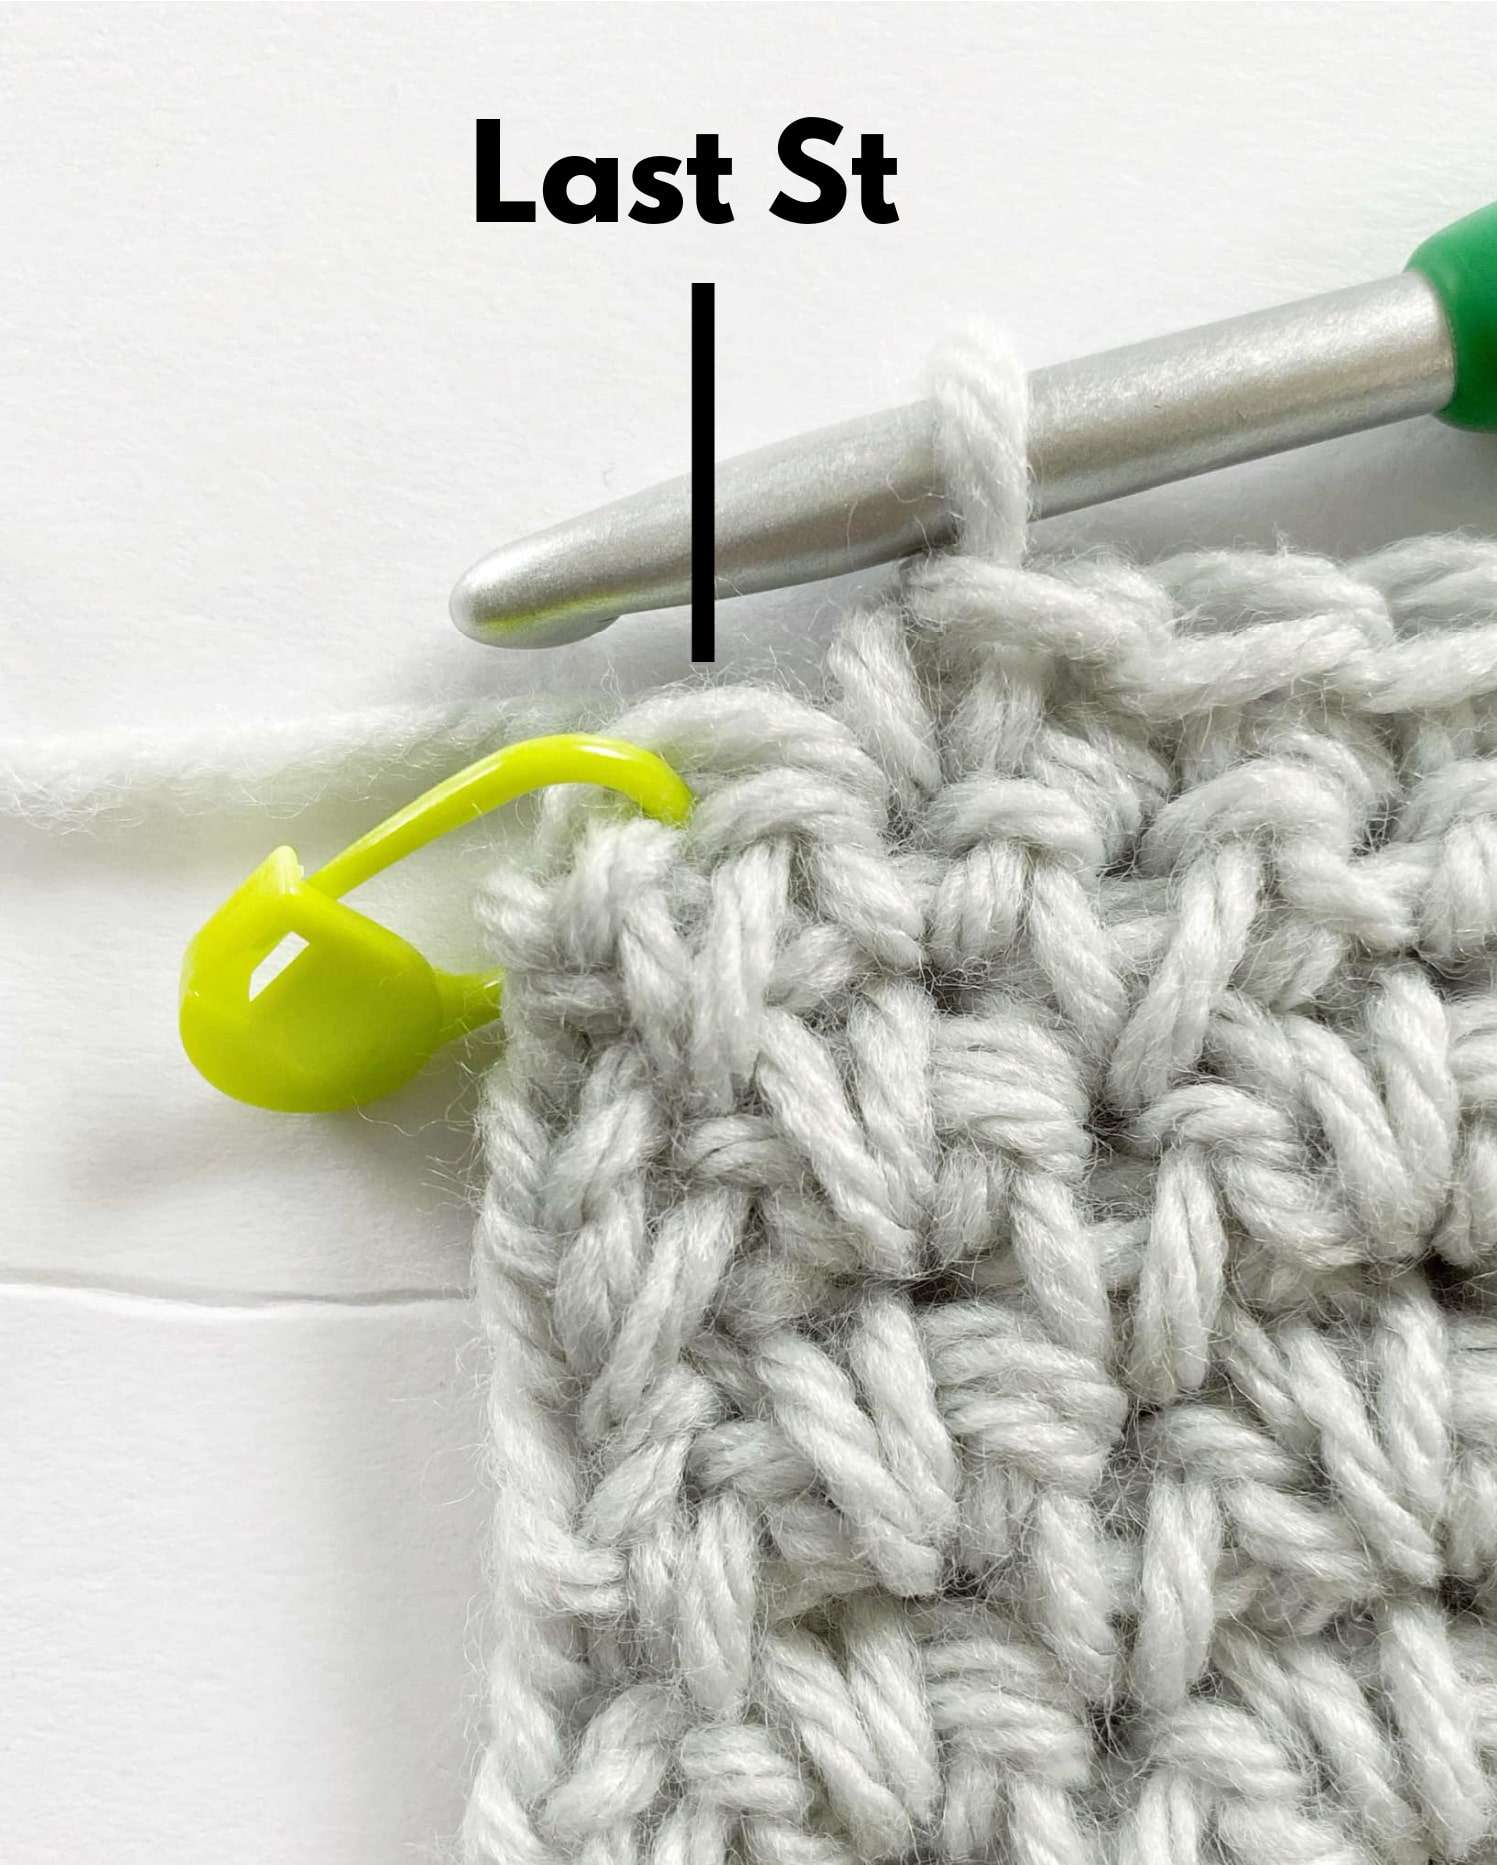
- Sc in each ch across – mark the last sc with a stitch marker.
- Turn.
- Stitch Count: 23 sc
Row 2:
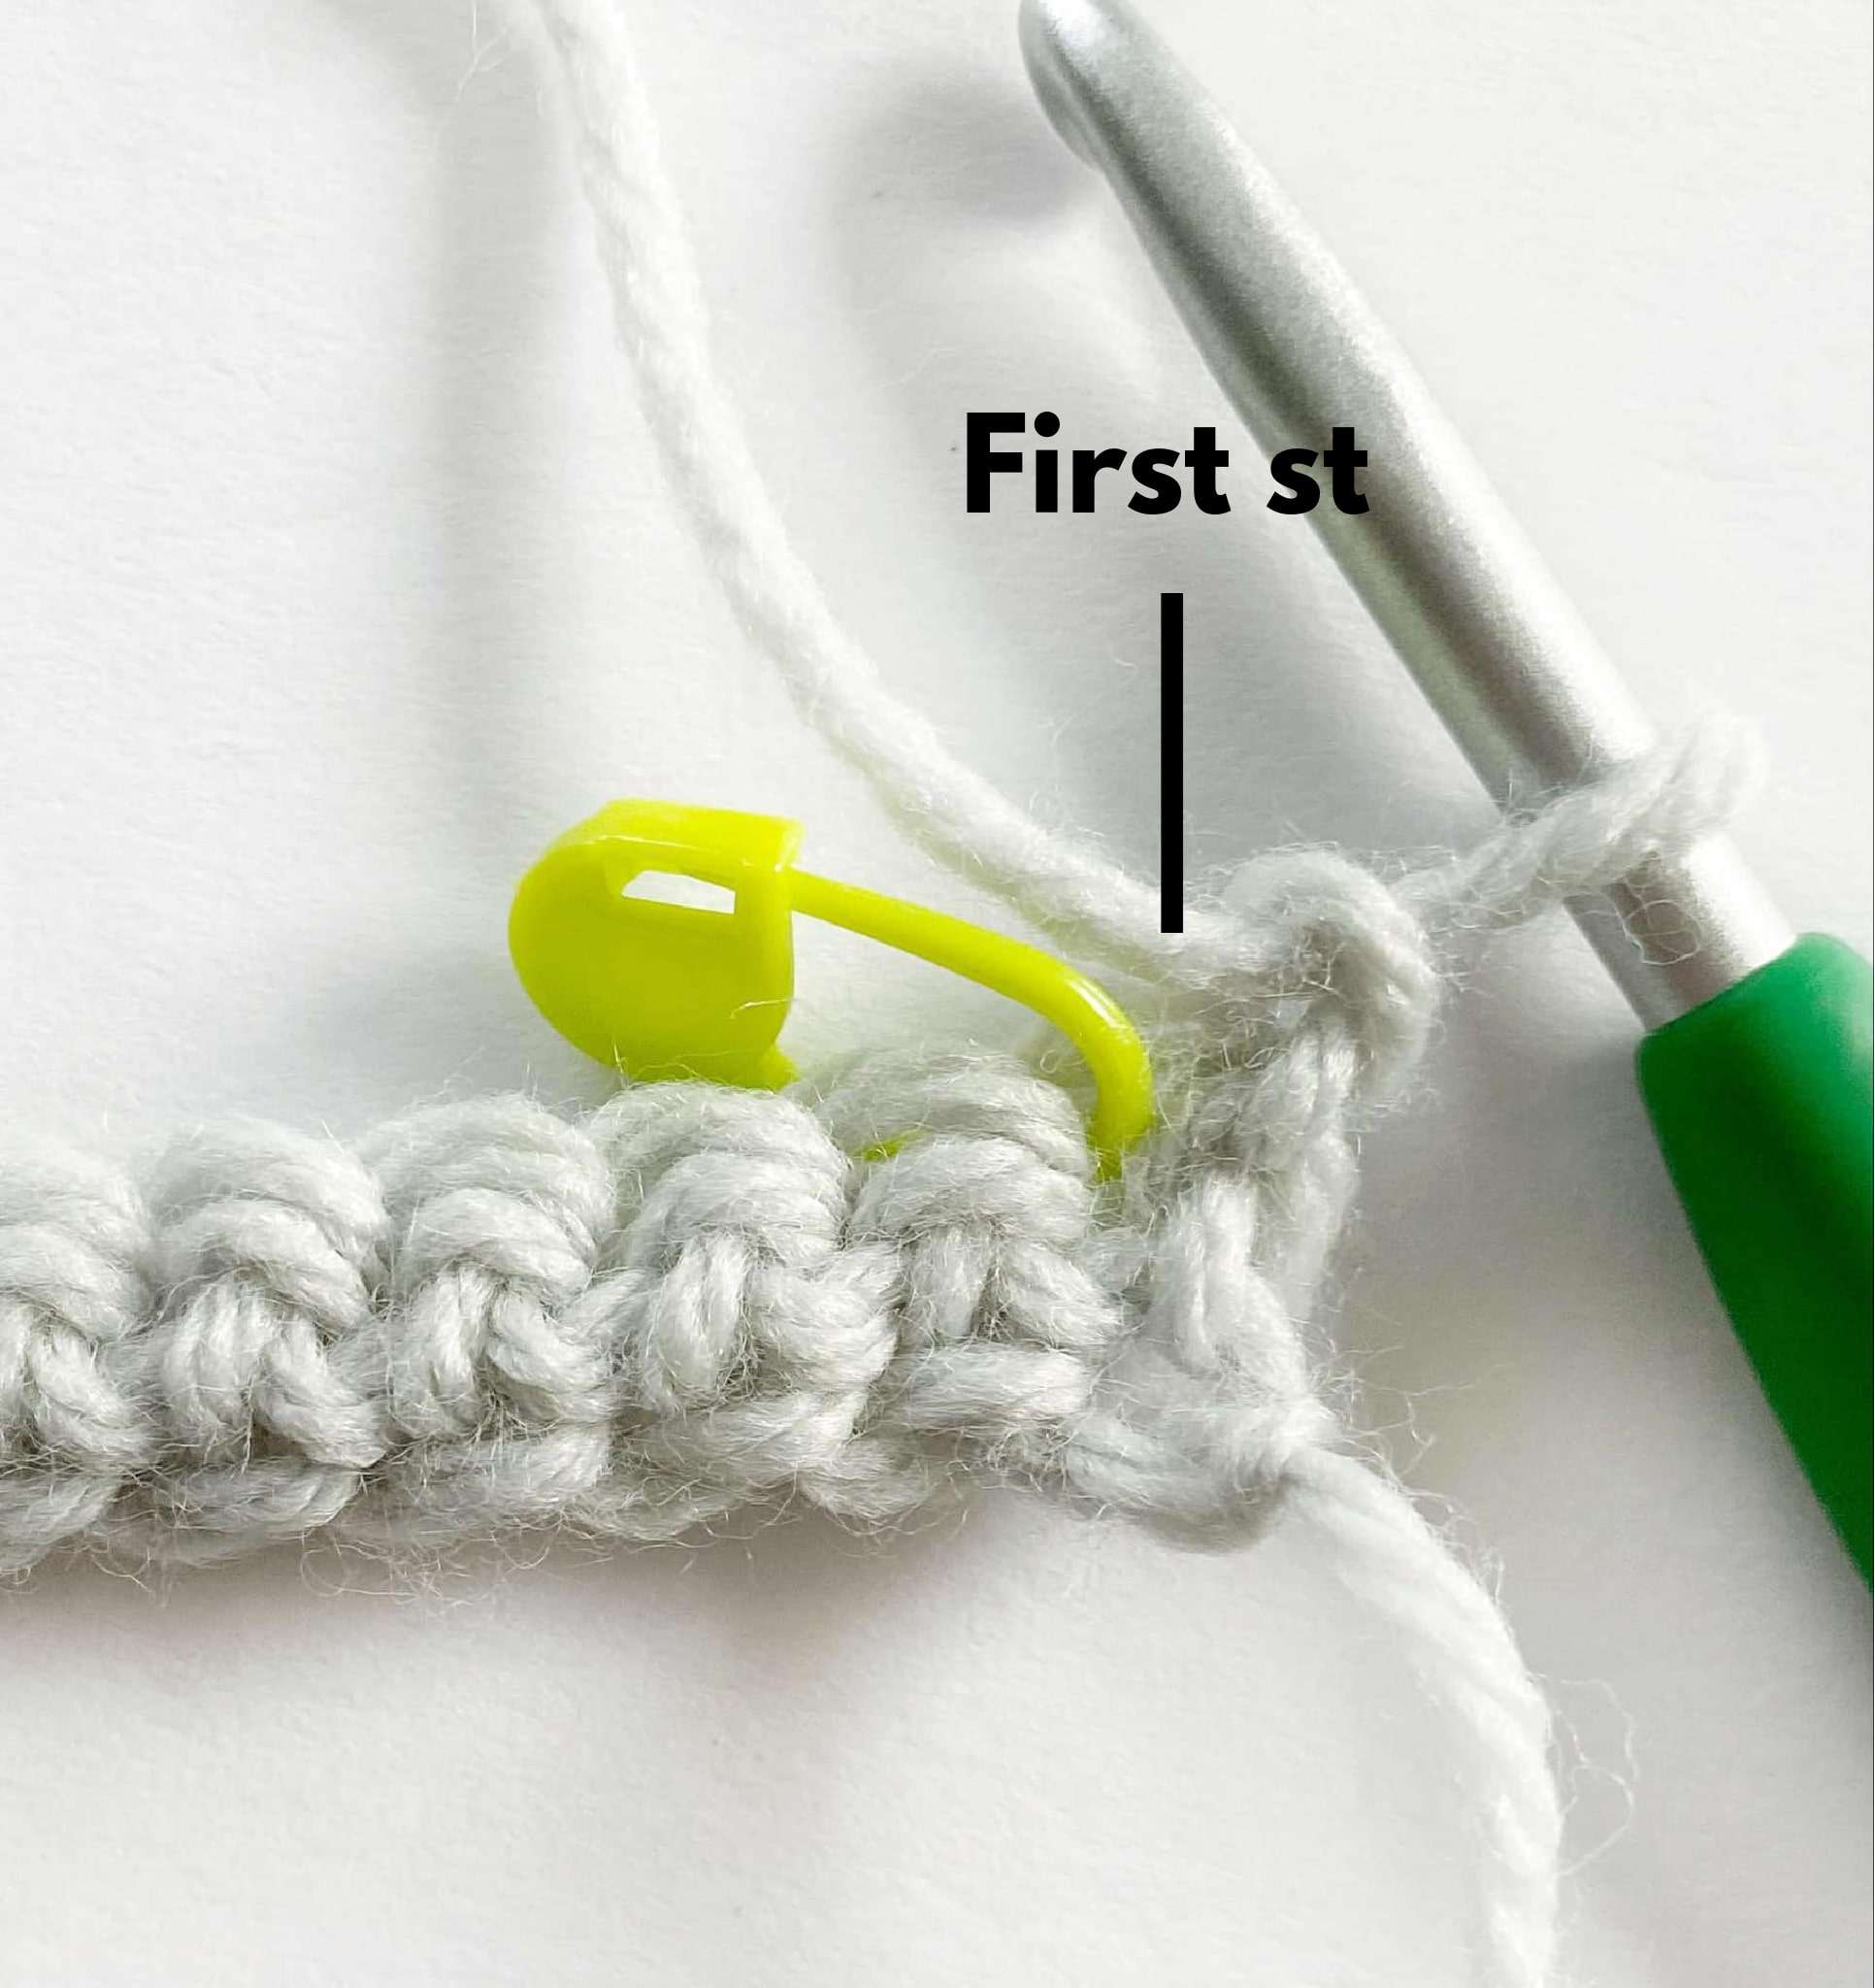
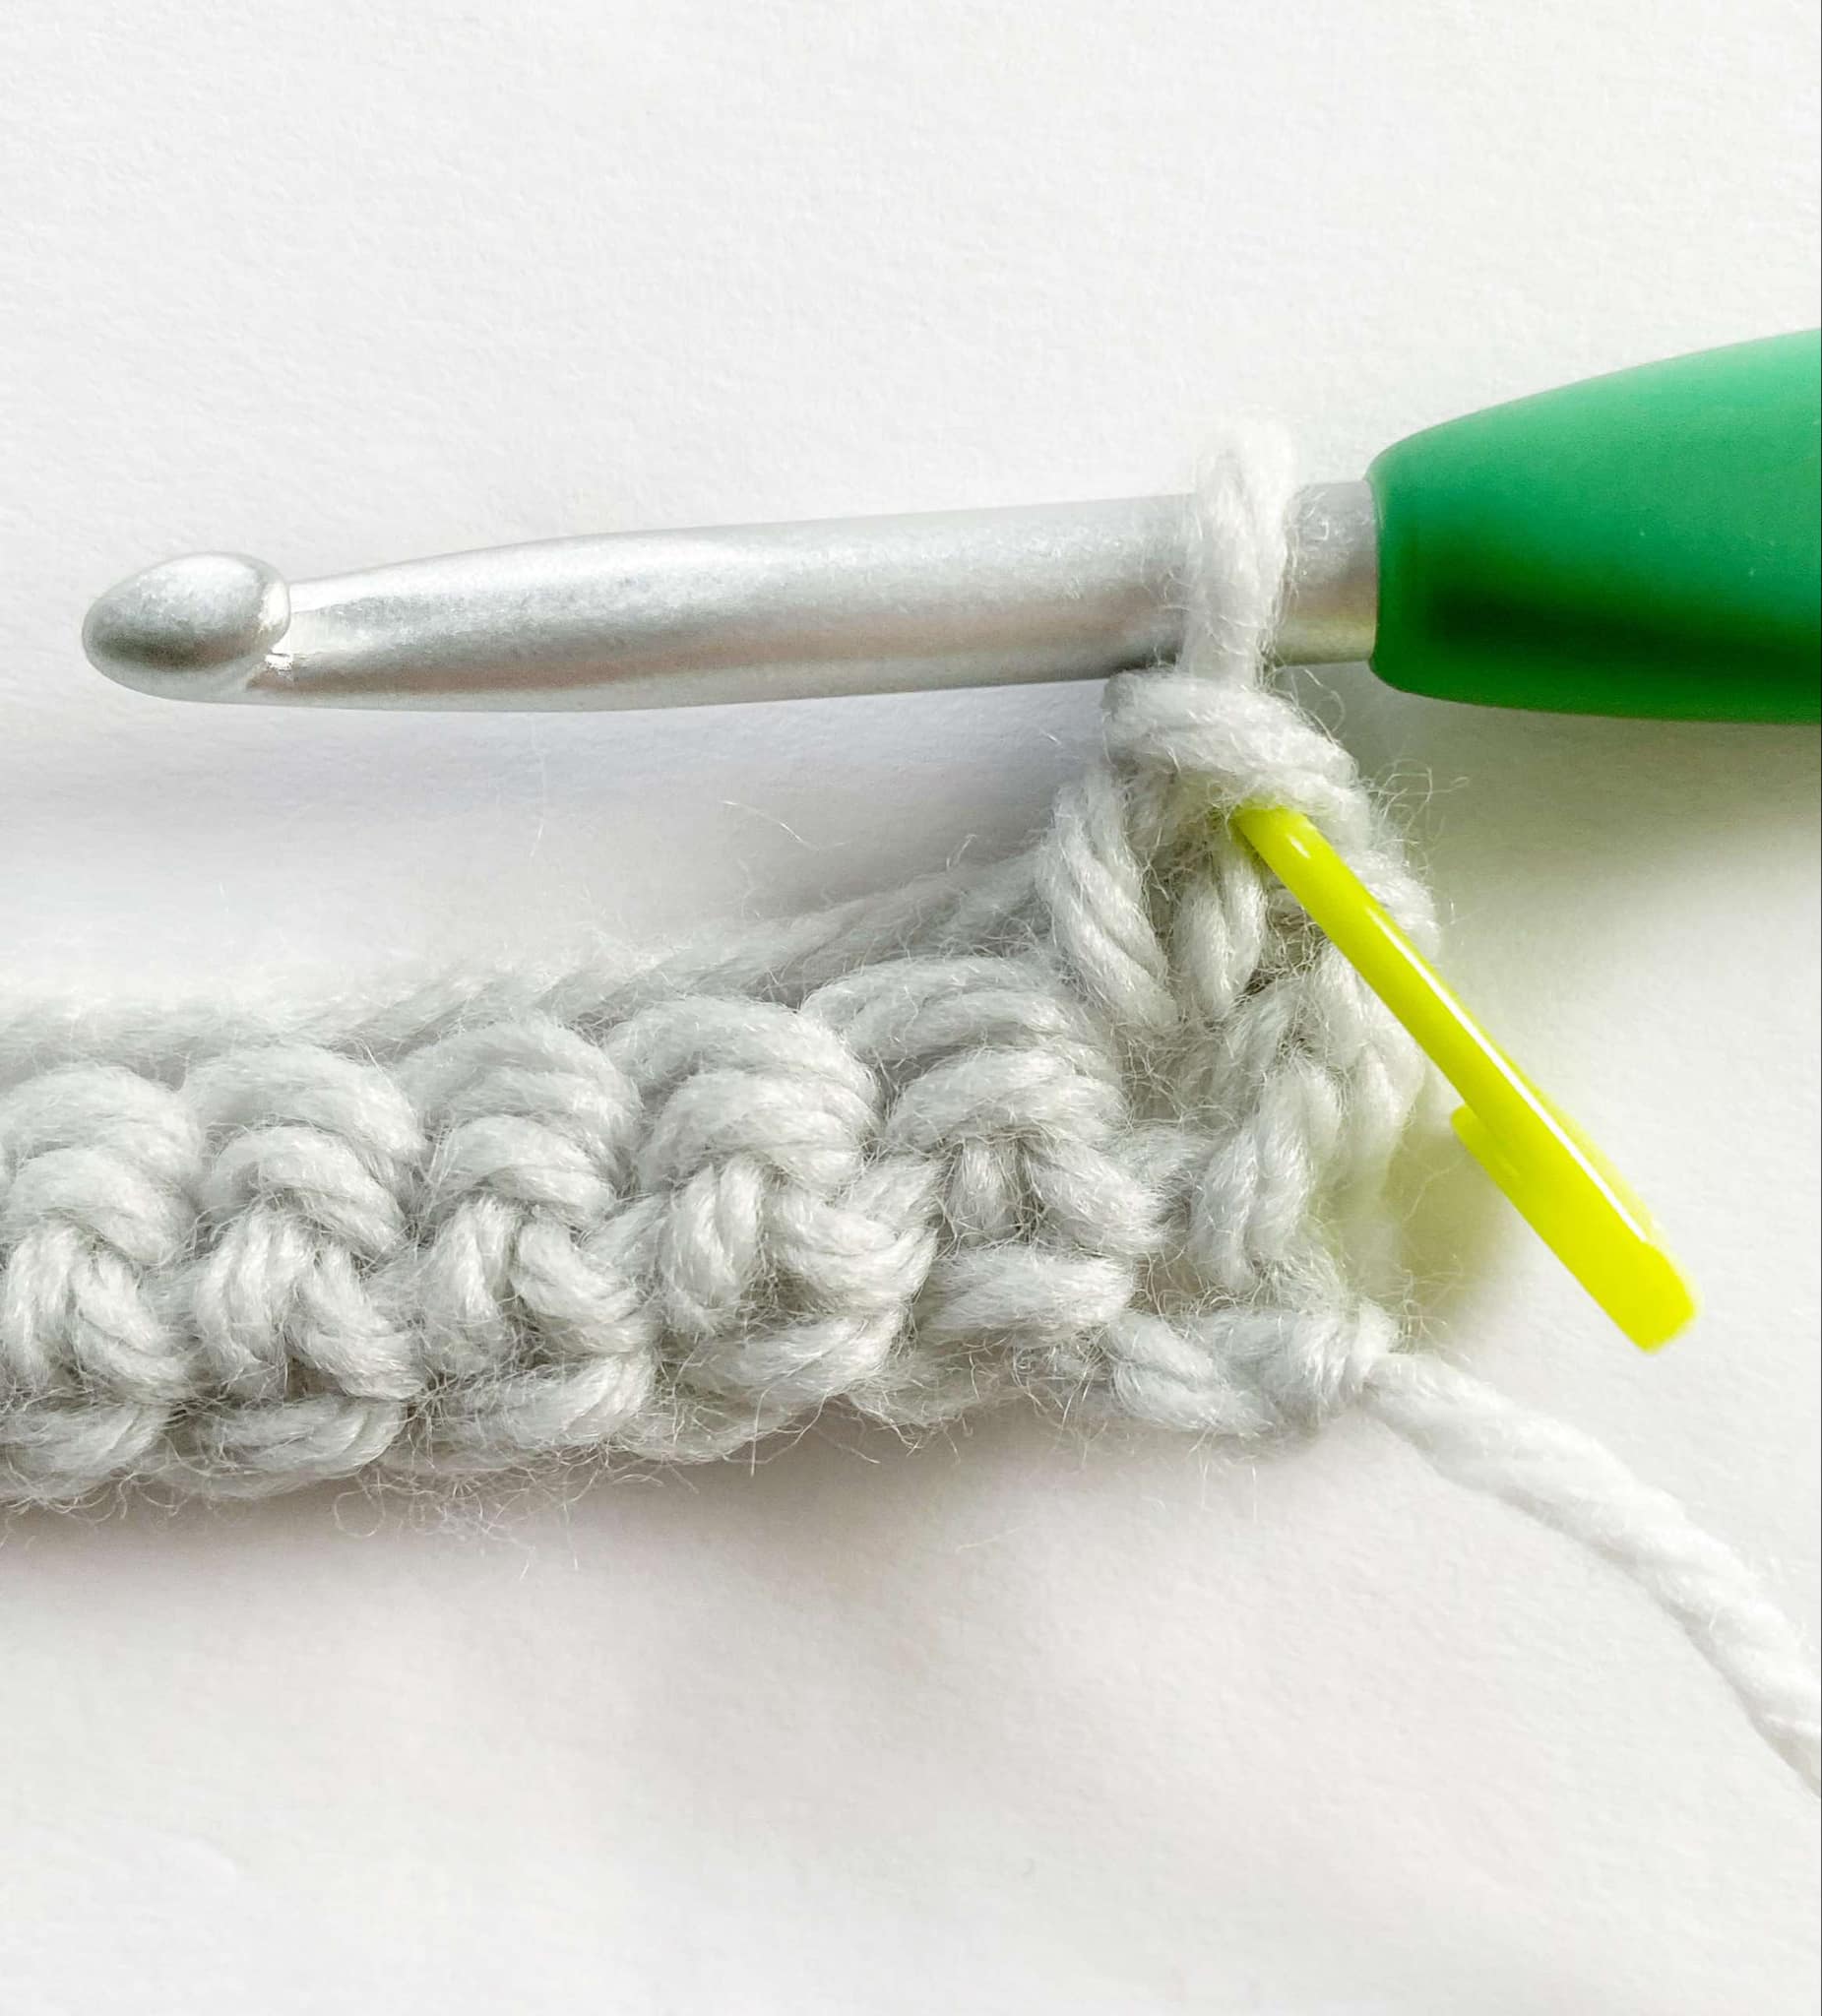
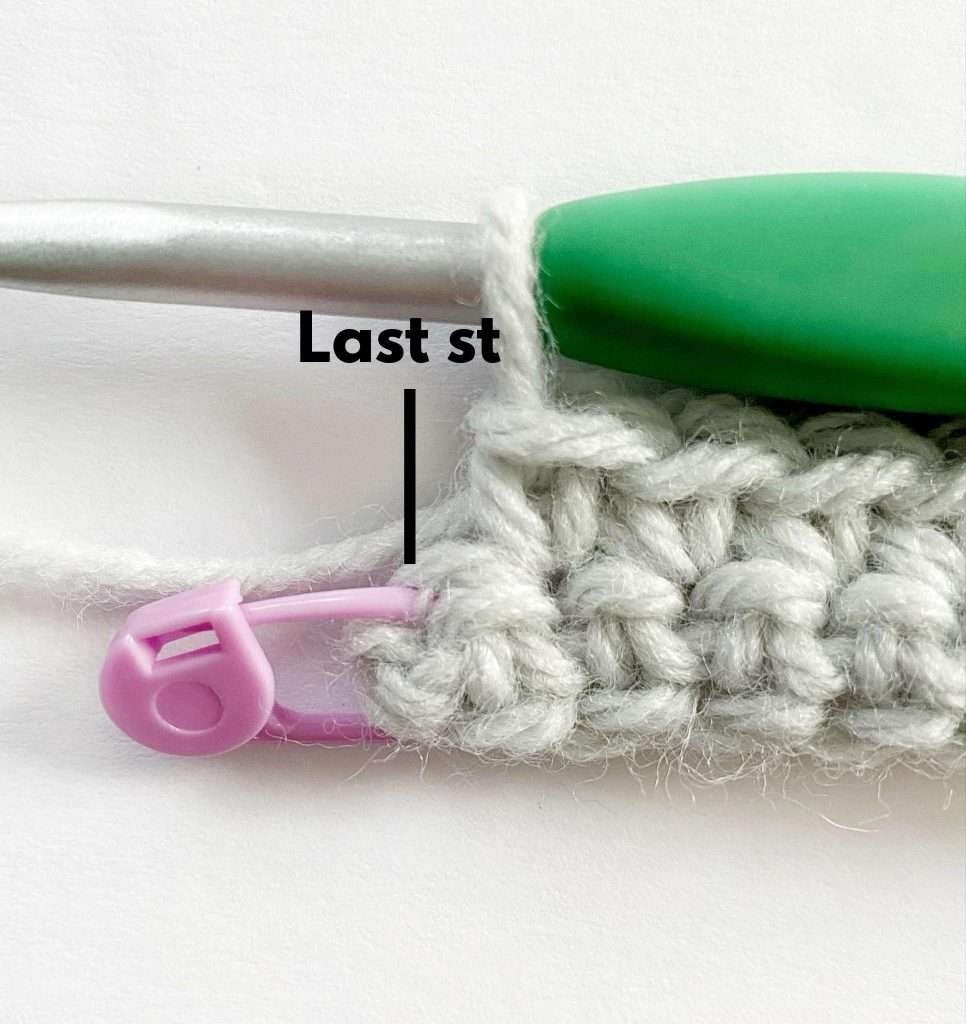
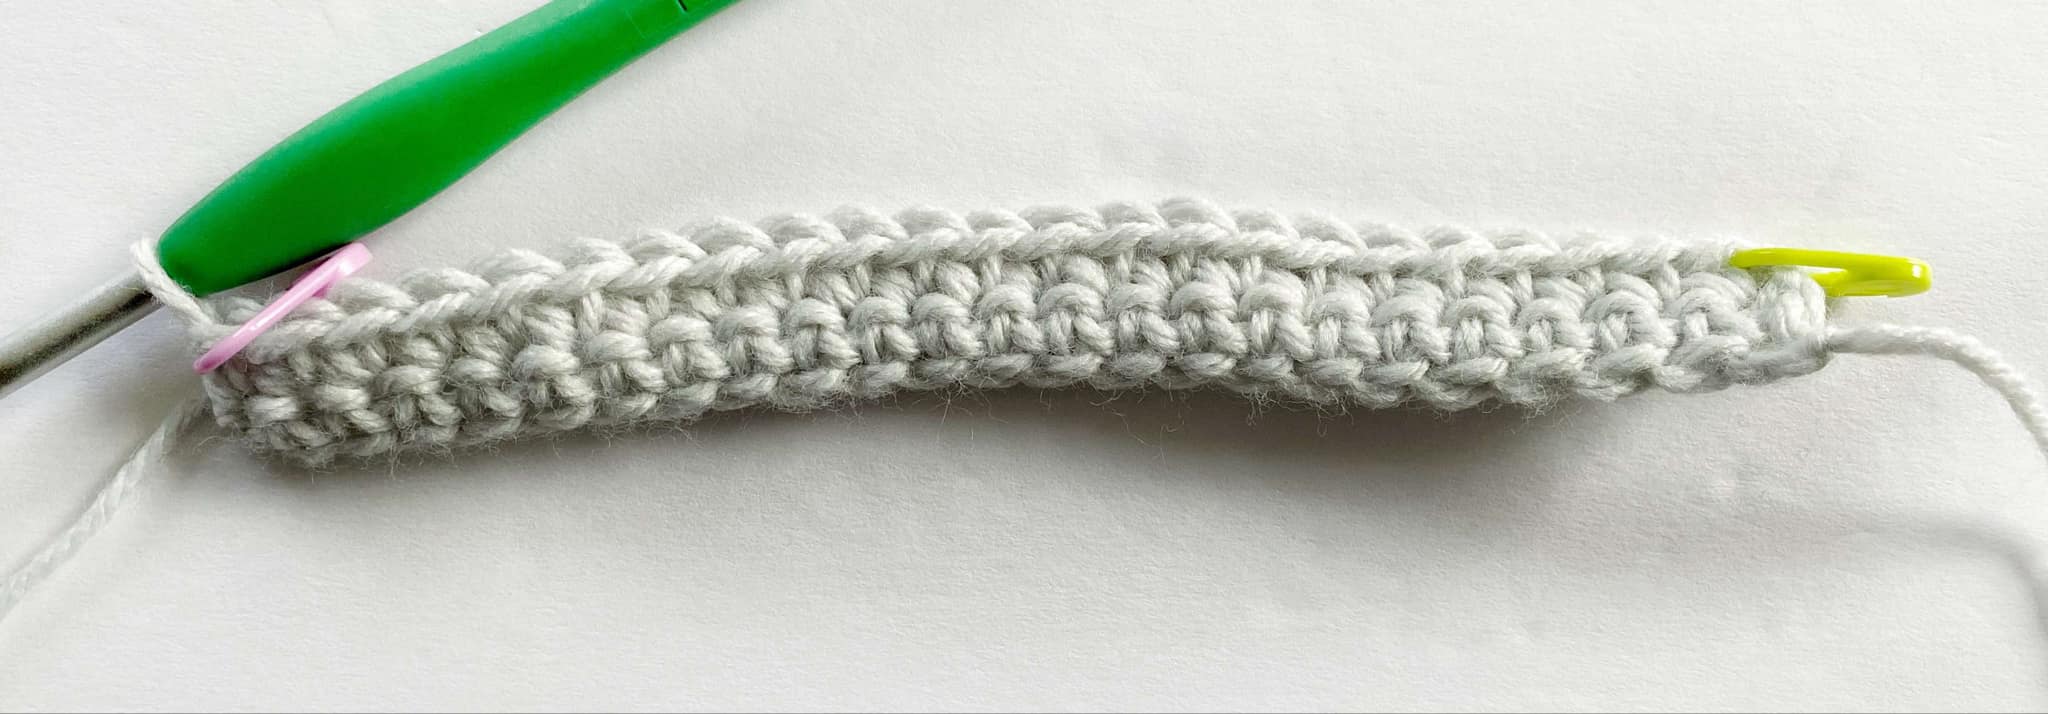
- Ch 1, sc in each st across. Mark the first and last sc with a stitch marker.
- Turn.
- Stitch Count: 23 sc
Row 3:
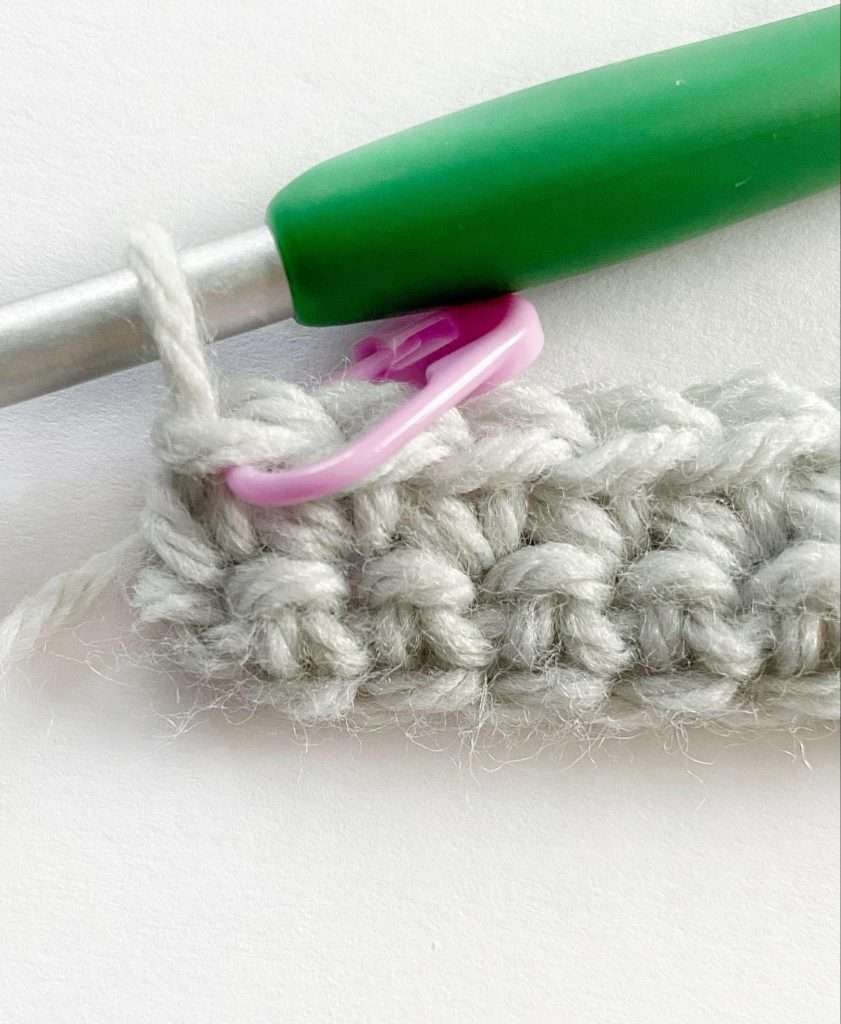
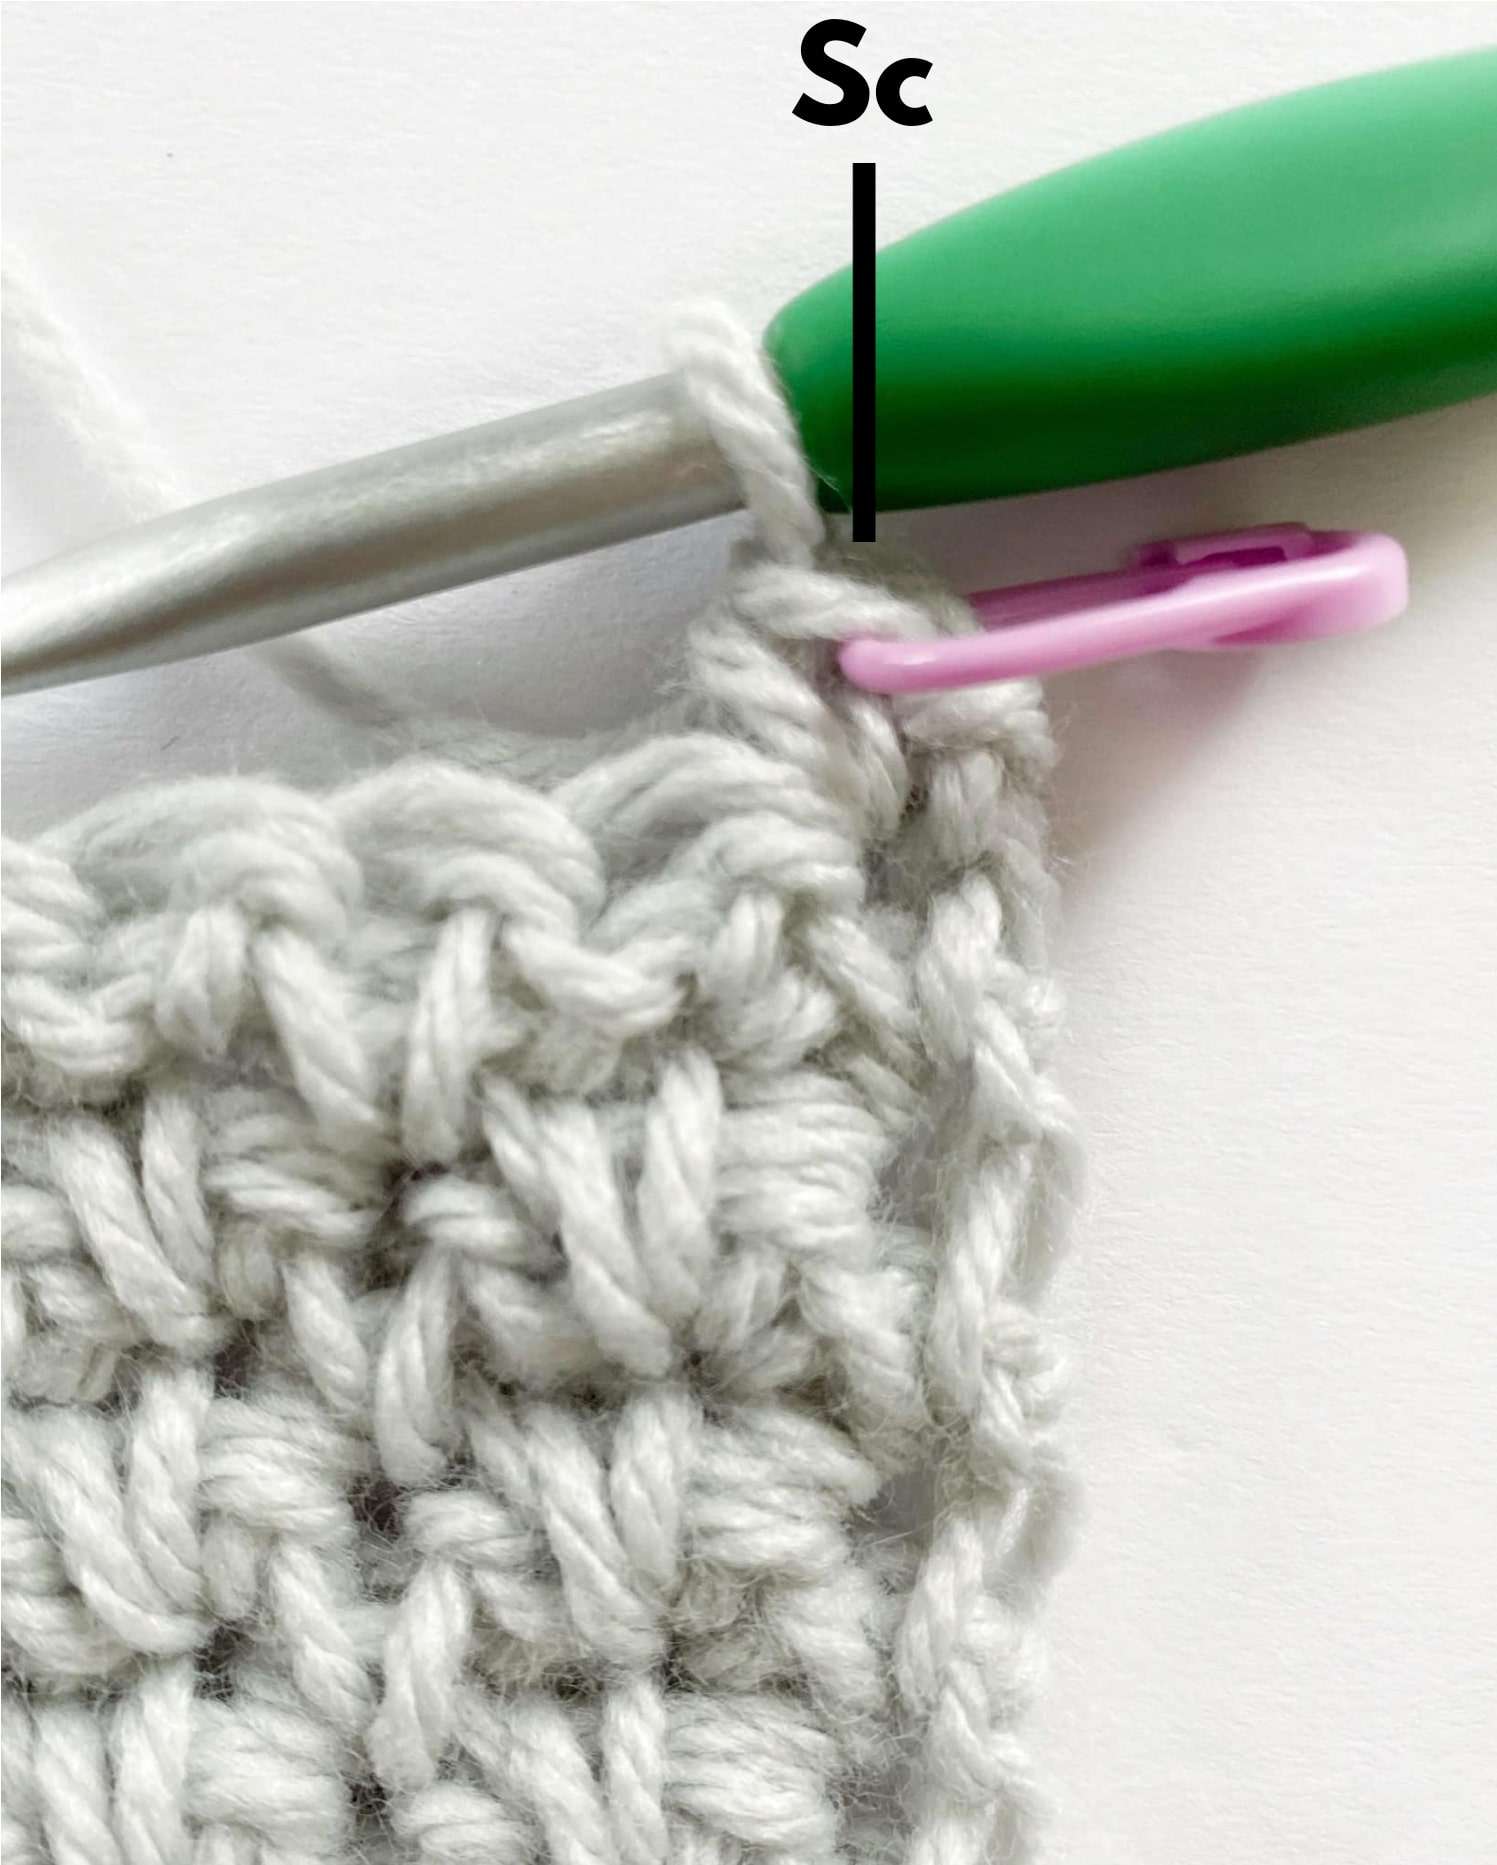
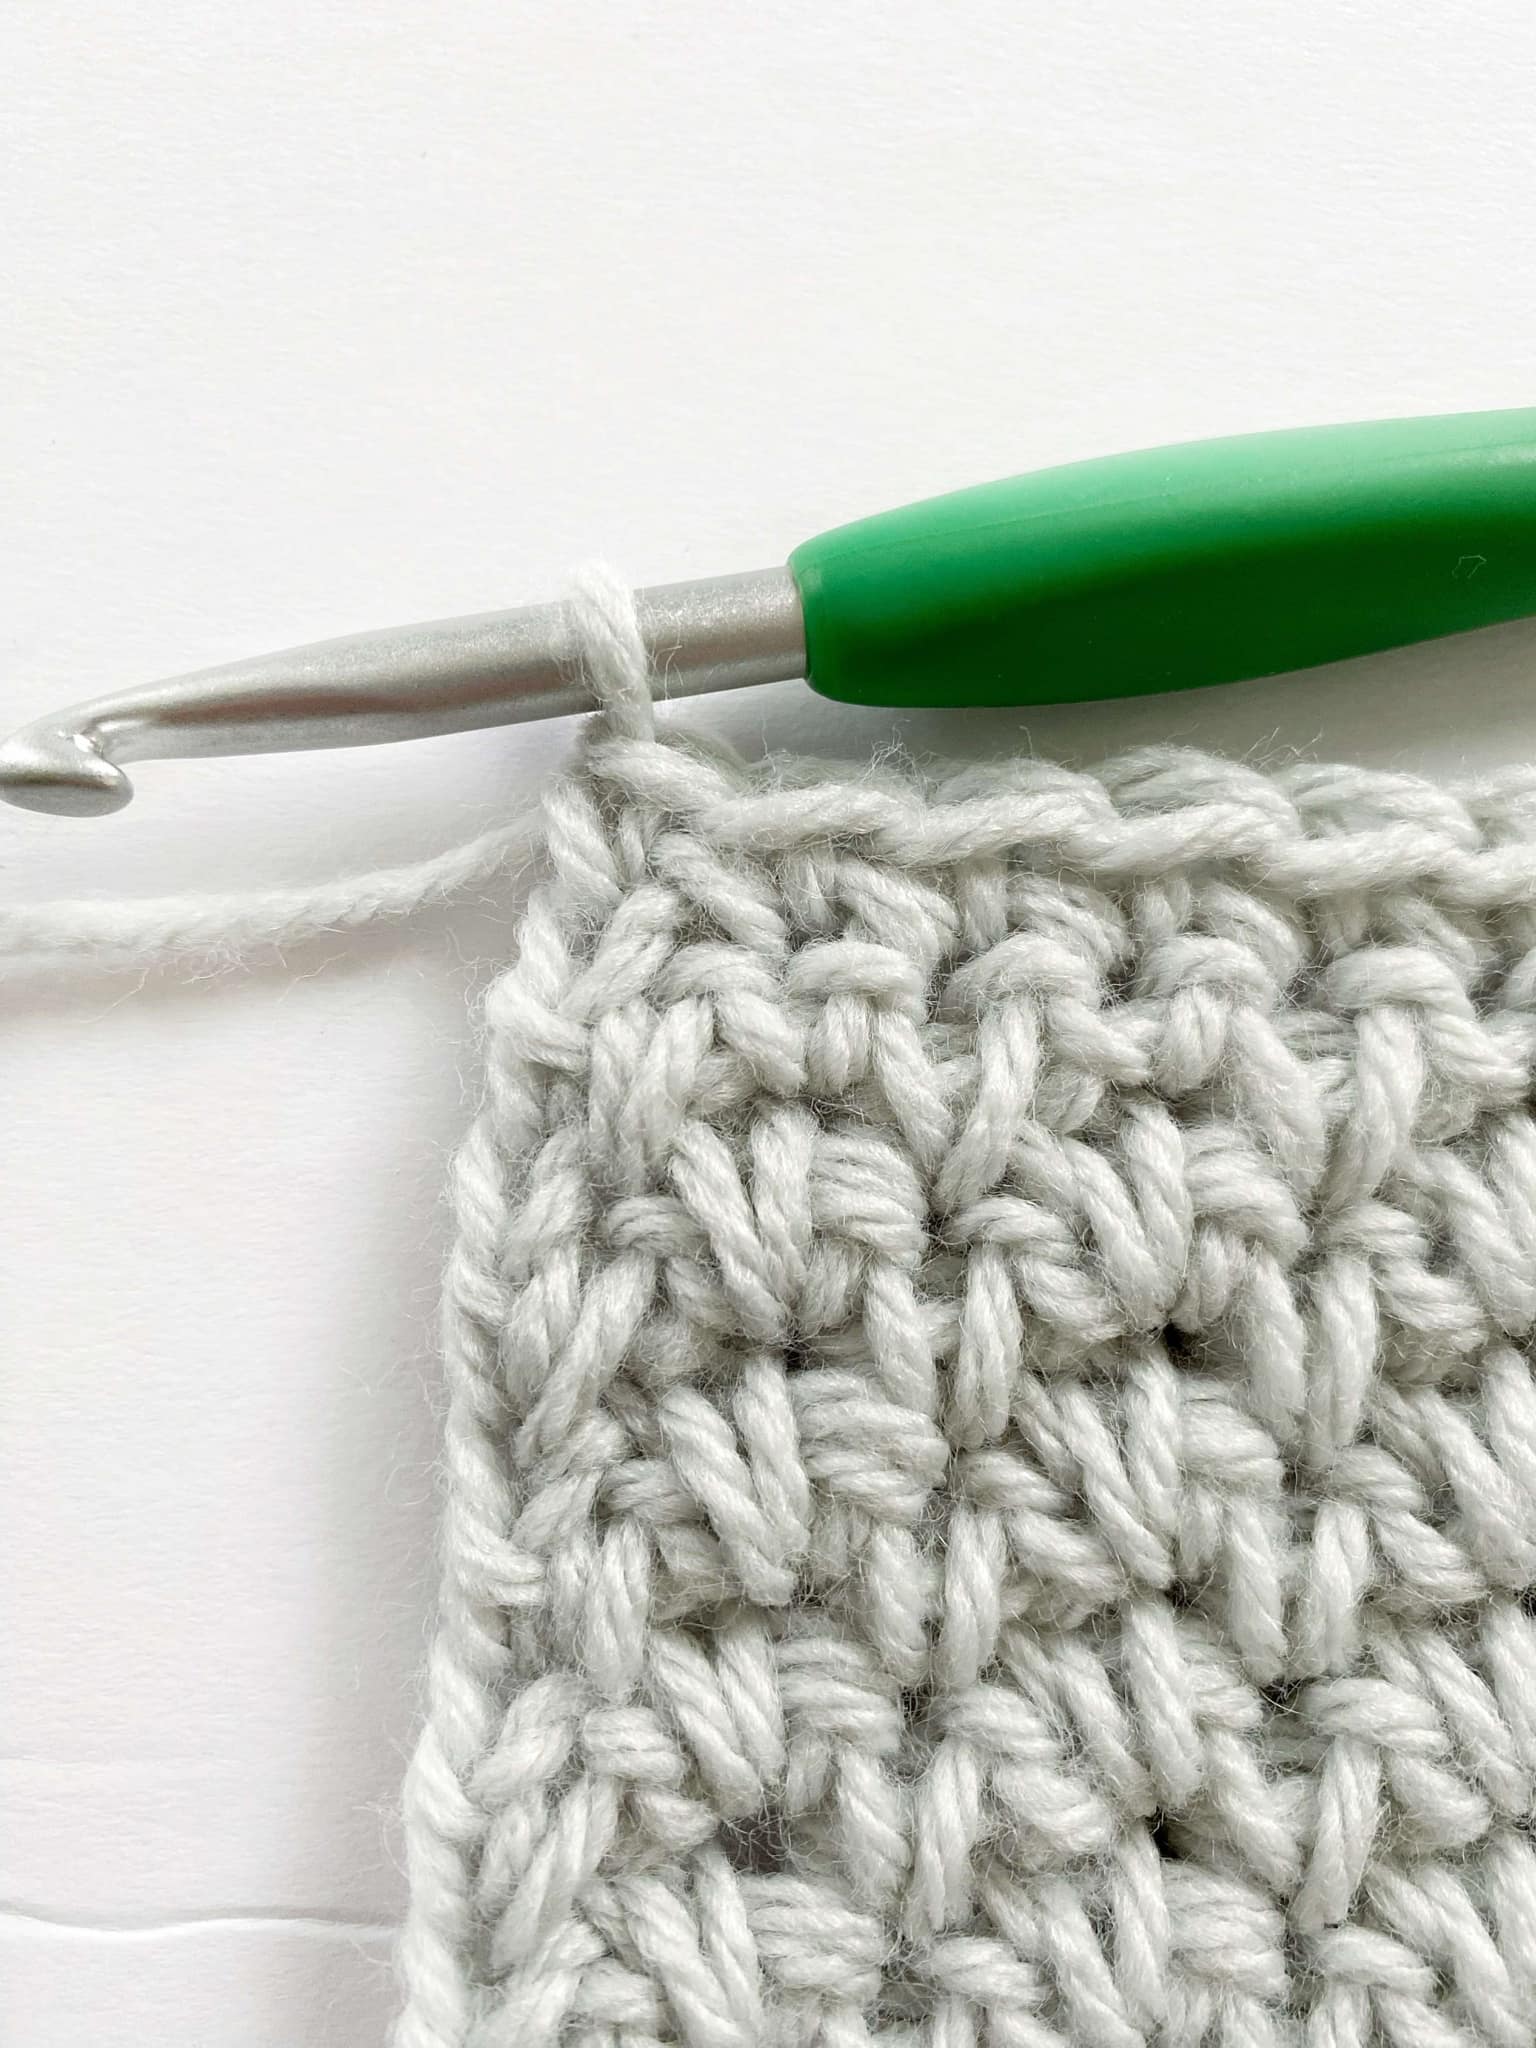
- Ch 1, sc in first st – mark this sc with a stitch marker.
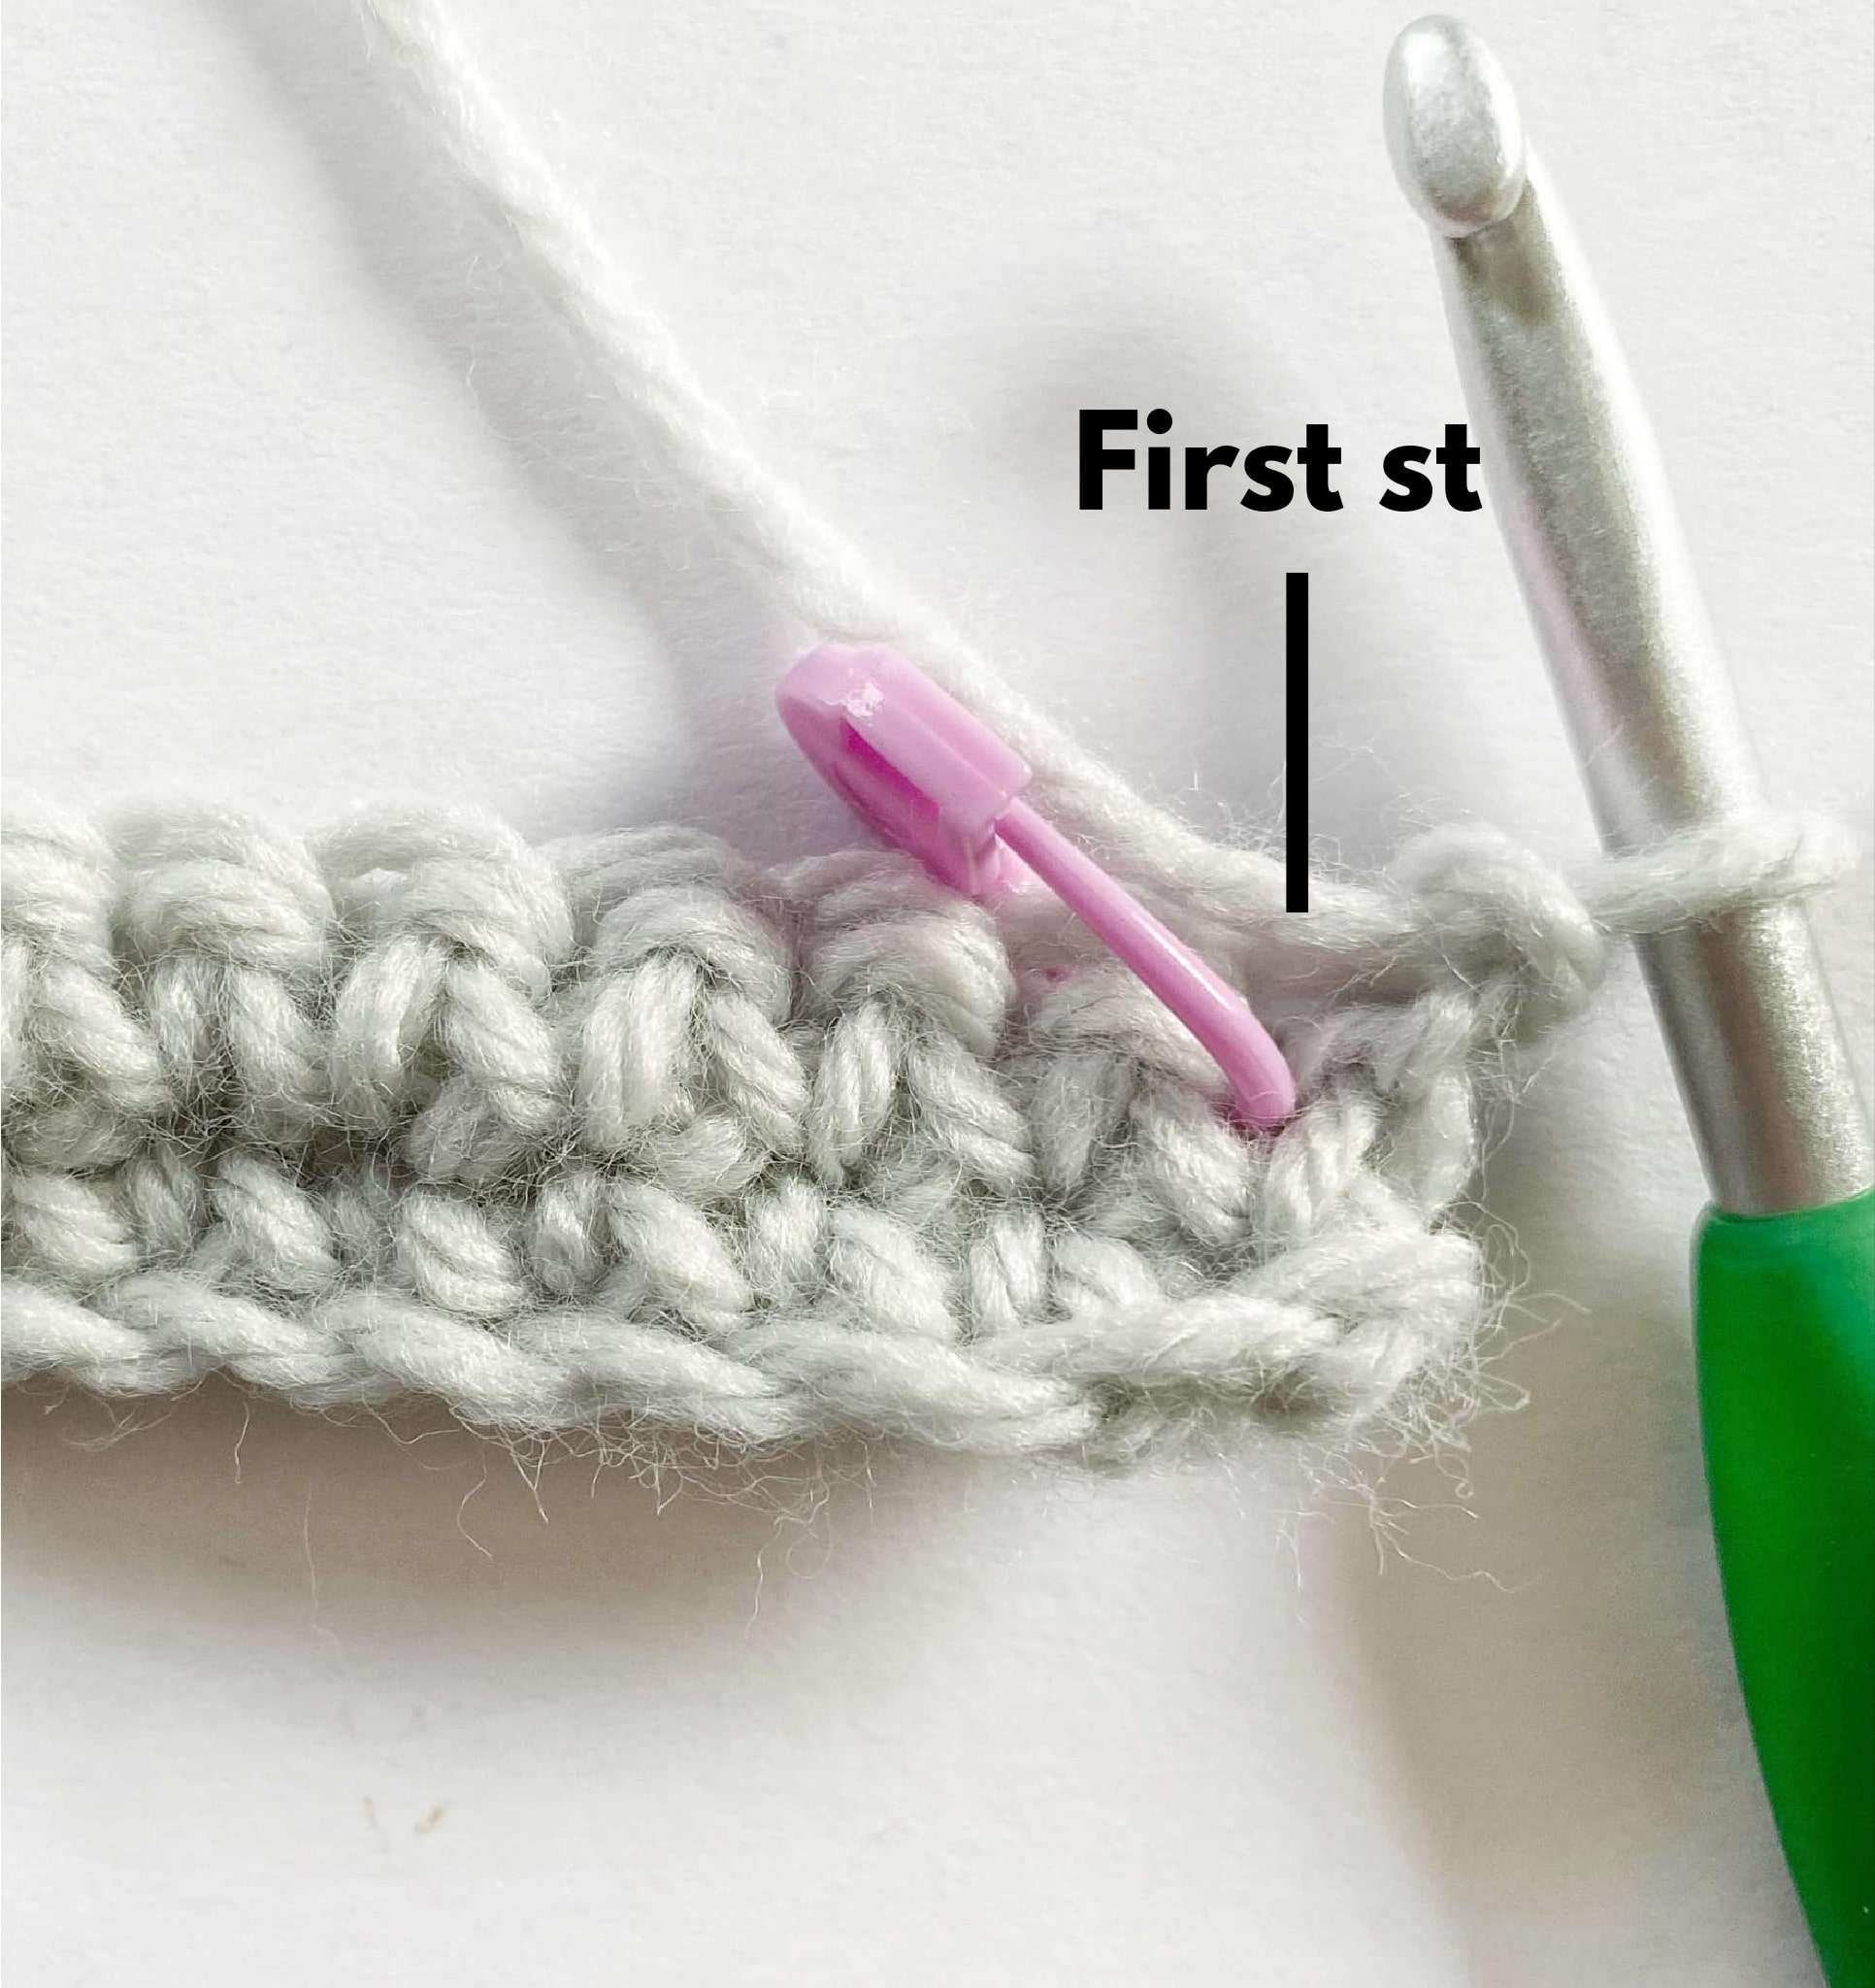
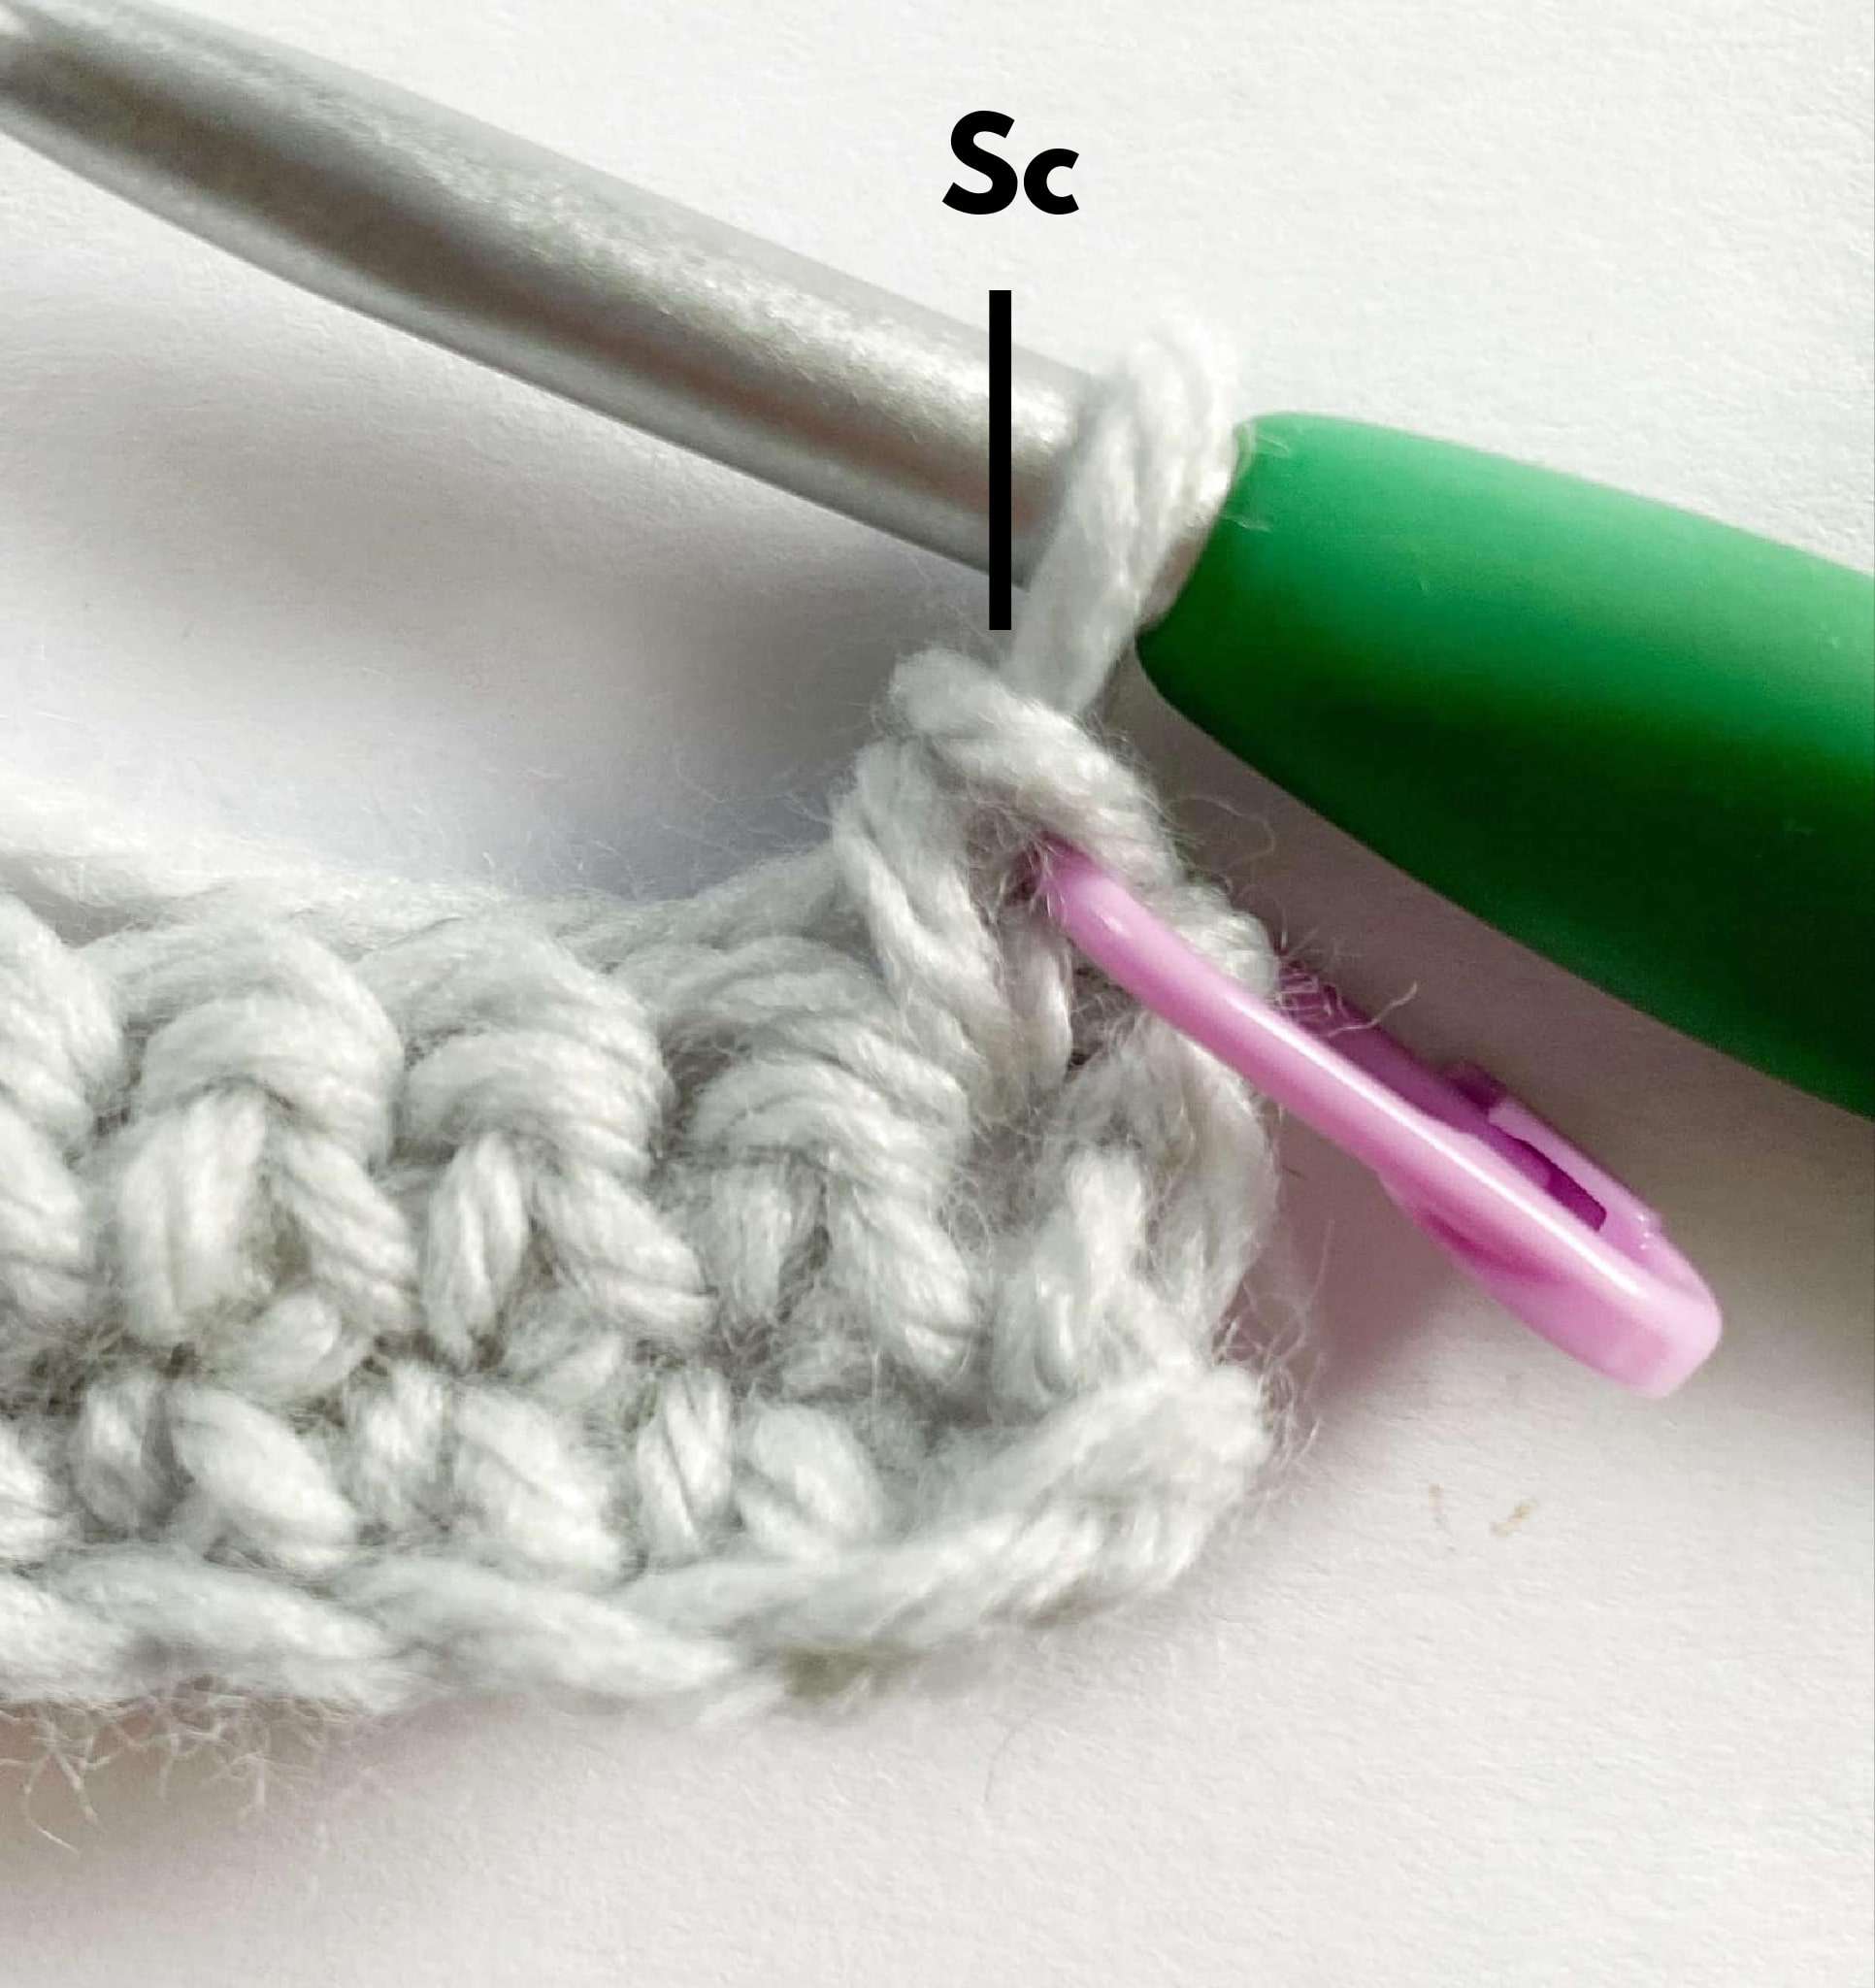
Spike in next st:
- Insert hook into the next st one row below.
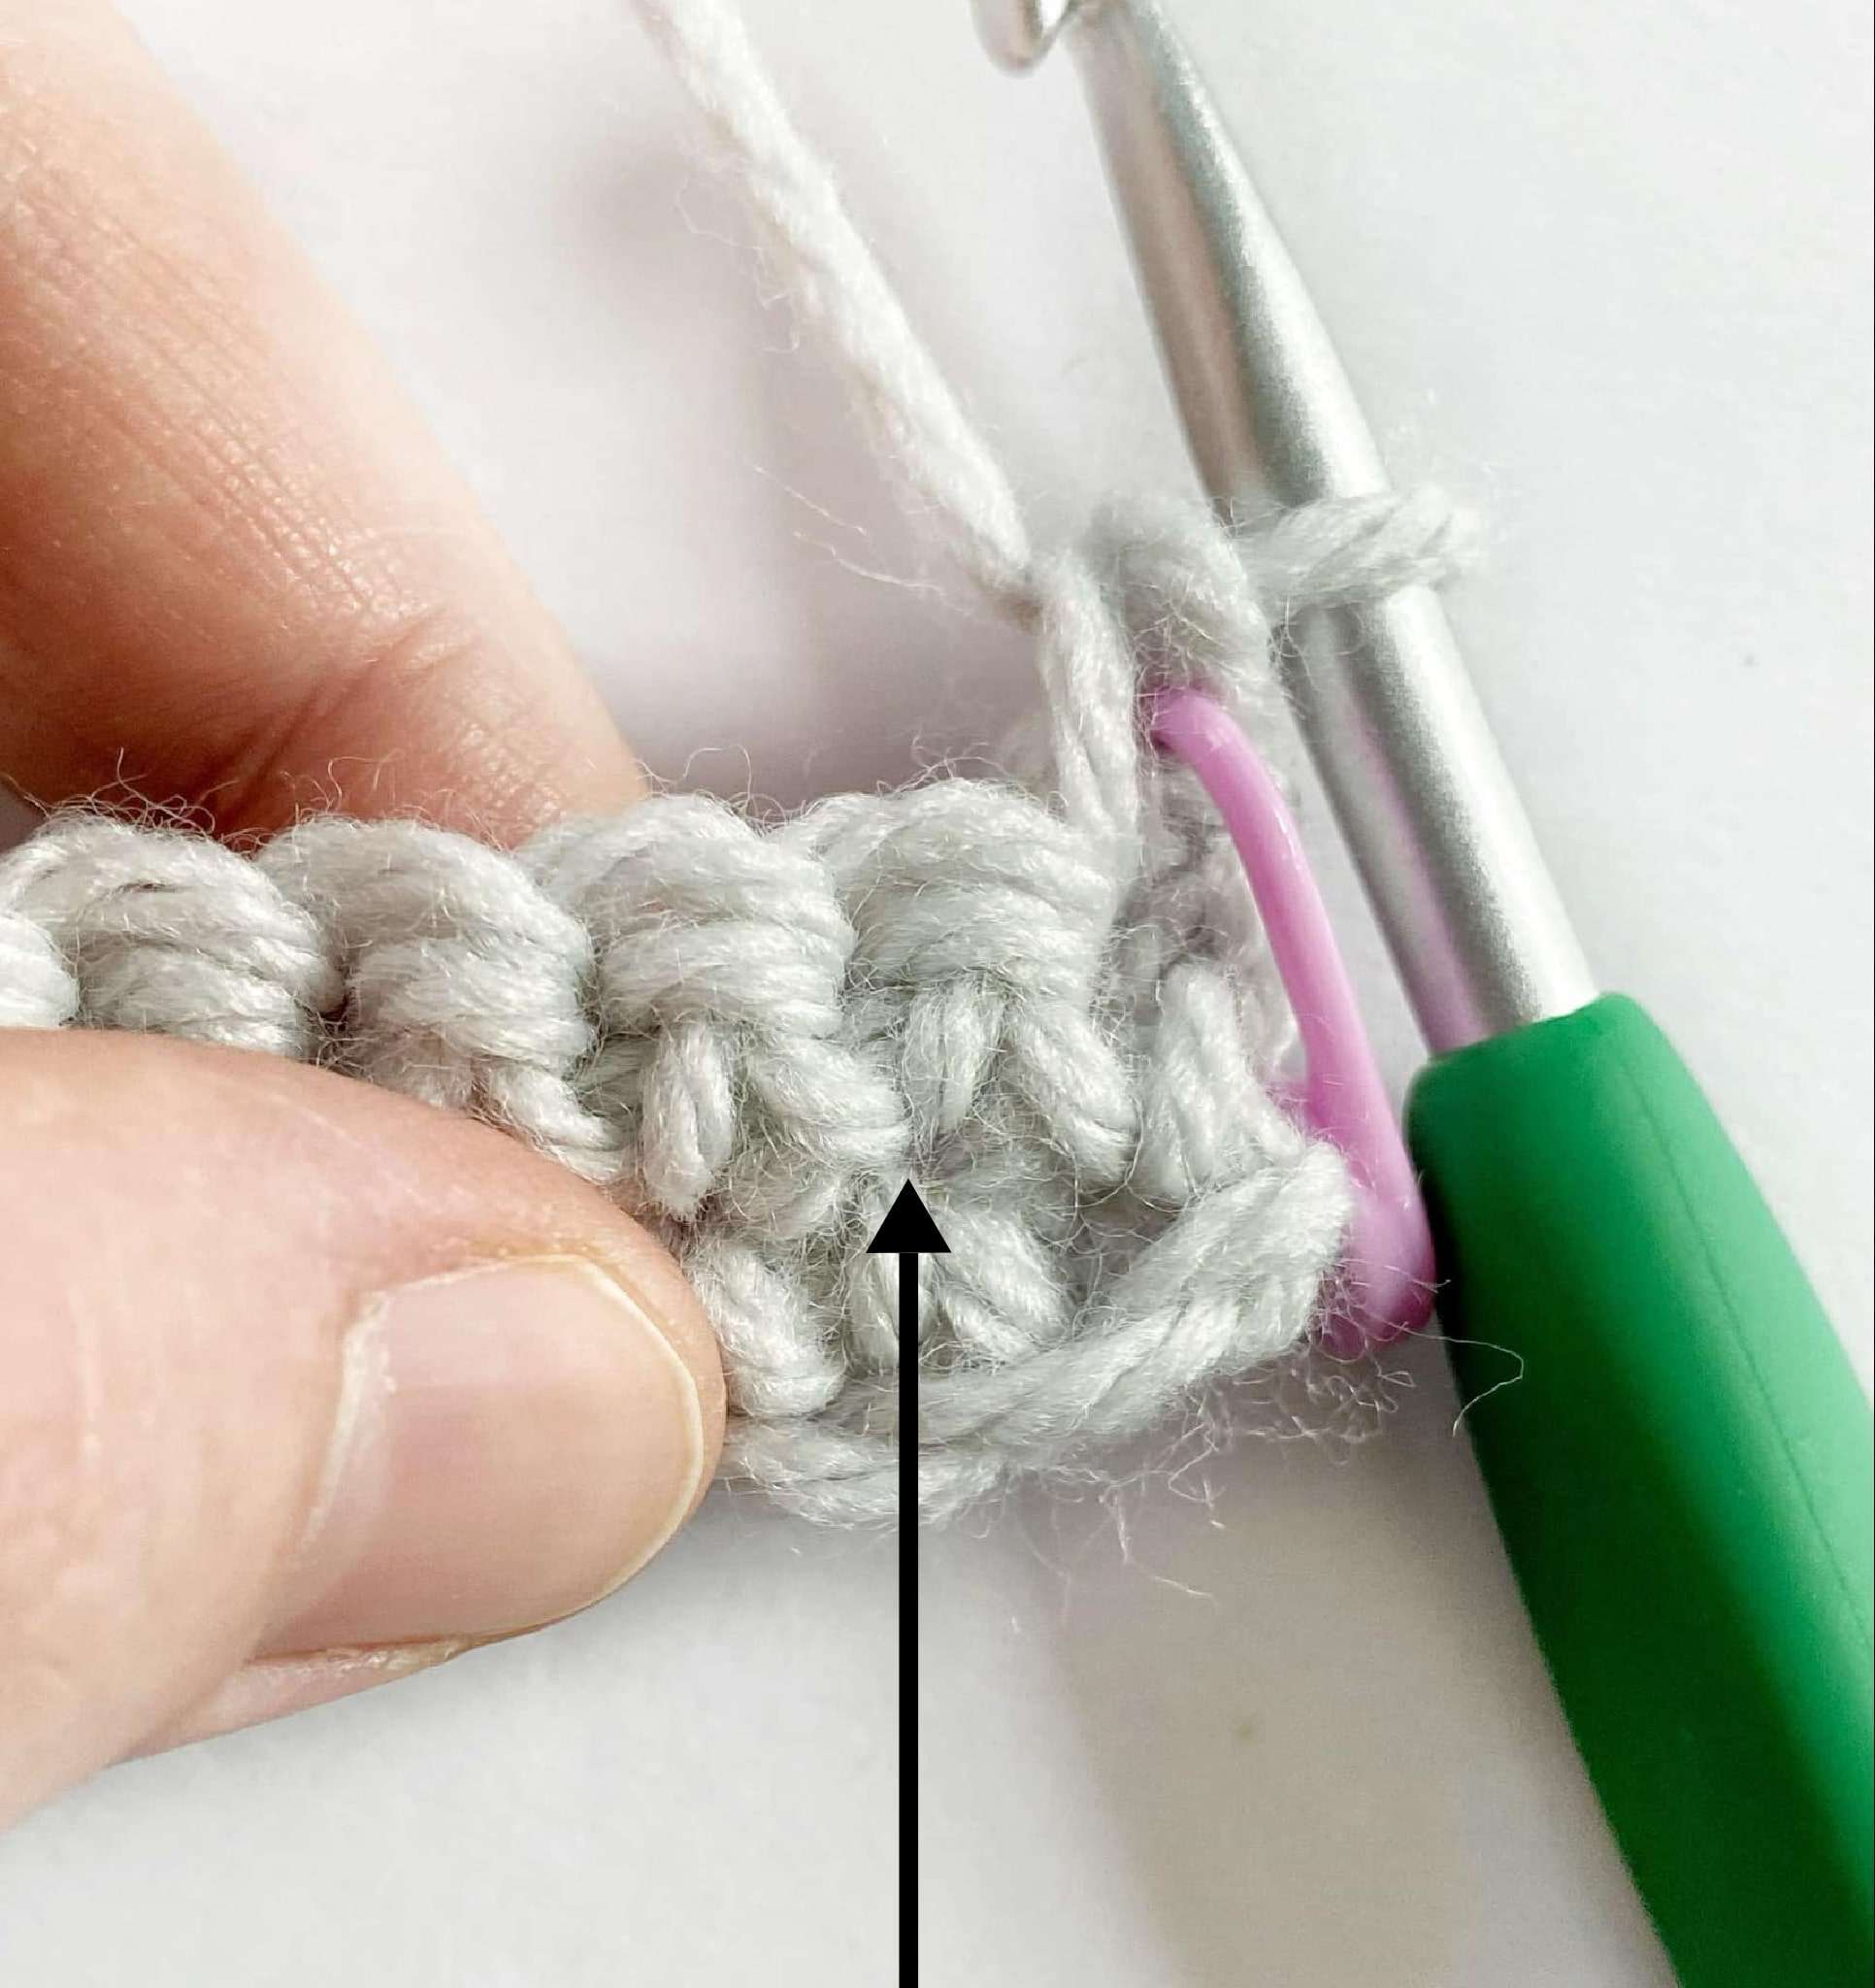
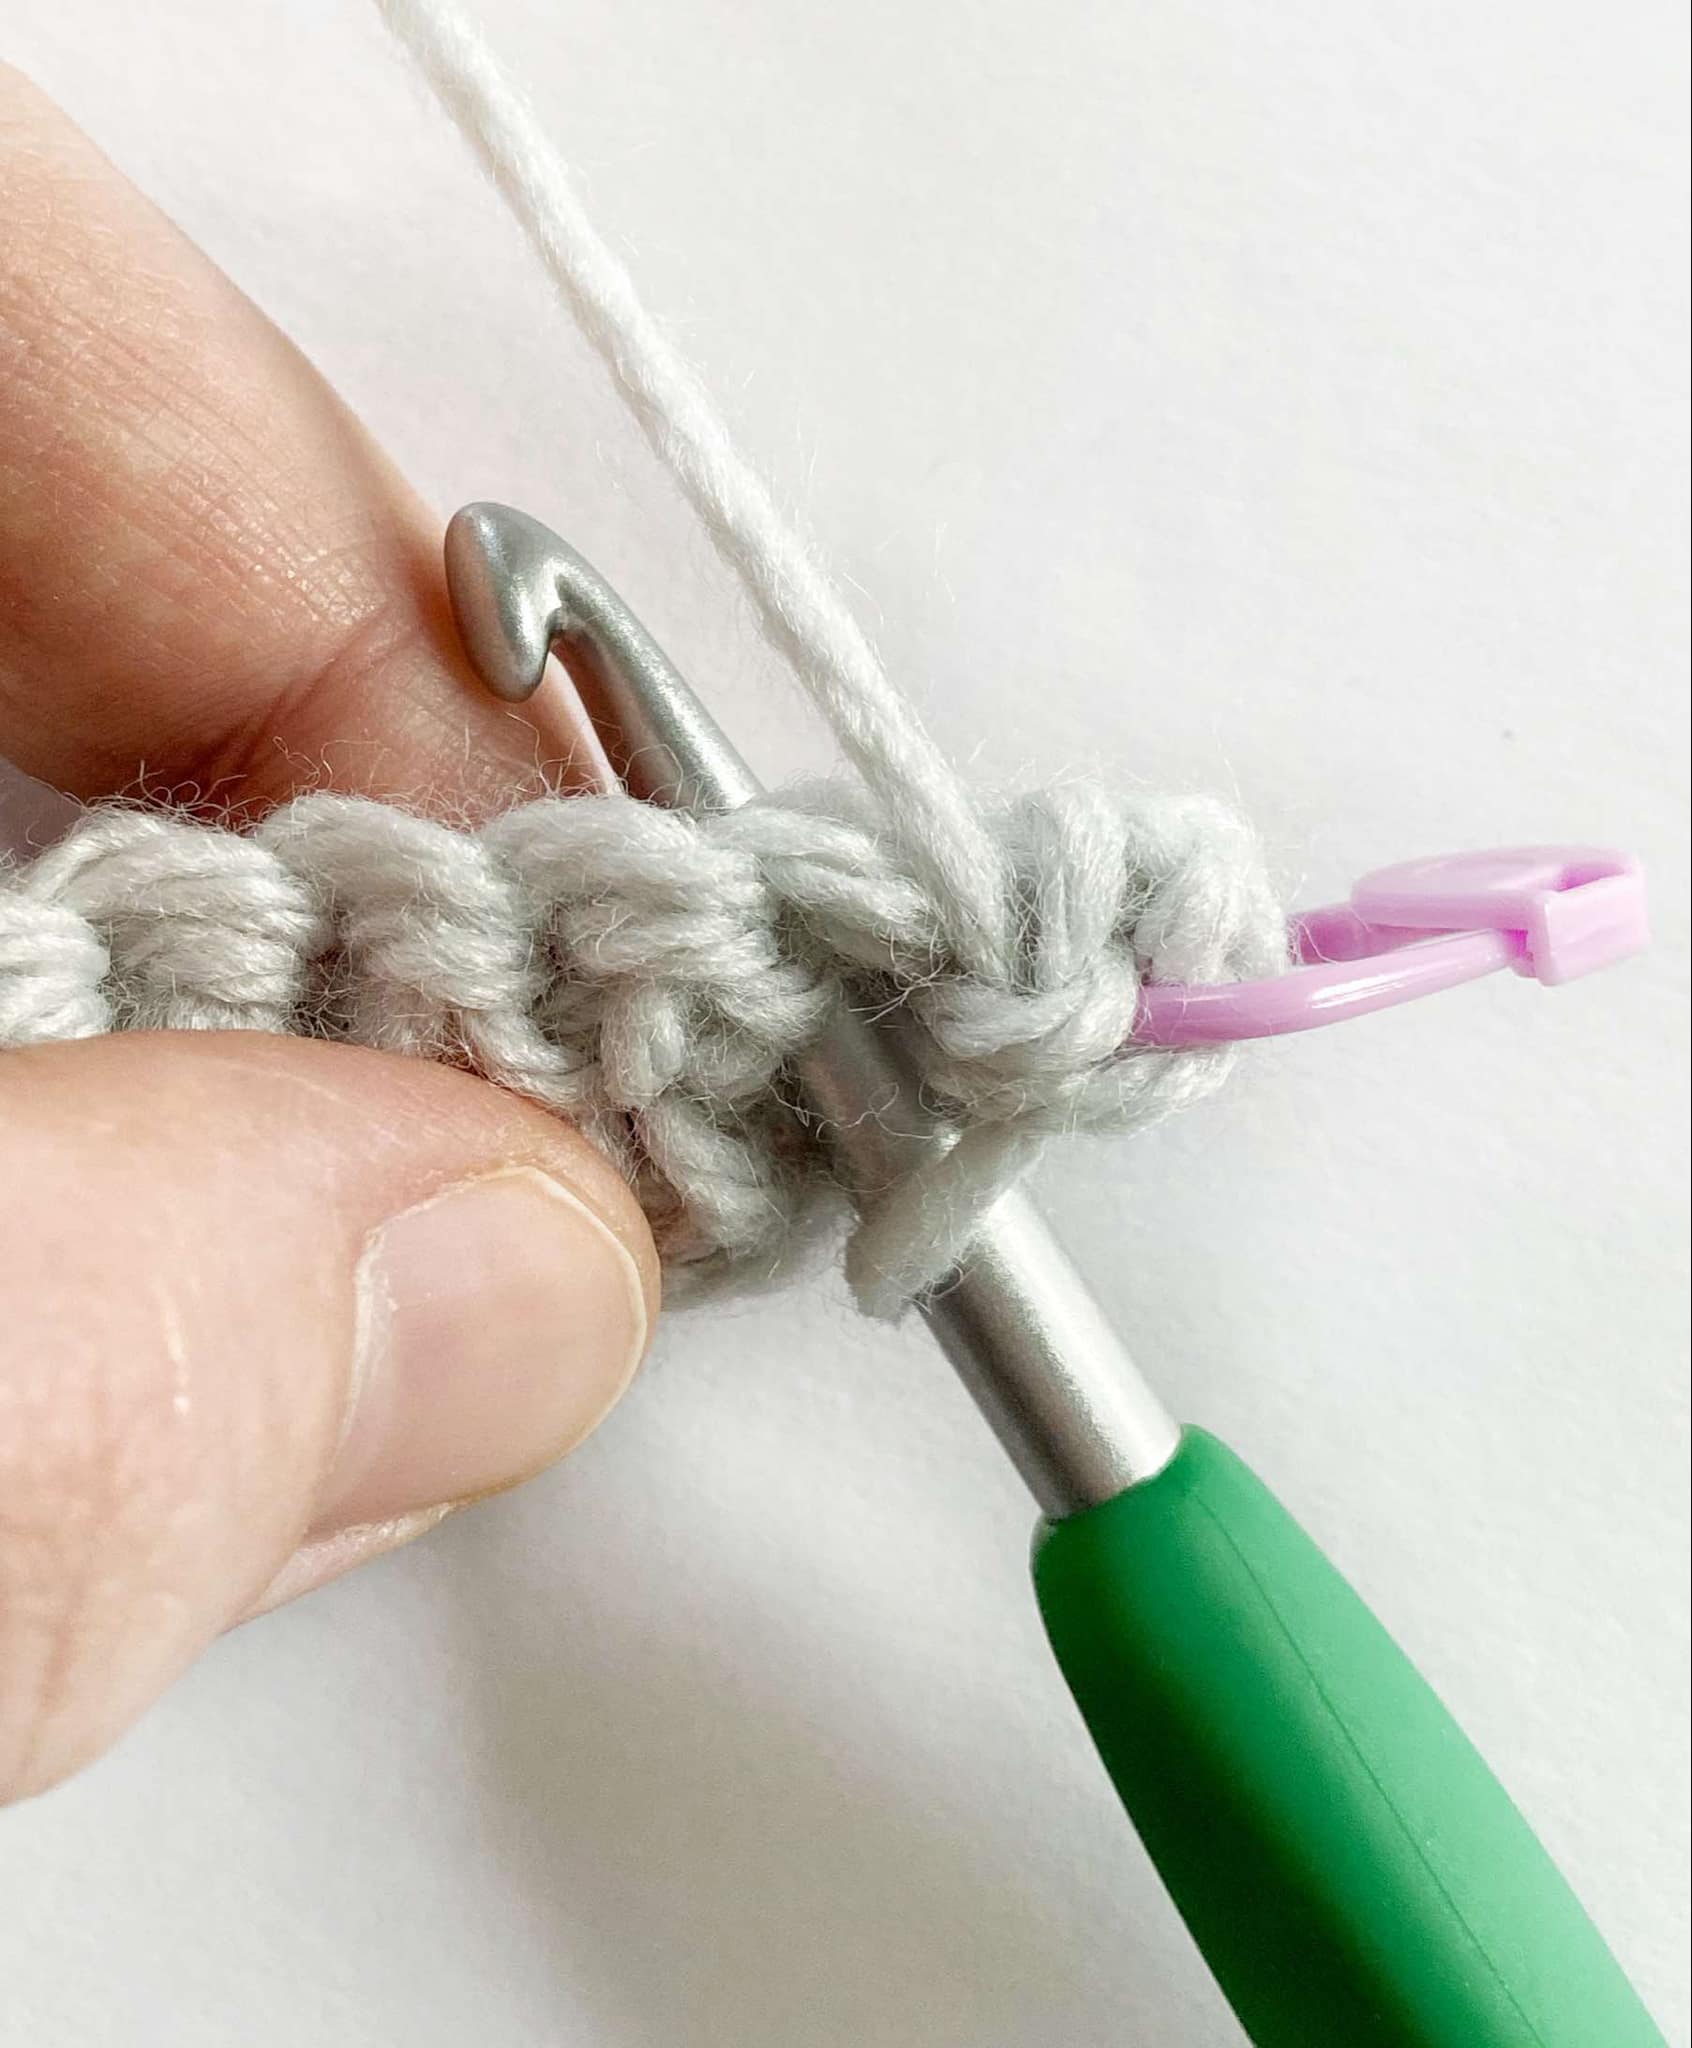
- YO, and pull up the loop until it reaches the height of the current row.
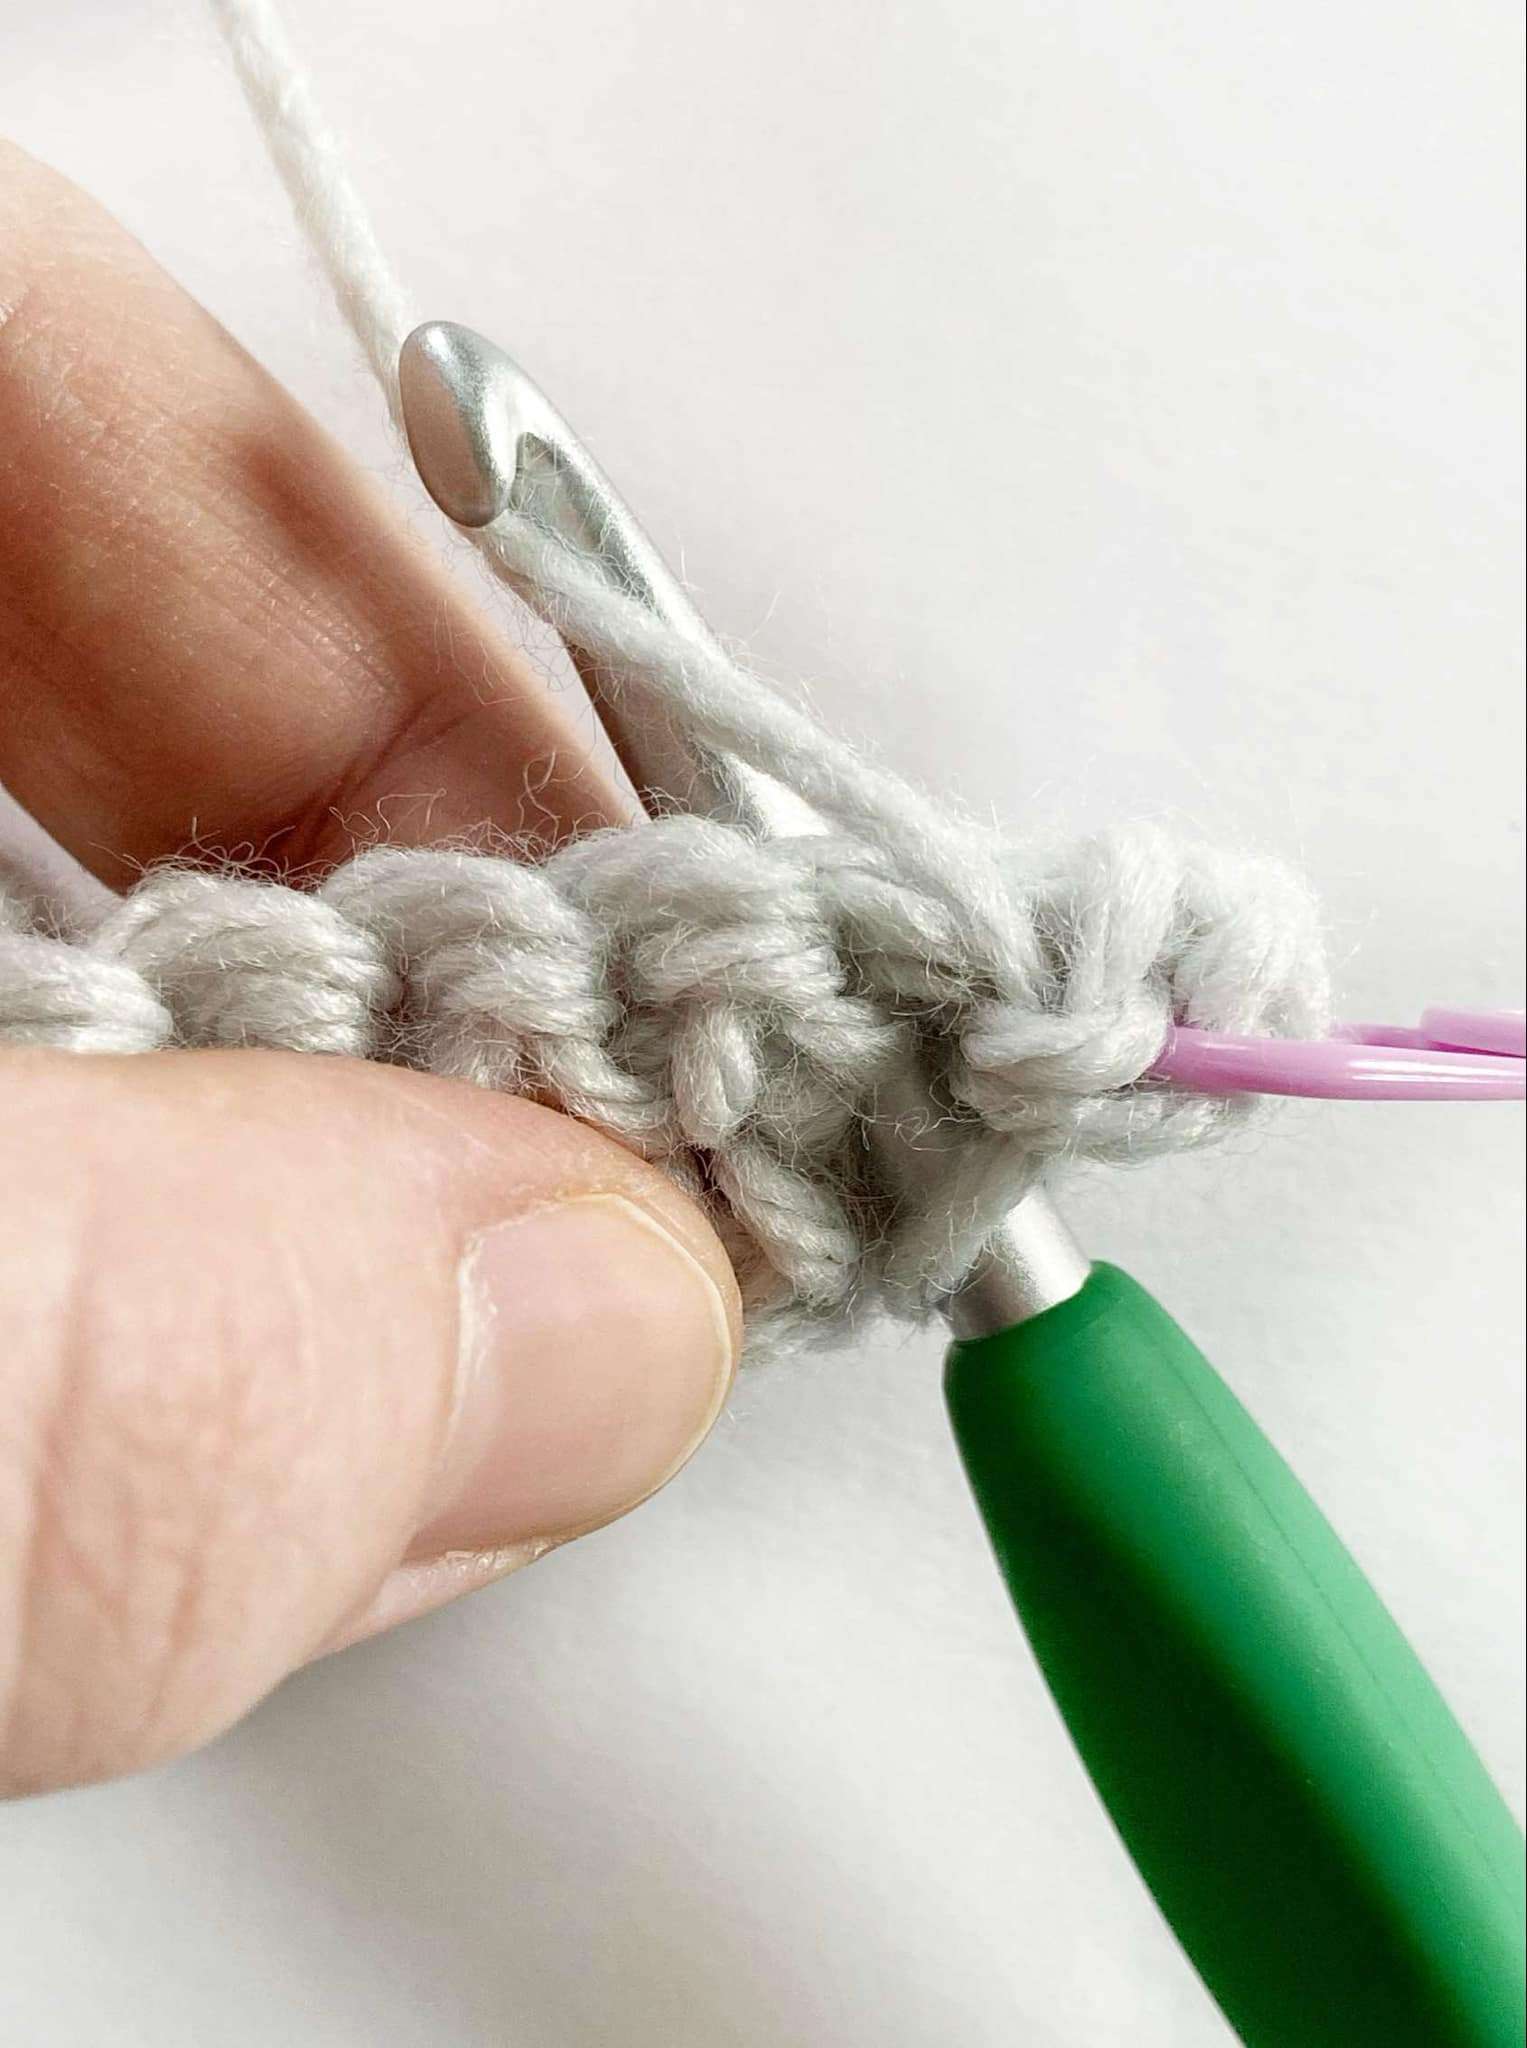
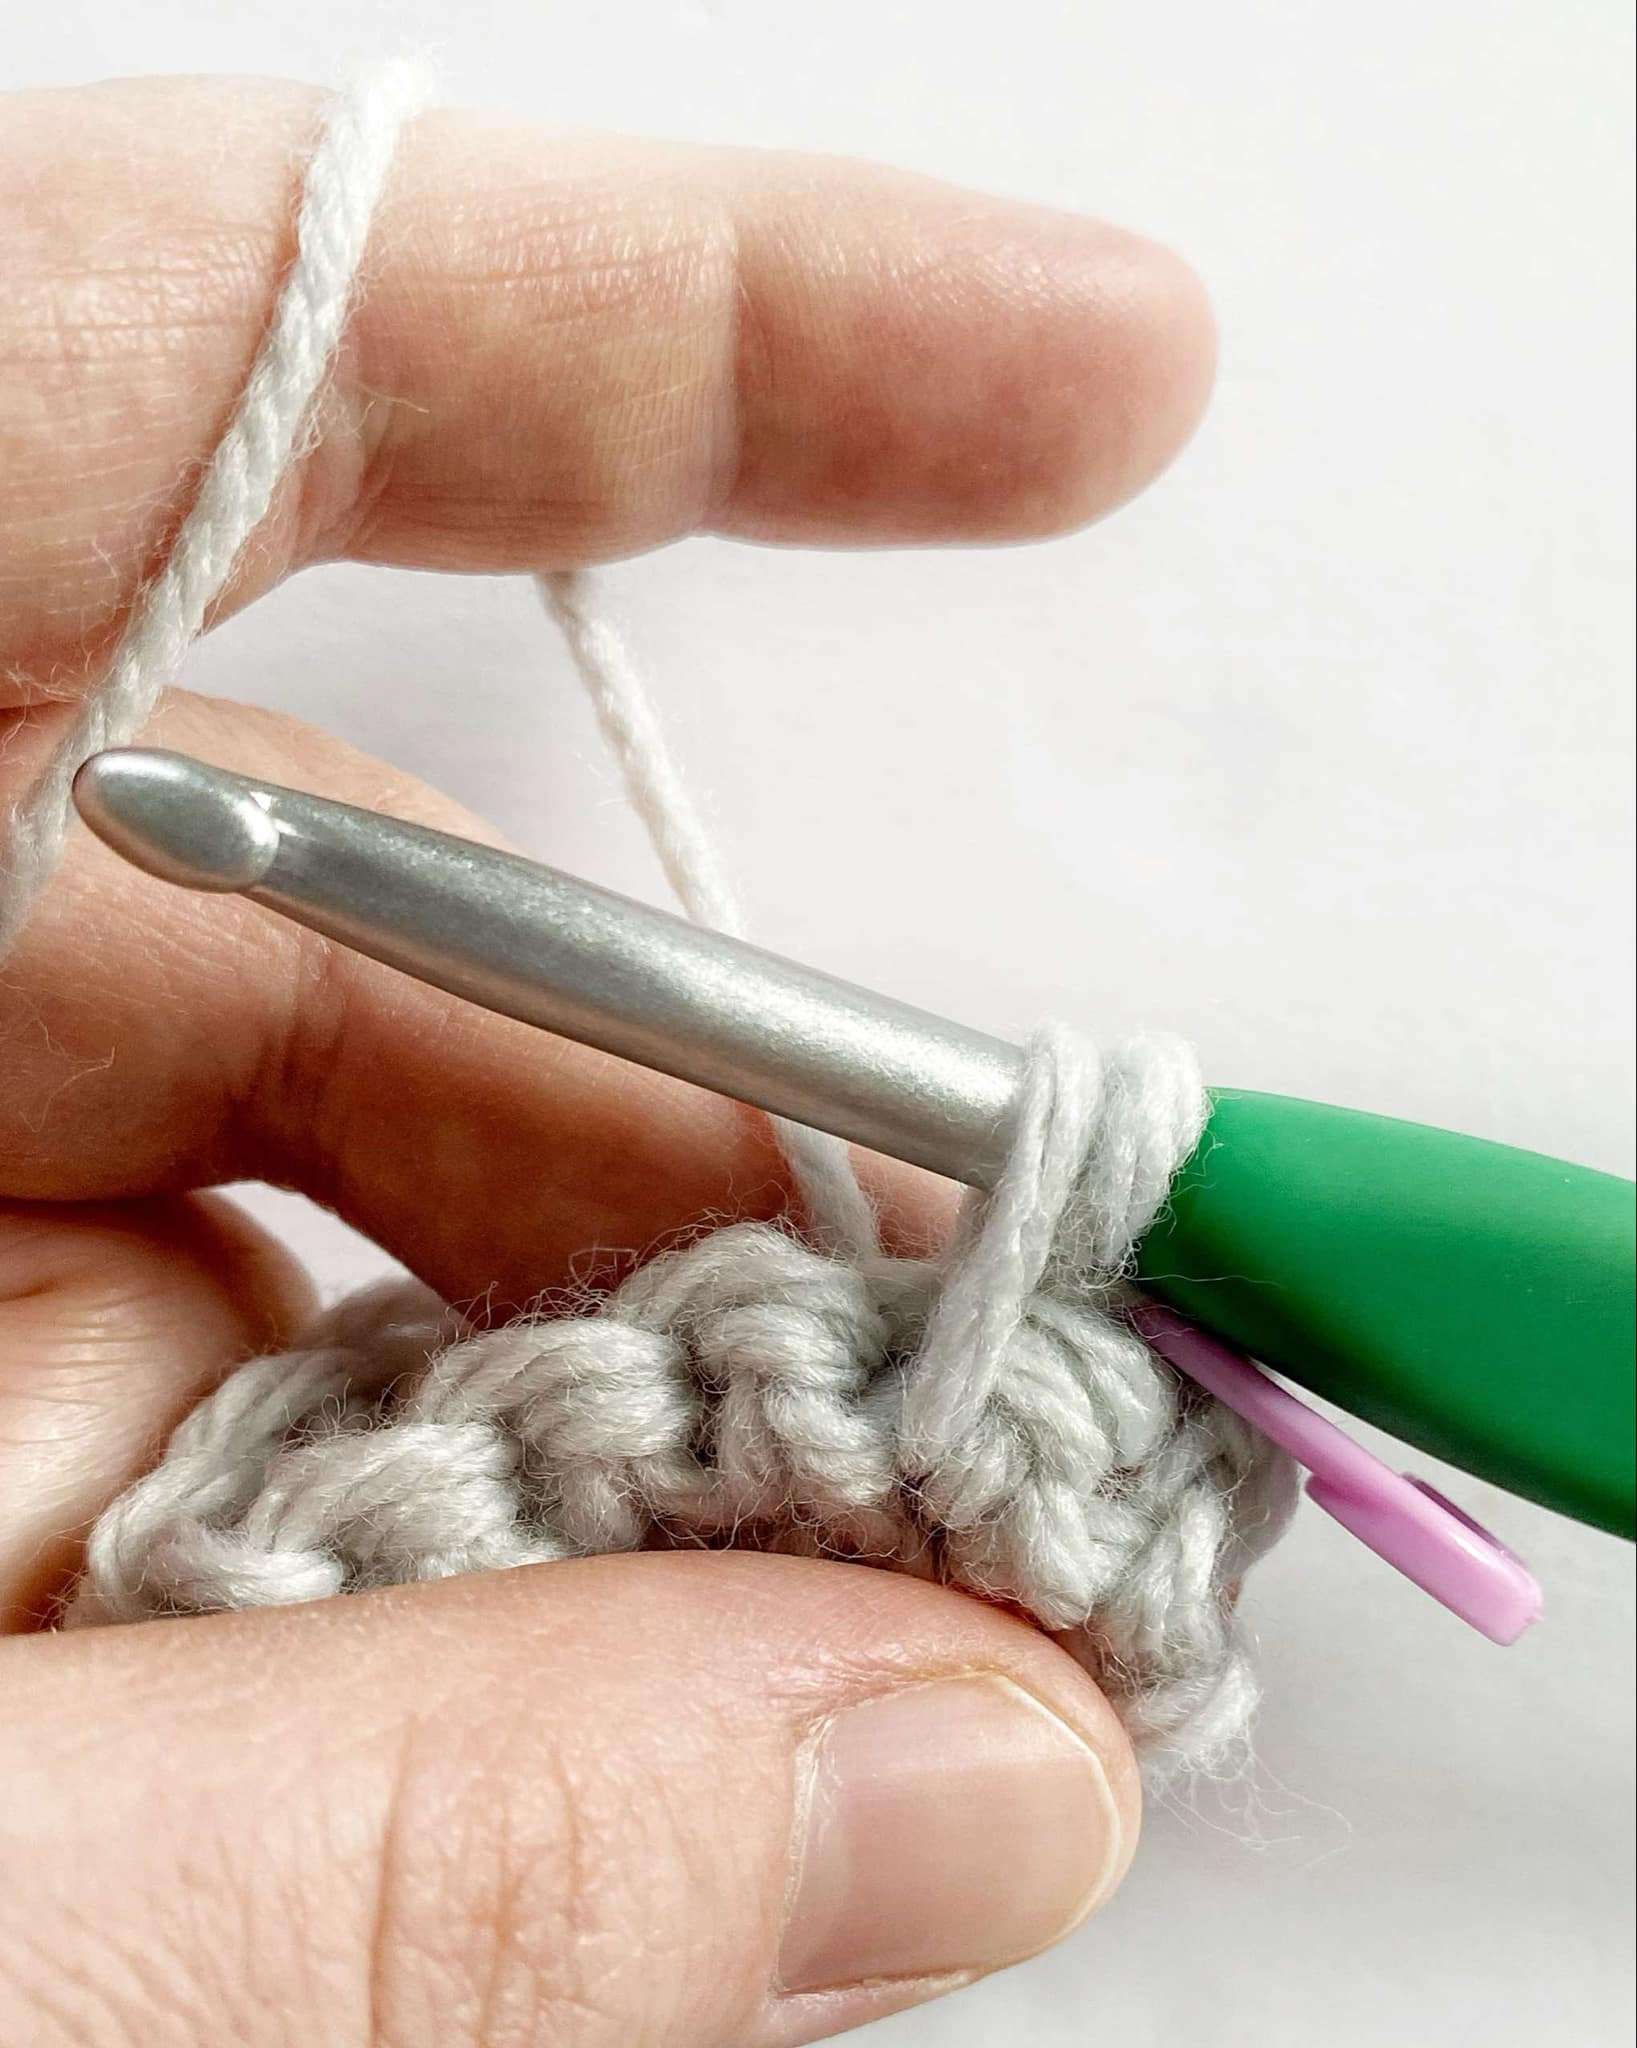
- YO and pull through both 2 loops to complete the Spike!
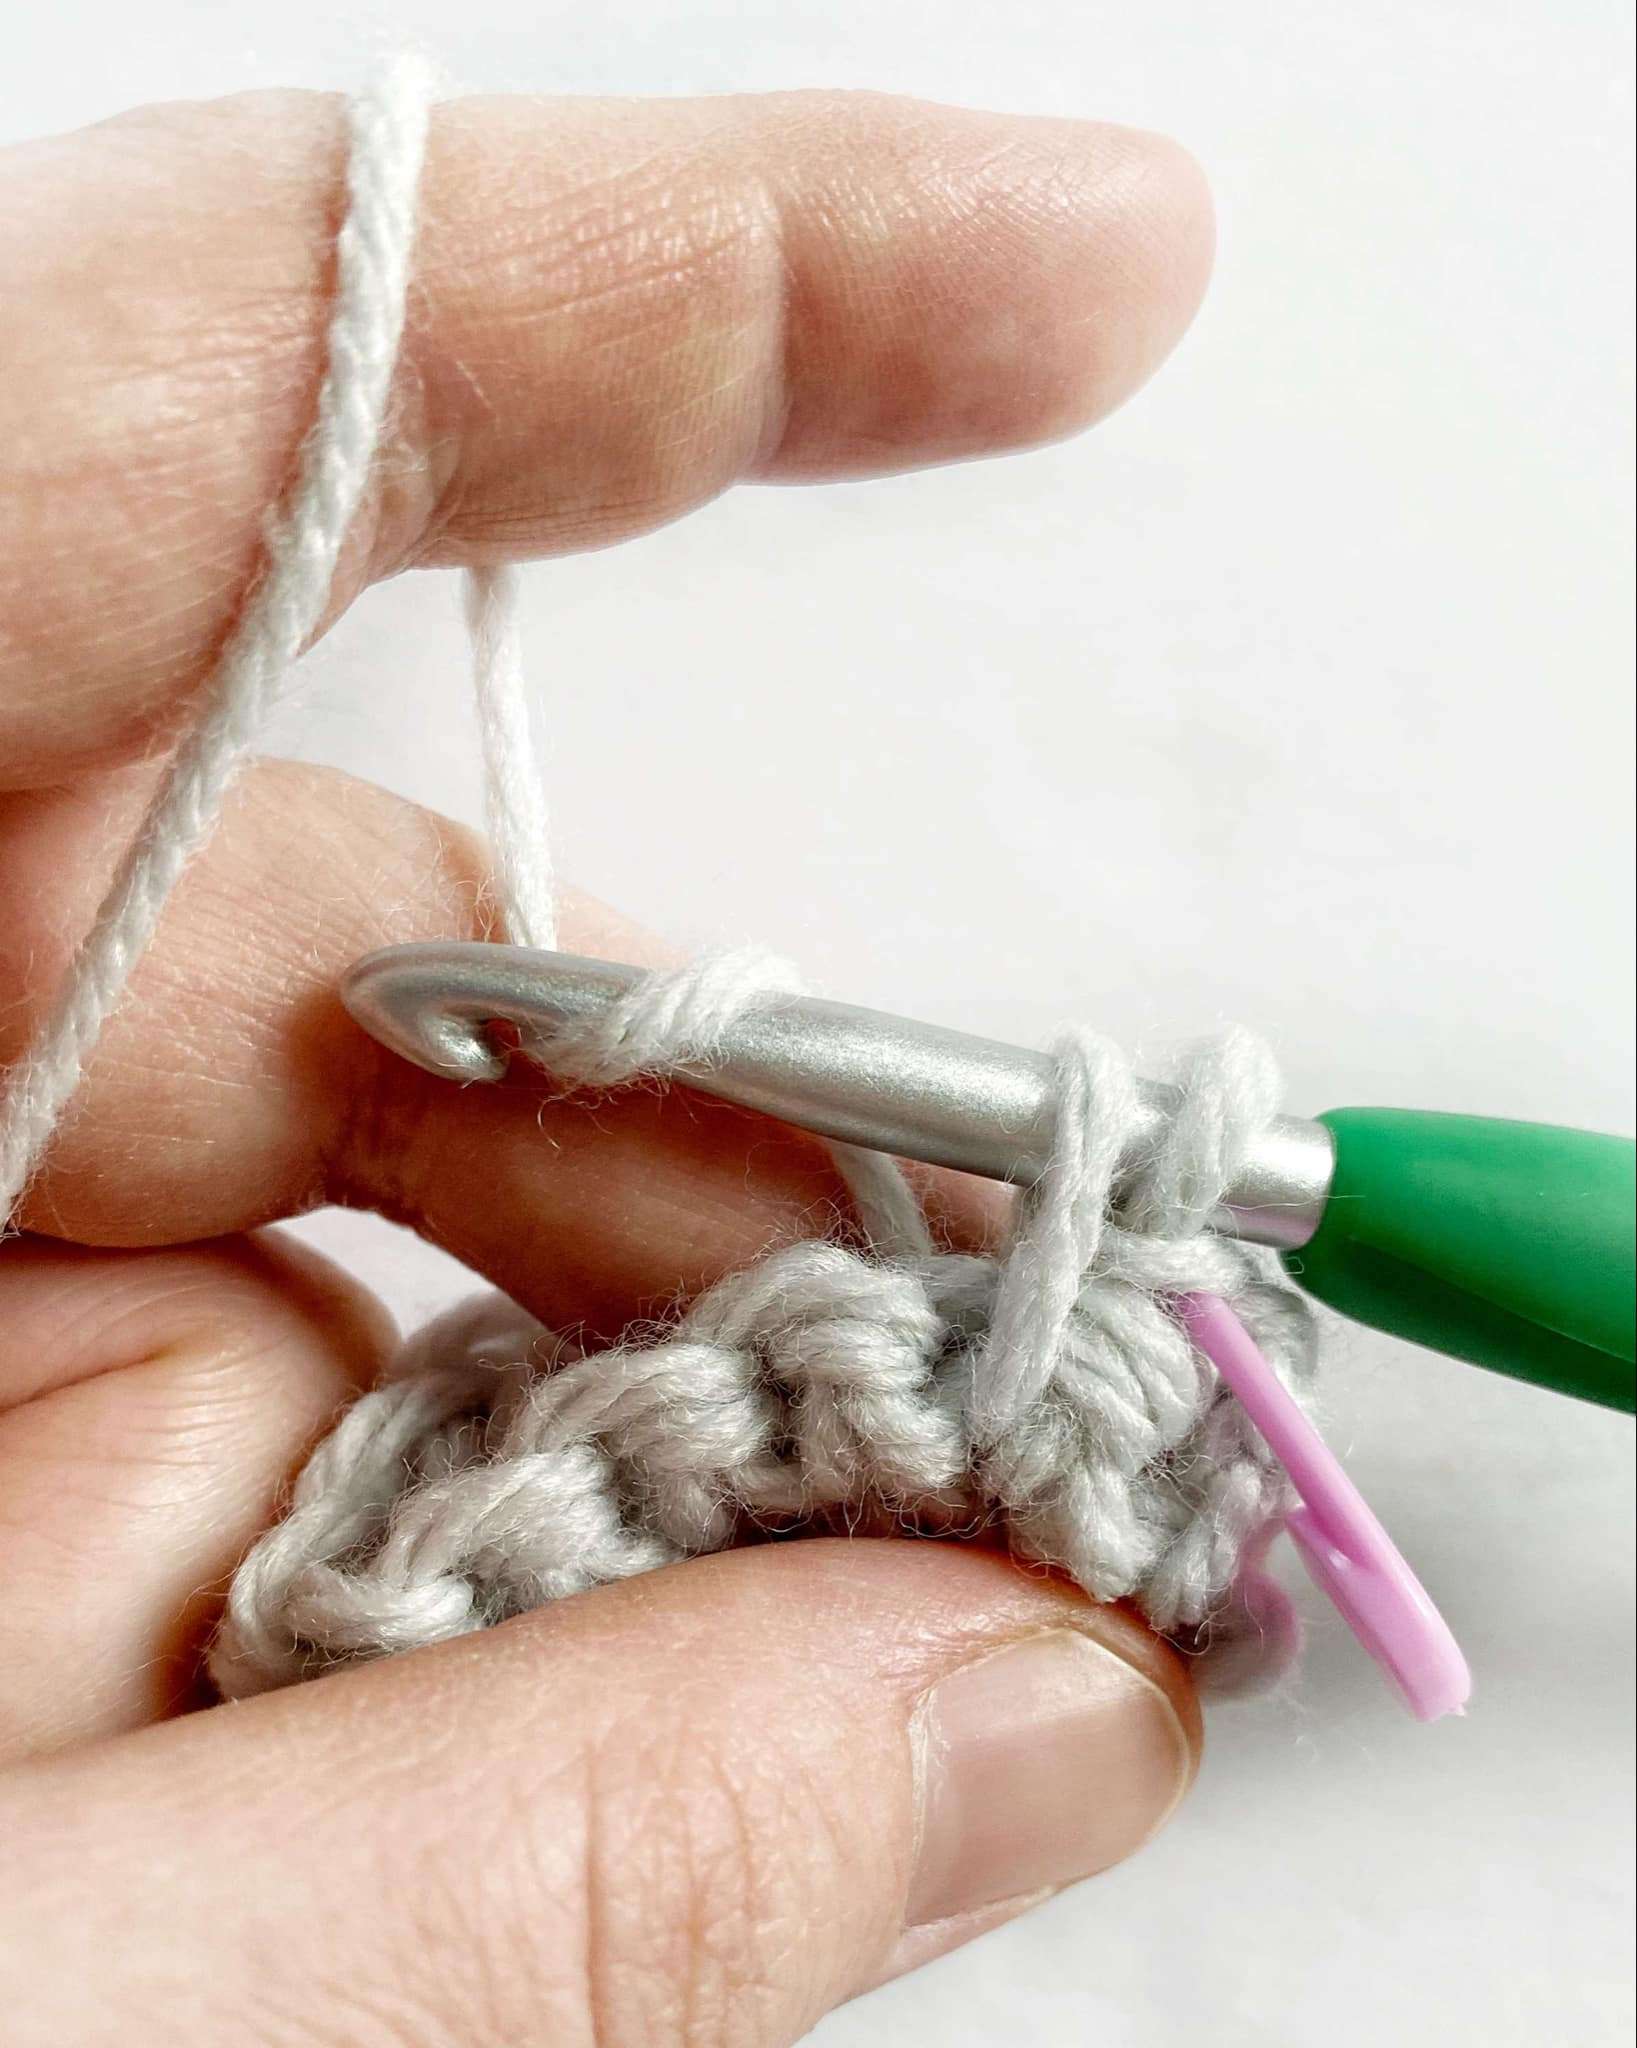
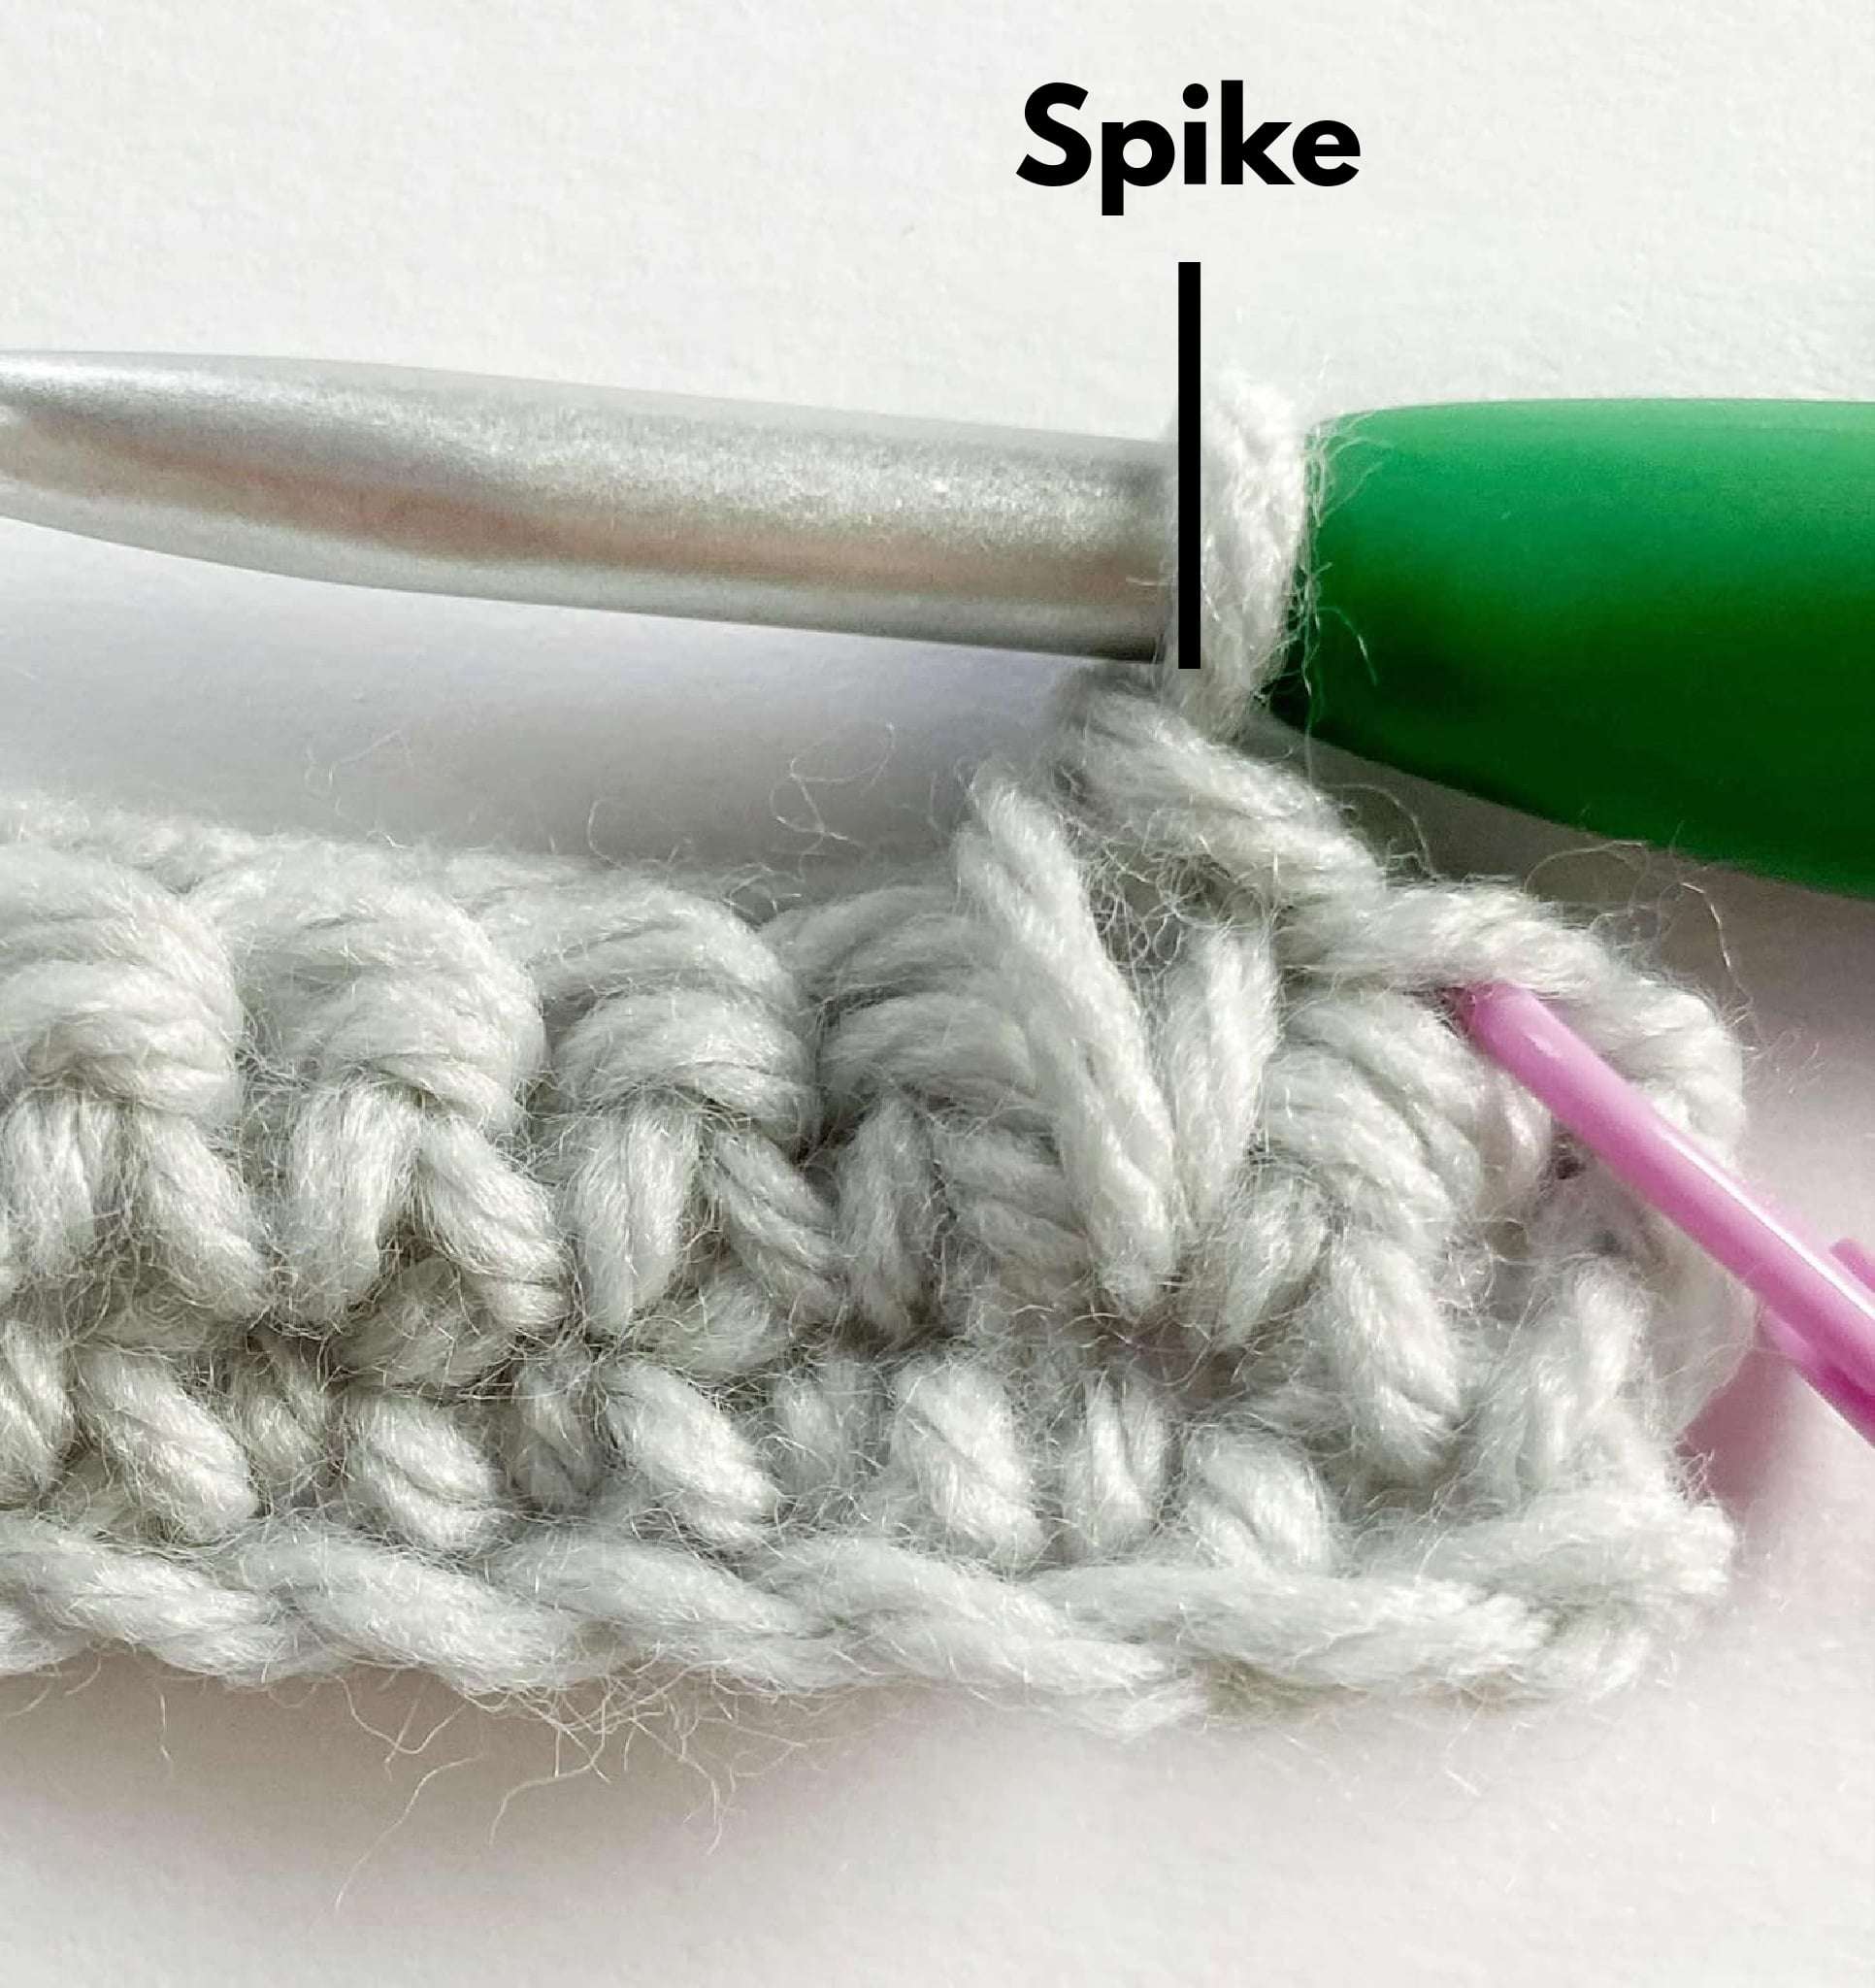
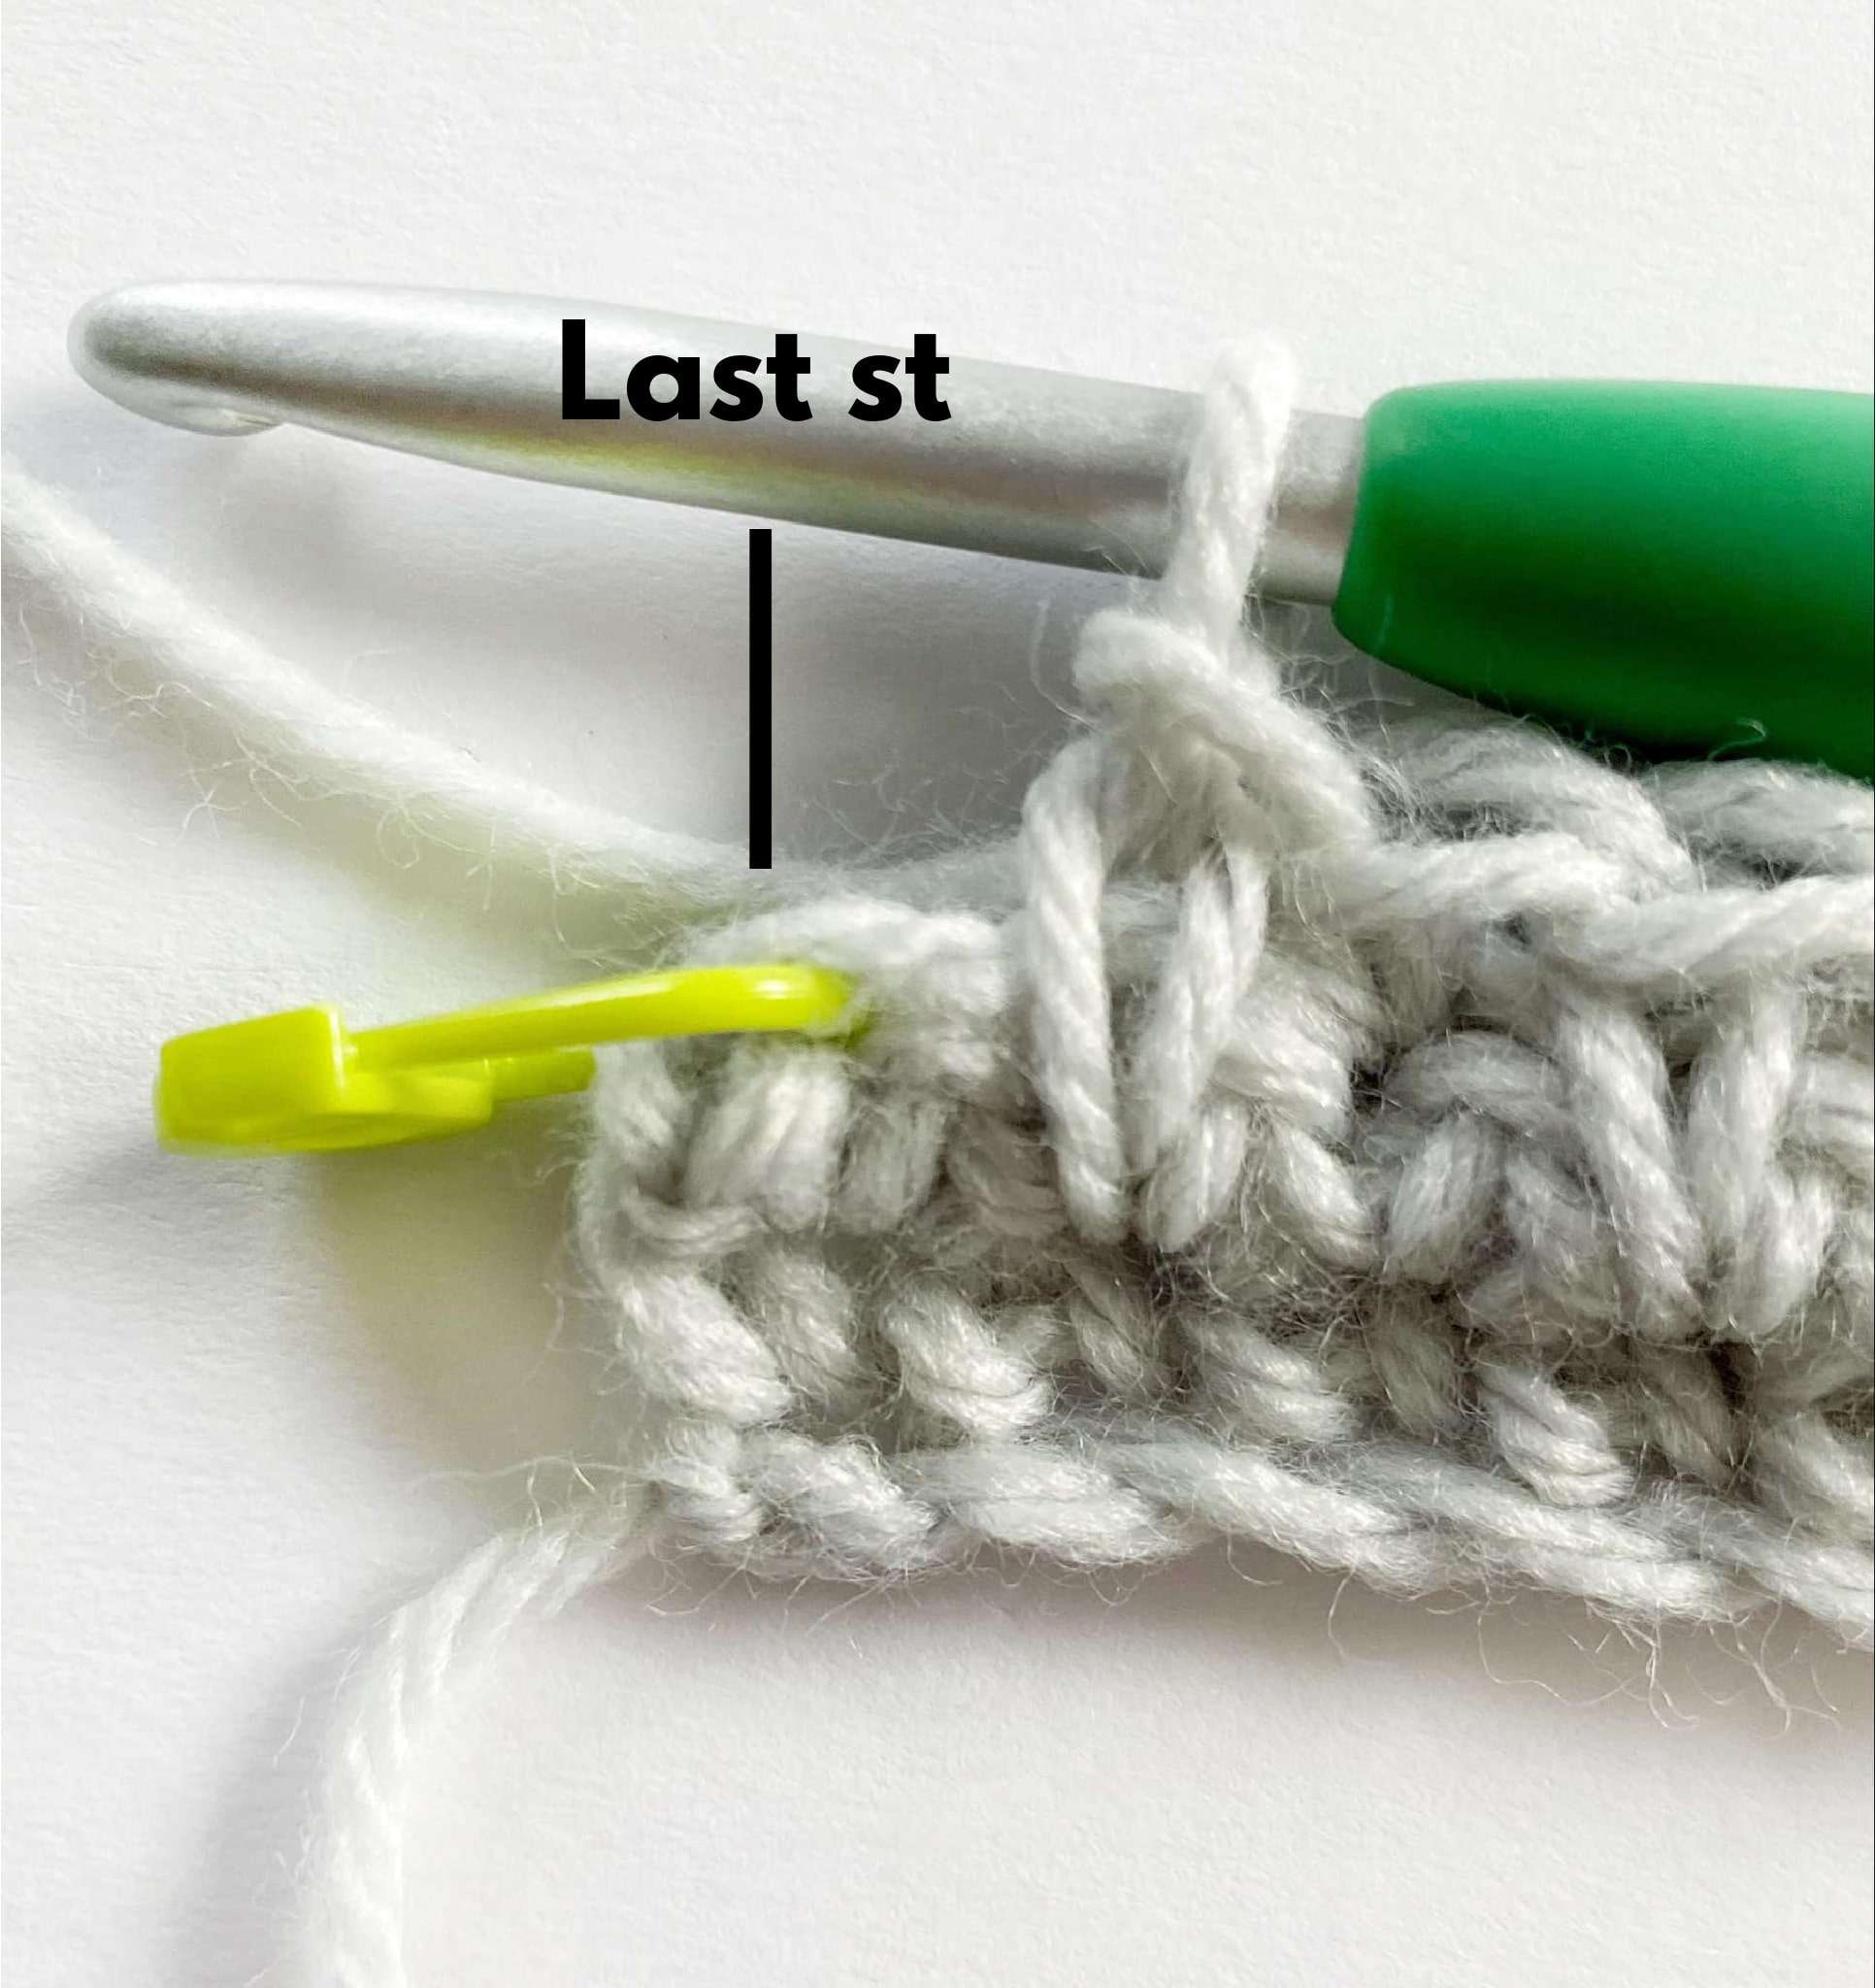
- [Sc in next st, Spike in next st] until 1 st remains.
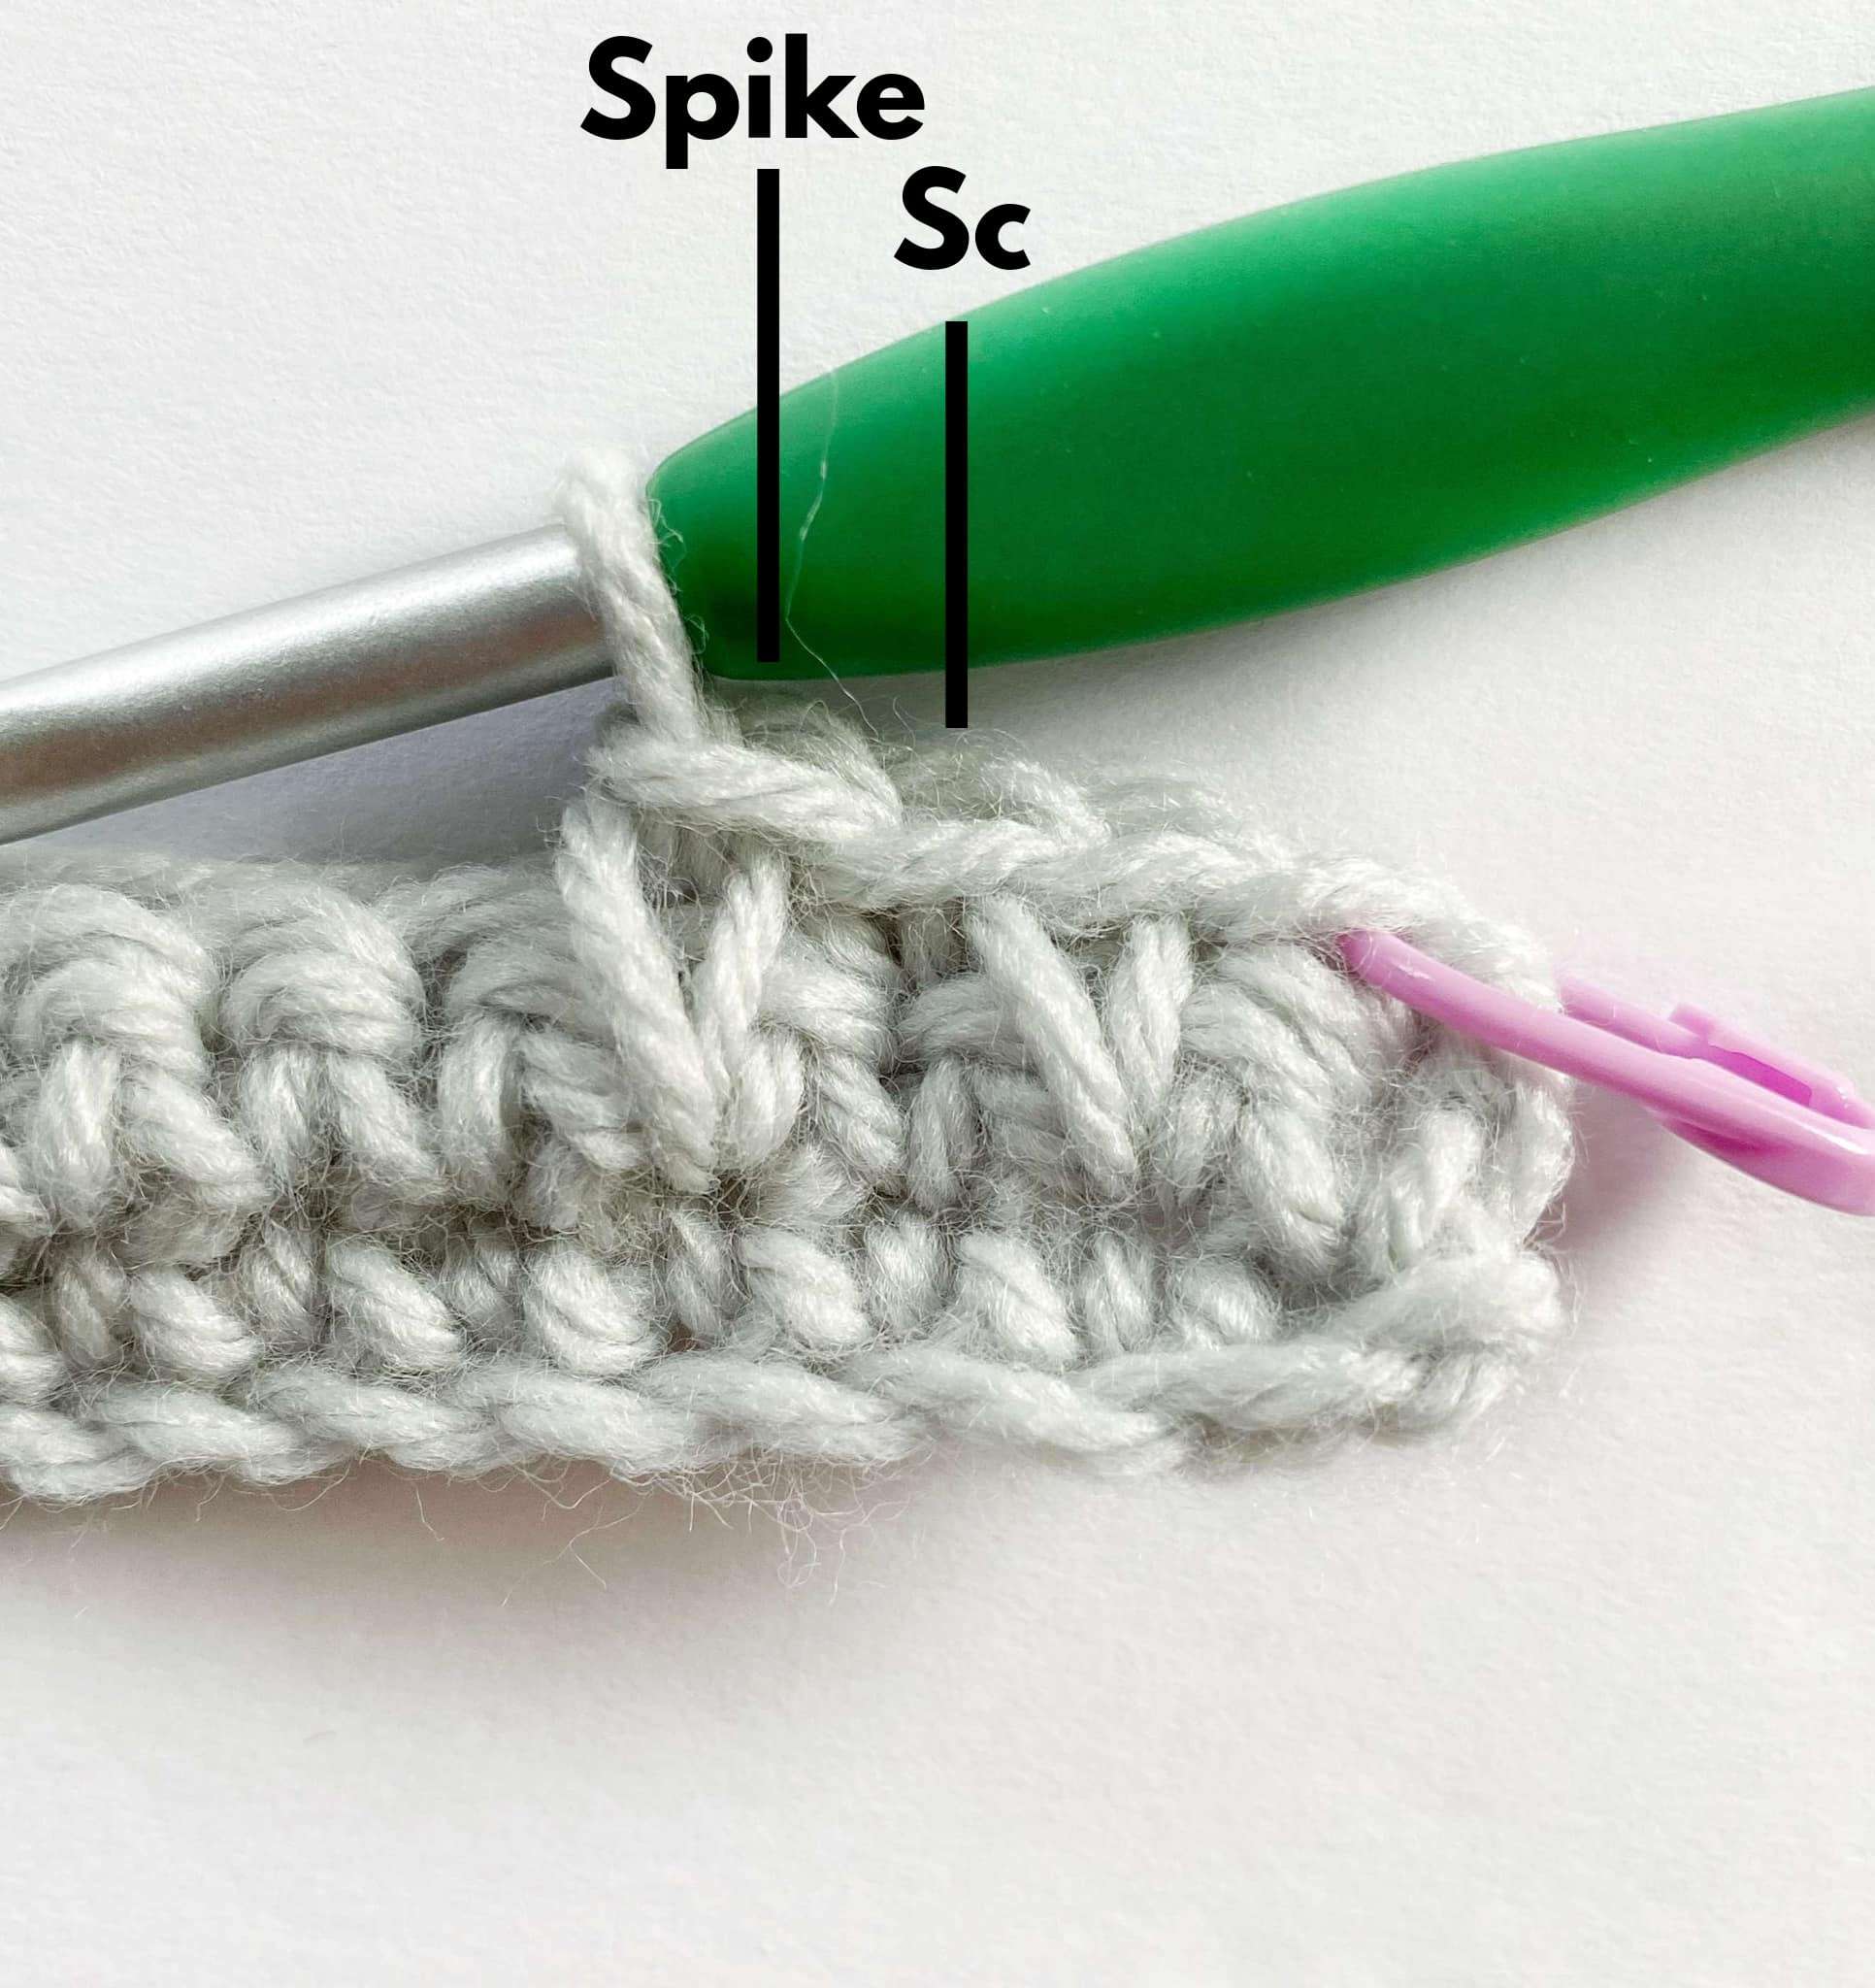
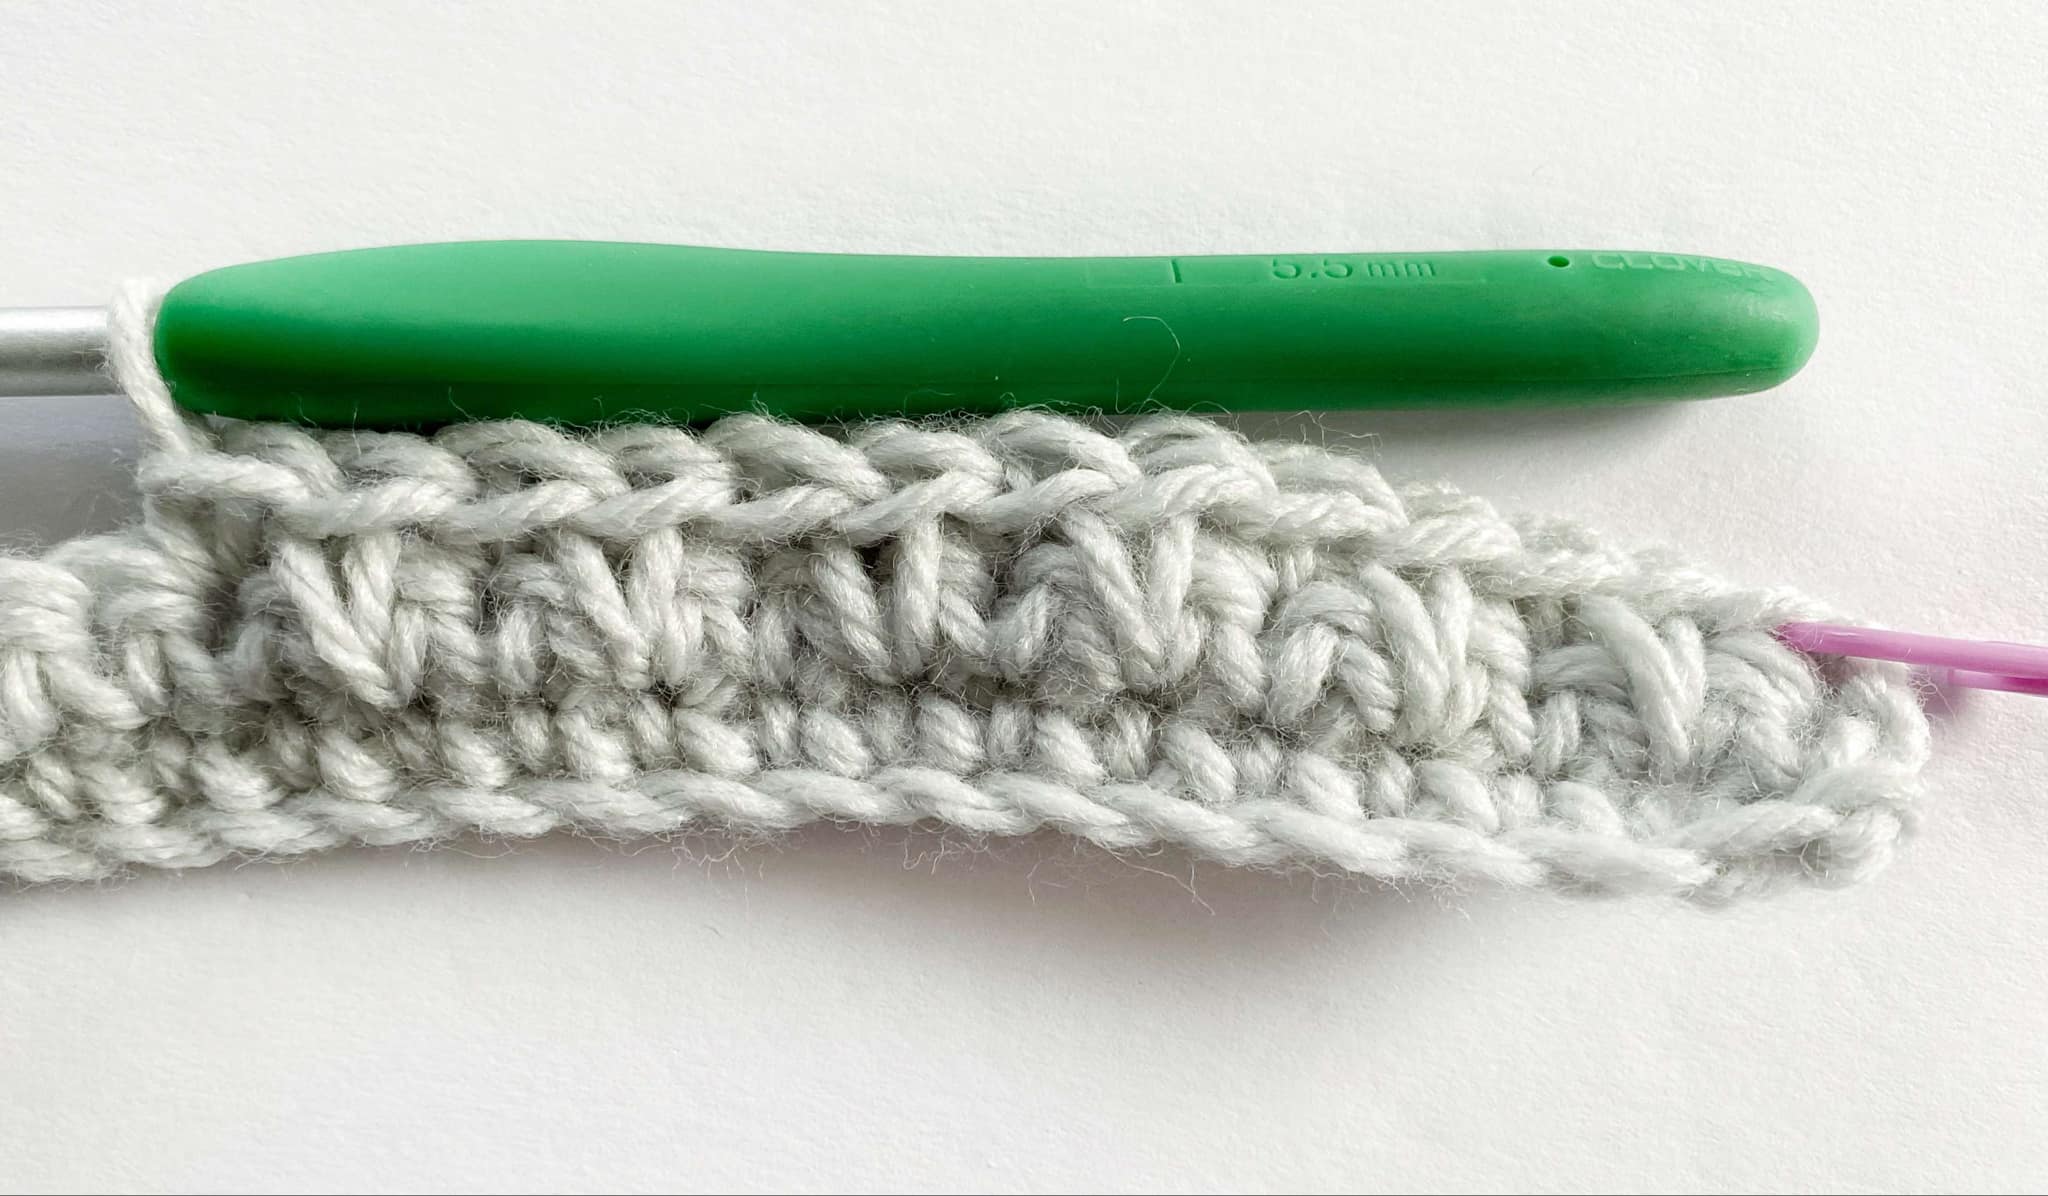
- Sc in last st – mark last sc with a stitch marker.
- Turn.
- Stitch Count: 12 sc, 11 spike
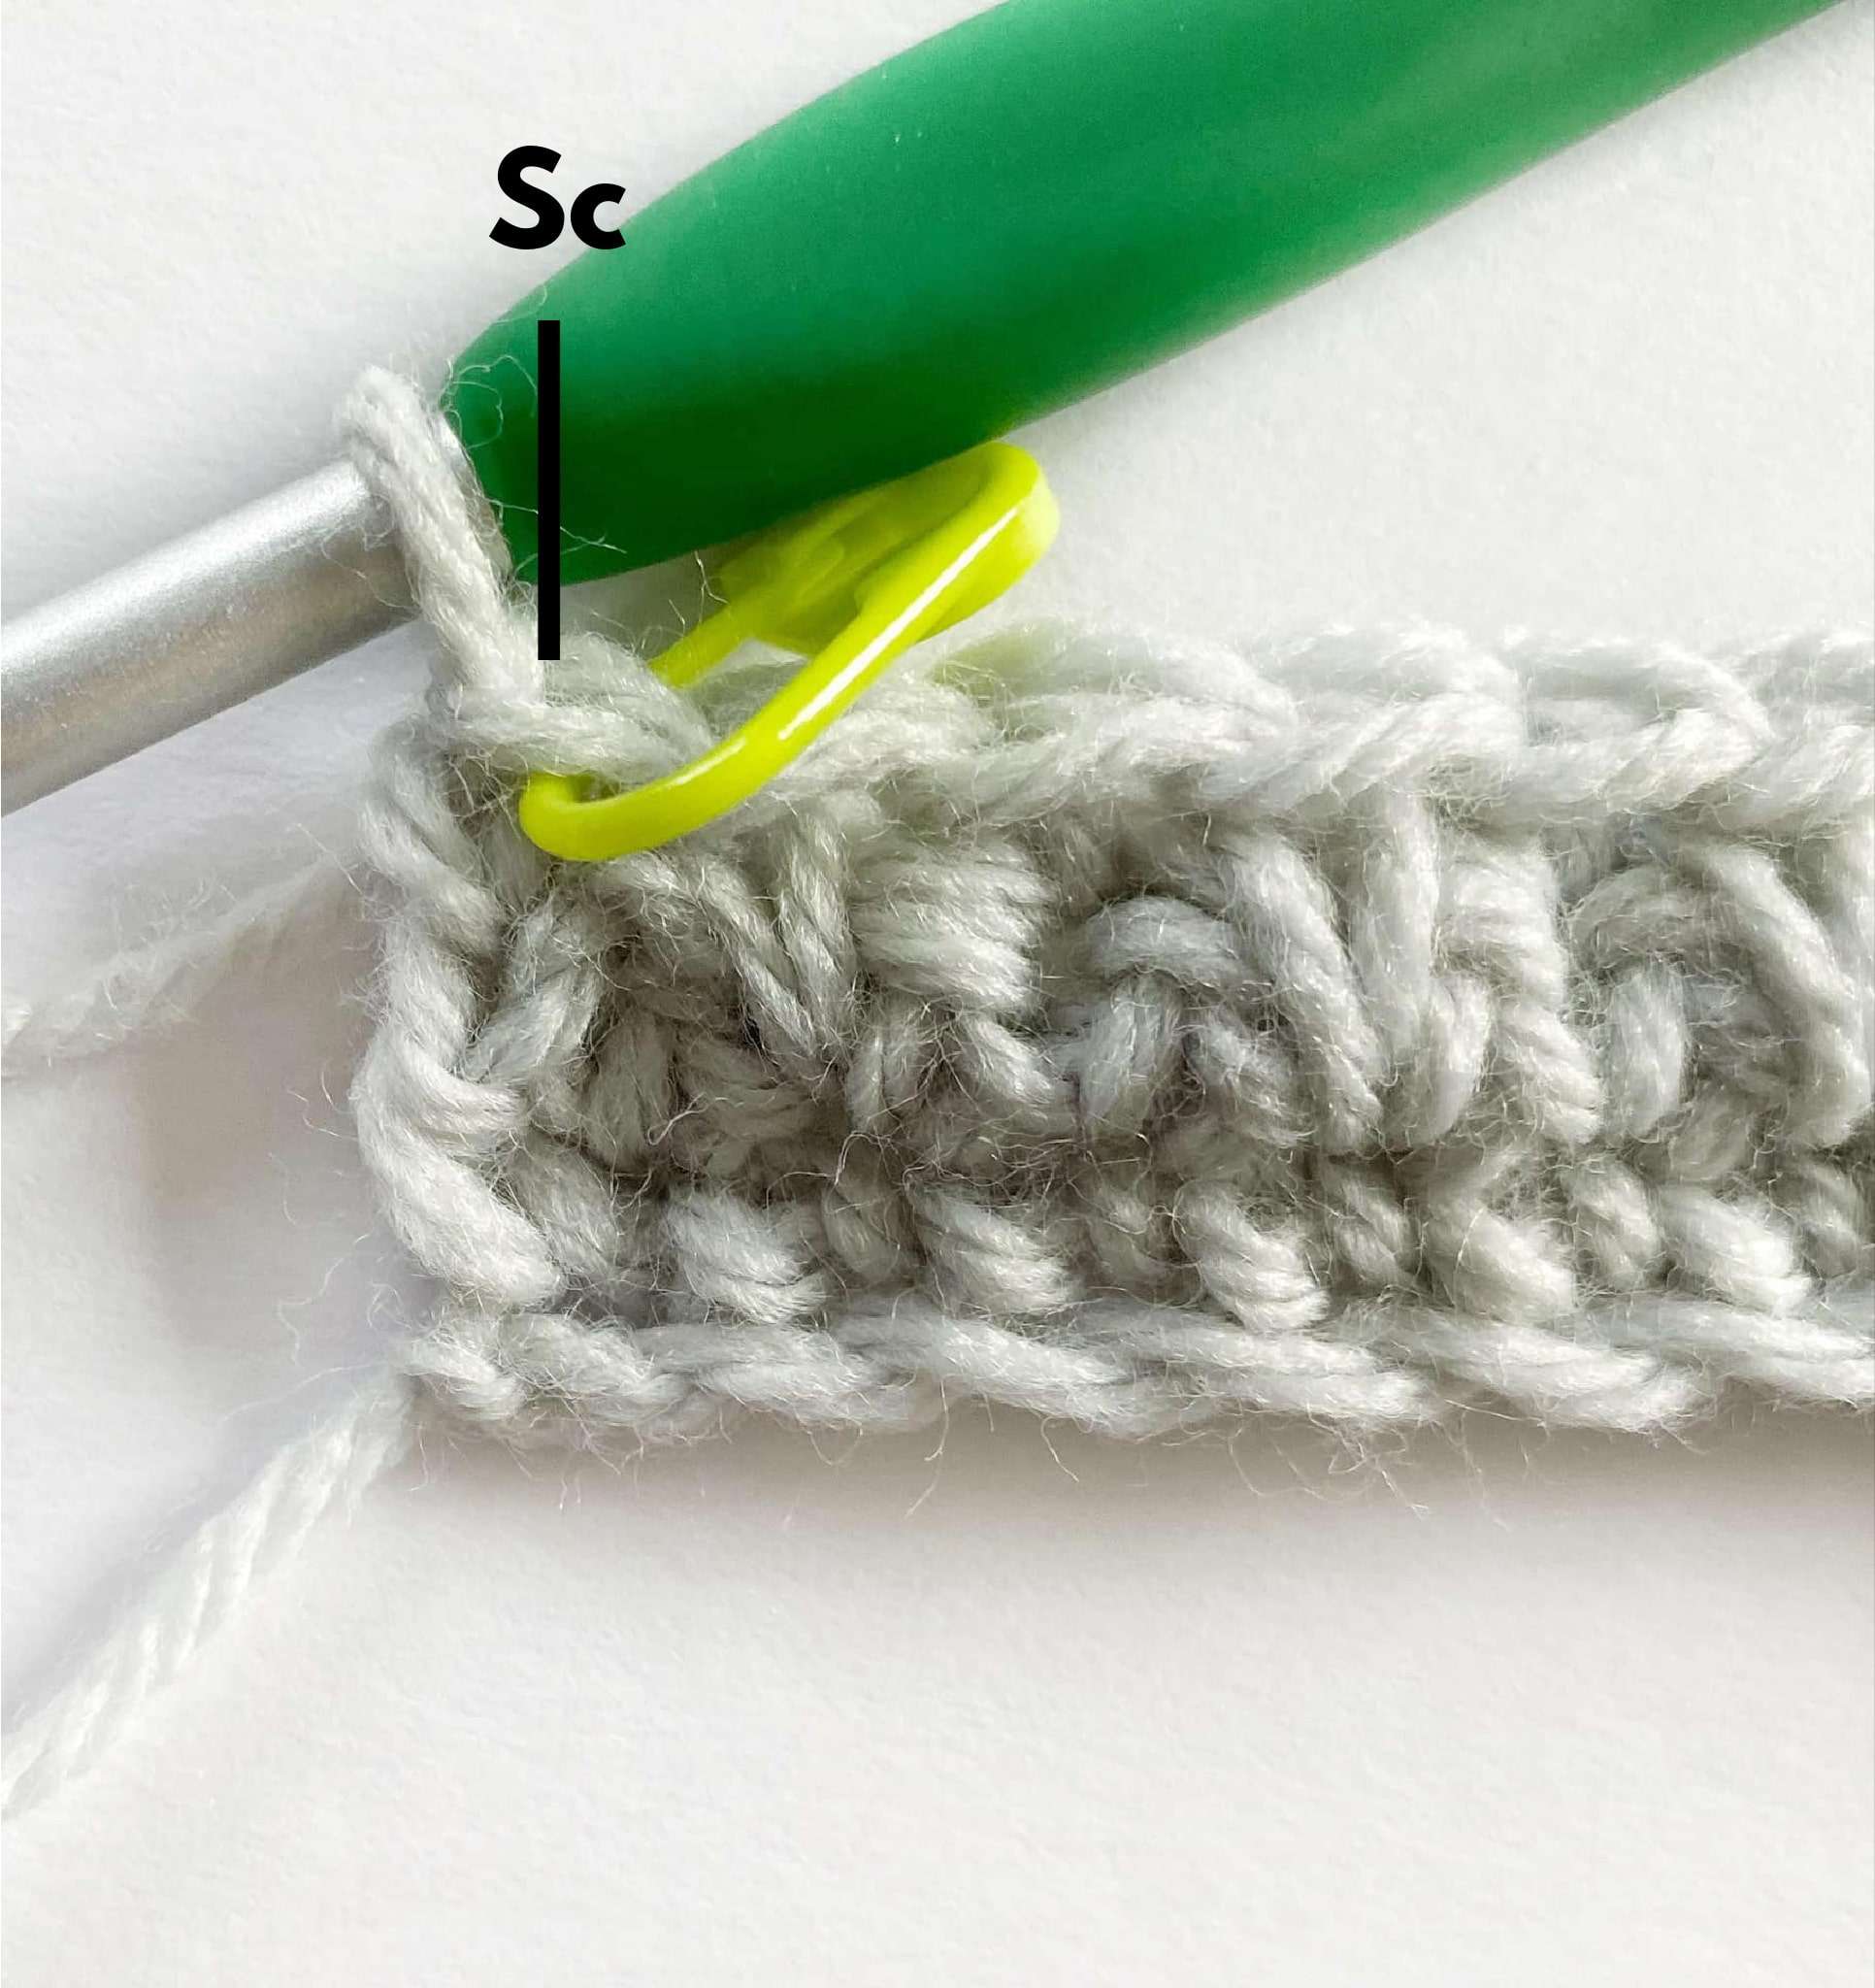
Row 4:
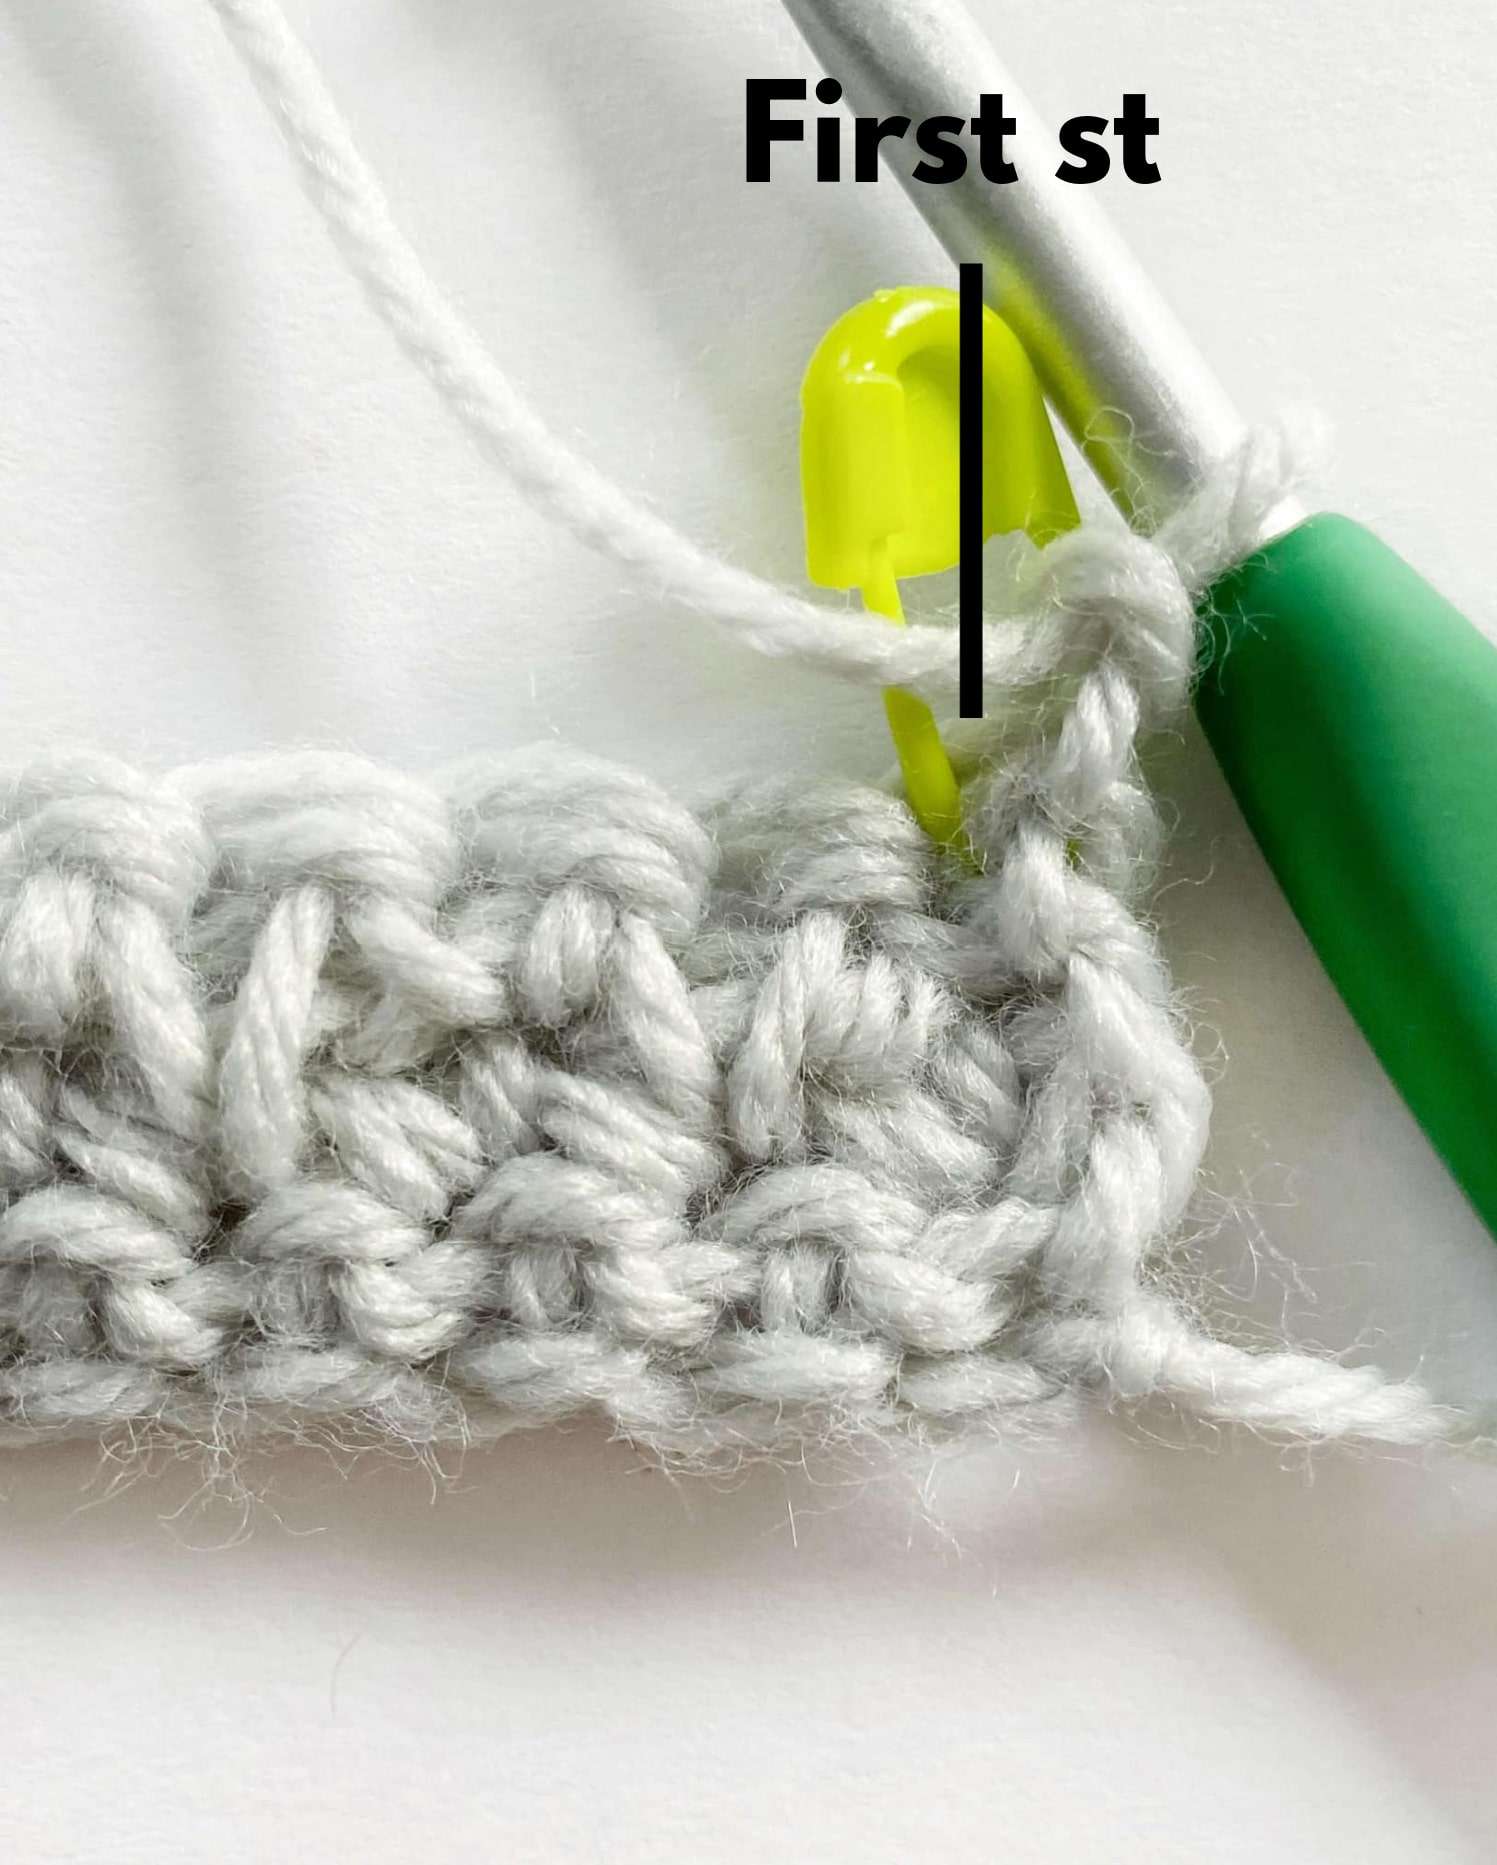
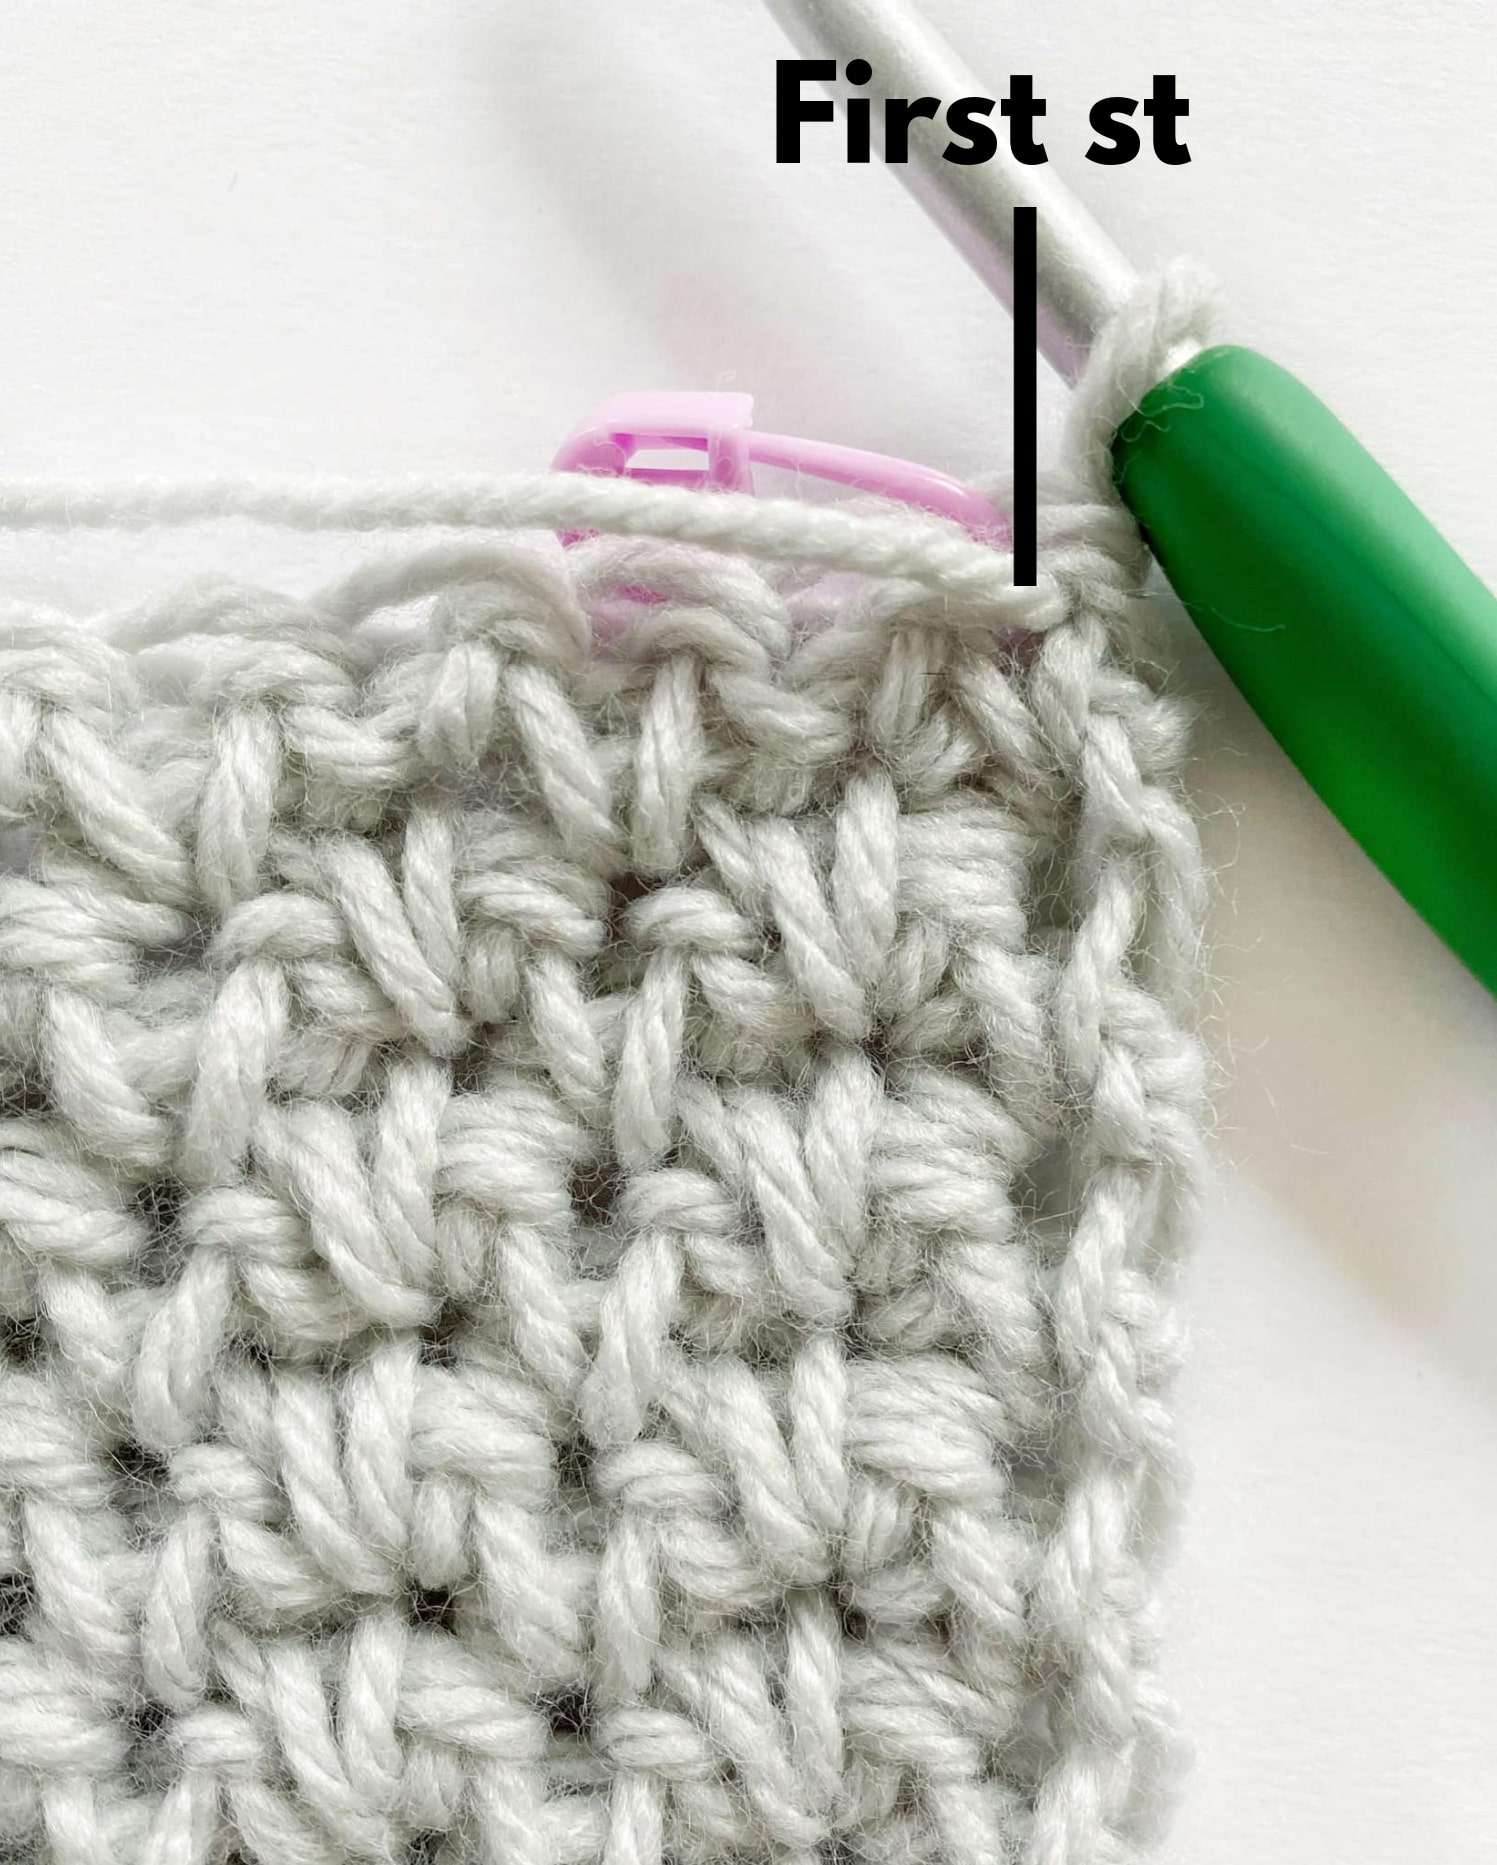
- Ch 1, Spike in first st – mark this Spike with a stitch marker.
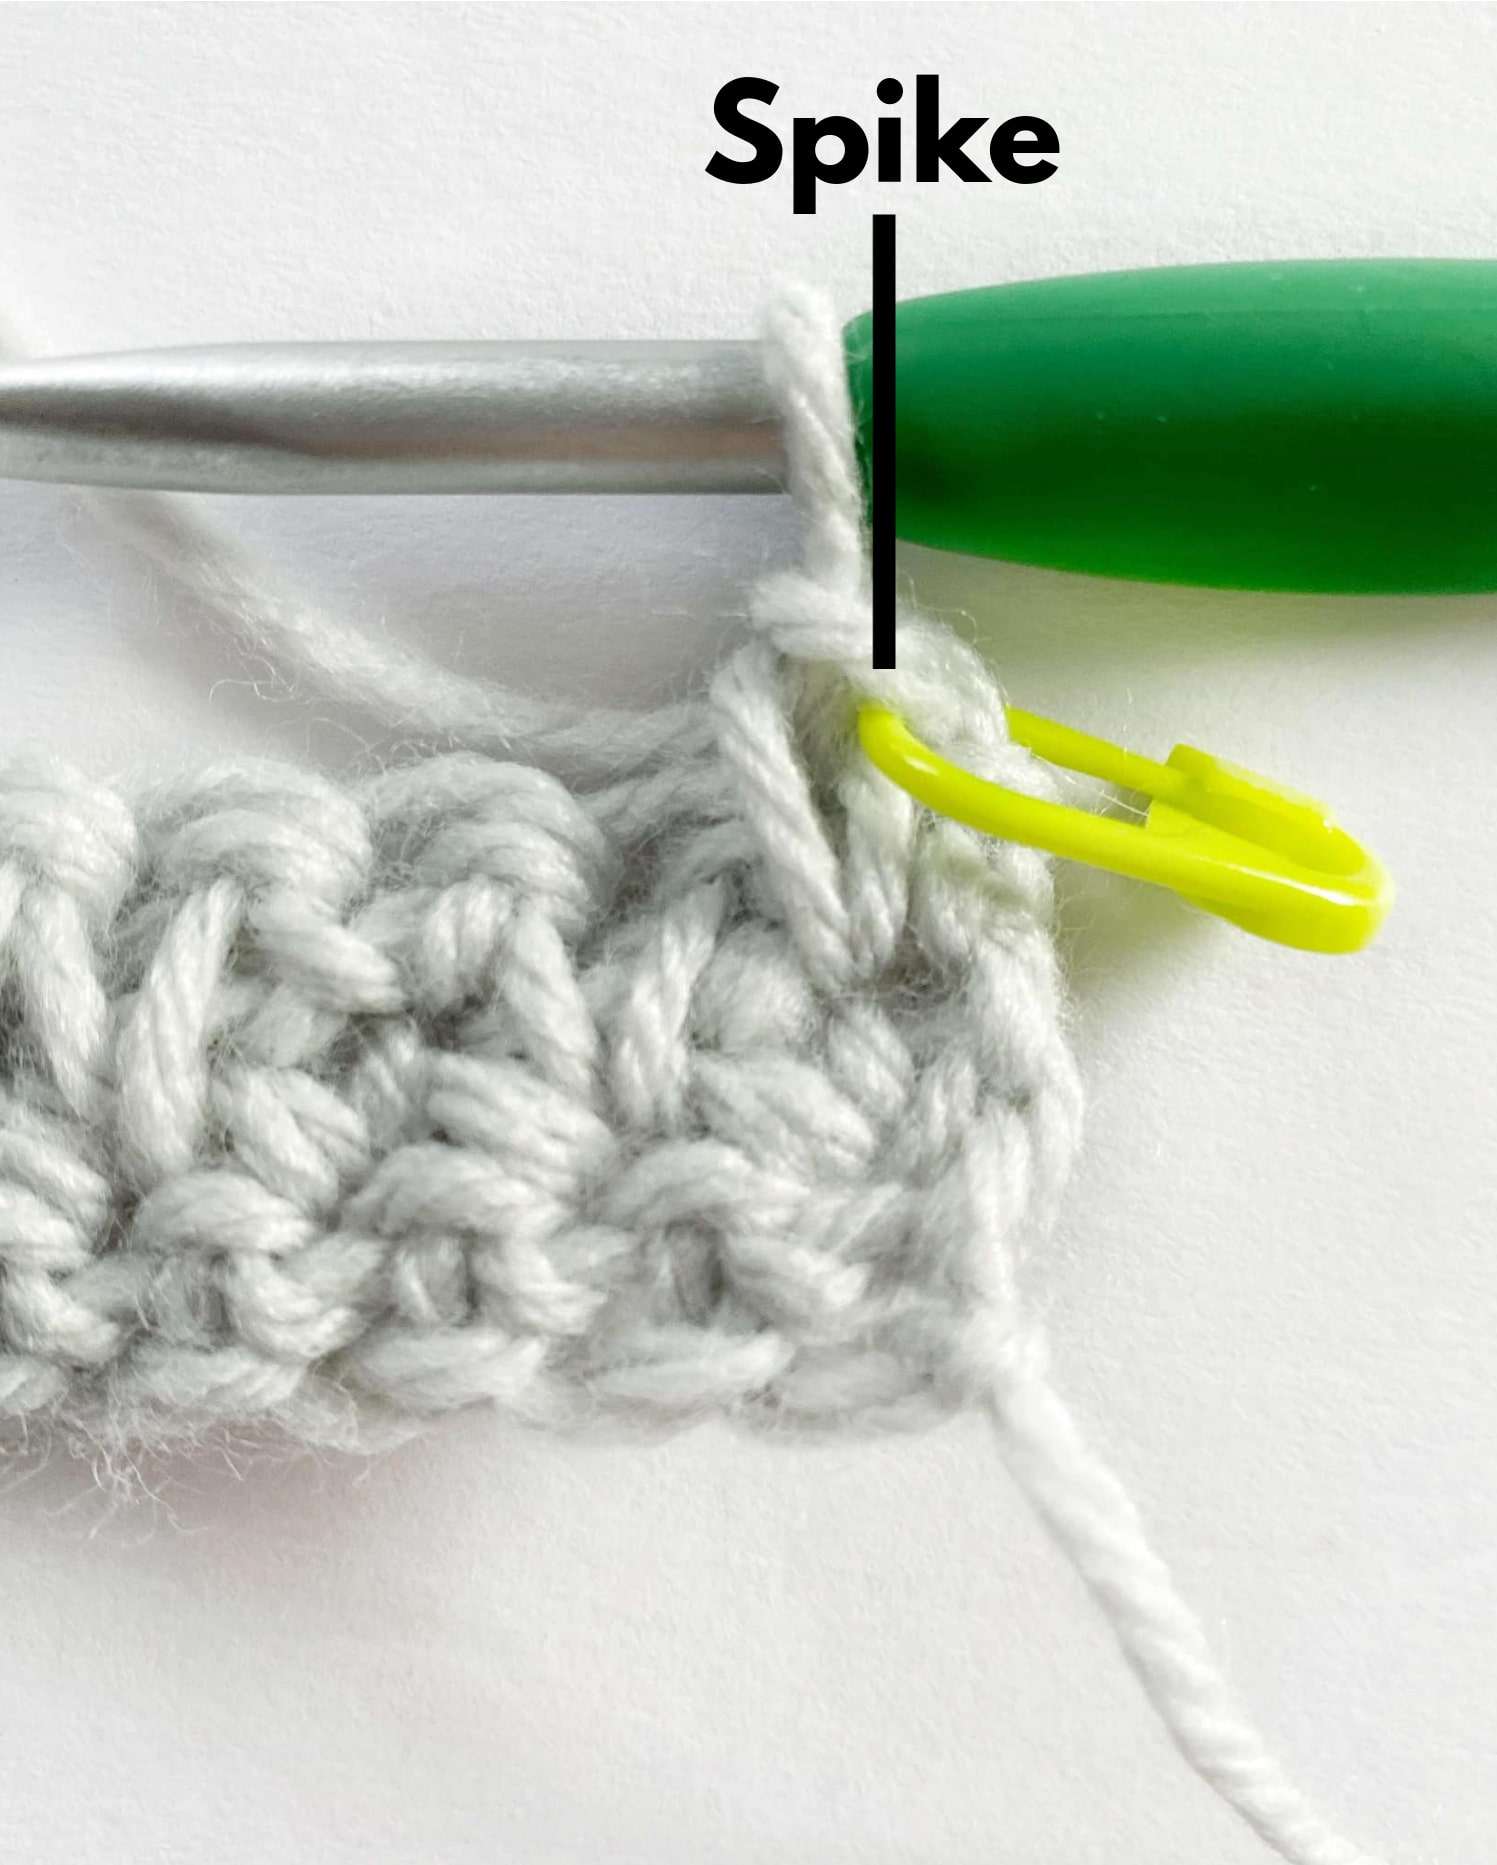
- Sc in next st.
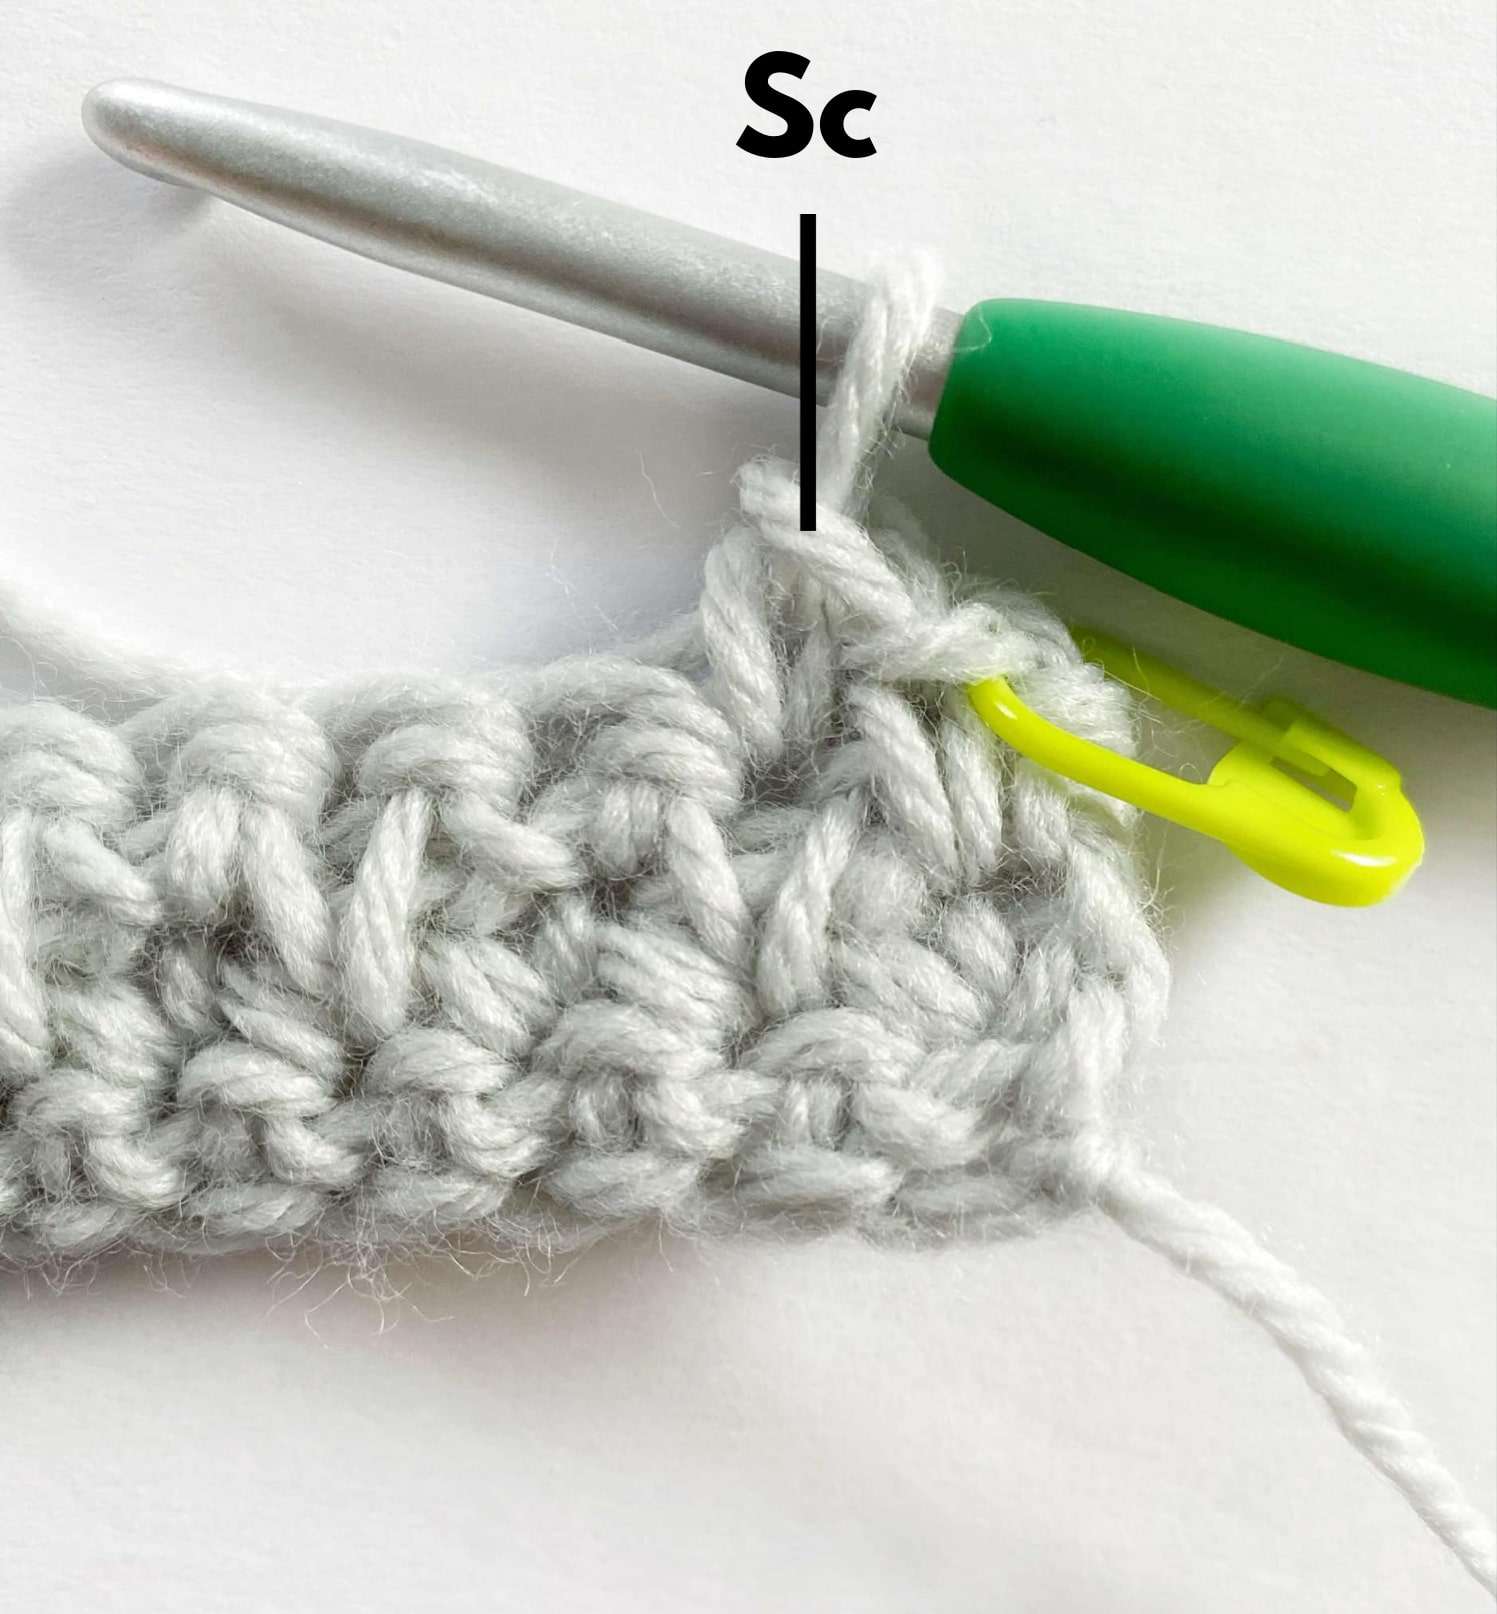
- [Spike in next st, sc in next st] until 1 st remains.
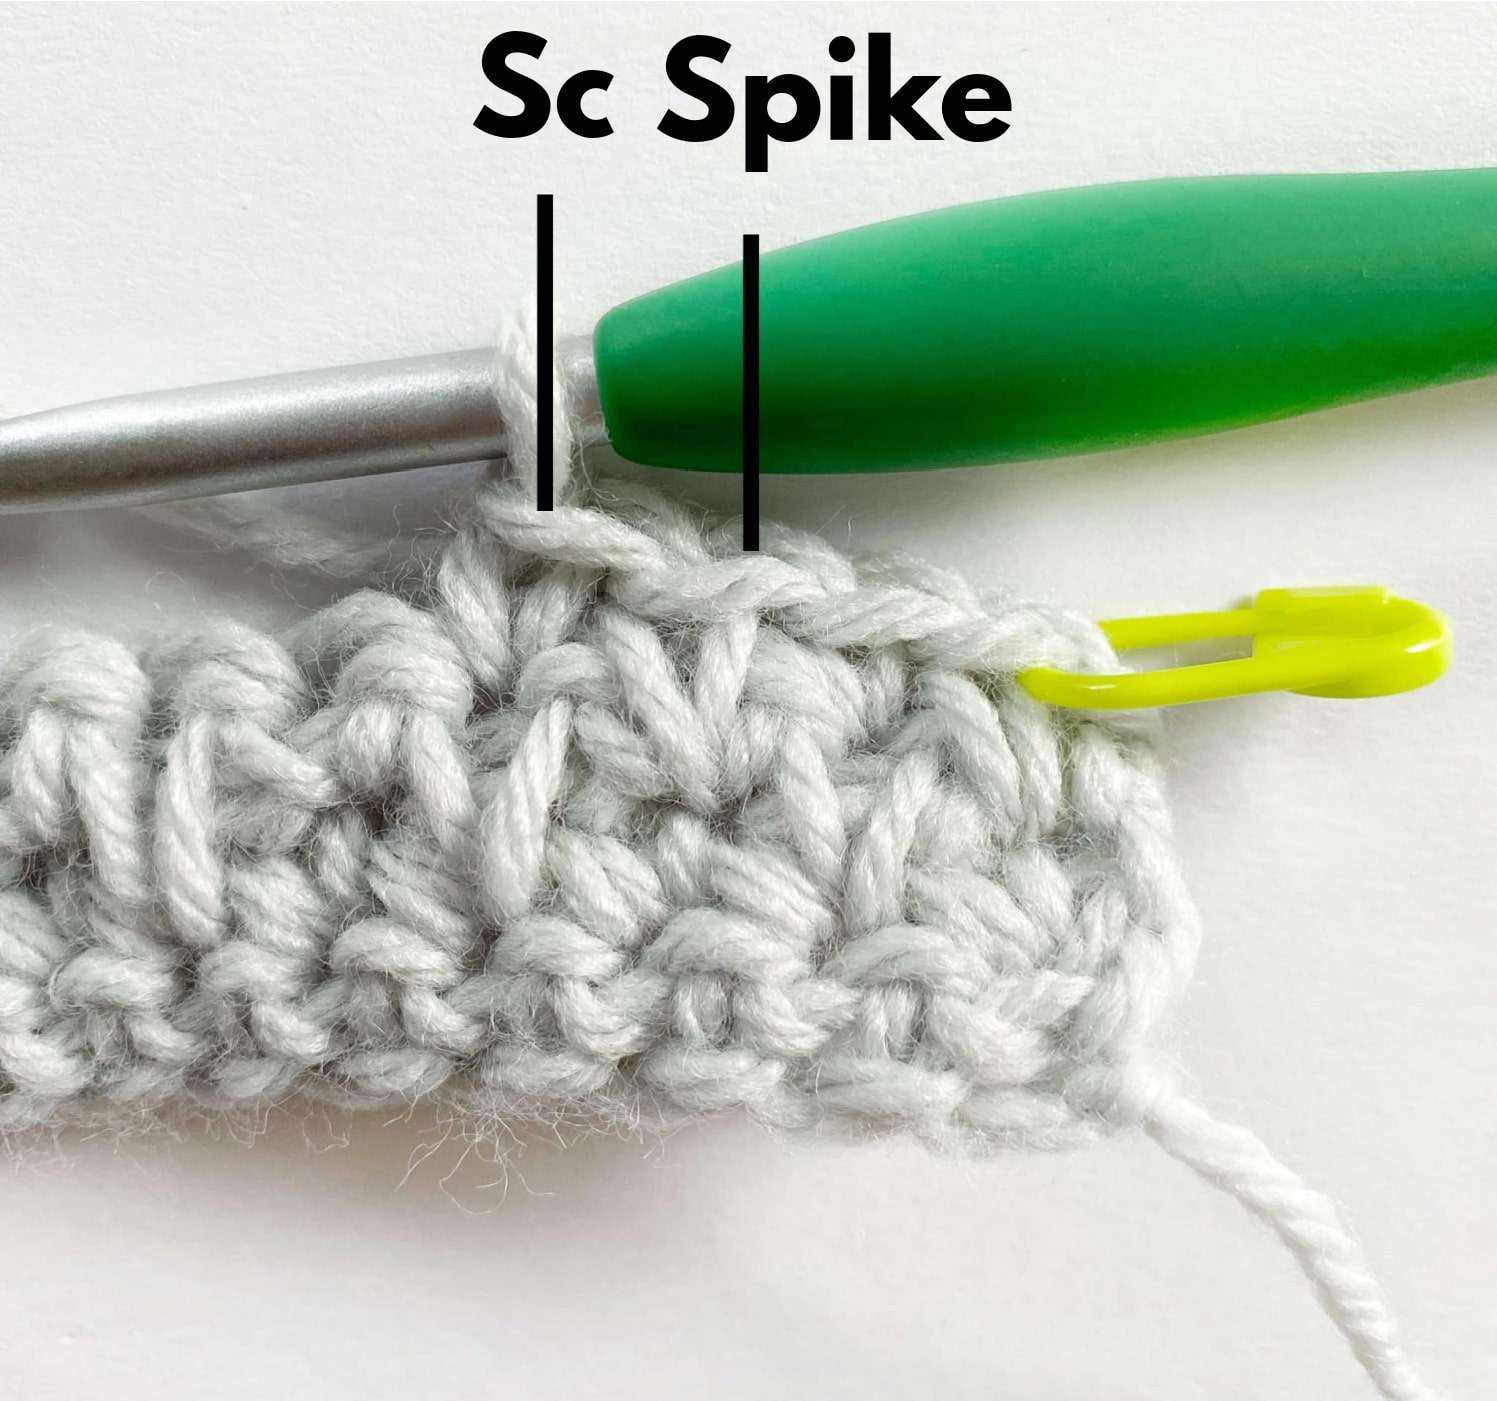
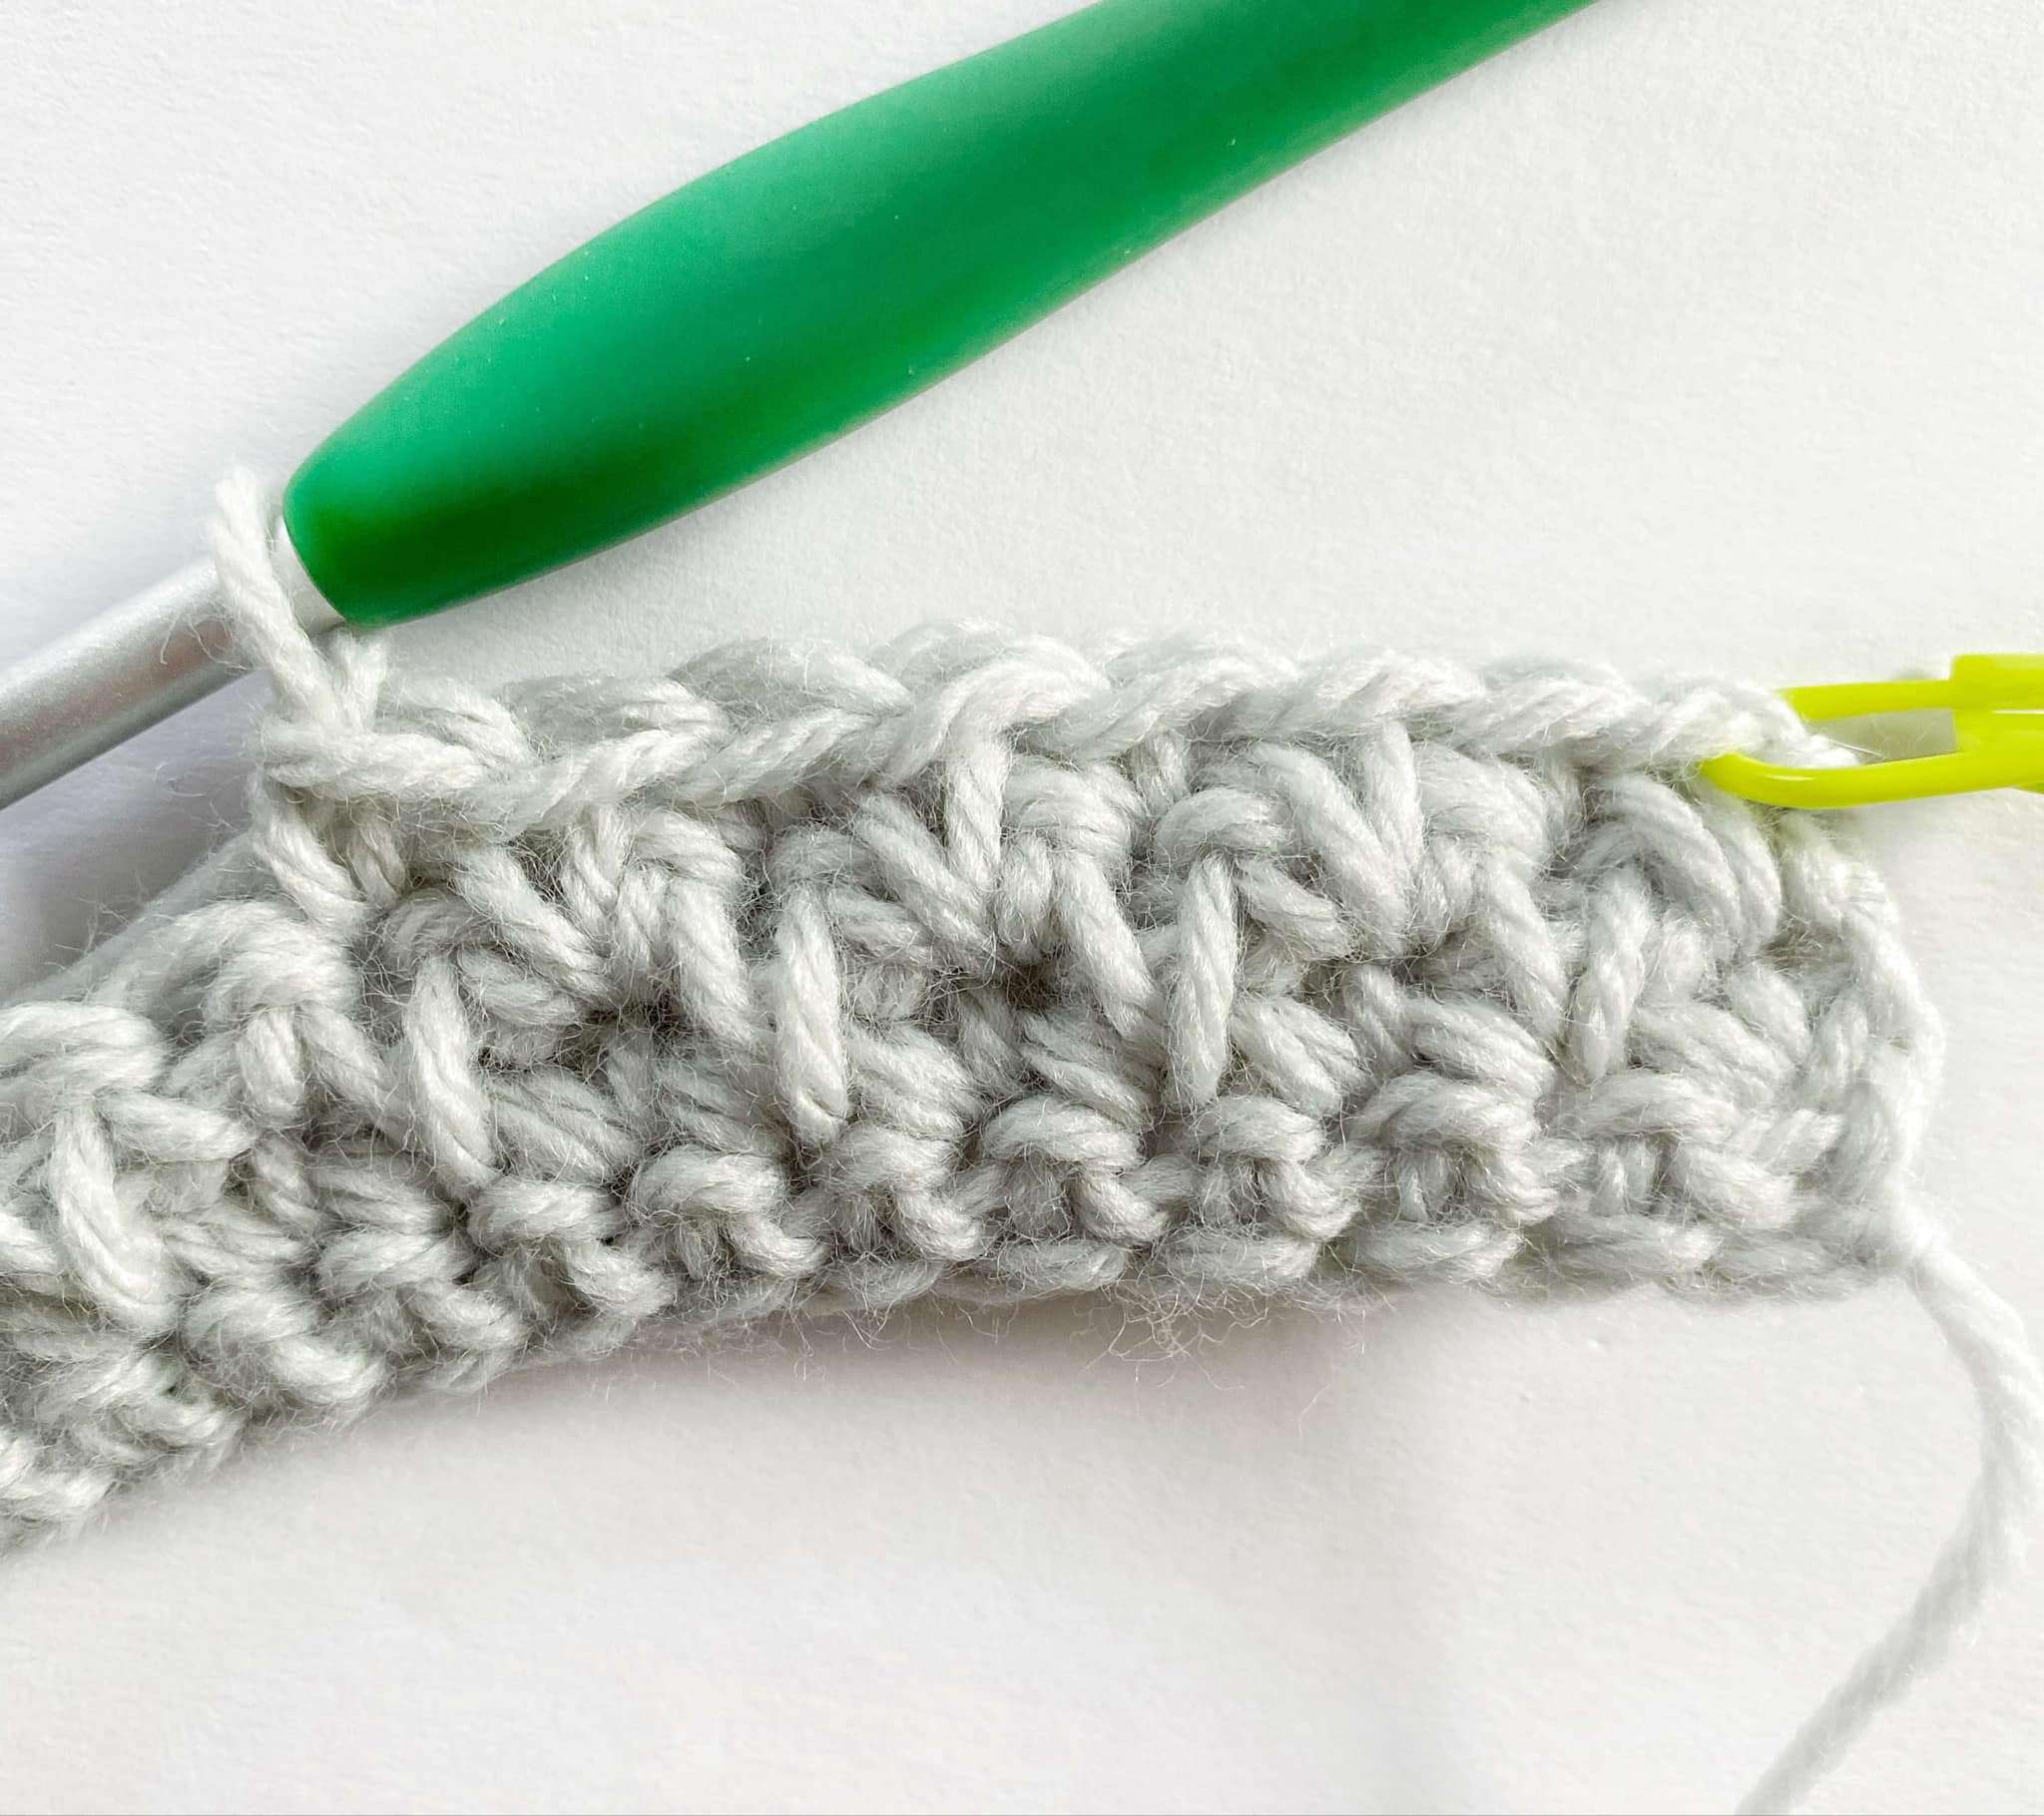
- Spike in last st – mark last Spike with a stitch marker.
- Turn.
- Stitch Count: 11 sc, 12 spike
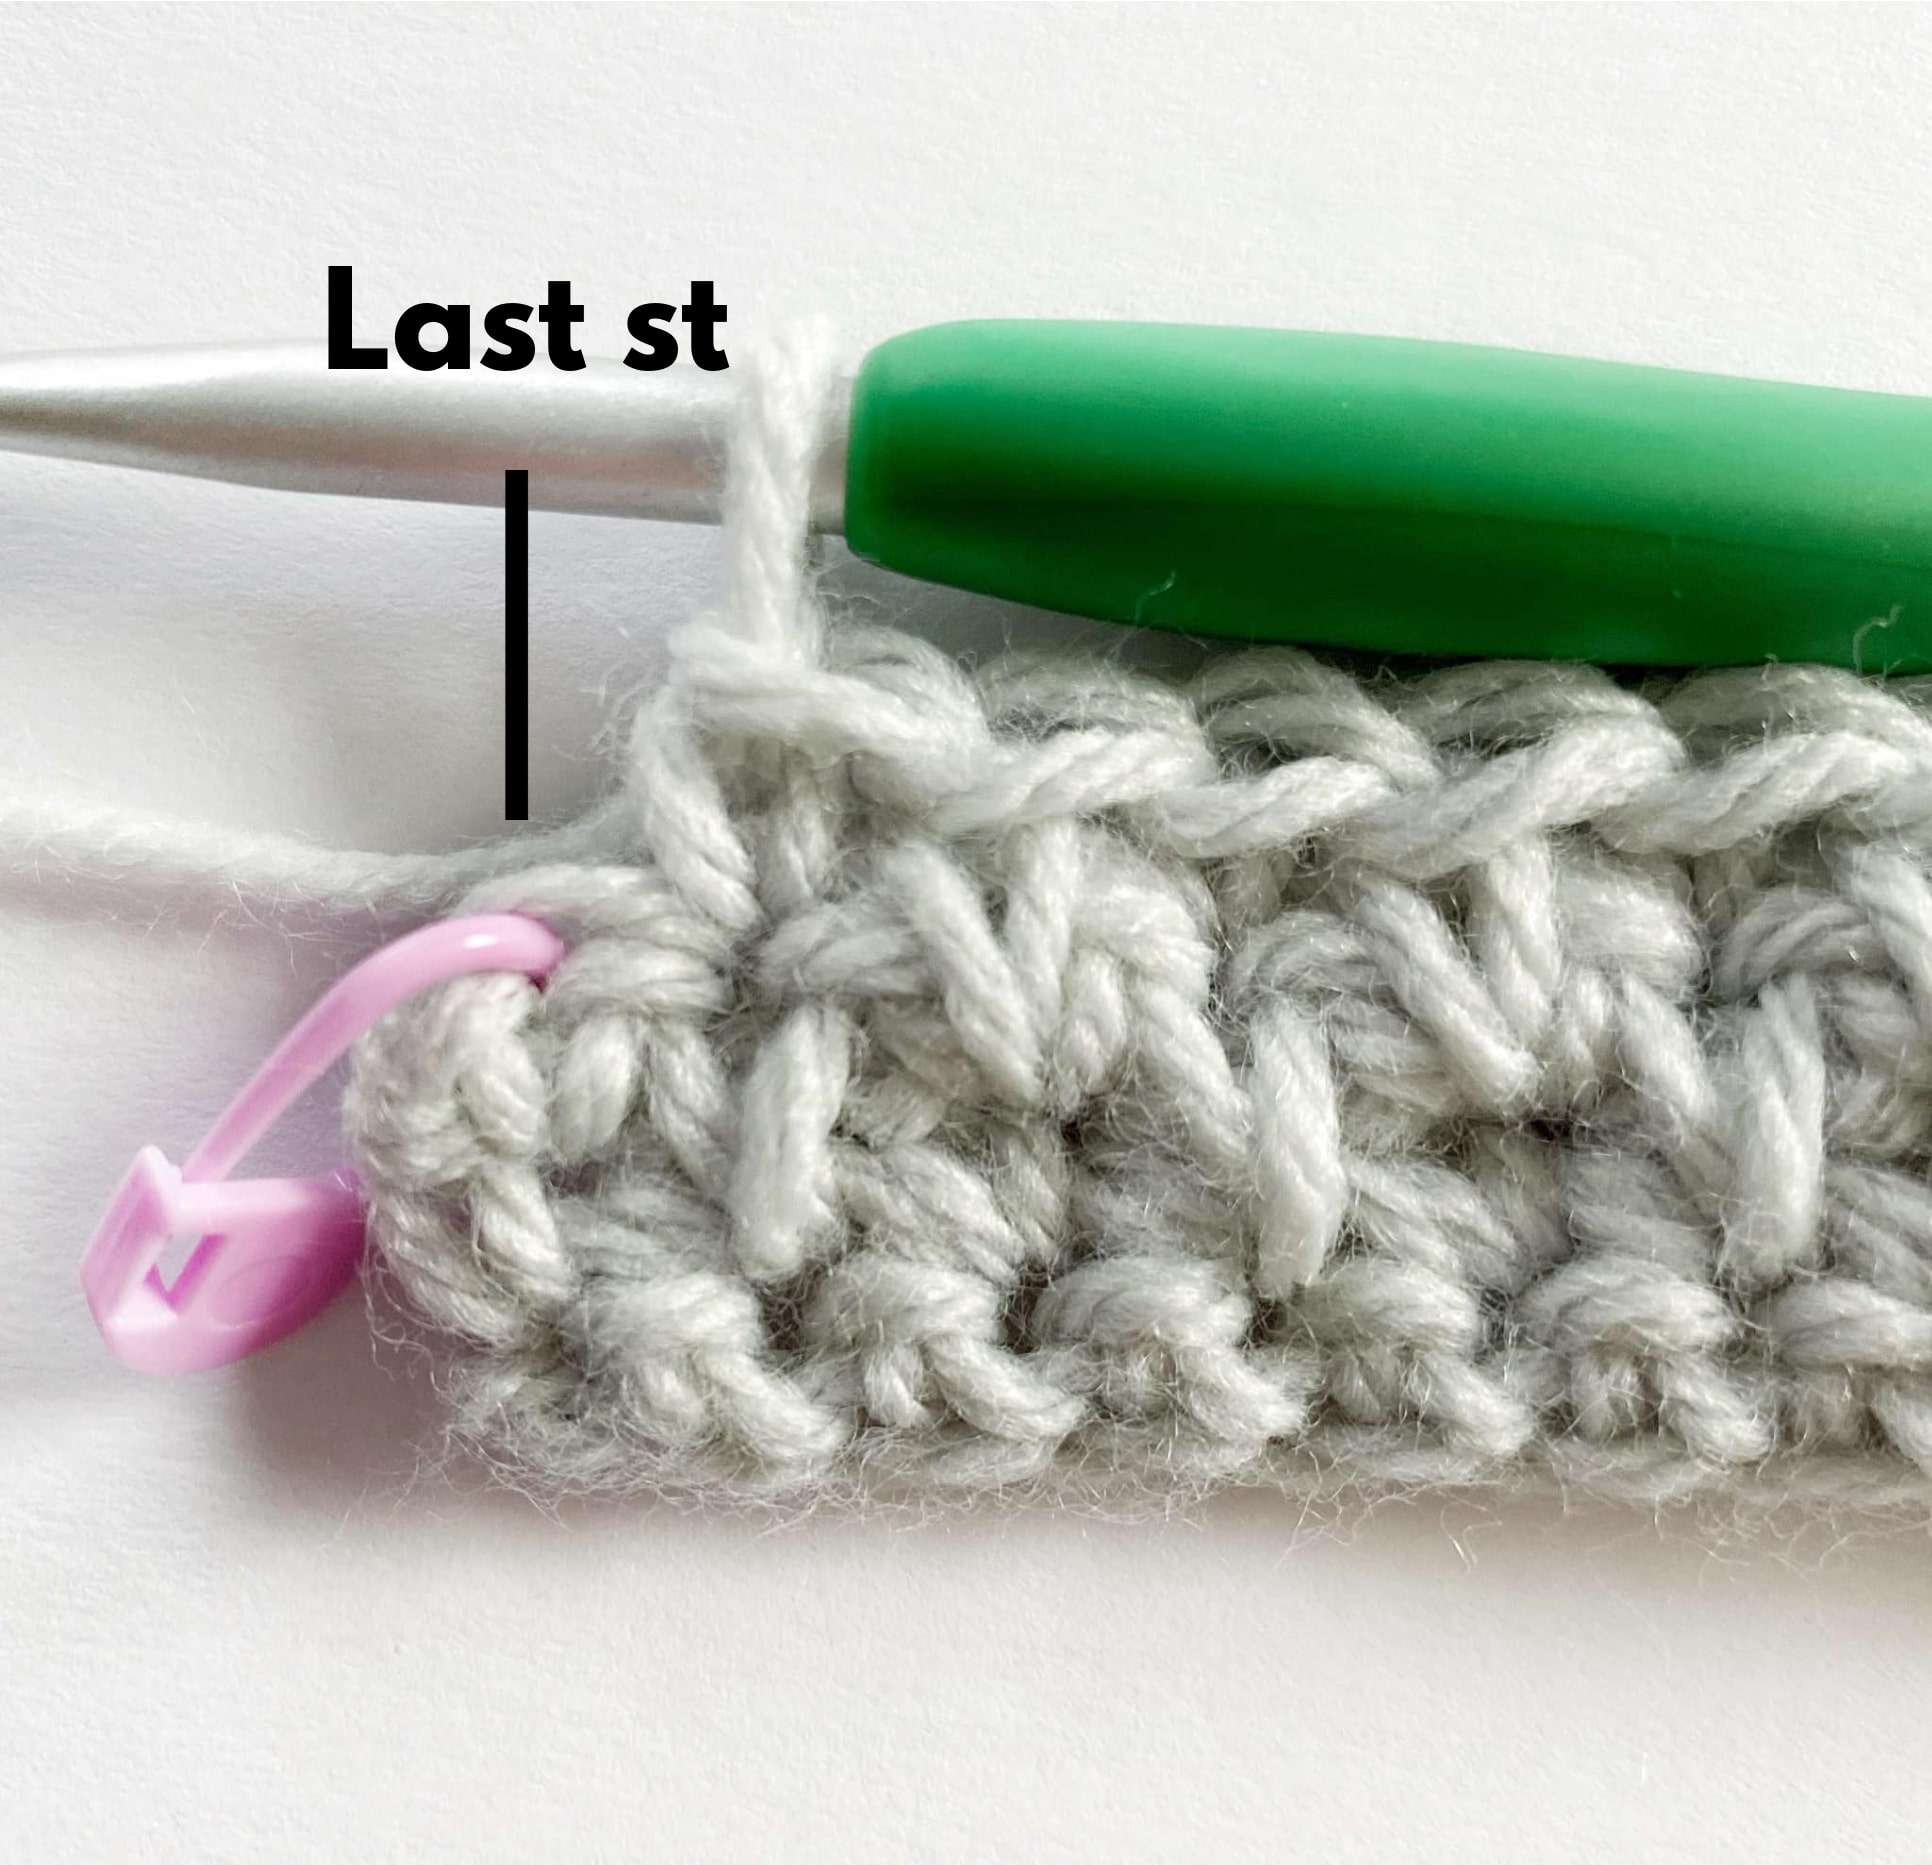
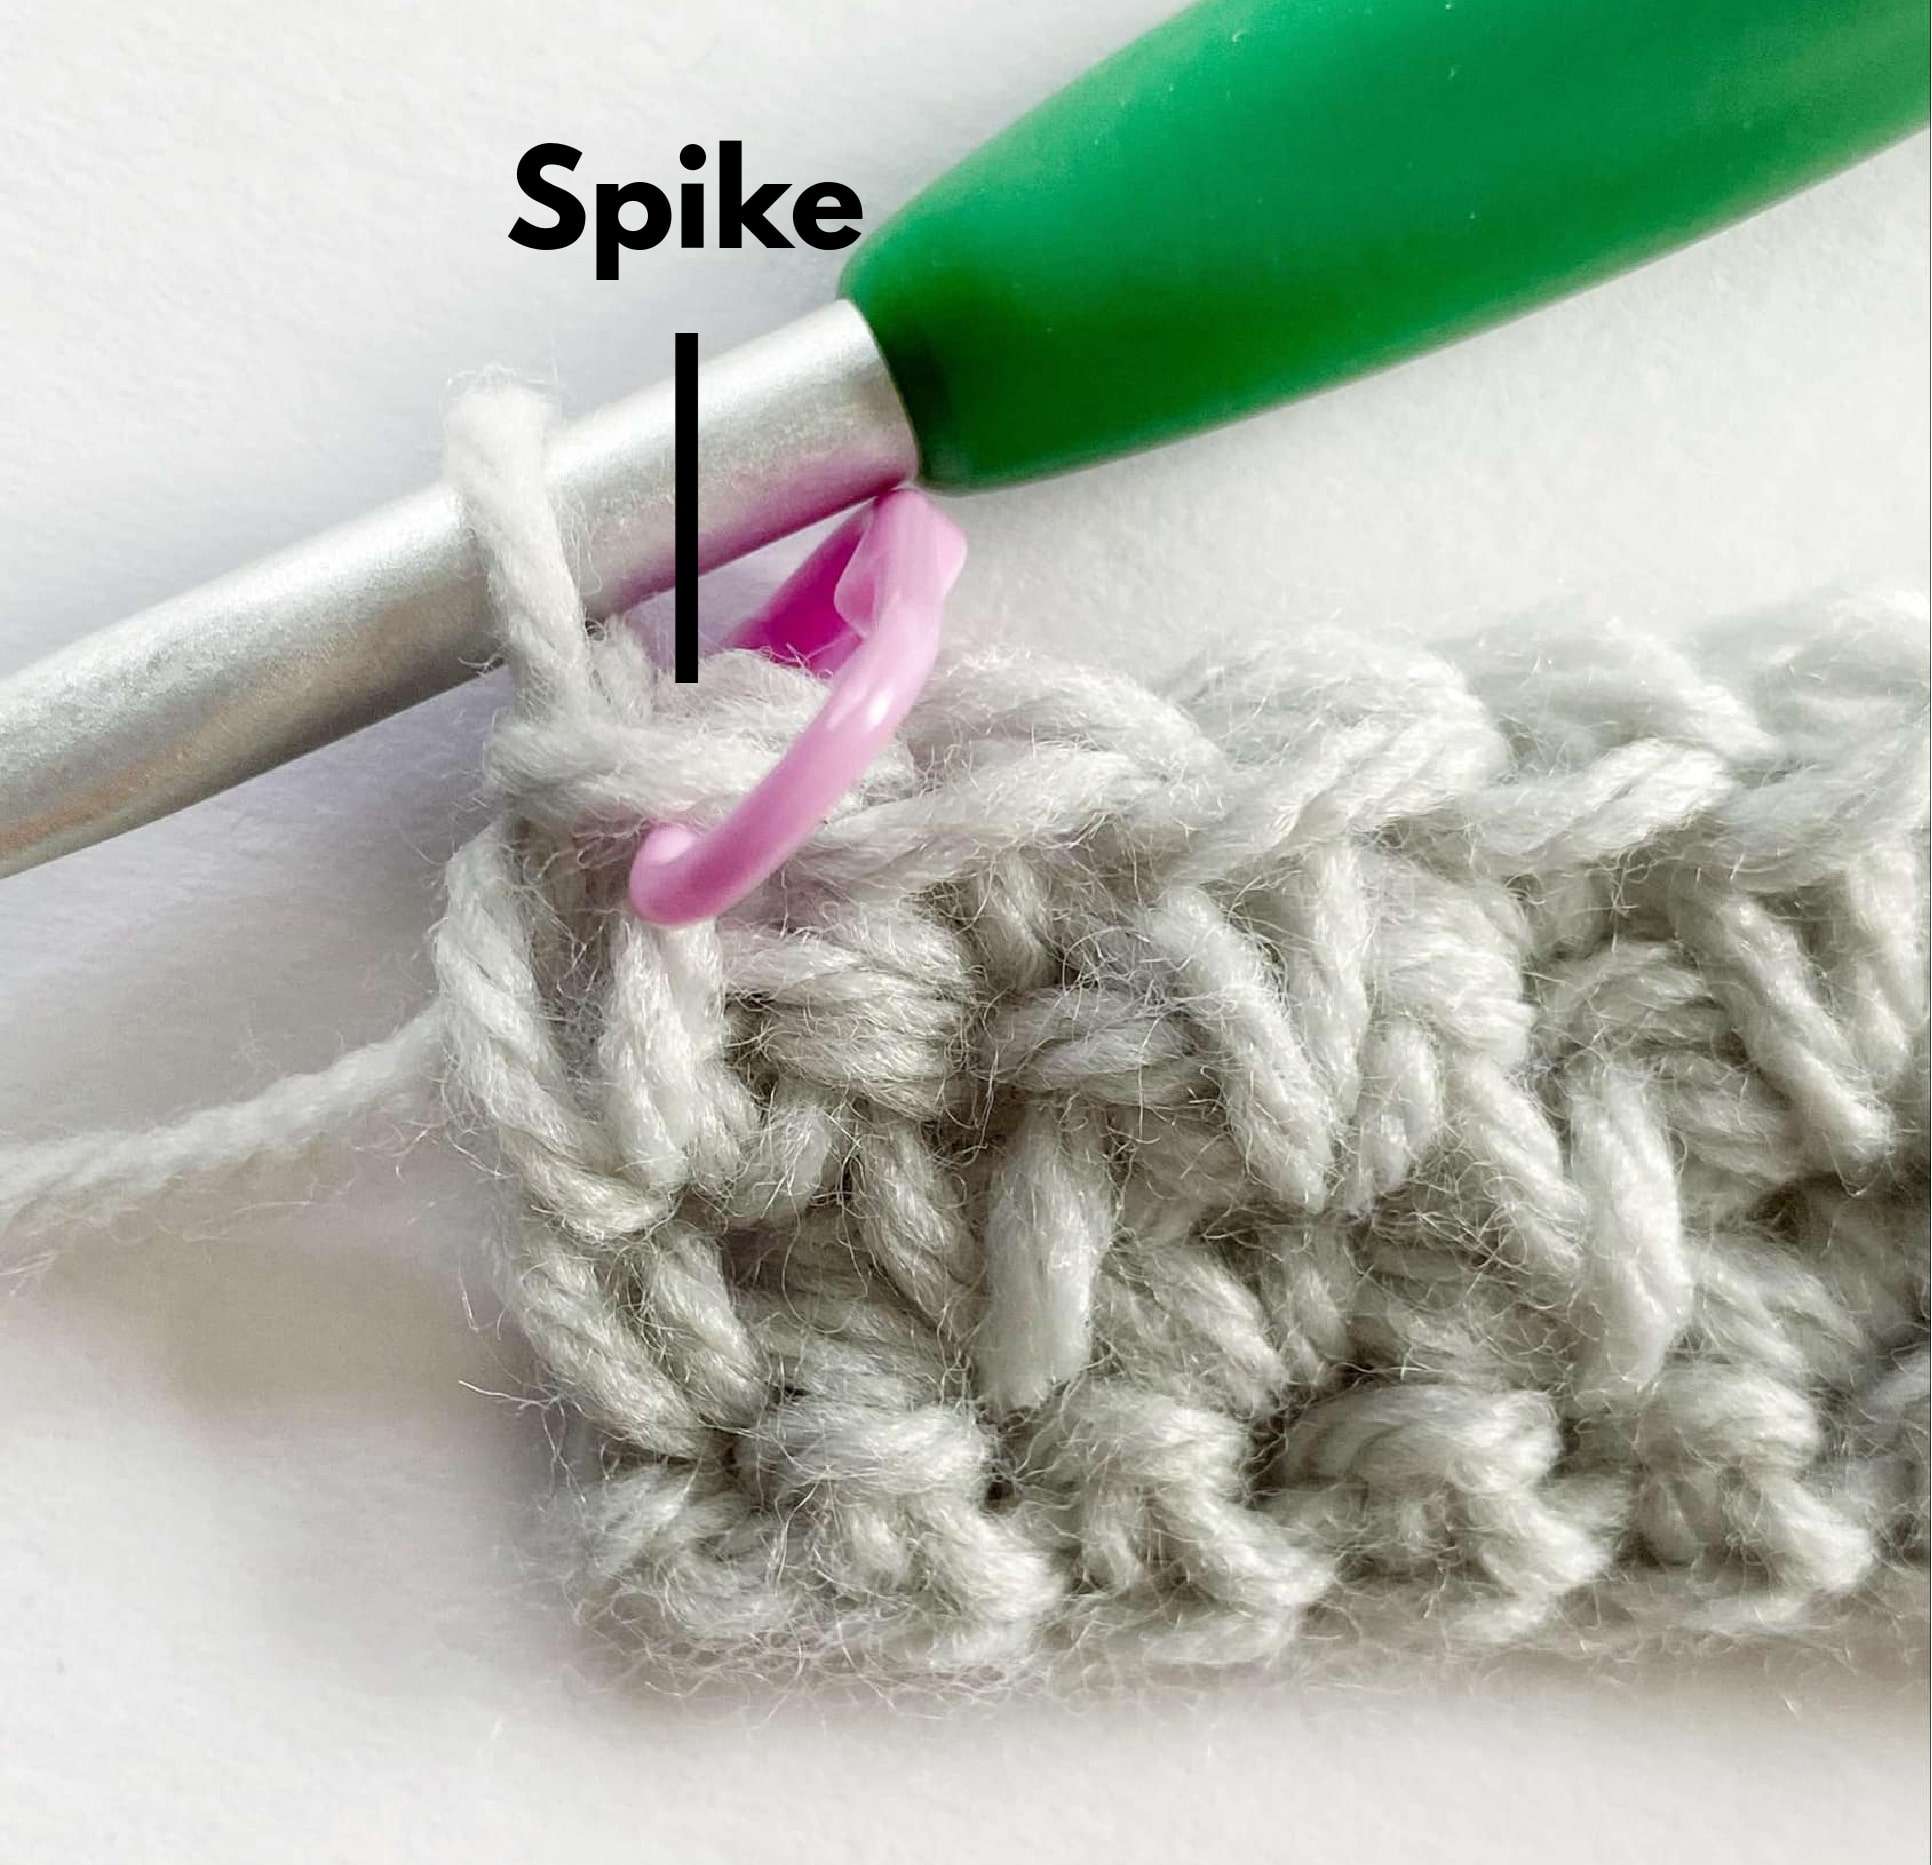
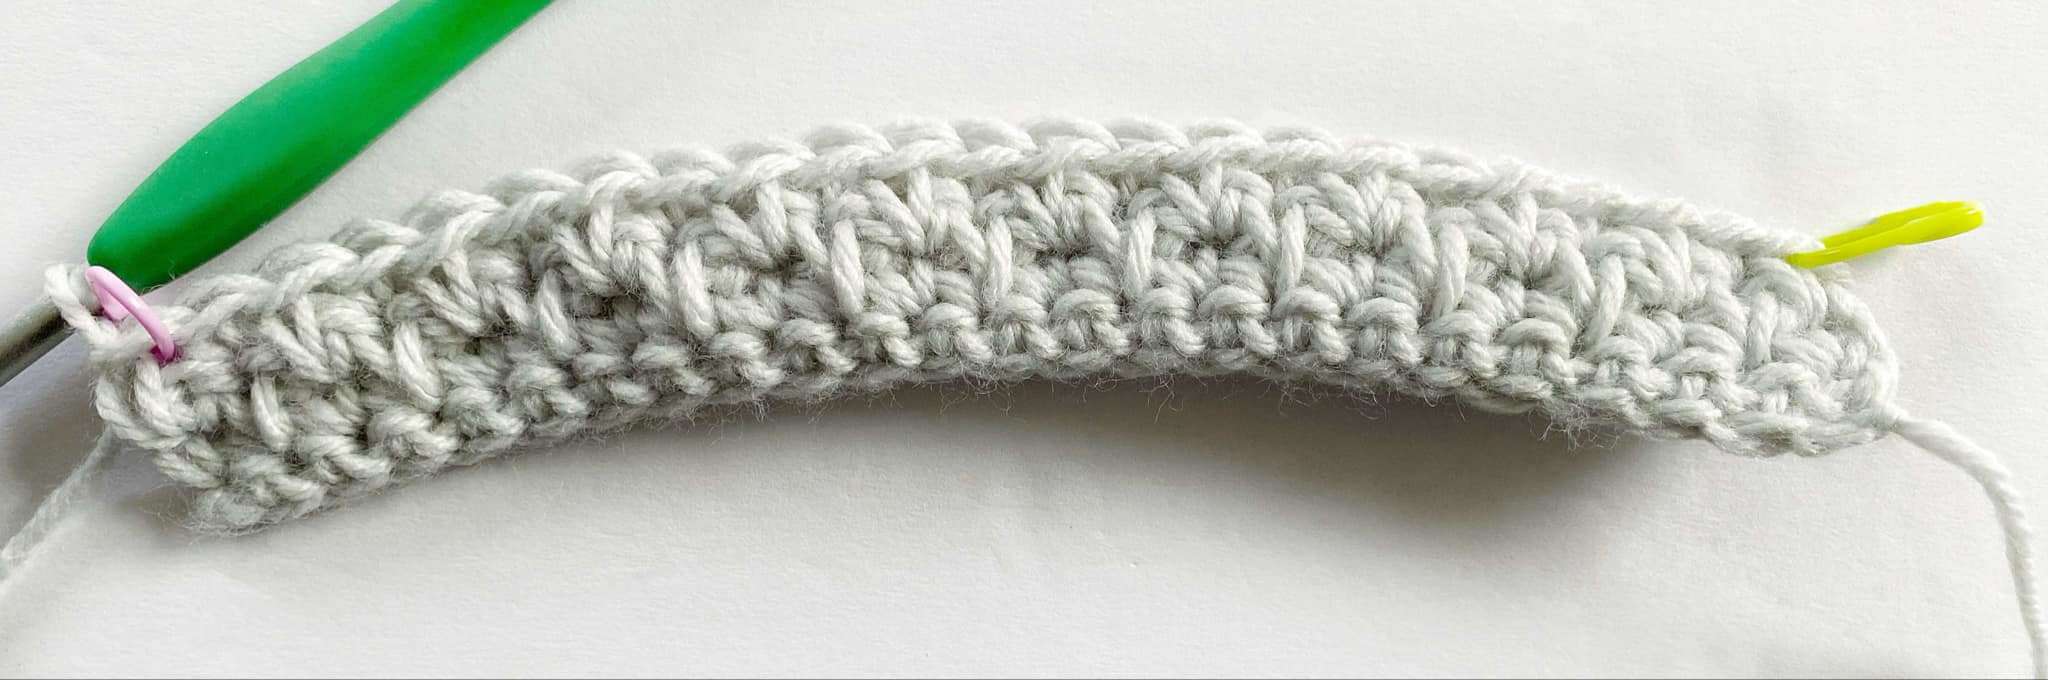
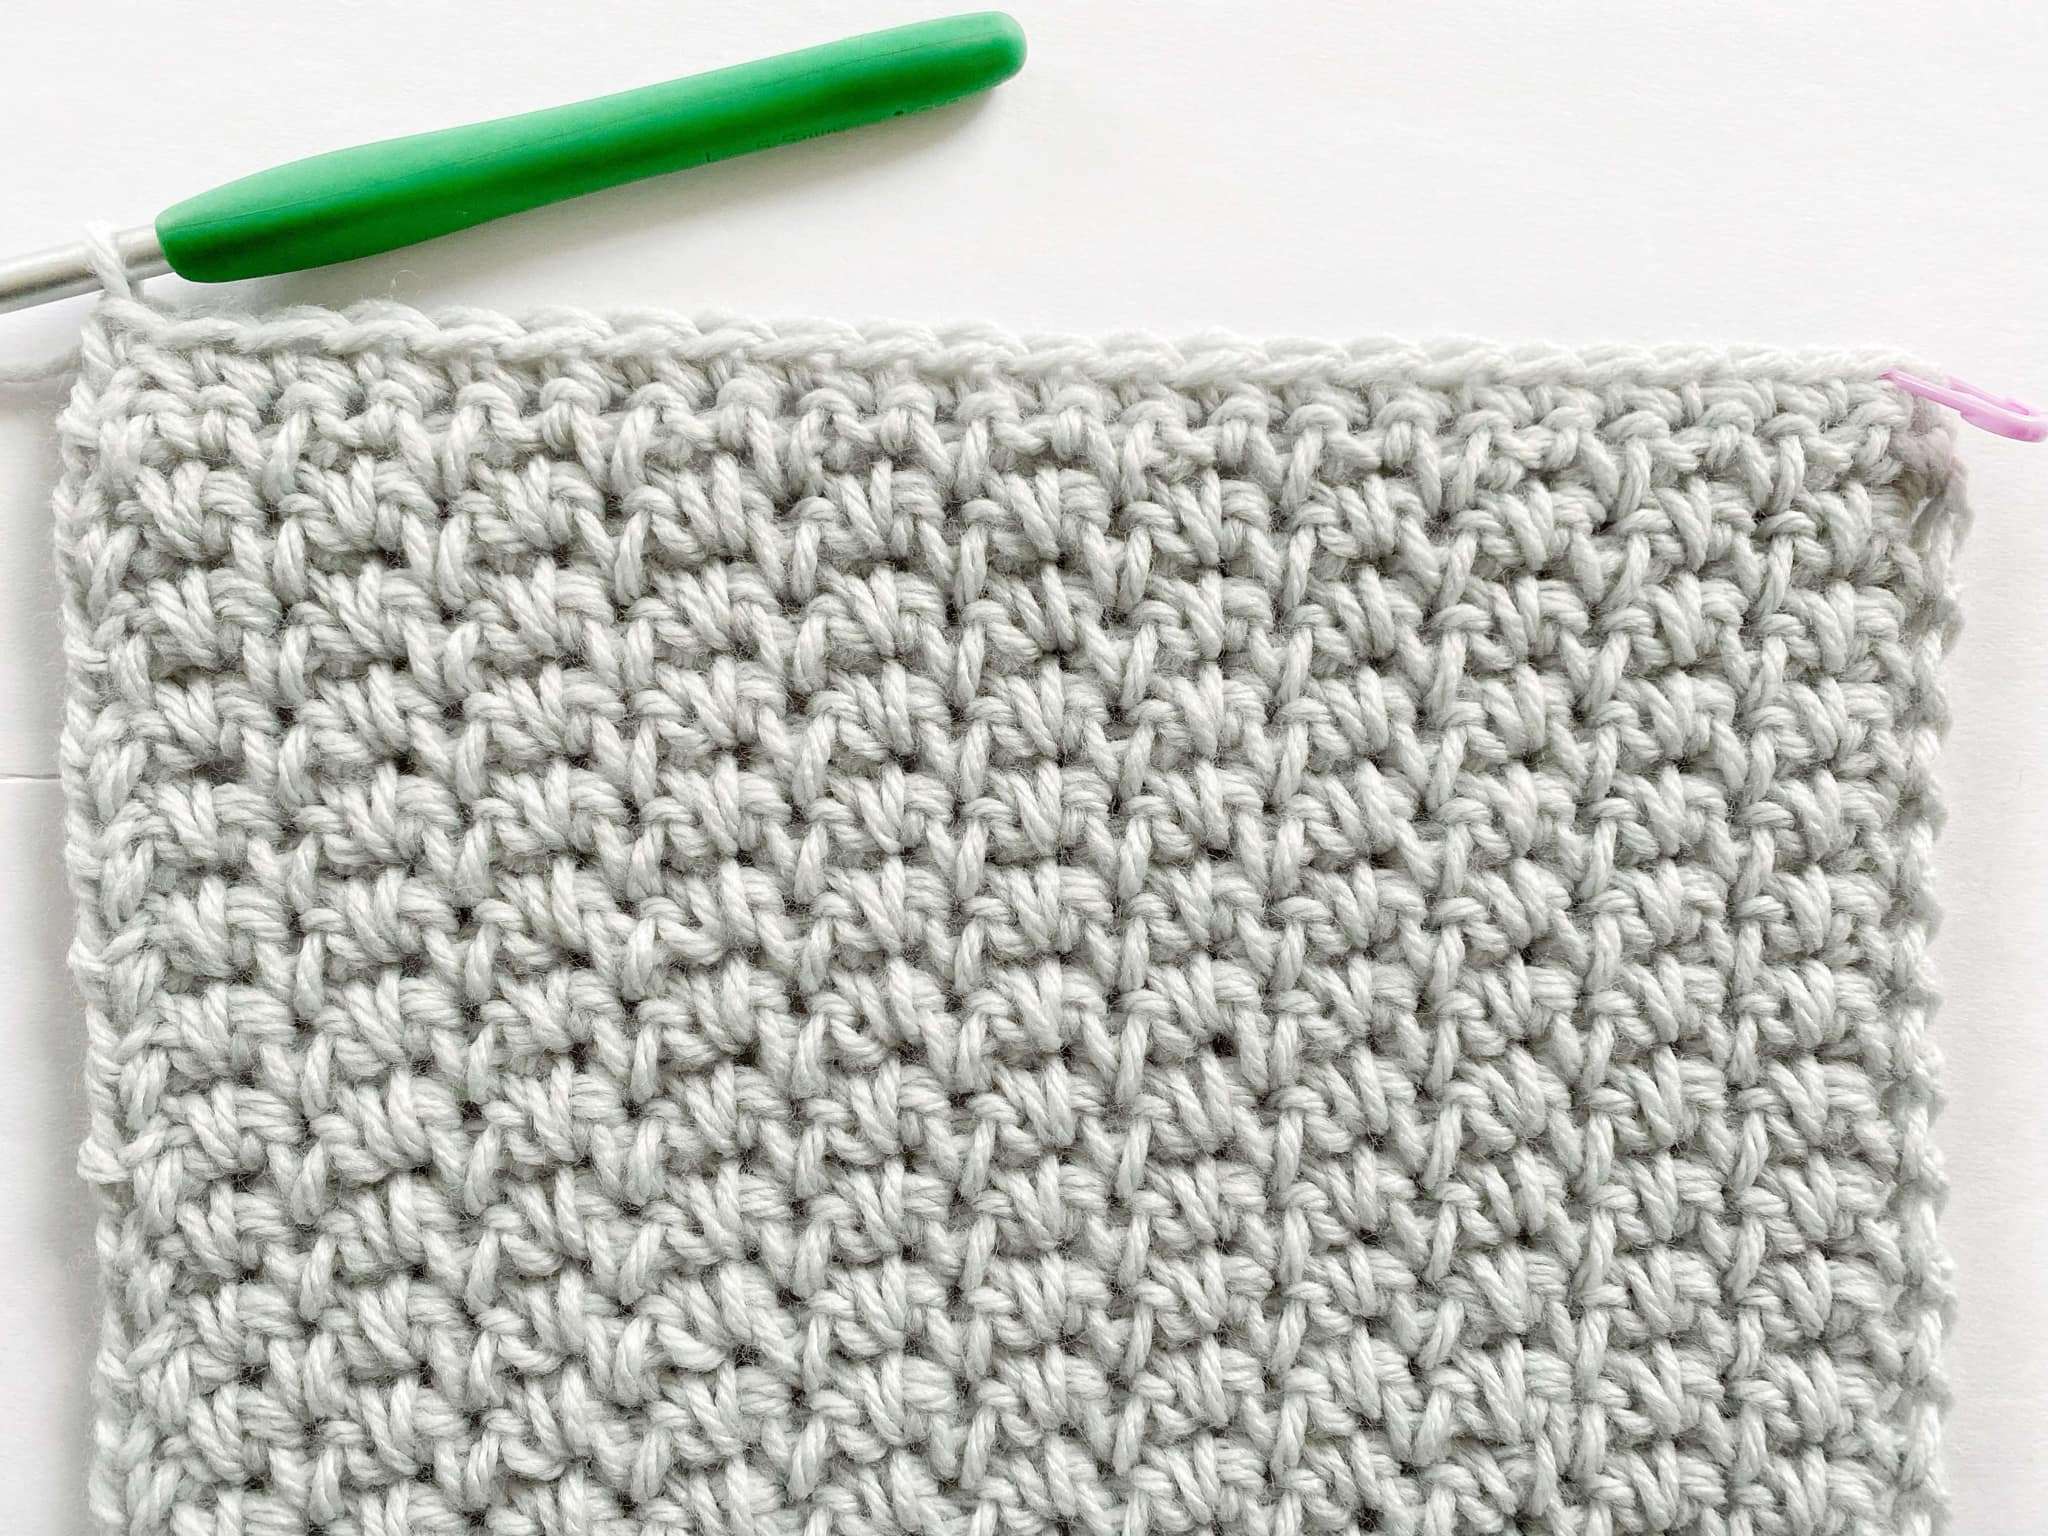
Repeat Rows 3 – 4 until happy with the length.
Last Row (Creates a Straight Edge):
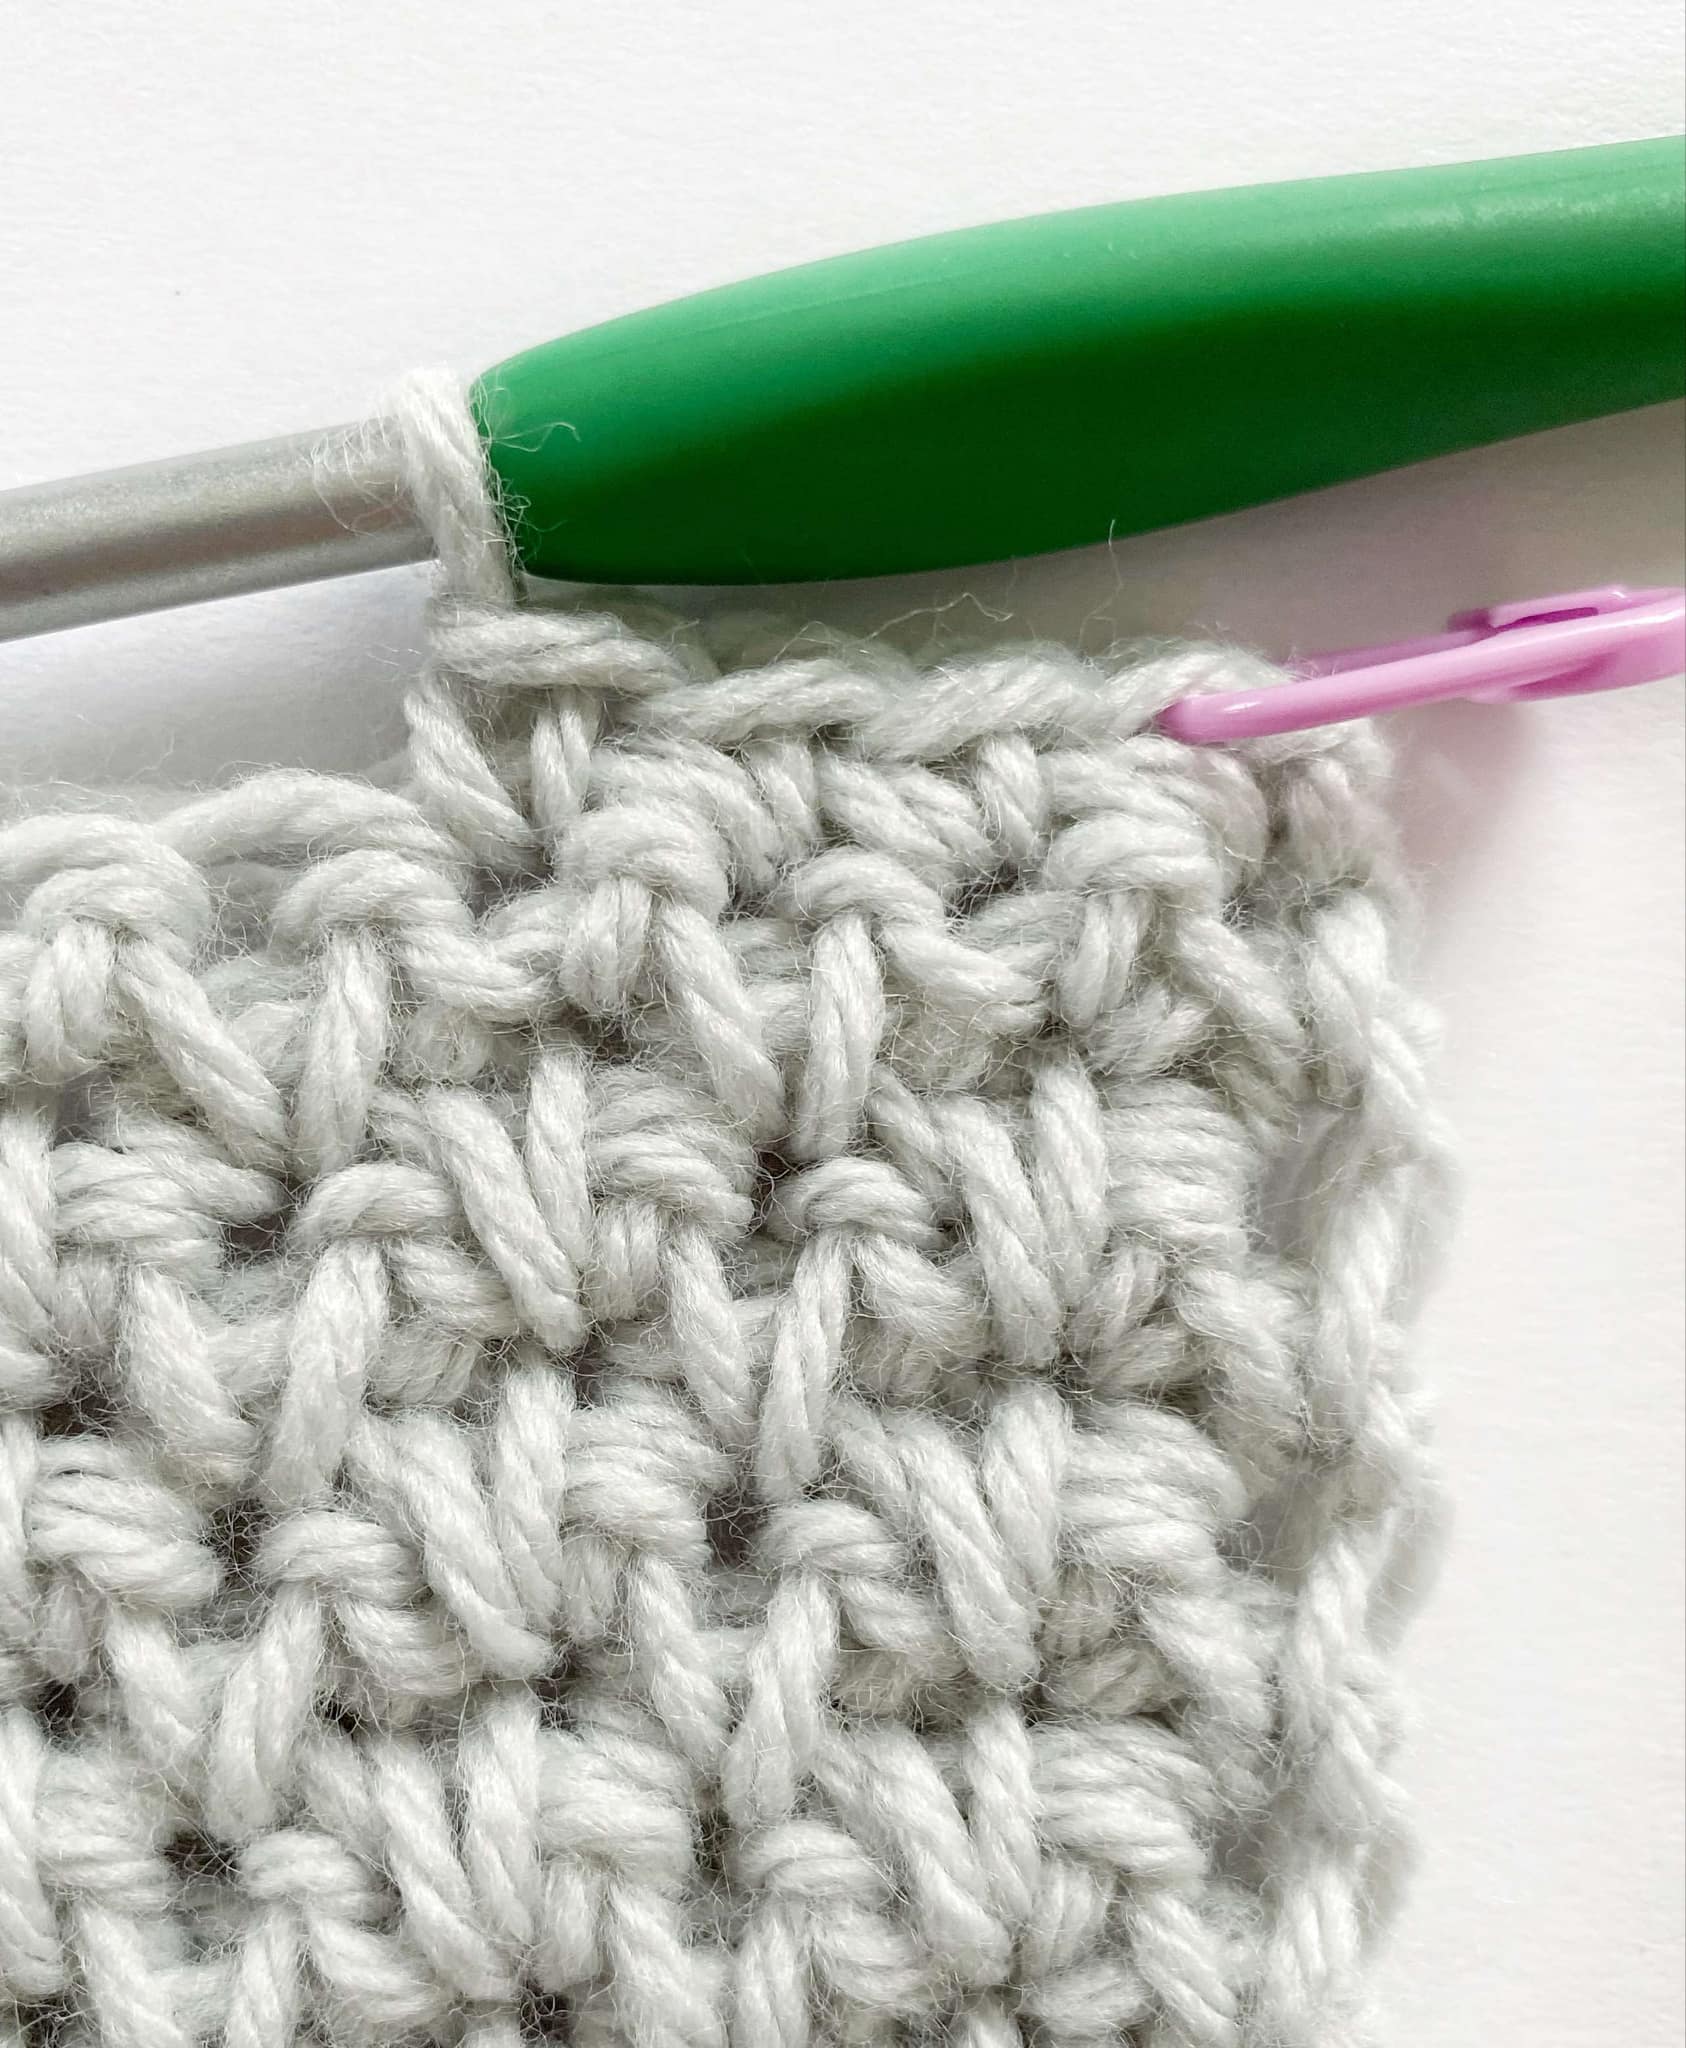
- Ch 1, sc in each st across.
- Stitch Count: 23 sc
Blocking your Work:
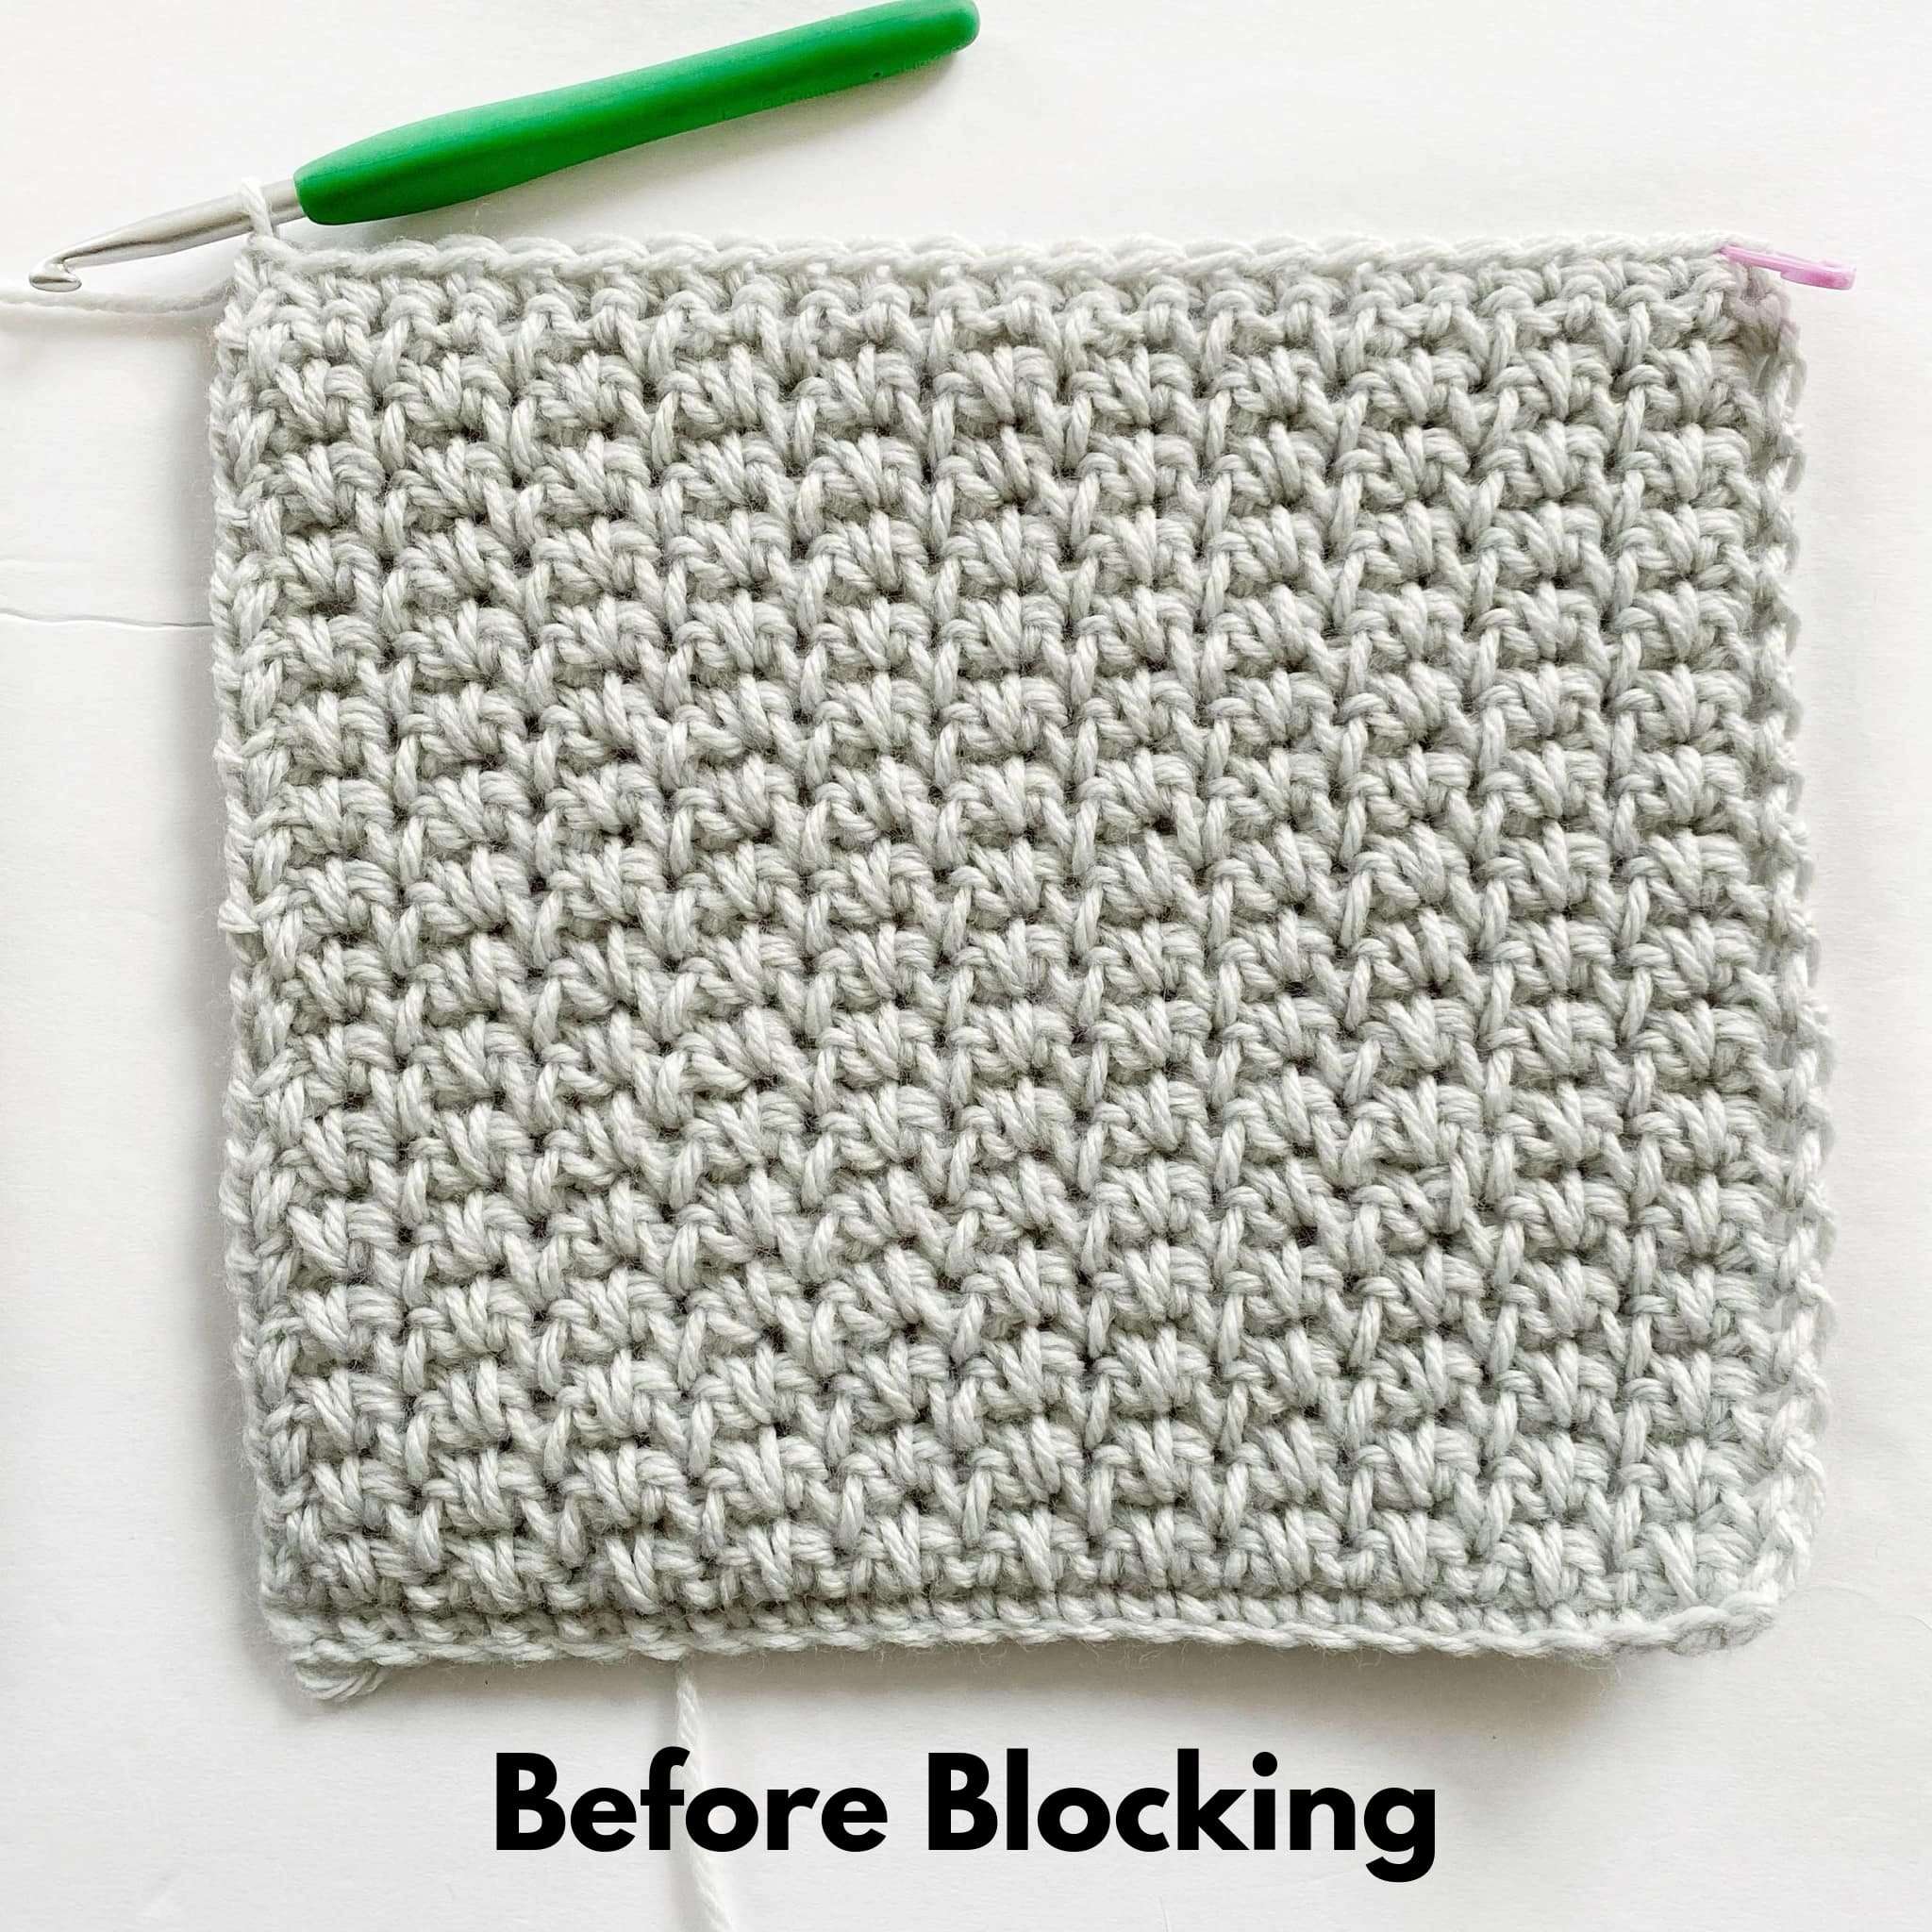
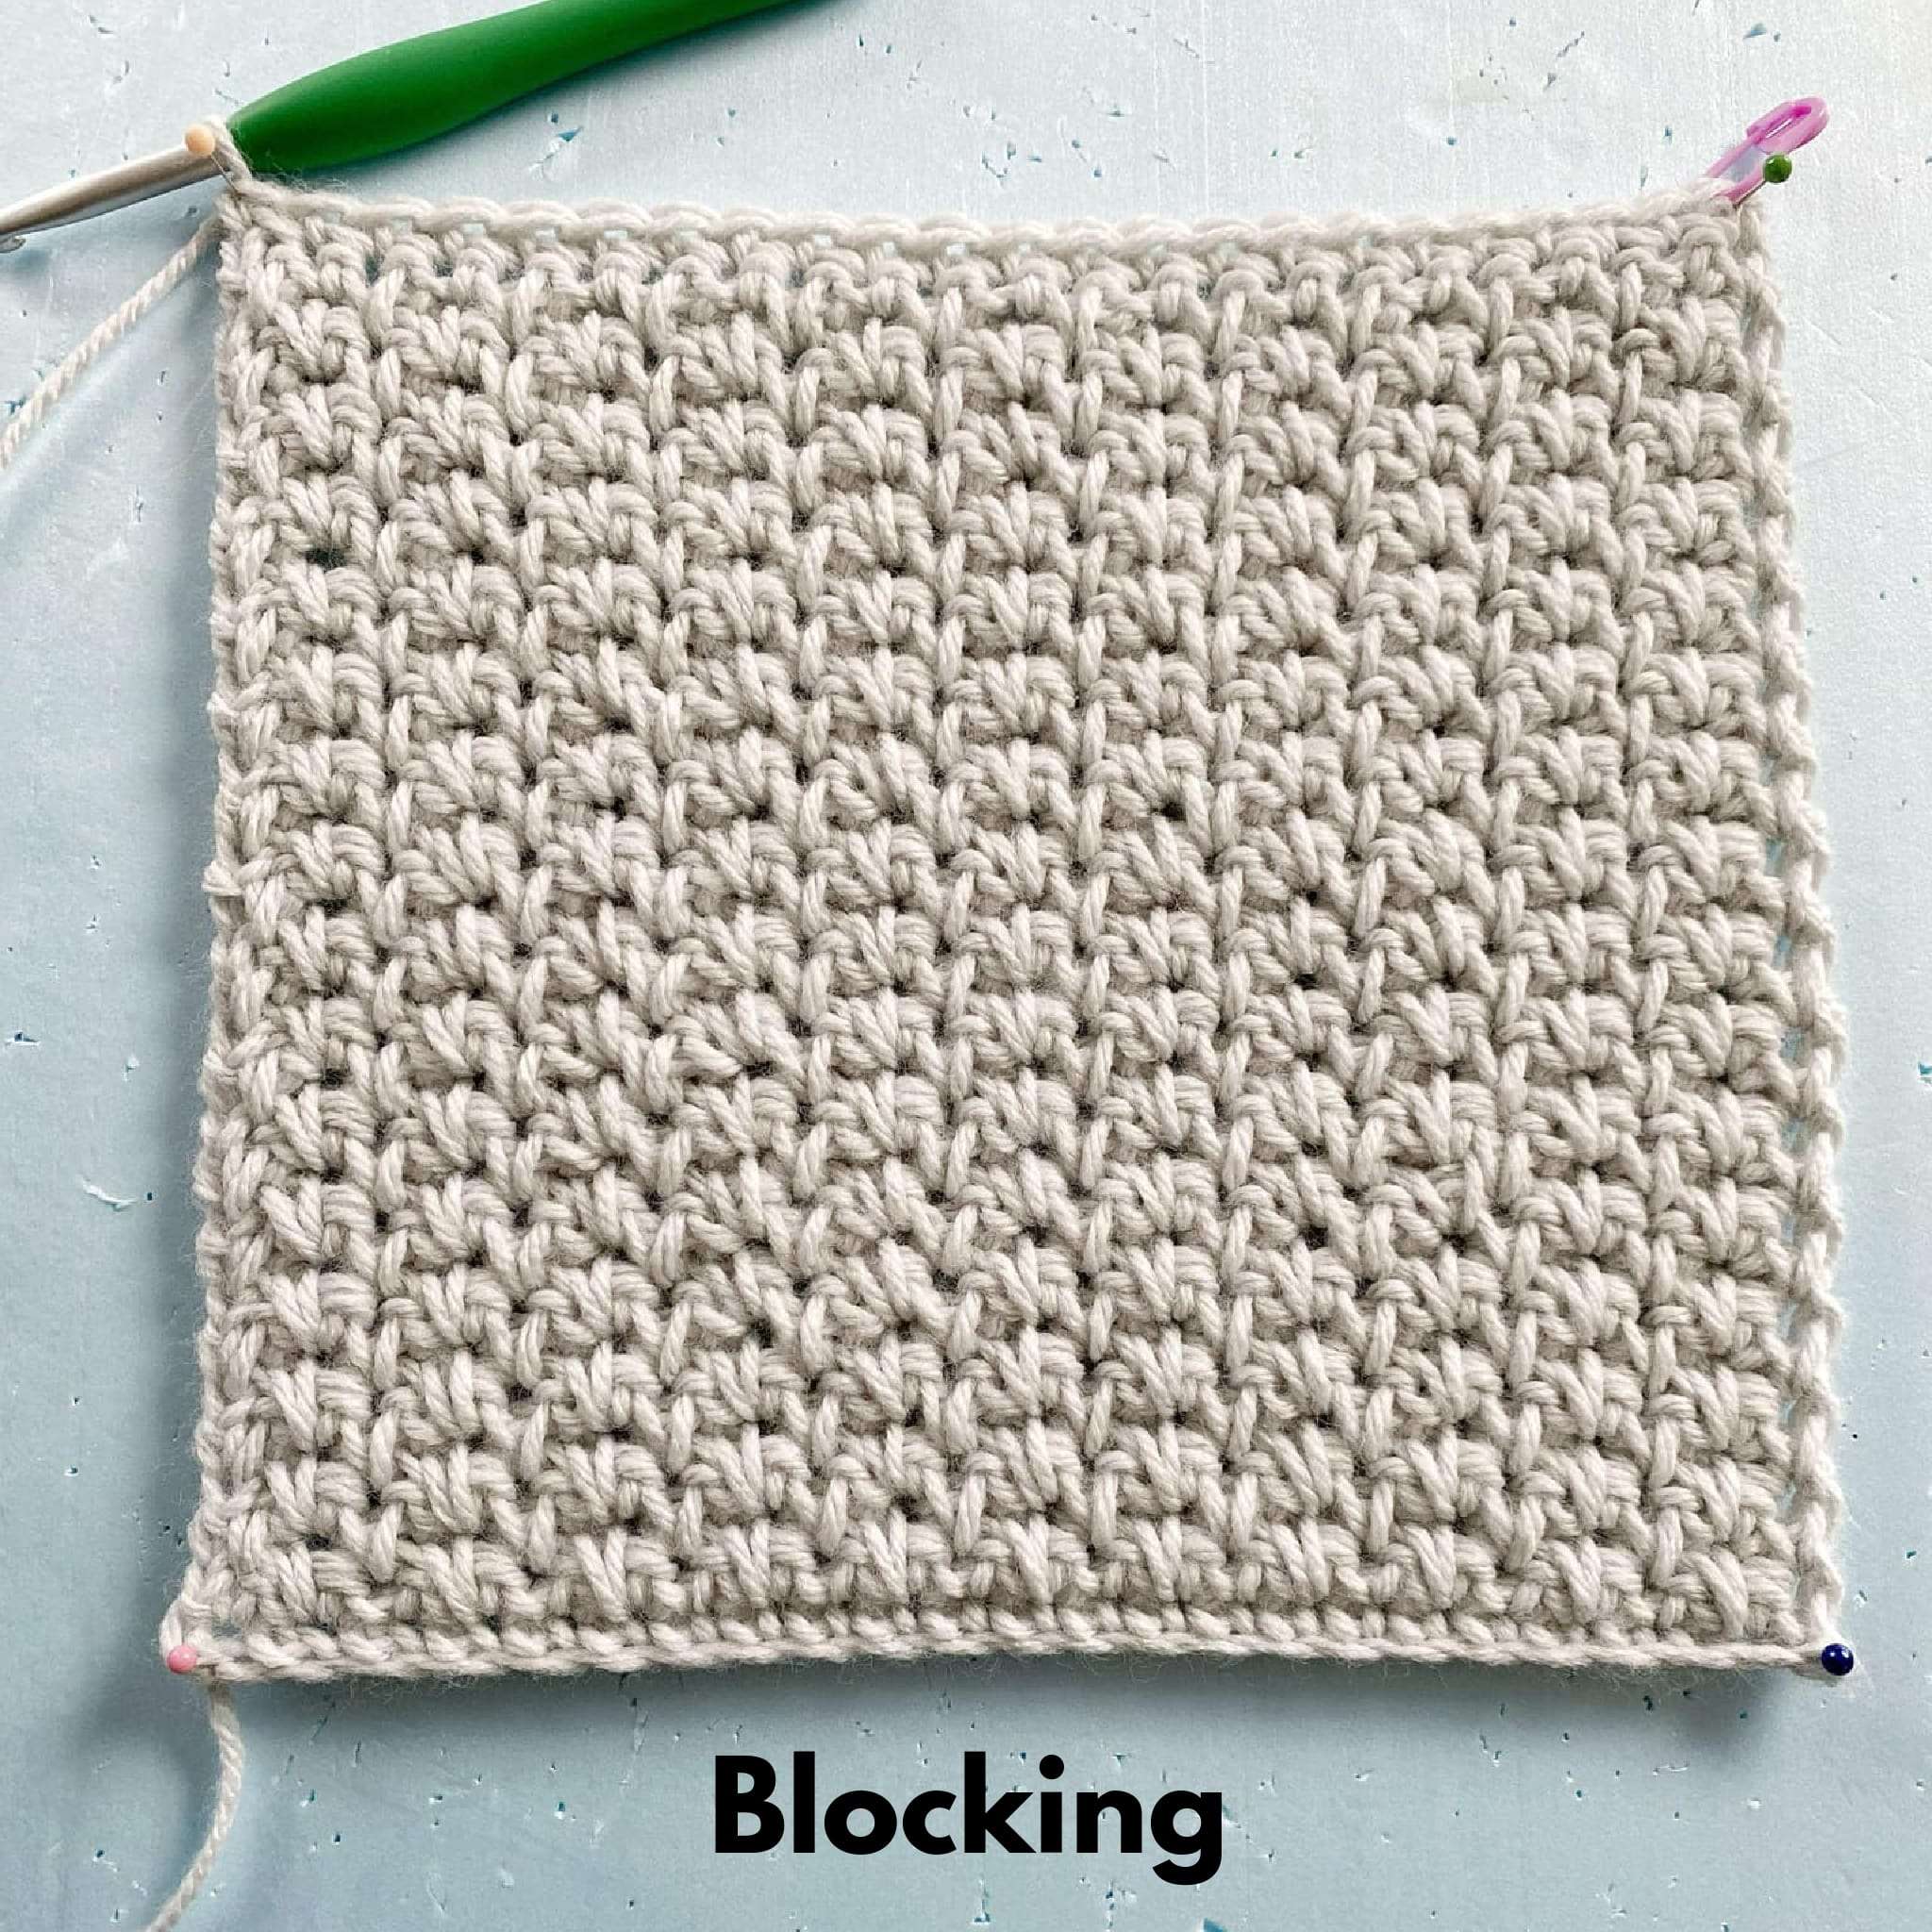
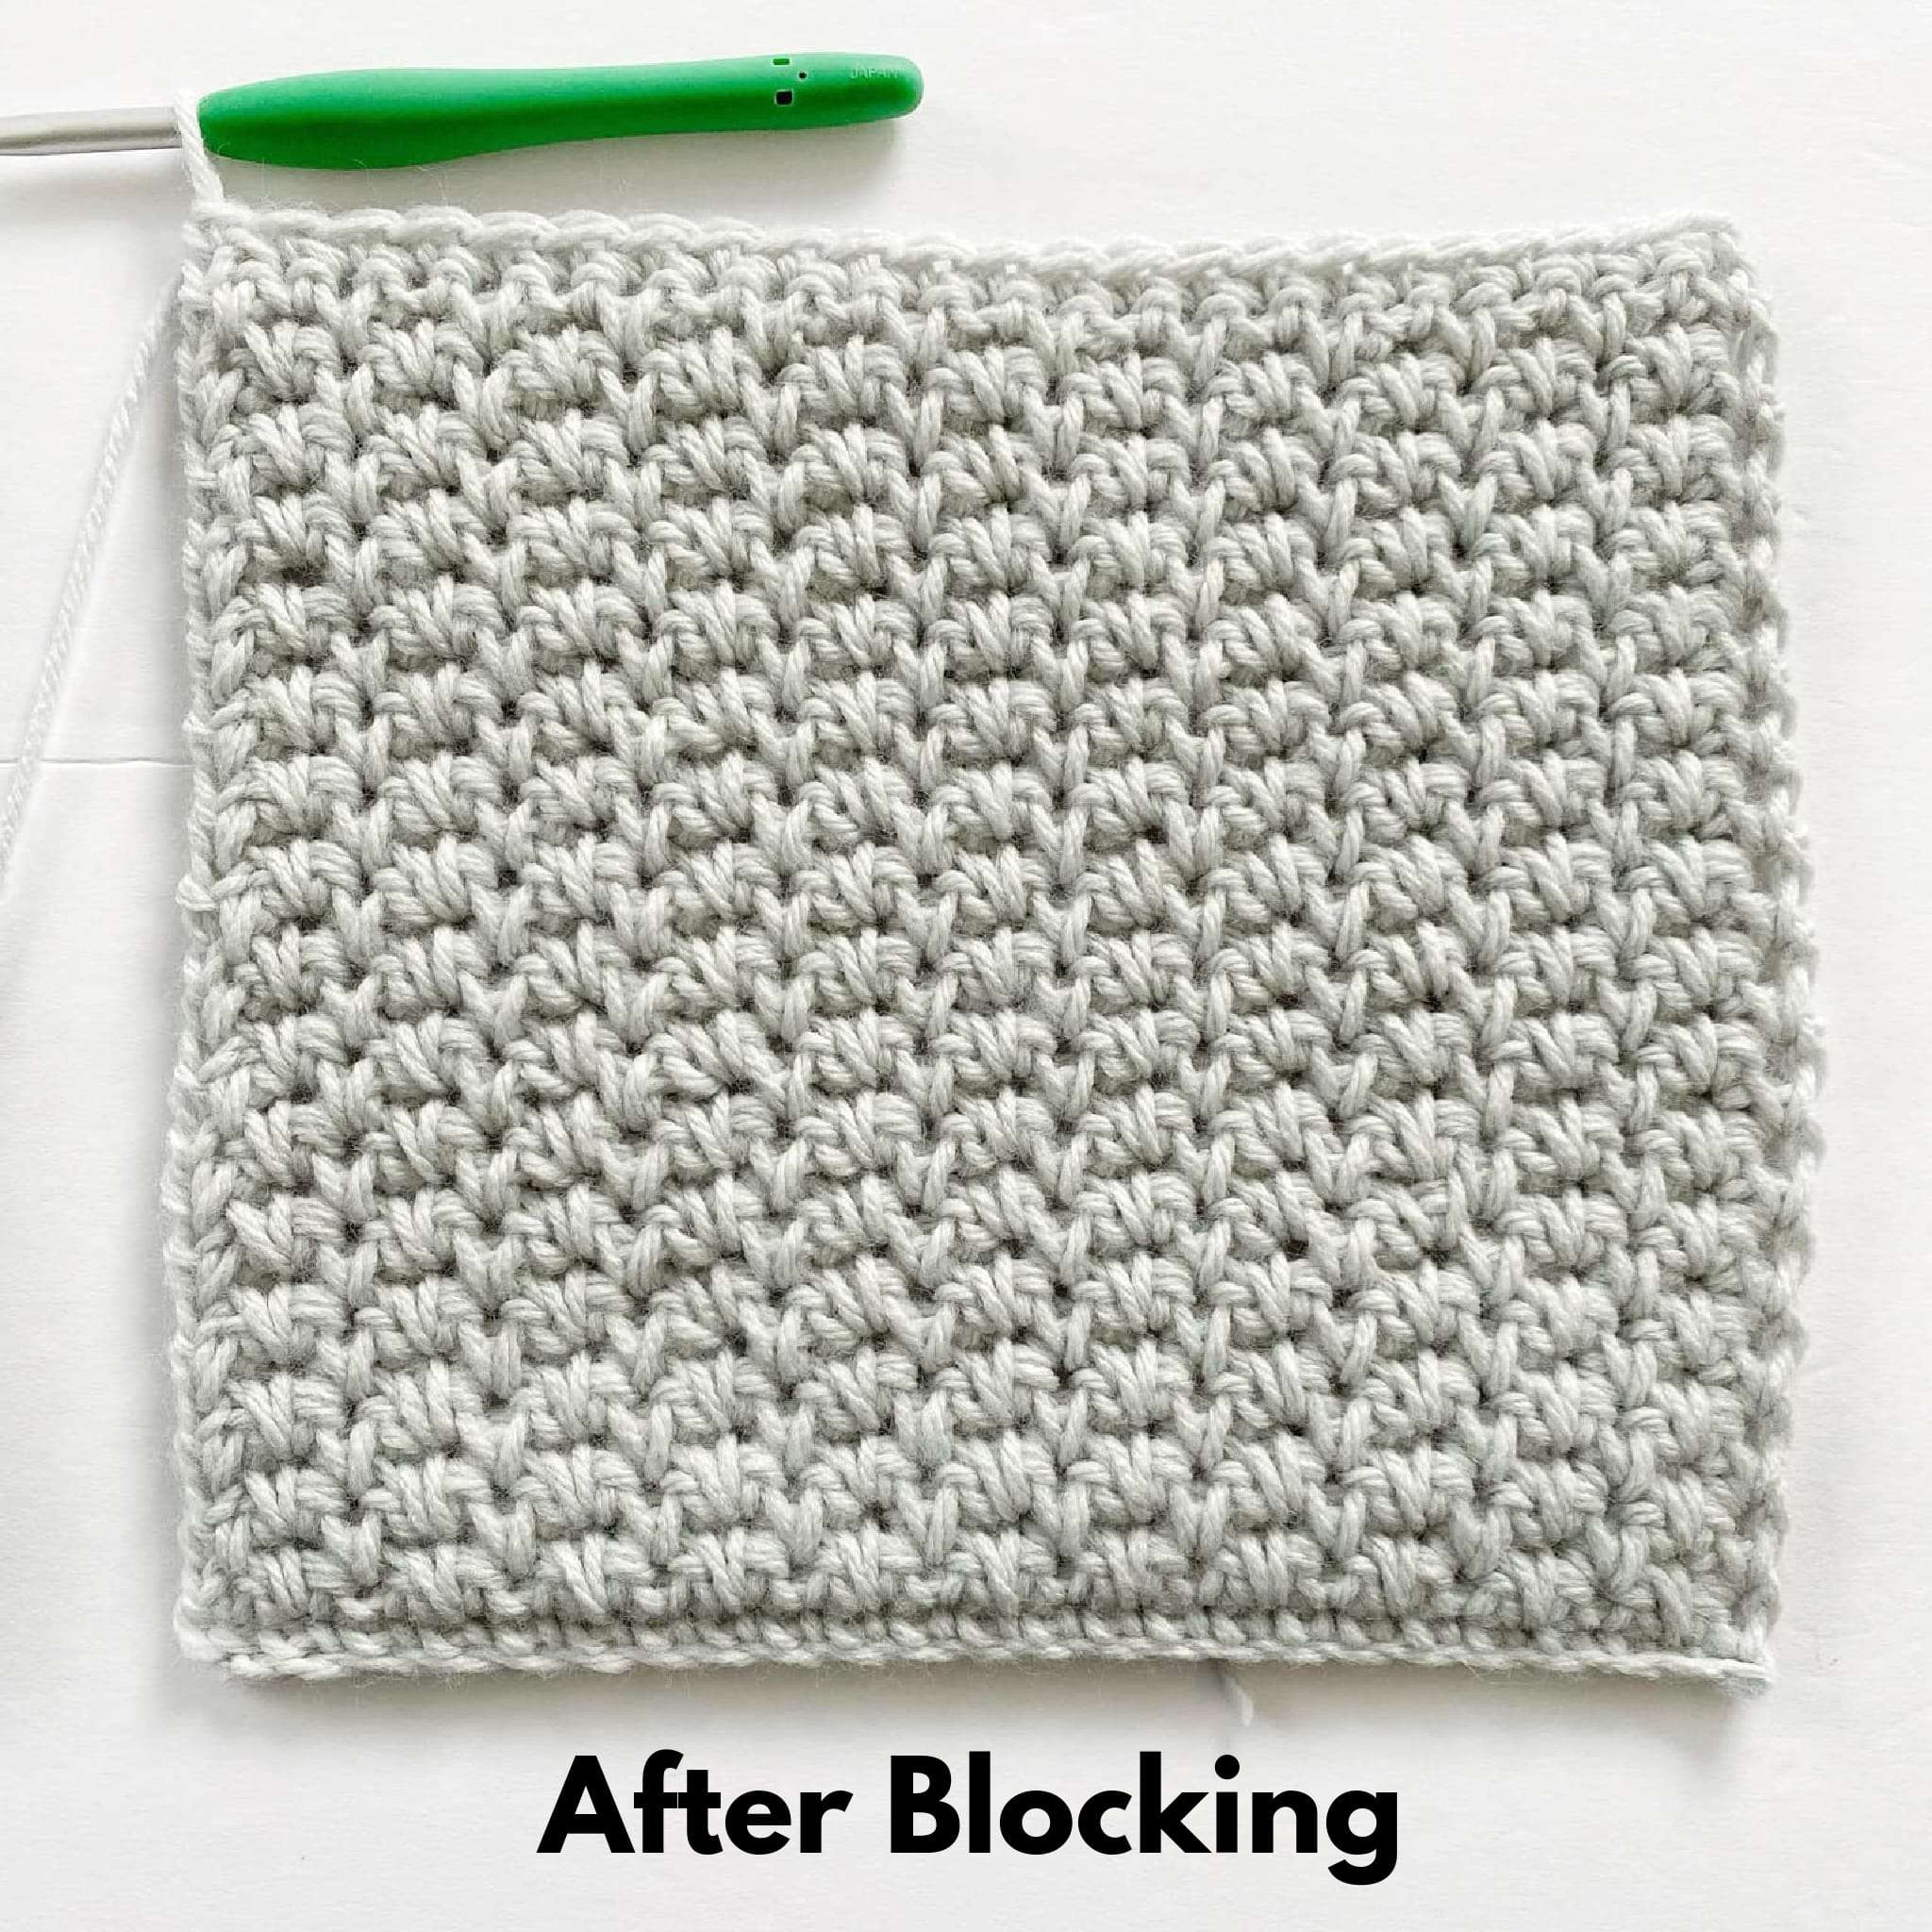
Blocking this stitch sample makes a huge difference in the overall appearance. It helps straighten the edges and relax the stitches, so your work lies flat.
To block your work, pin your sample in place with straight pins; steam your sample, making sure to stay at least 2″ away from the fabric; gently press the steam/water into your sample; let it dry completely, and unpin it.
I hope this tutorial was helpful and you can use this stitch in your future crochet projects. What will you make with the alternating spike stitch?
Explore More Crochet Stitches: