
Hi guys! In this tutorial, we are going to learn how to crochet the row-by-row moss stitch.
The moss stitch, also known as the linen, woven, or granite stitch, uses a combination of the single crochet and chain stitch to create a thick, overlapping stitch.
You can use it for blankets, garments, pillows, accessories, and more.
The step-by-step tutorial and video tutorial can be found below.
Keep reading past the tutorial for two “tricks” to minimize the number of ends you need to weave in when crocheting with multiple colours.
Pin this Moss Stitch Tutorial – HERE!
Don’t have time to start the tutorial? That’s okay! Pin it for later, so that you can easily find it when you’re ready to start crocheting!
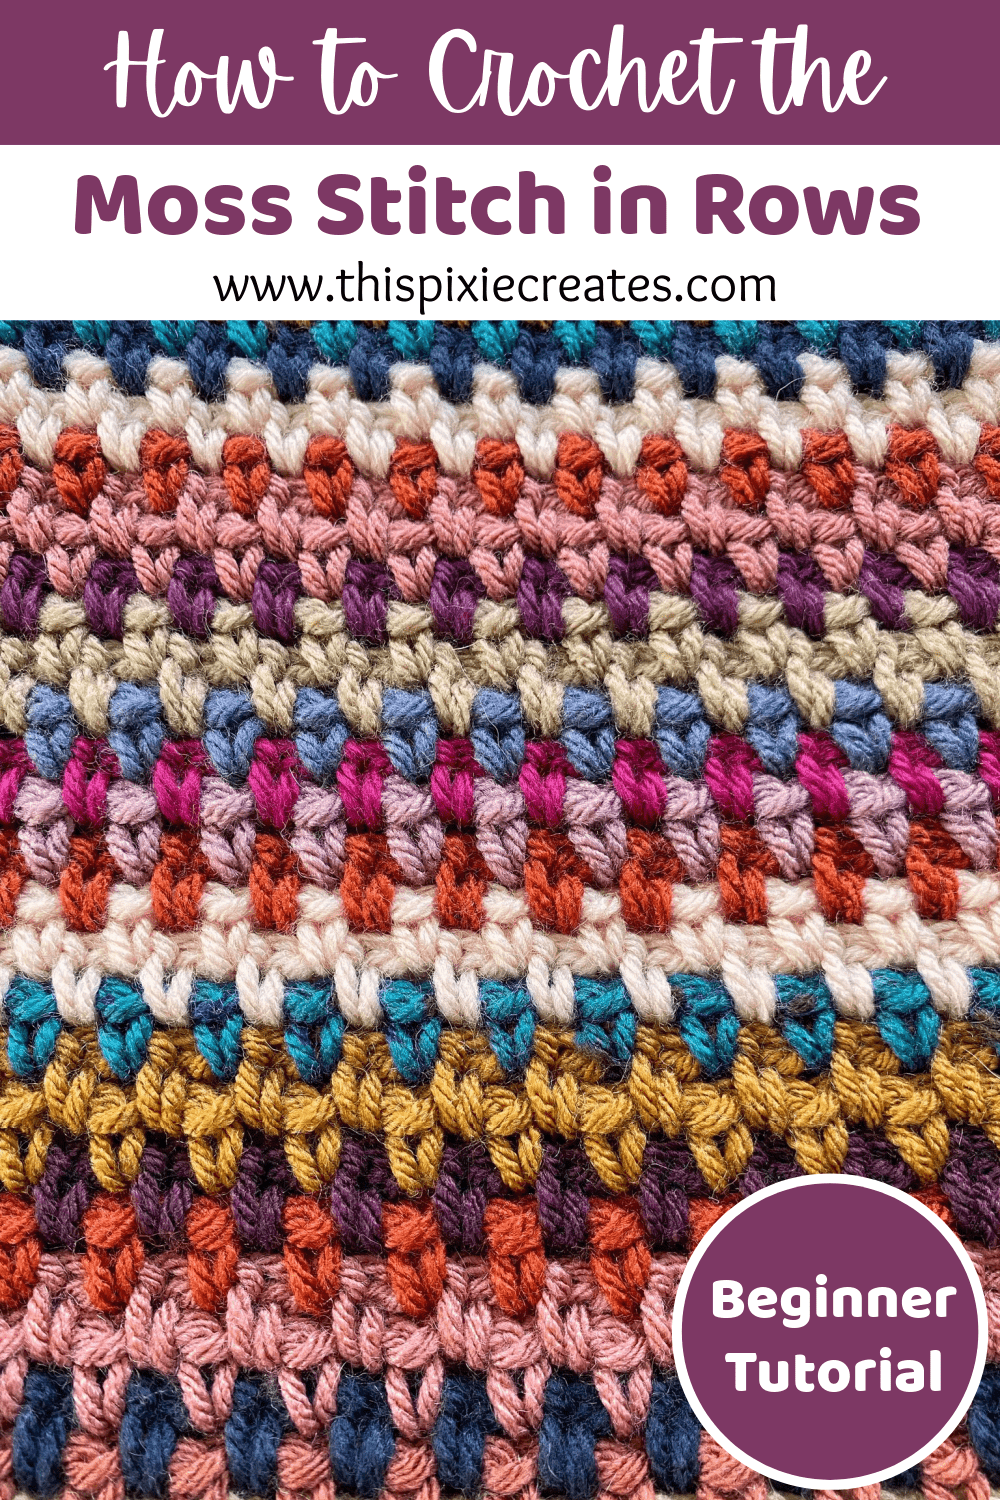
What’s so Great about the Moss Stitch?
The moss stitch is one of the most popular stitches among crocheters, and here’s why:
- #1: It’s an easy stitch pattern that uses 2 basic stitches: the single crochet and chain stitch. This makes the moss stitch great for beginners or anyone looking for a mindless crochet stitch.
- #2: This stitch works up quickly because after Row 1, every stitch is worked into a chain space, making it easier and faster to crochet.
- #3: This stitch looks great when crocheted in multiple colours (stripes) or variegated (multi-coloured) yarn. The simple stitch pattern balances out the busyness of the colours.
Moss Stitch Samples in Different Yarns
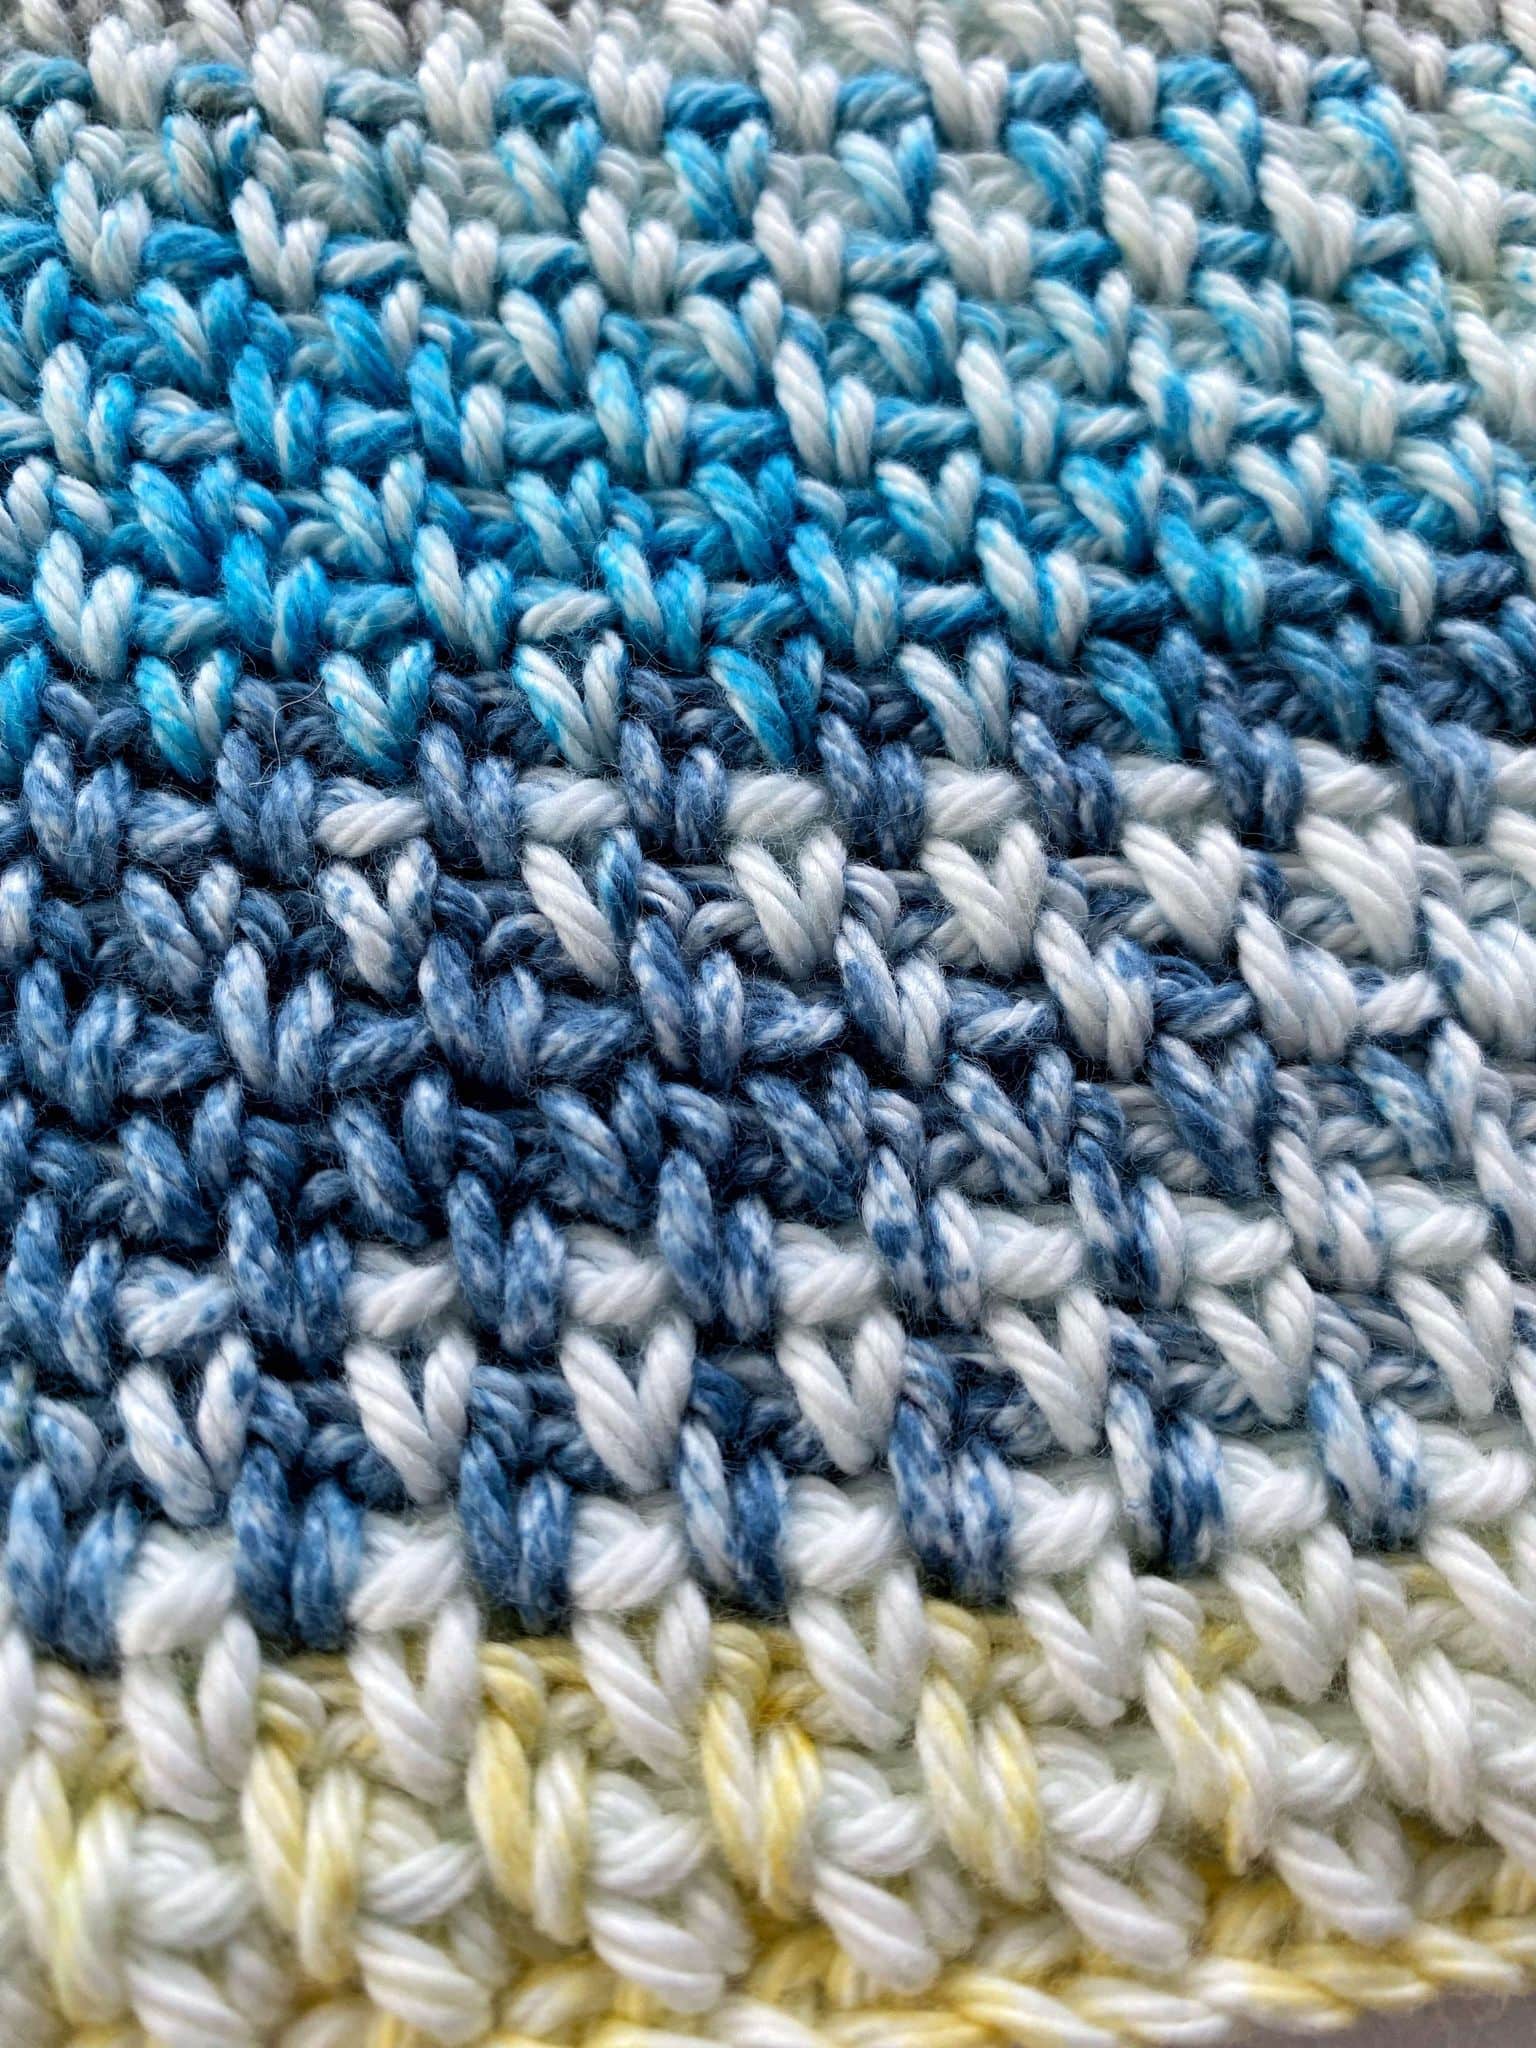
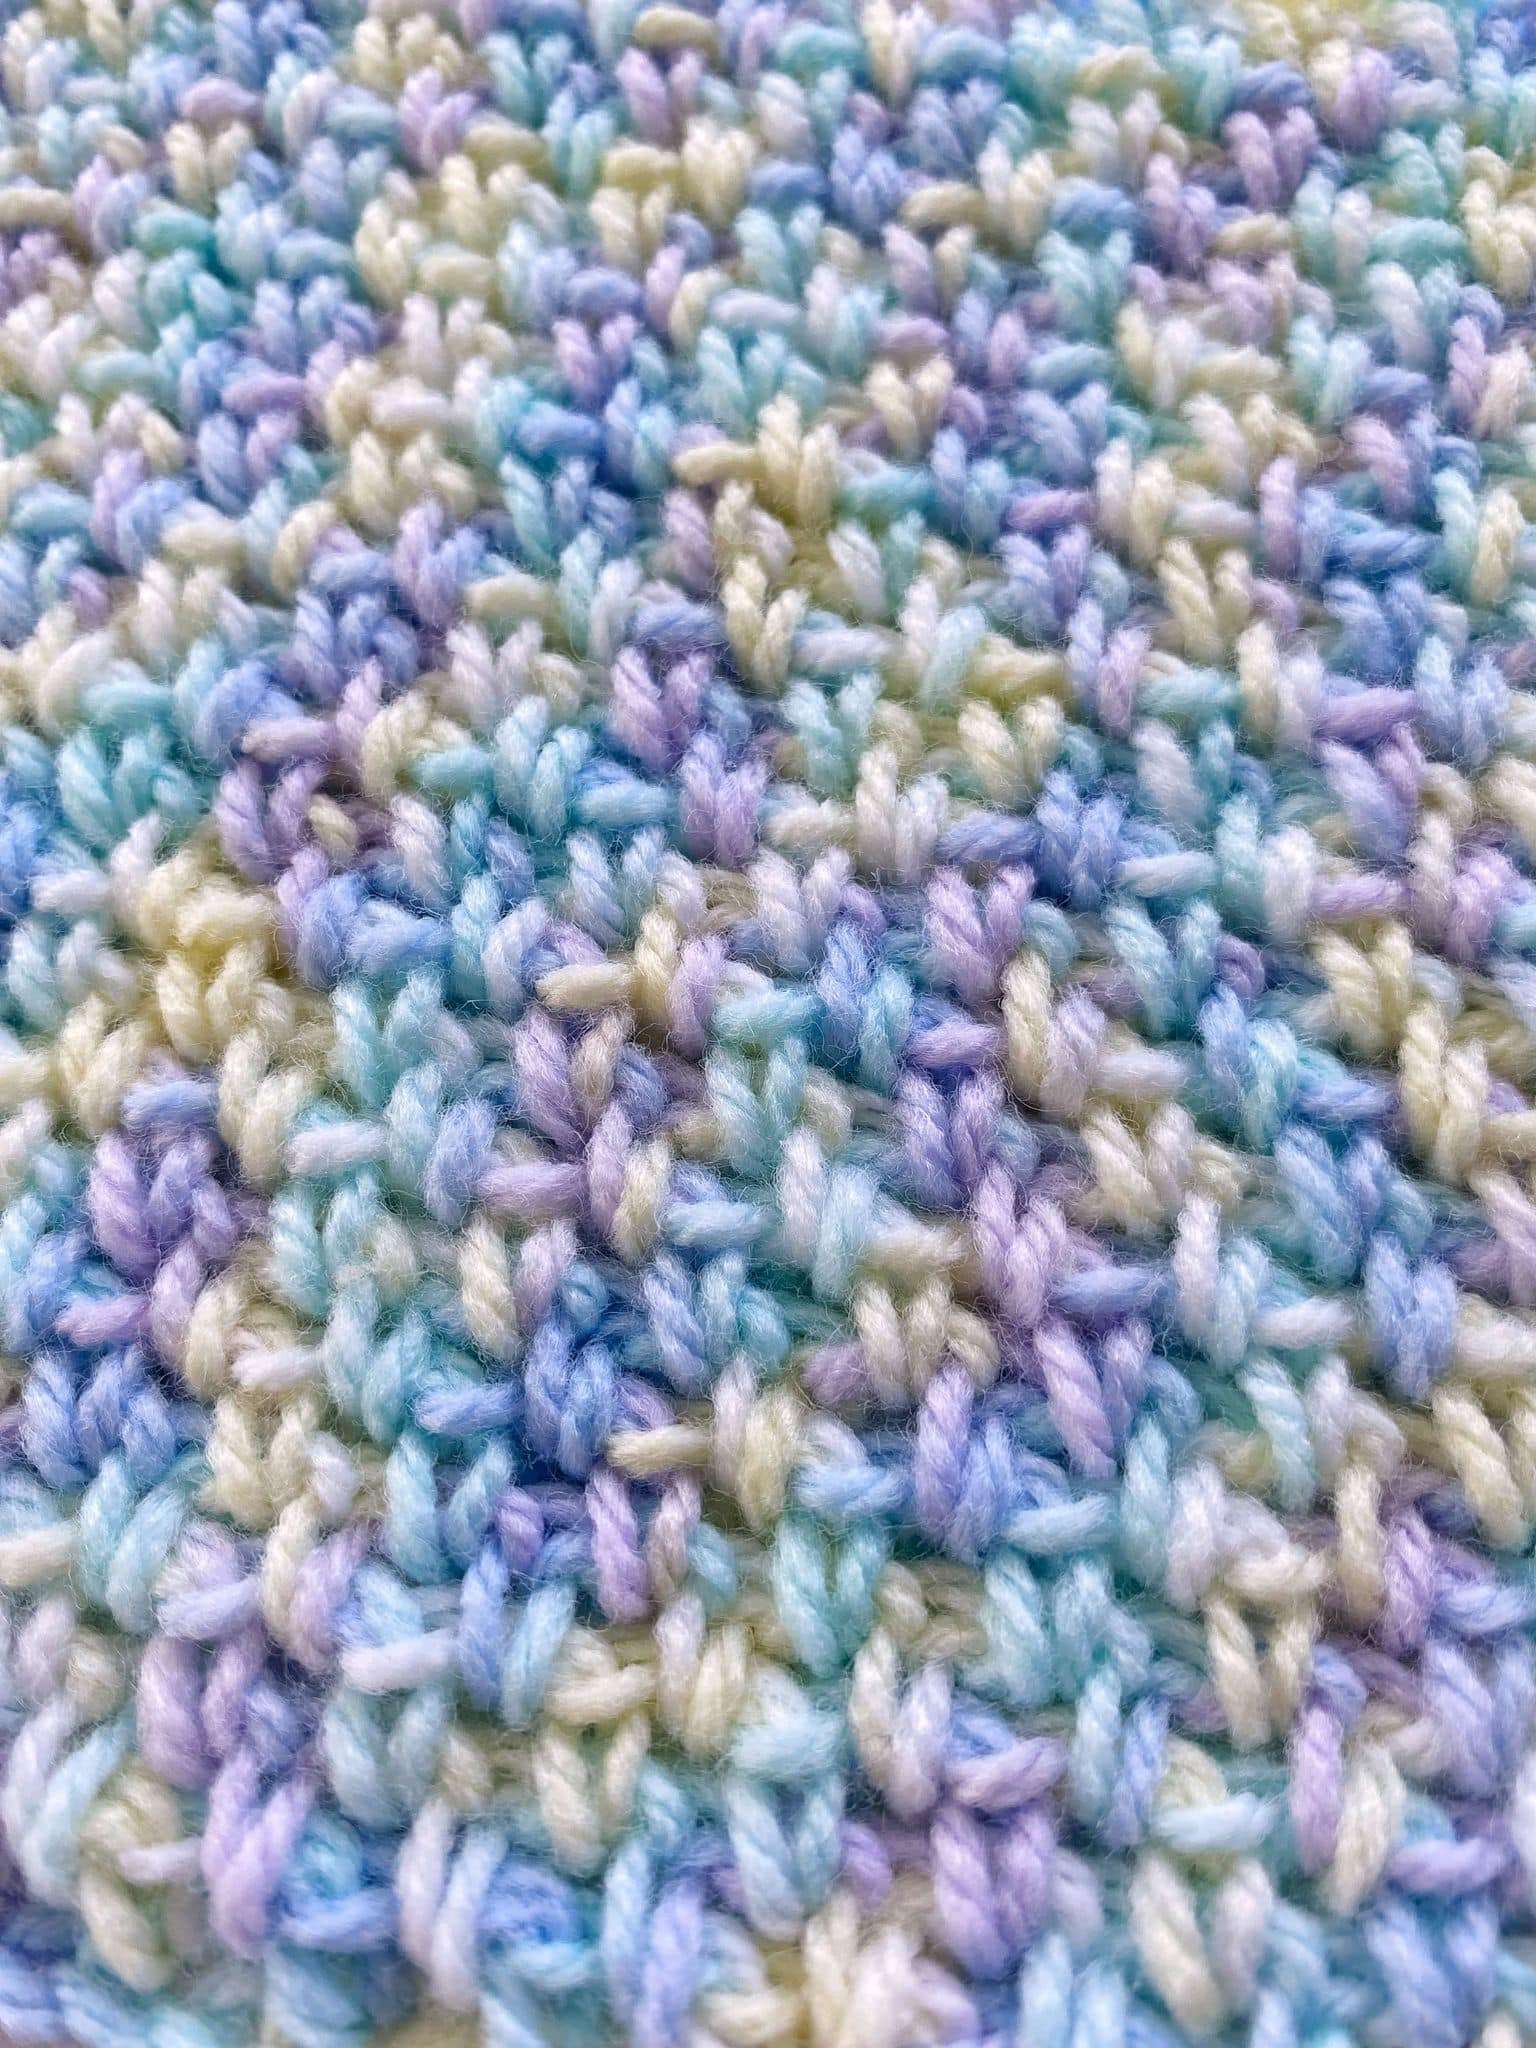
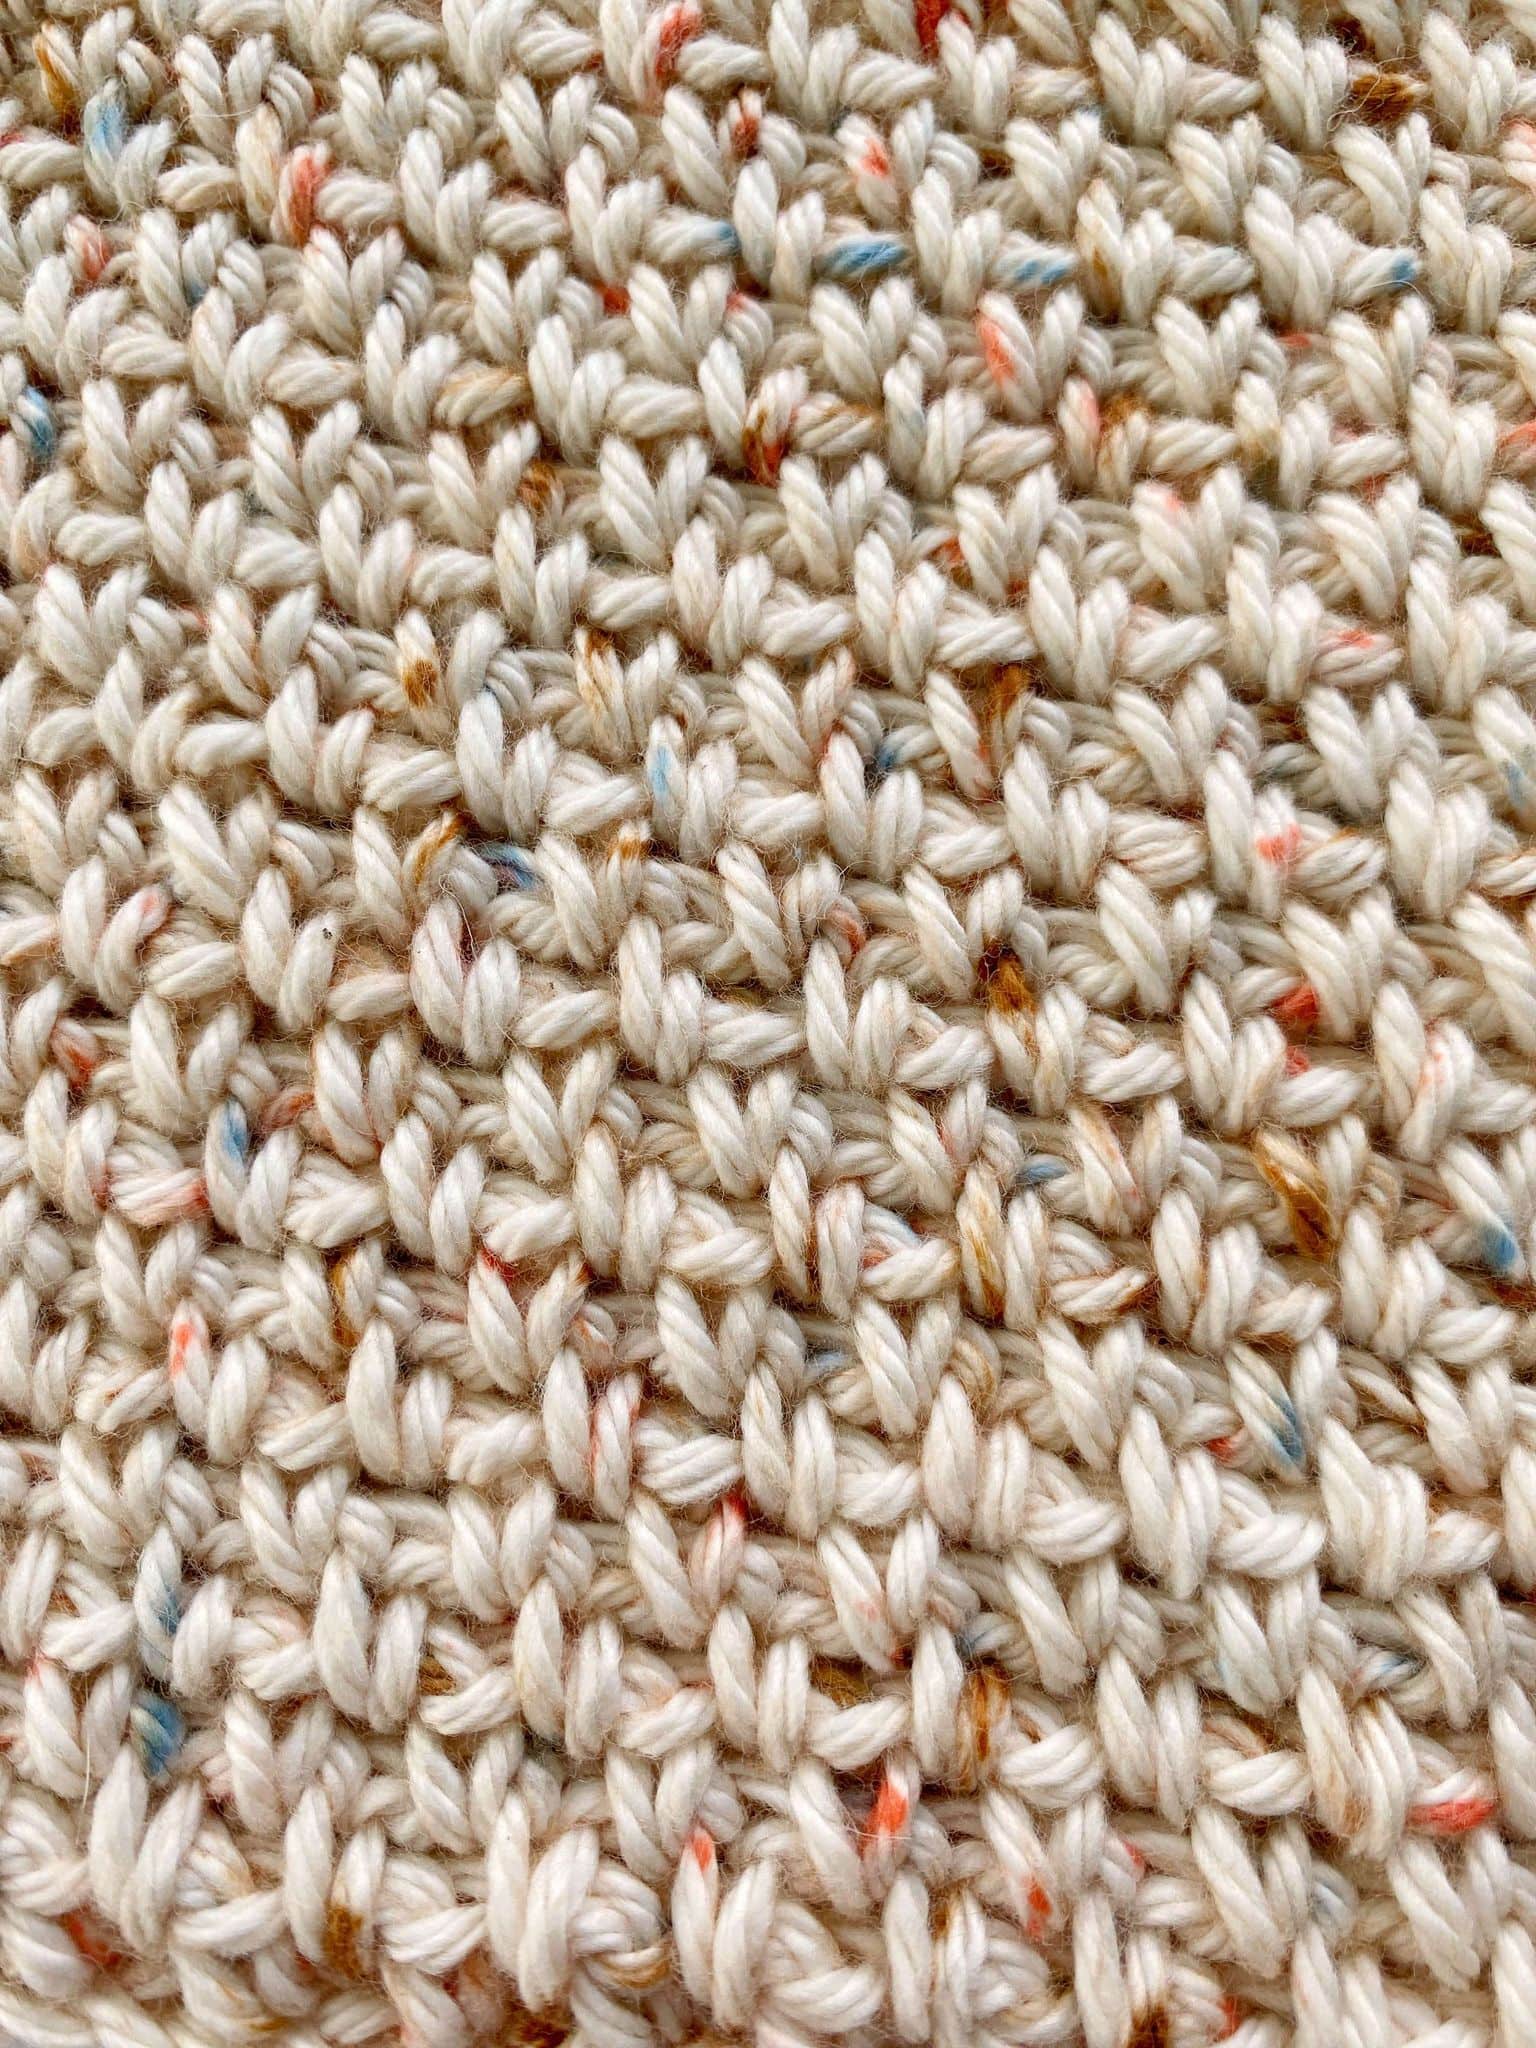
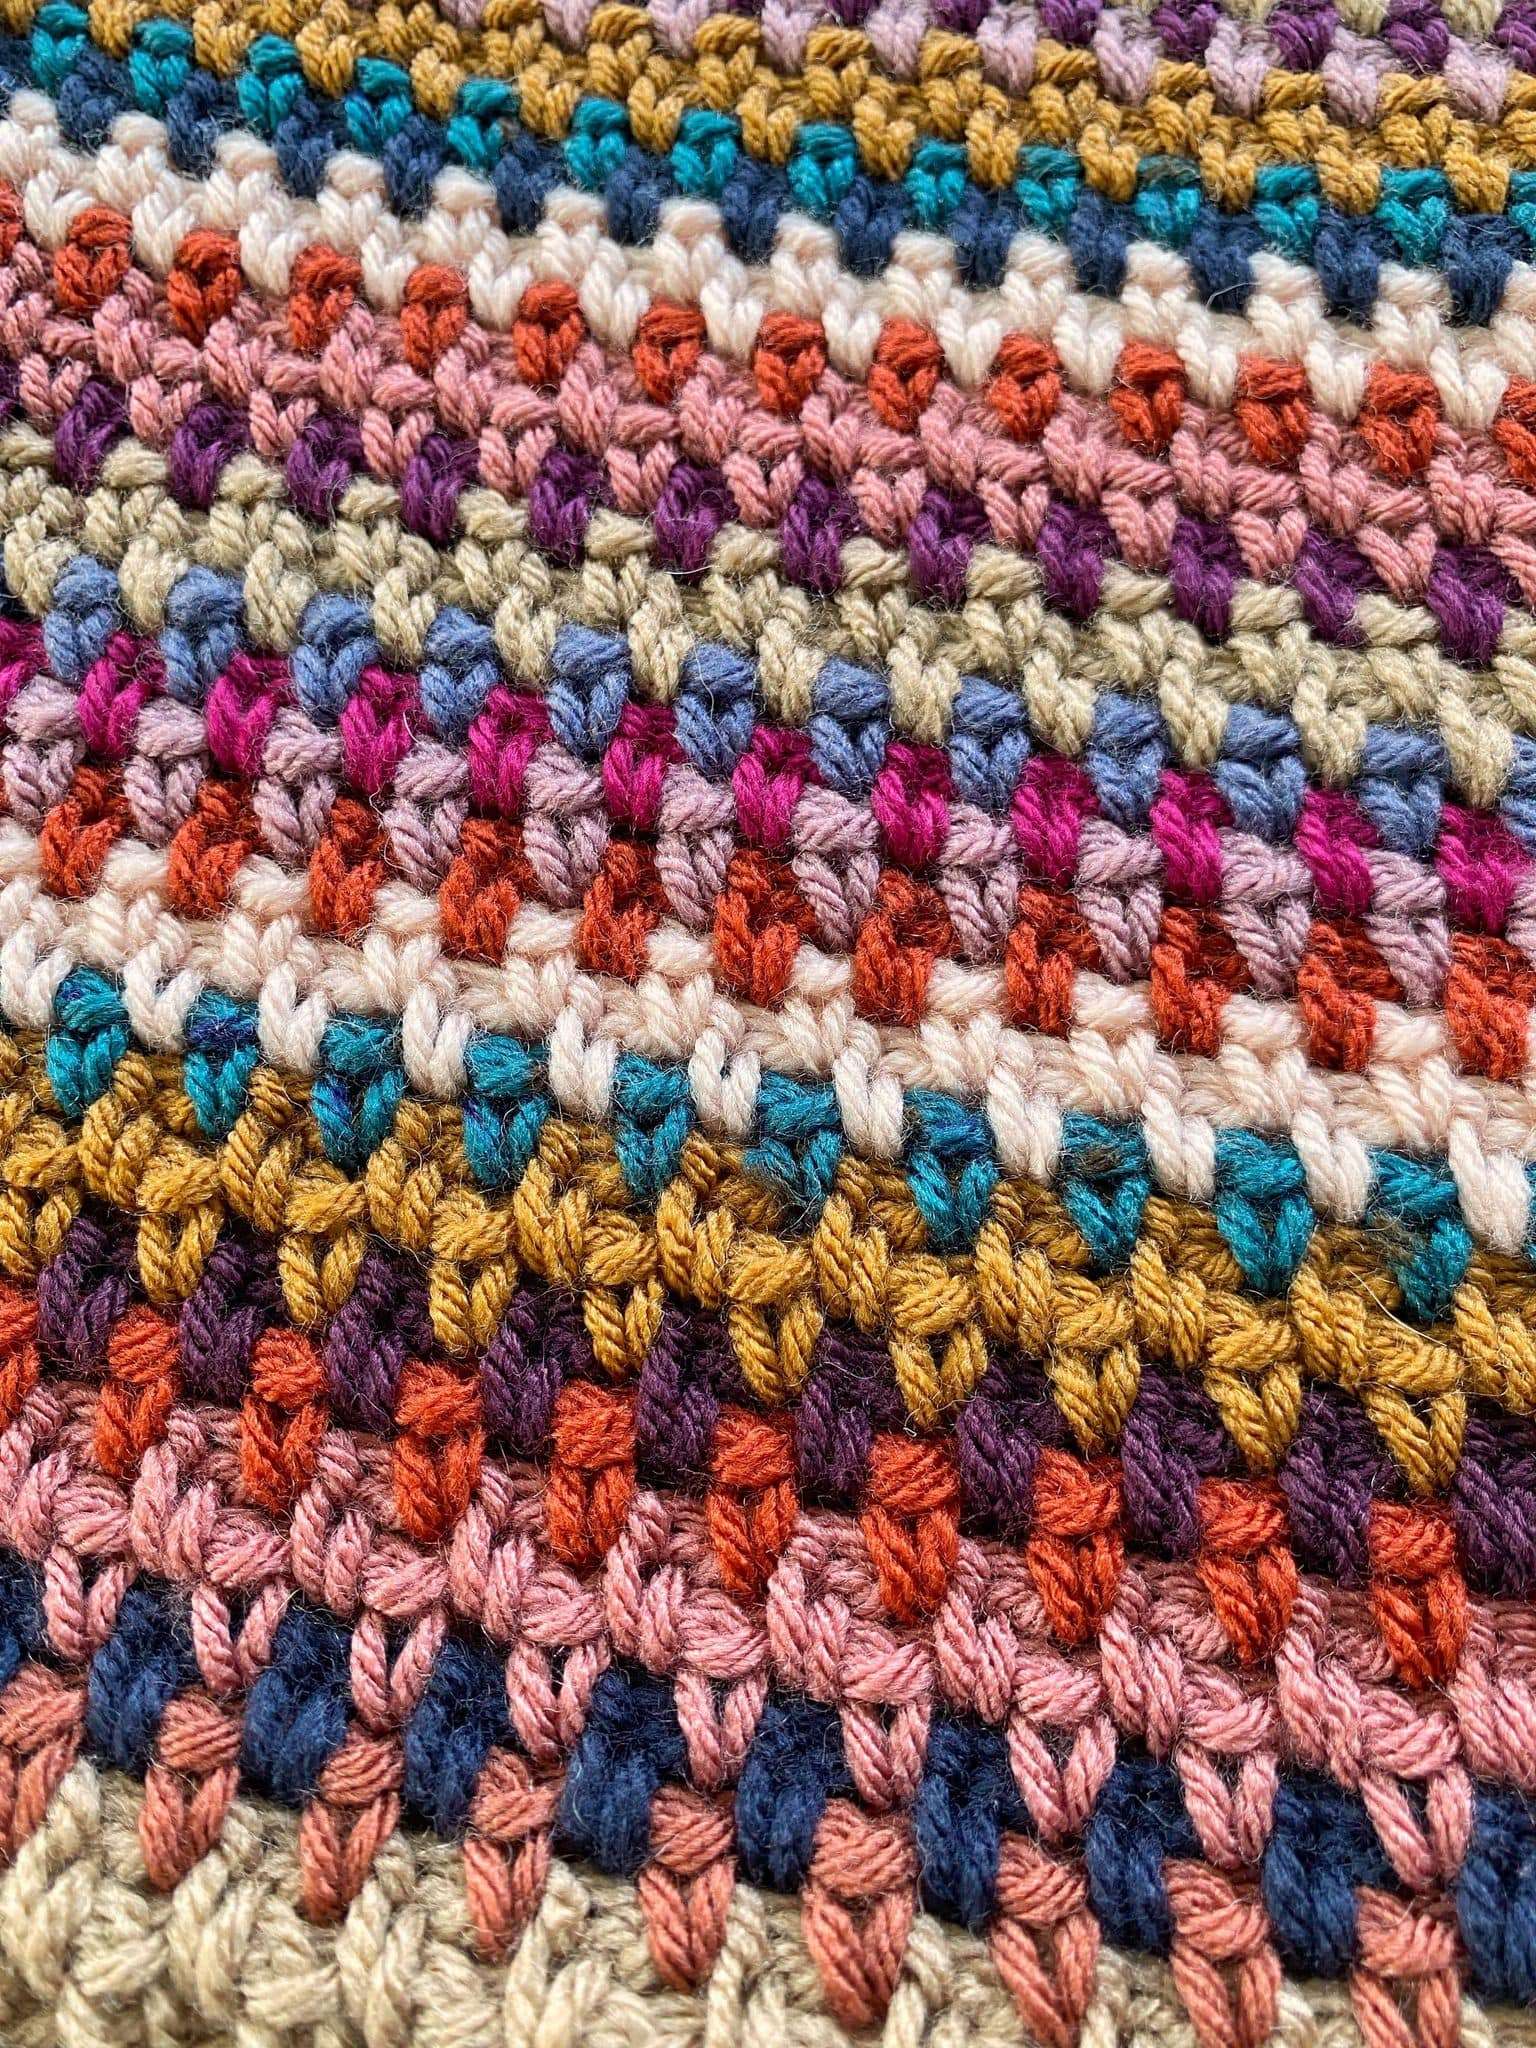
Here are a few samples of the moss stitch crocheted using variegated (multi-coloured) yarn, and scrap yarn stripes, so you can see how it looks in different yarns.
Sample #1: I Love this Cotton! Print Yarn – Paris in June
Sample #2: Baby Soft Yarn – Pastel Print
Sample #3: I Love this Cotton! Print Yarn – Spunky
Sample #4: Scrap Yarn Stripes
Step-by-Step Moss Stitch Tutorial:
Here is a step-by-step photo tutorial of the moss stitch. If you prefer to learn through video, you can find the video tutorial here.
Row 1:
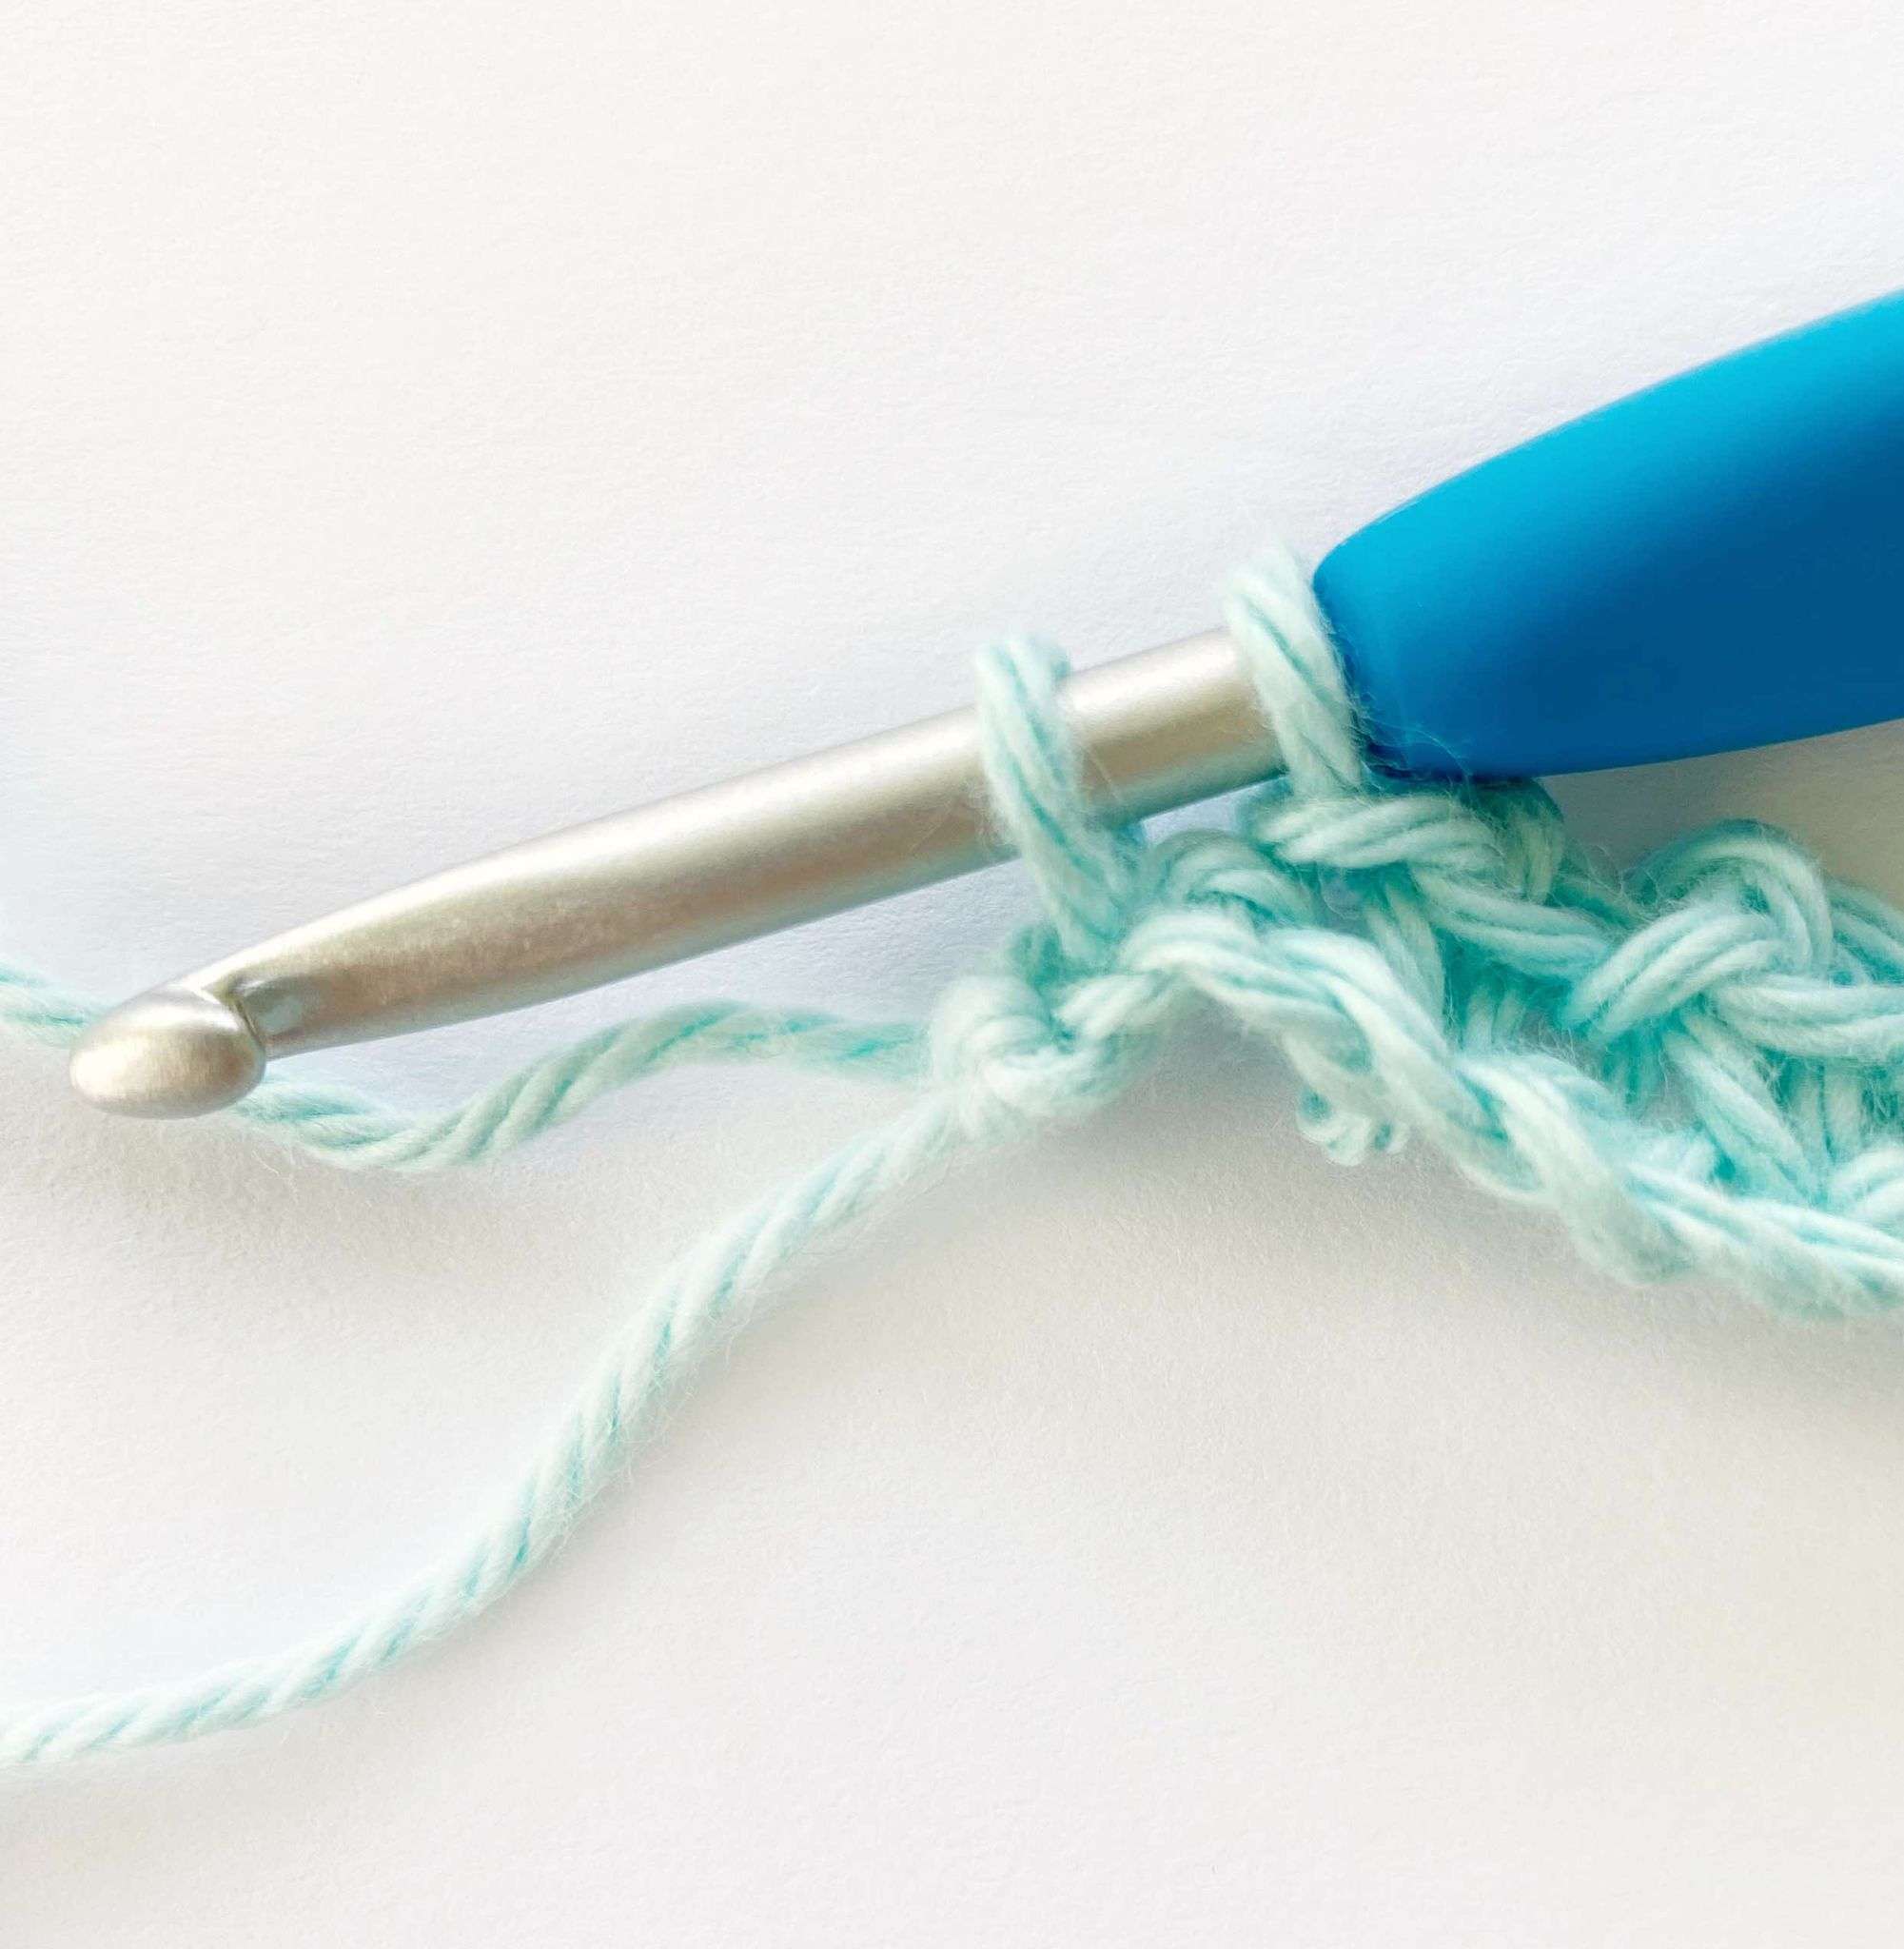
- Chain an even number. Ex. Chain 30.
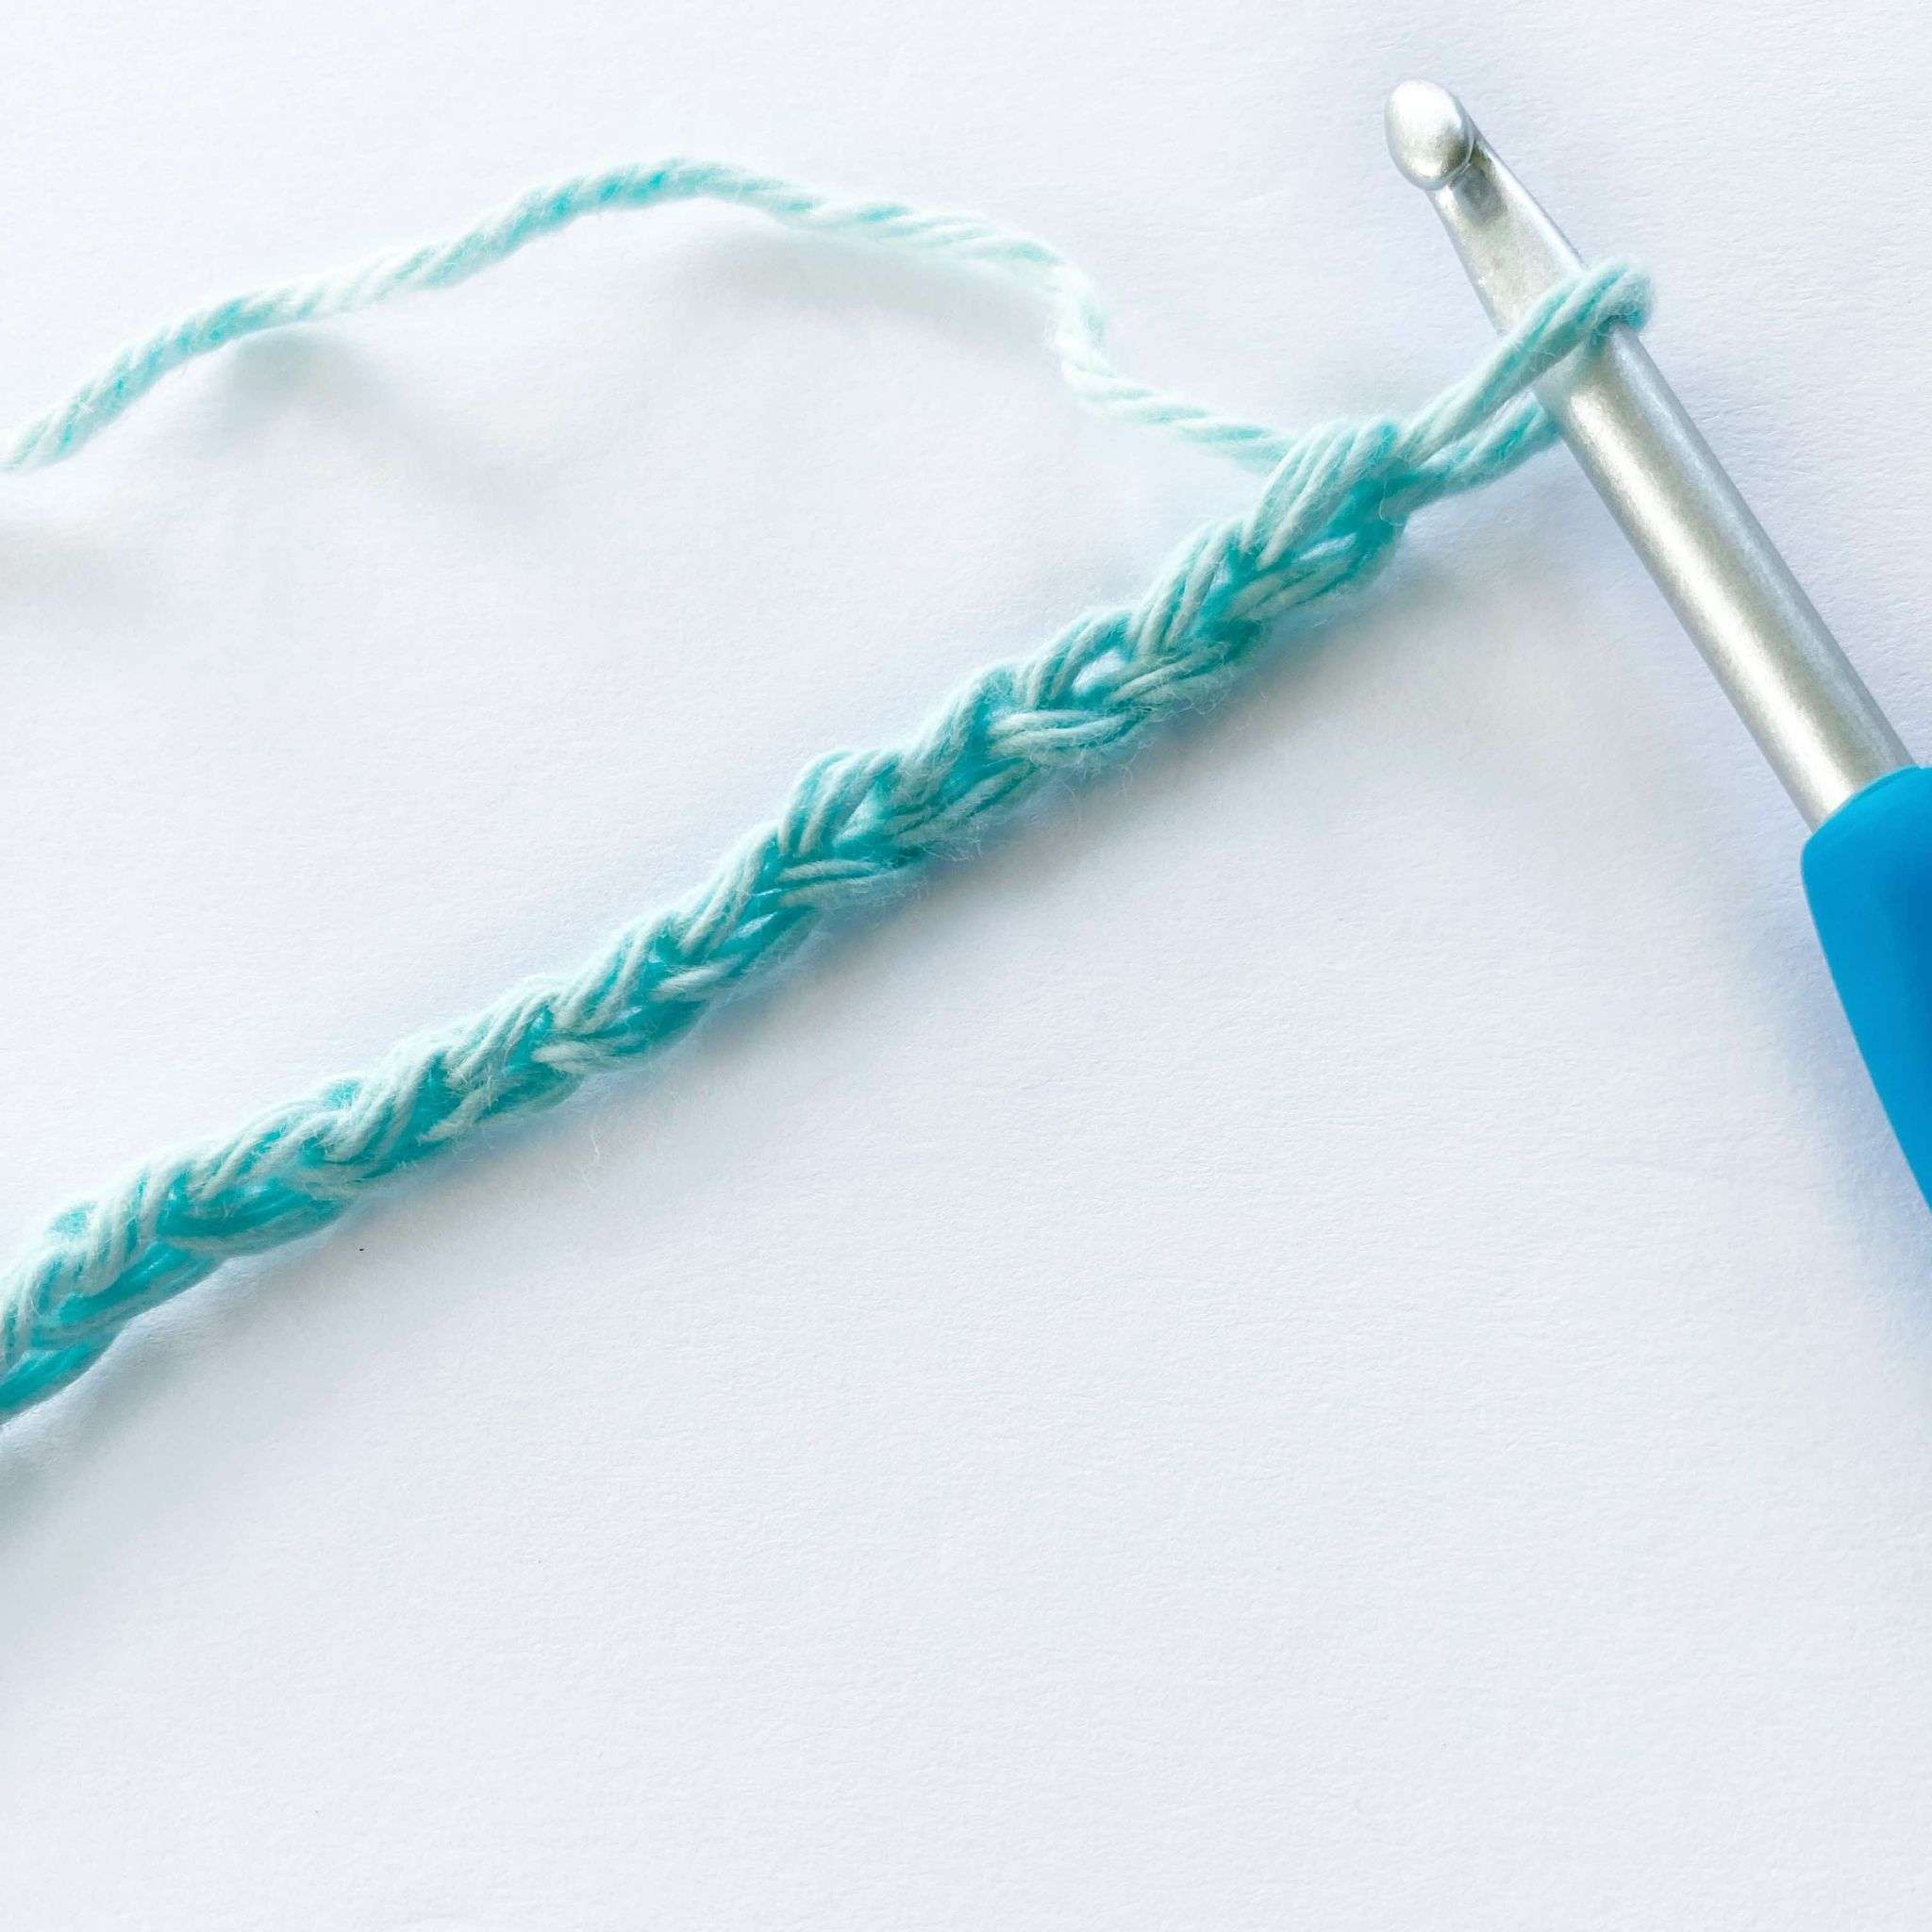
- Single crochet in the fourth chain from hook.
- Chain 1.
- The three chains you skip will count as 1 single crochet and 1 chain-1 space.
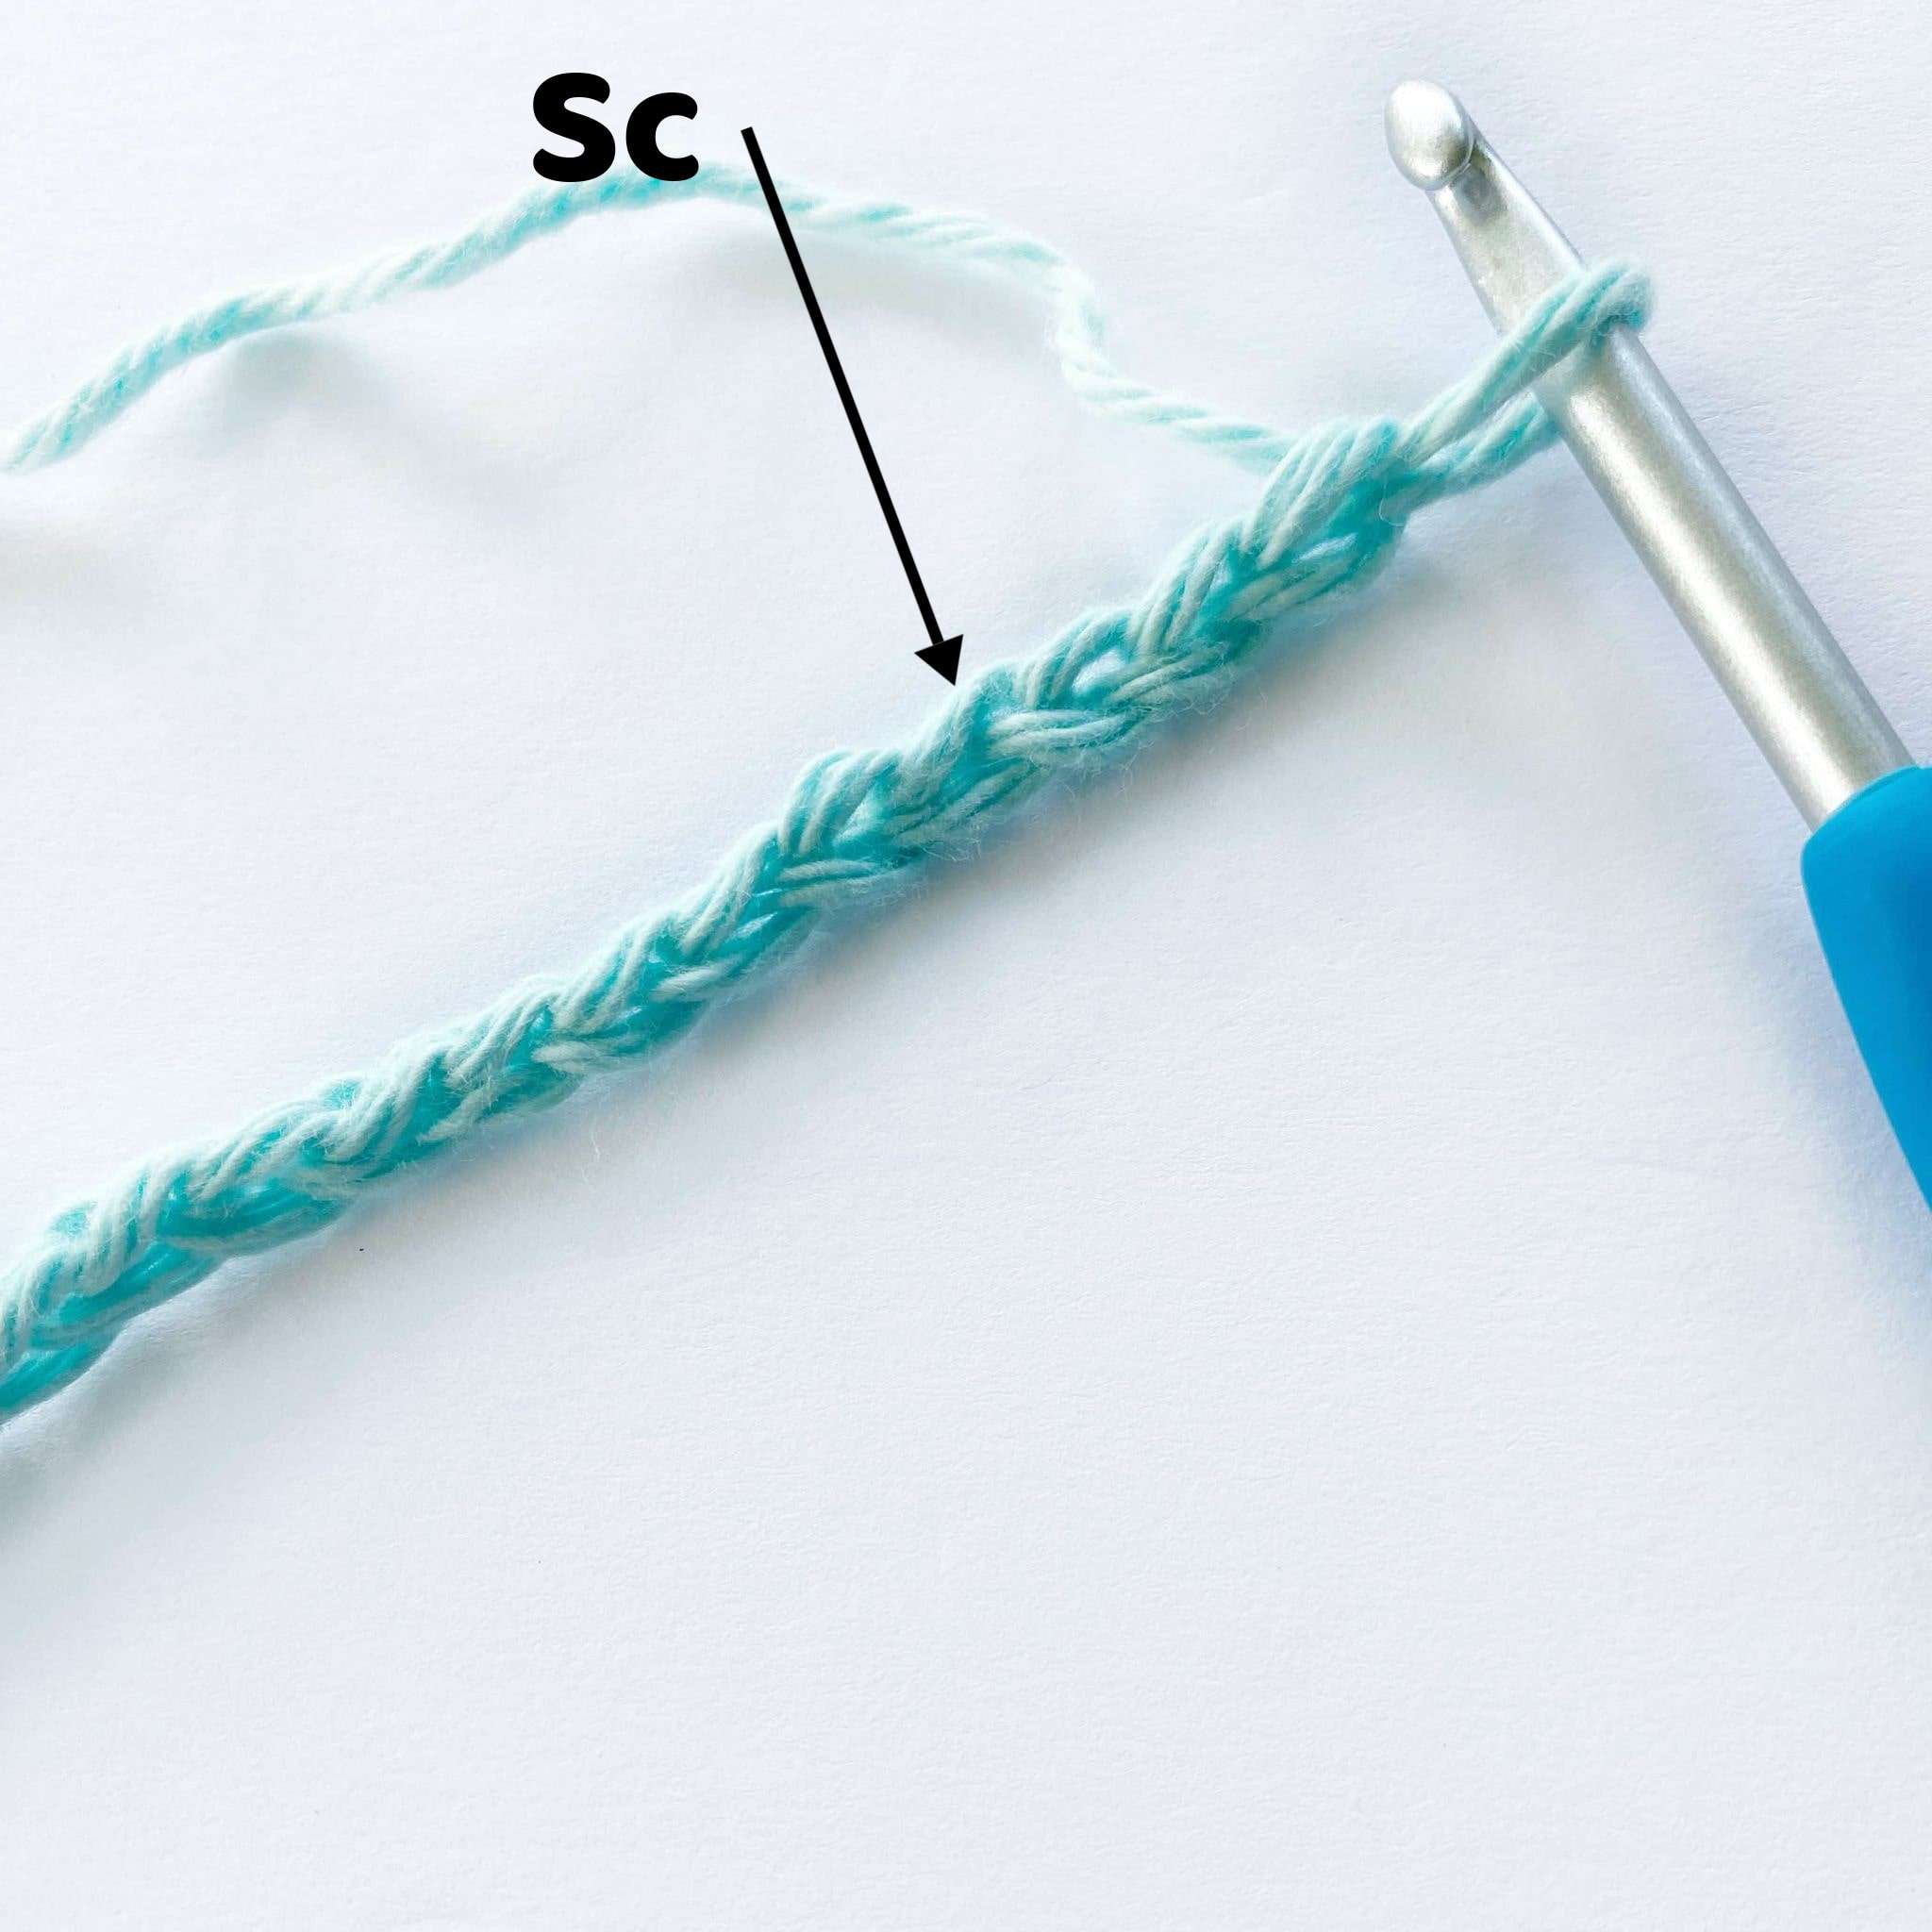
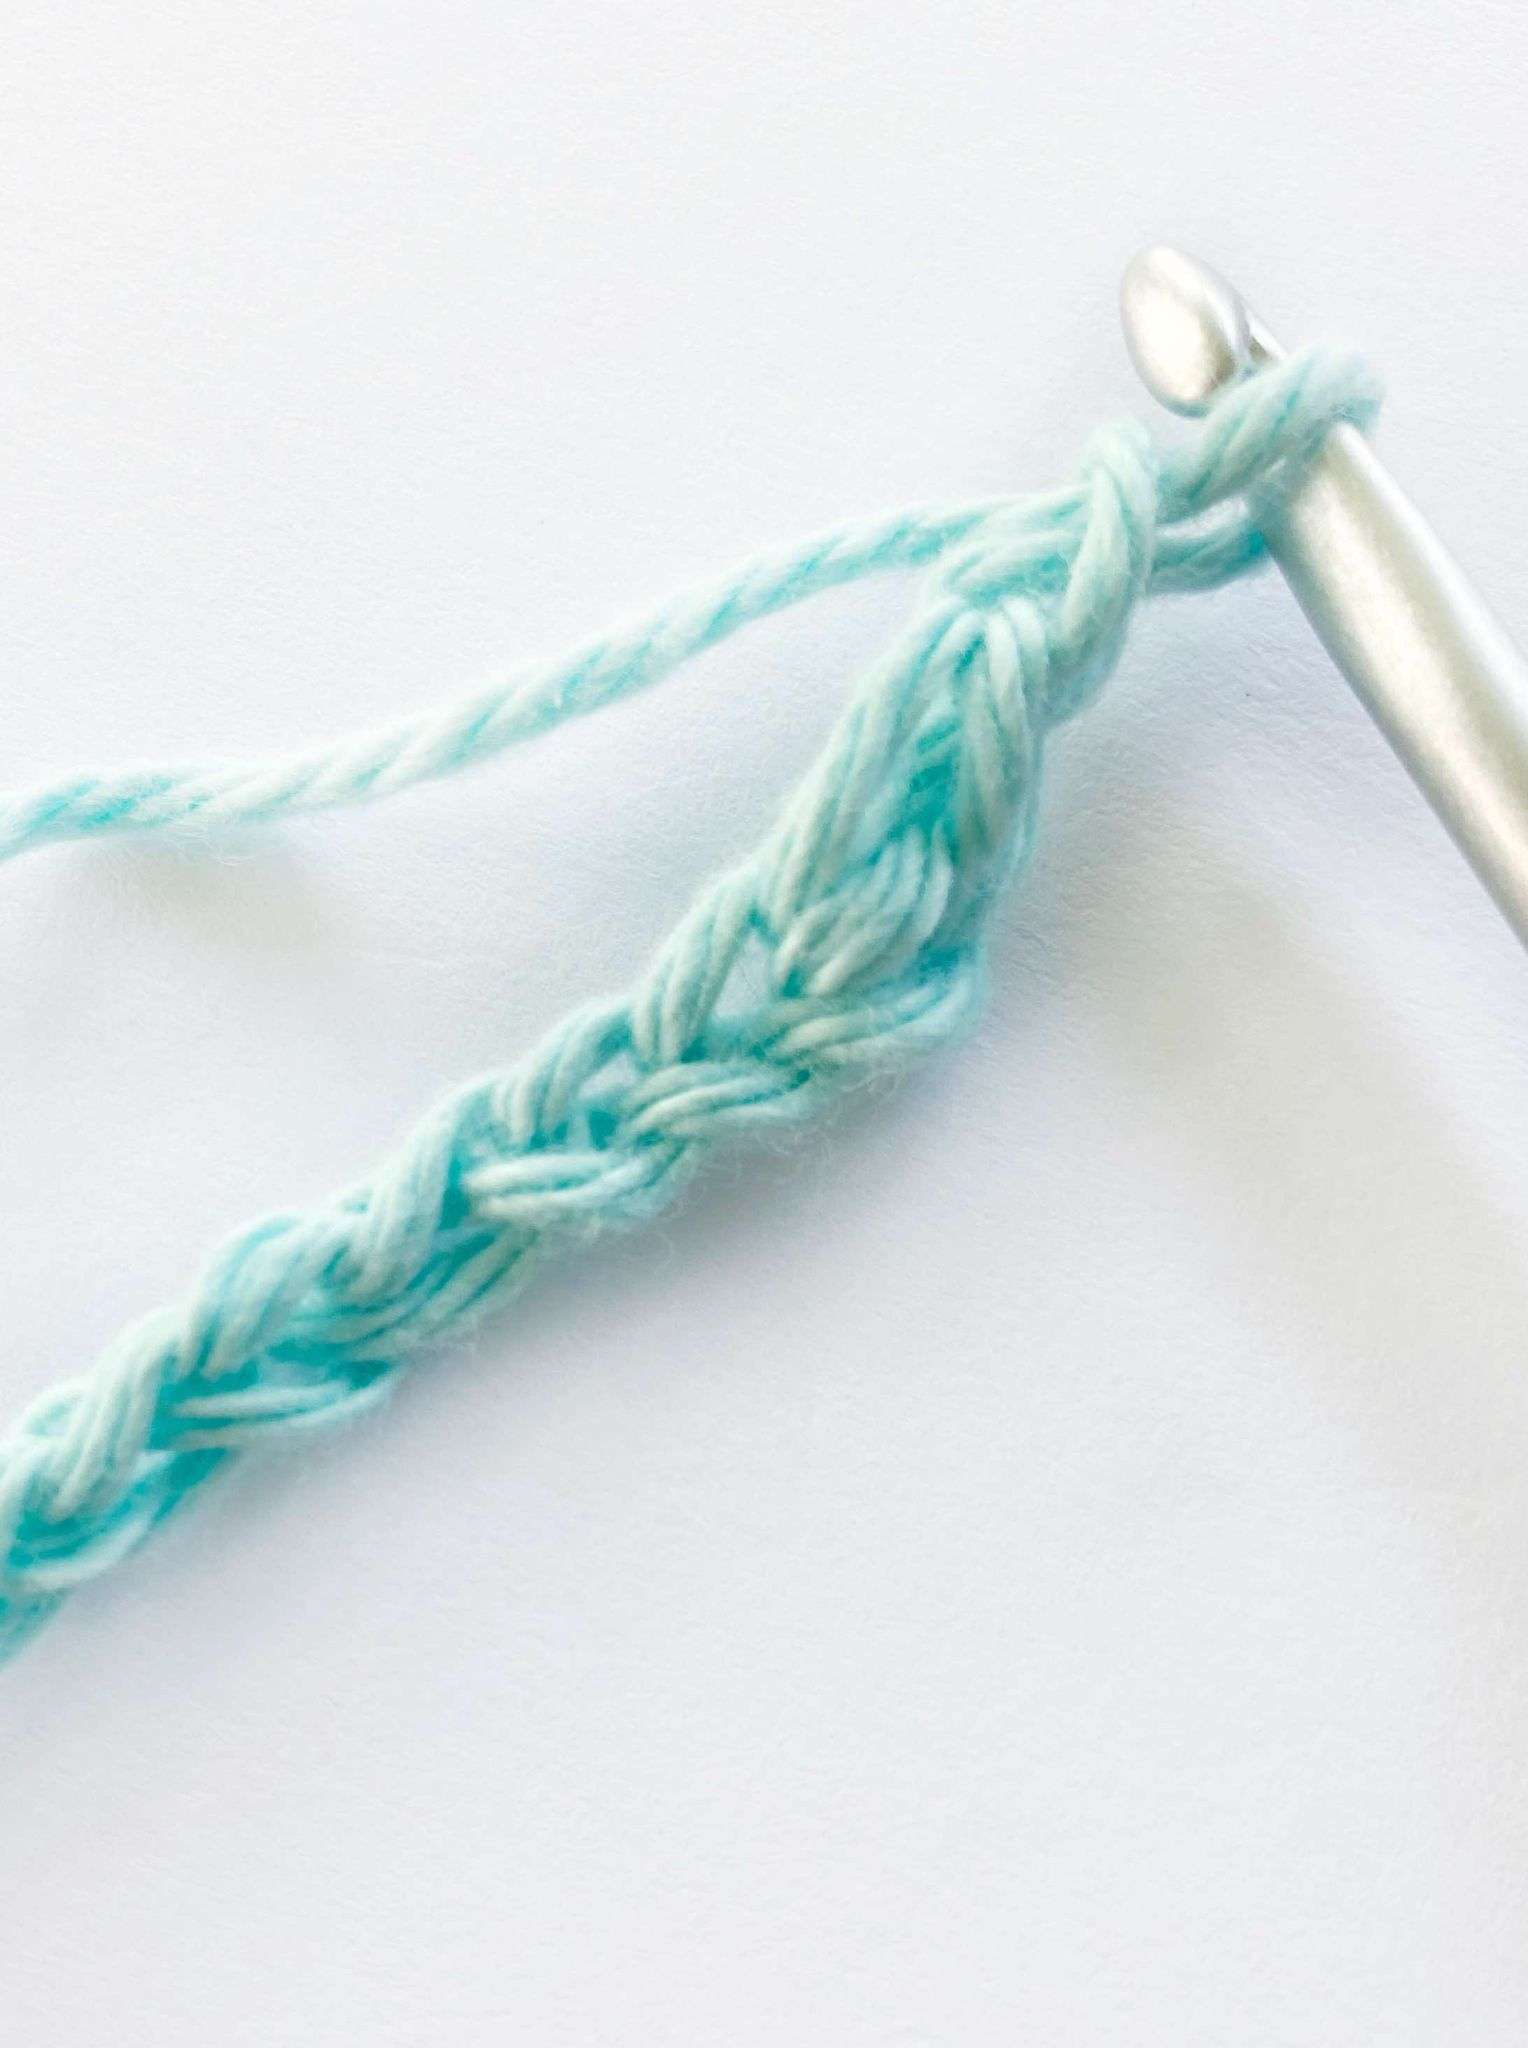
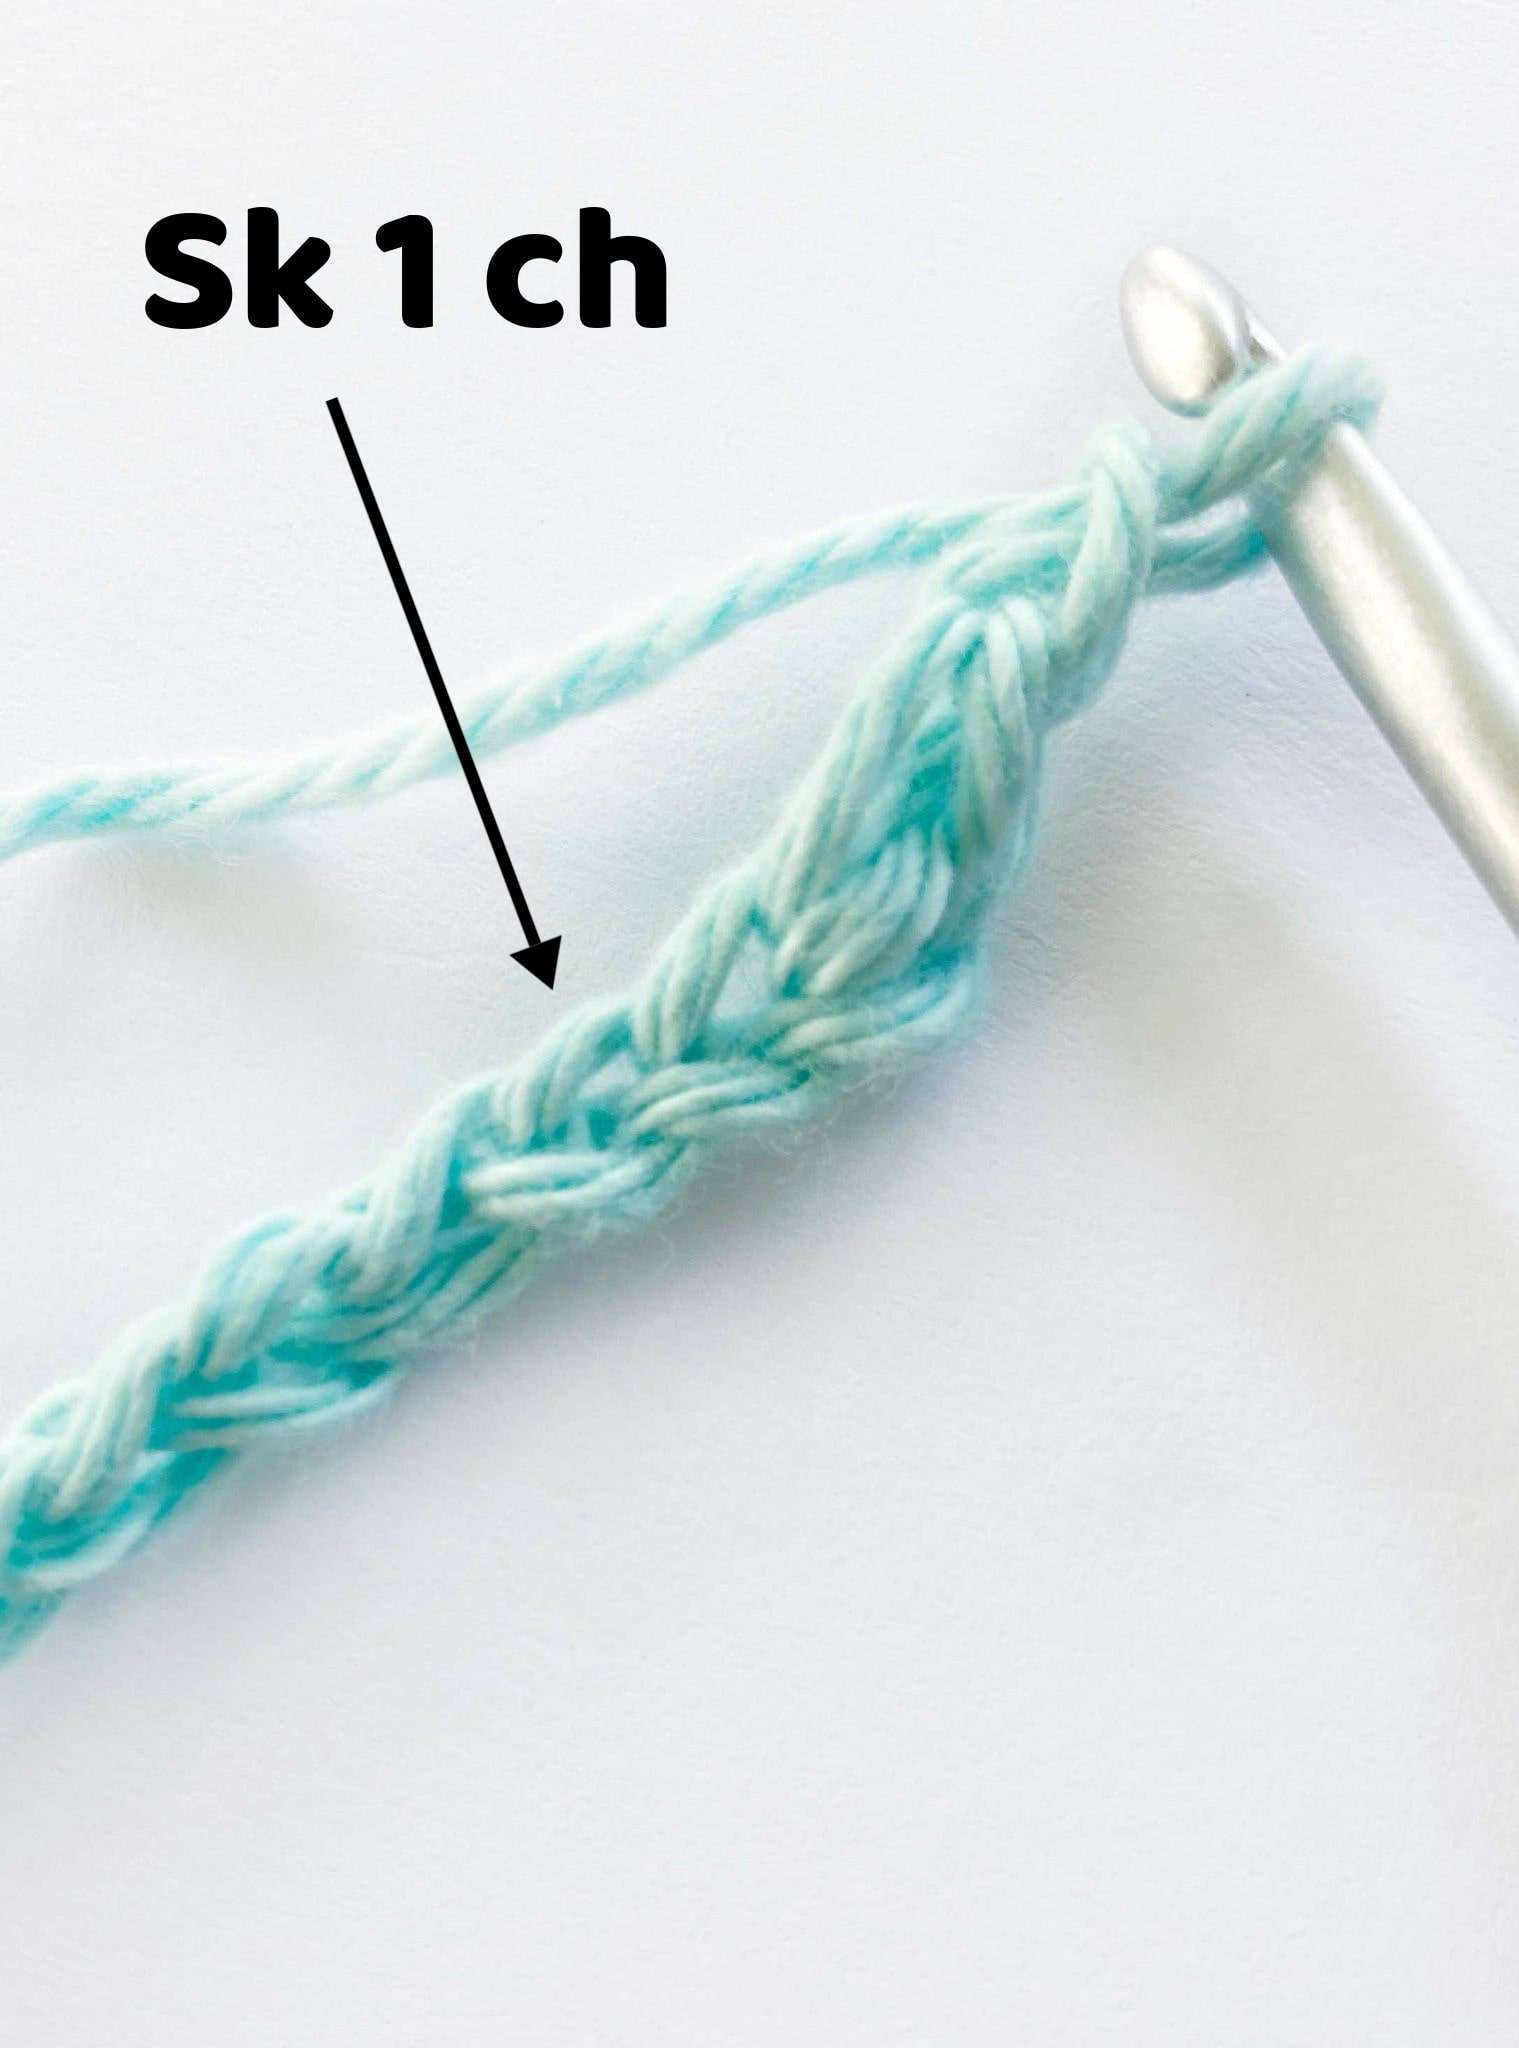
- Skip 1 chain.
- Single crochet and chain-1 in the next chain.
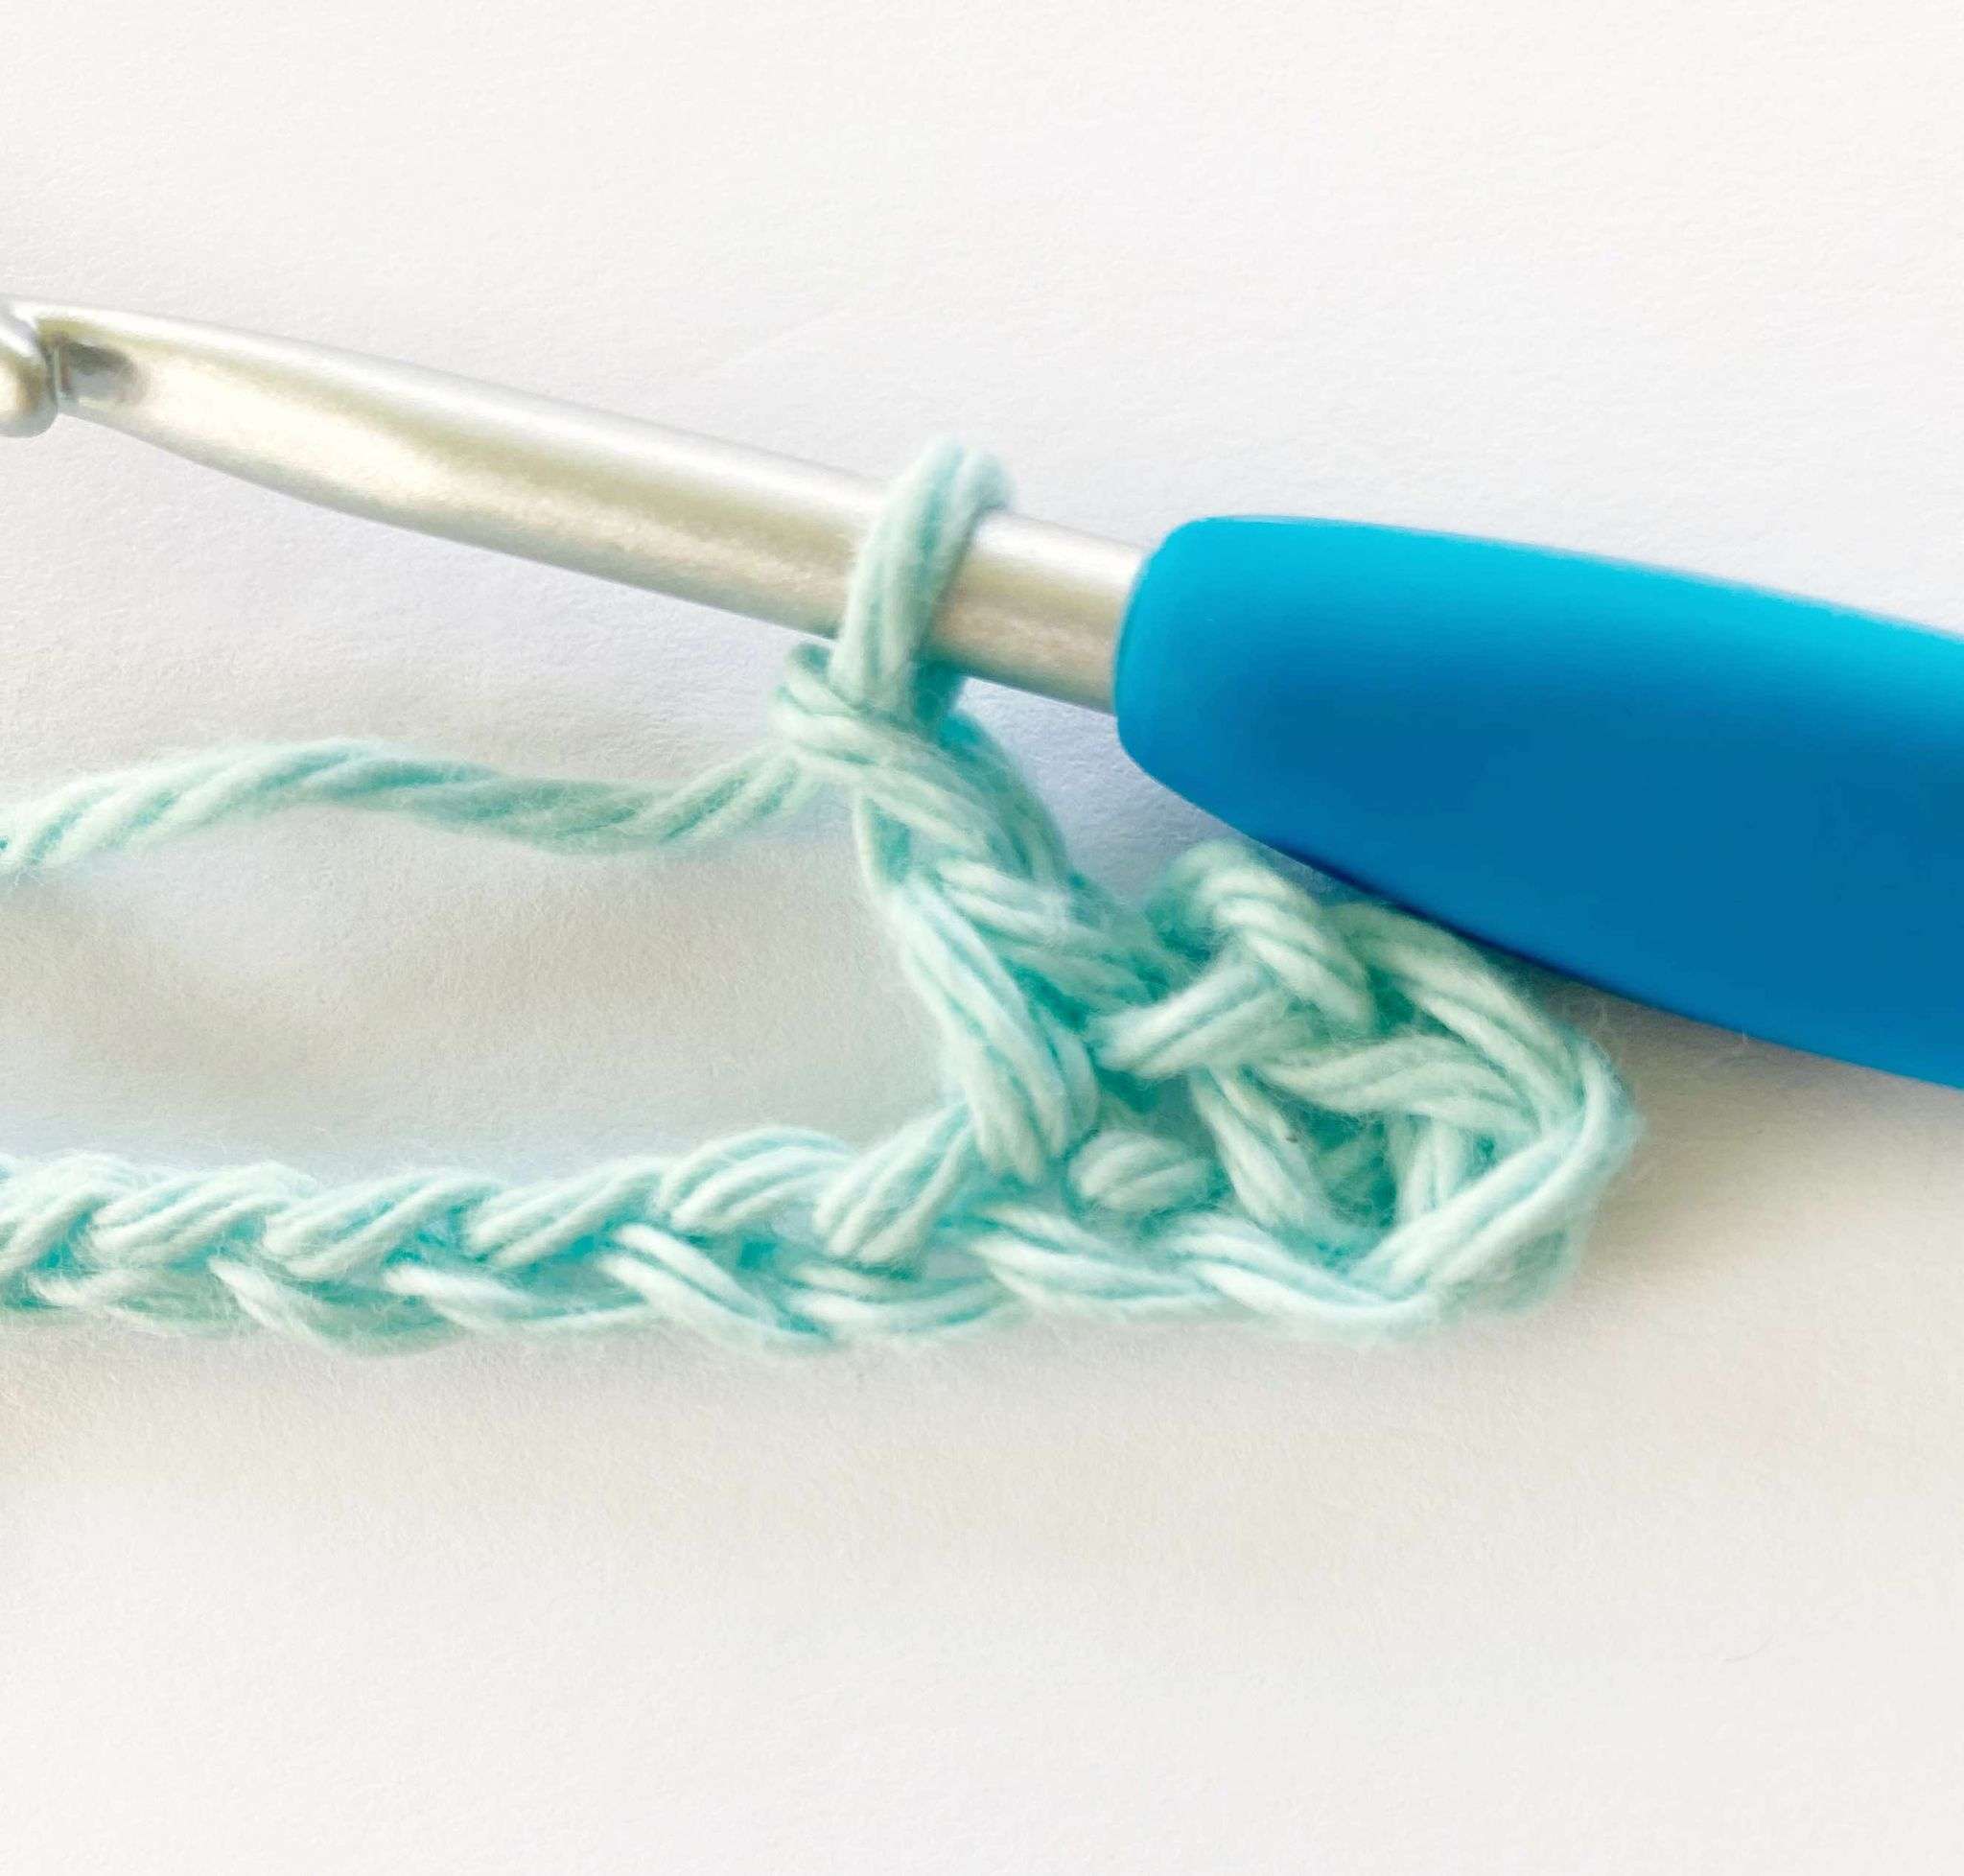
Repeat this across:
- Skip 1 chain.
- Single crochet and chain-1 in the next chain.
After the last single crochet of the row, do not chain 1.
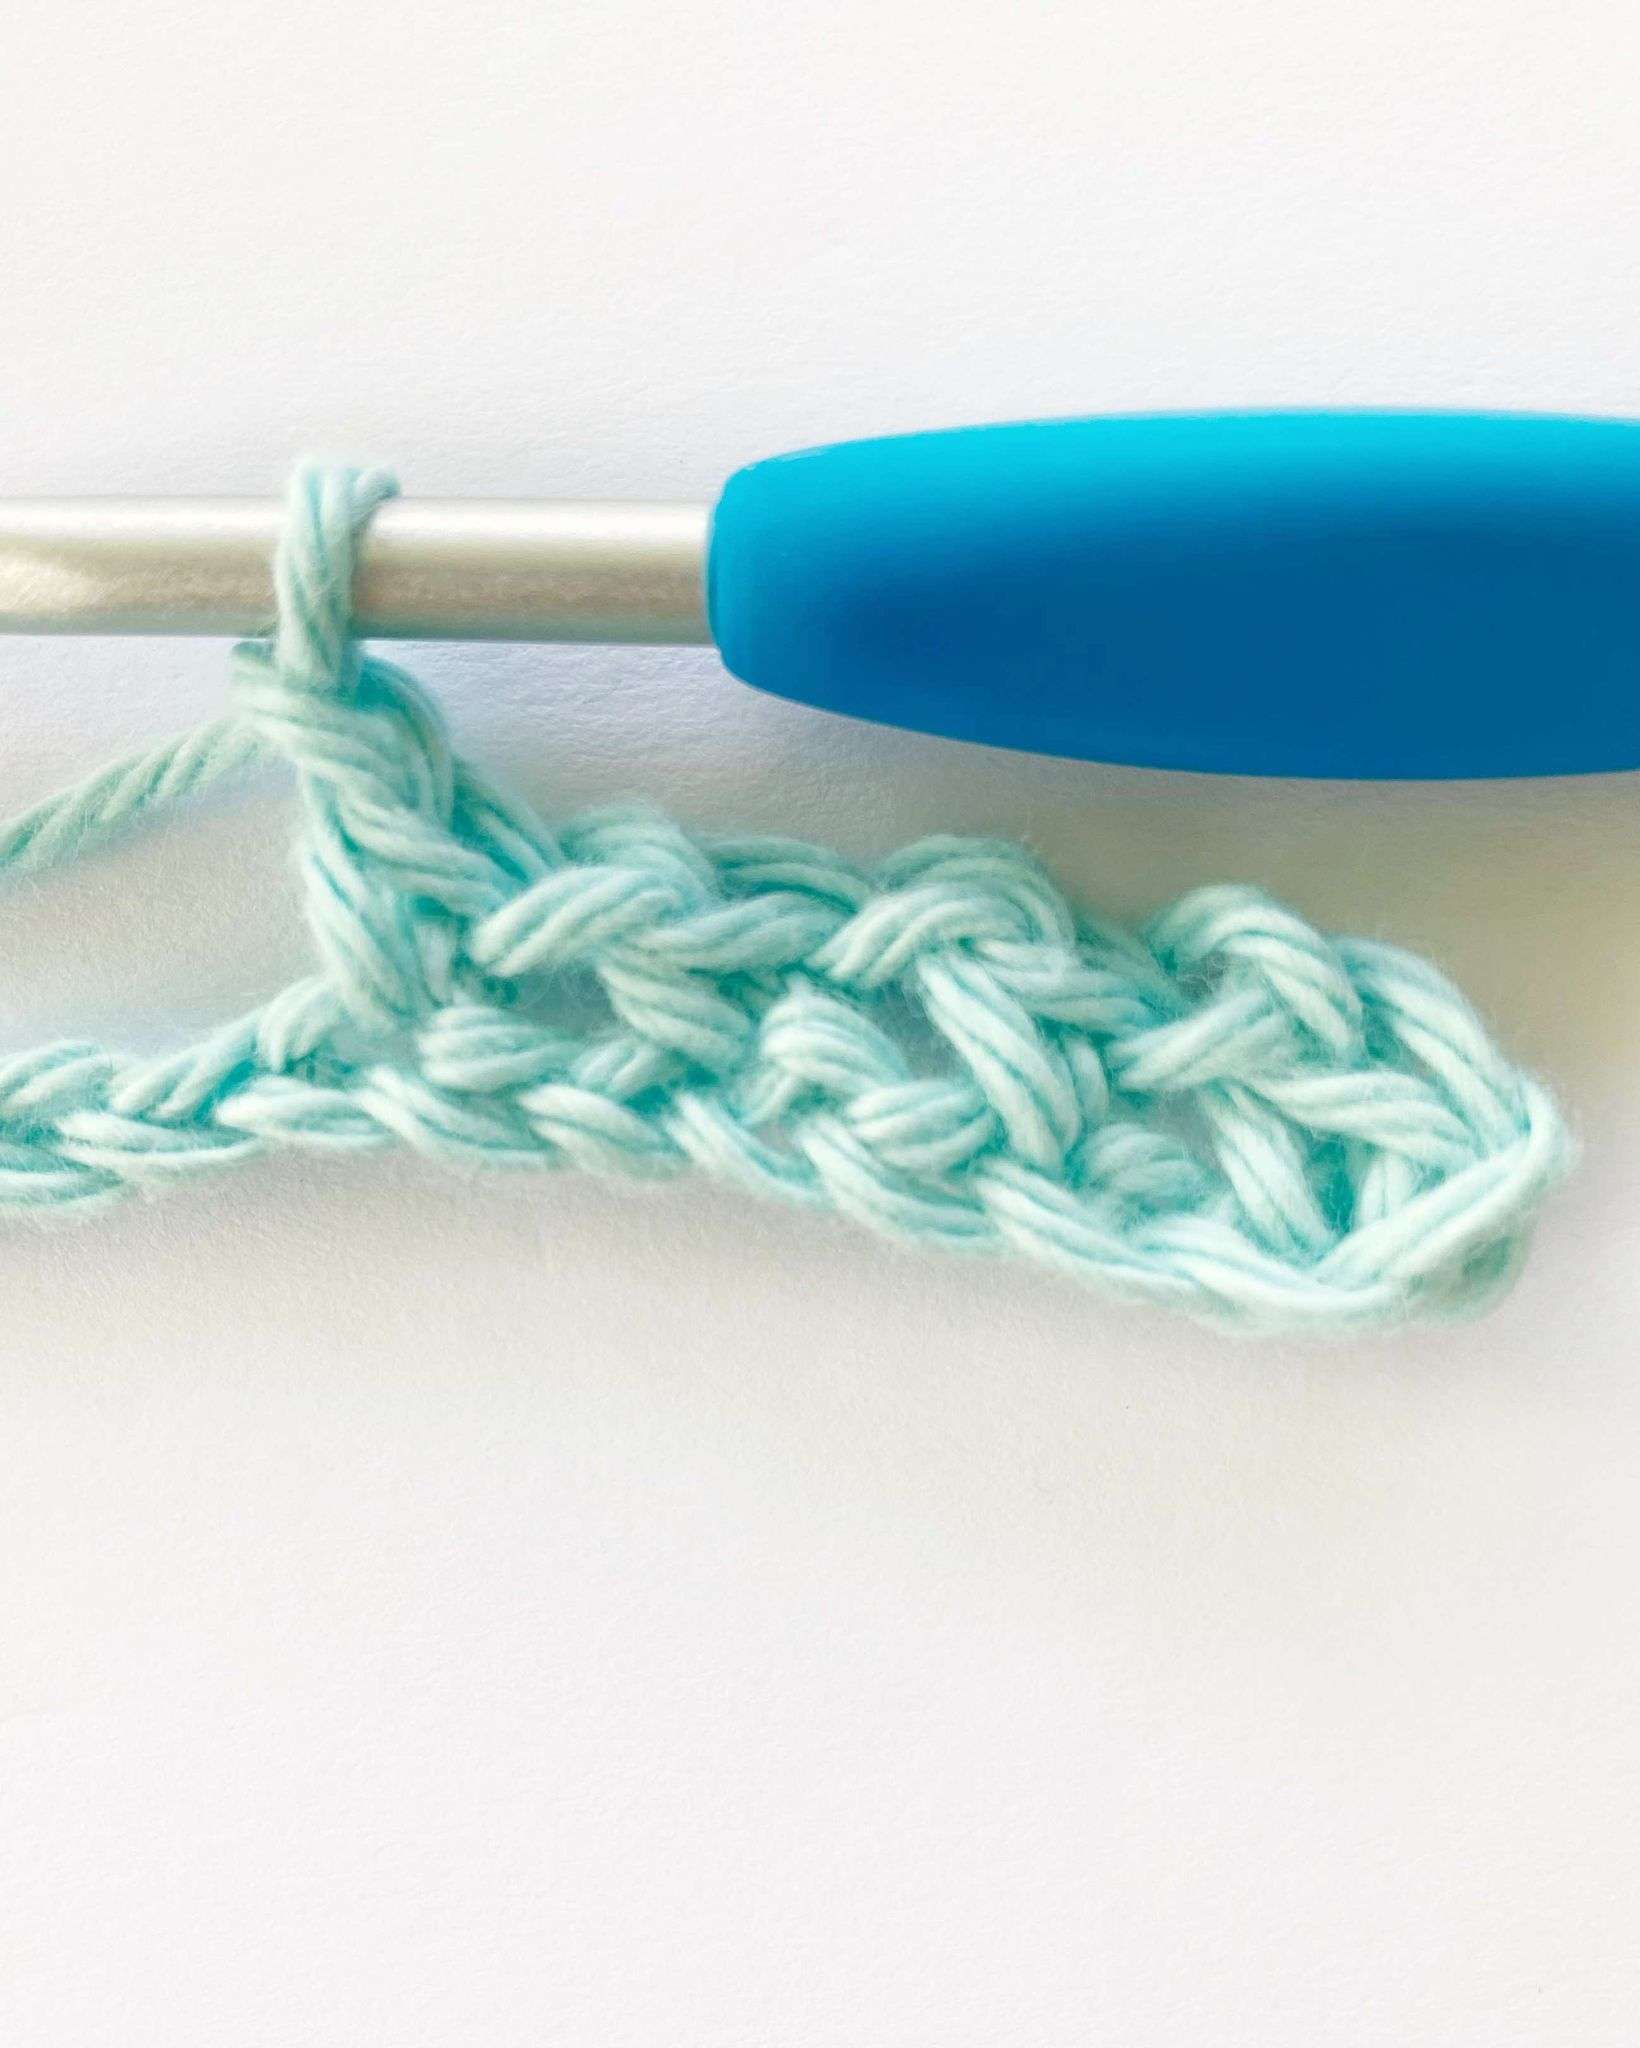
Stitch Count: Your single crochet stitch count will always be half the number of chains you made.
- Ex. If you chained 30, you should have 15 single crochets at the end of Row 1.
Row 2:
- Turn your work, so that the back side of Row 1 stitches are facing you.
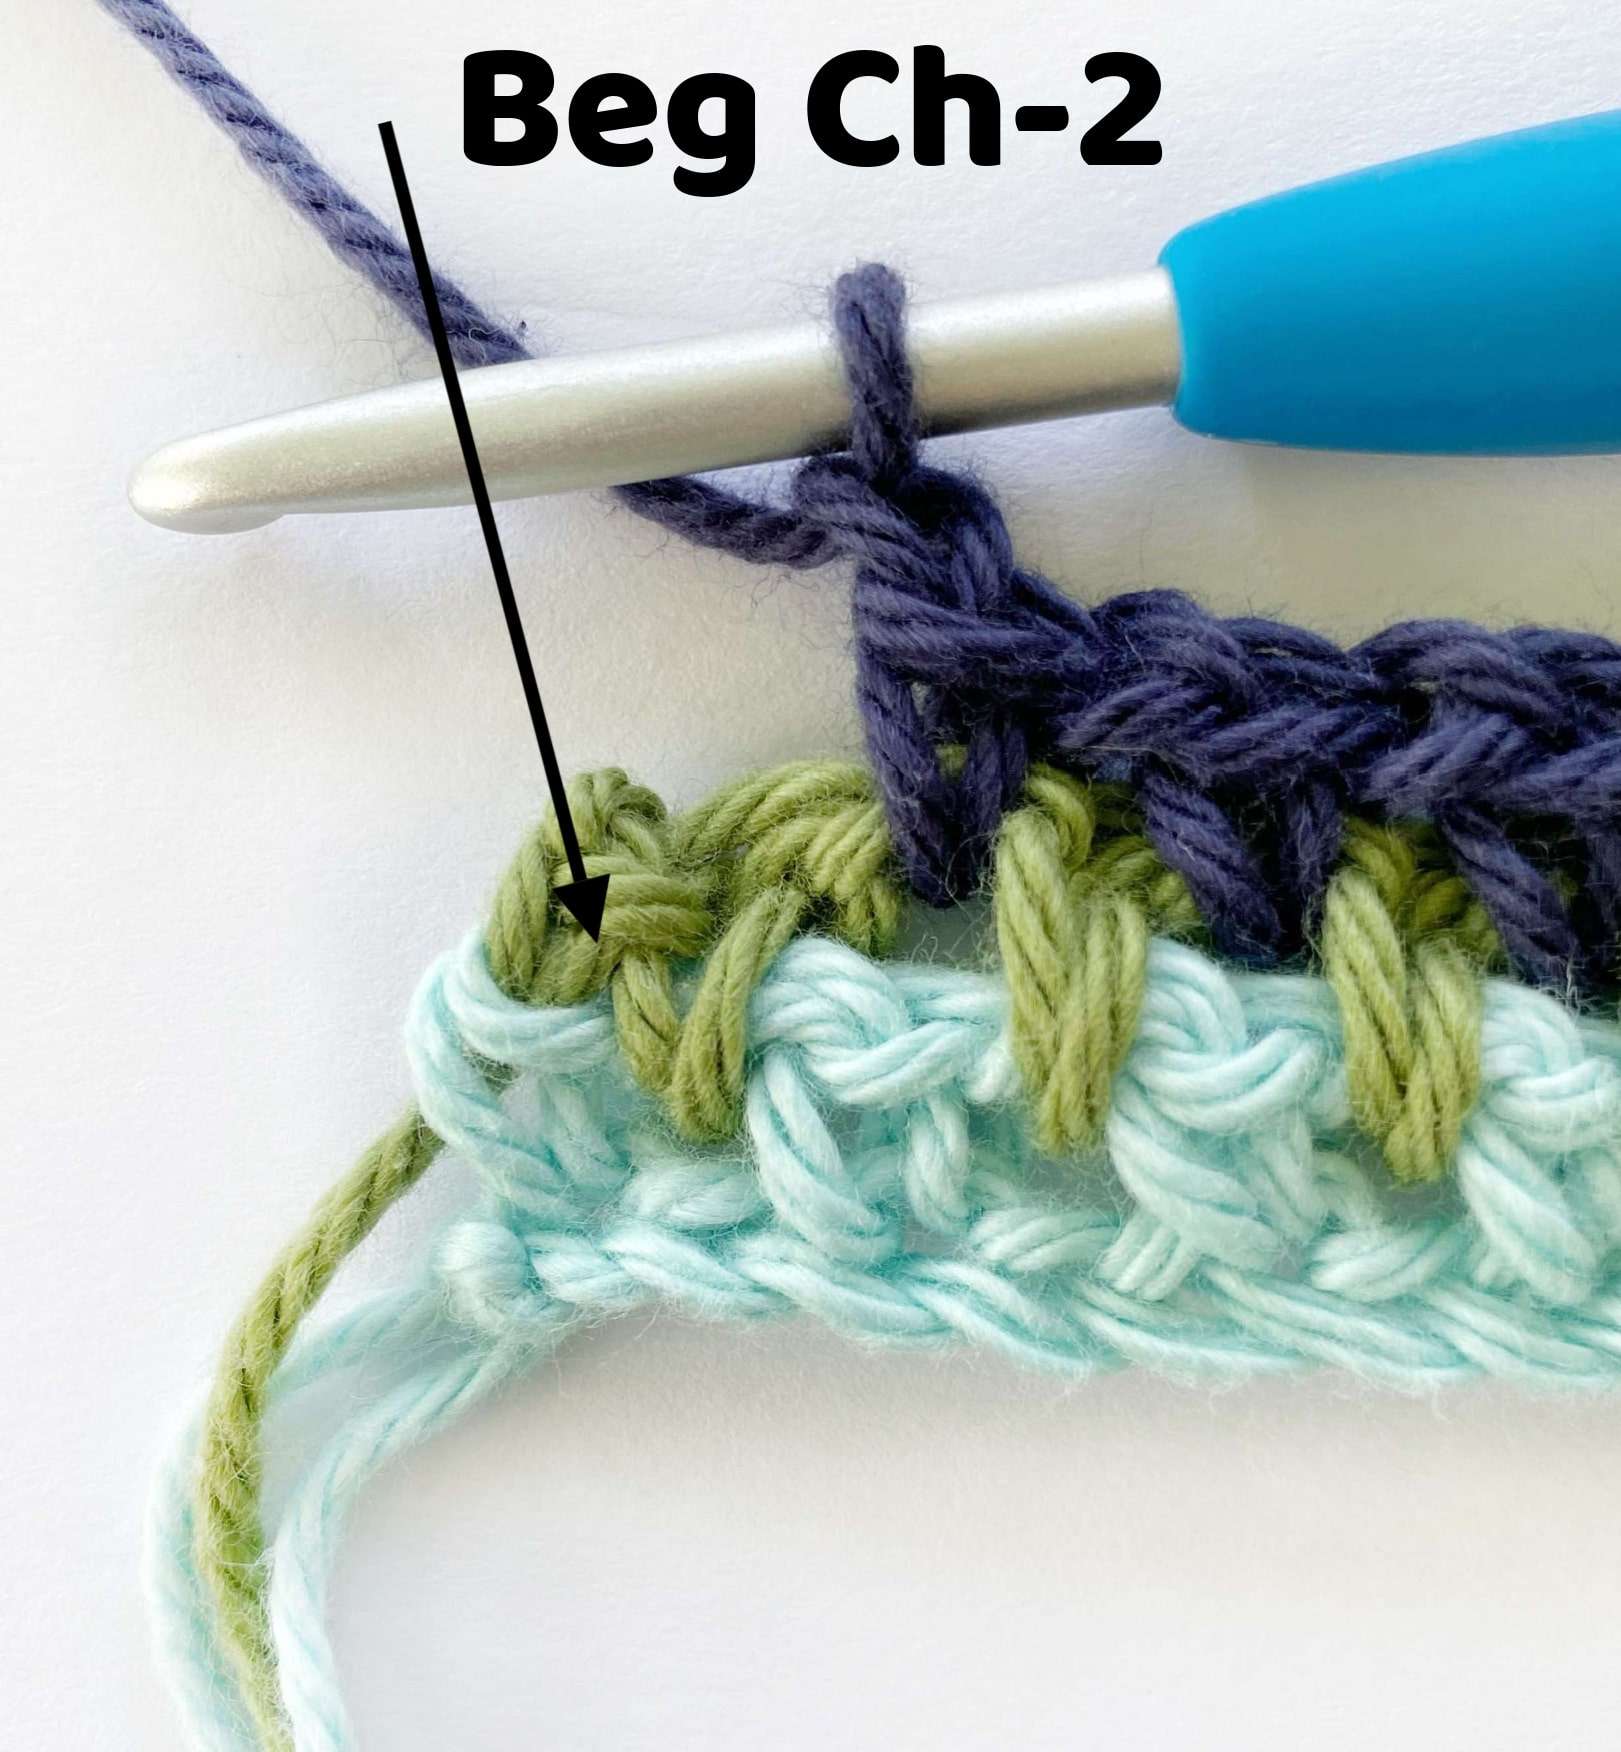
- Chain 2. This counts as 1 single crochet and 1 chain-1 space.
- Single crochet in the first chain-1 space.
- Chain 1.
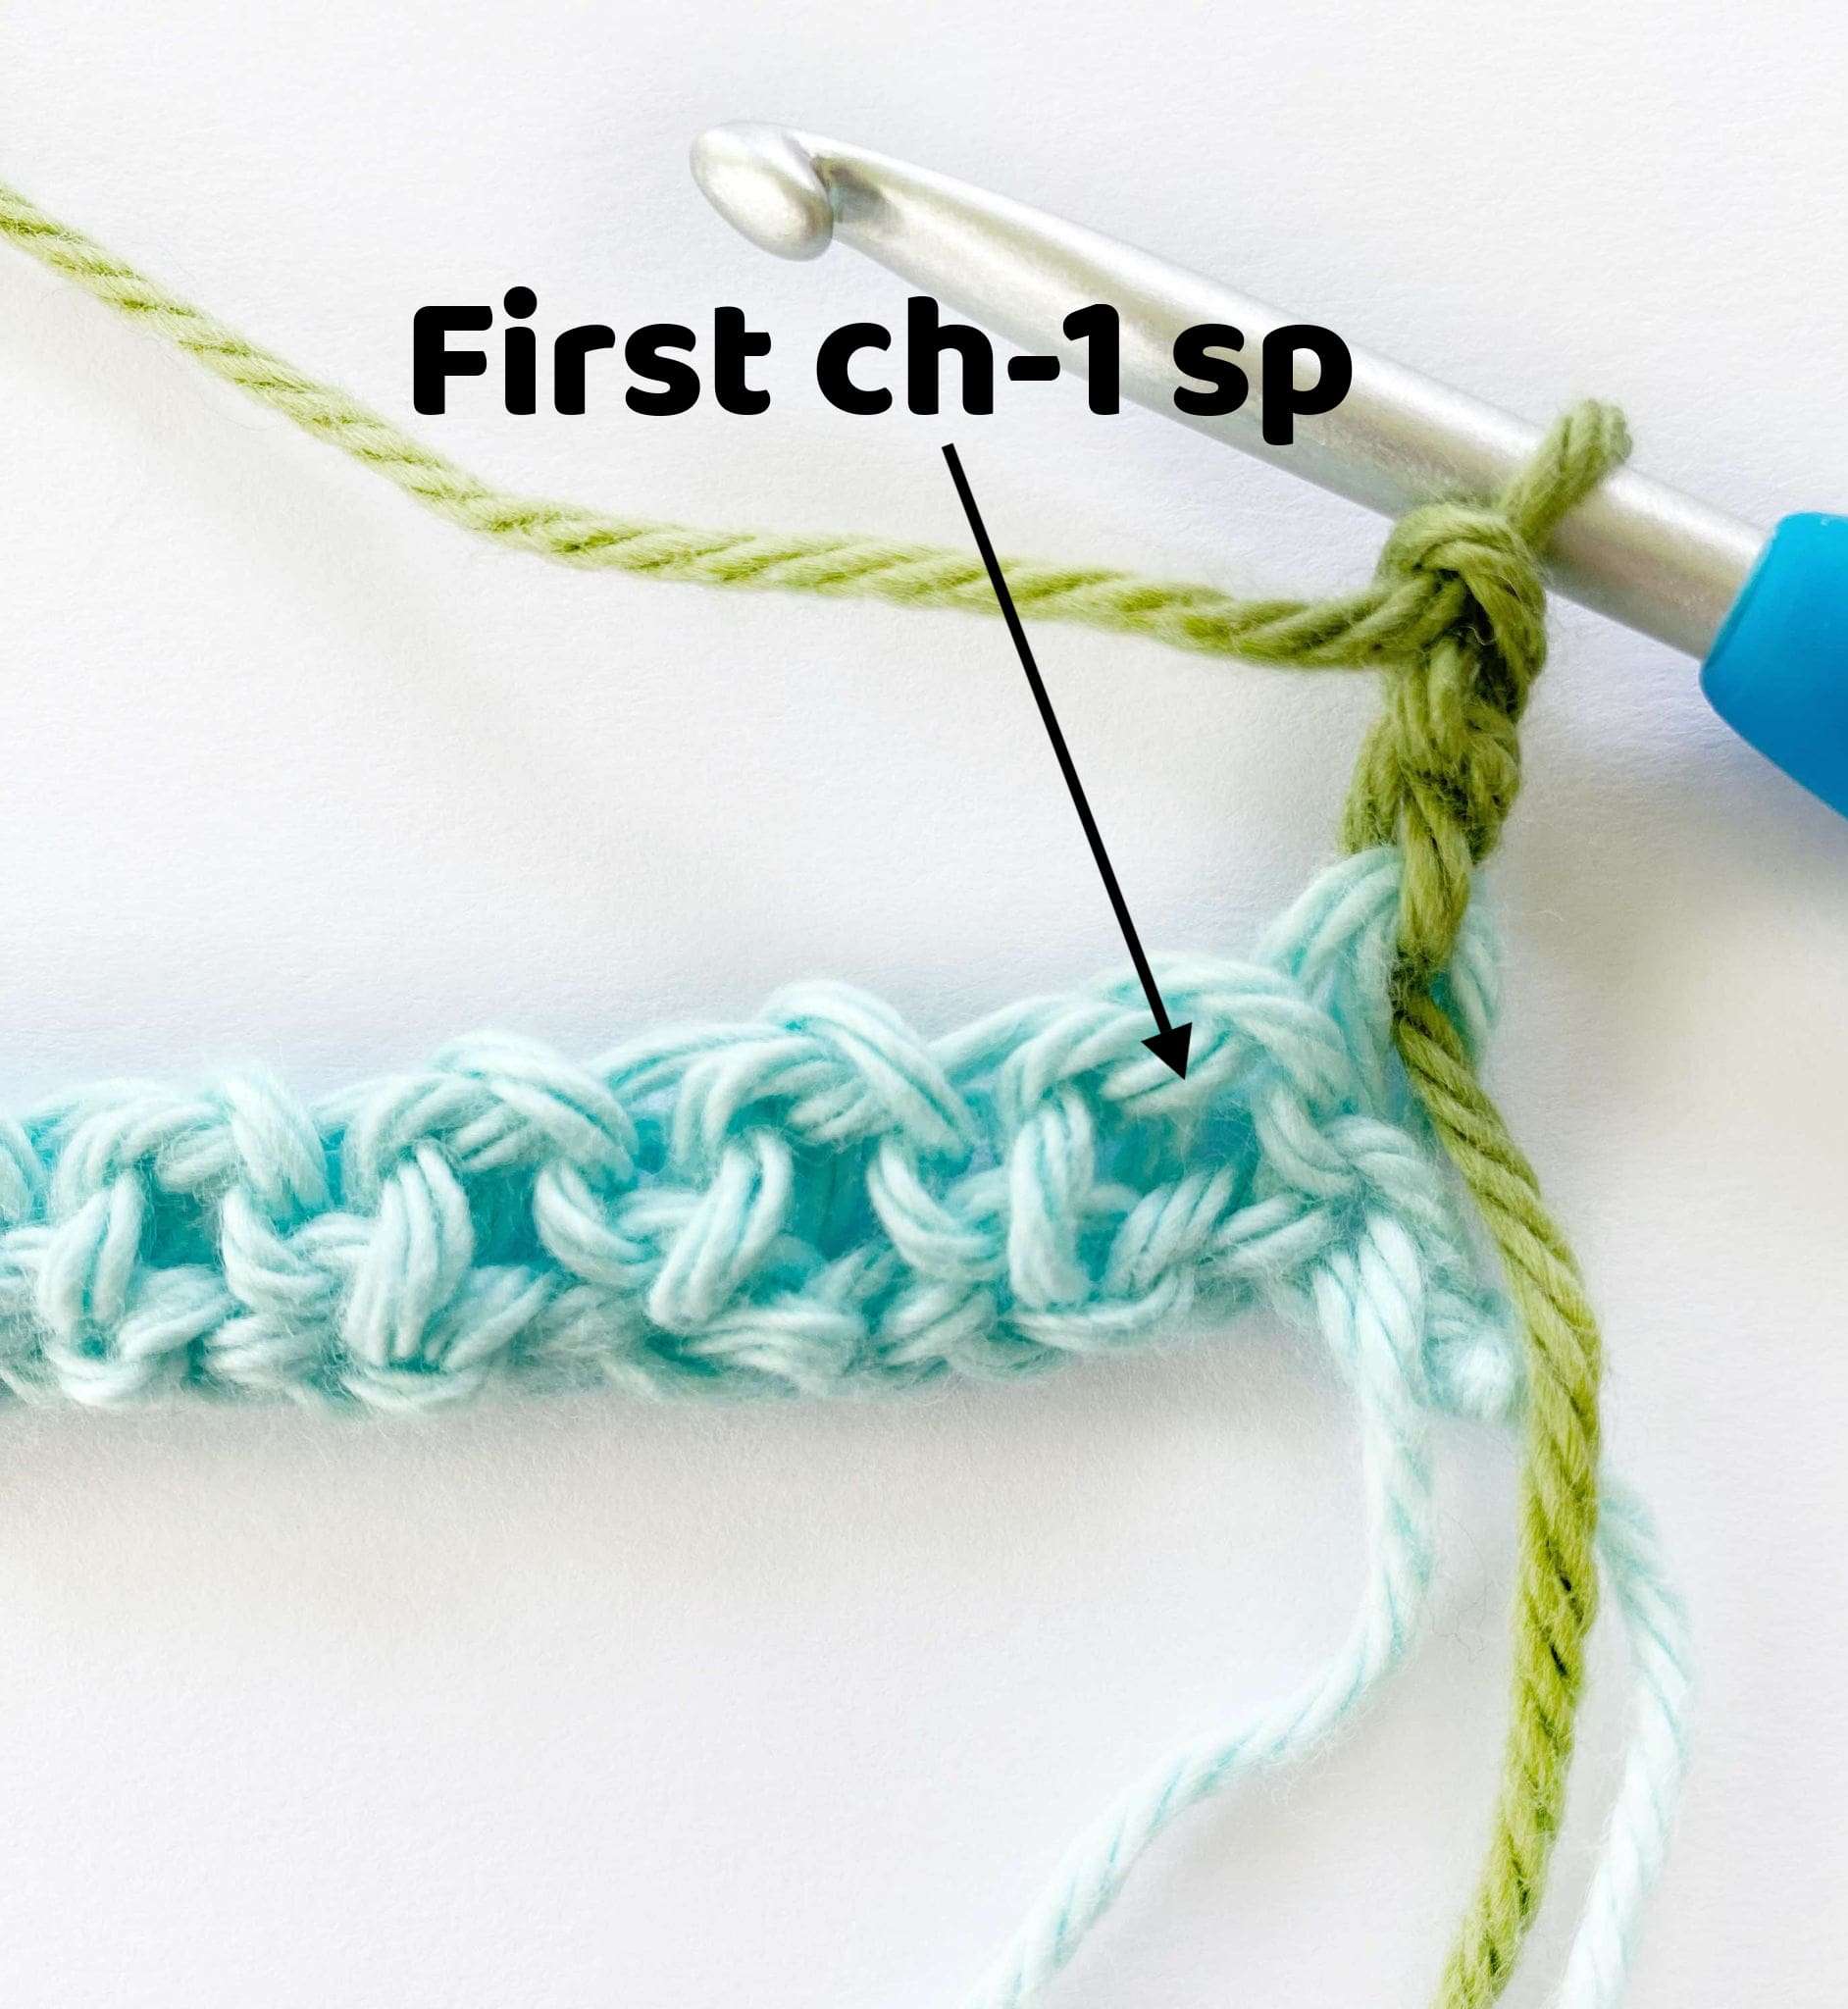
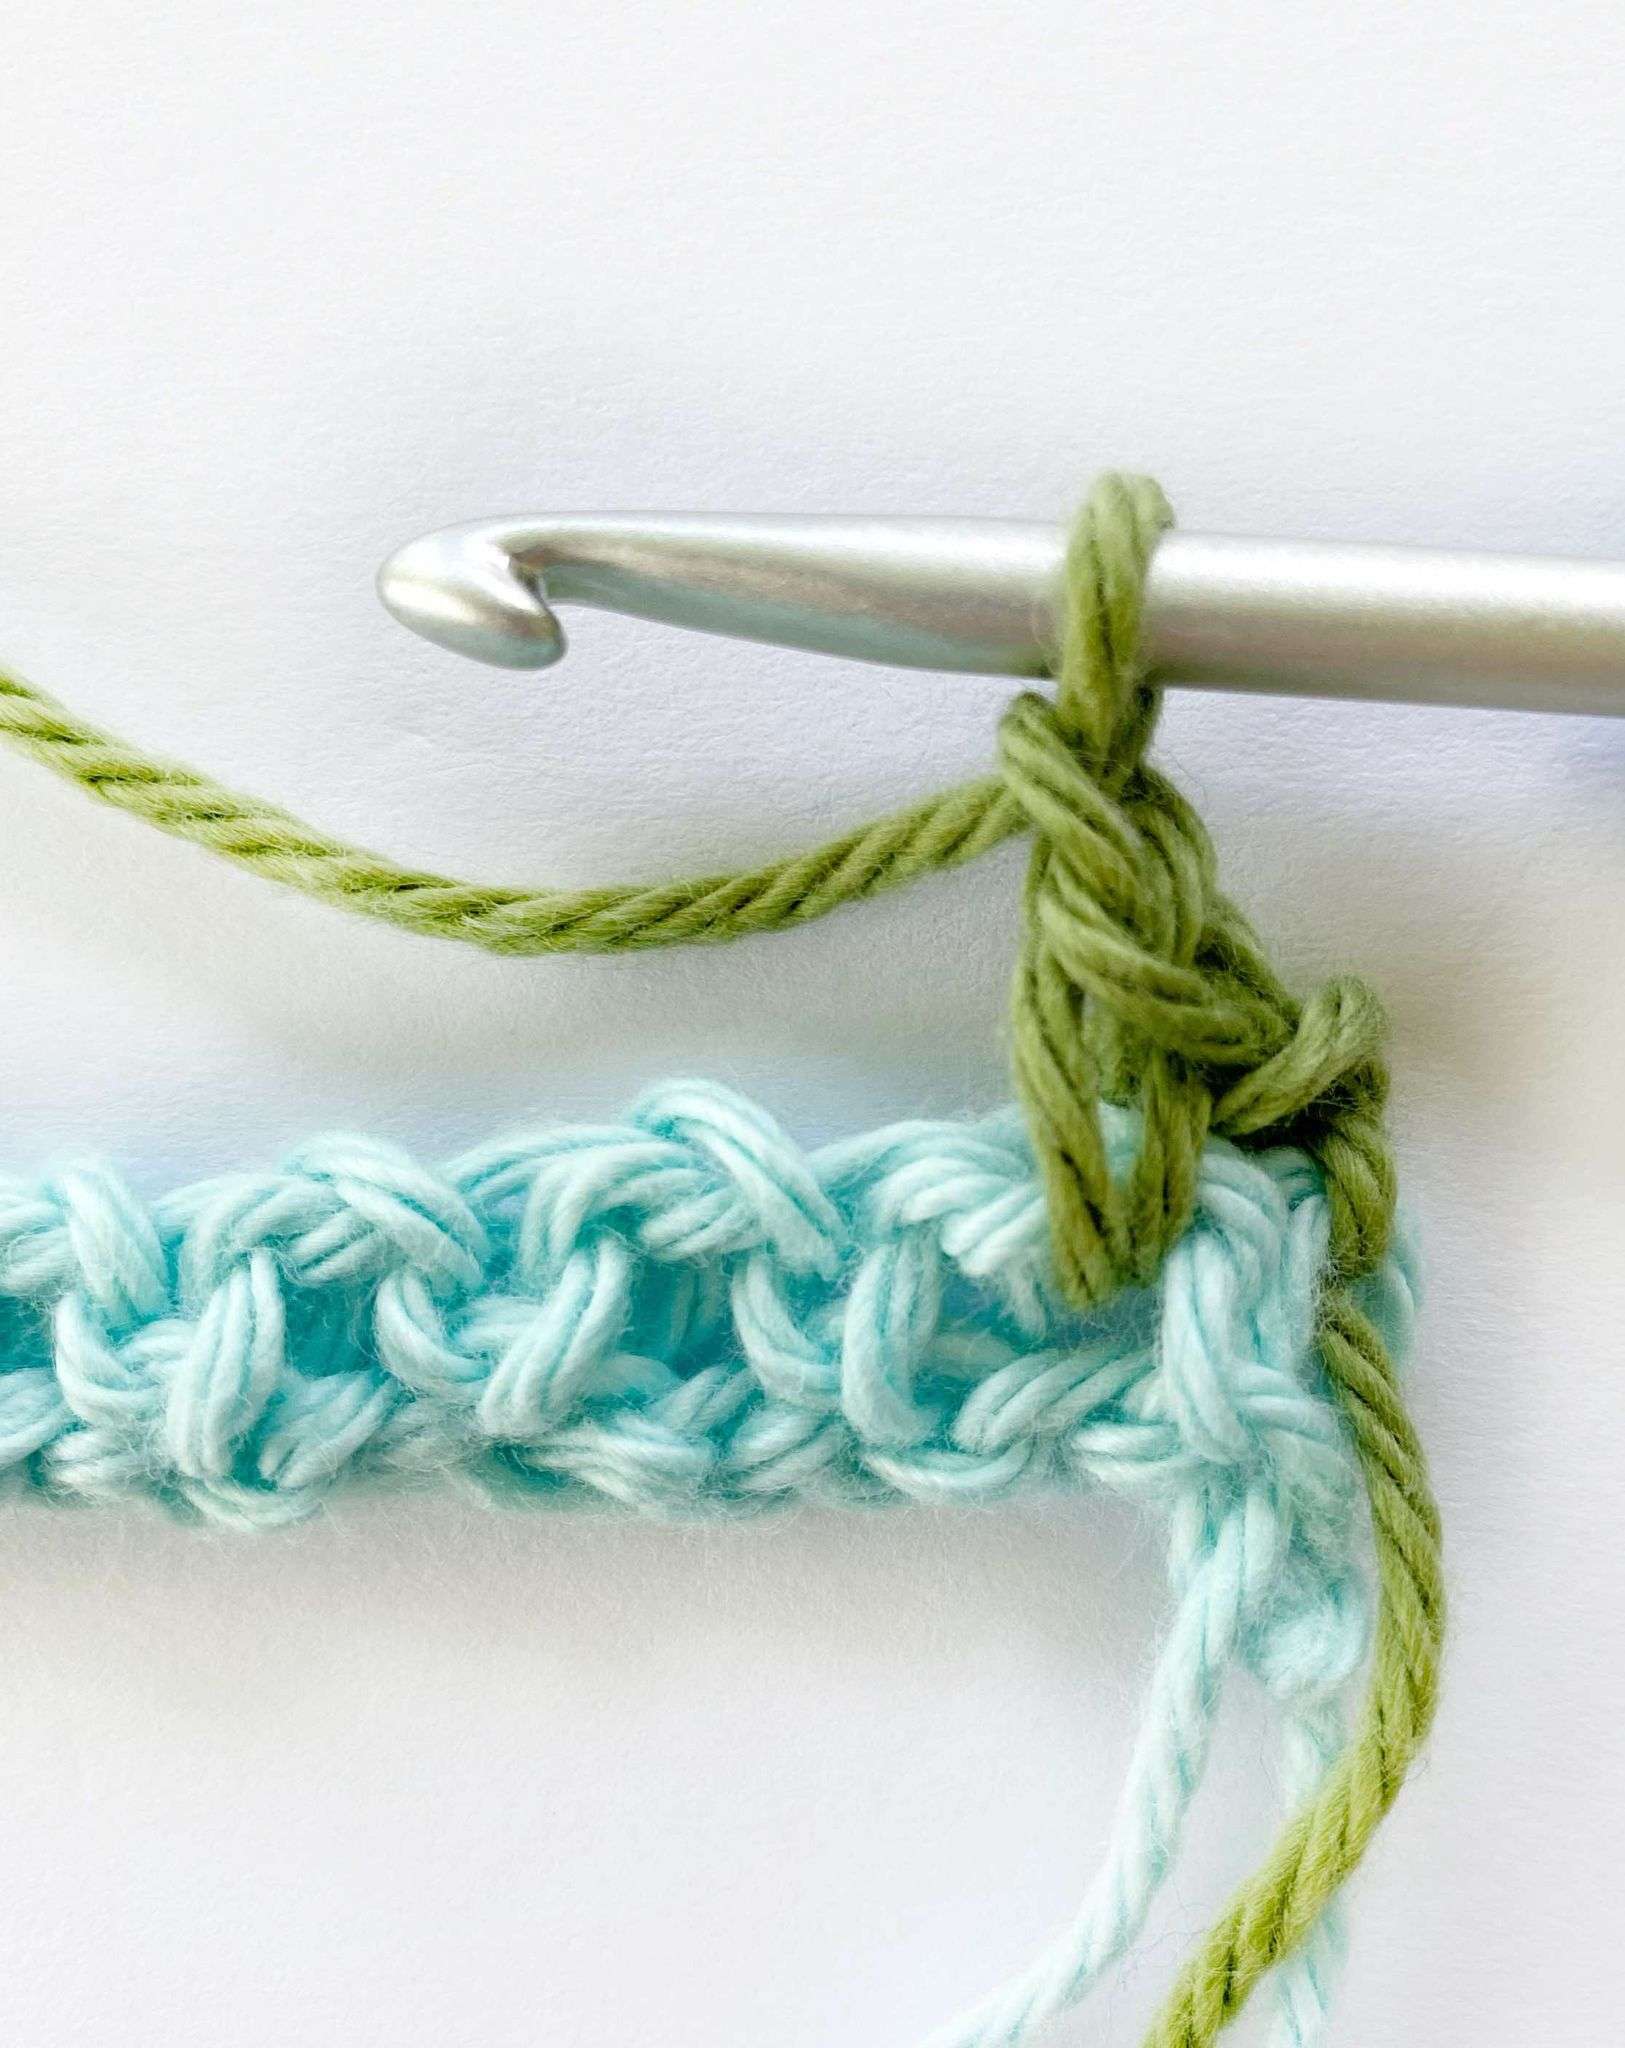
- Single crochet and chain-1 in the next chain-1 space.
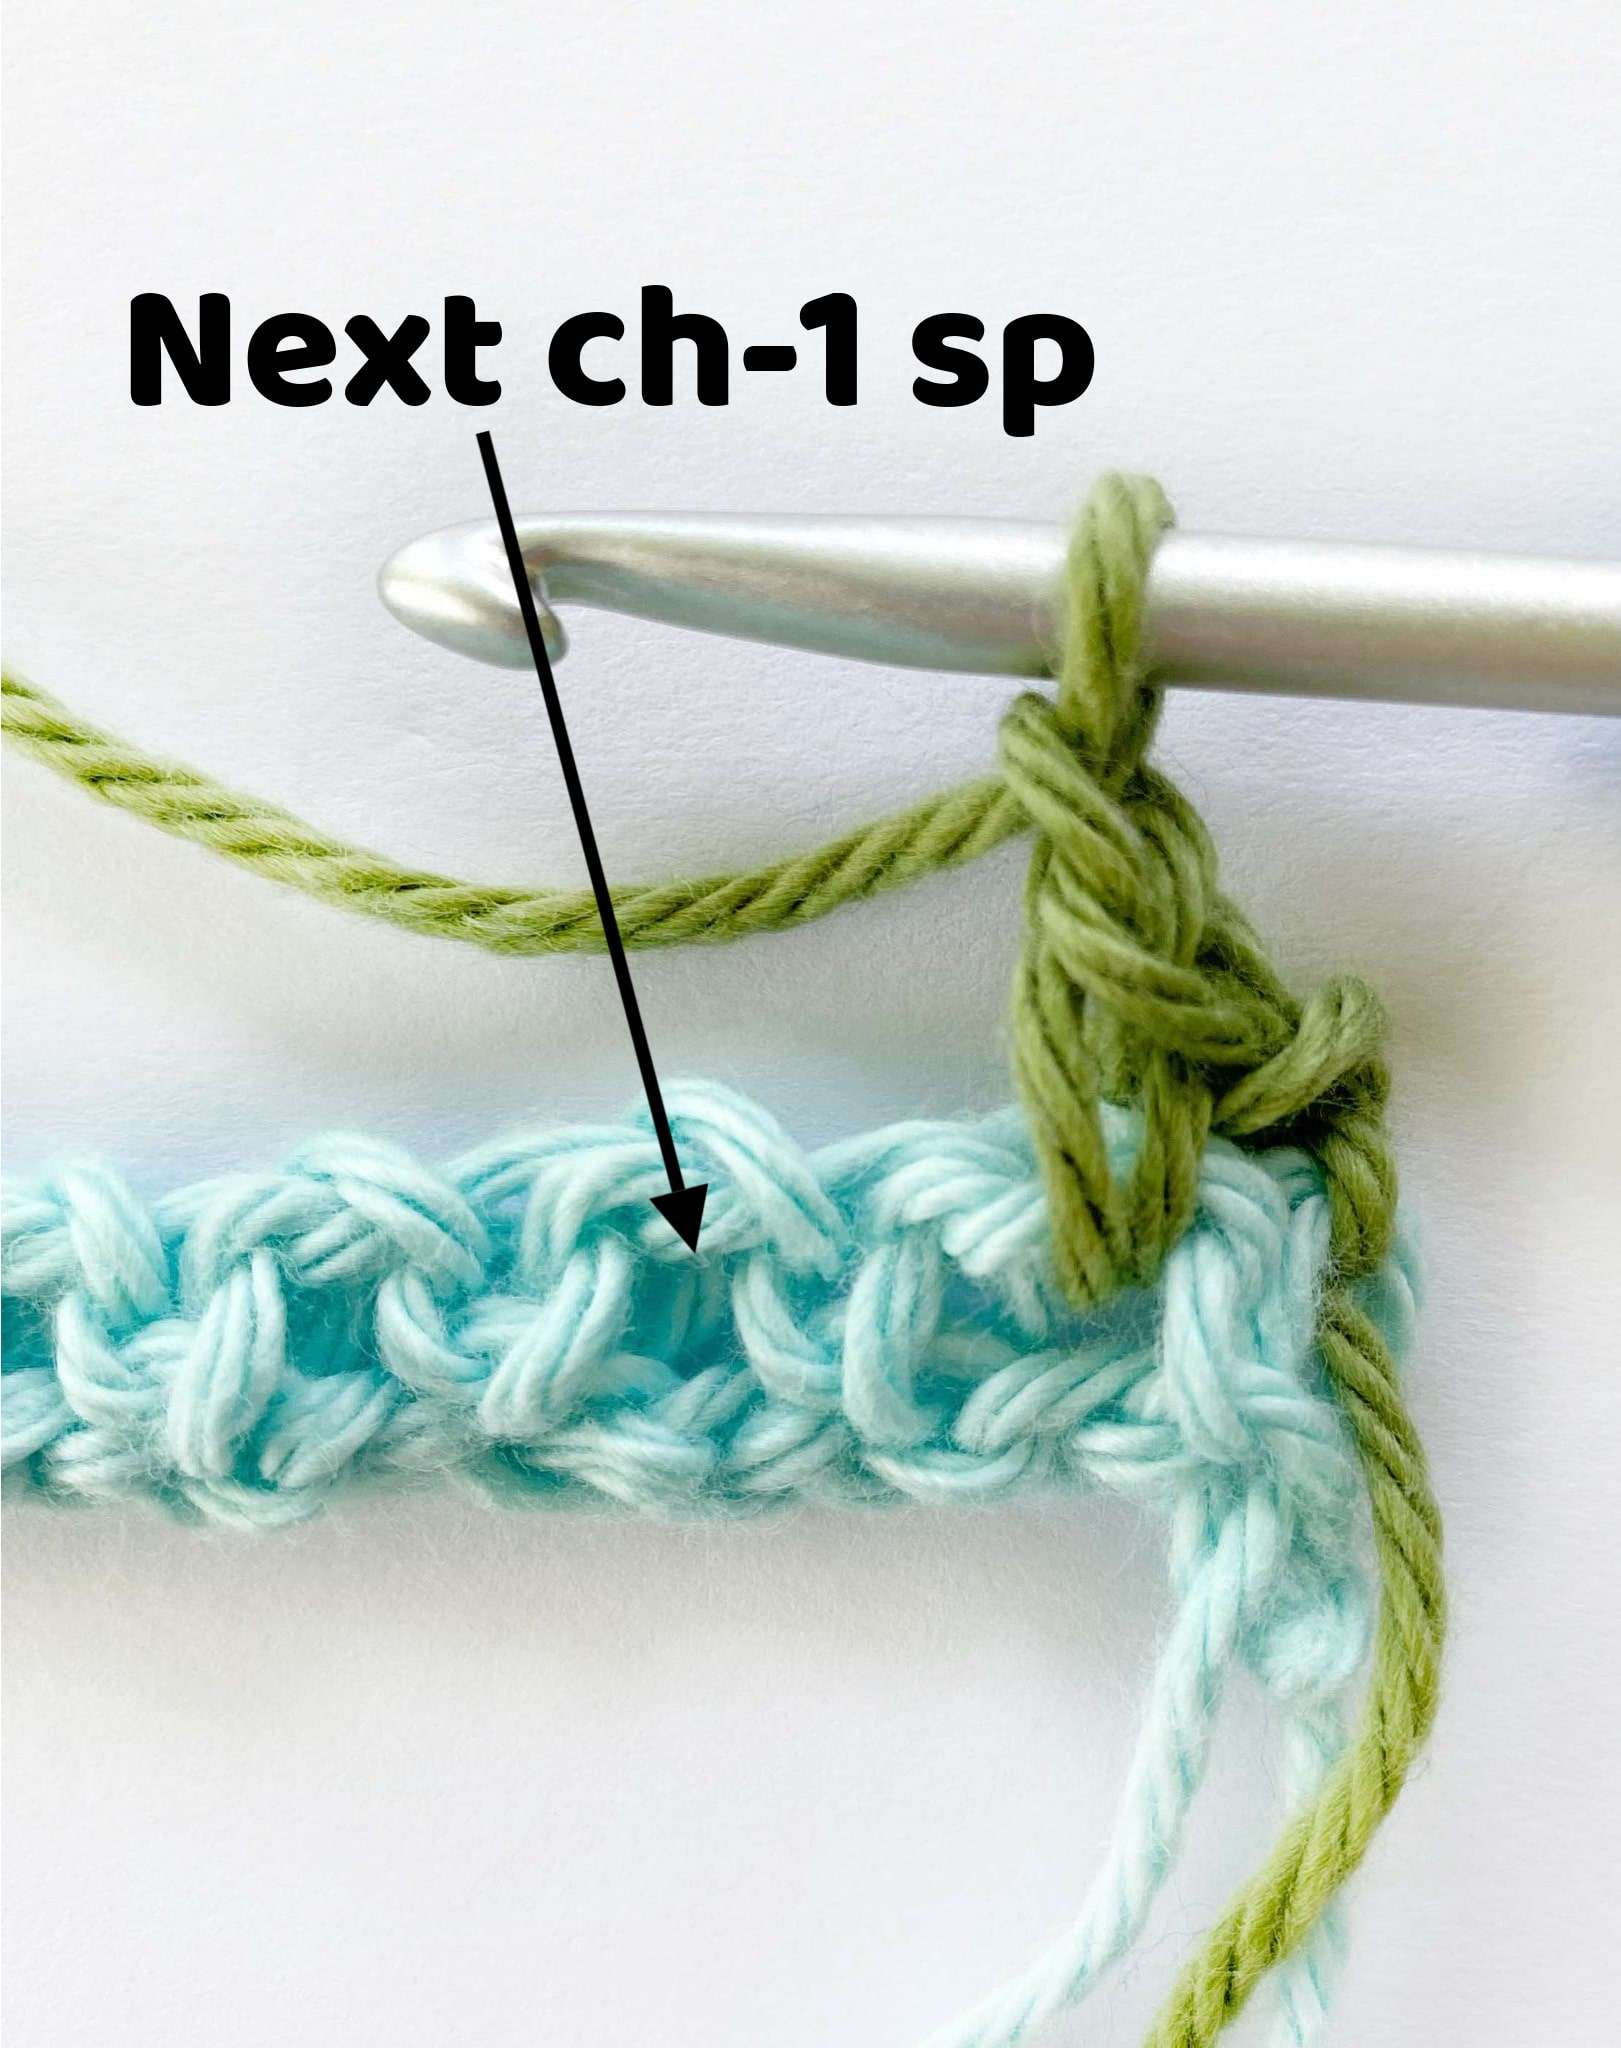
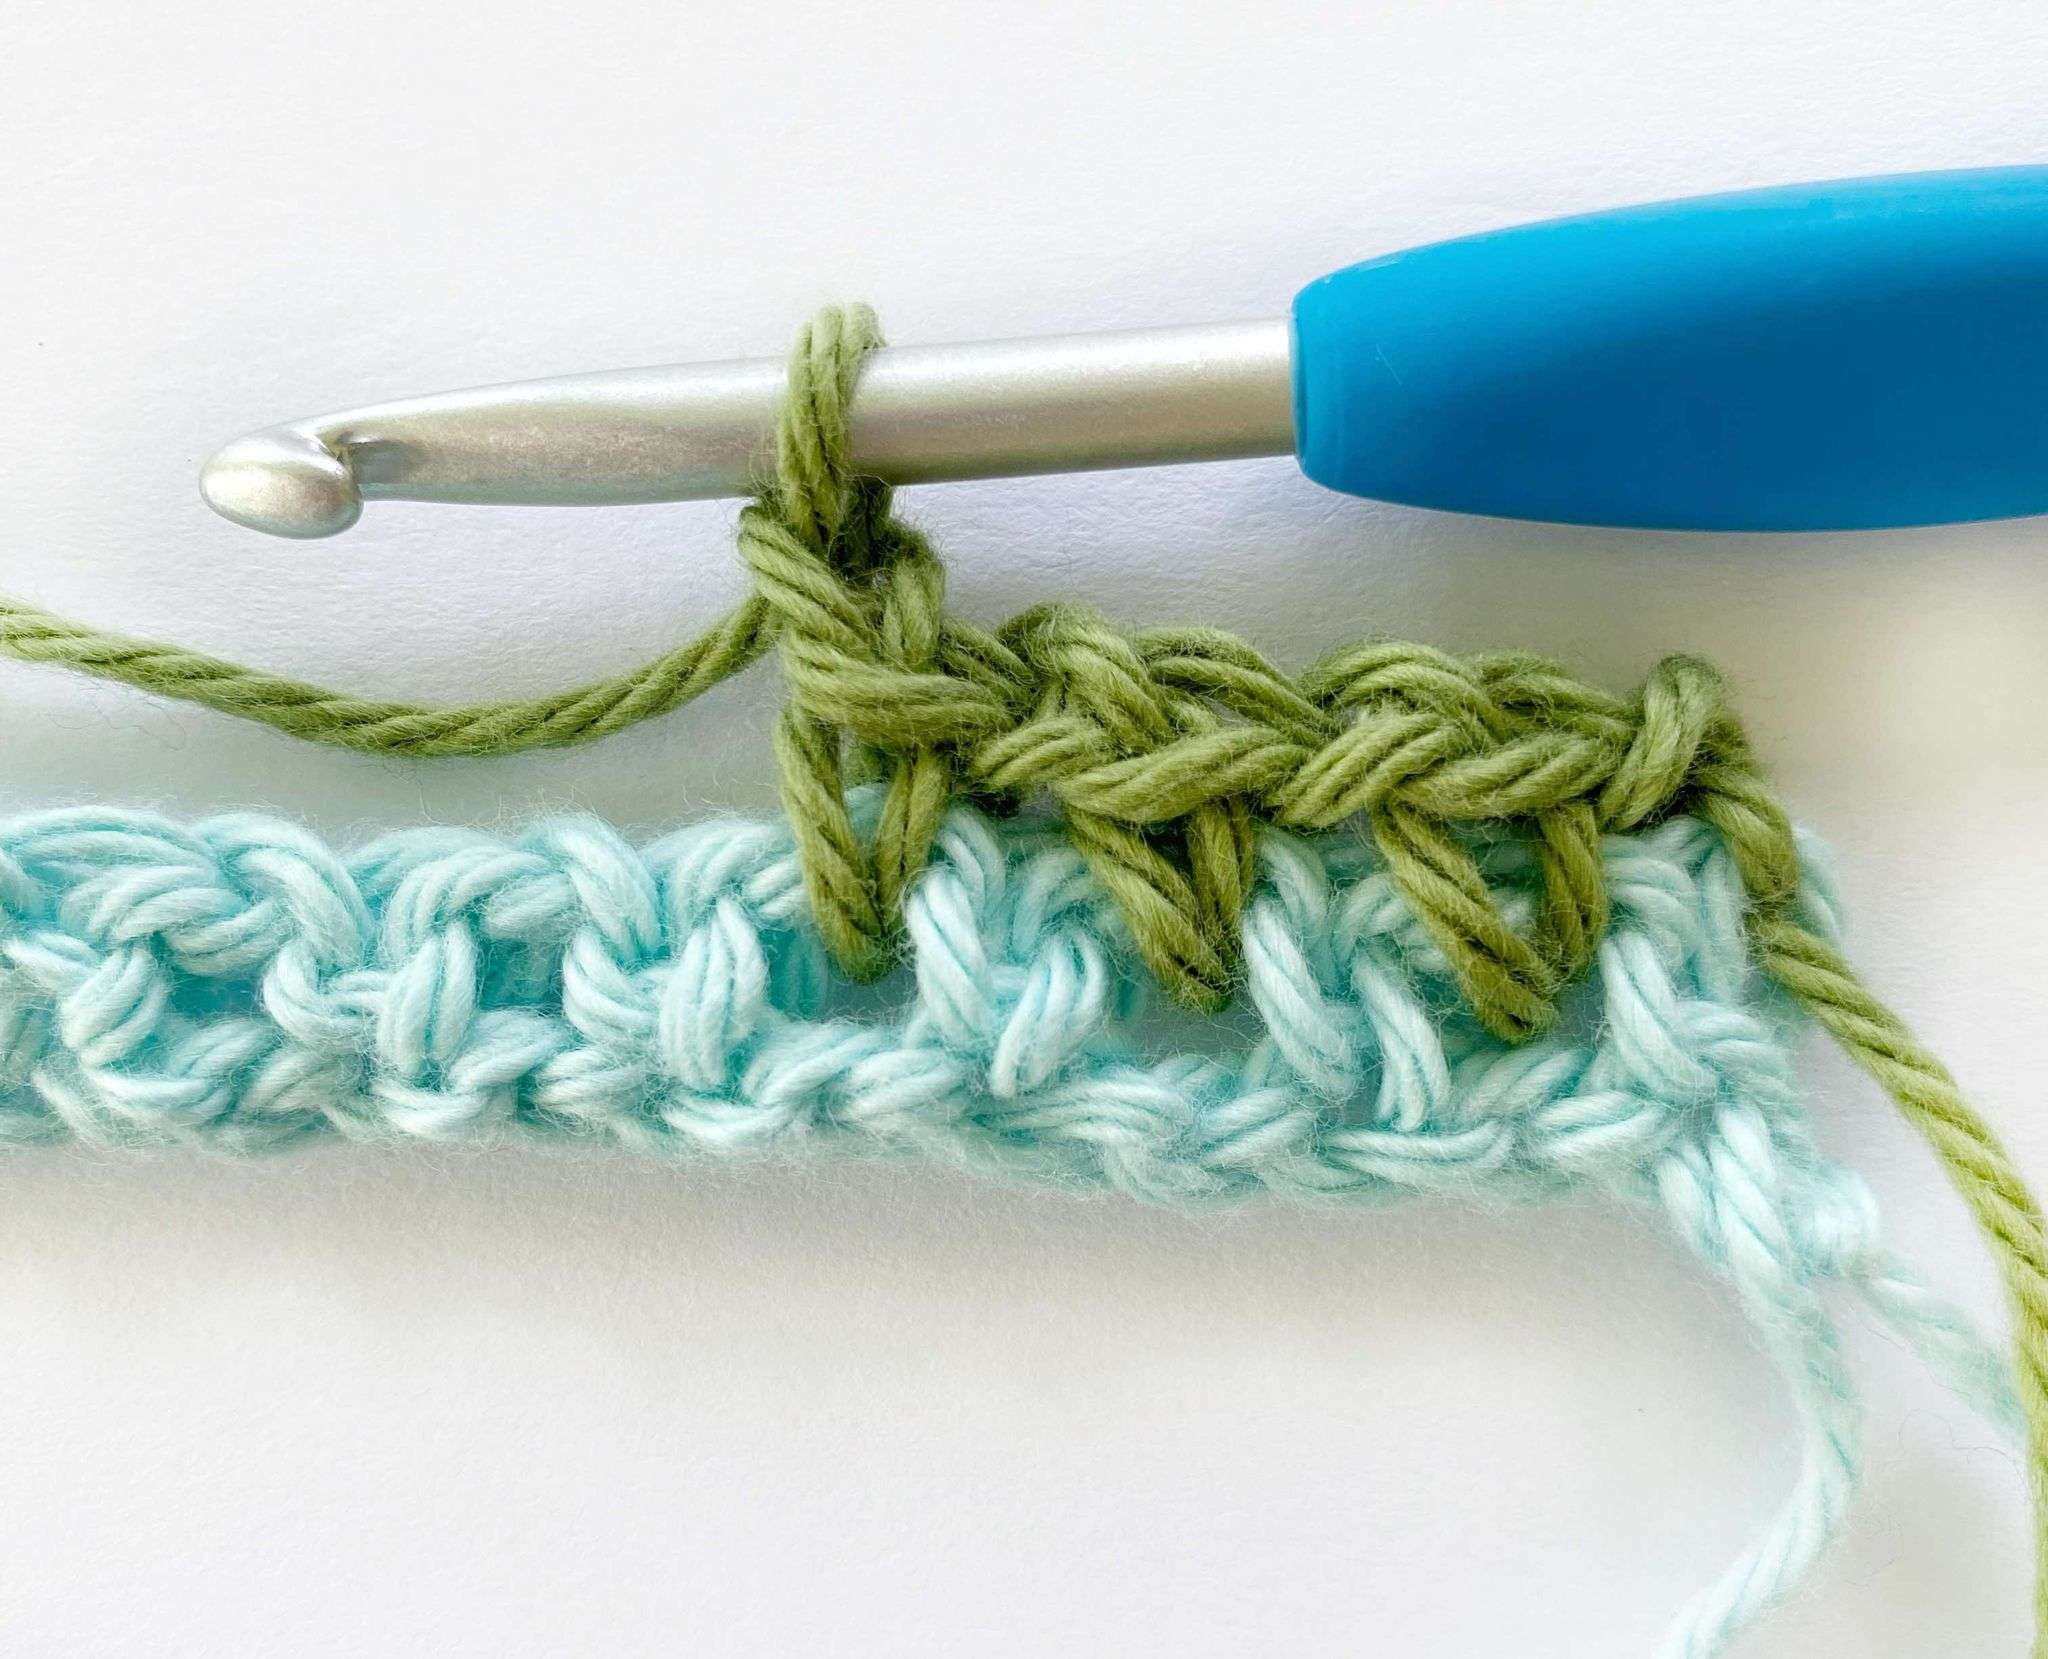
- Single crochet and chain-1 in each chain-1 space across.
- The last single crochet should be worked into the beginning chain-3 from Row 1. Do not chain 1.
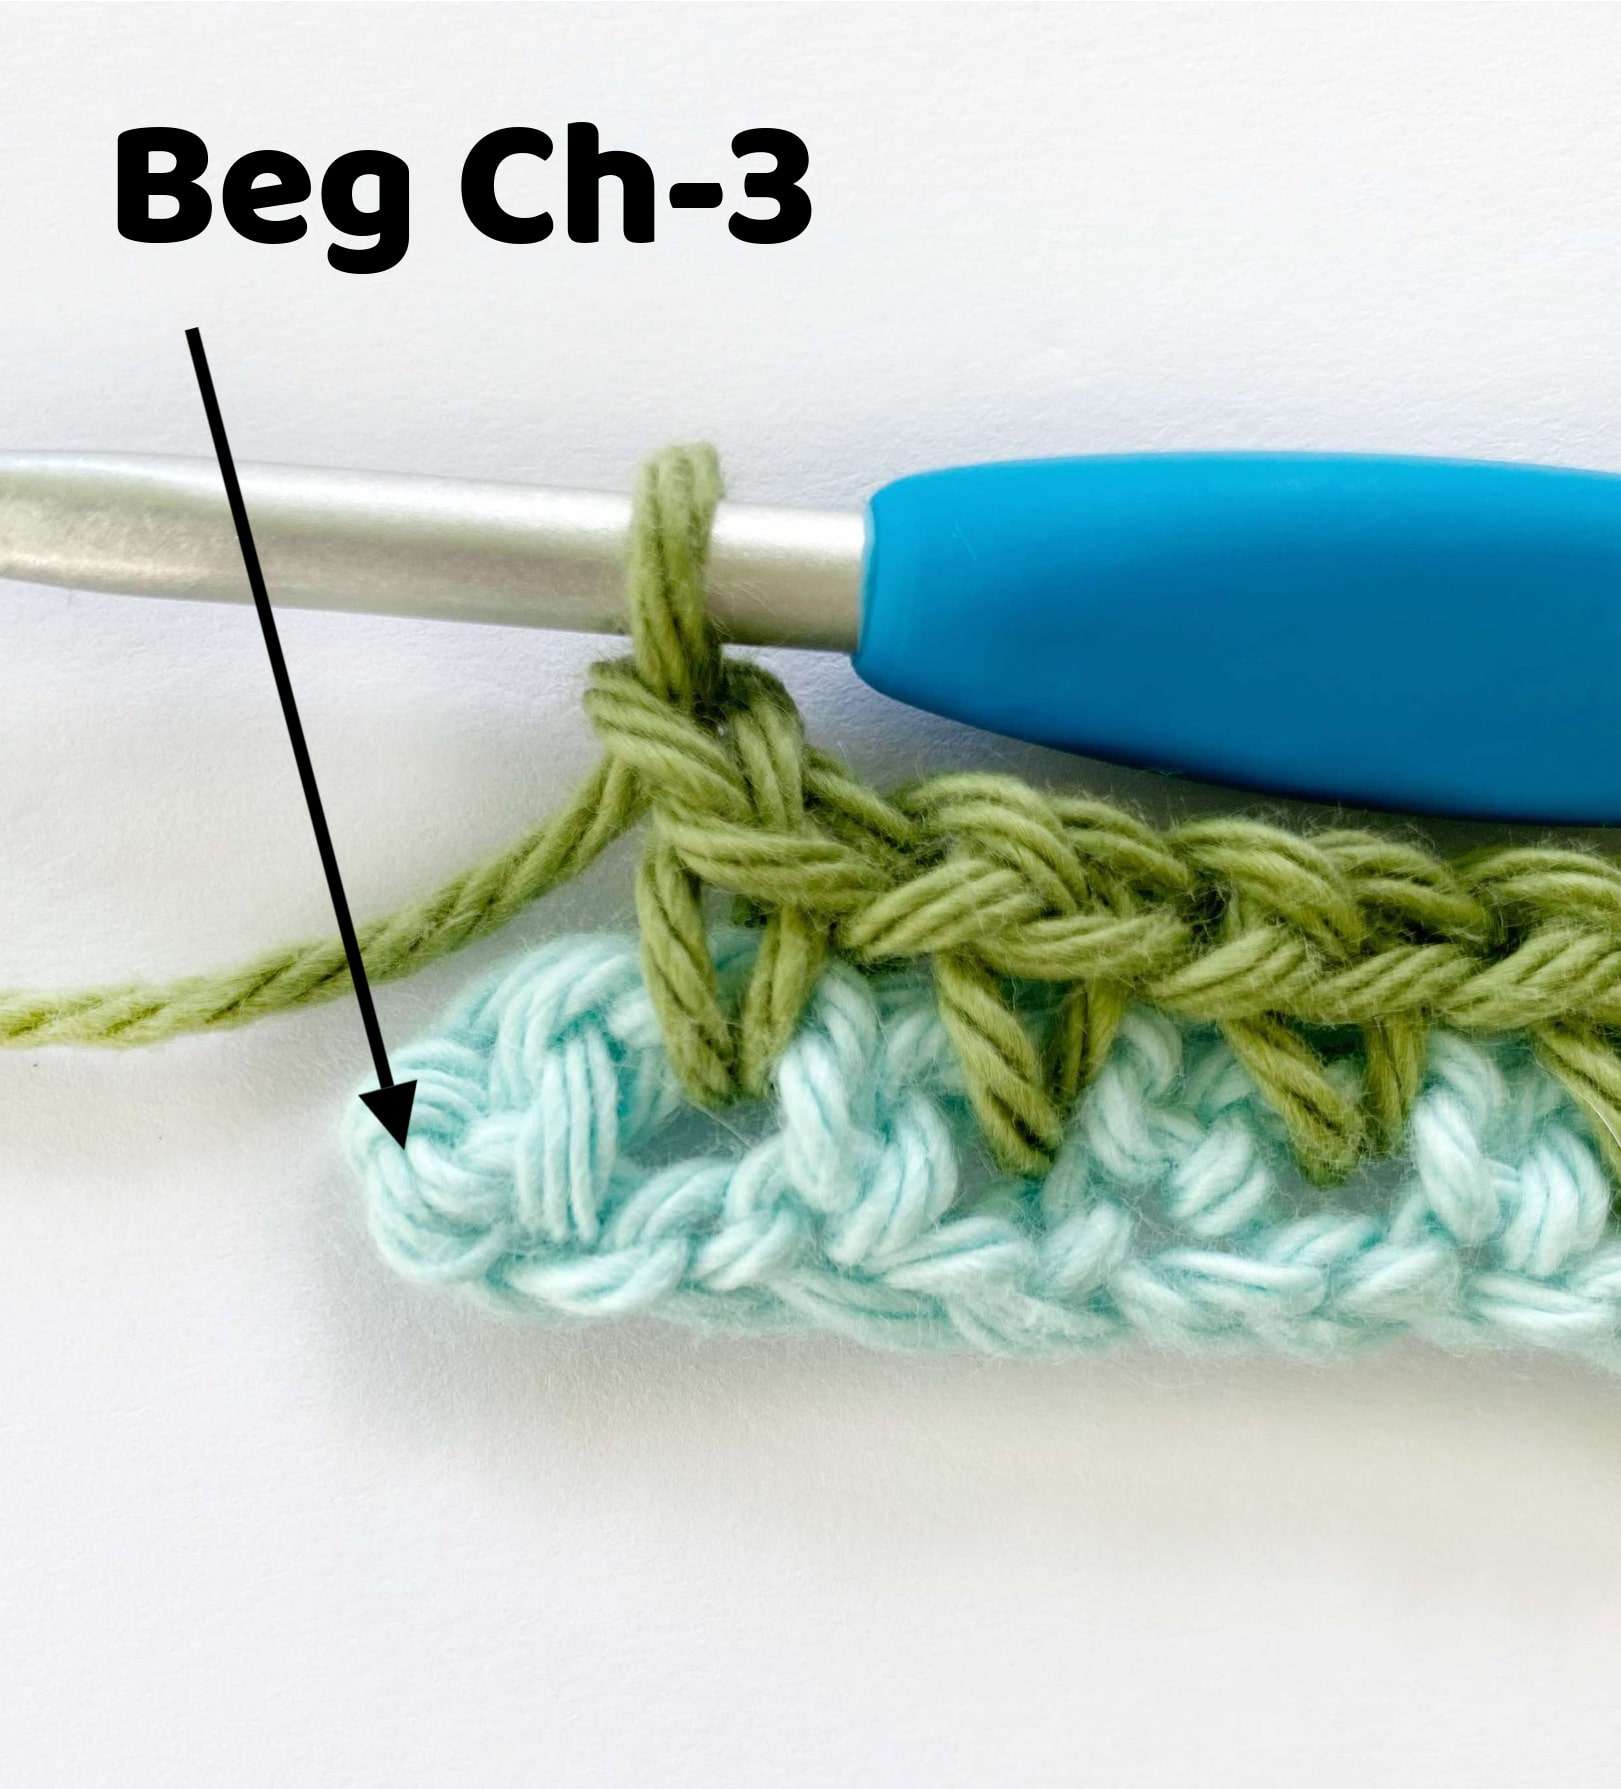
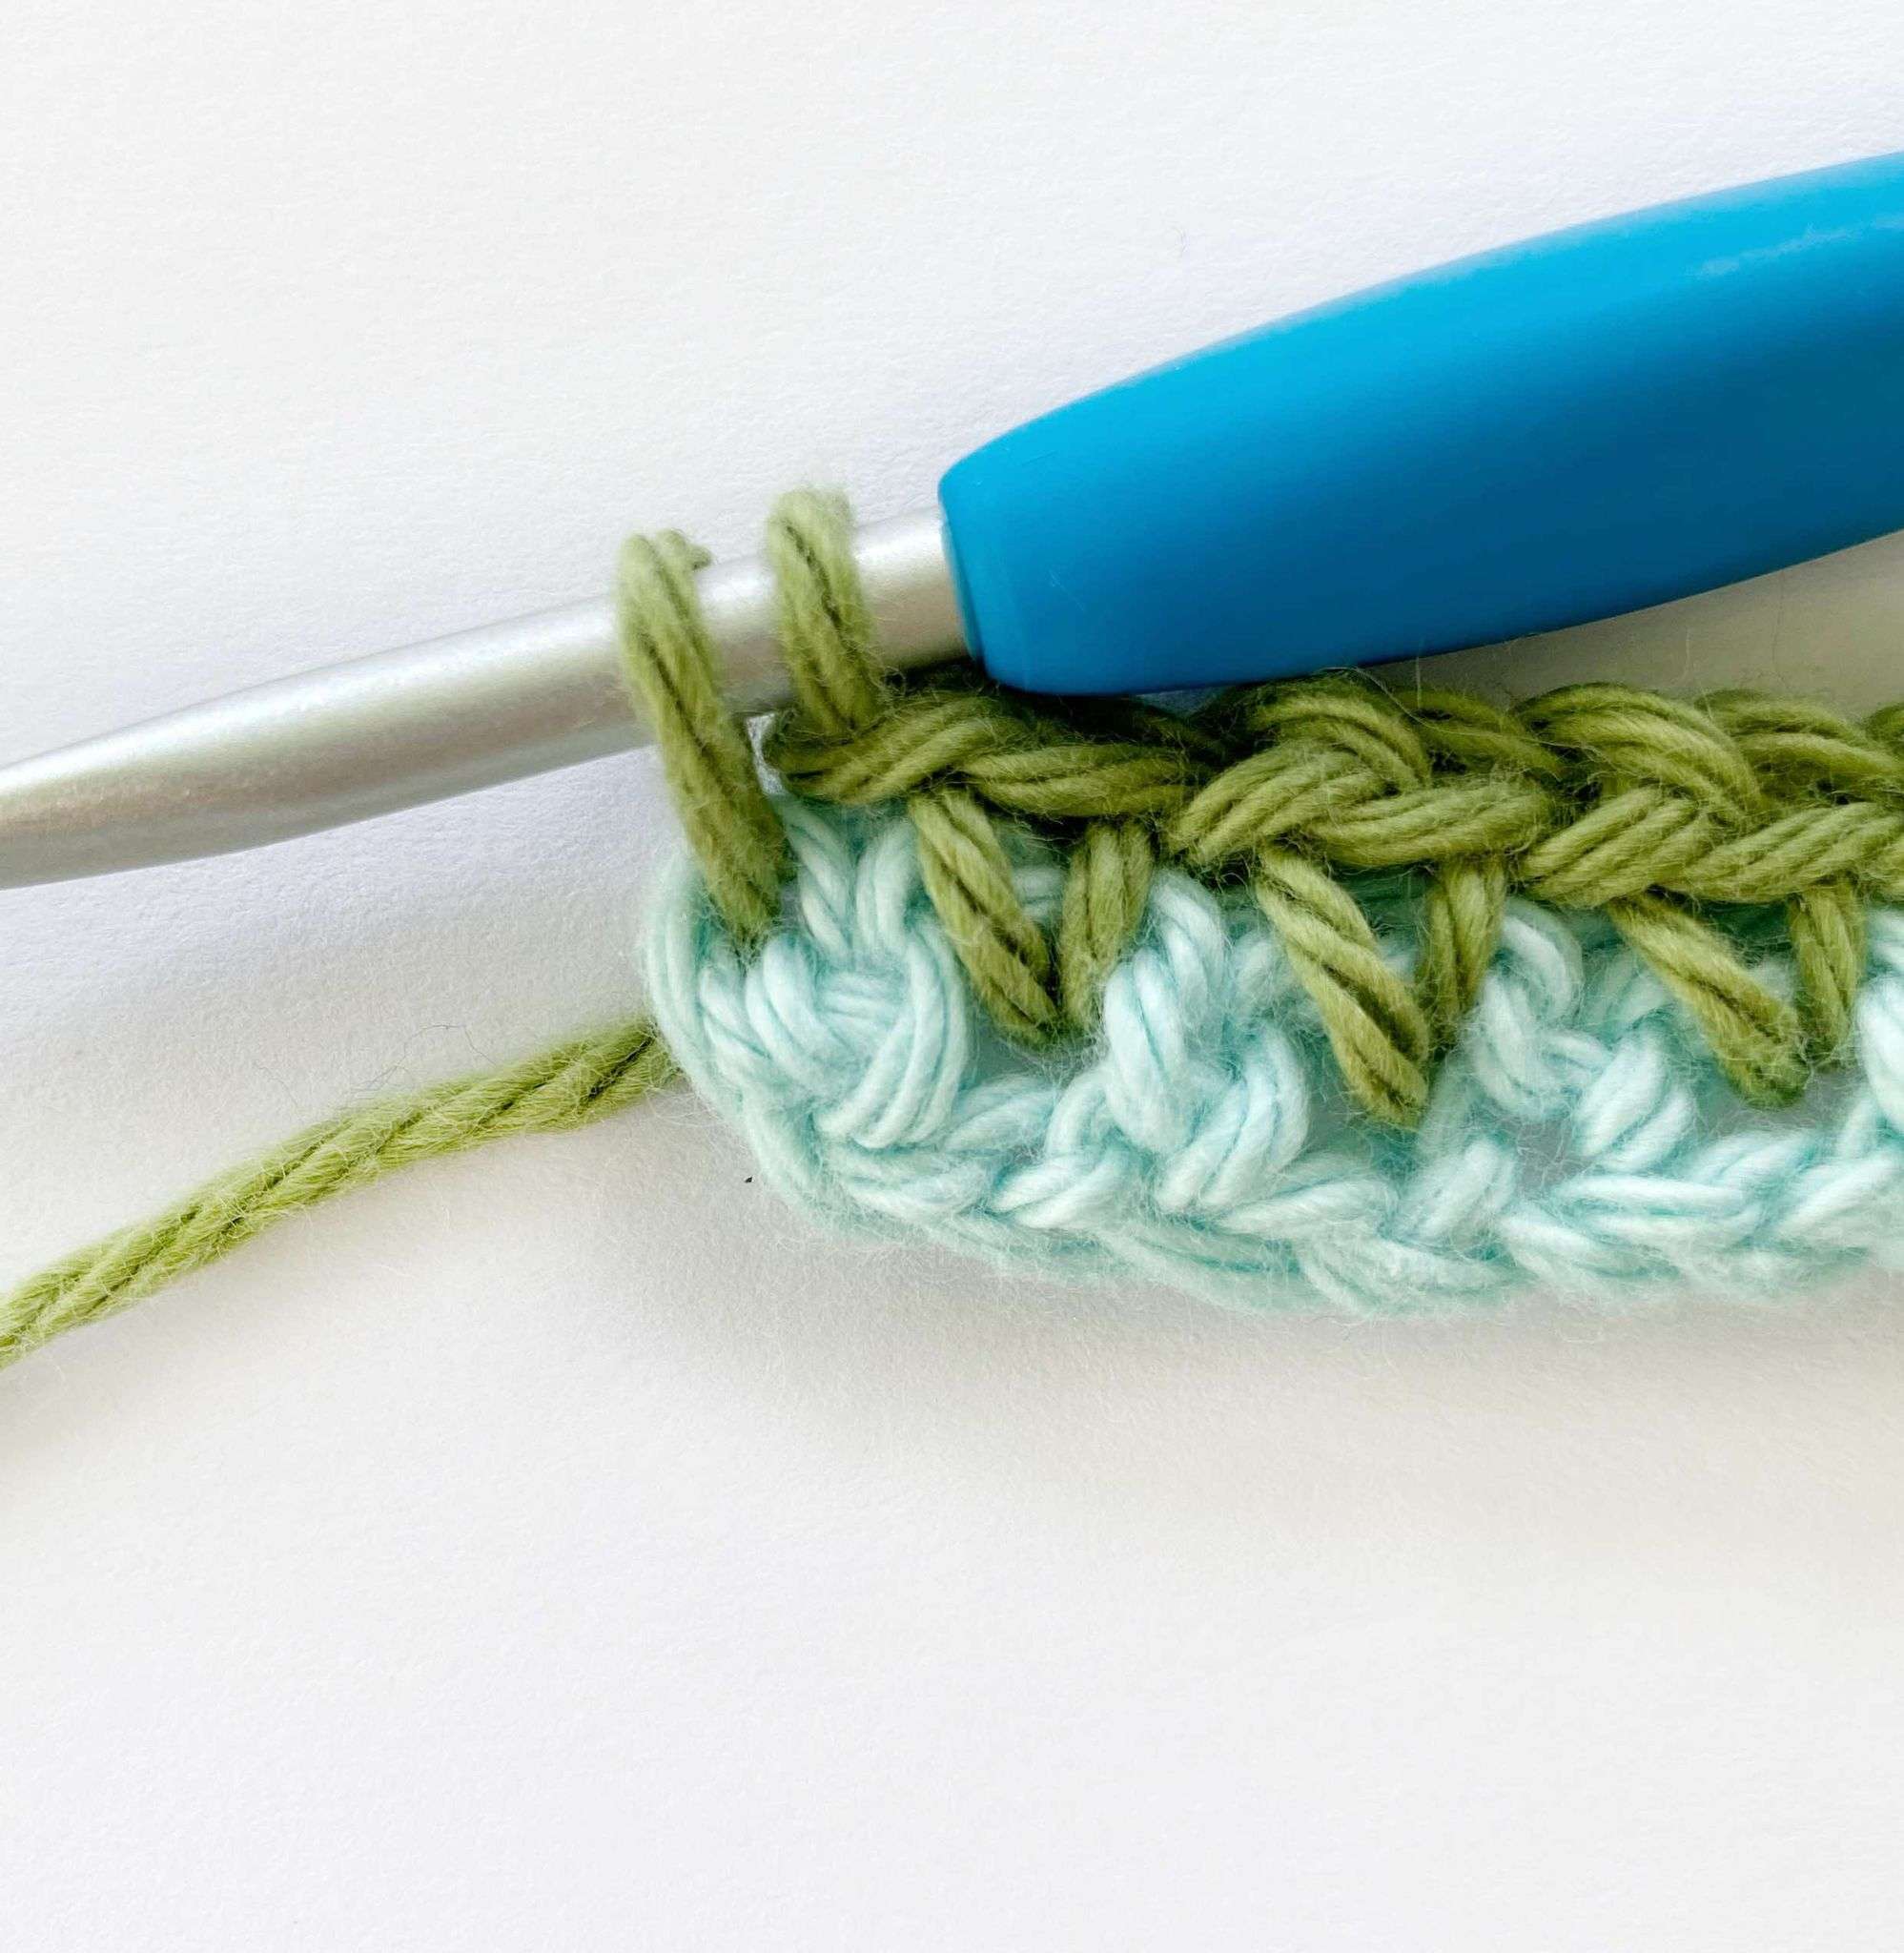
Stitch Count: Your stitch count will be the same as Row 1.
Row 3:
- Turn your work.
- Chain 2. This counts as 1 single crochet and 1 chain-1 space.
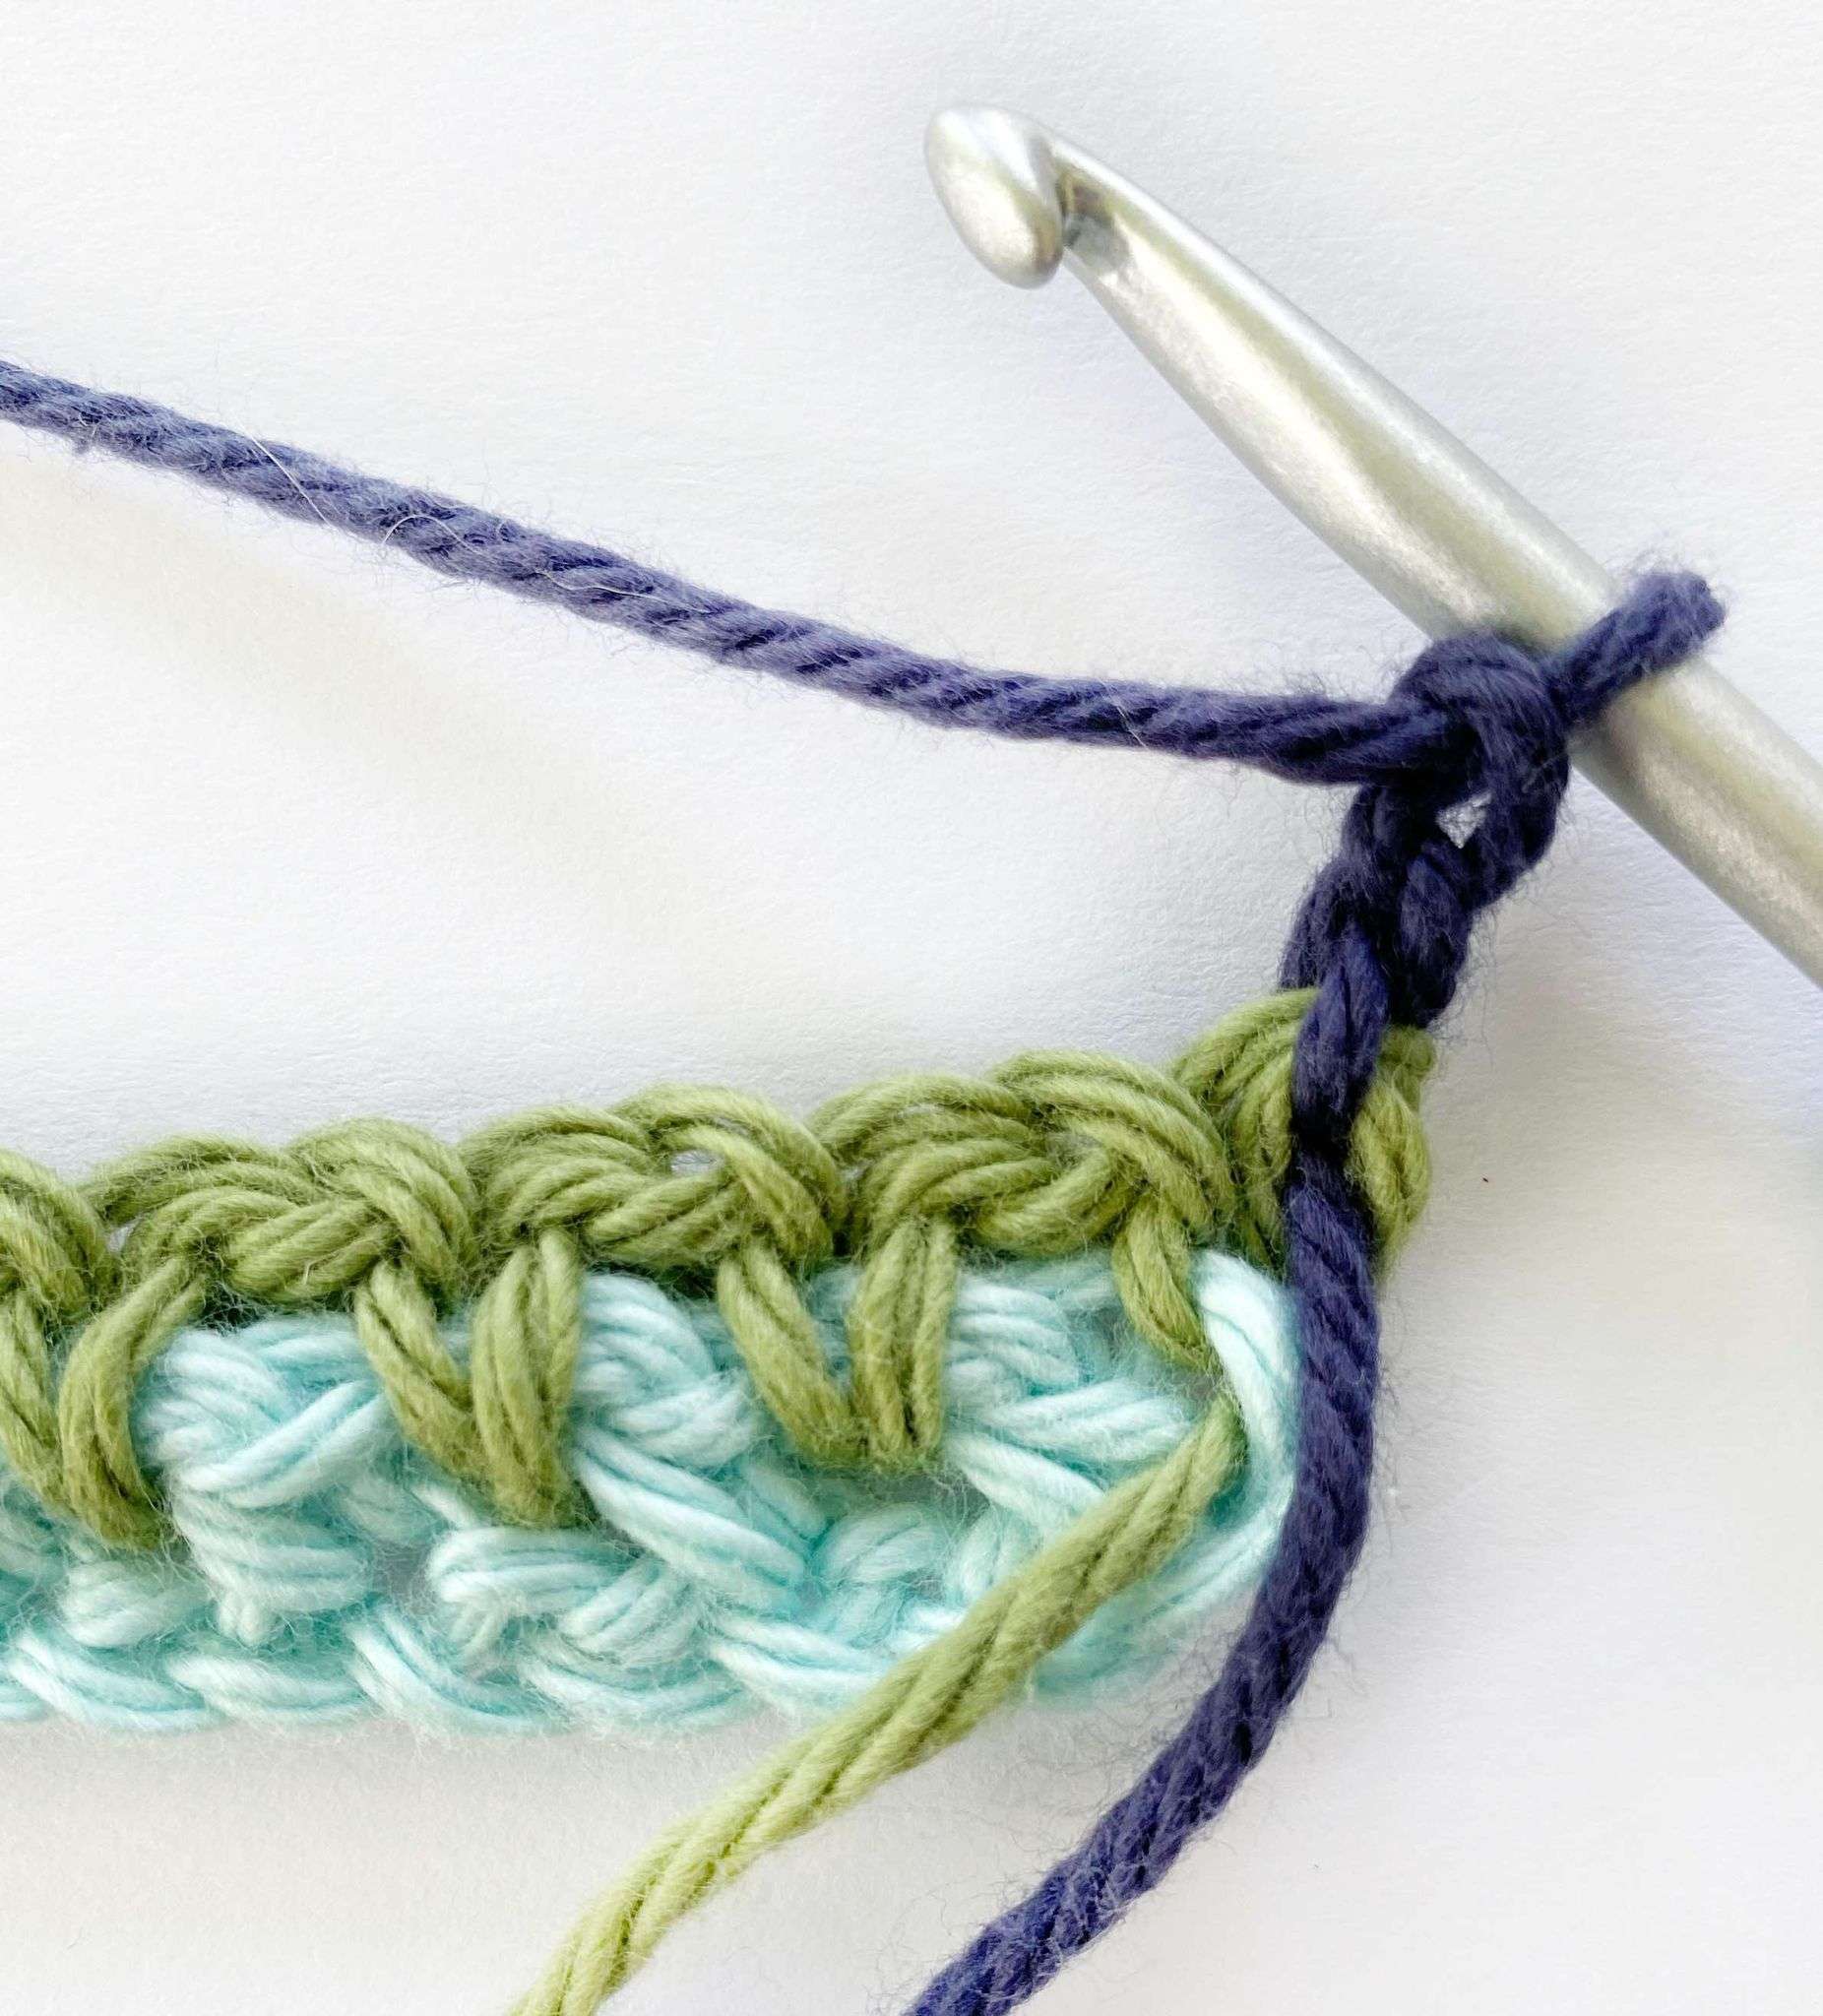
- Single crochet in the first chain-1 space.
- Chain 1.
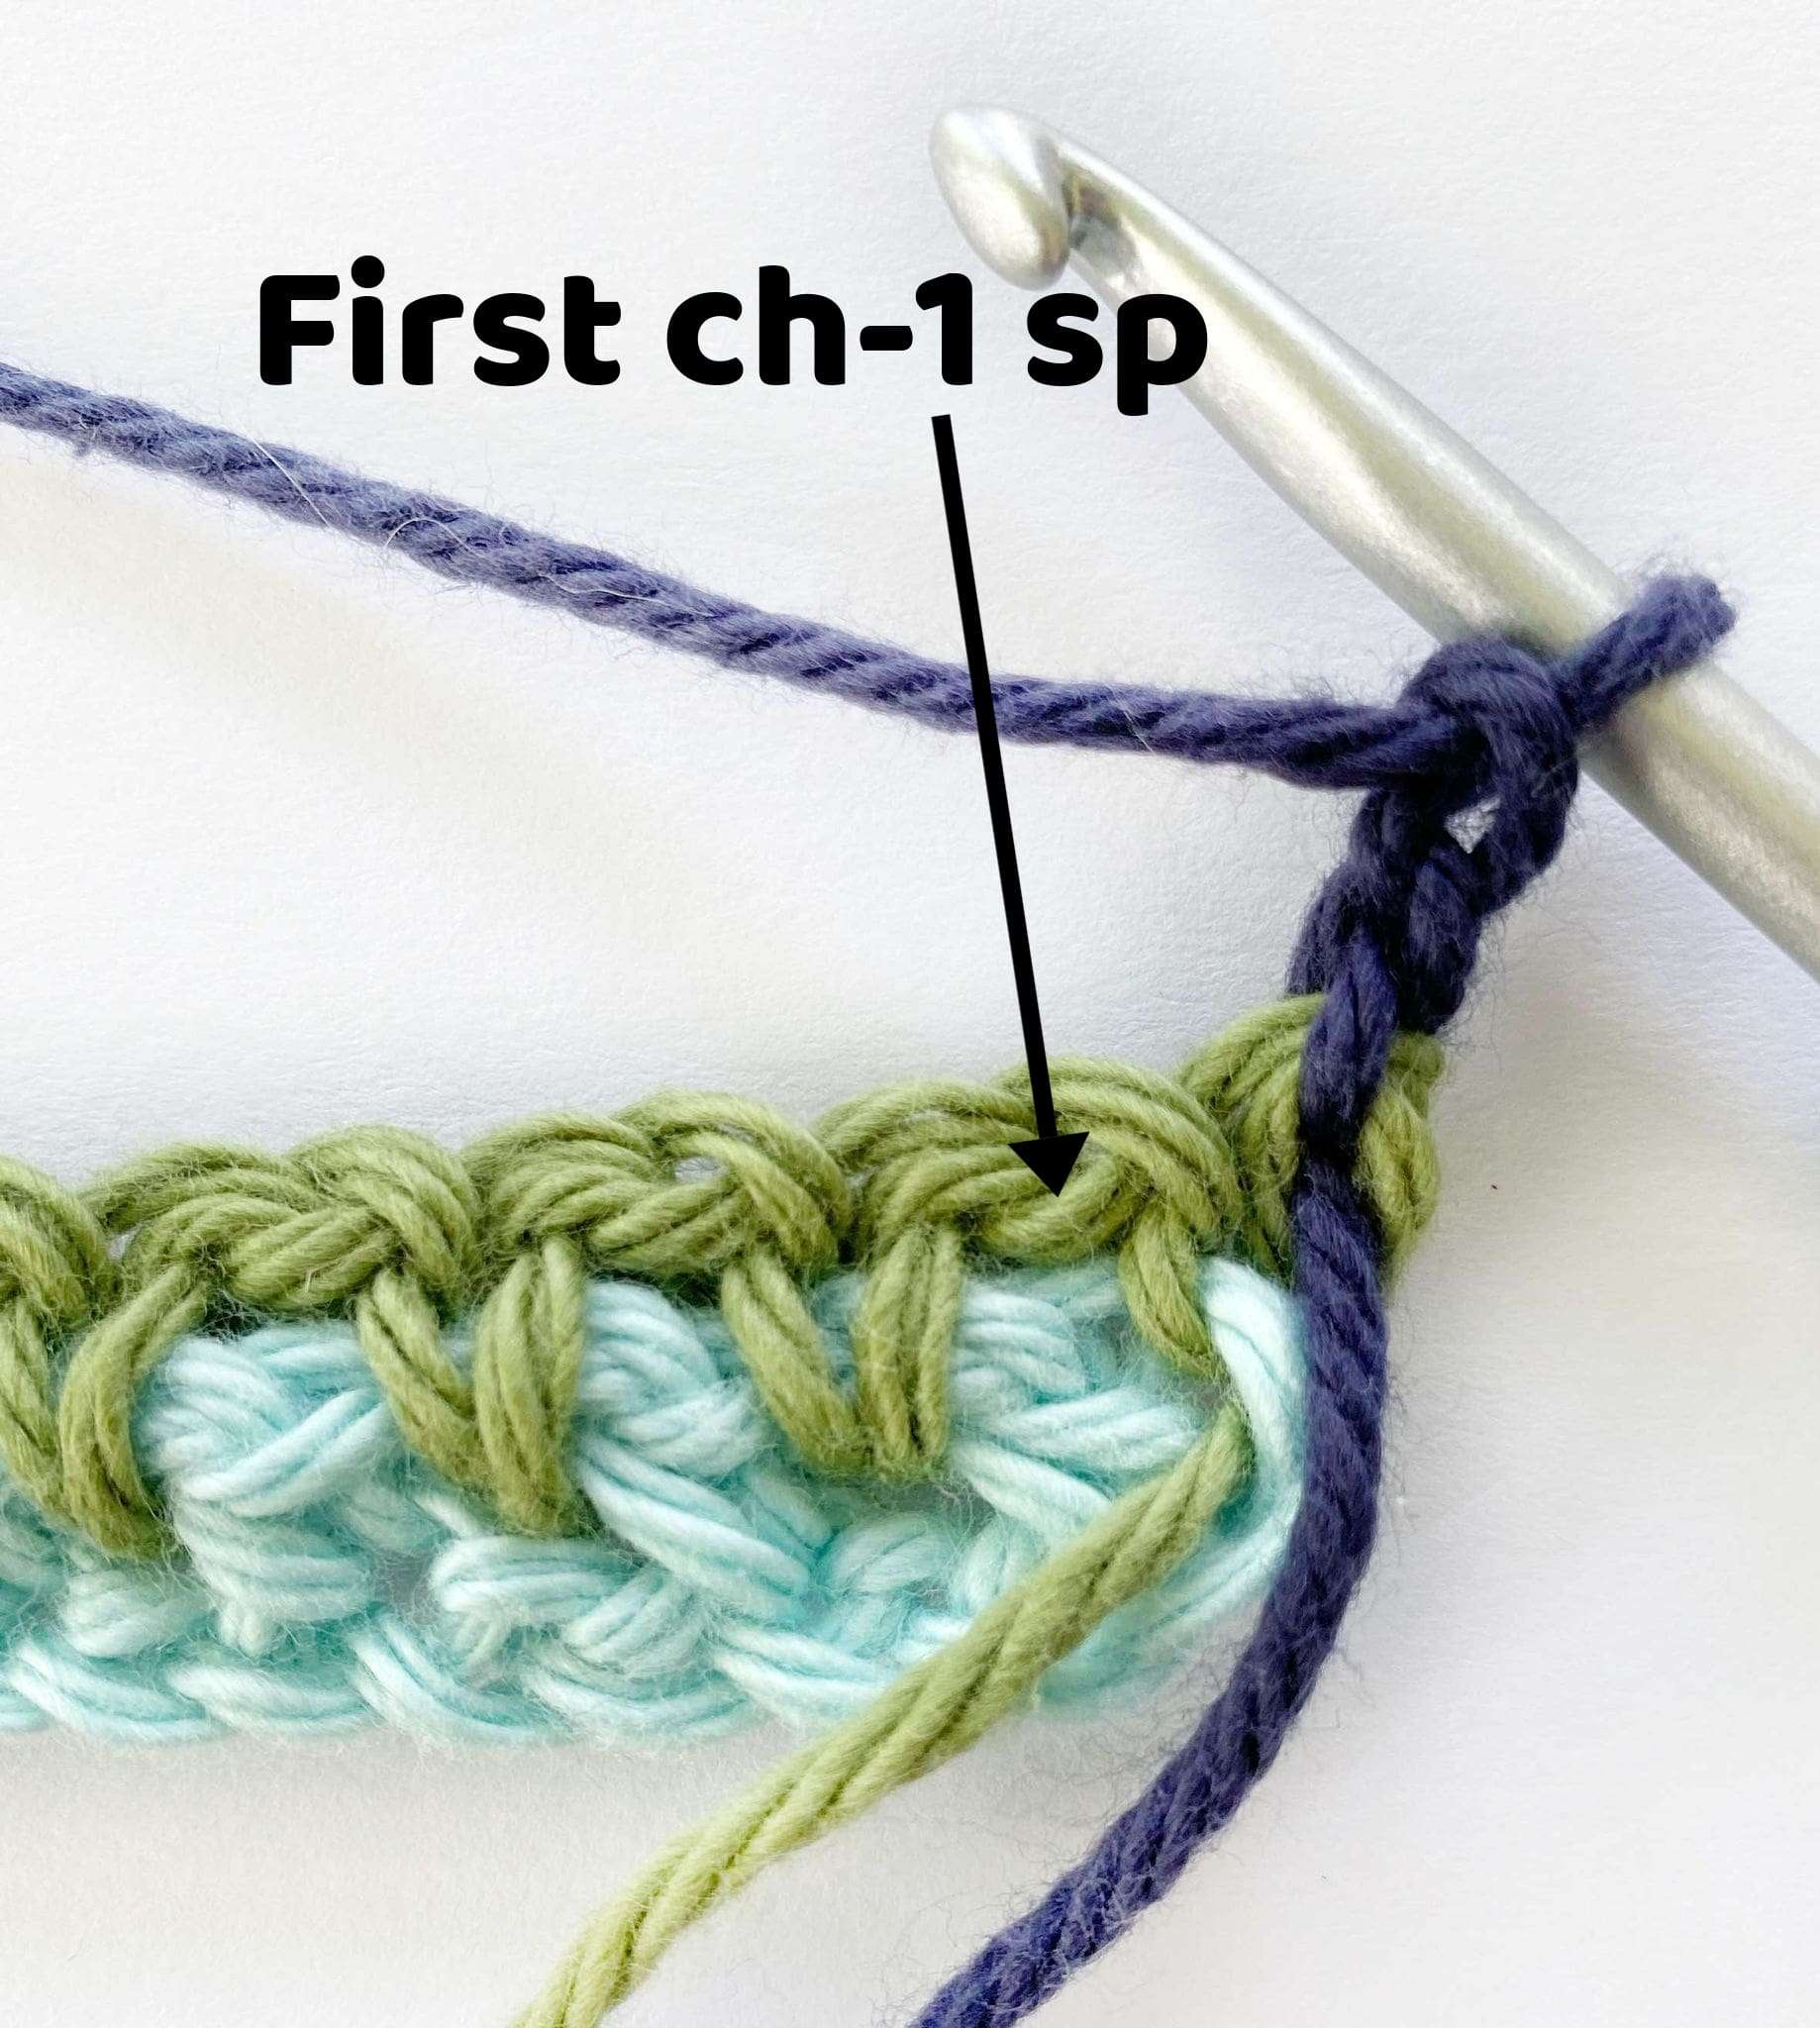
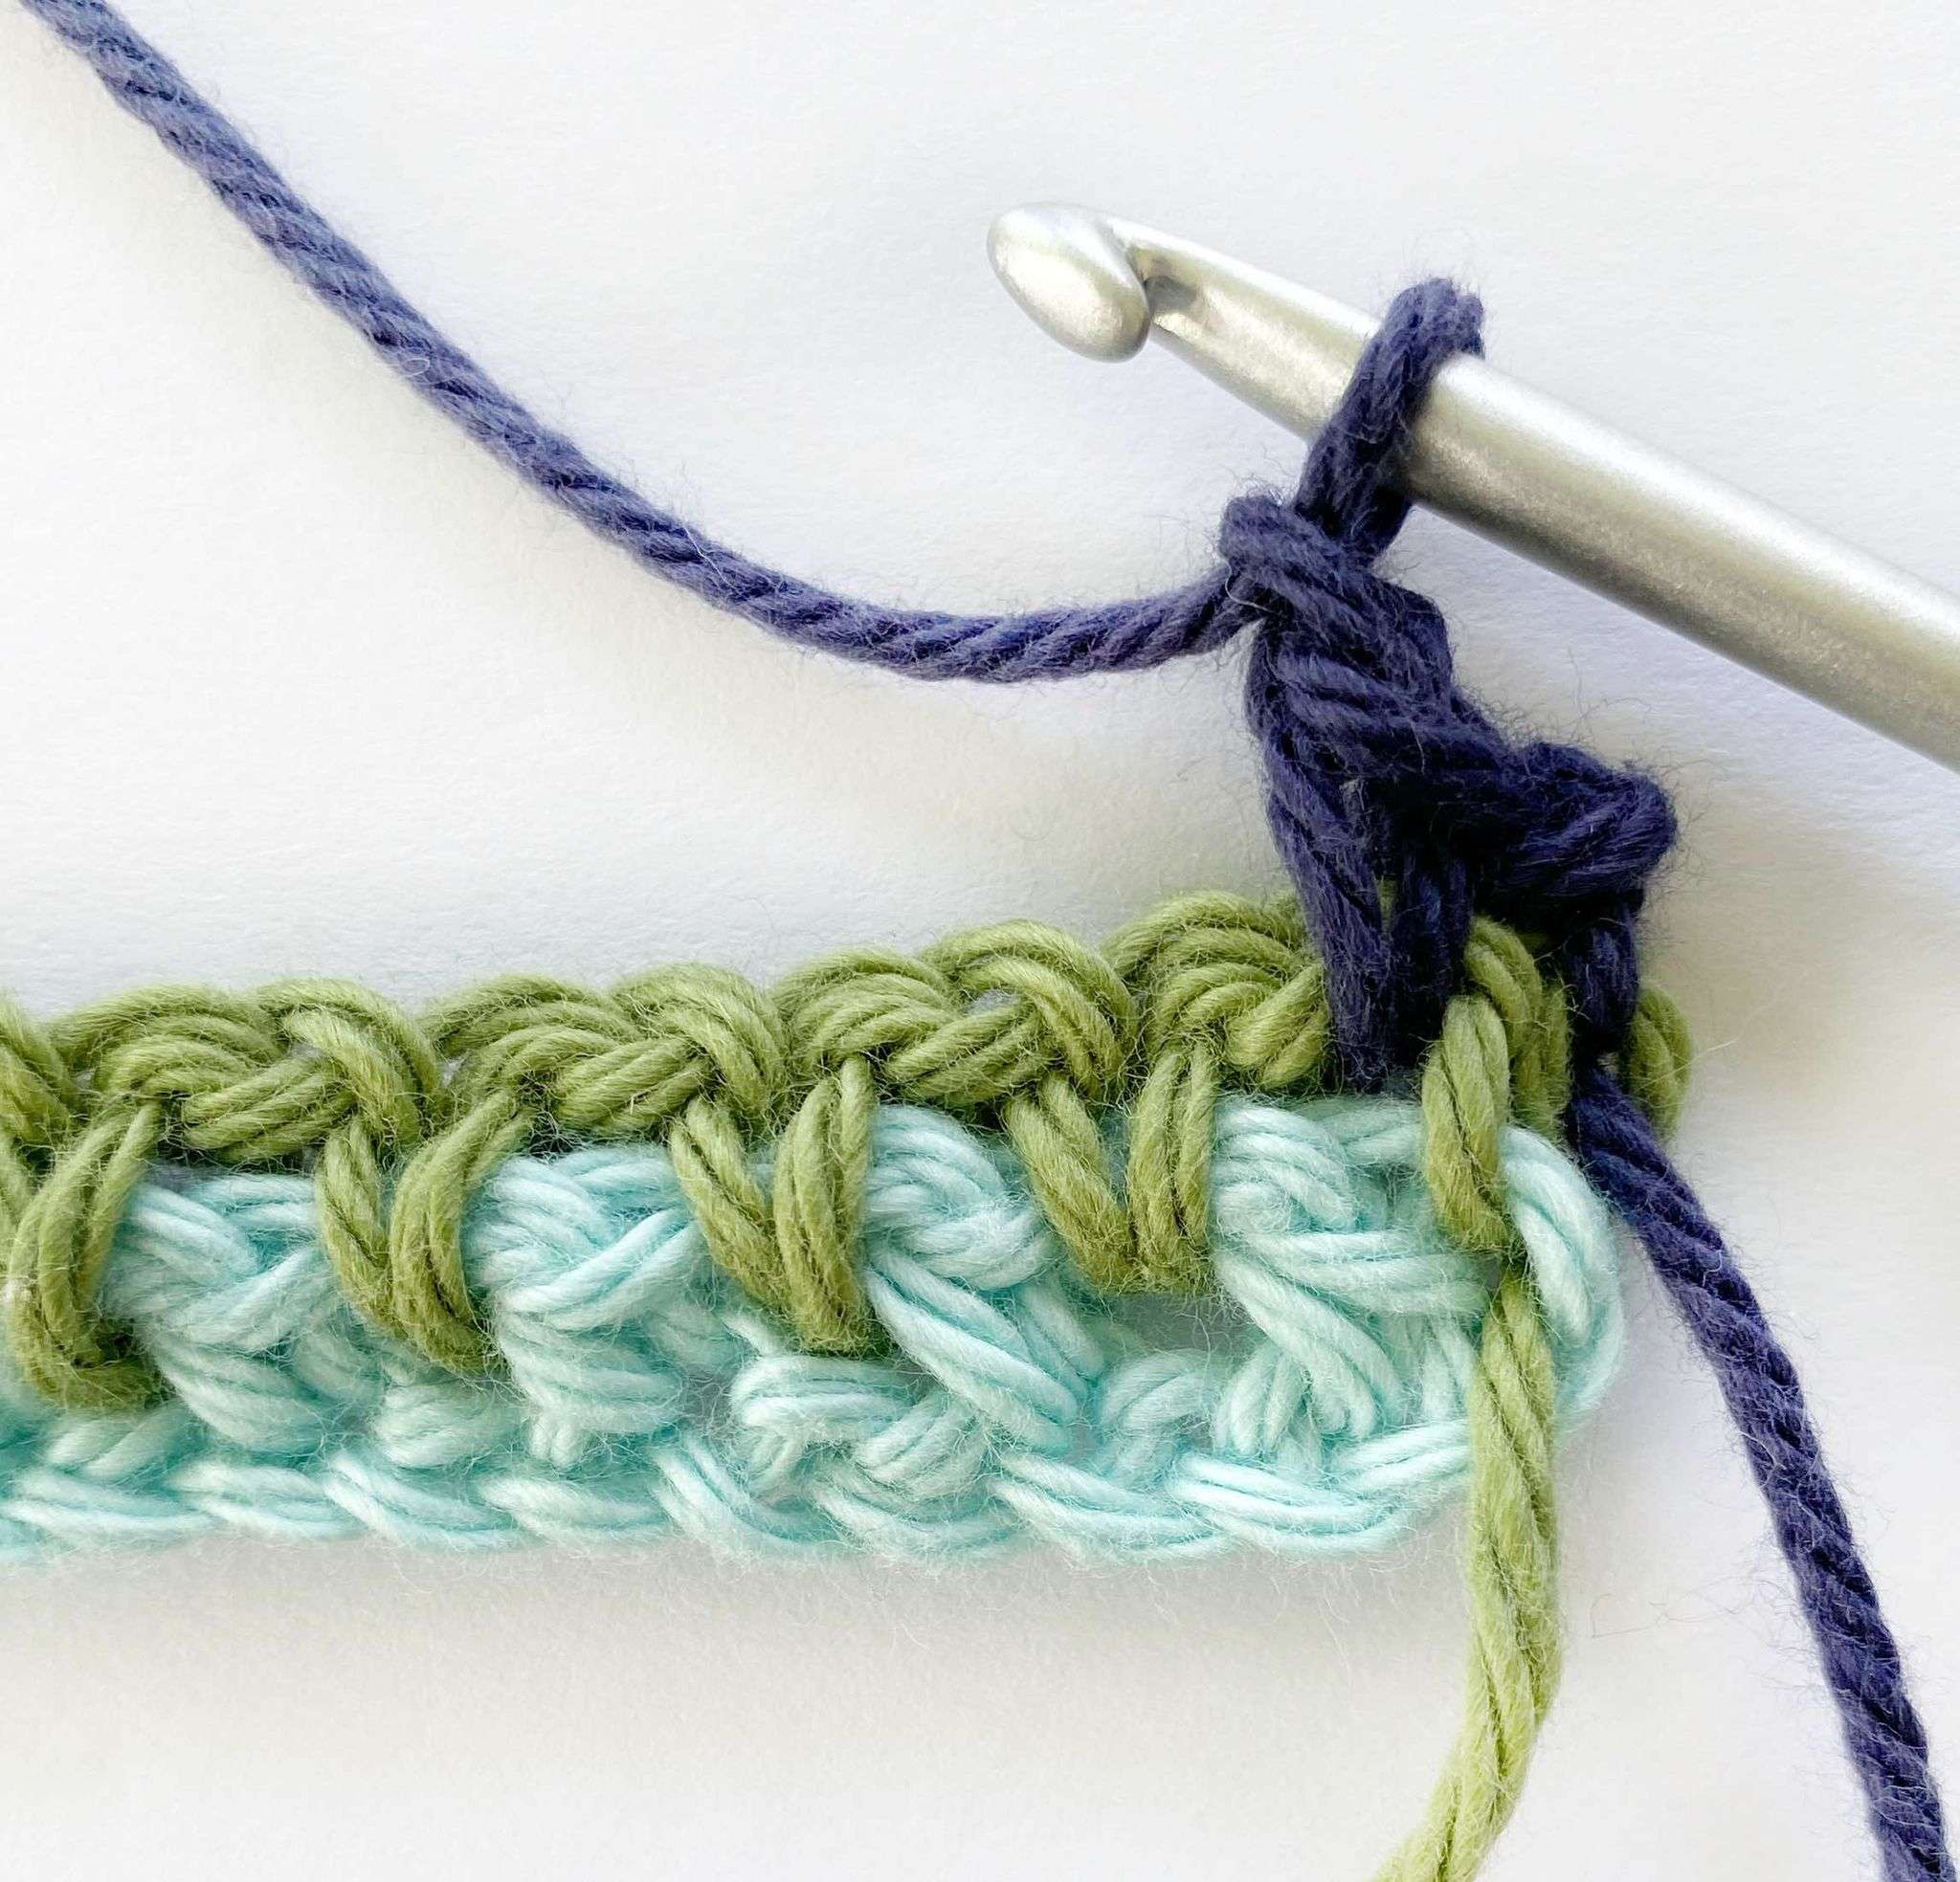
- Single crochet and chain-1 in each chain-1 space across.
- The last single crochet should be worked into the beginning chain-2 from the previous row. Do not chain 1.
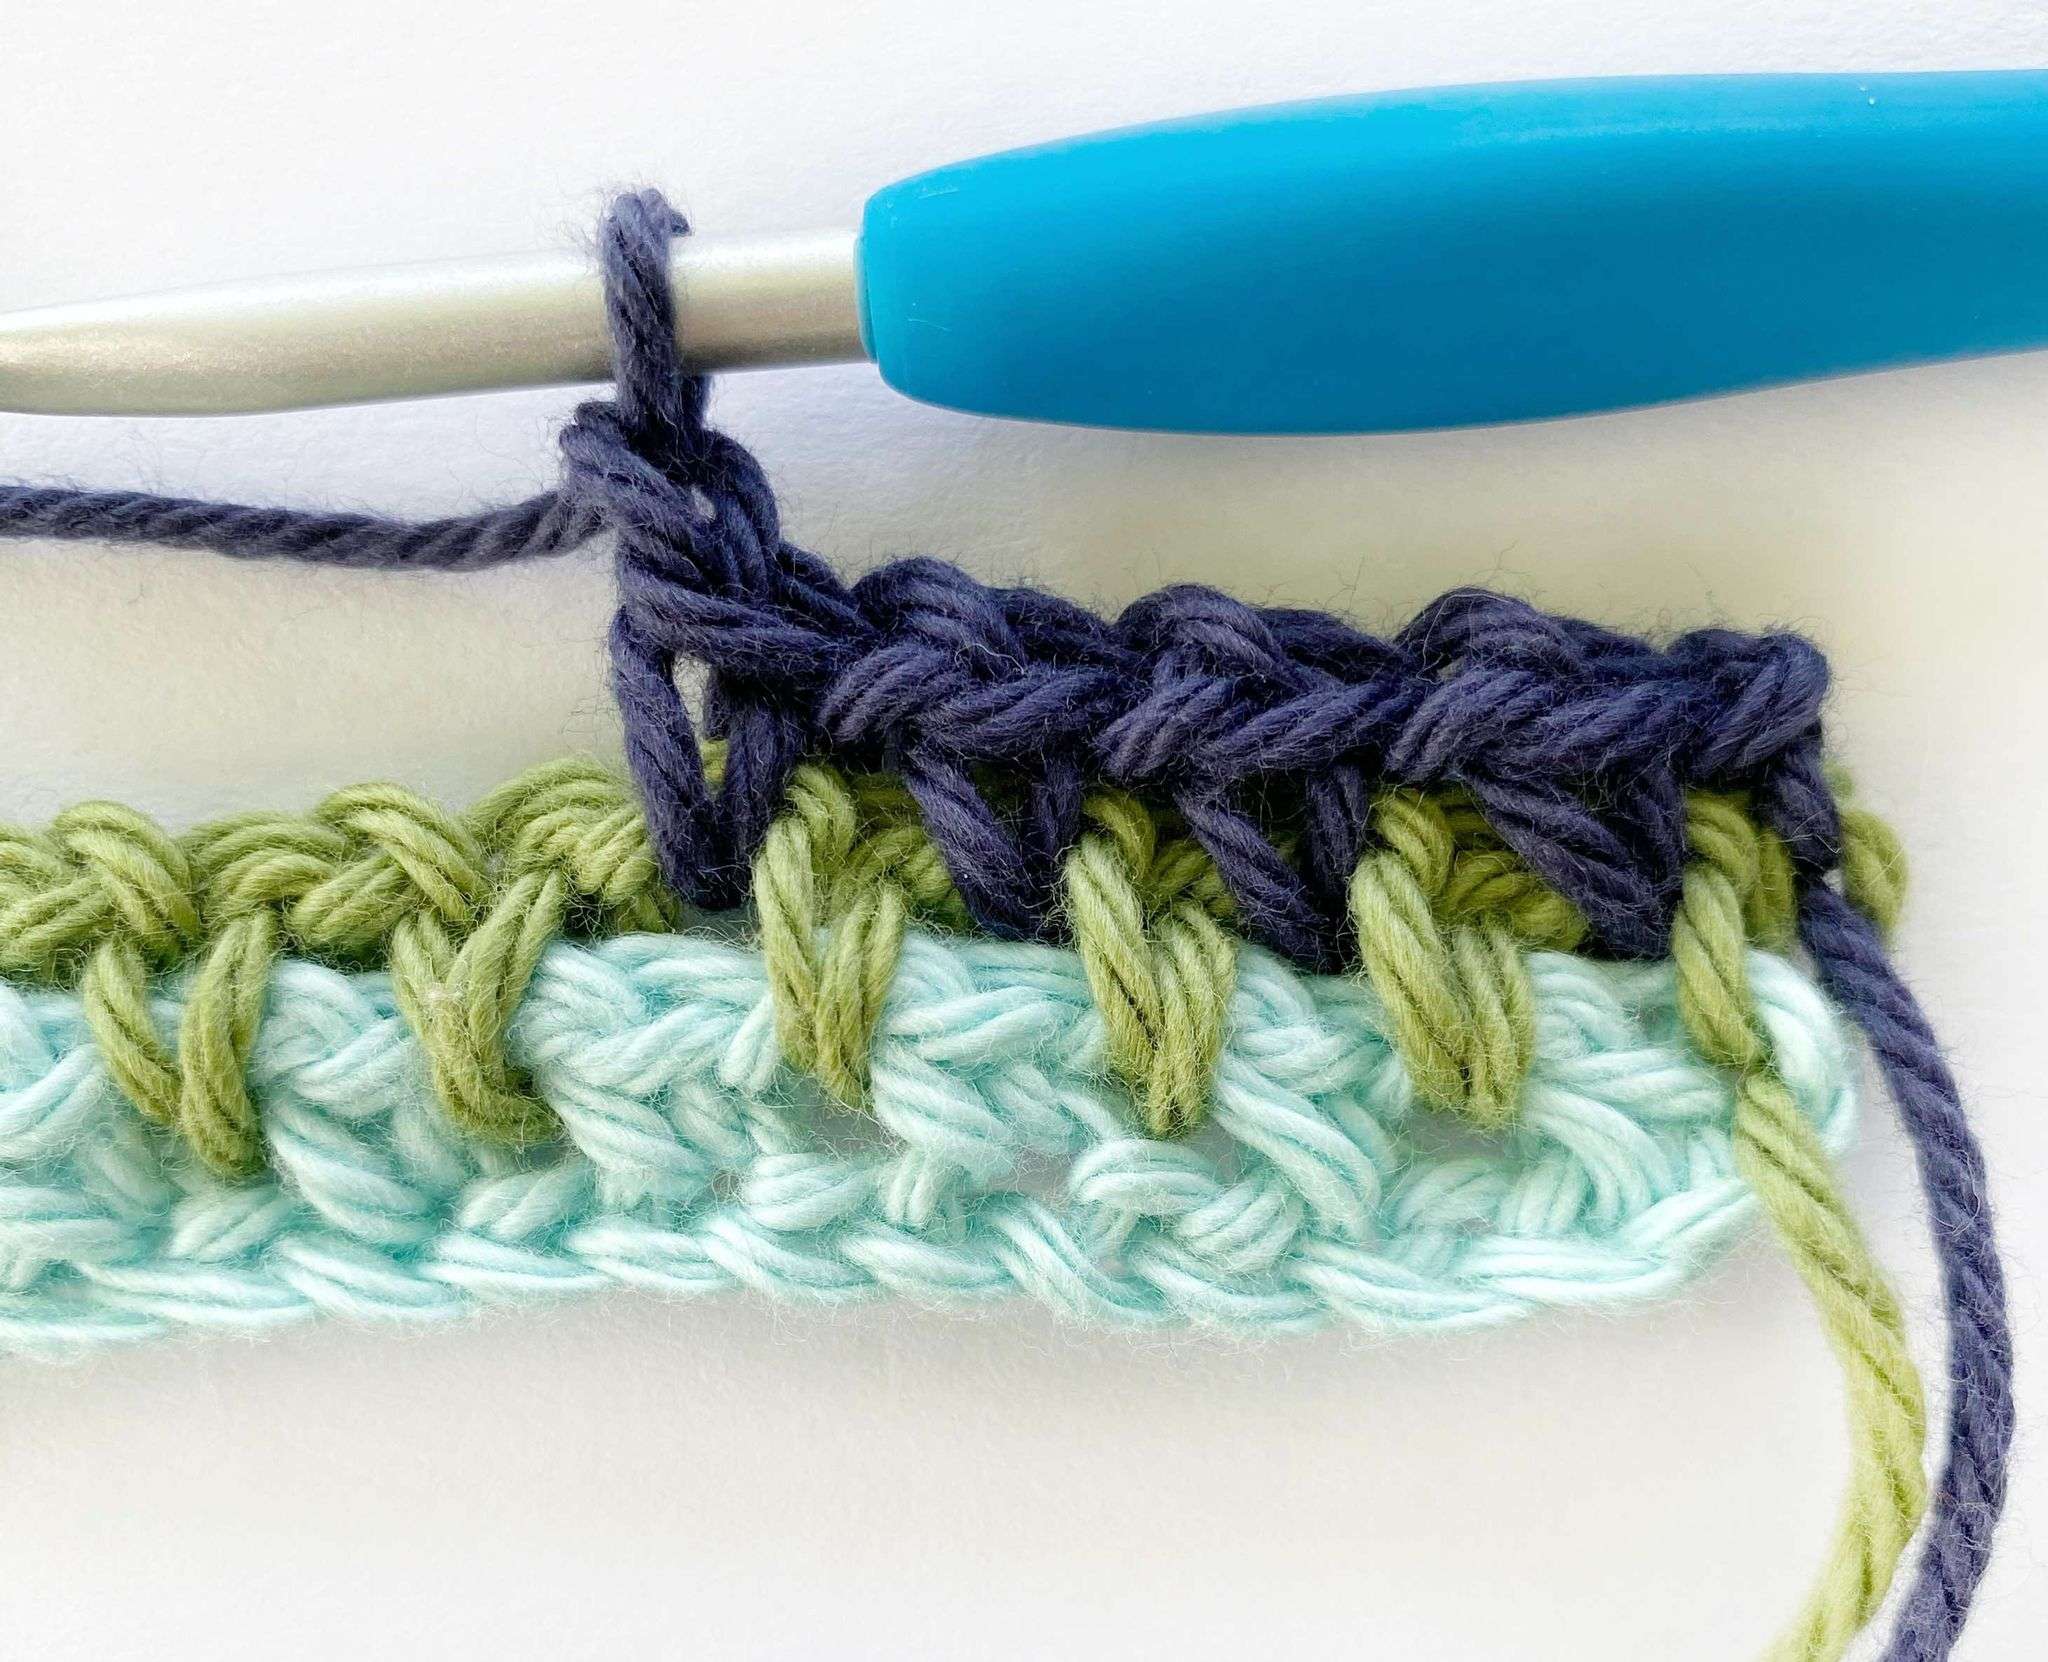
Stitch Count: Your stitch count will be the same as Row 1 and 2.
Rows 4 and on:
- Repeat Row 3, making sure to turn your work before starting each new row.
- If you’d like to learn how to change colour, keep reading below.
Video Tutorial:
This is a video tutorial for the Beginner Moss Stitch Striped Scarf. This scarf uses the row-by-row moss stitch pattern, so you can see how to crochet this stitch in real-time. There are timestamps included in the video, so you can skip to the part(s) you need.
How to Change Colour:
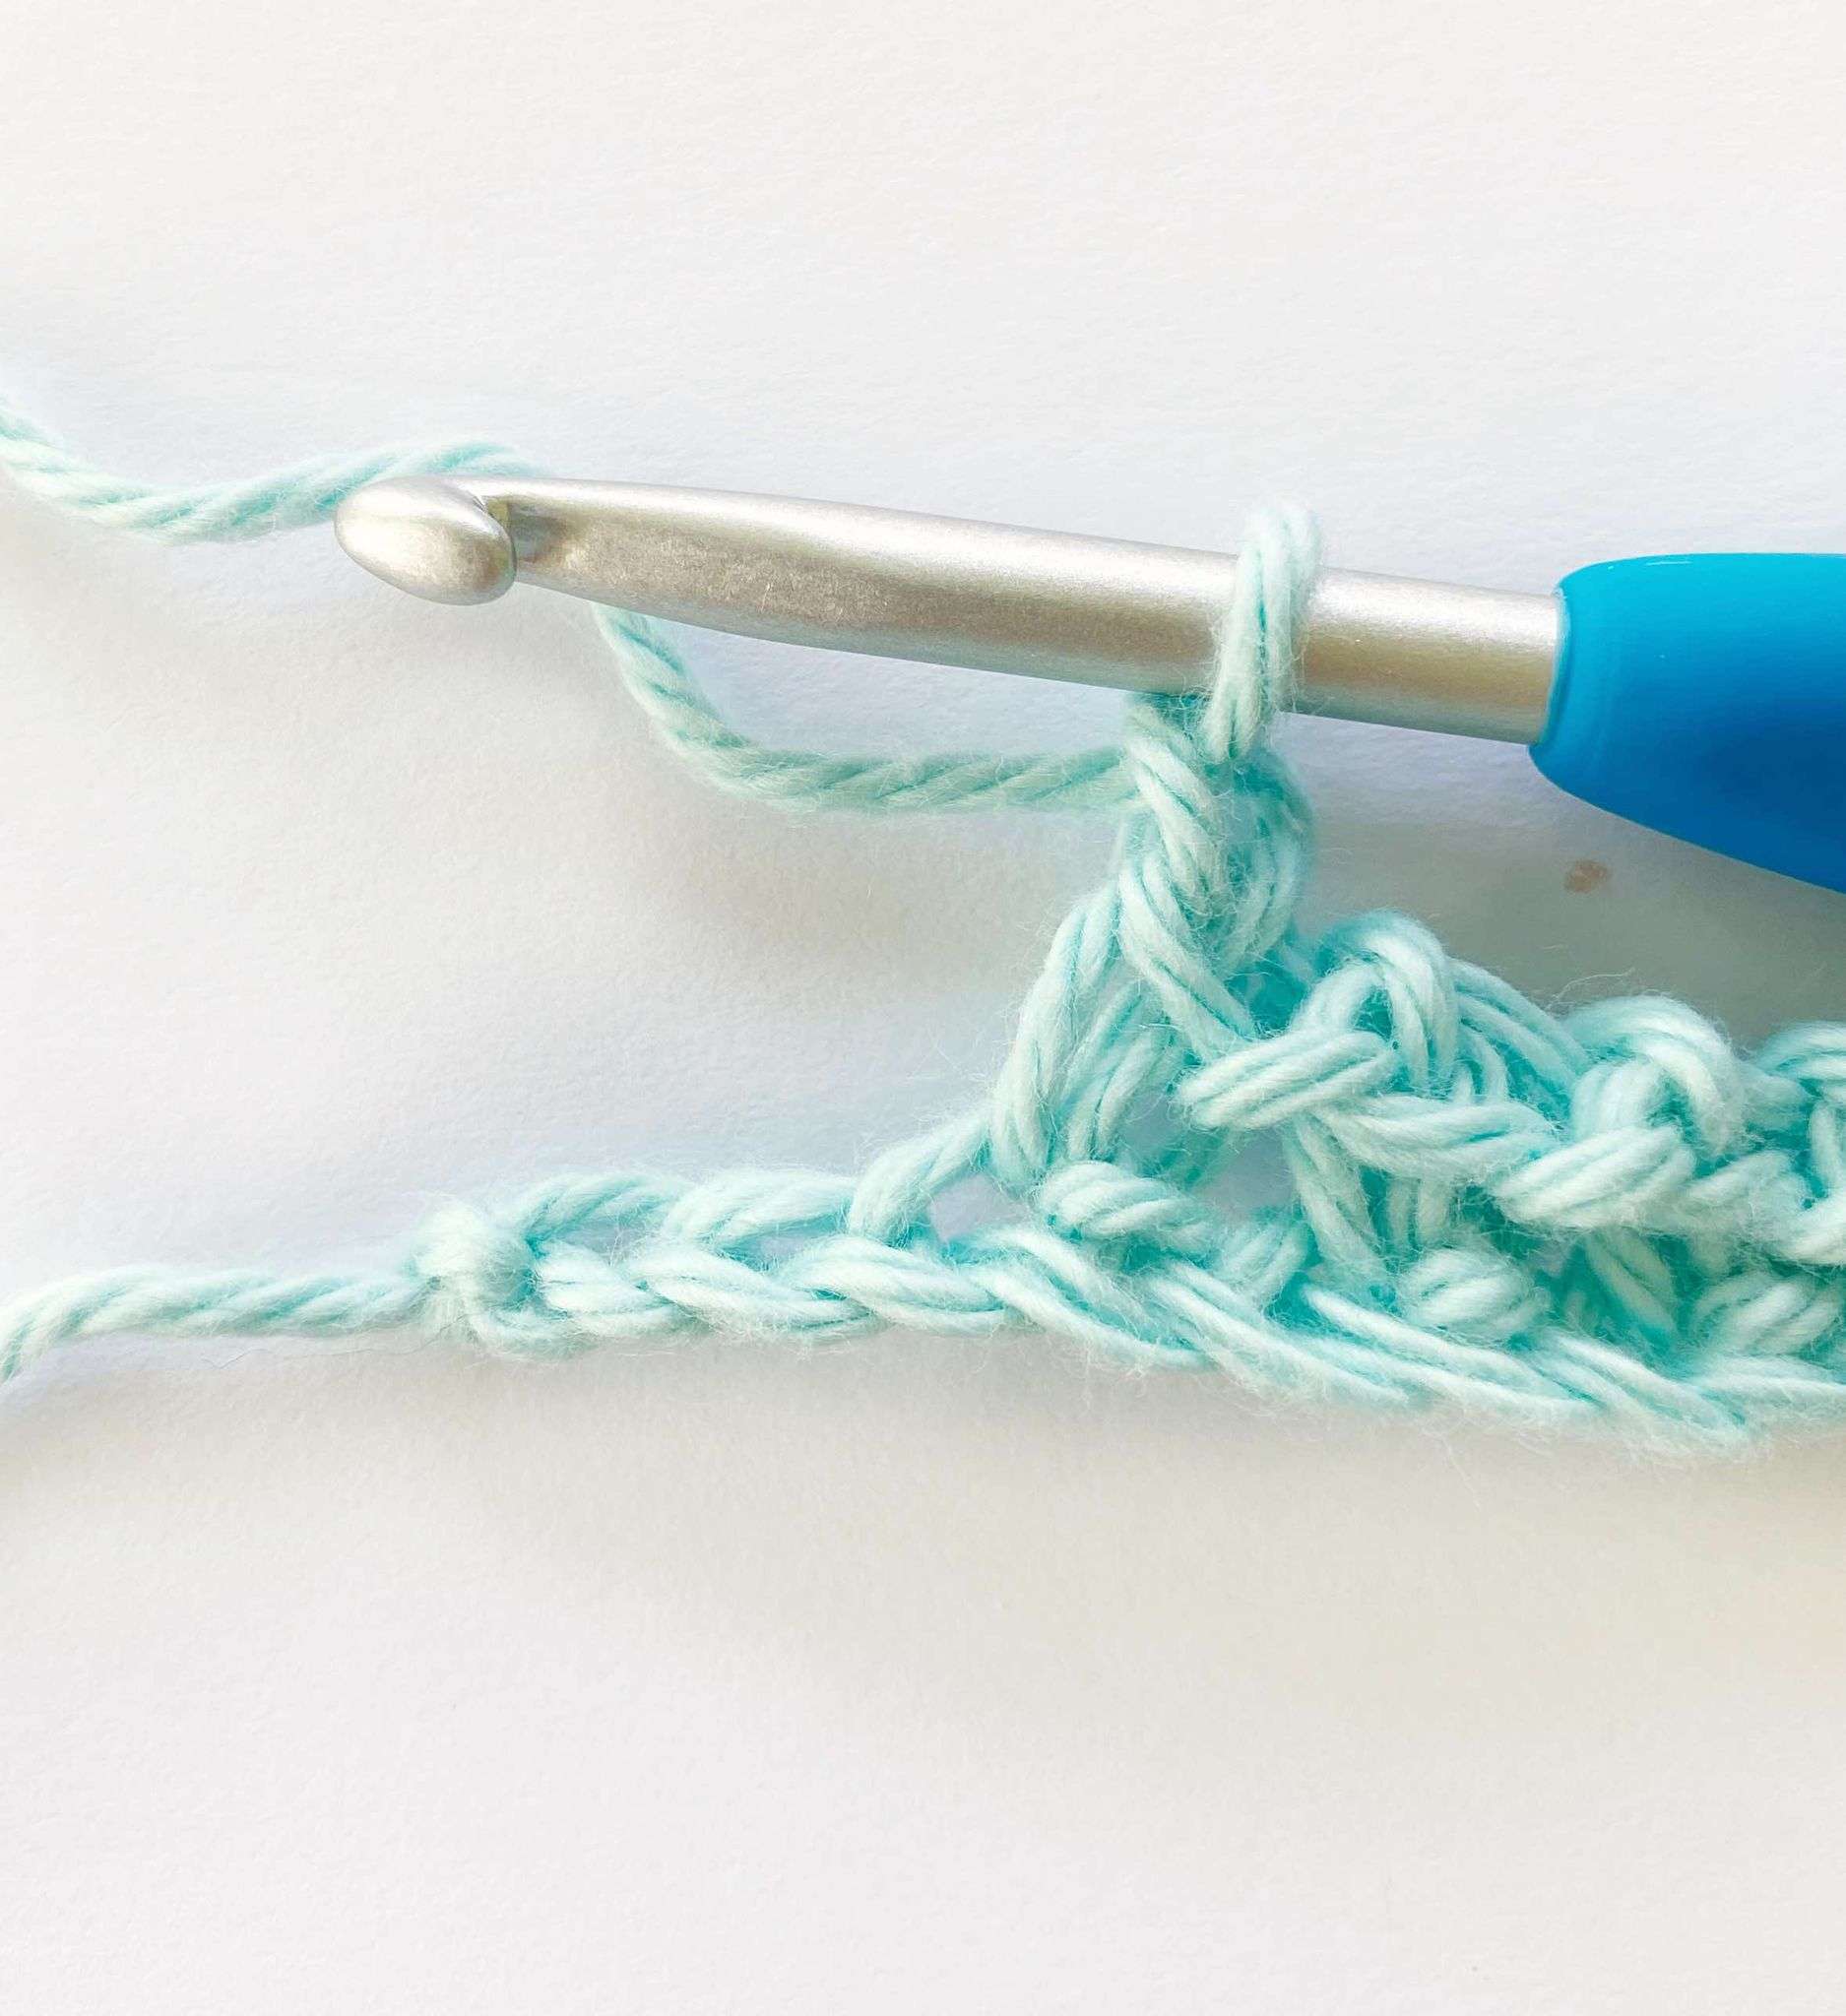
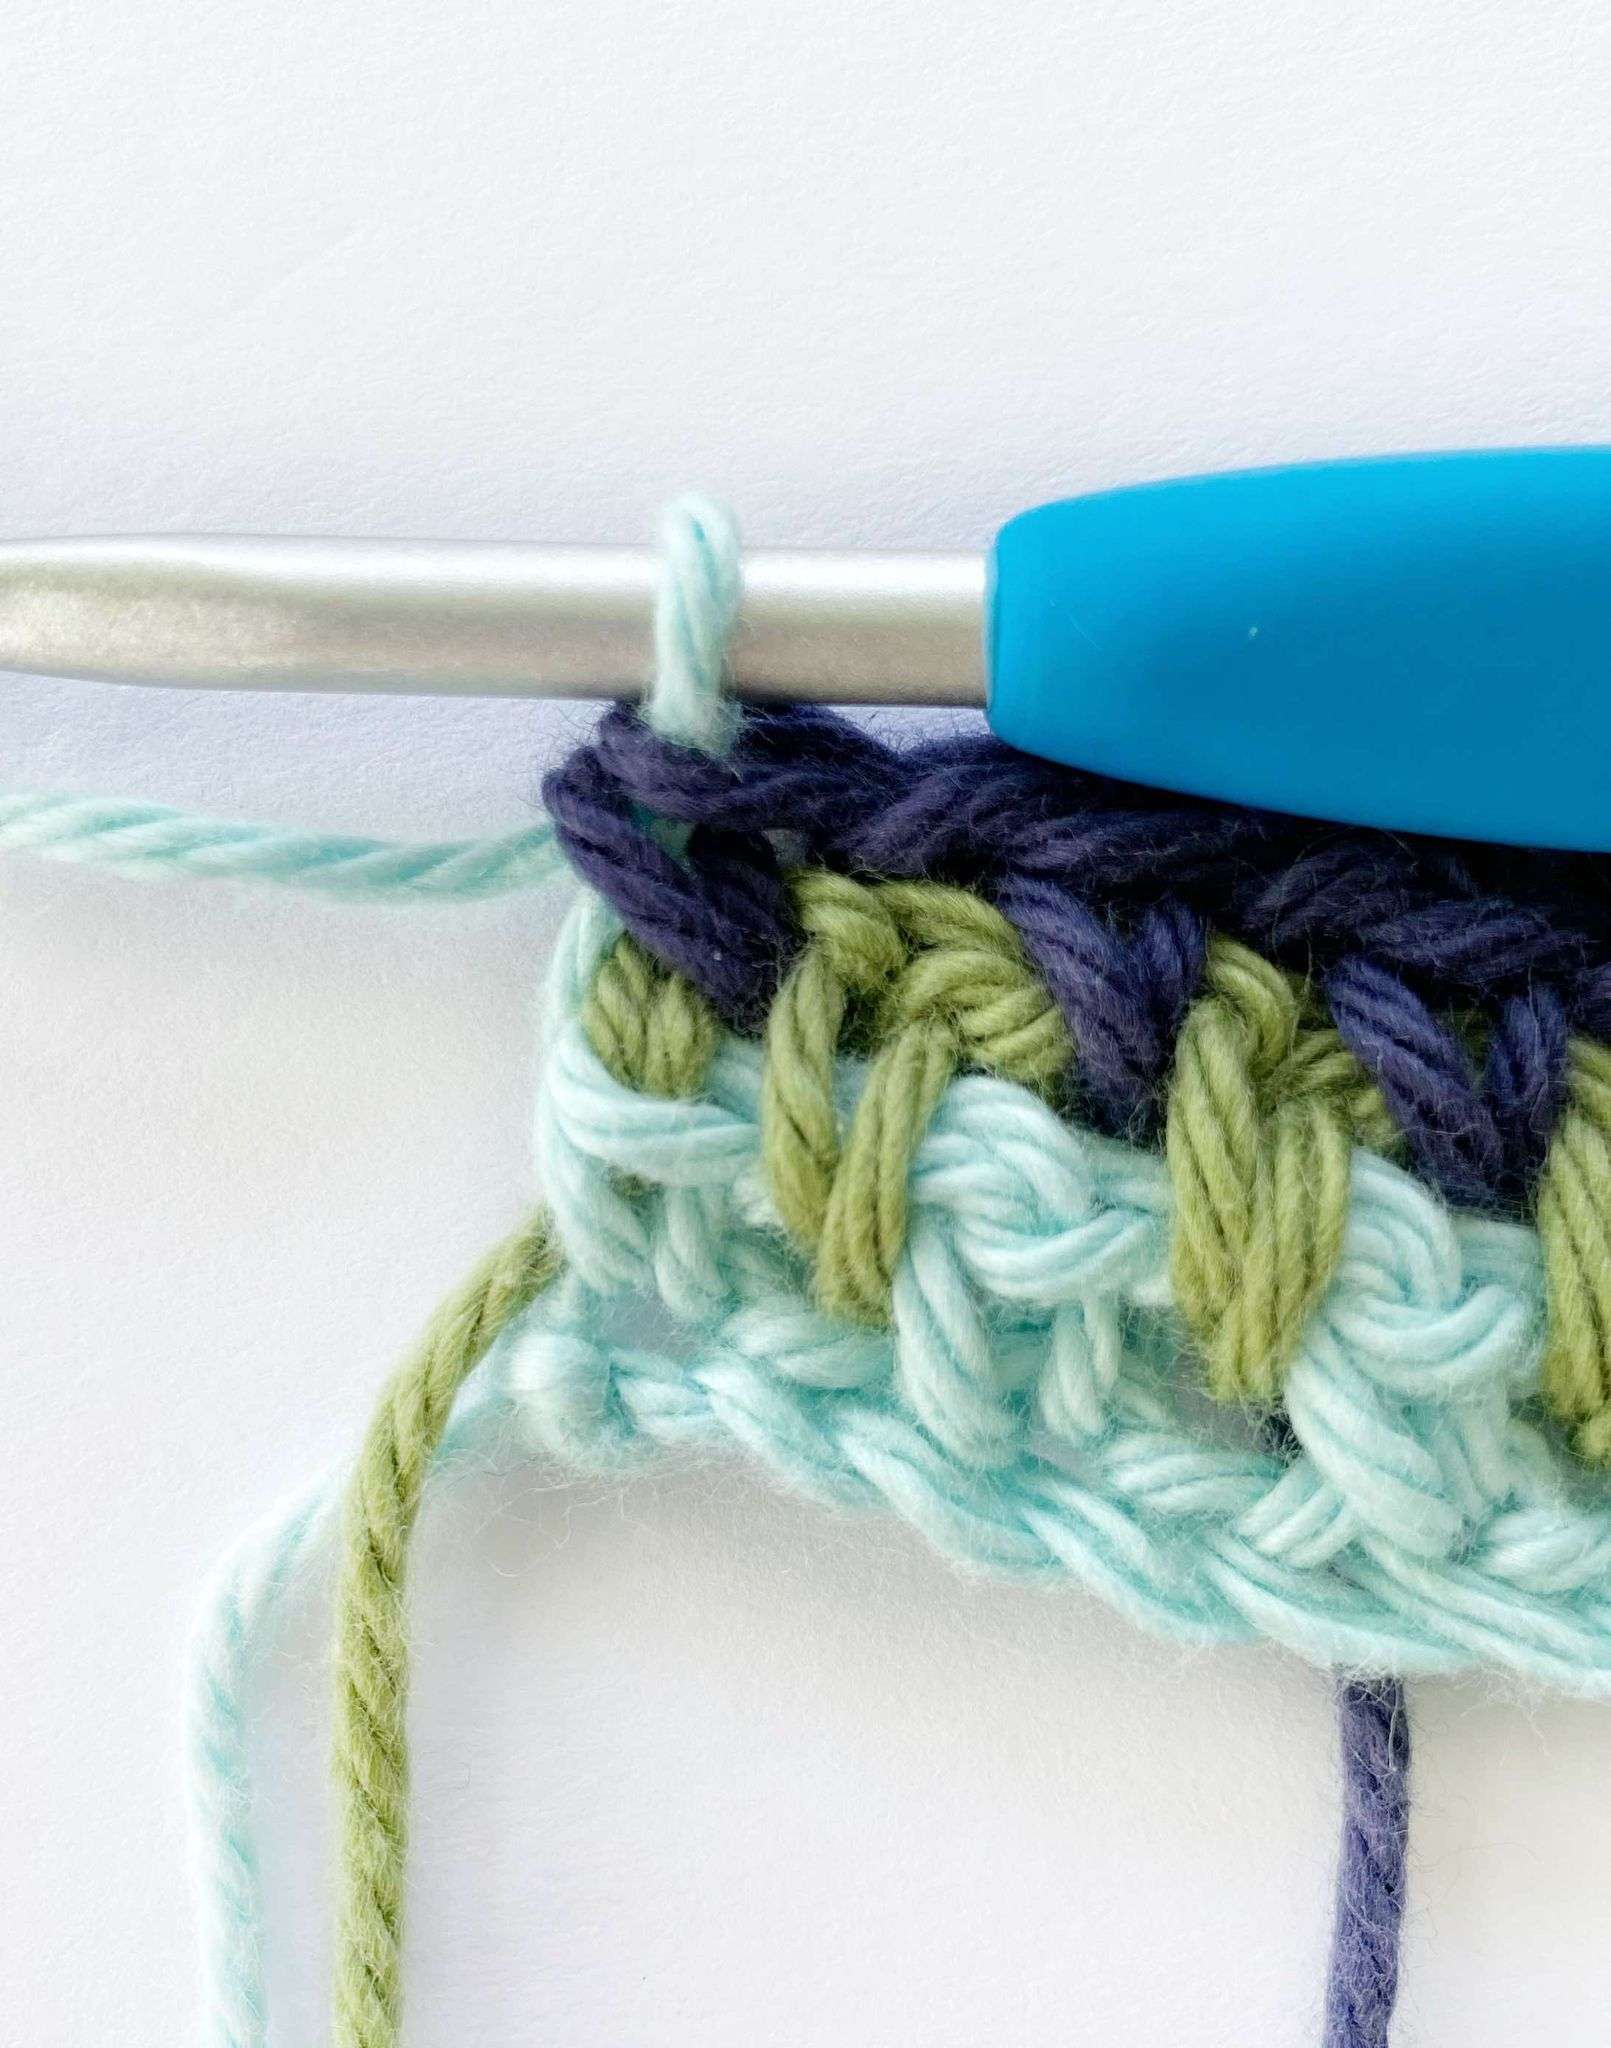
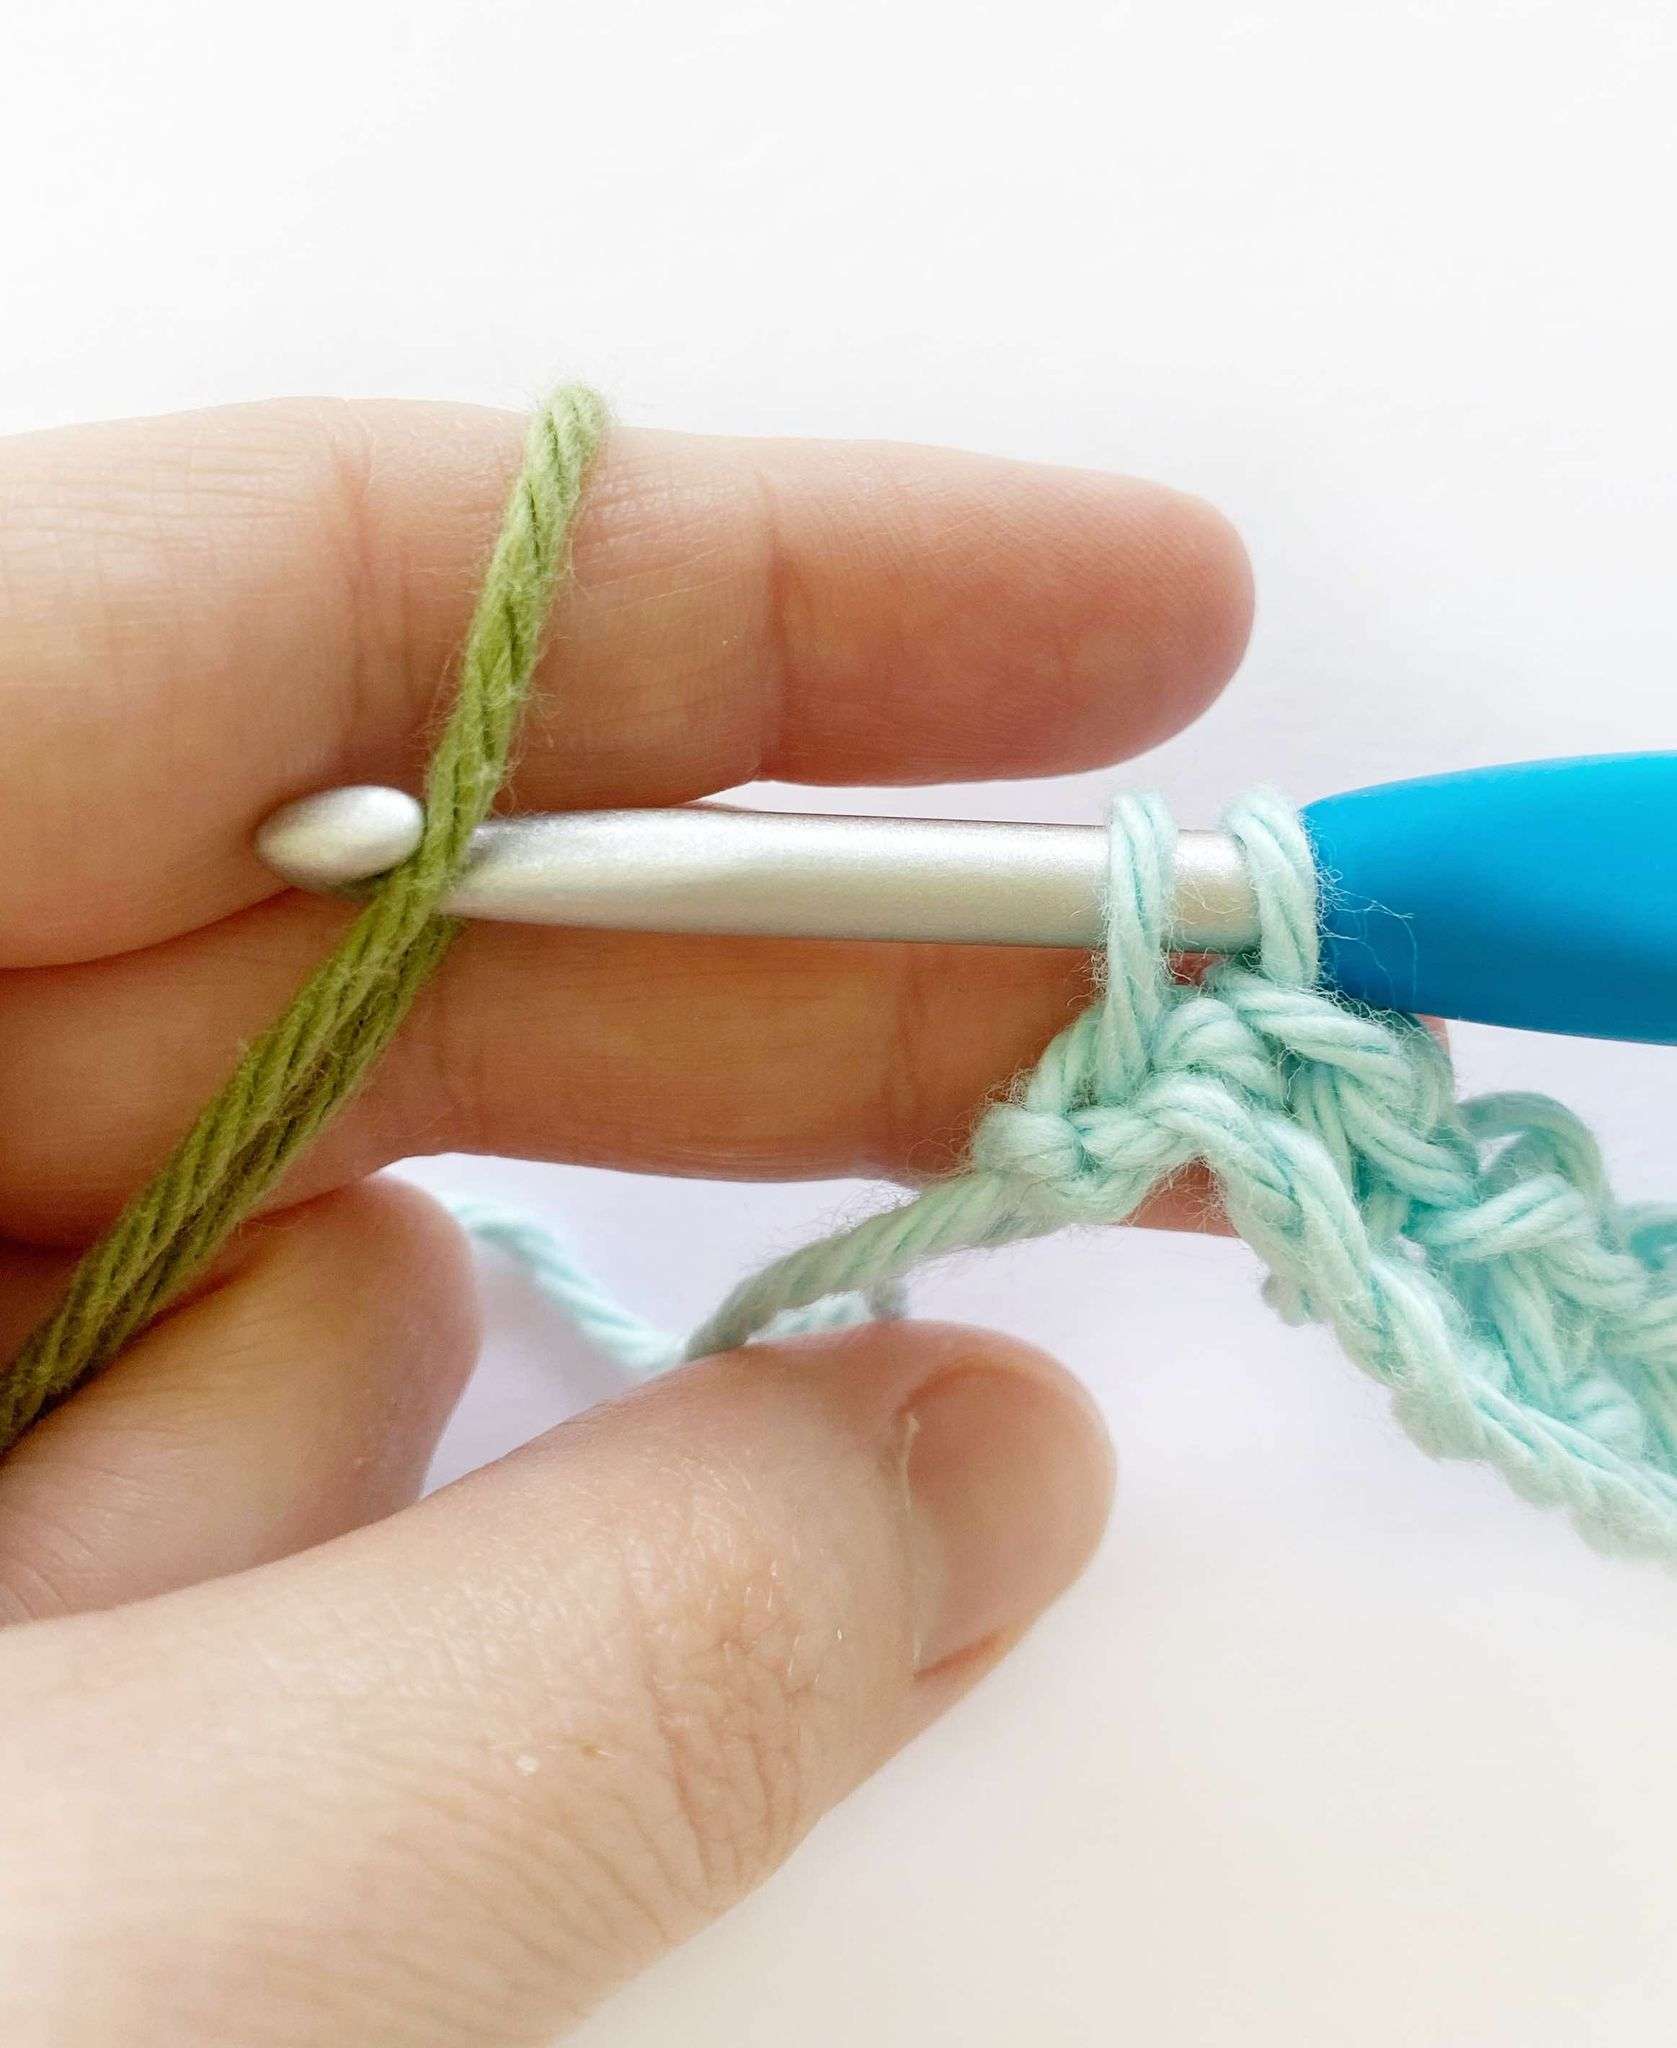
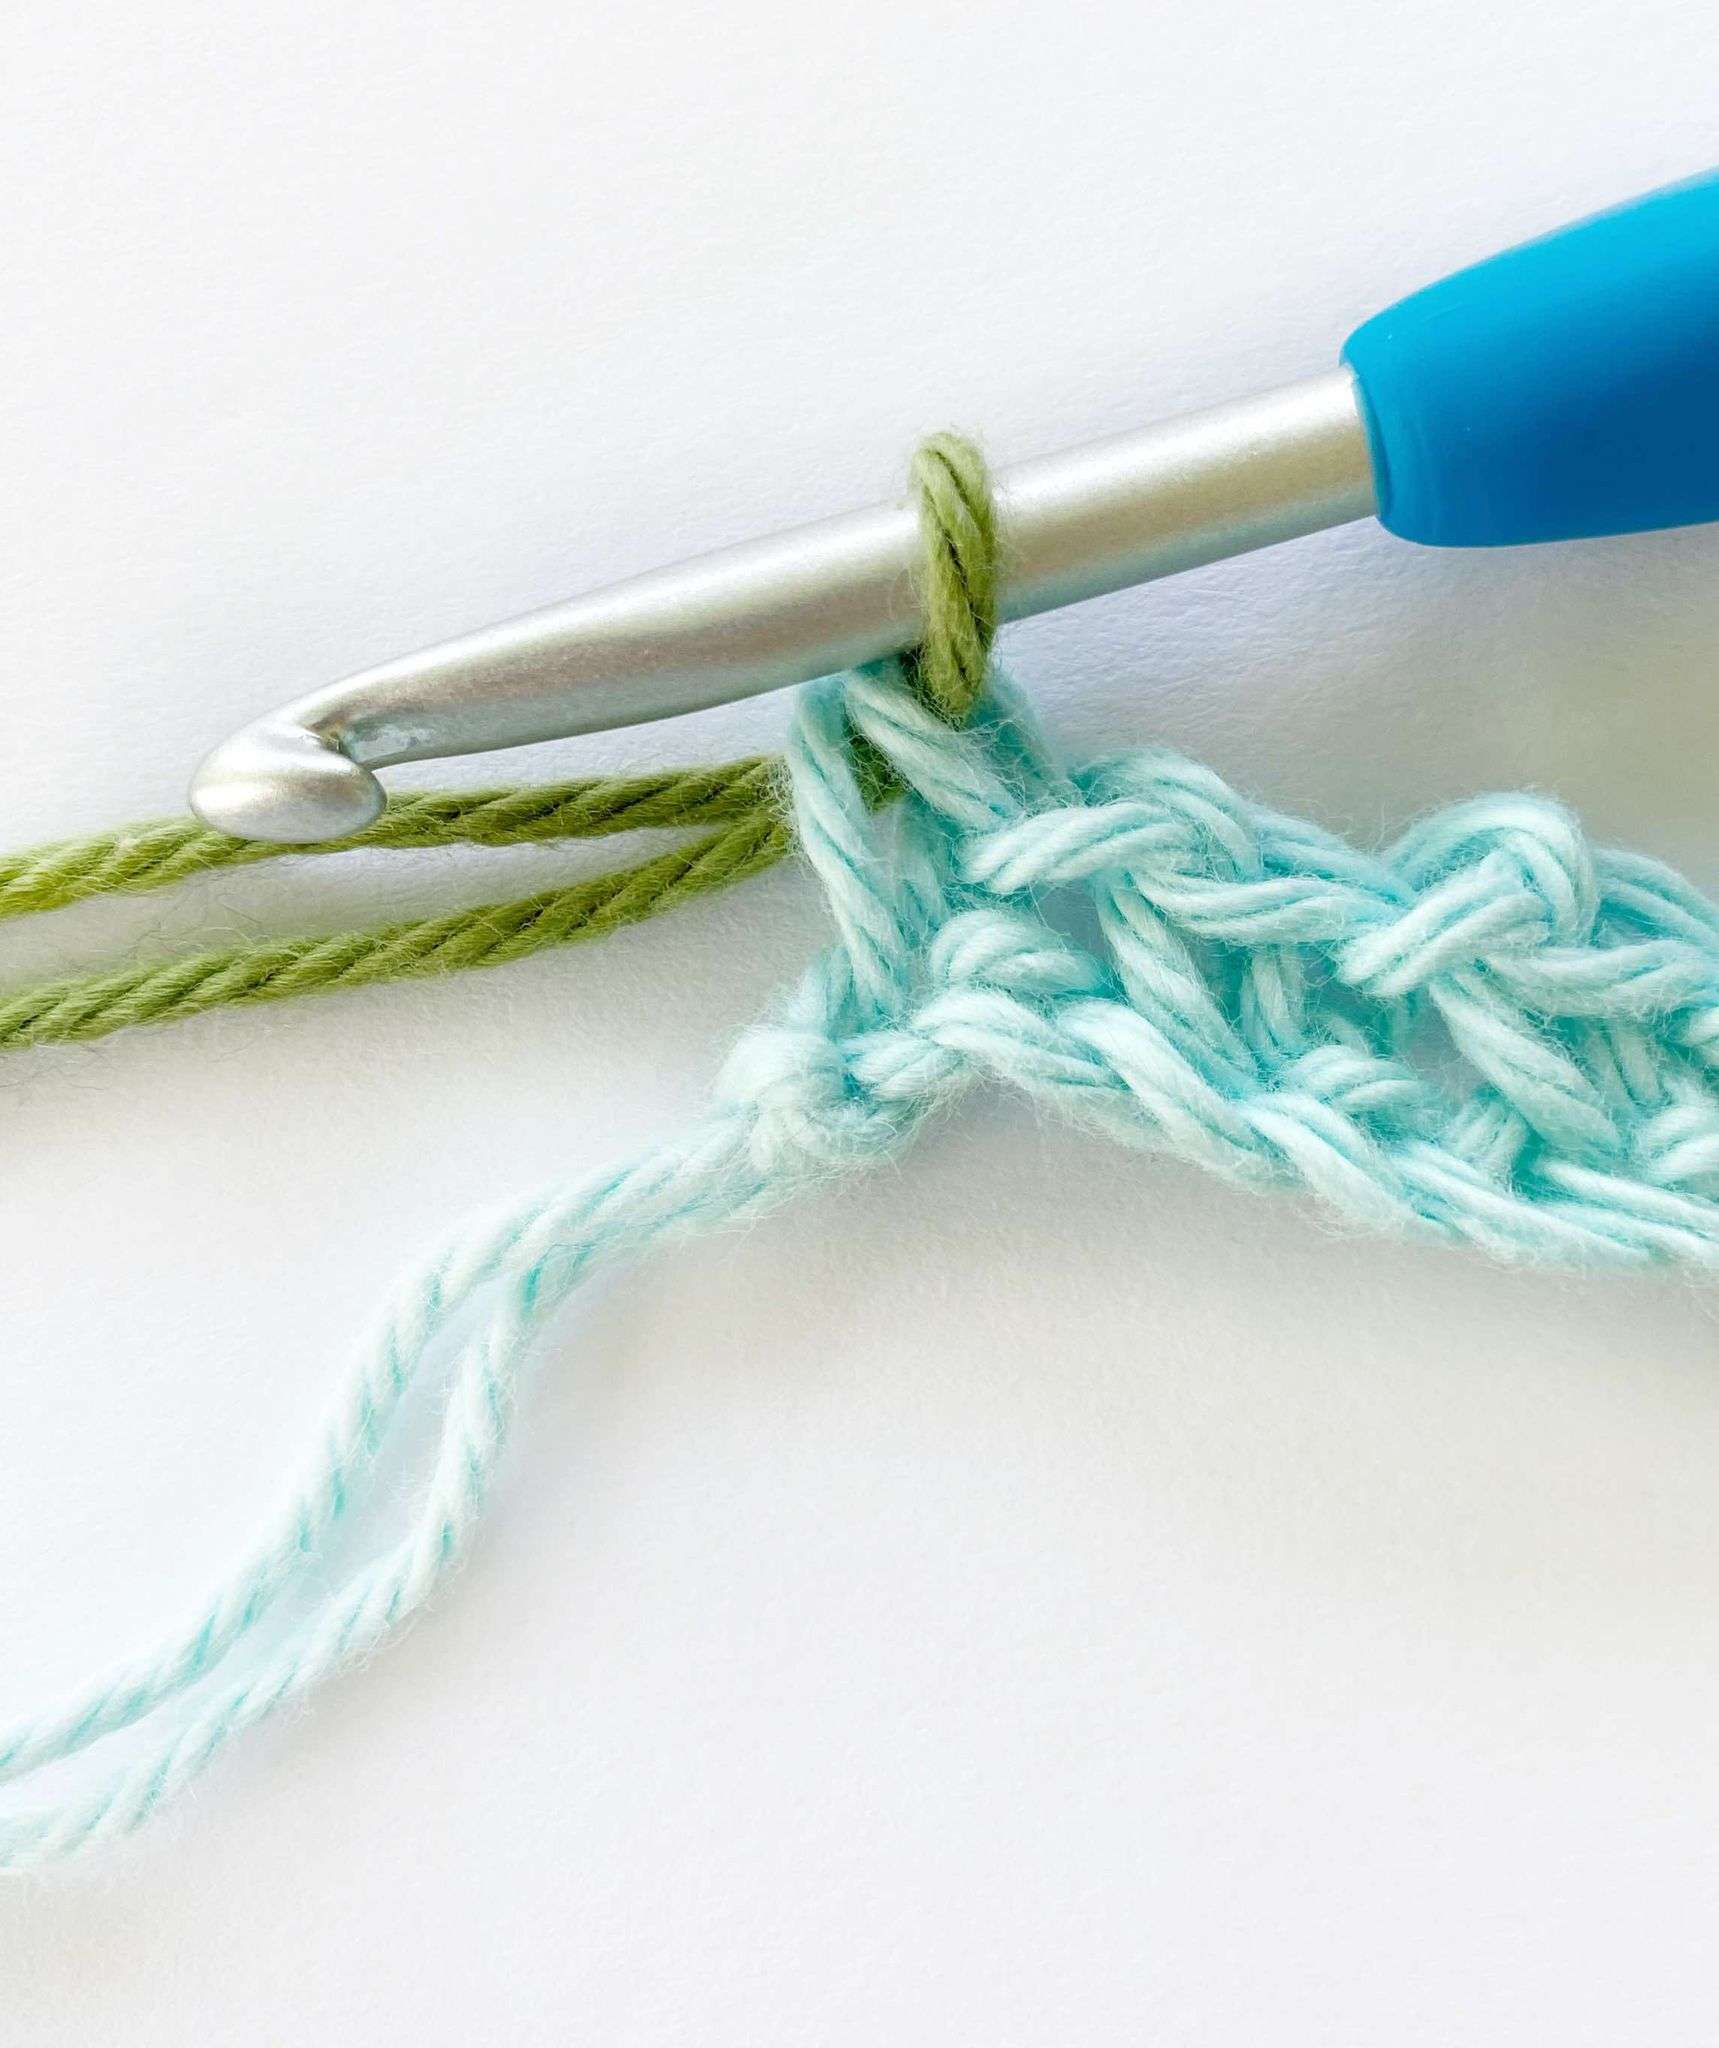
The colour change always happens in the final yarn over of the last single crochet of the row. This creates an invisible colour change.
To change colour:
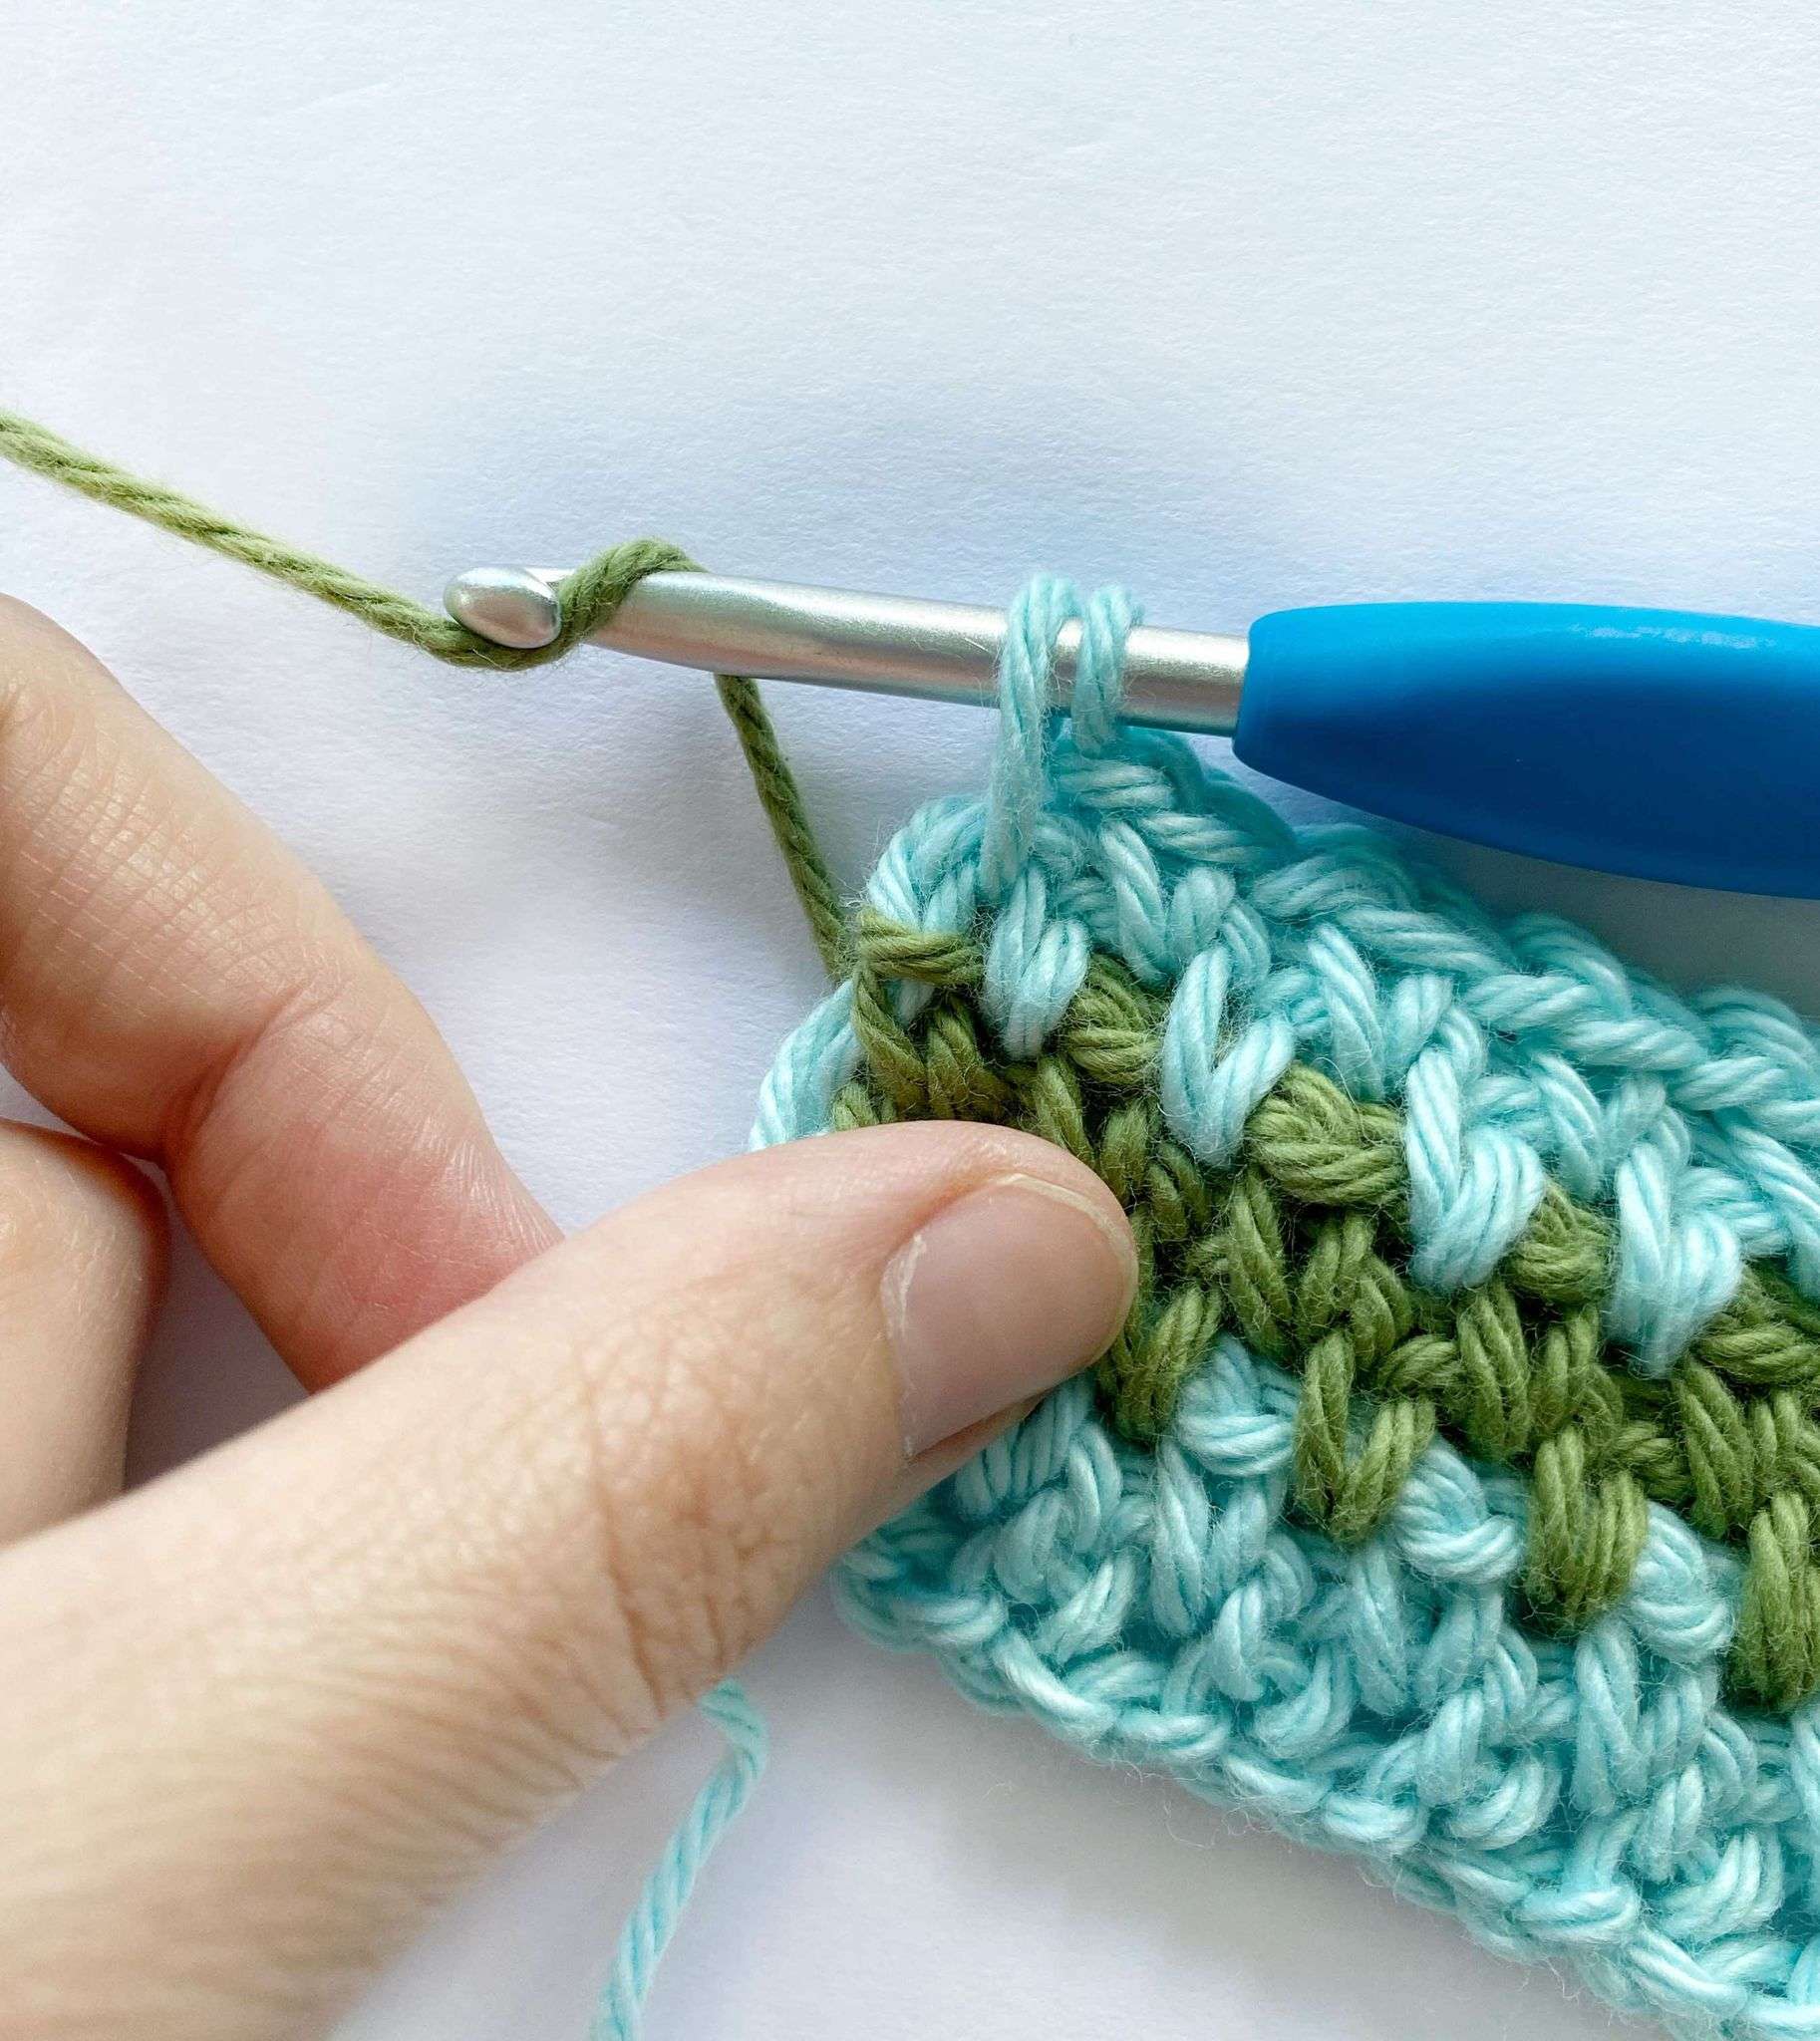
- Make your last single crochet, but before you pull through the two loops on your hook to complete the stitch, drop the current colour (blue).
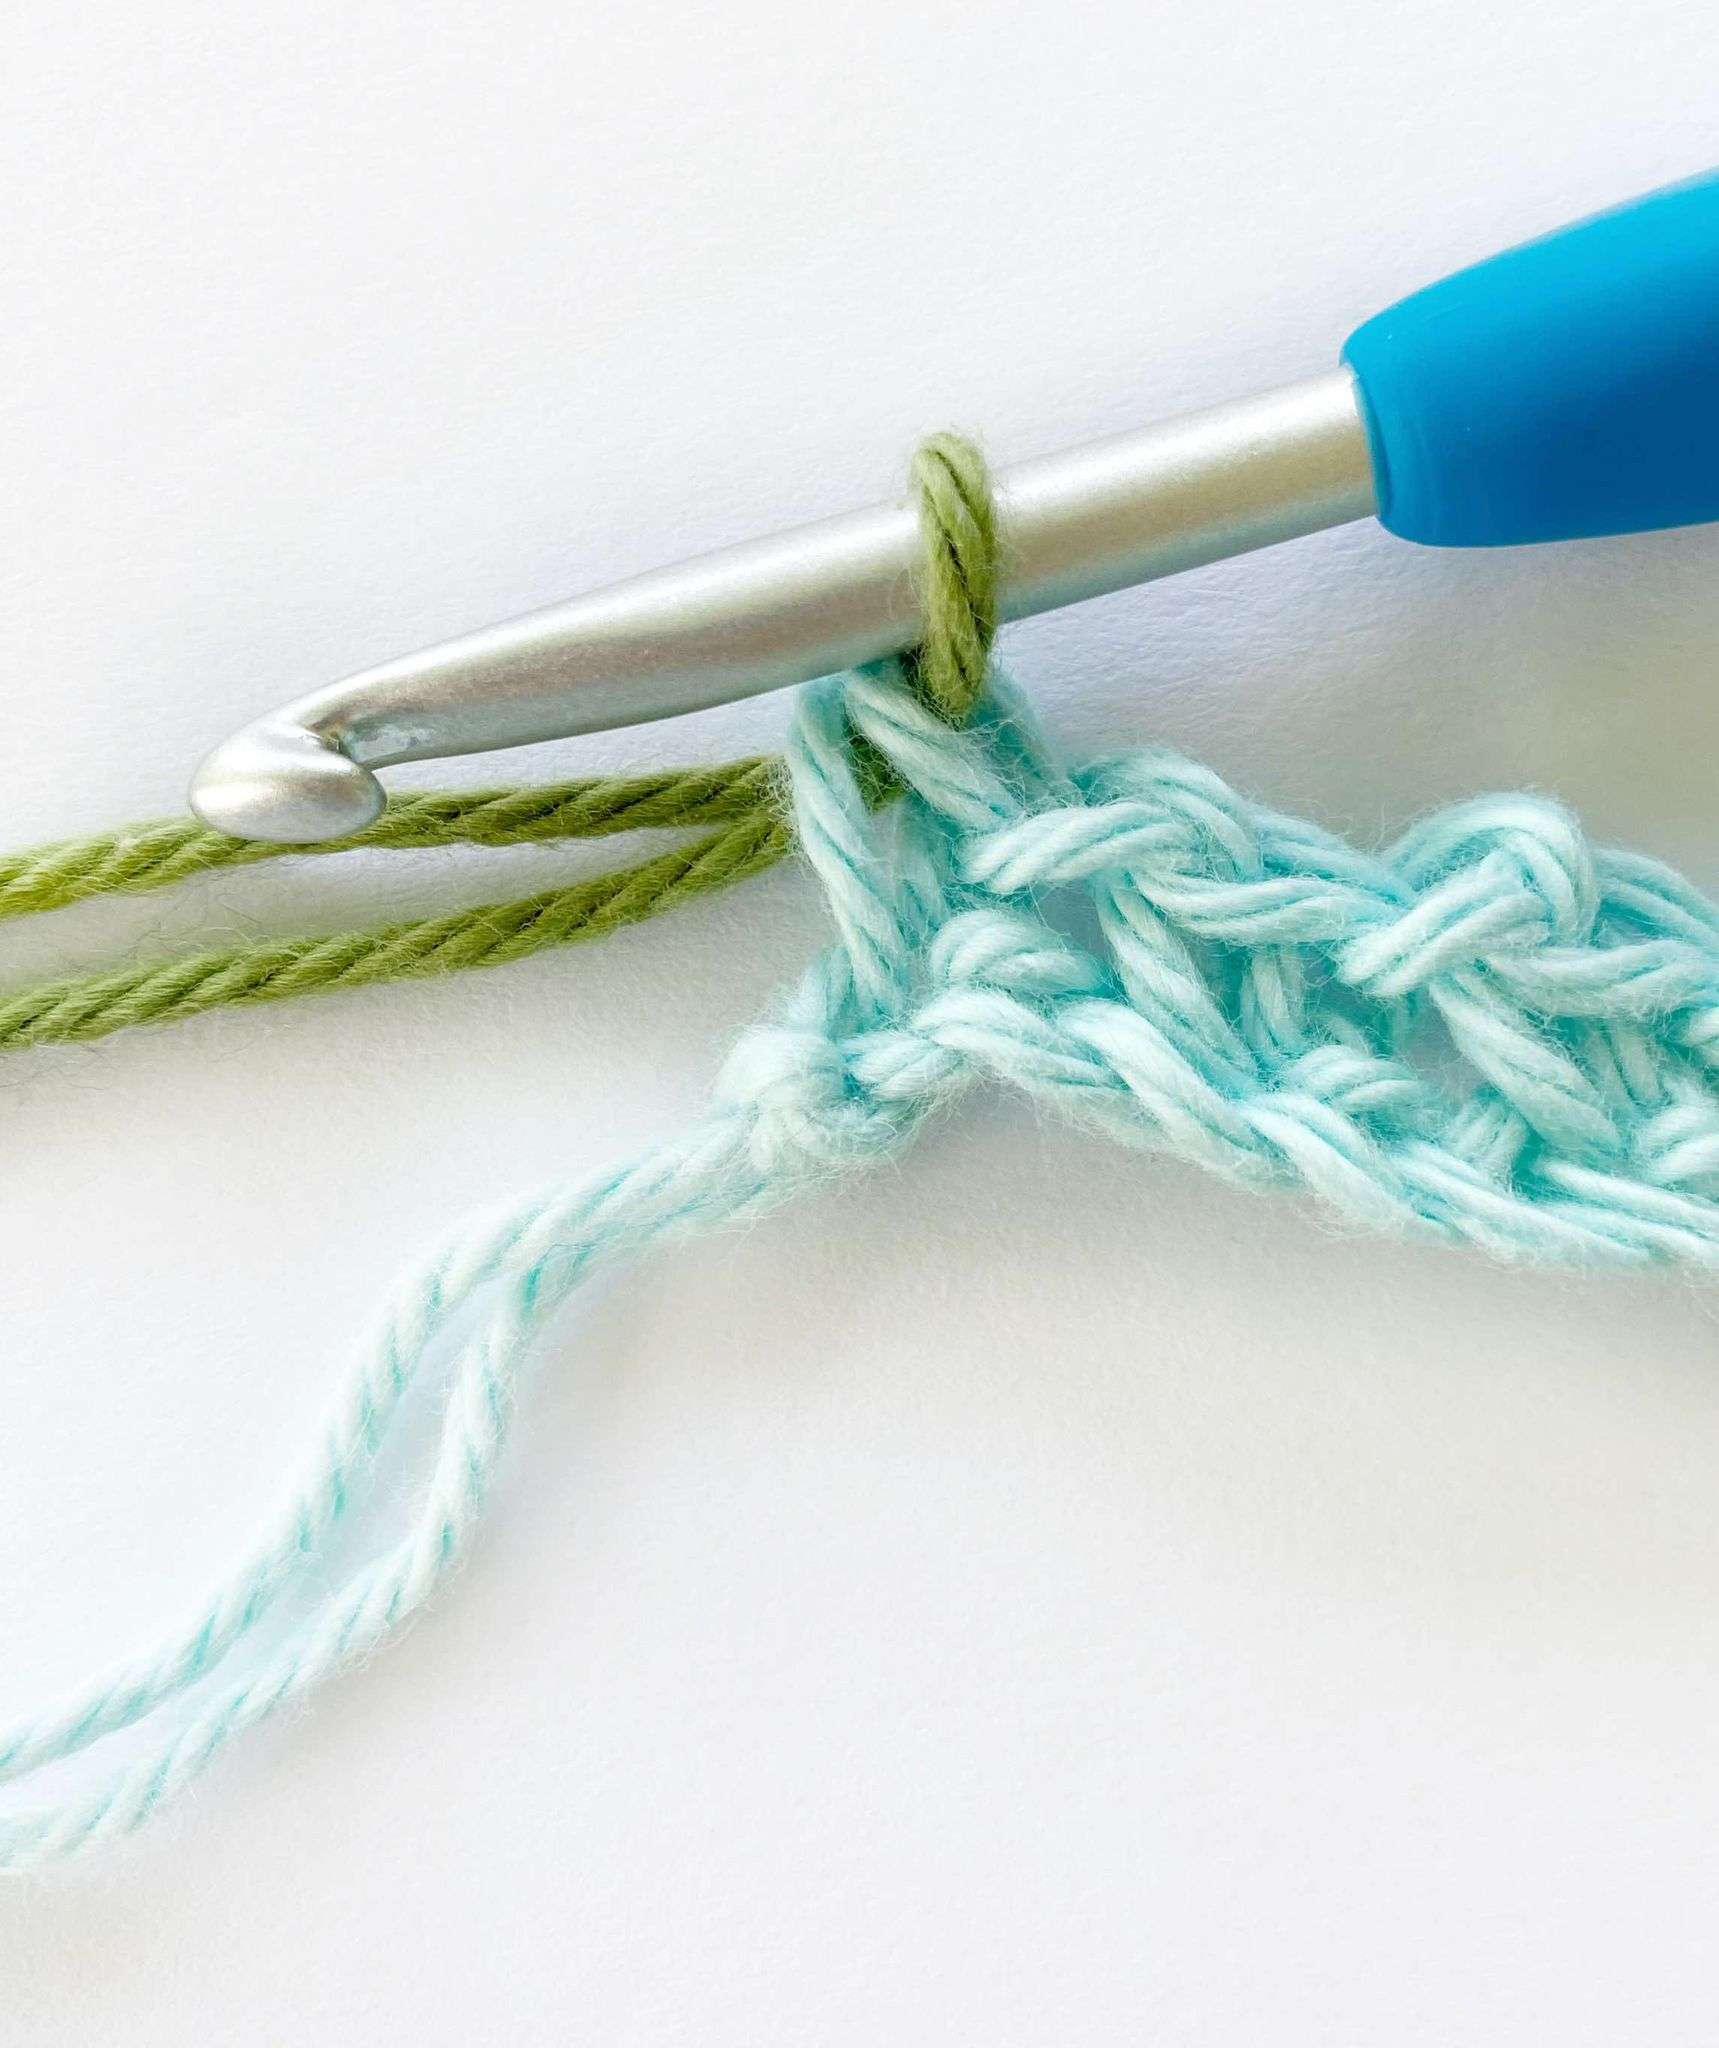
- Pick up the new colour with the hook (green) – to make the join more secure, make a slip knot with the new colour and place it on the hook.
- Pull the new colour through the remaining 2 loops on the hook to close the single crochet.
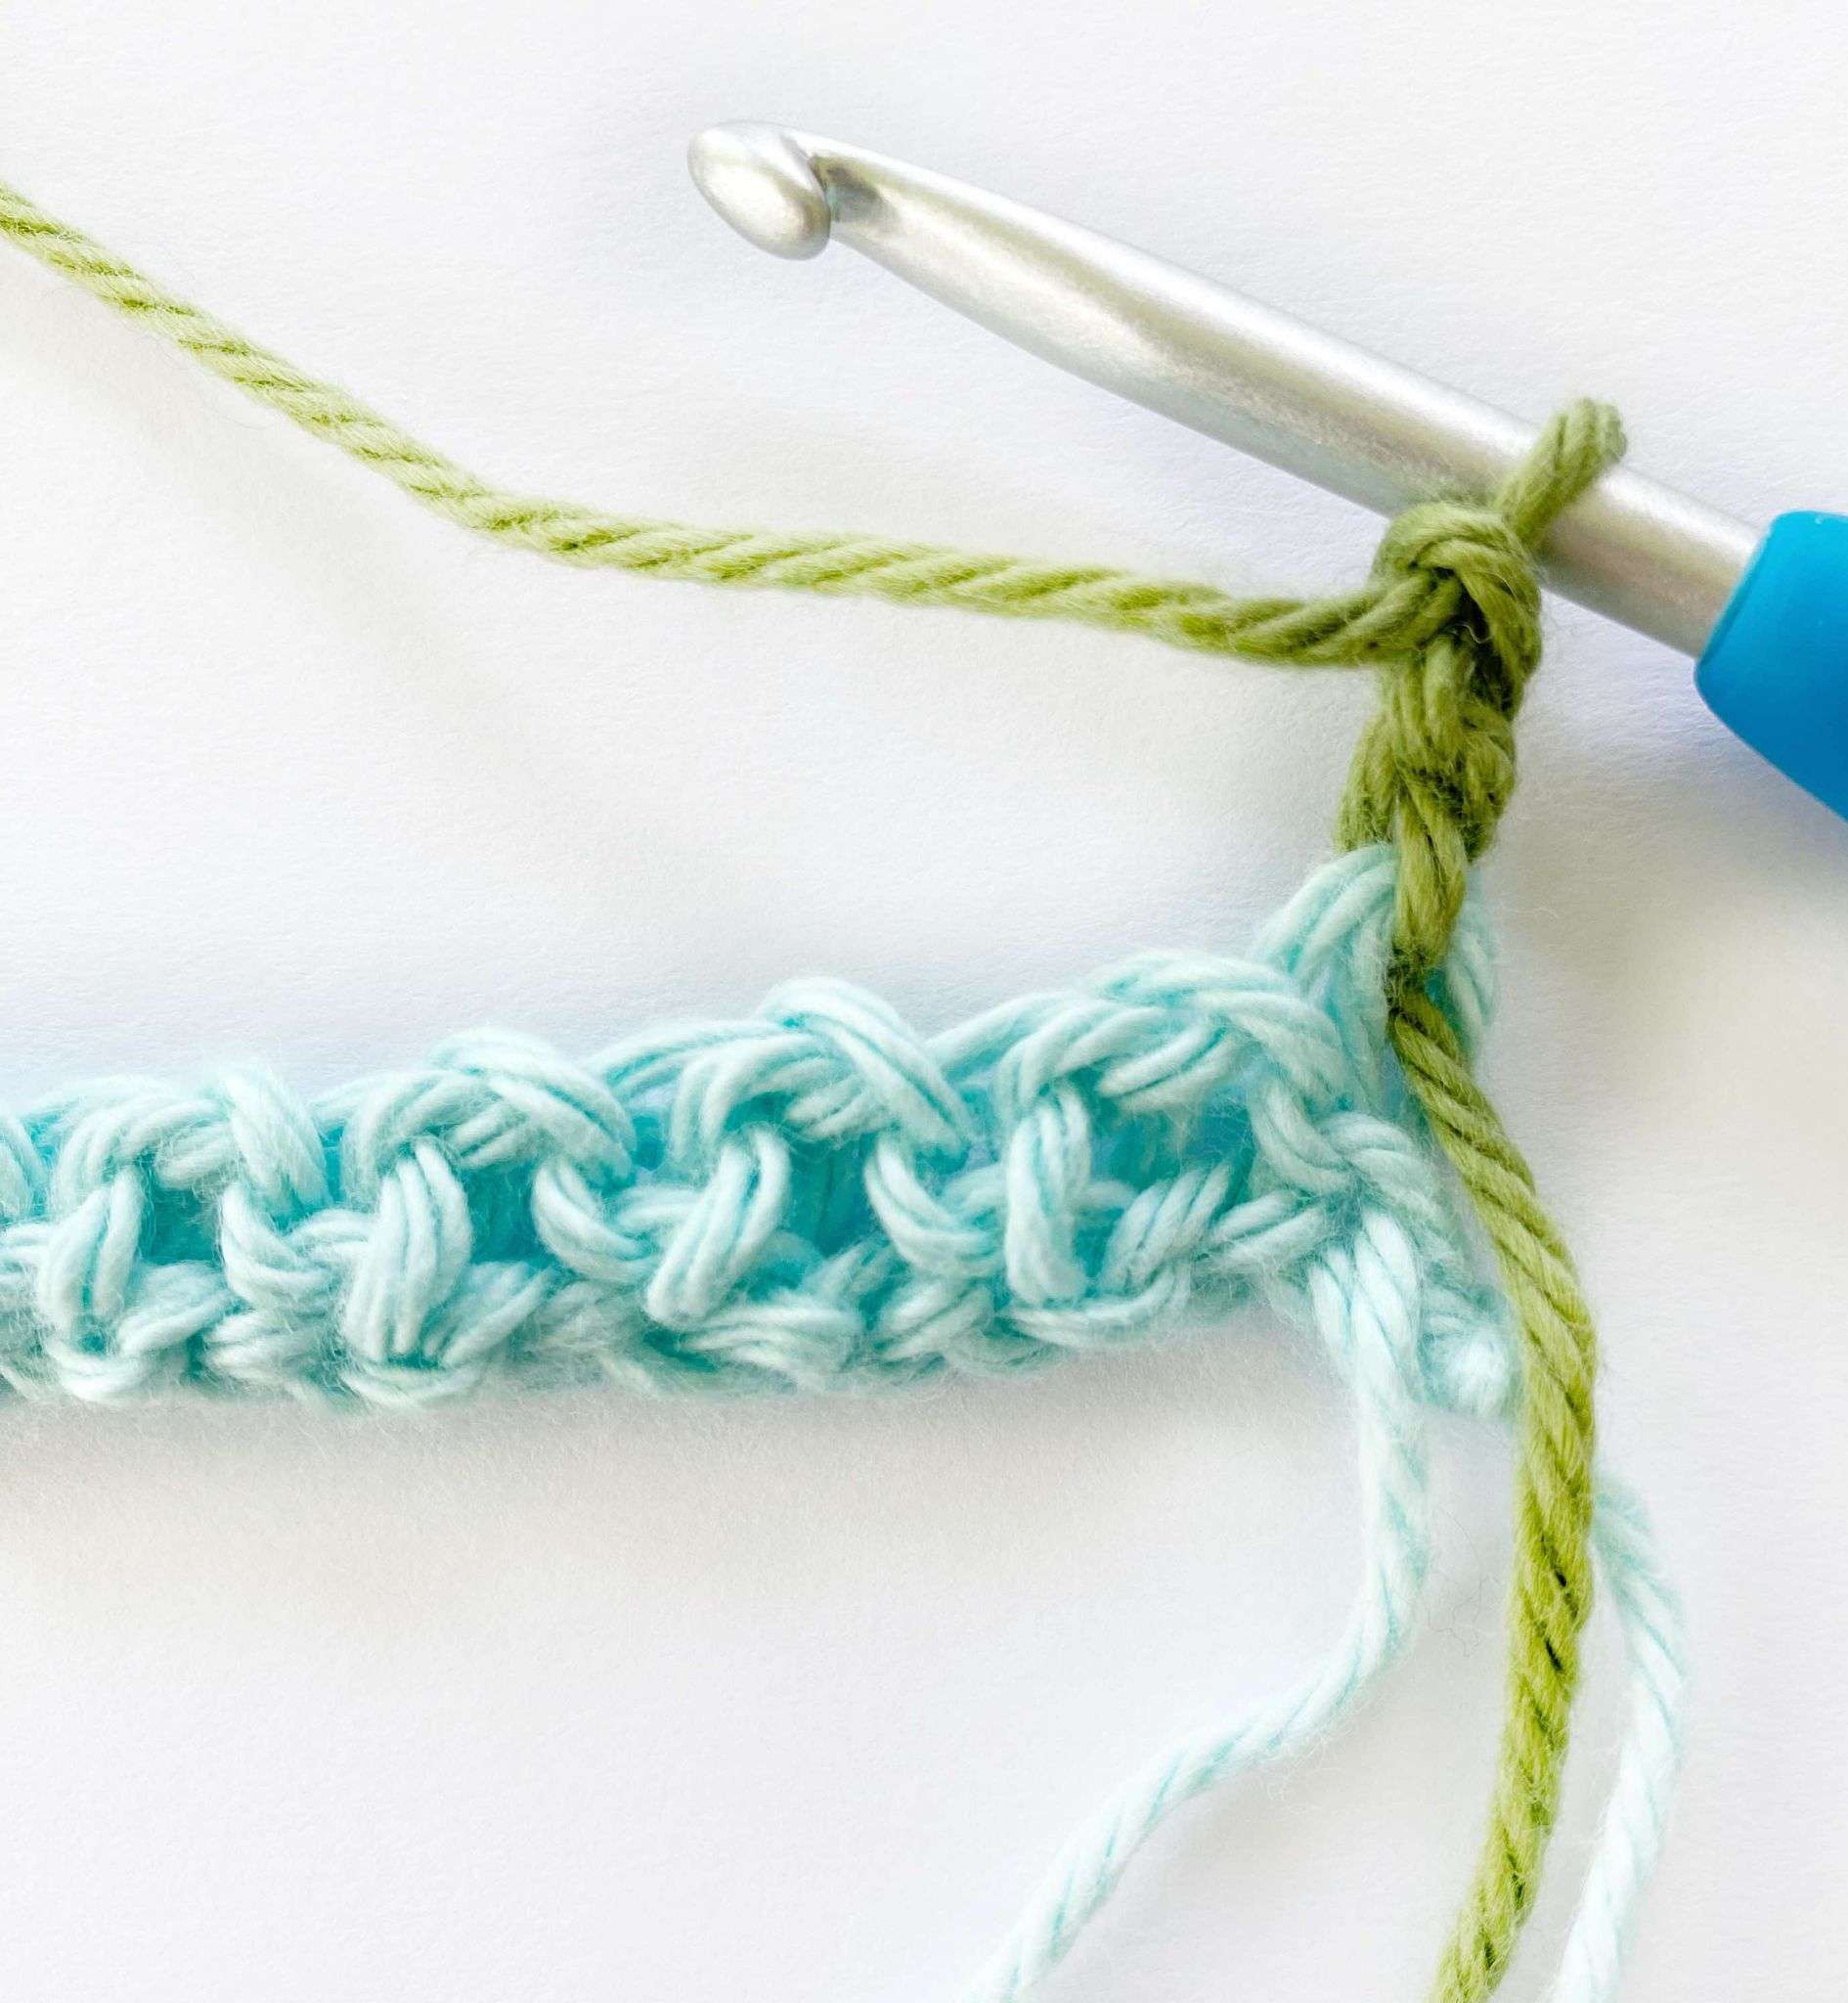
- If you no longer need the old colour (blue), leave a long tail for weaving in your end, and trim it.
2 Colour Changing Tricks to Minimize the Number of Ends
Weaving in ends is my least favorite part of any project, partially because it takes a while, and partially because I don’t always trust my sewing skills. Will my work unravel or stay woven? It’s always a gamble.
Here are two colour changing tricks that you can use to help minimize the number of ends you need to weave in.
Trick #1: Change Colour Every Two Rows
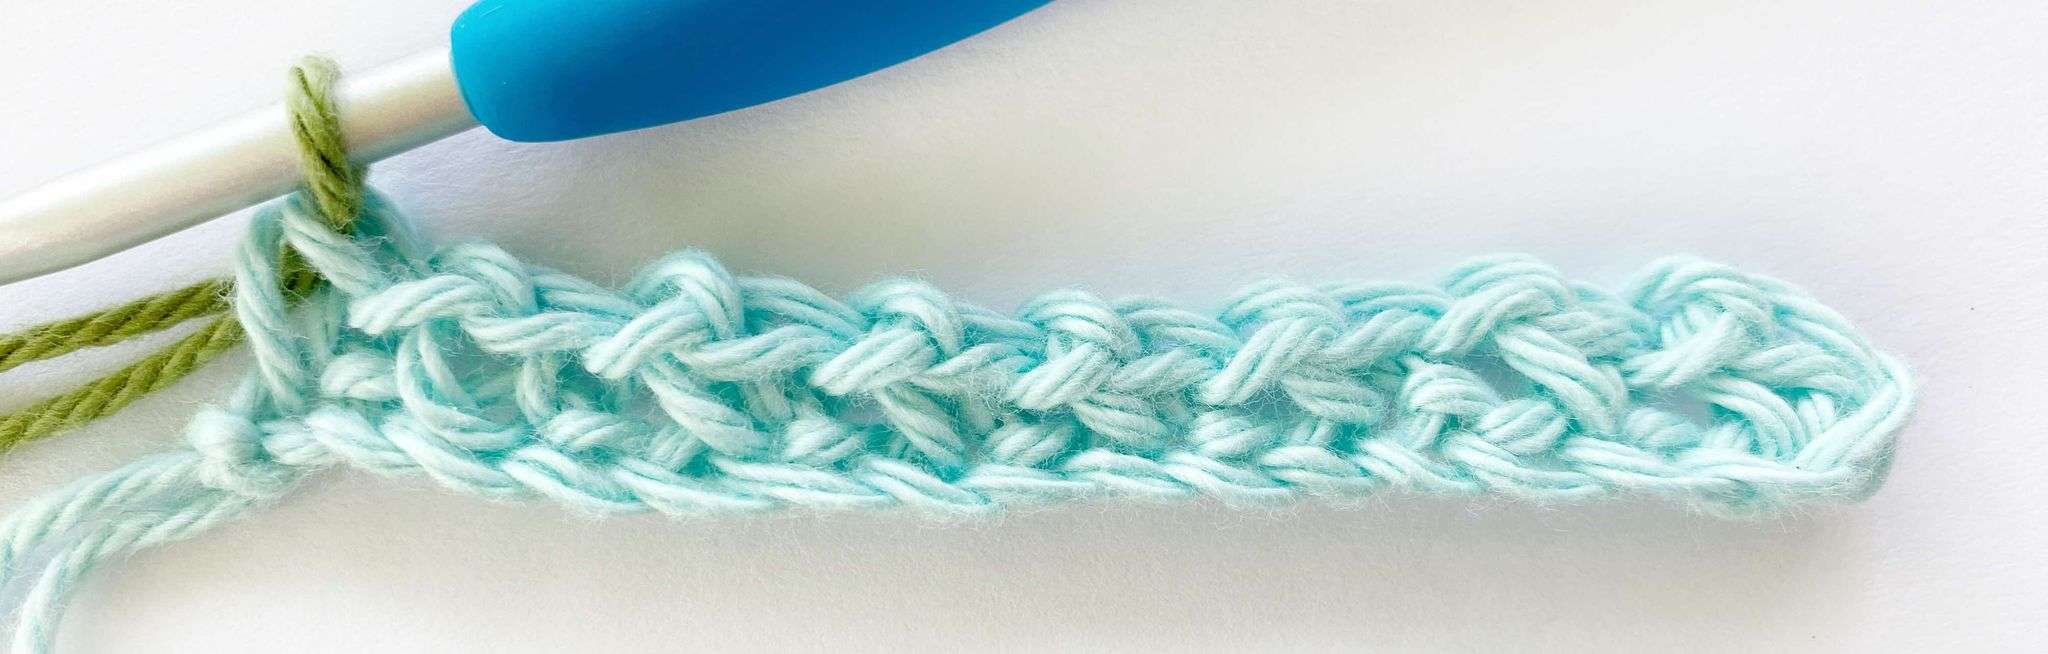
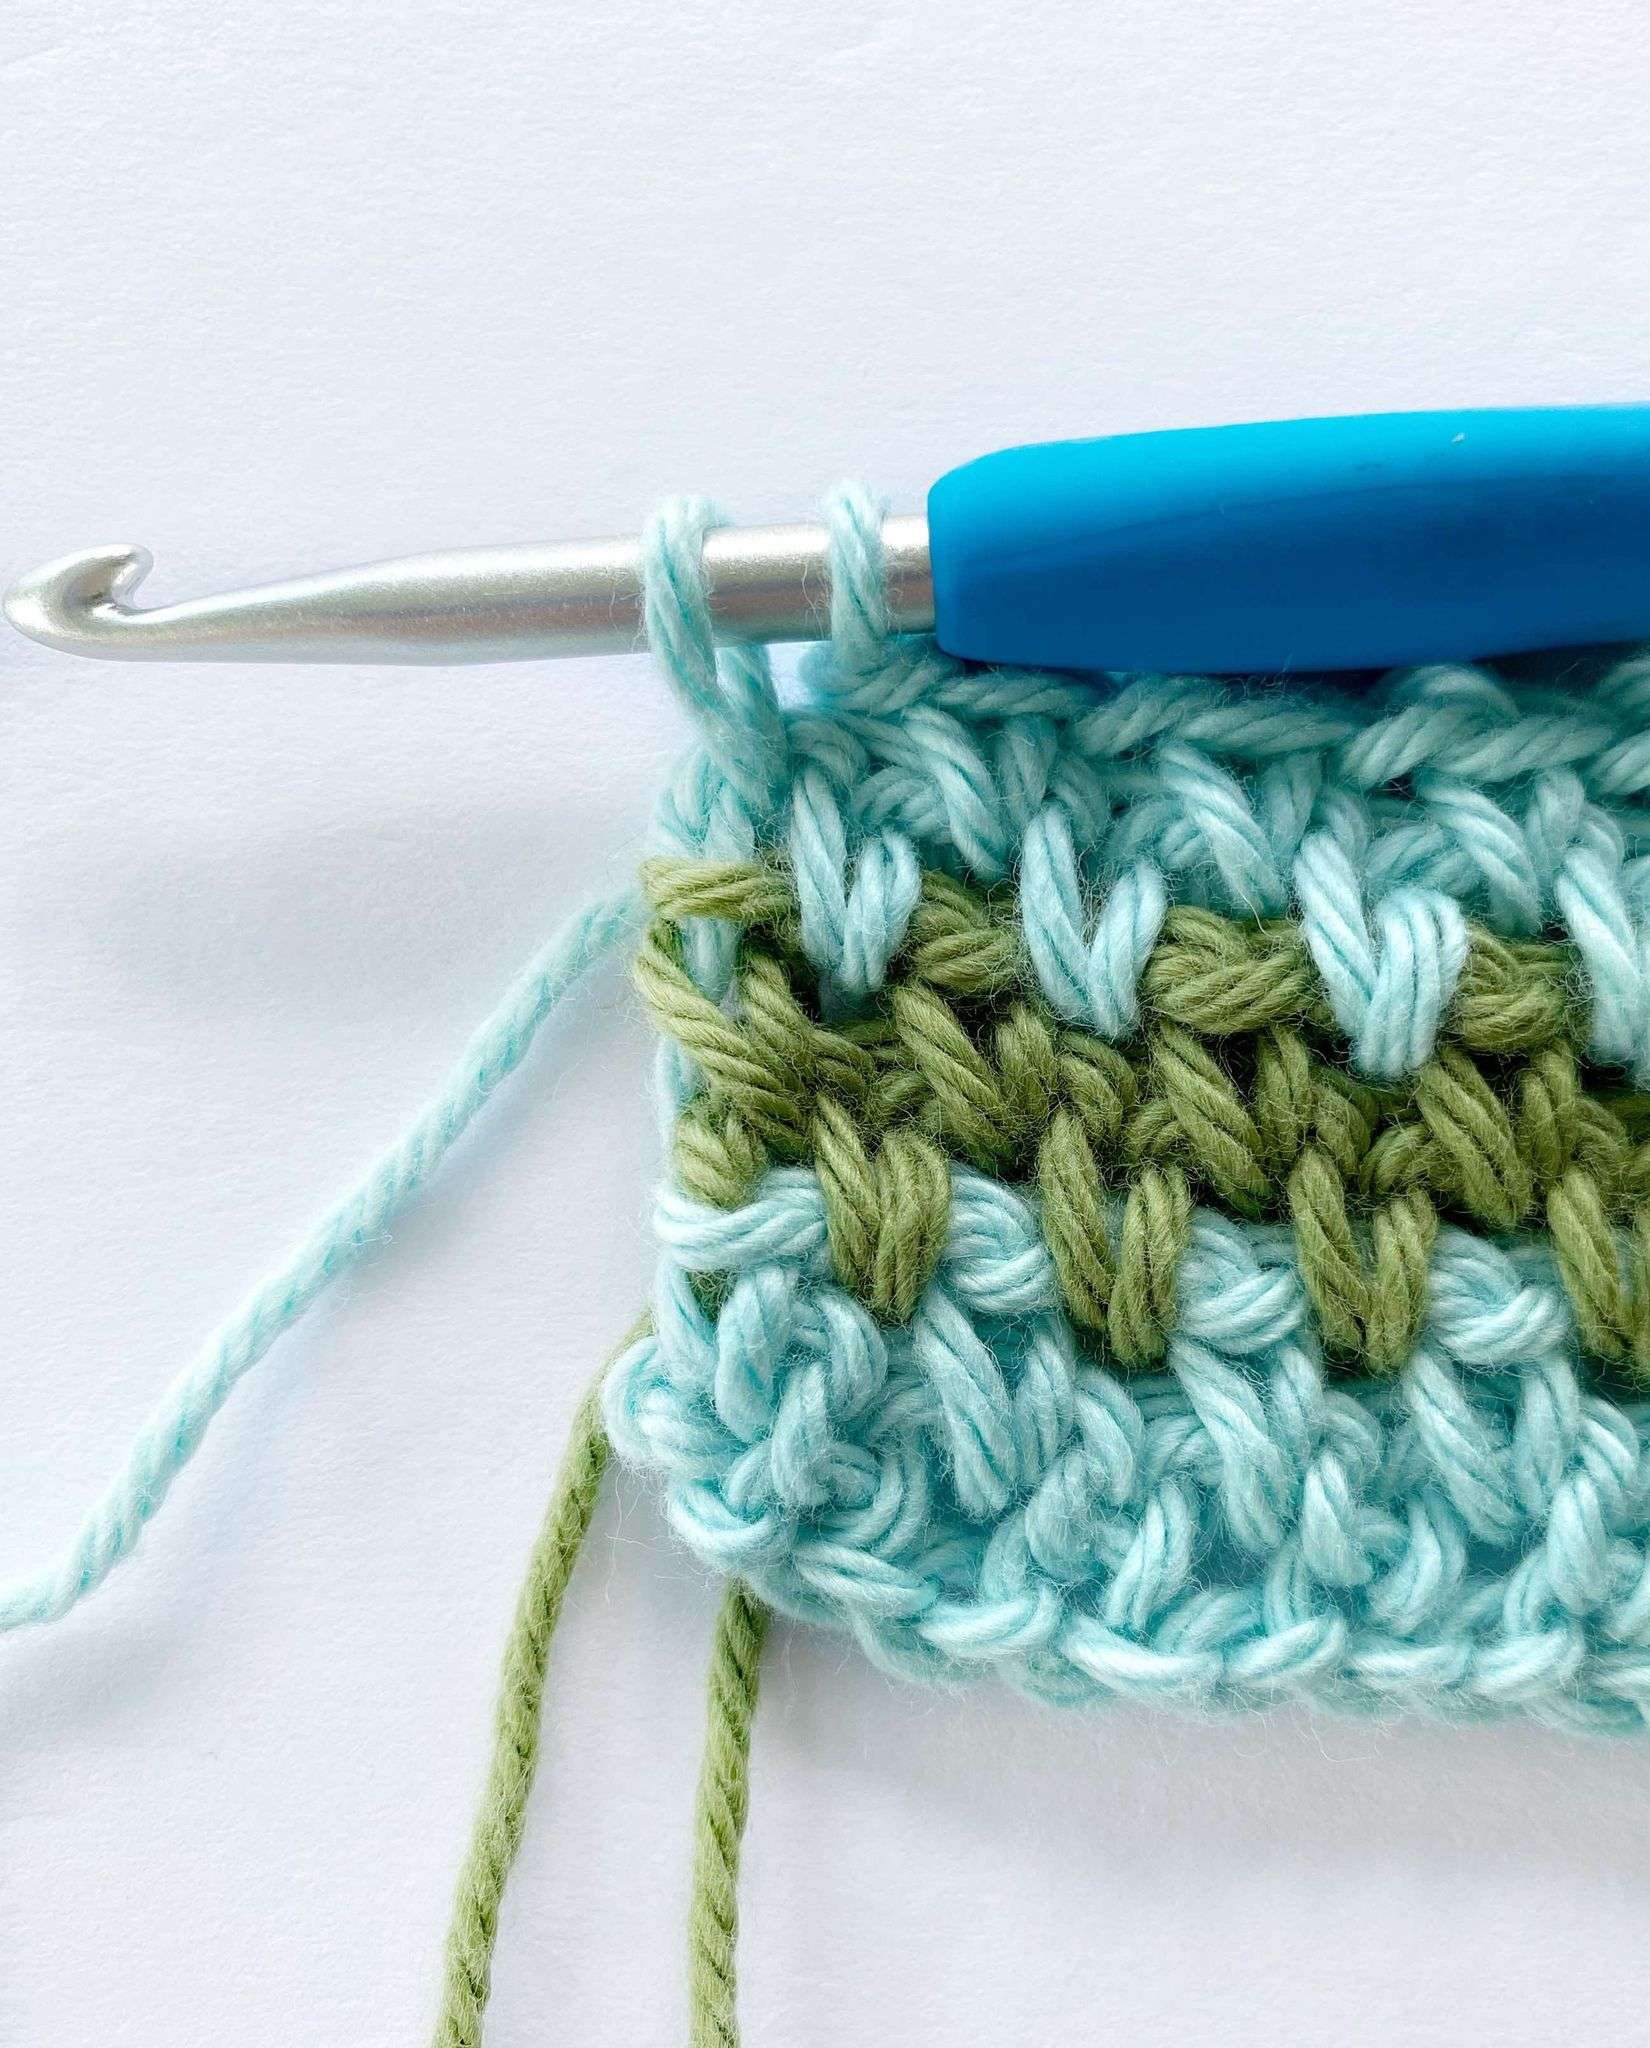
Change colour at the end of every second row. This way, your unused strand of yarn will stay on the same side of your project, so you can easily pick it up when you need to change colour.
You can use this trick with any number of colours (2, 3, 4, 5, etc.).
Let’s see this in action with two colours!
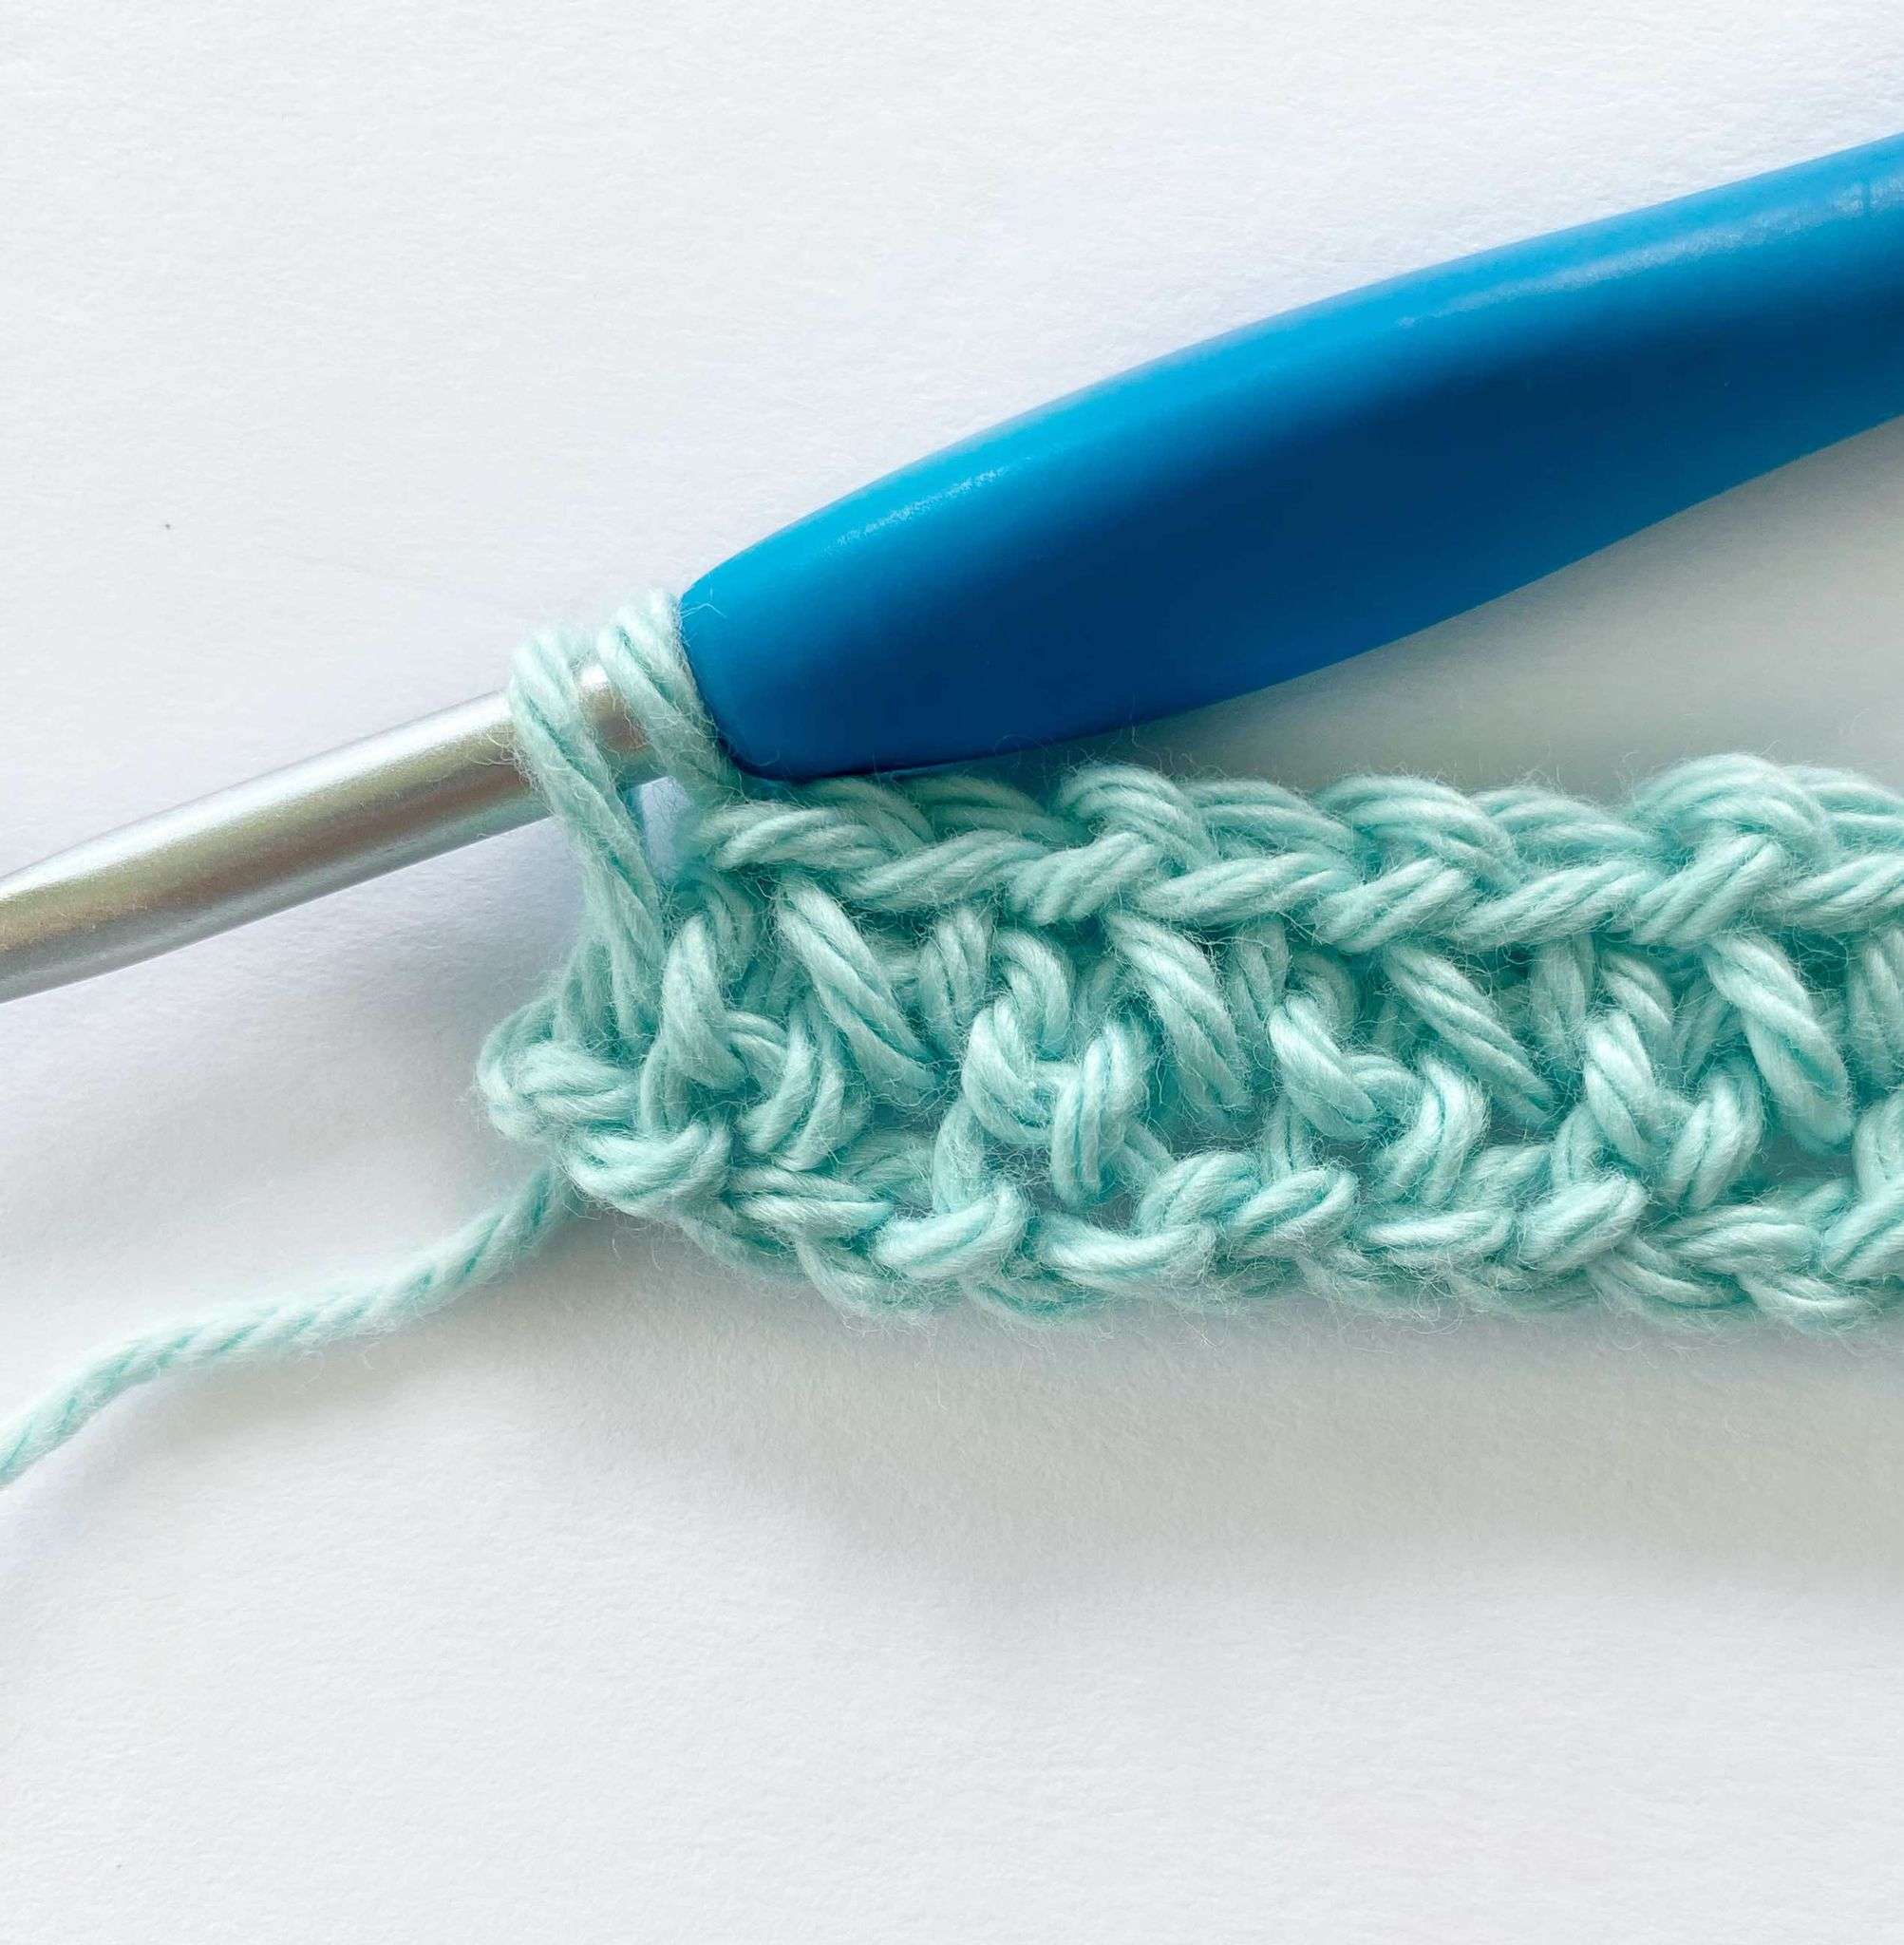
Step 1: Crochet two rows using Colour A.
Step 2: Change to Colour B in the last single crochet of Row 2 (see tutorial above for changing colour).
Step 3: Do not cut Colour A. Keep it attached to your work because we’ll need it at the next colour change.
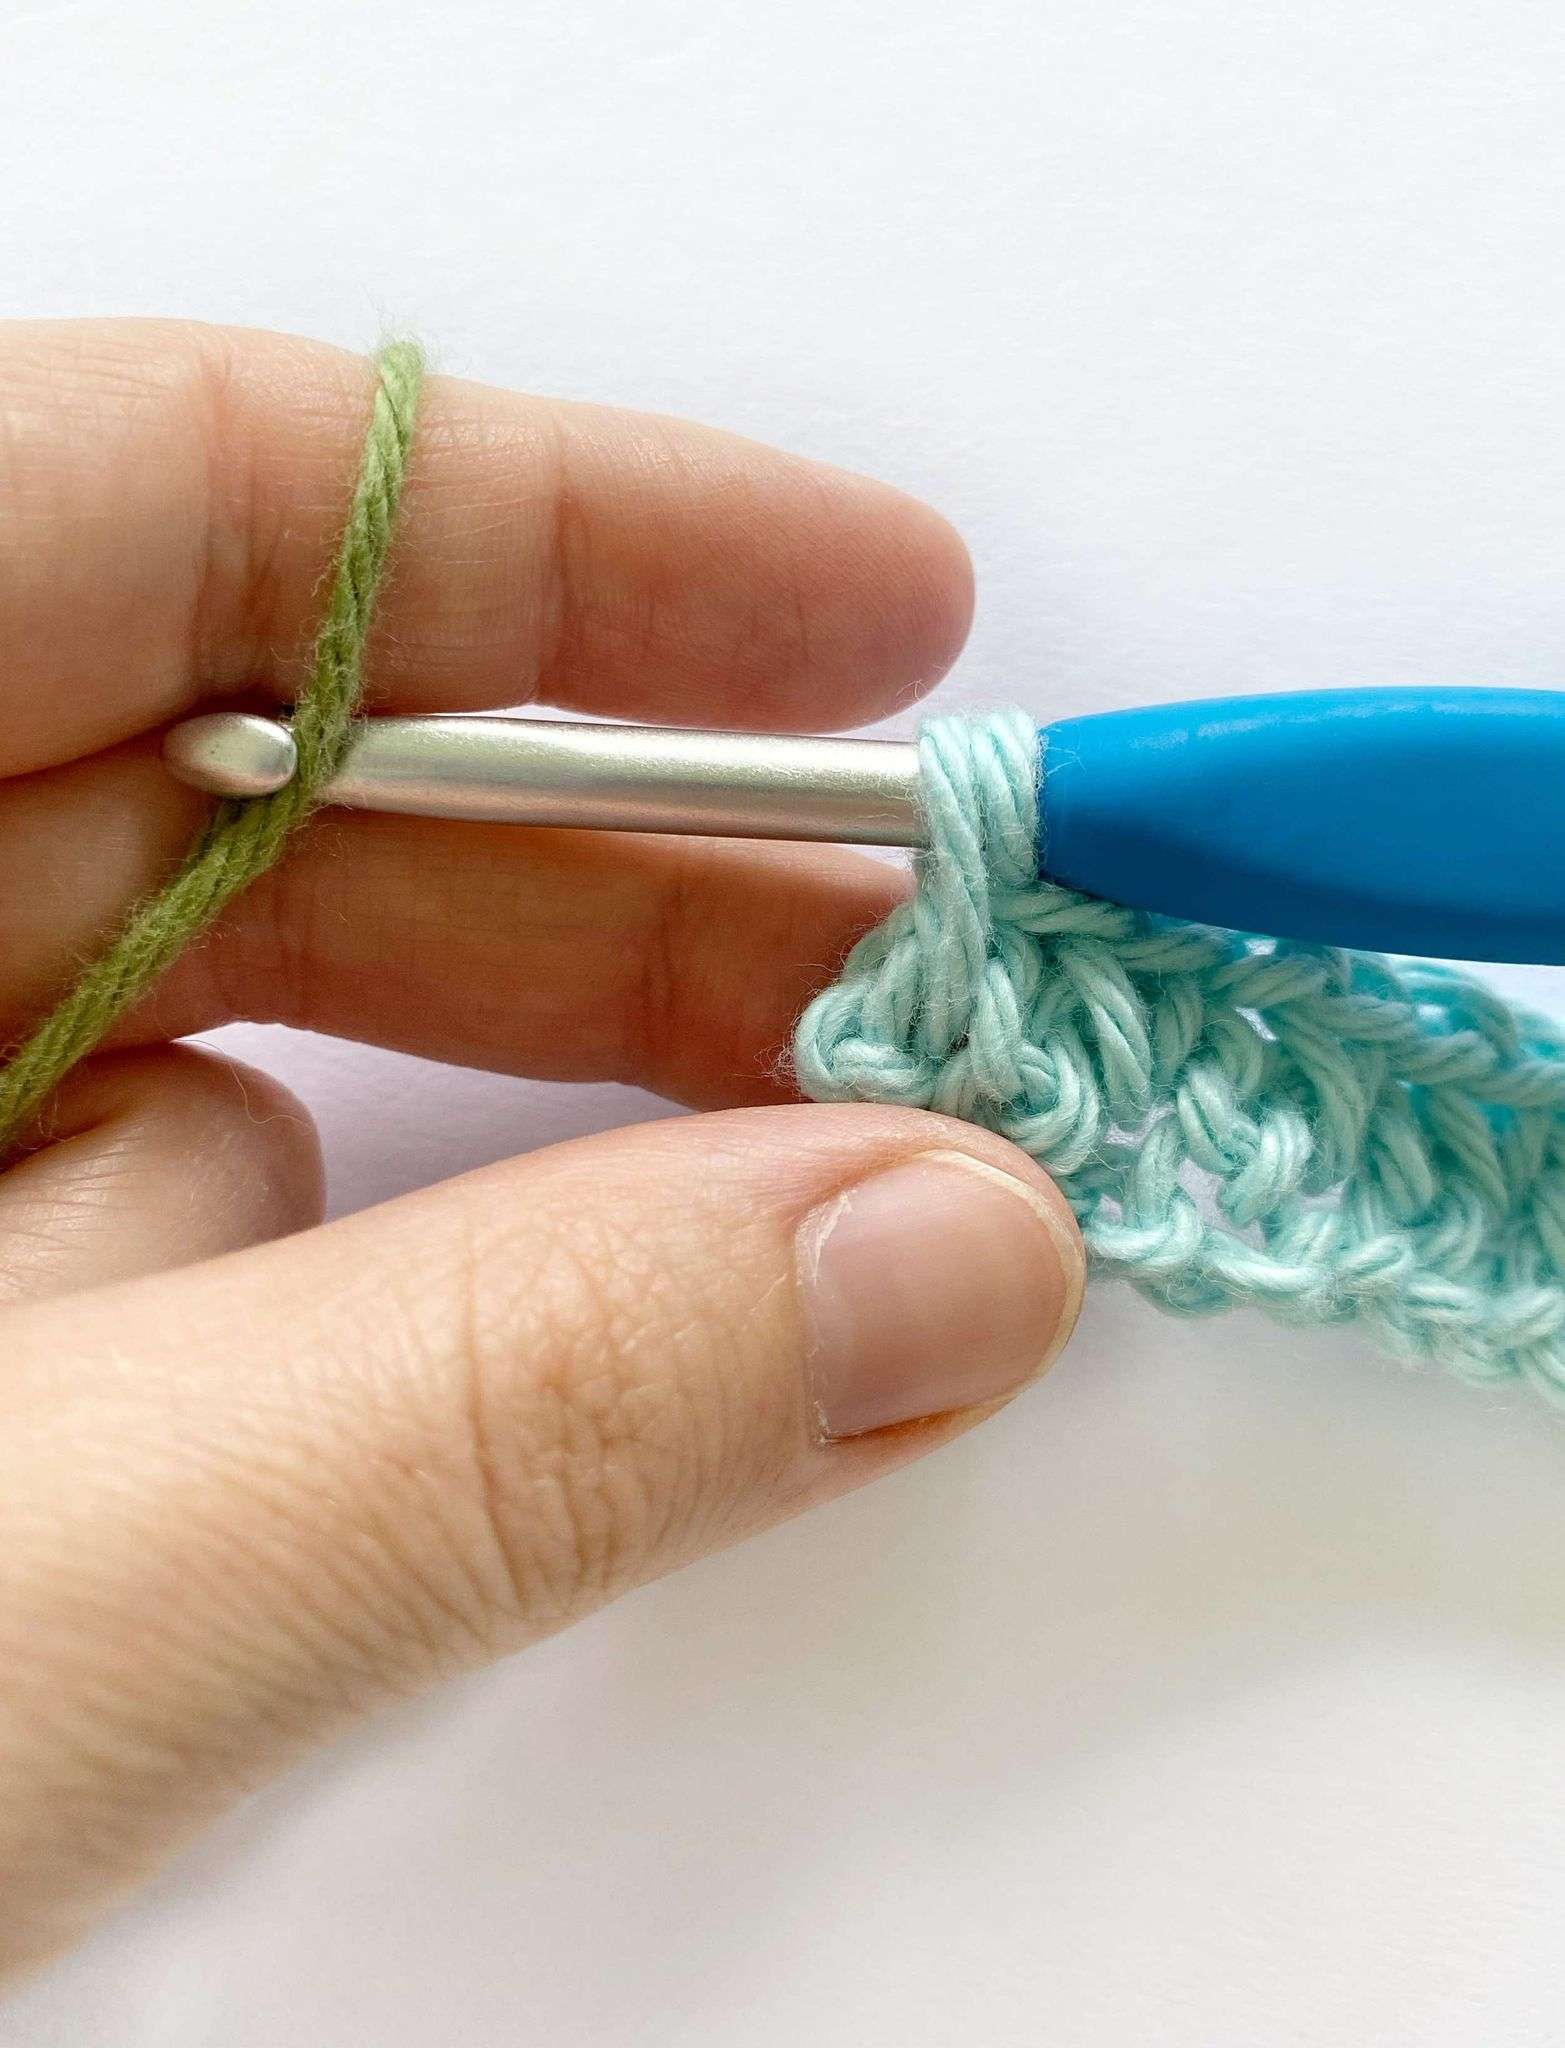
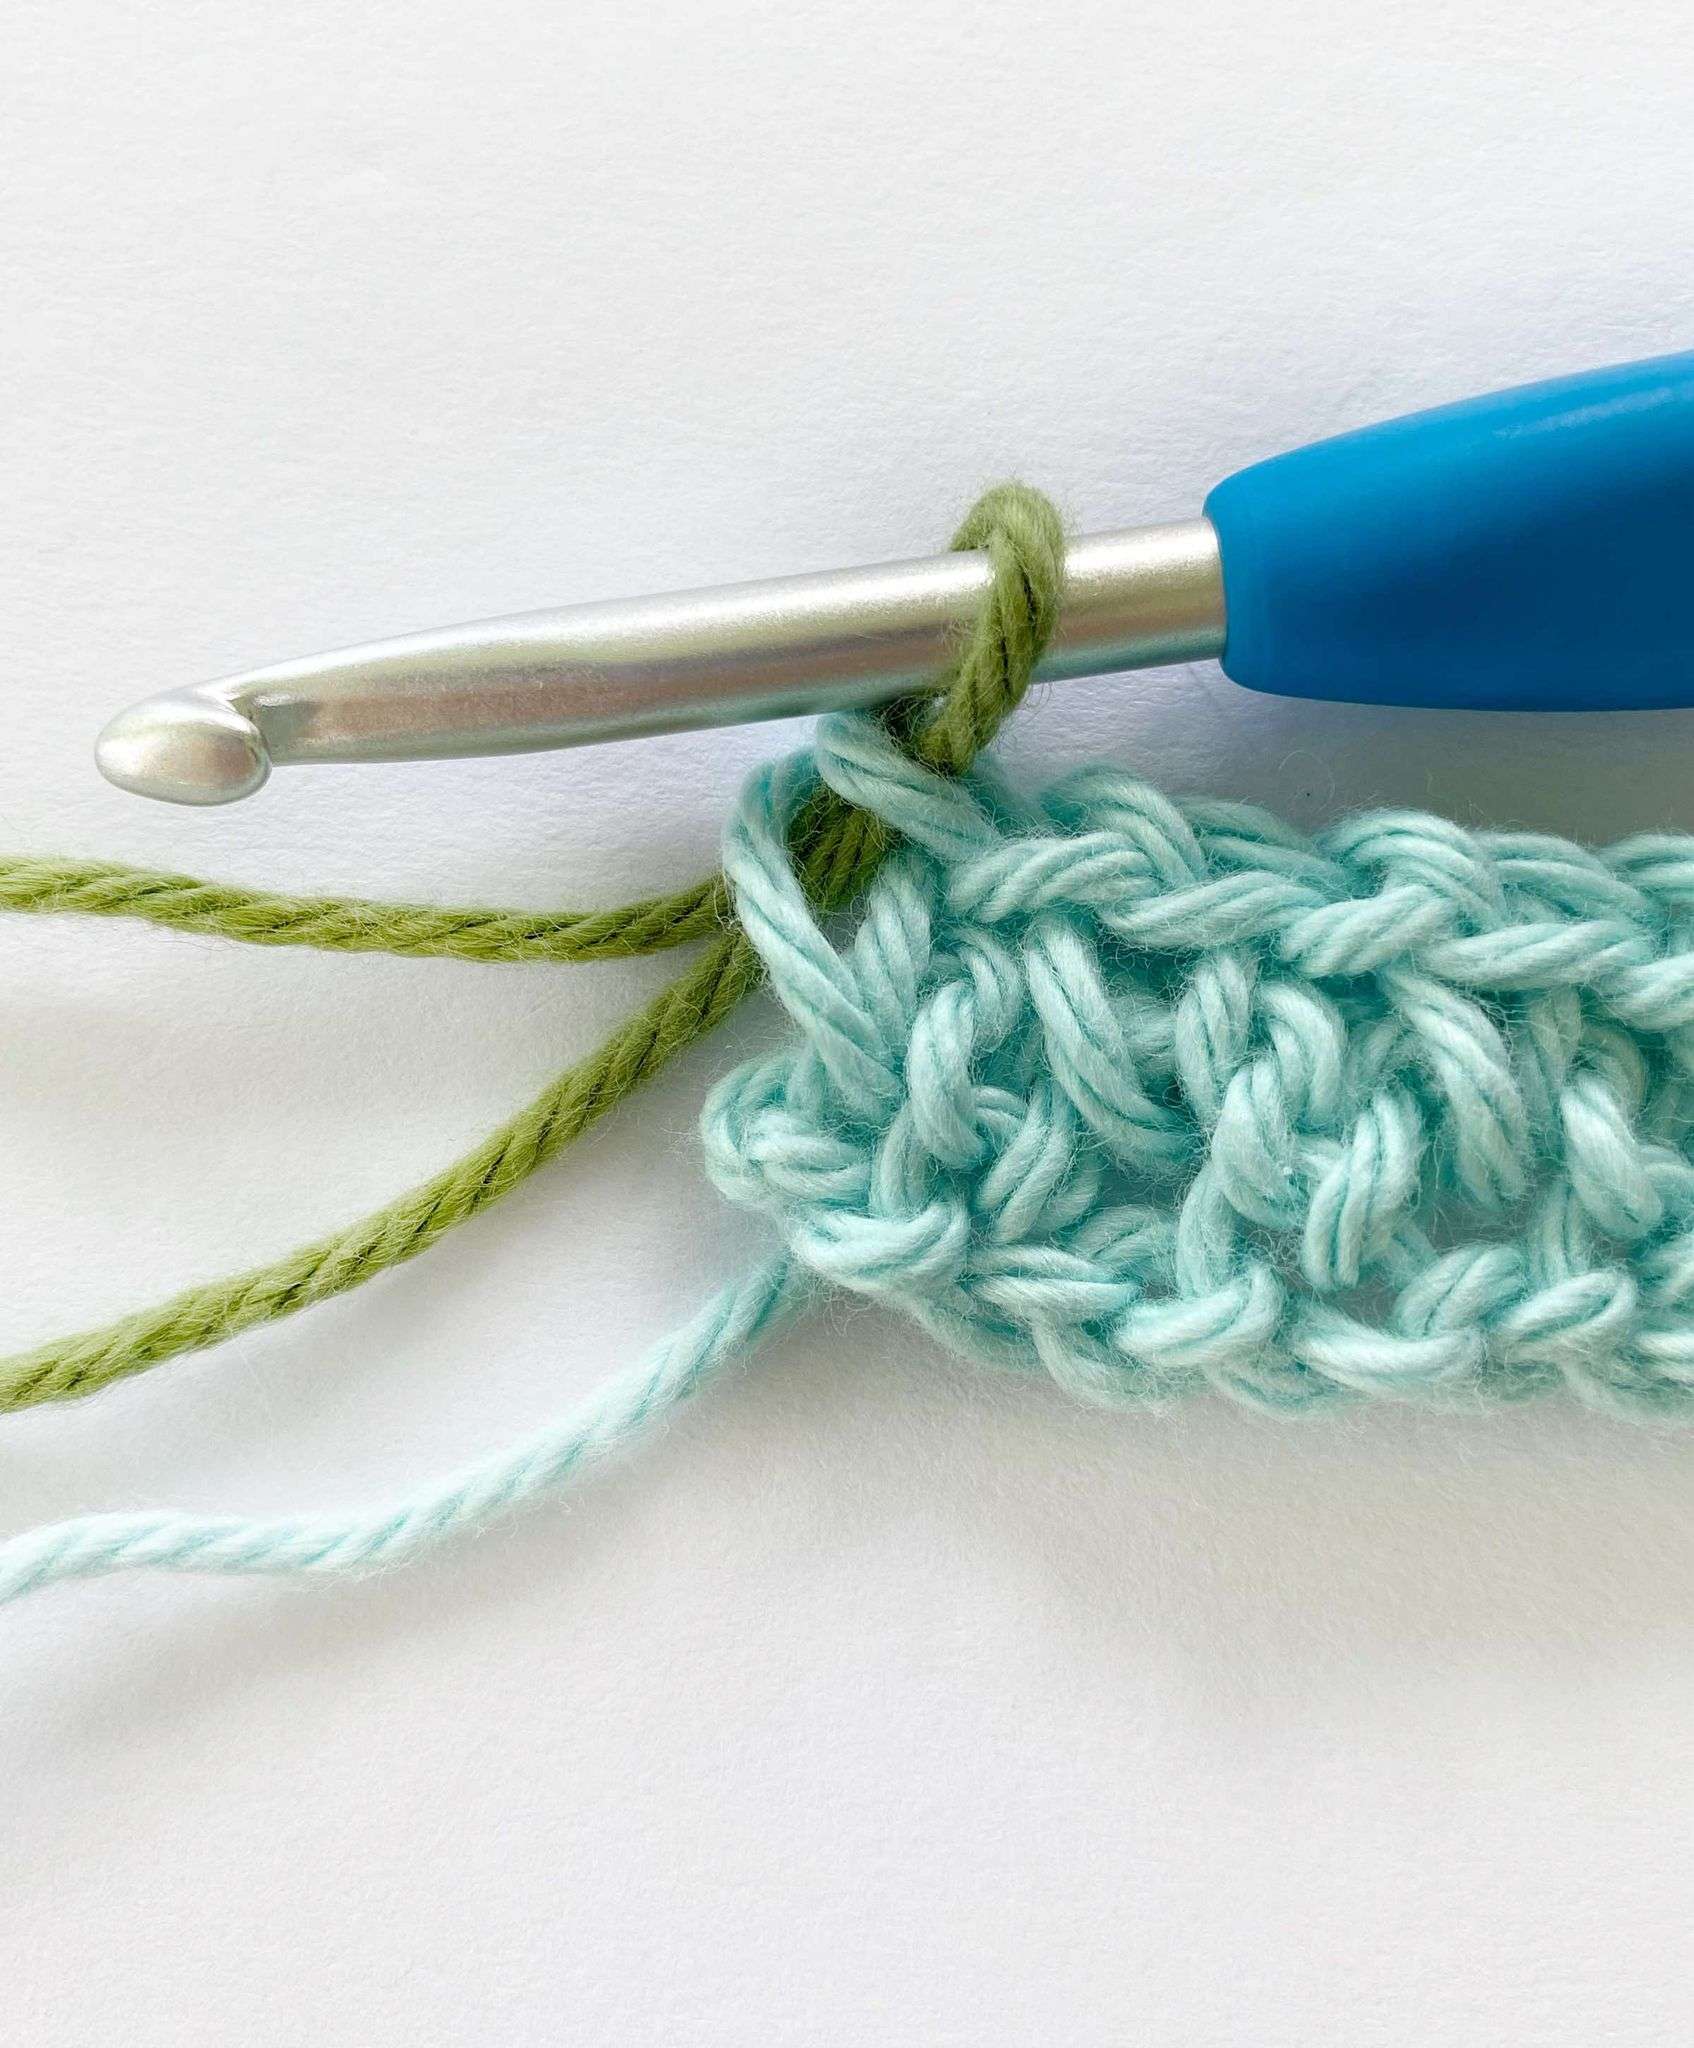
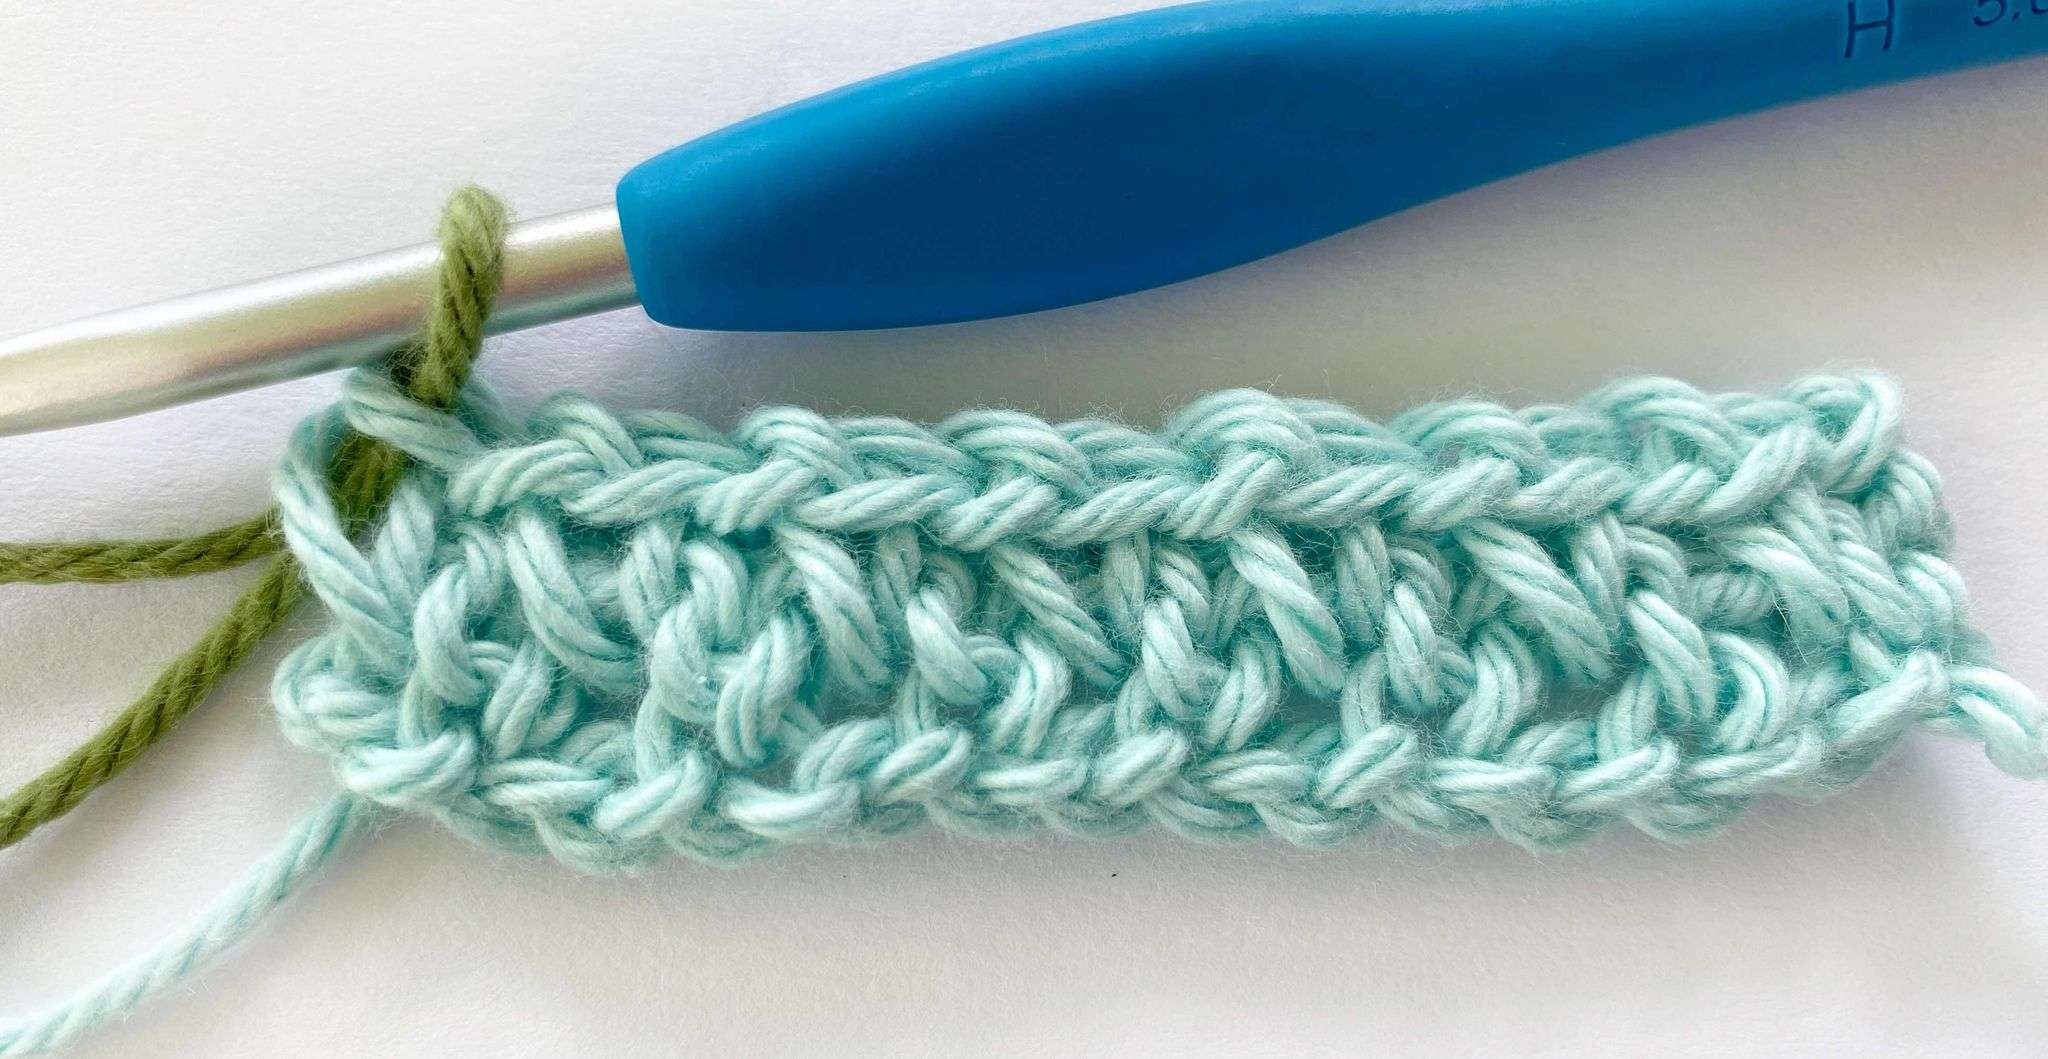
Step 4: Crochet two rows using Colour B.
Step 5: In the last single crochet of the second row, change back to Colour A. Keep Colour B attached to your work because you’ll need it for the next colour change.
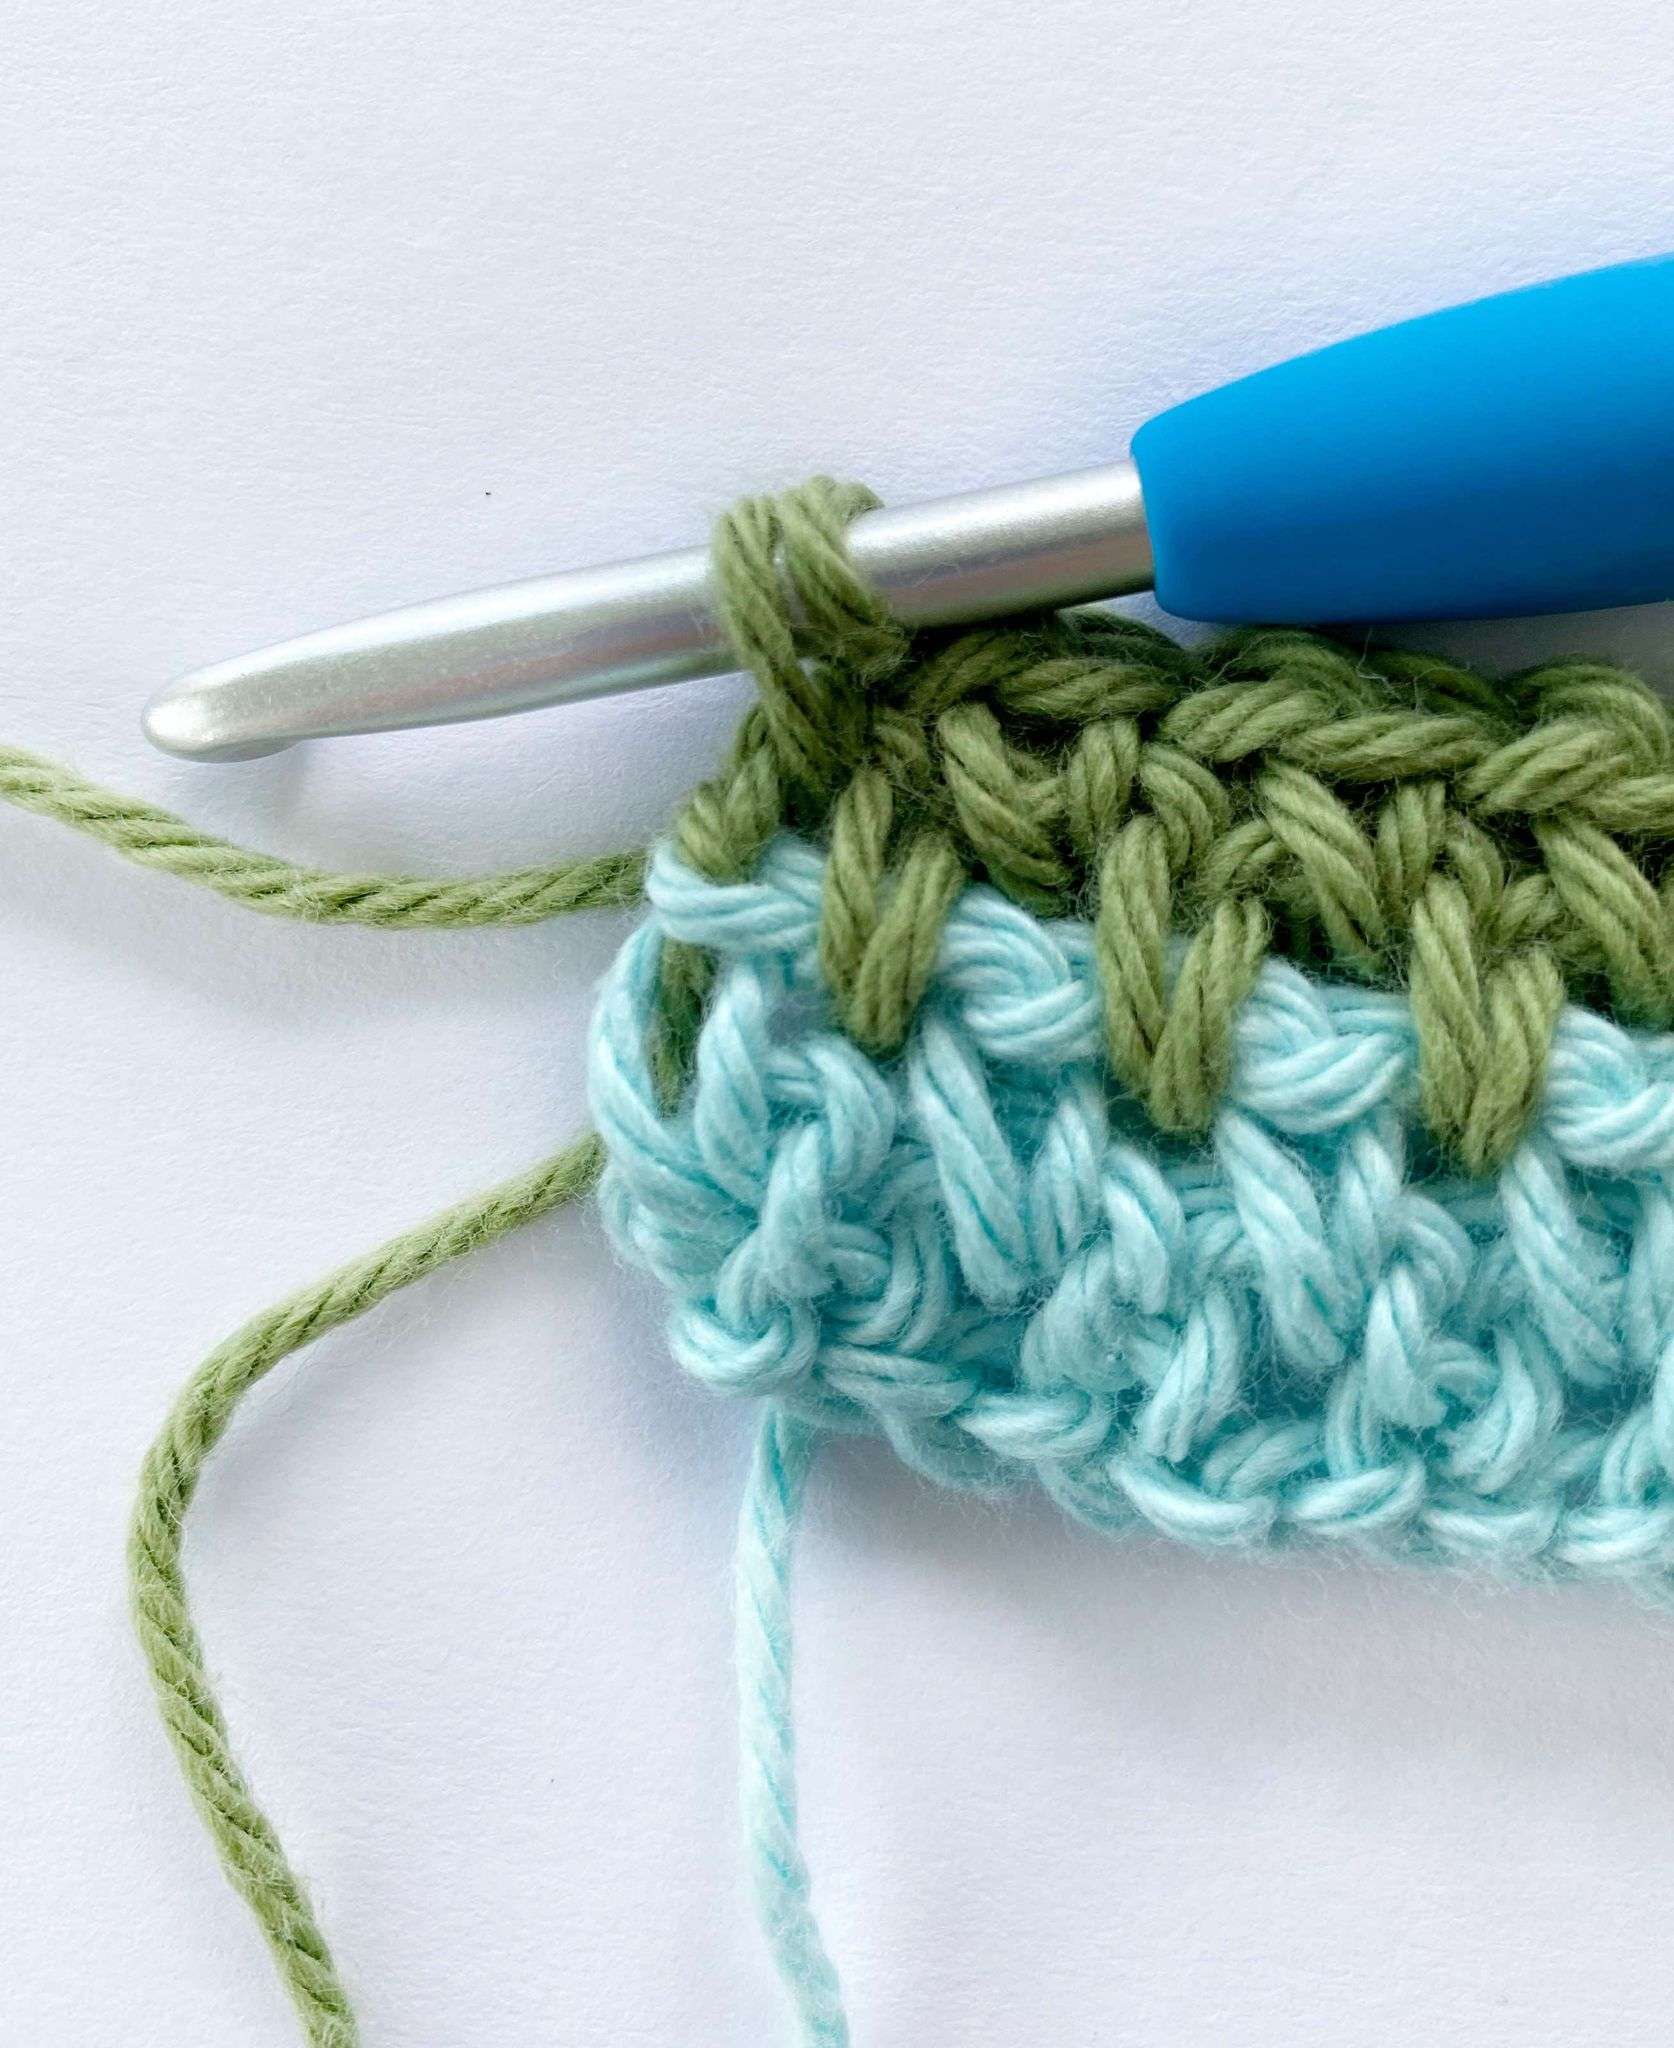
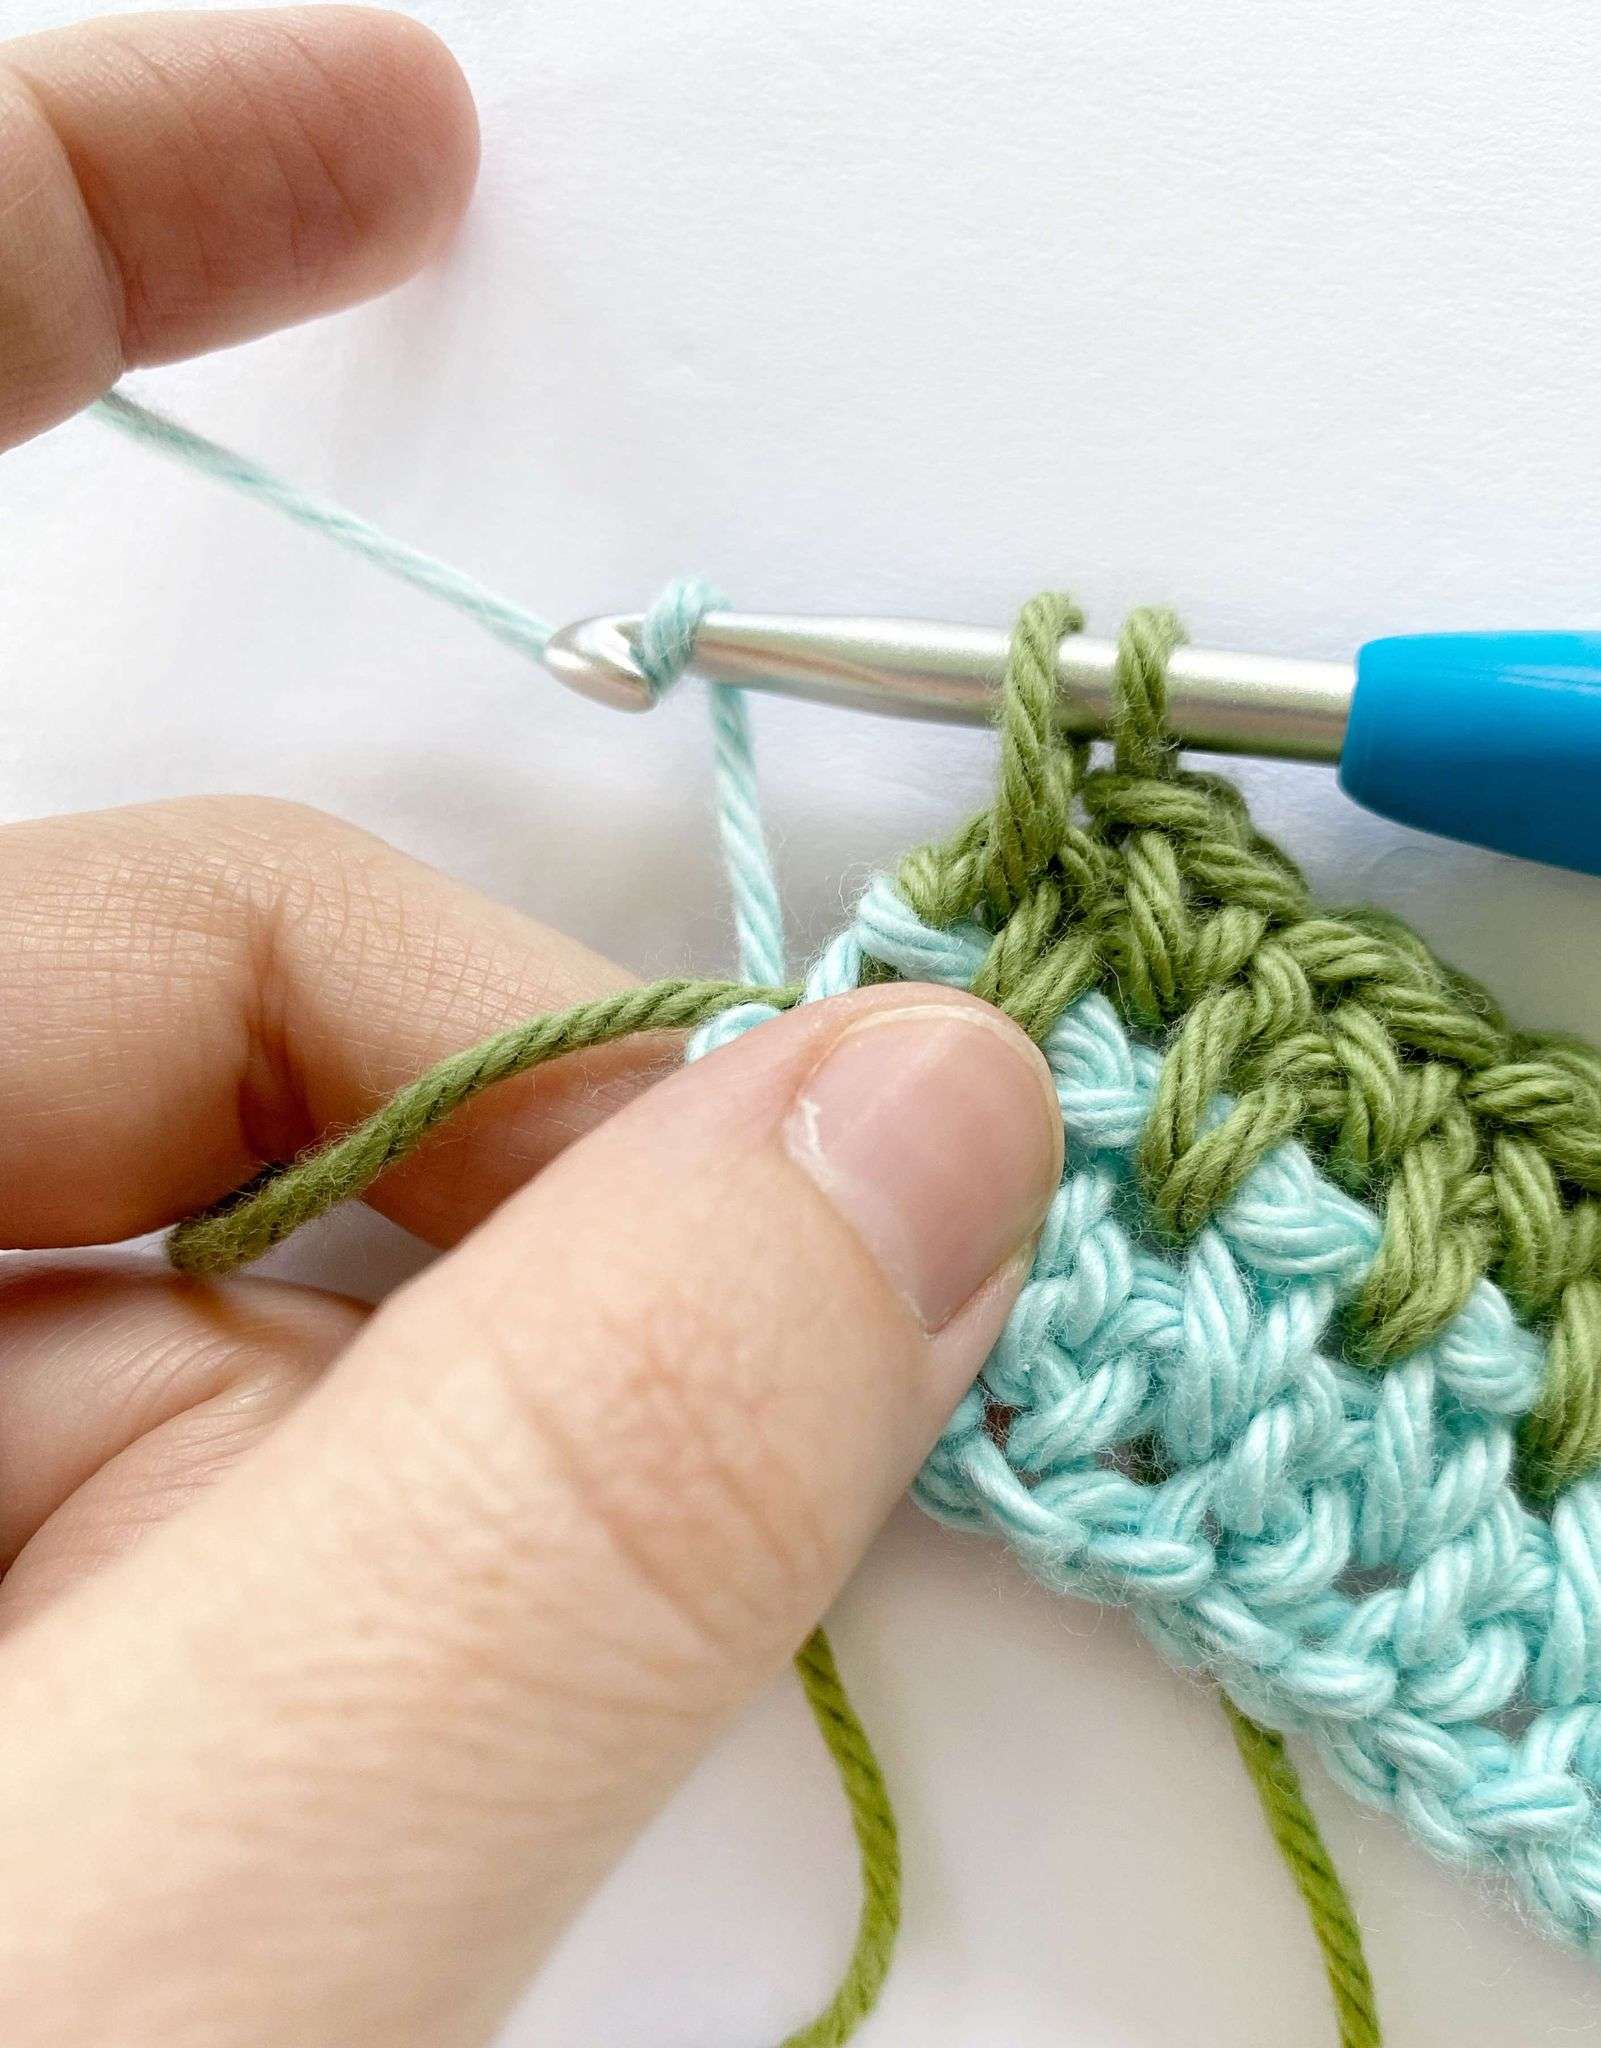
Step 6: Crochet two rows using Colour A. In the last single crochet of the second row, change back to Colour B.
Repeat steps 4 – 6 throughout your project.
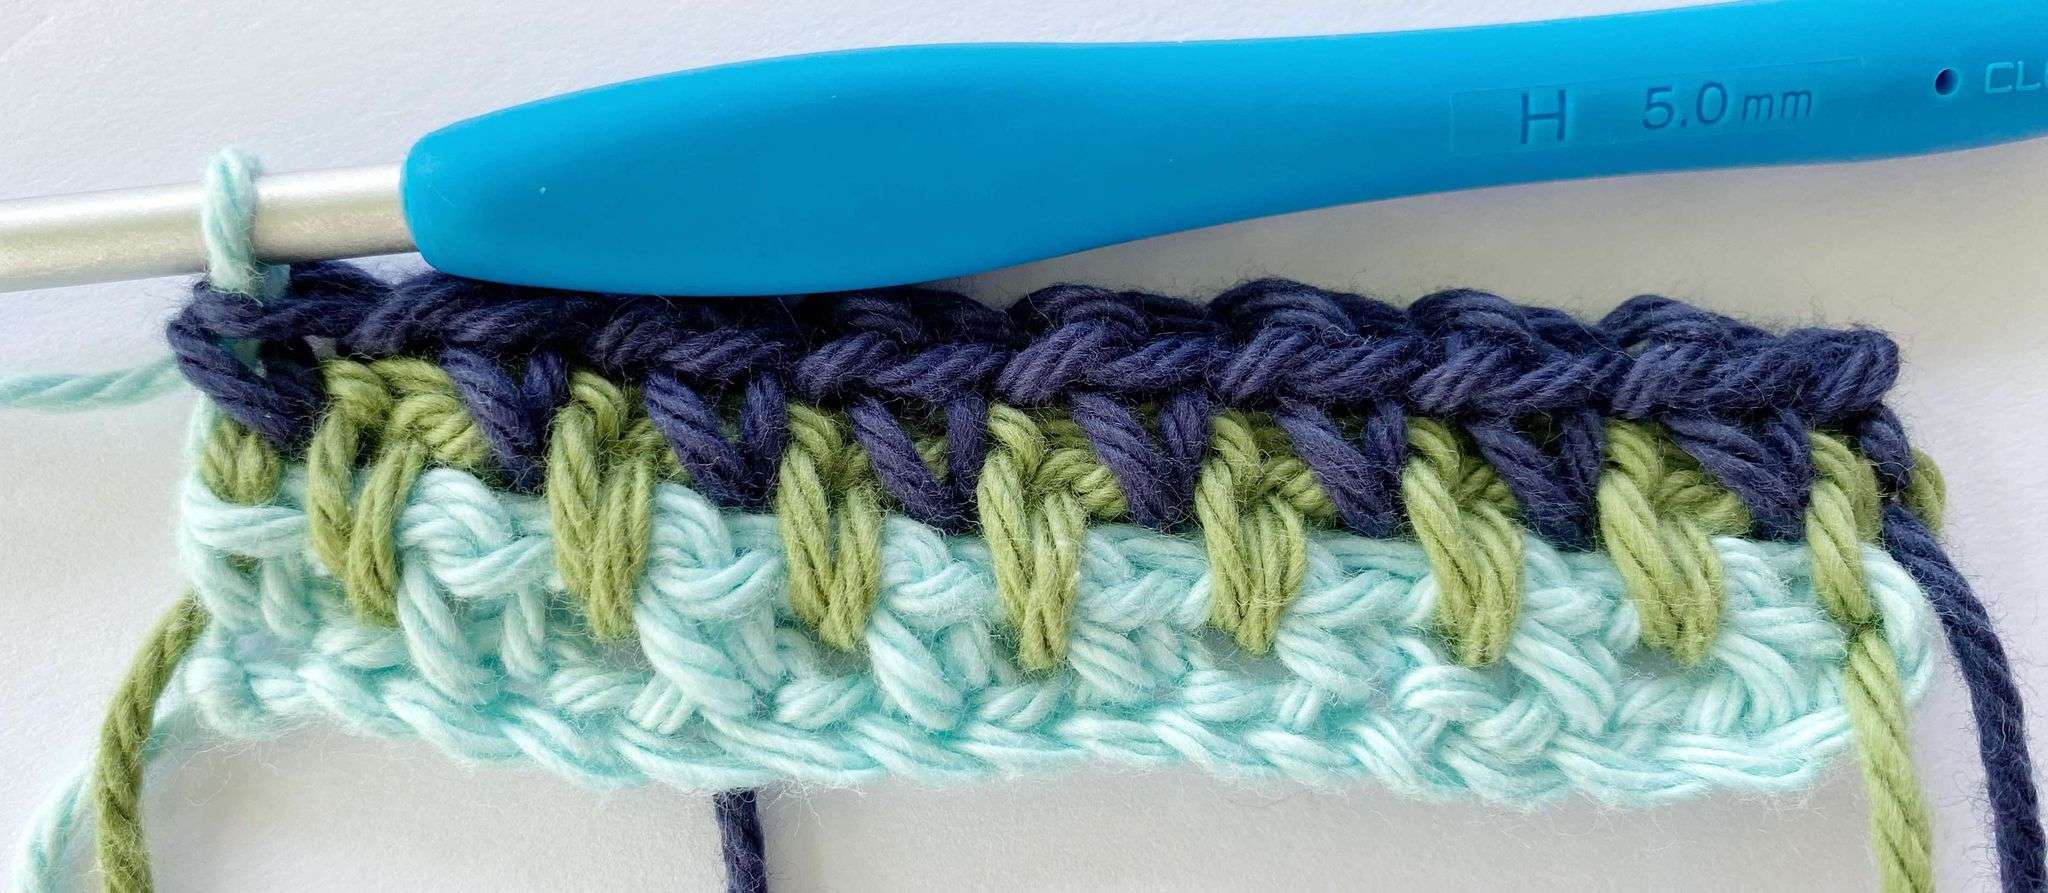
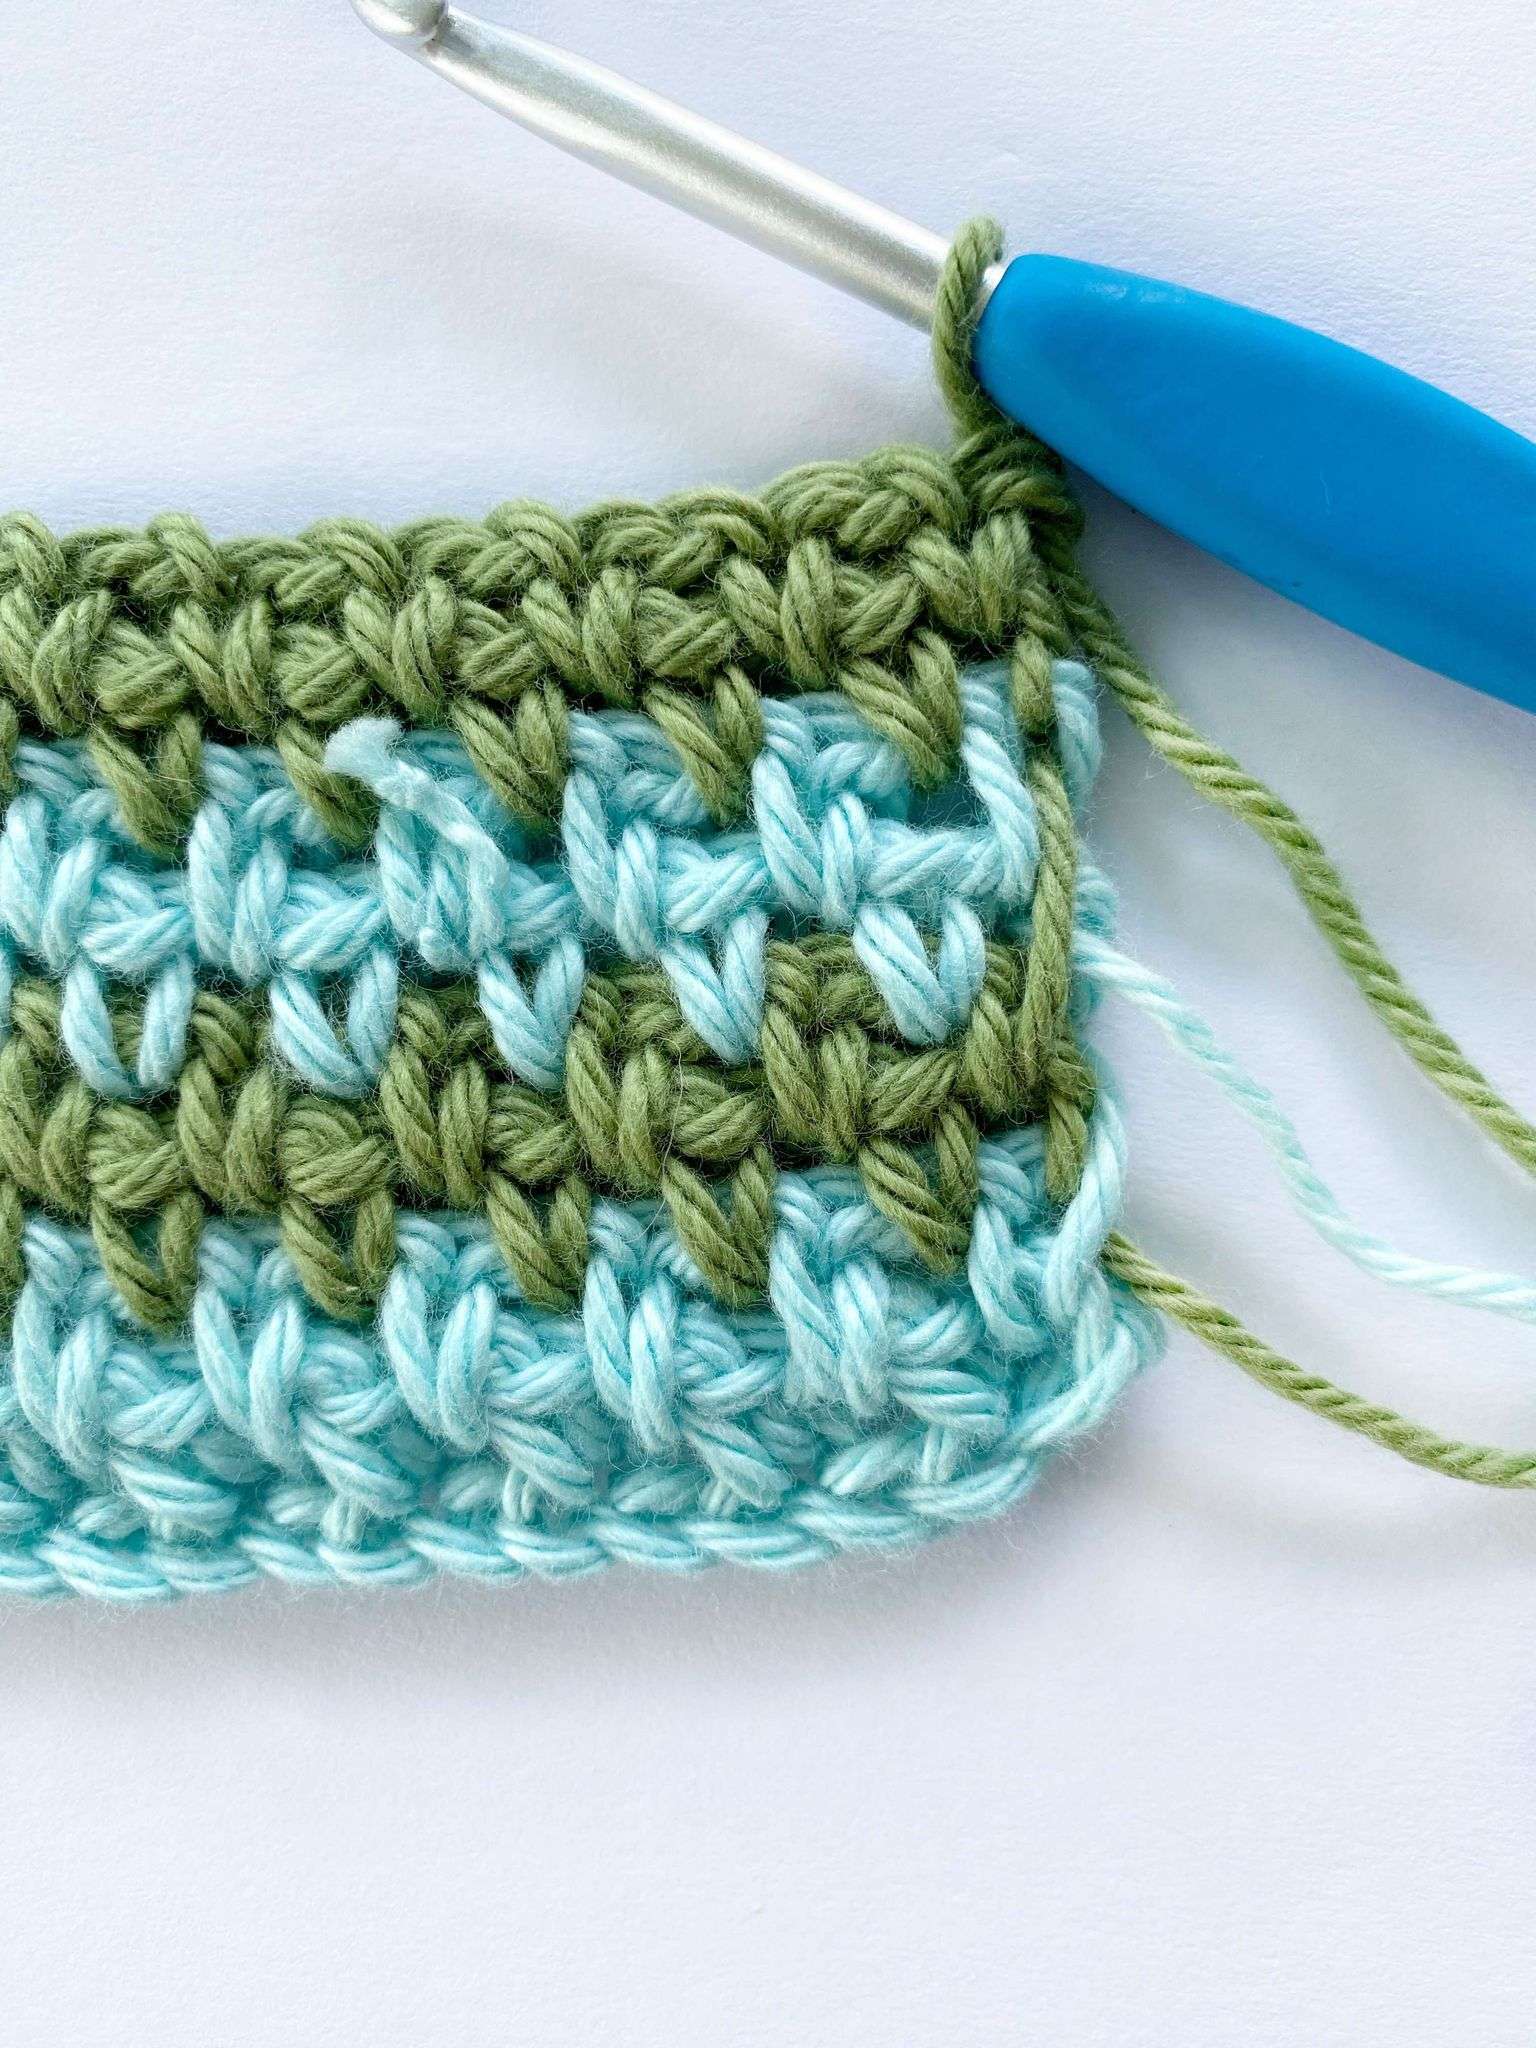
You will be able to see the yarn being carried up the side of your project, but you can crochet over top of these strands when doing a border, so that you won’t see them (pictured below).
If you want to use more than 2 colours, the process is the same. Keep adding colours every second row, until you can change back to your first colour.
Trick #2: Crocheting with an Odd Number of Colours
If like the effect of changing colour every row, then crochet with an odd number of colours (ex. 3, 5, 7,…). Let’s see how this works with 3 colours!
Step 1: Crochet one row using Colour A (light blue).
Step 2: Change to Colour B (green) in the last single crochet of Row 1 (see tutorial above for changing colour).
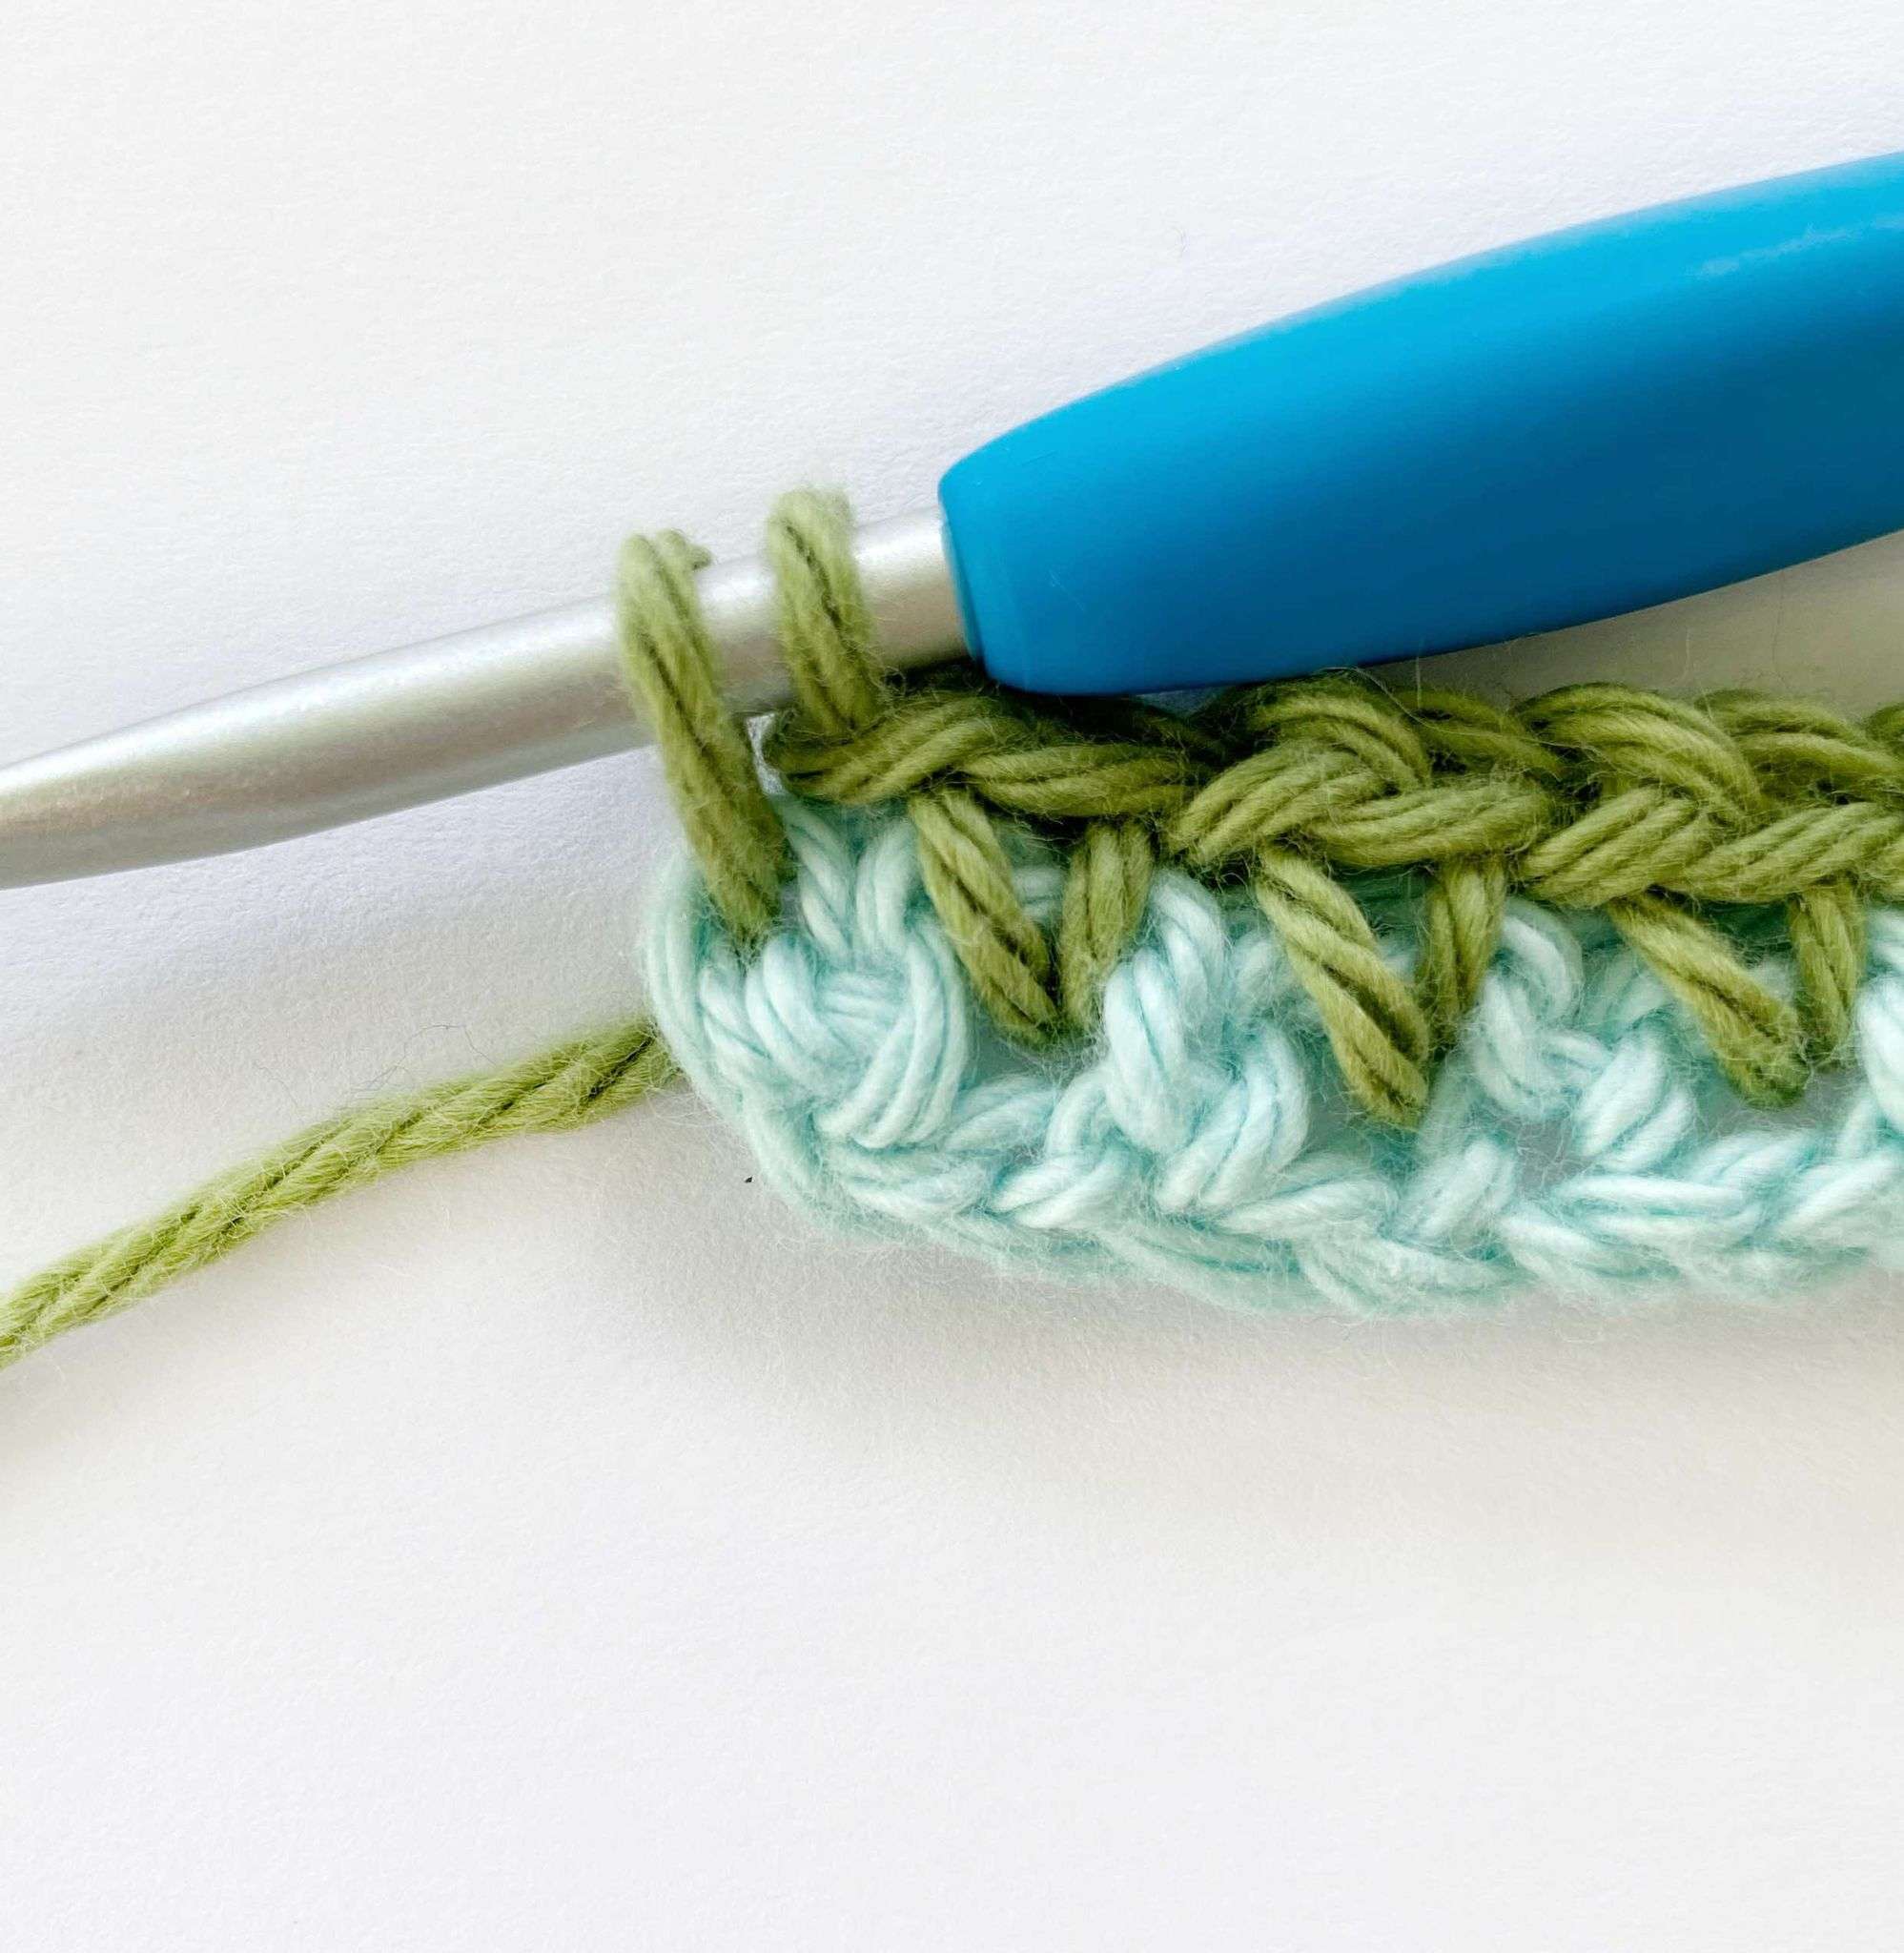
Step 3: Do not cut Colour A. Keep it attached to your work because you’ll need it later.
Step 4: Crochet one row using Colour B.
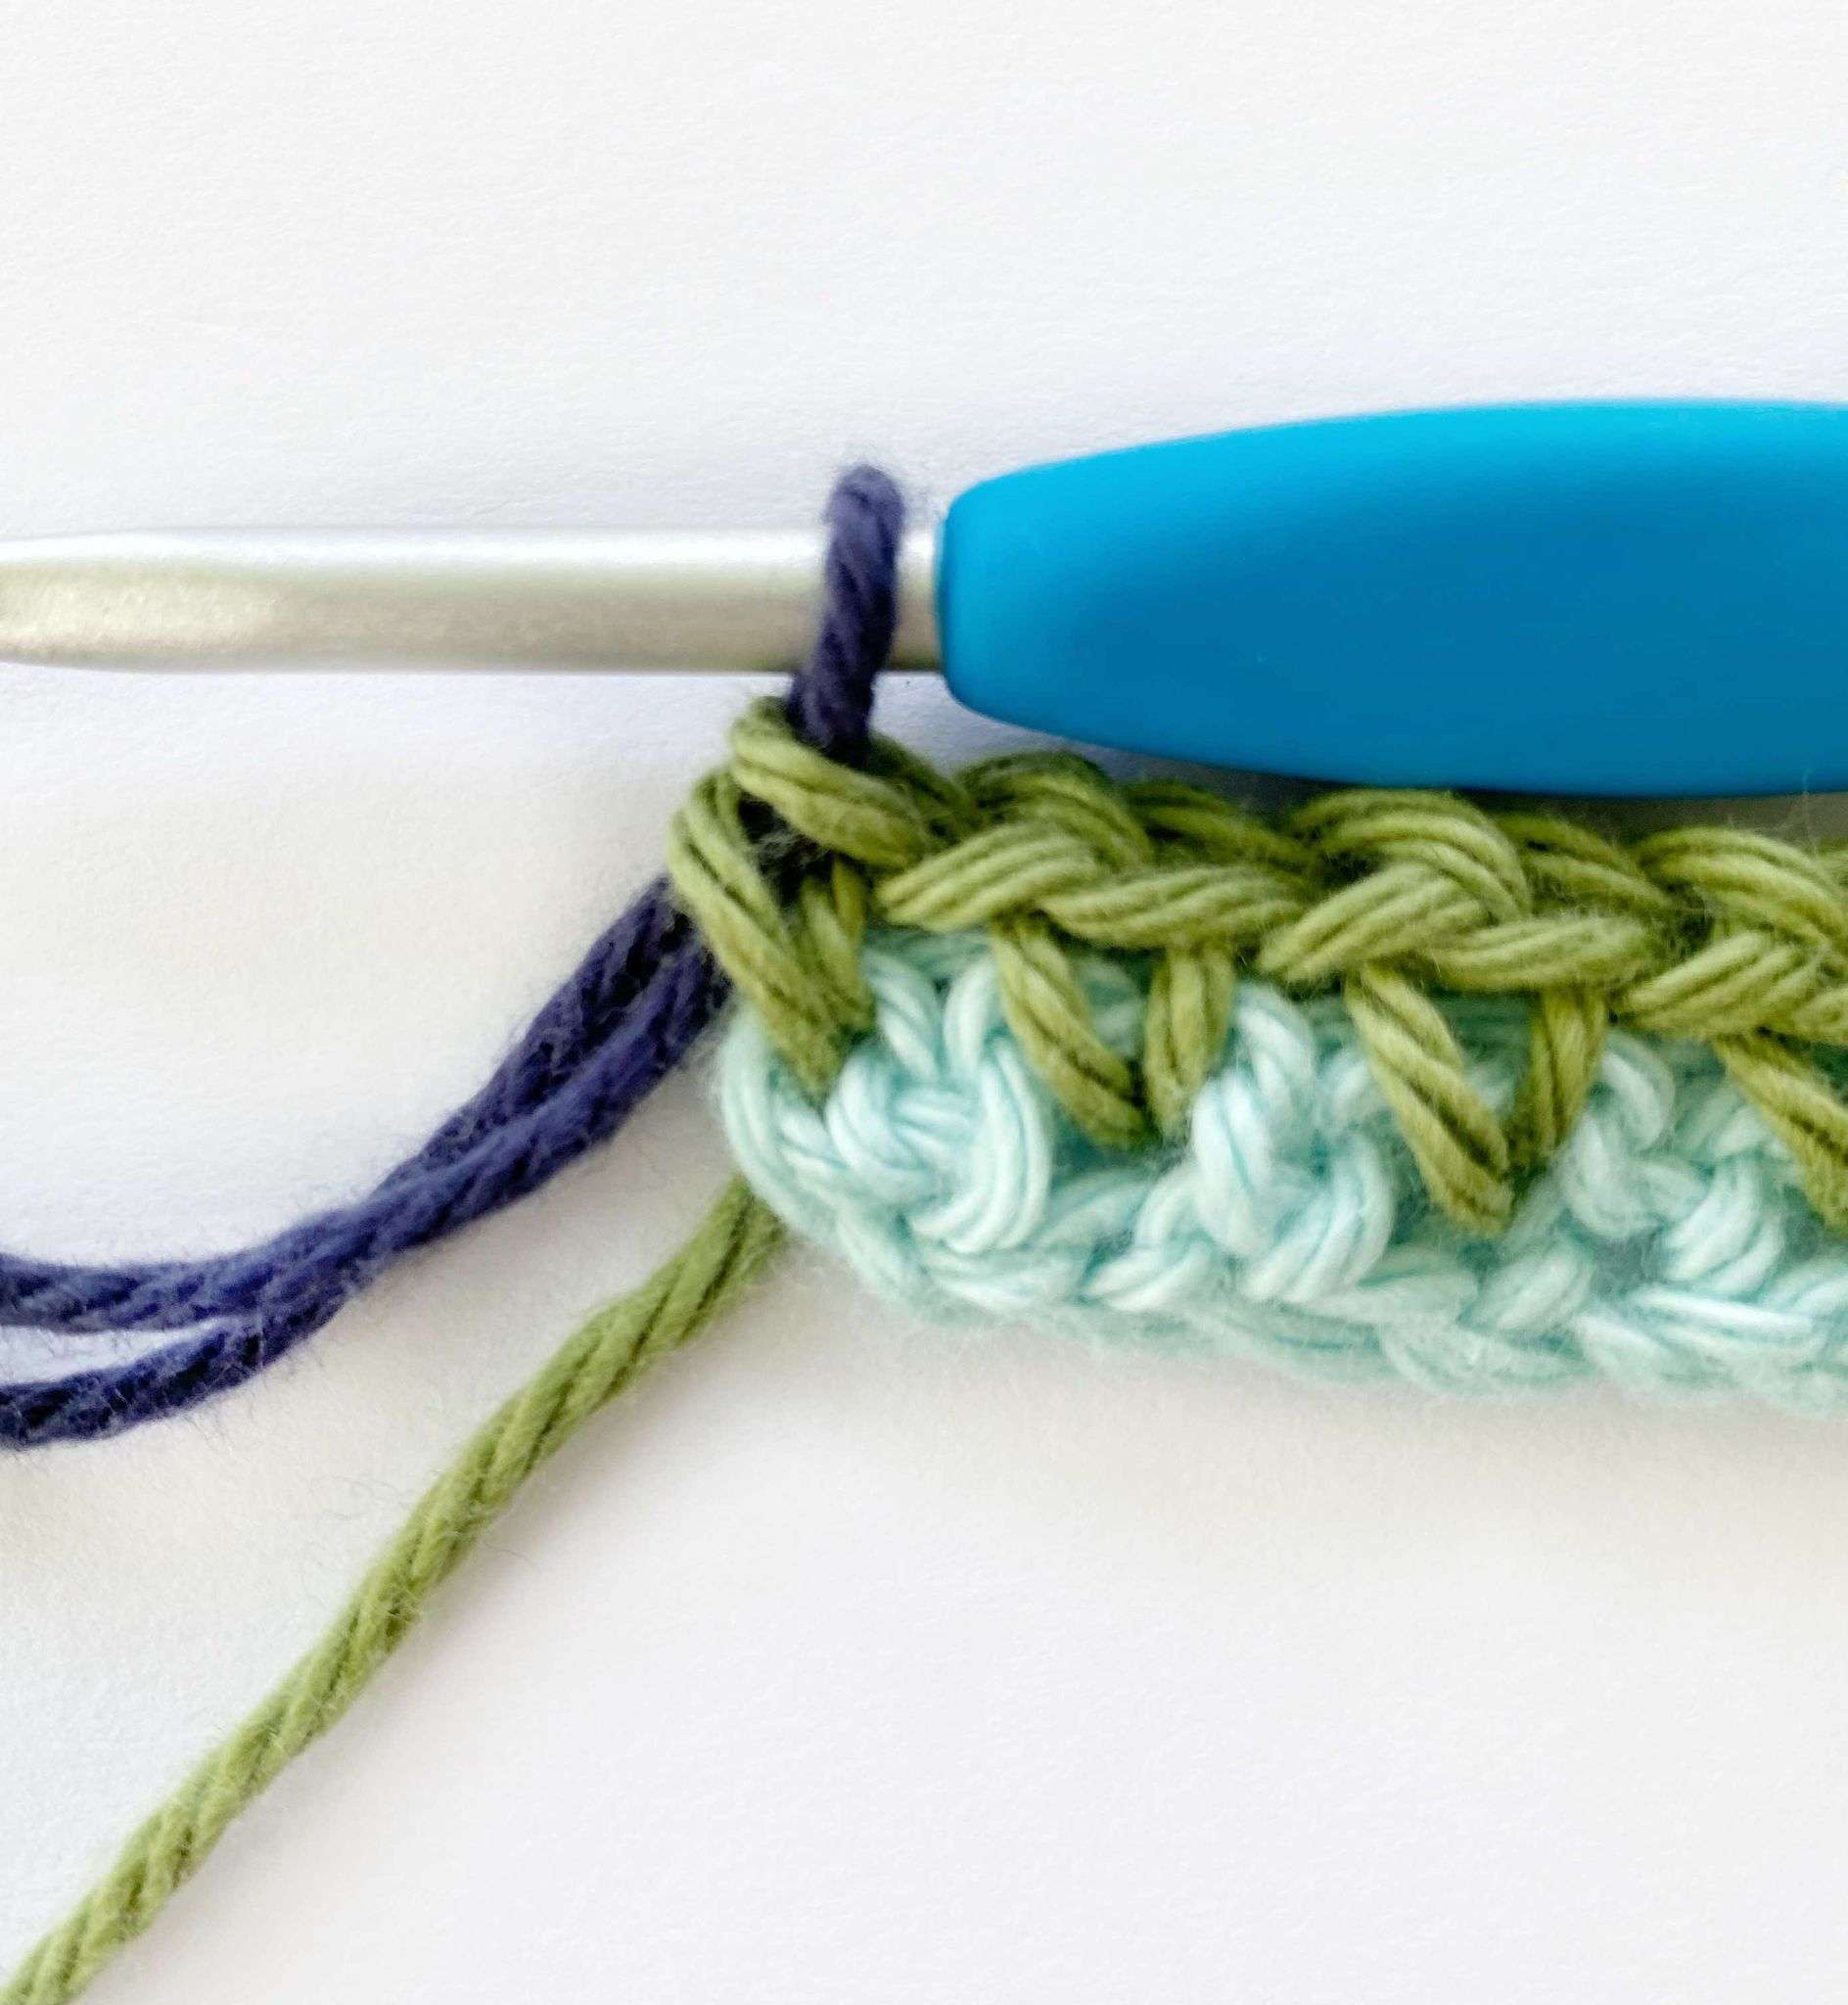
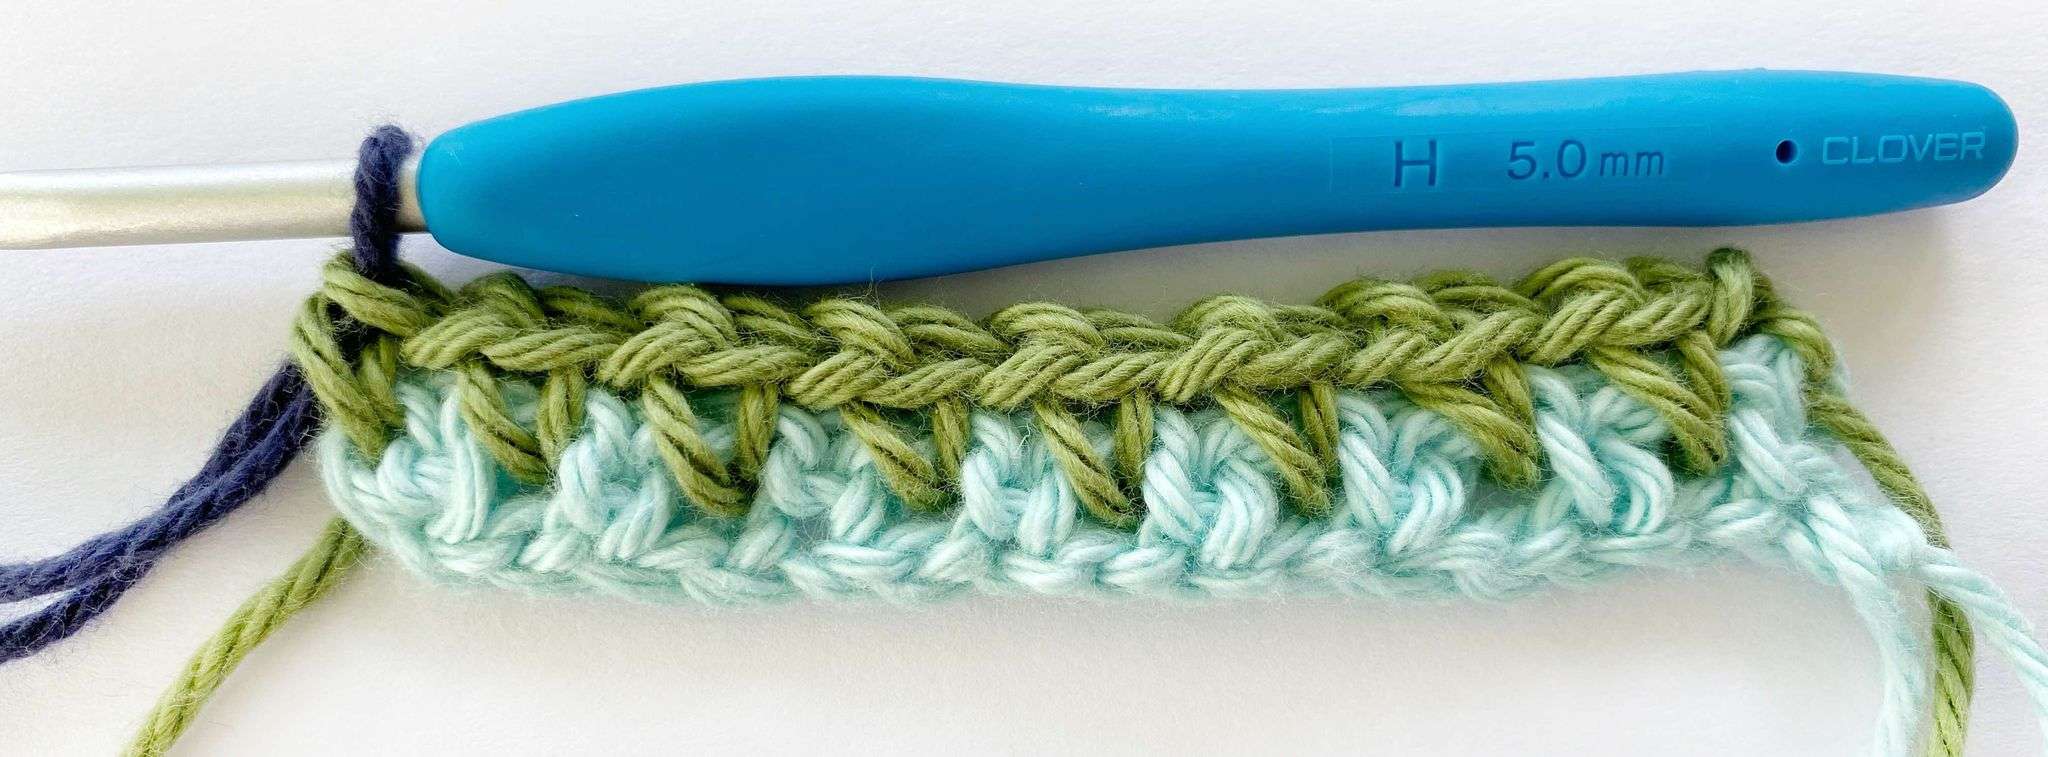
Step 5: In the last single crochet of the row, change to Colour C (dark blue). Keep Colour B attached to your work because you’ll need it later.
Step 6: Crochet one row using Colour C. In the last single crochet of the row, change back to Colour A.
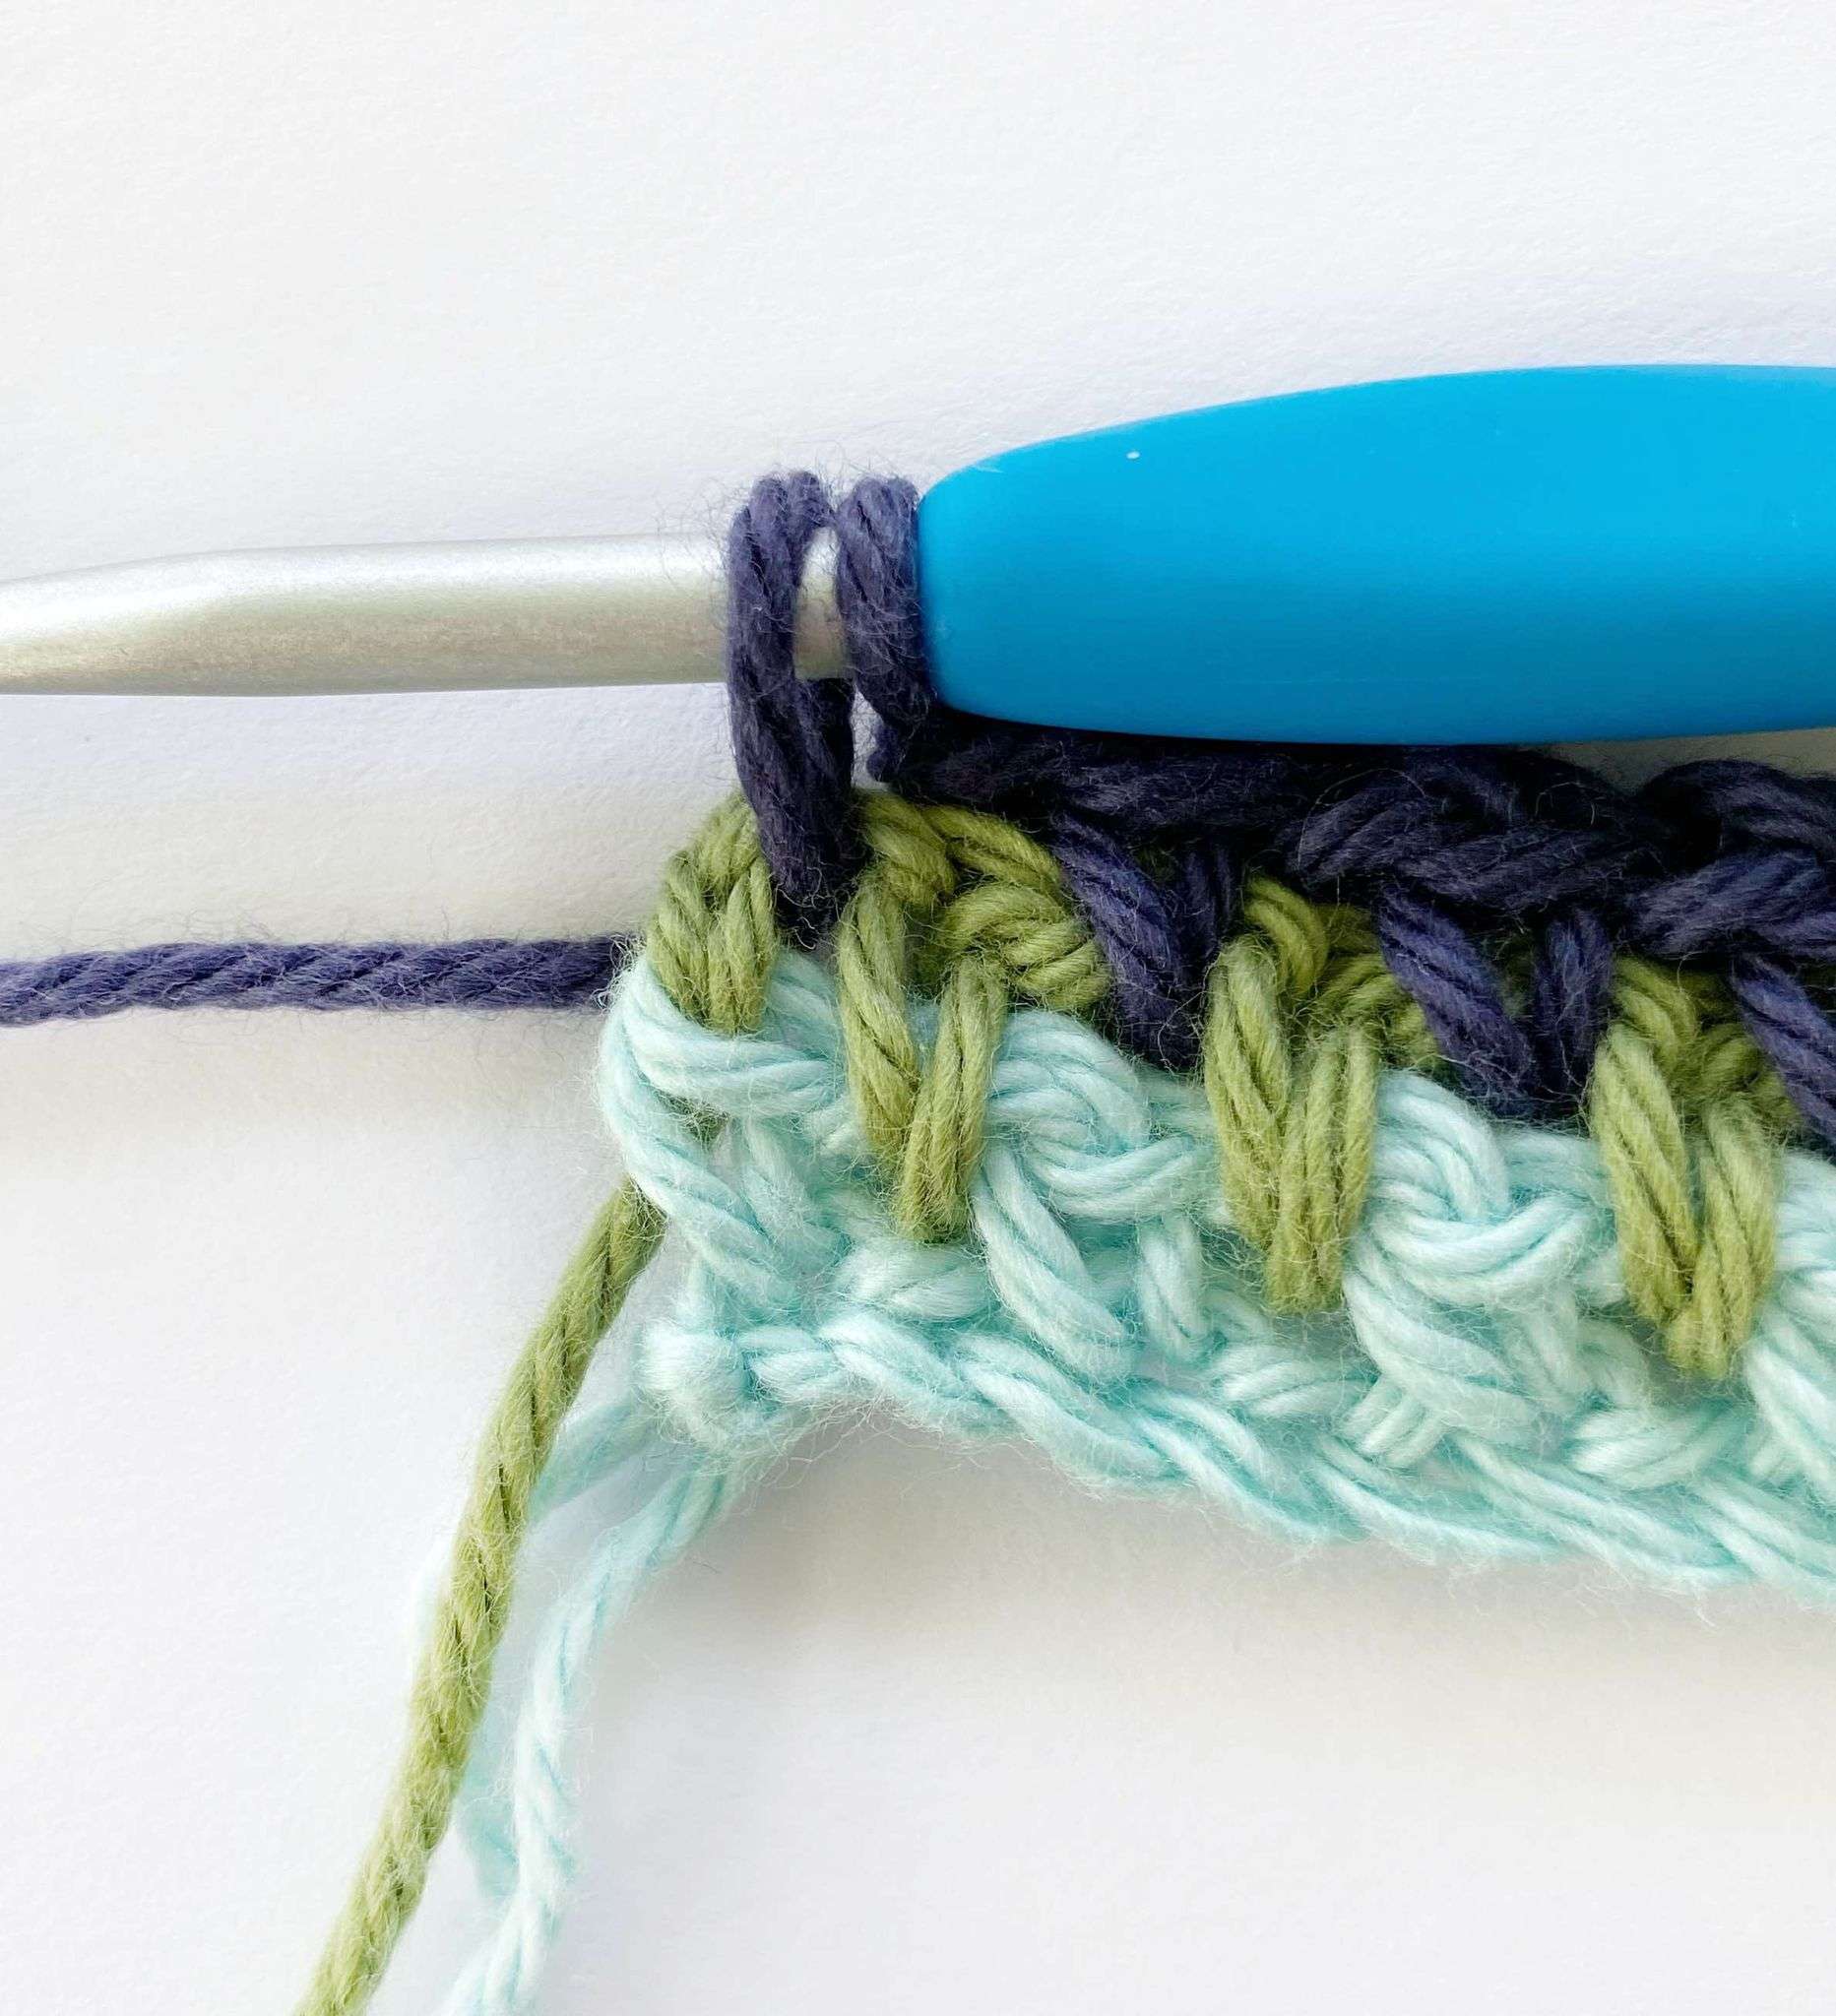
Step 7: Crochet one row using Colour A. In the last single crochet of the row, change back to Colour B.
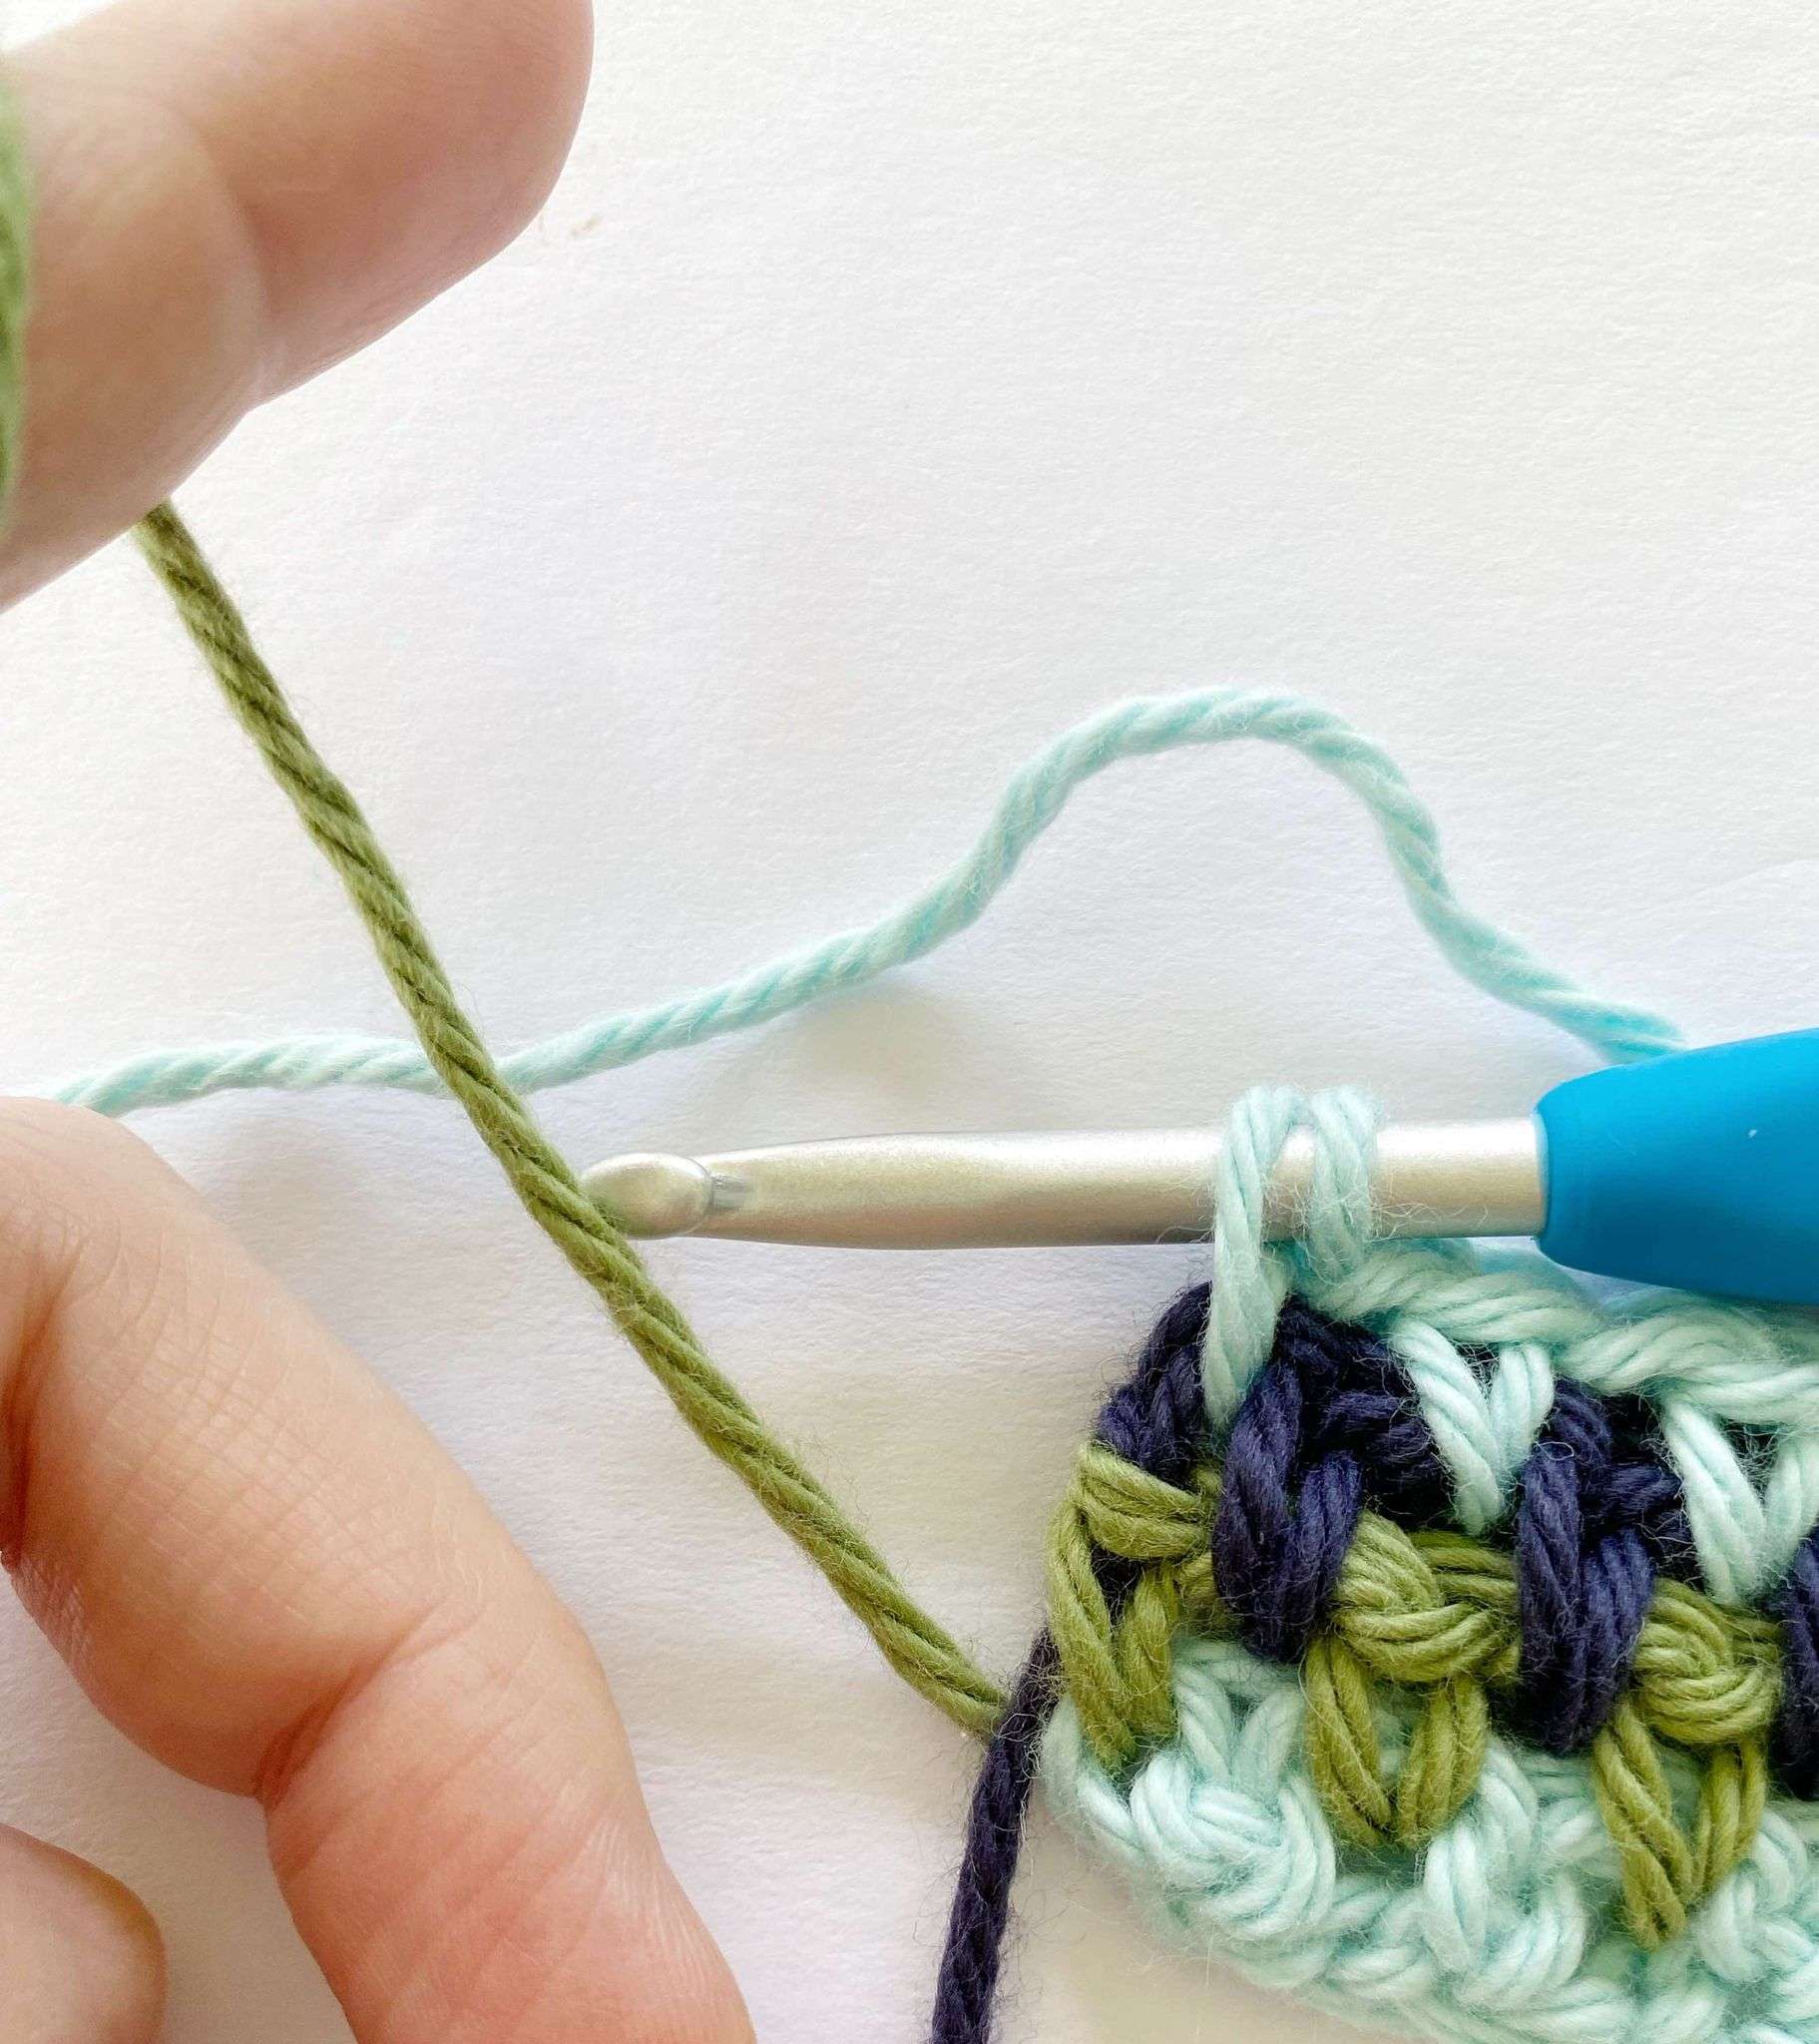
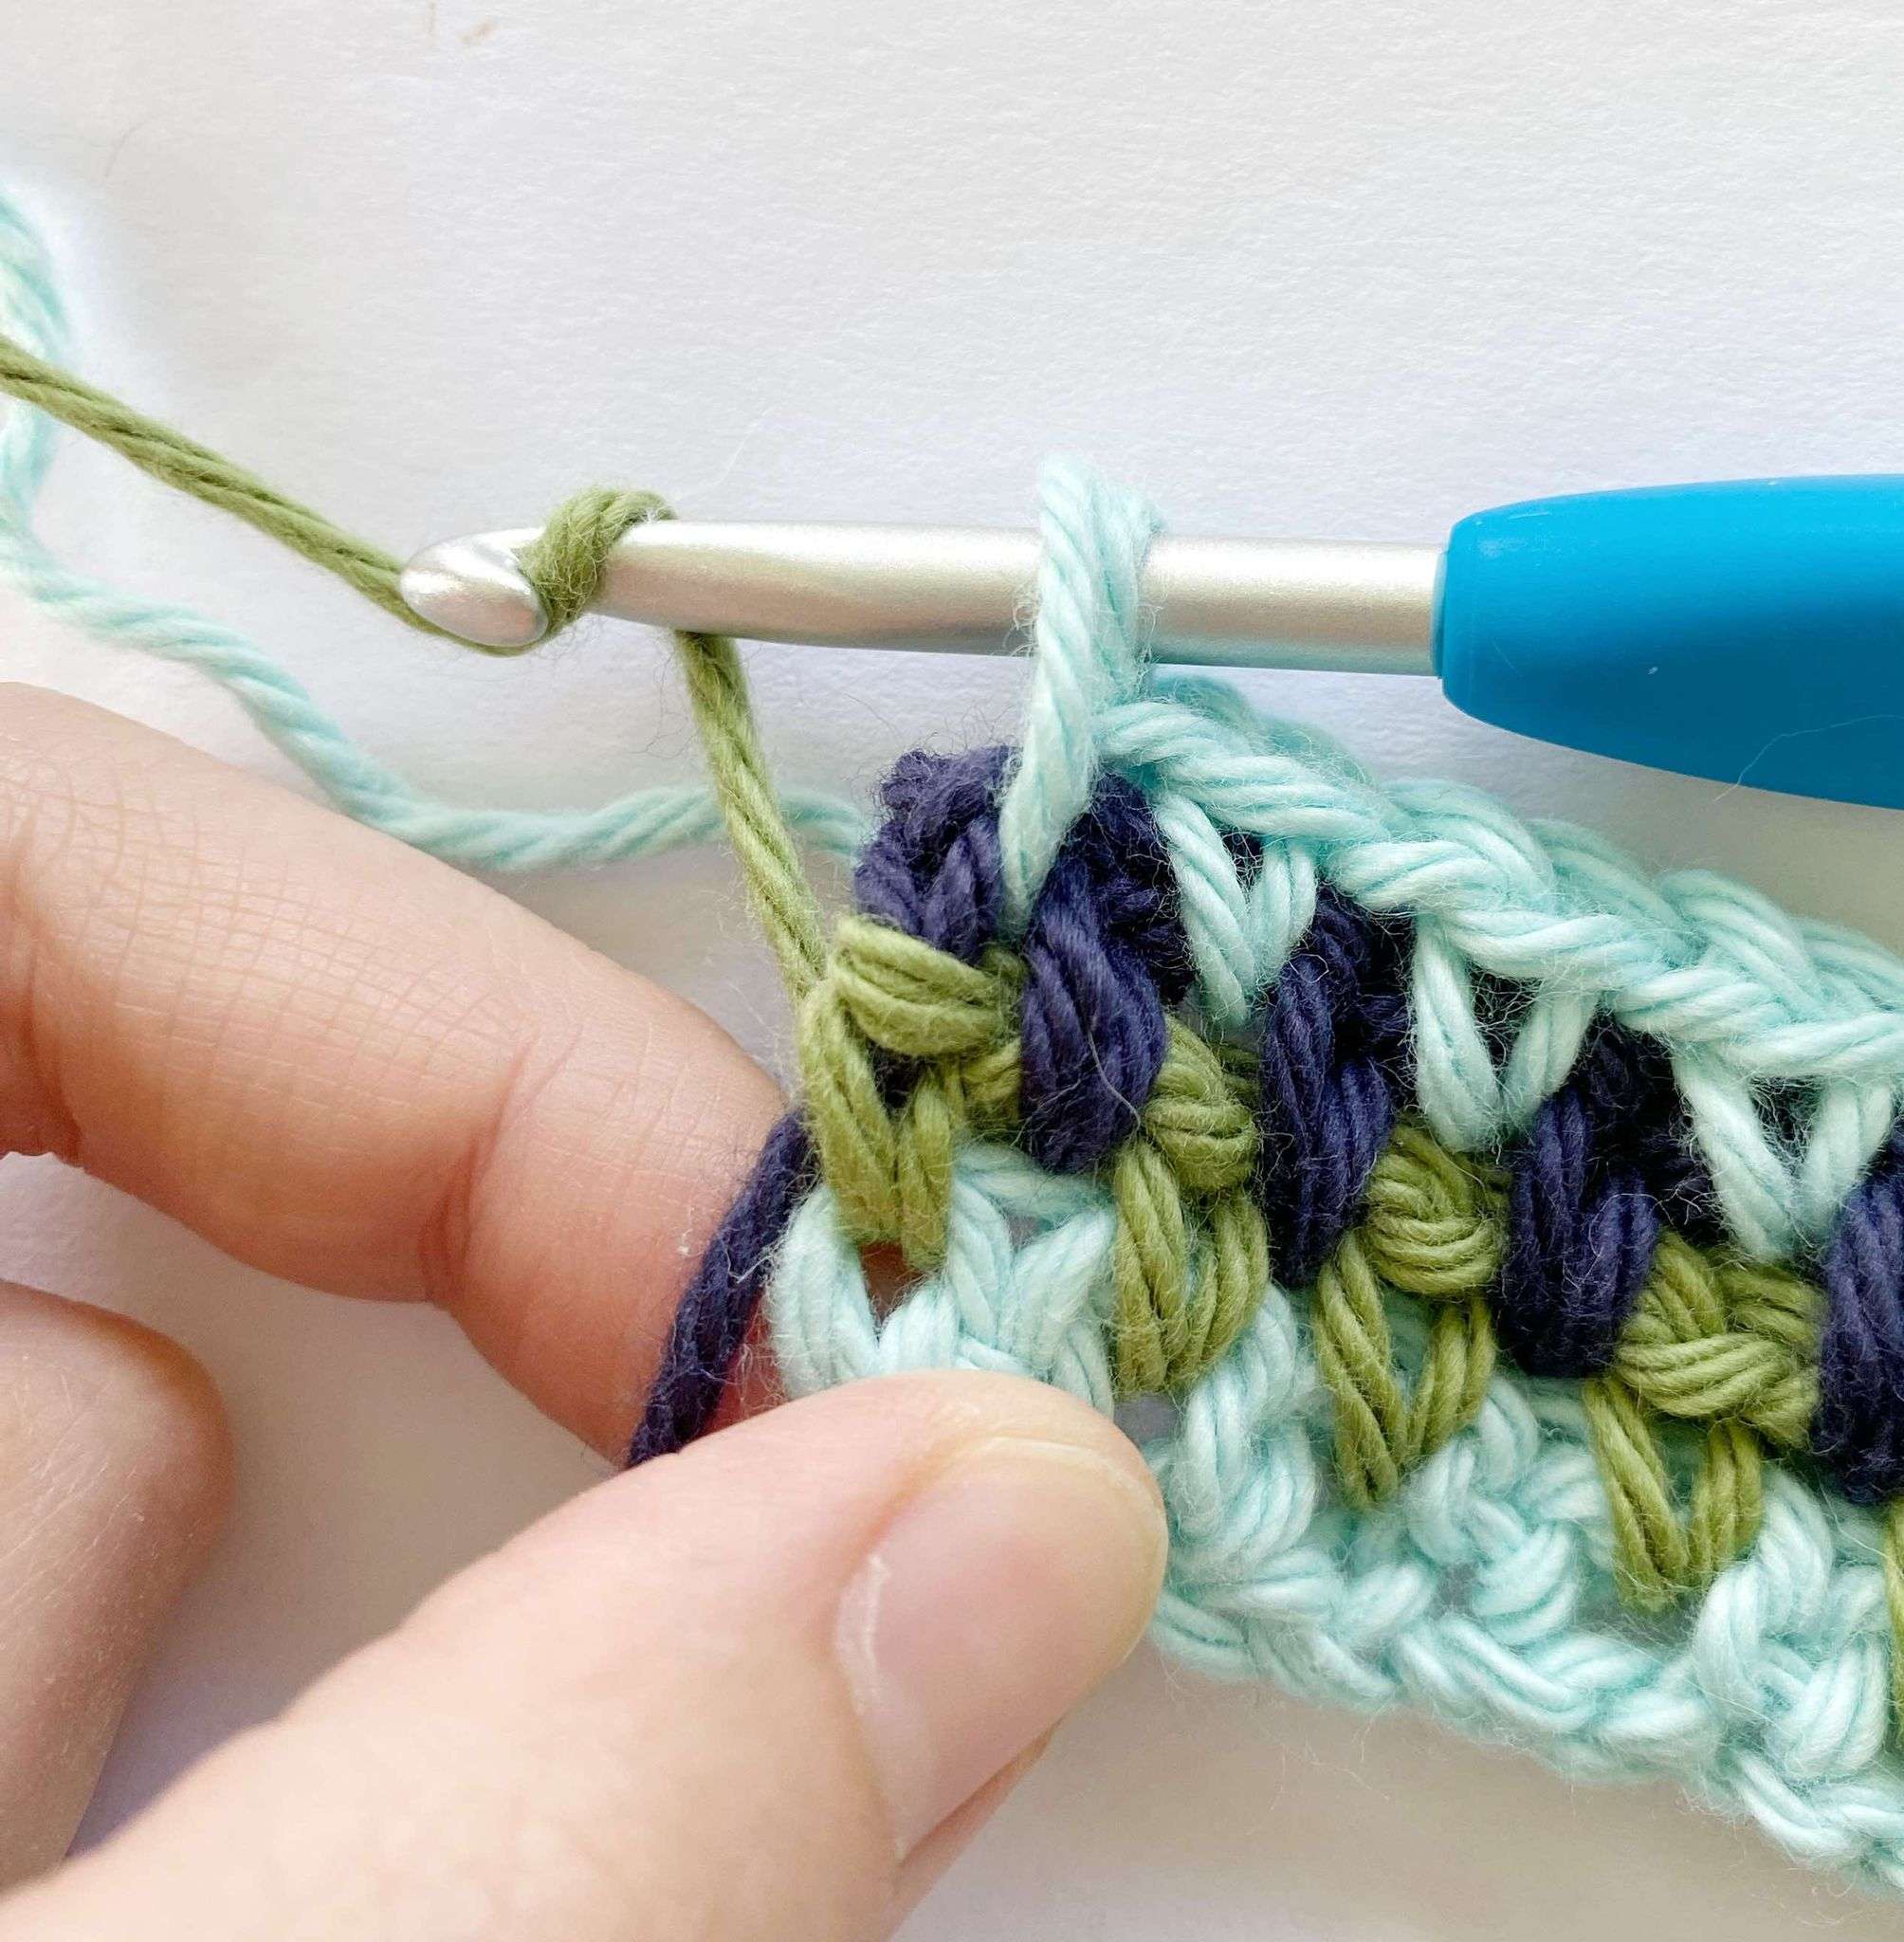
Step 8: Crochet one row using Colour B. In the last single crochet of the row, change back to Colour C.
Repeat steps 6 – 8 throughout your project.
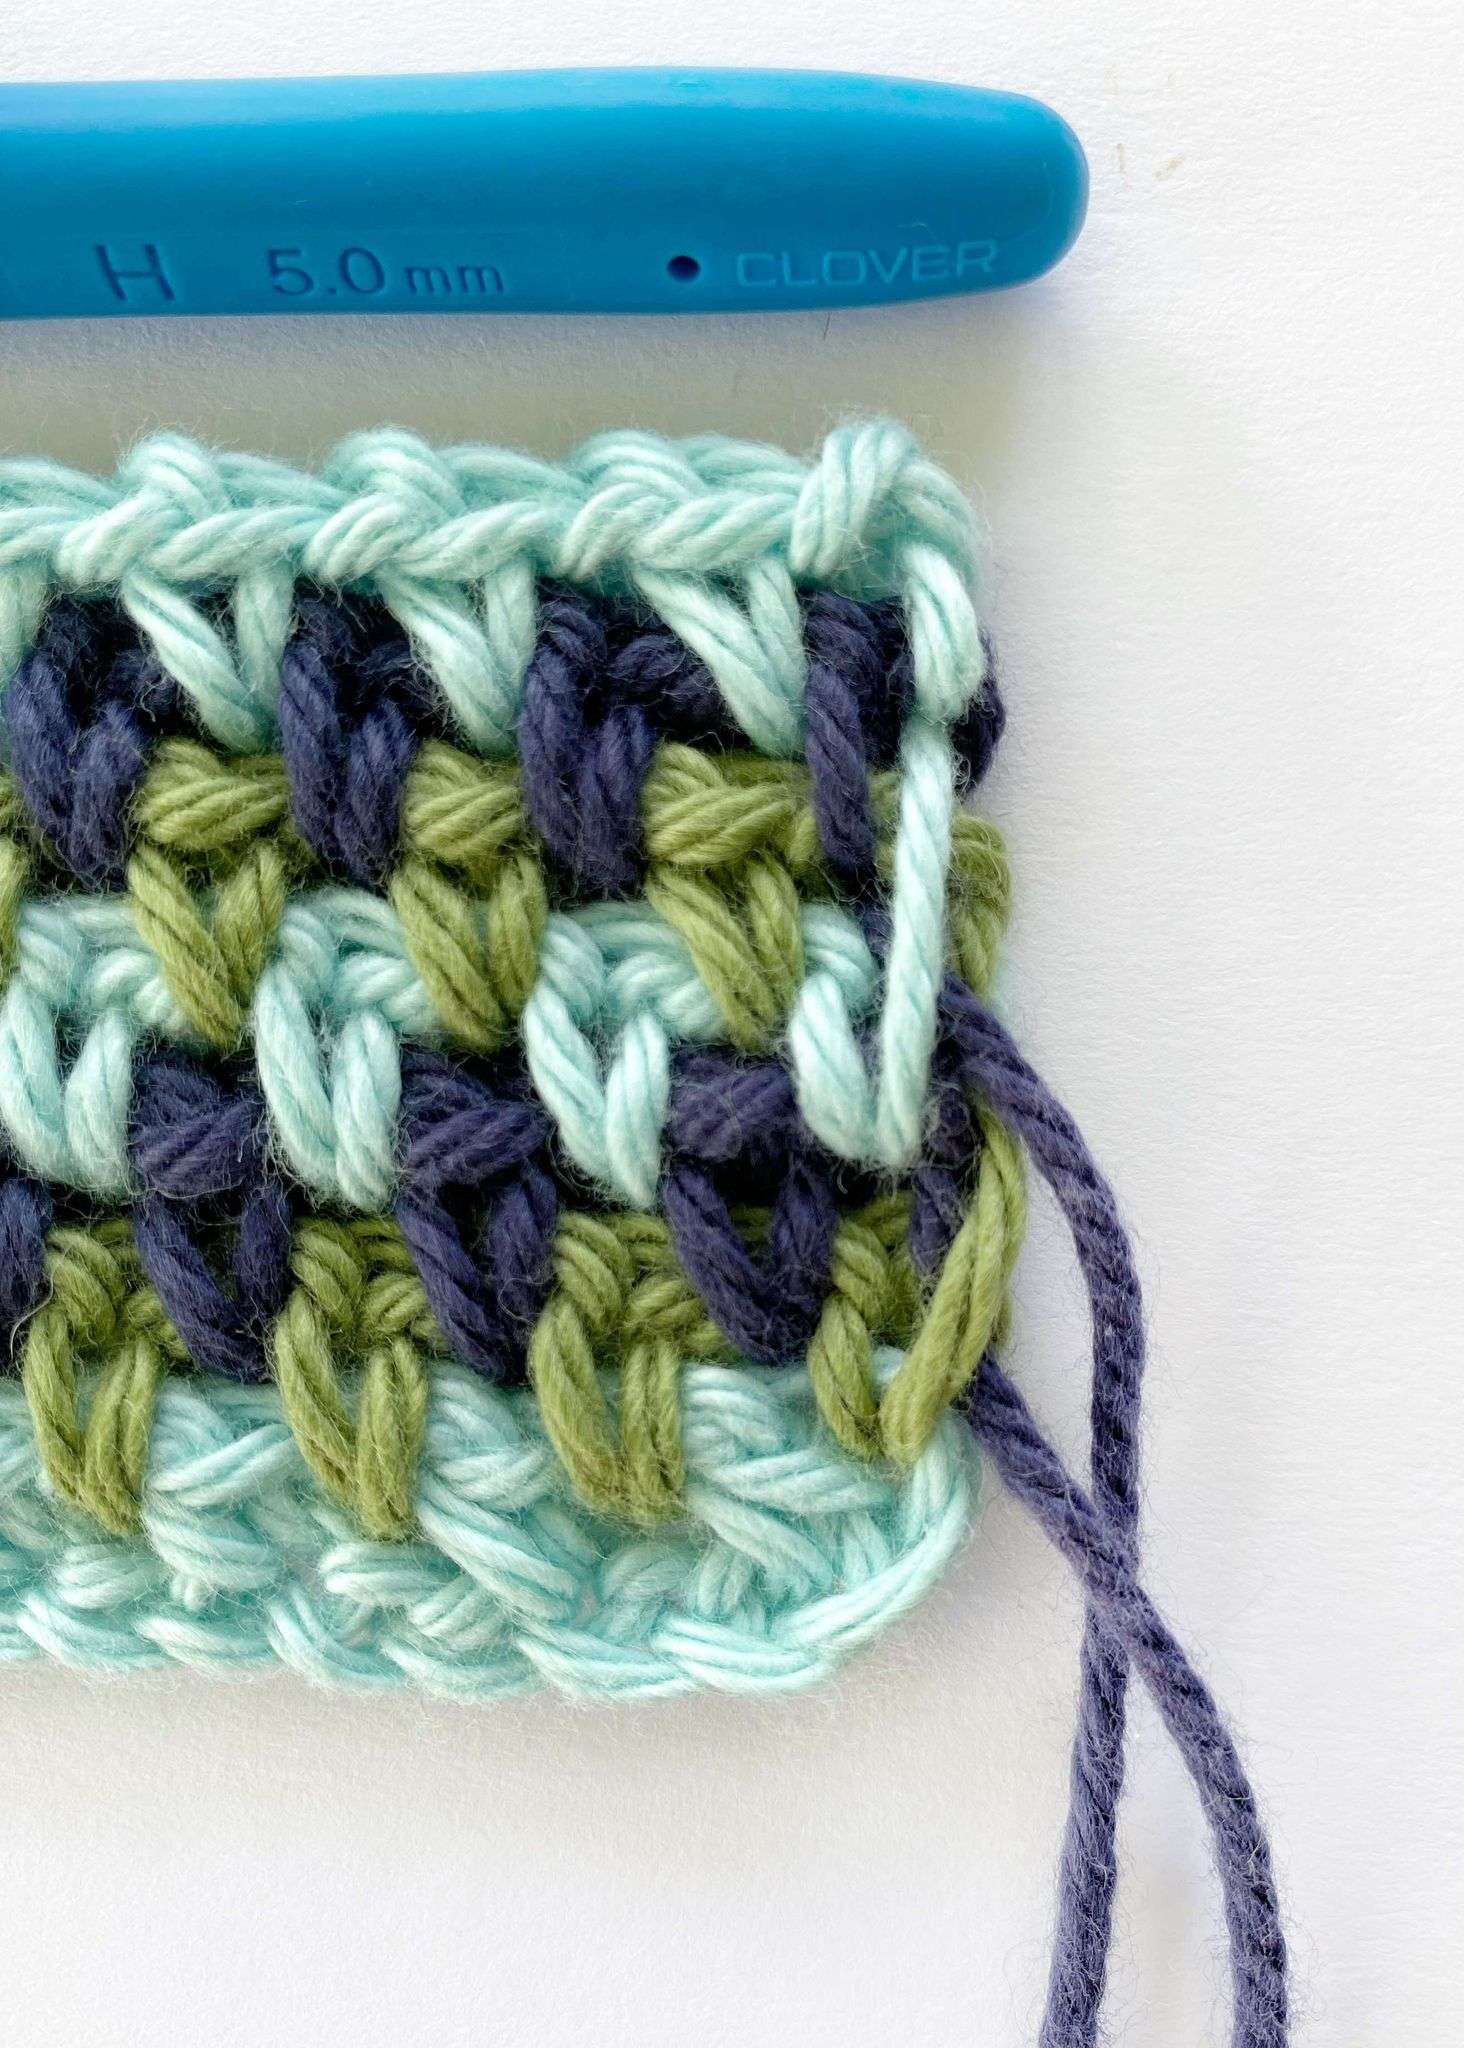
You will be able to see the yarn being carried up the side of your project, but you can crochet over top of these strands when doing a border, so that you won’t see them.
If you want to use more than 3 colours (5, 7, etc.), the process is the same. Keep adding colours every row, until you can change back to your first colour.
5 Ways to Do the Moss Stitch:
I hope you have fun learning all the different ways to crochet this stitch.
- As a square worked in the round.
- Row-by-row (this tutorial).
- Corner to corner to create a diagonal effect.
- As a triangle worked in a row-by-row pattern.
- As a rectangle worked in the round.
Moss Stitch Patterns You’ll Love!
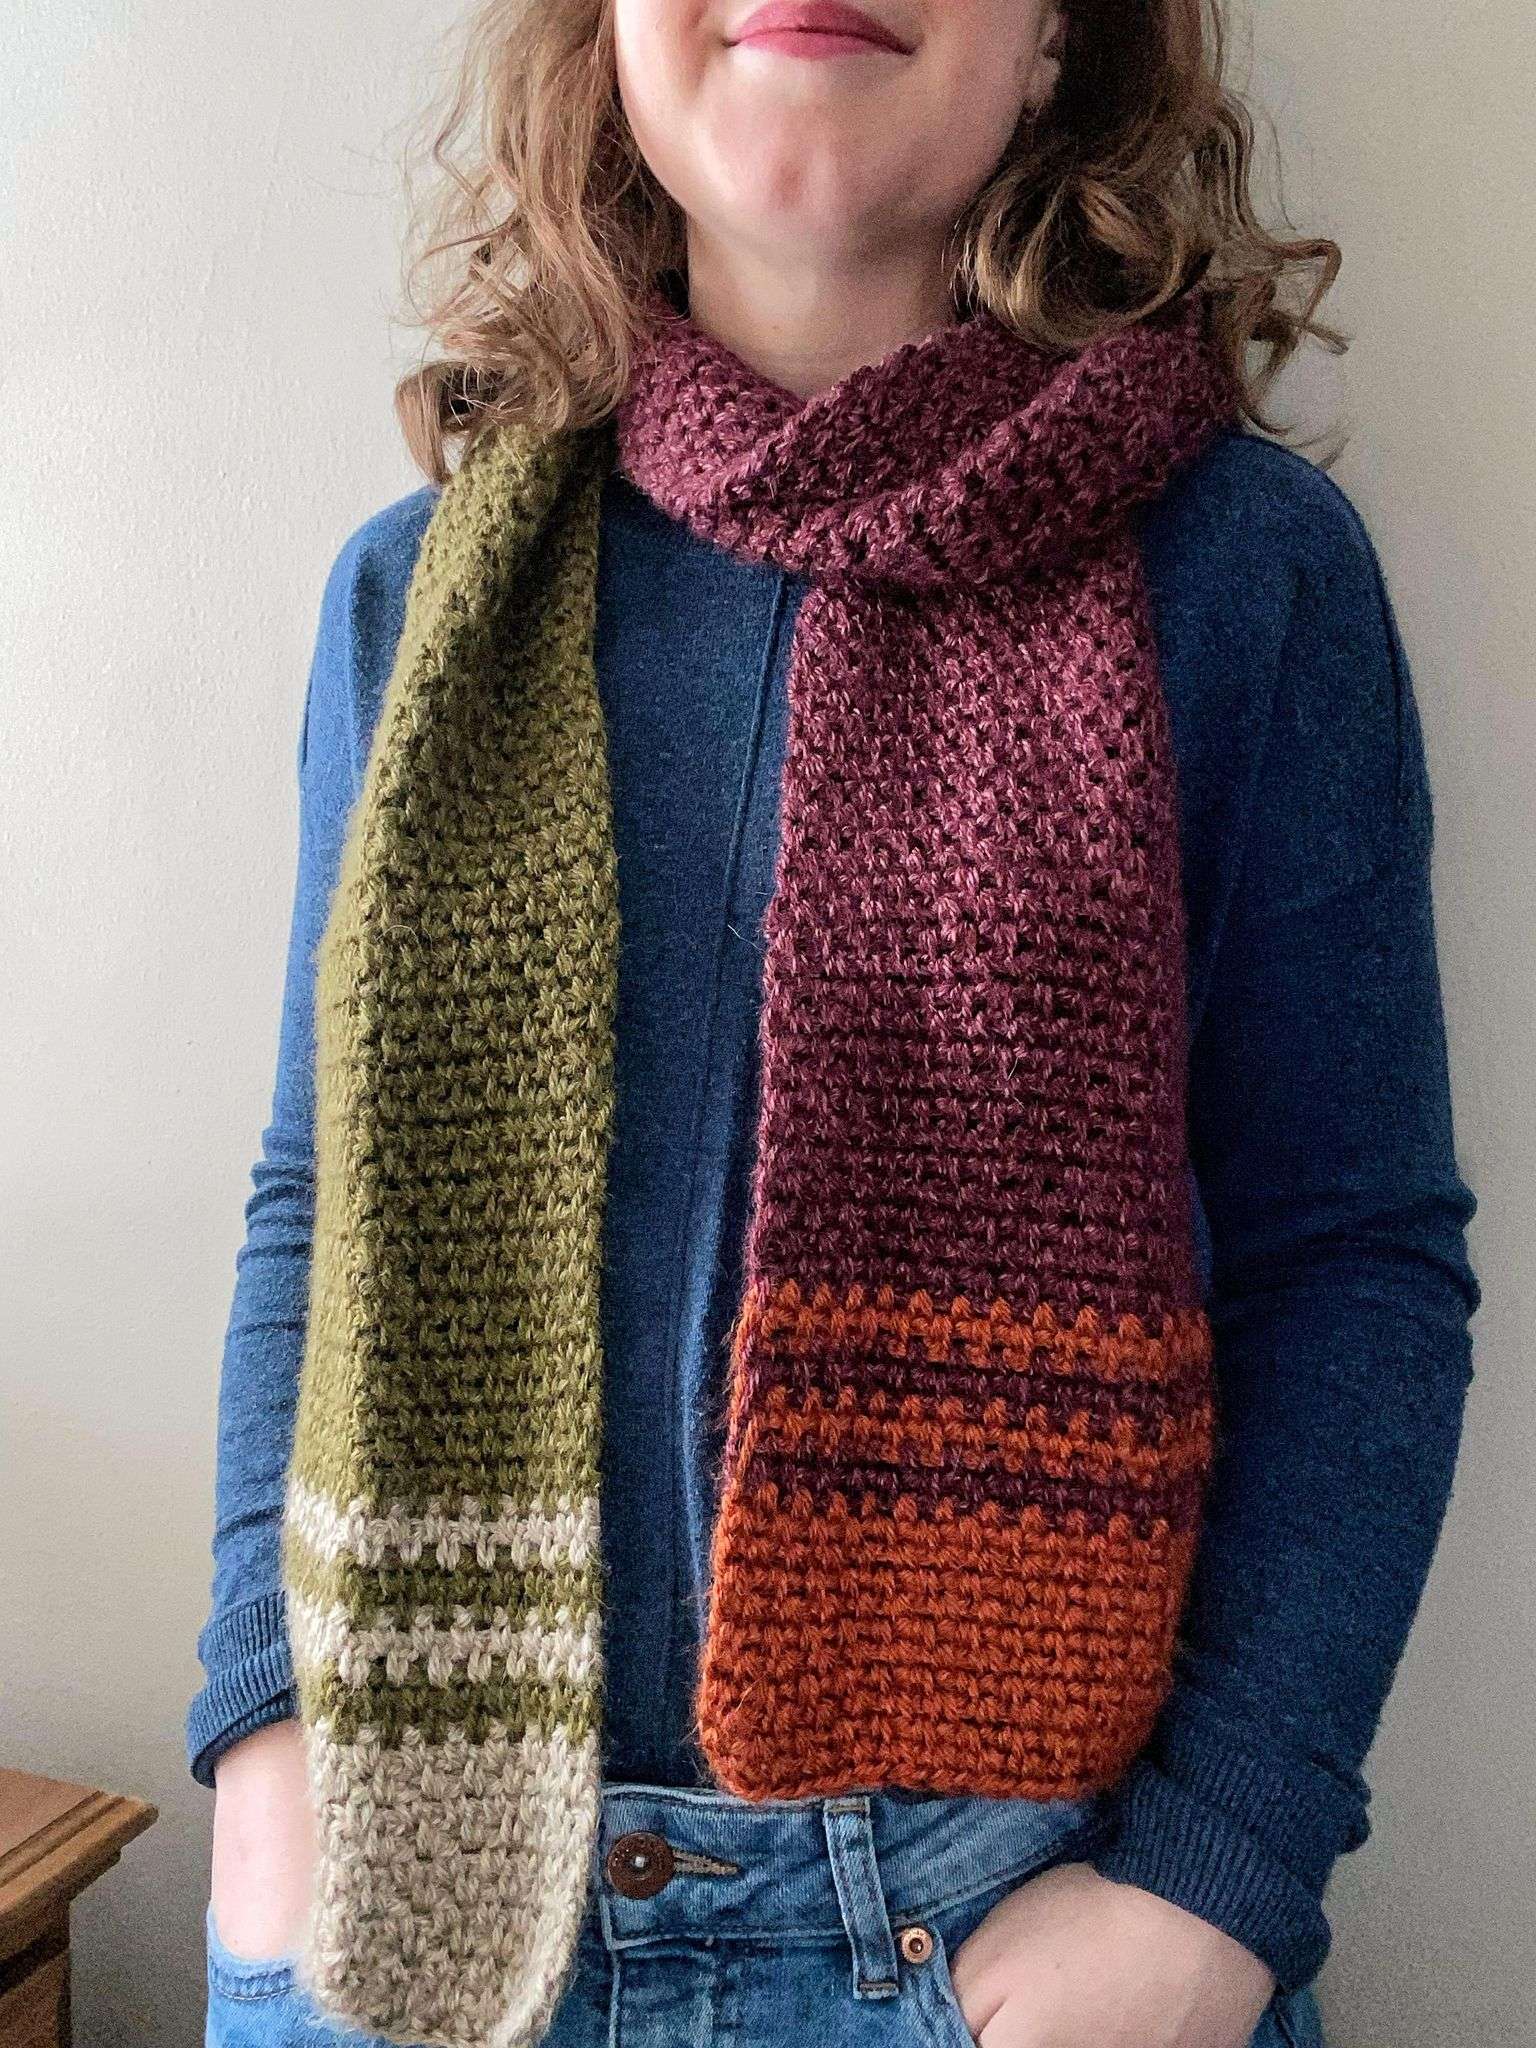
- Beginner Moss Stitch Scarf
- Summer Sunsets Potholder
- Colorama Potholder
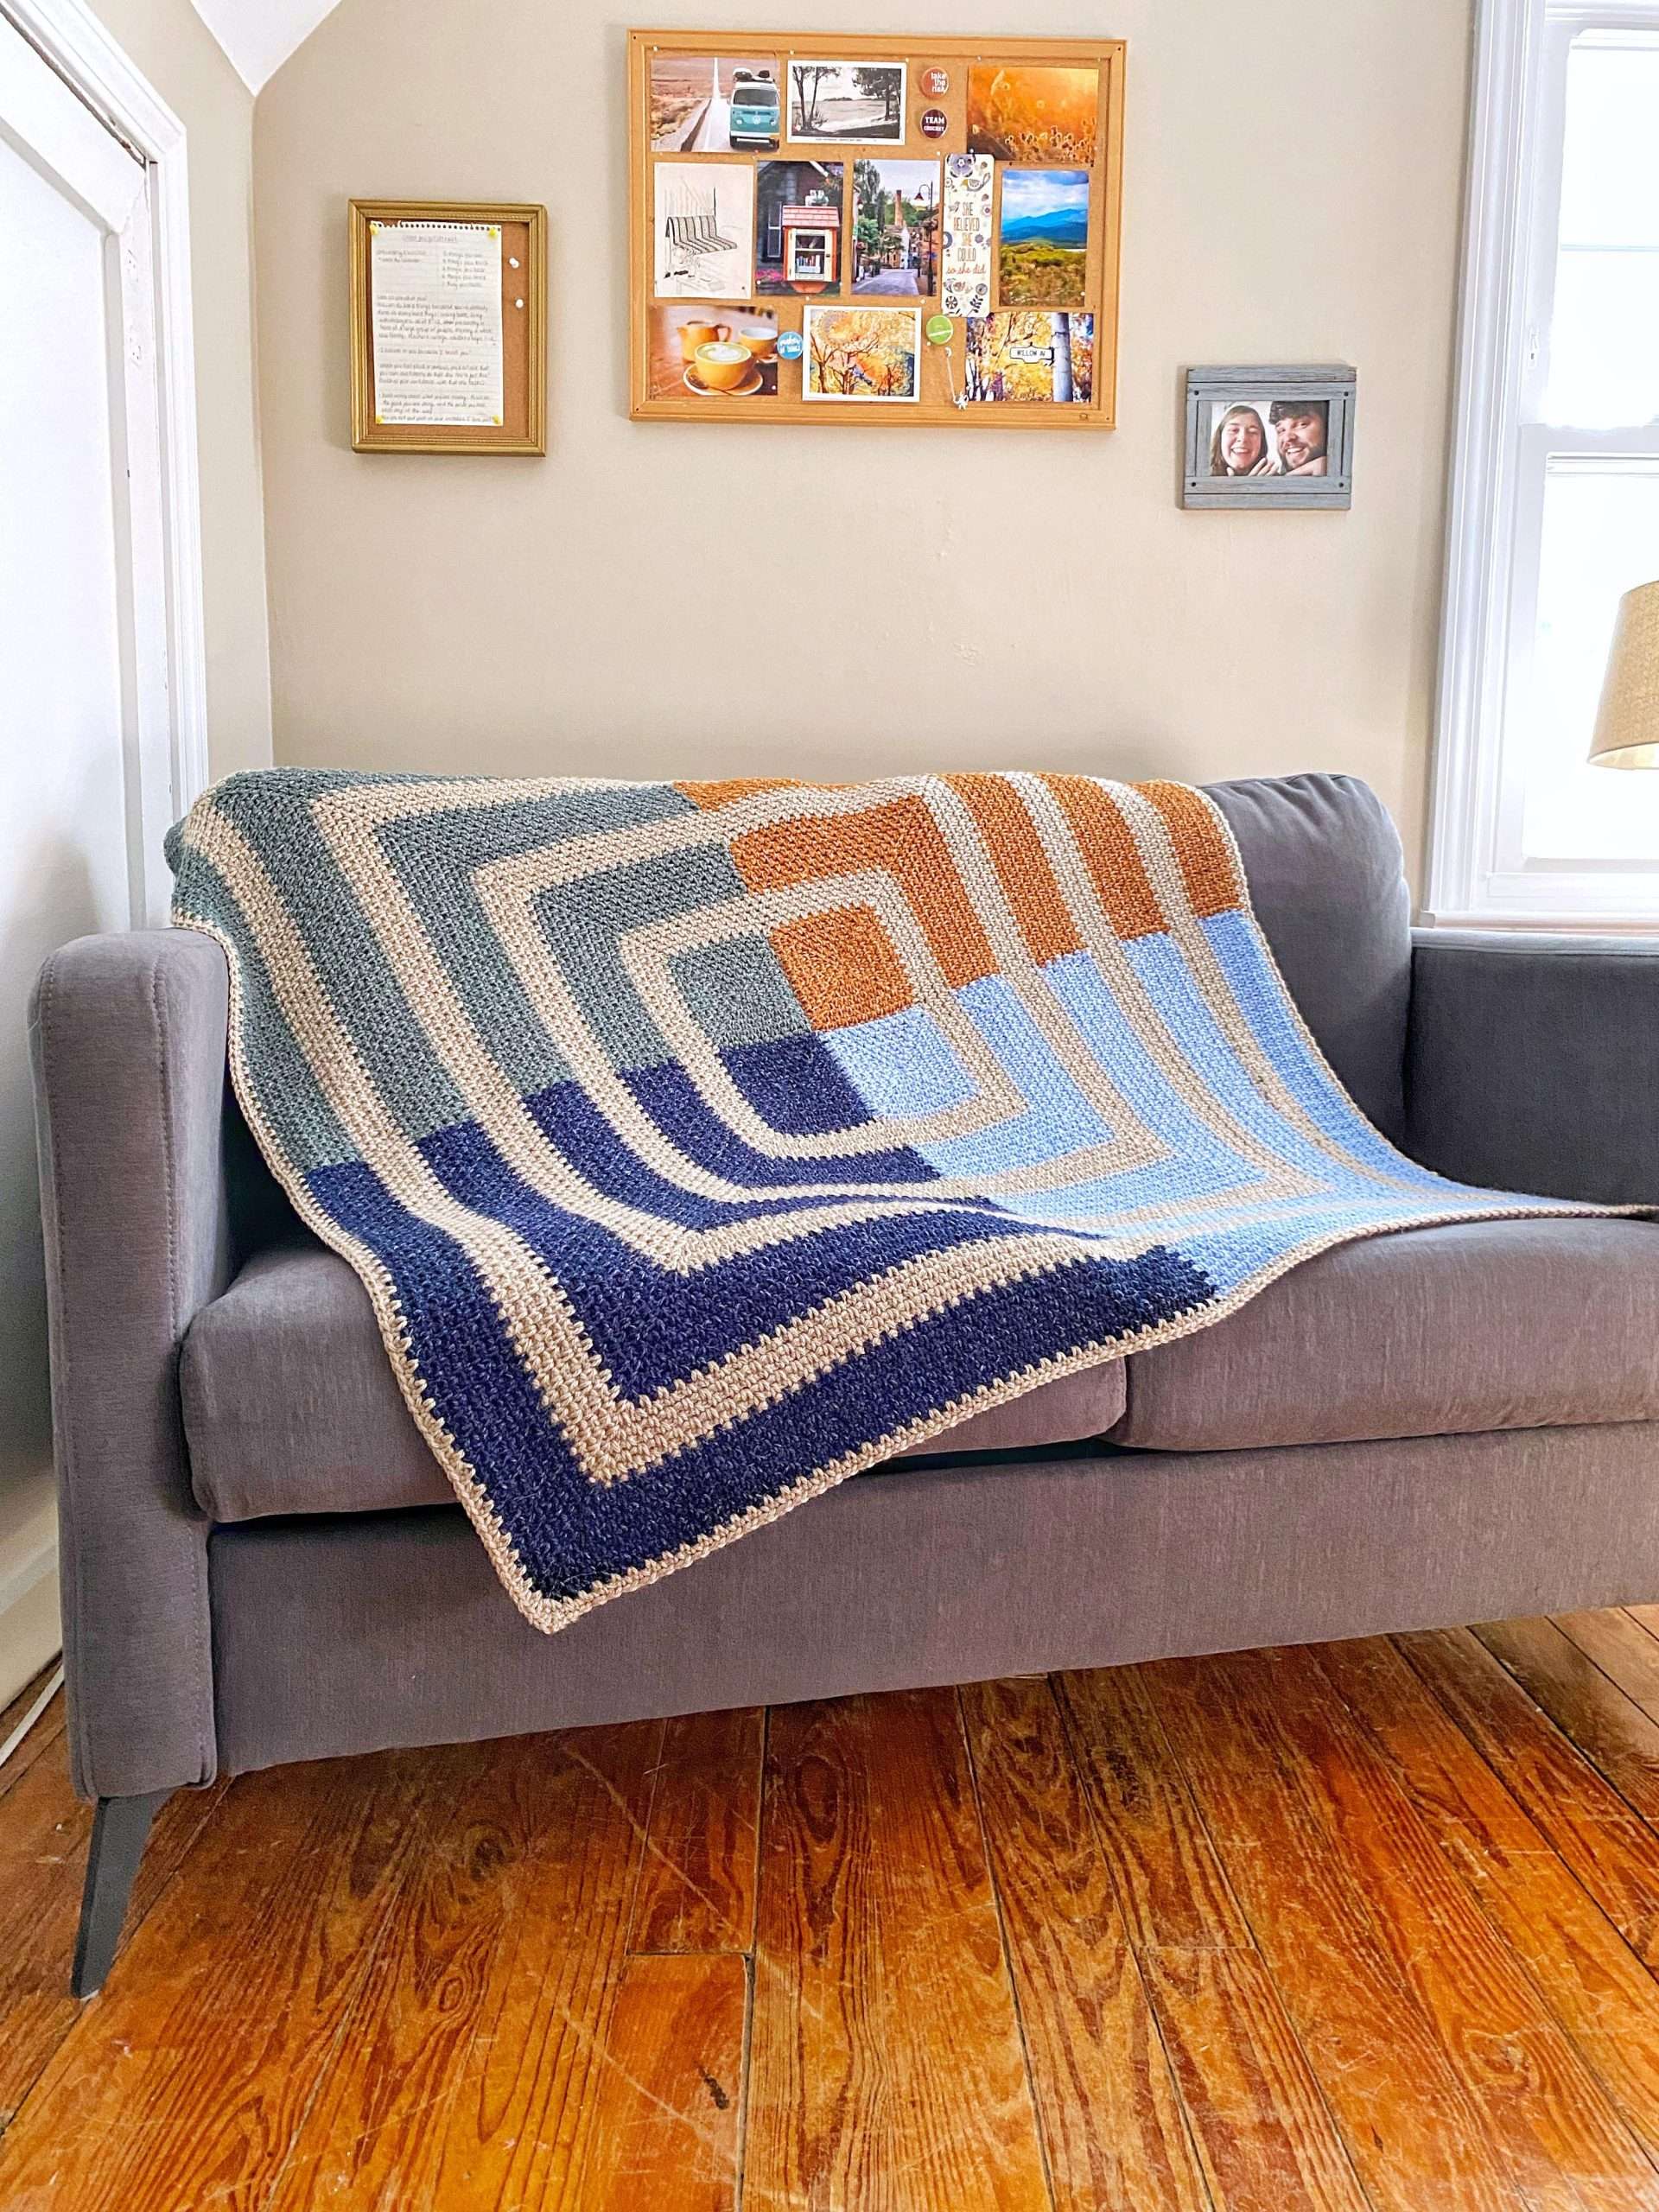
- Four Triangles Blanket
- Four Squares Blanket


I hope you enjoyed this moss stitch tutorial. If you have any questions, please send me an email through my contact page.
Happy crocheting!
Sincerely,
Dayna