

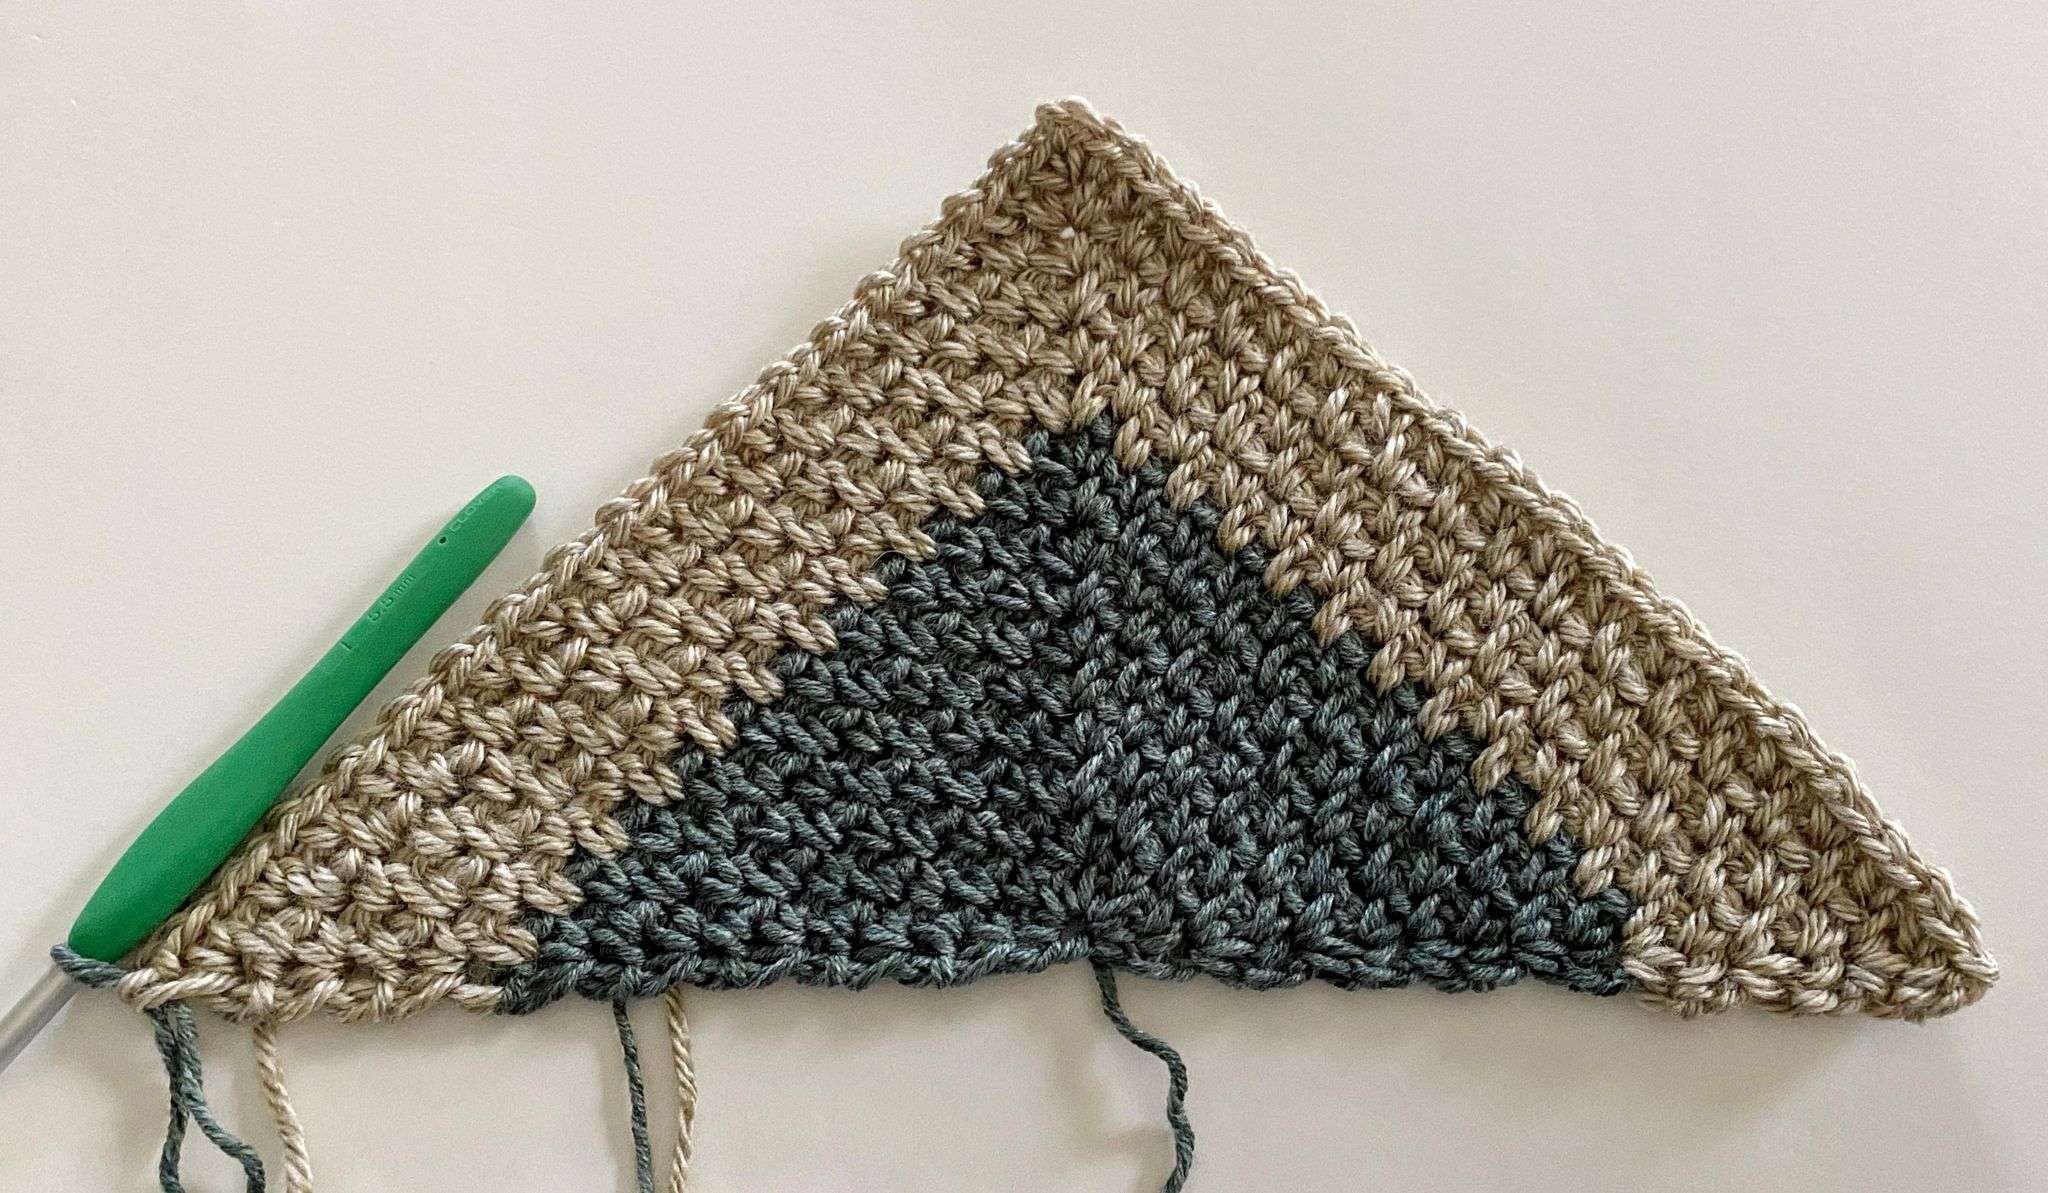
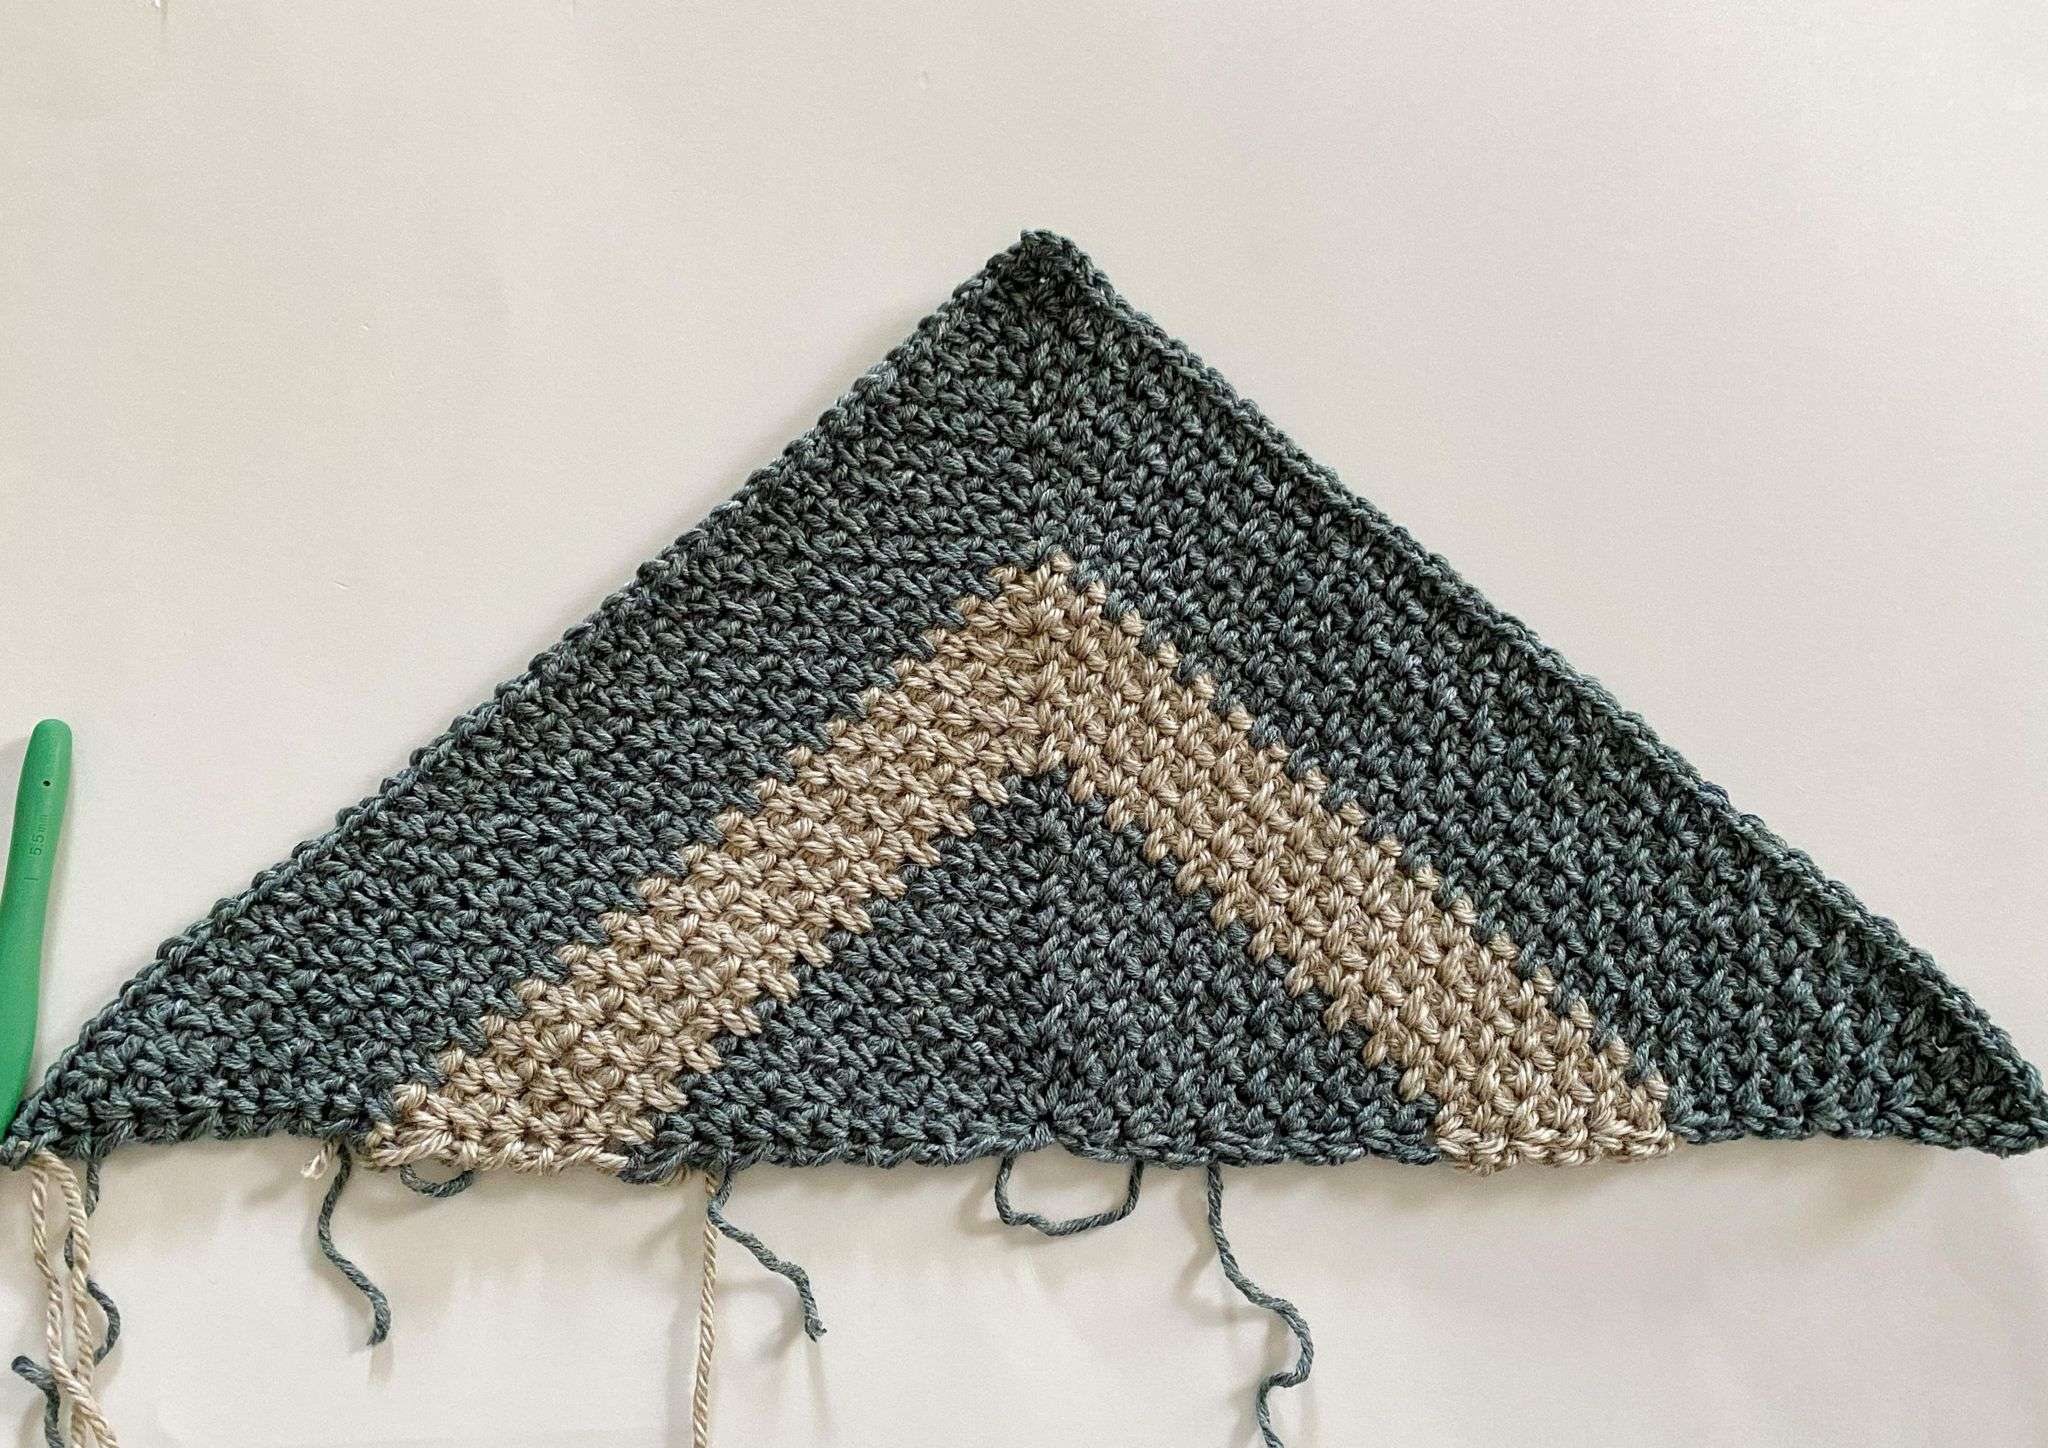
Hi guys! I am on a mission to share all of the ways that you can crochet the moss stitch. In this tutorial, you’ll learn how to crochet a moss stitch triangle.
After the first 4 rows, each row follows the same pattern, so you can make your triangles as big or as small as you’d like.
Sew them or join them together to make larger projects like blankets, bags, wall hangings, and more!
You can find the step-by-step photo tutorial below, along with a complete video tutorial to help you!
5 Ways to Do the Moss Stitch:
I hope you have fun learning all the different ways to crochet this stitch.
- As a square worked in the round.
- Row-by-row.
- As a triangle worked in a row-by-row pattern (this tutorial).
- Corner to corner to create a diagonal effect.
- As a rectangle worked in the round.
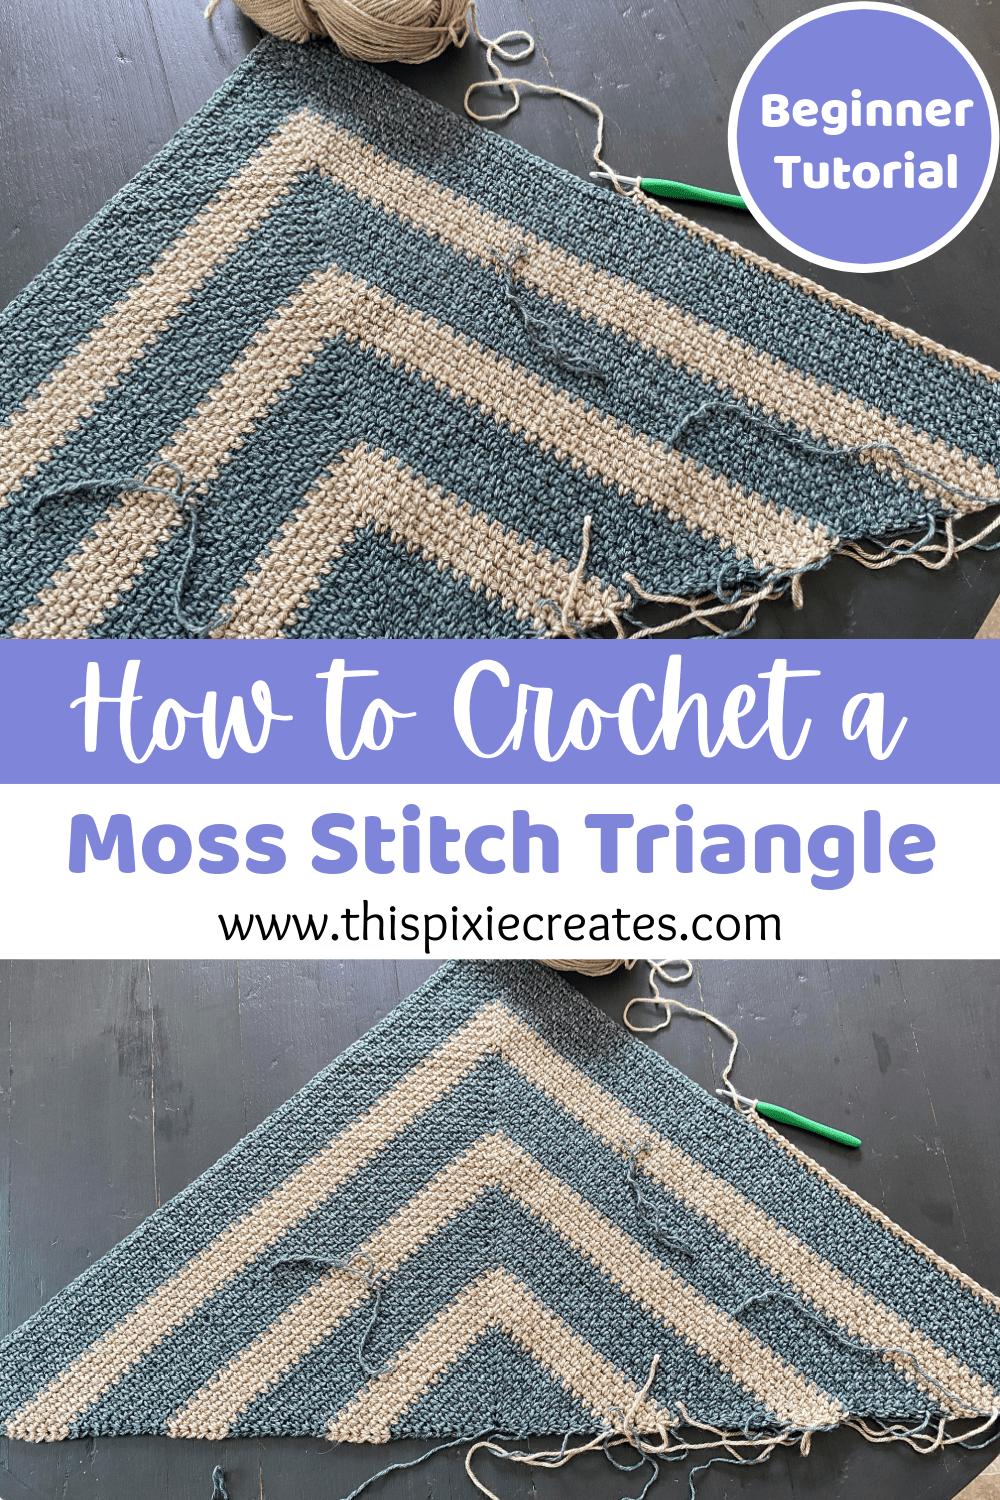
Pin this Moss Stitch Triangle Tutorial – HERE!
Don’t have time to start the tutorial? That’s okay! Pin it for later, so that you can easily find it when you’re ready to start crocheting!
The yarn section contains an affiliate links that support the content on ThisPixieCreates. Find more information about affiliate links, as well as my Privacy & Disclosures Policy here.
Yarn, Hook and Colours:
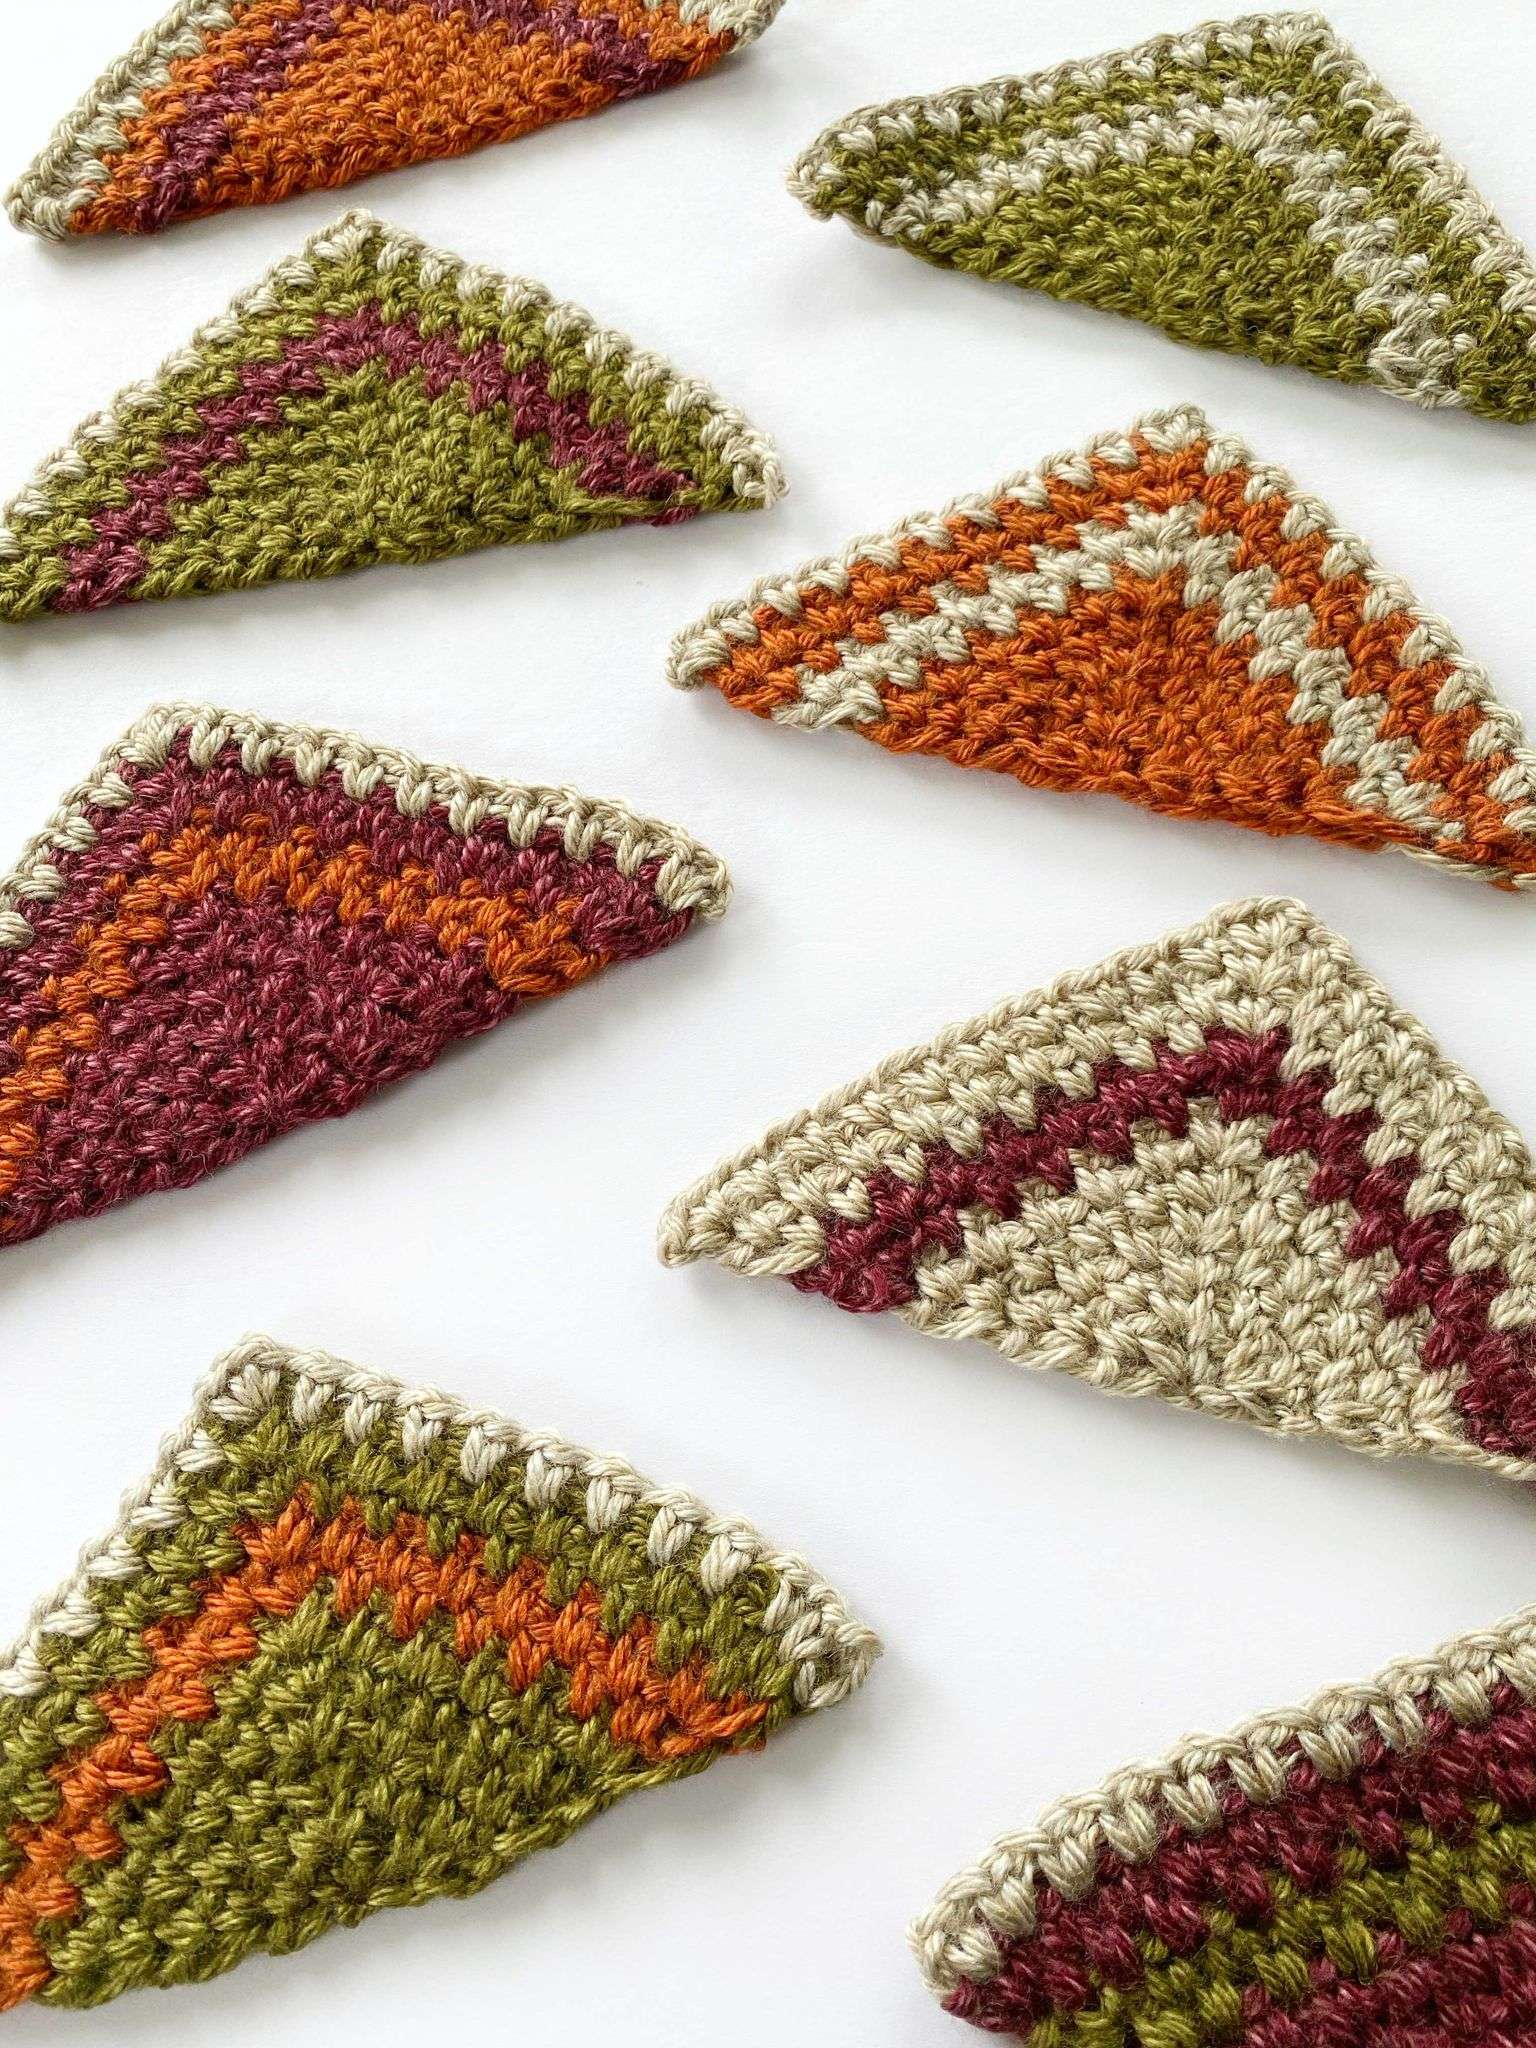
You can use any yarn and hook of your choice, but if you’re curious about what I used to make these triangles, then here is all of the information you need to know:
- Hook Size: 5.5 mm
- Yarn: Lion Brand Heartland
- Colours: Grand Canyon, Badlands, Joshua Tree, and Yosemite
- Yardage: Approximately 30 yds / 27 m per triangle.
- Number of Rows: There are a total of 11 rows in each triangle.
- Measurement: Each triangle measures 7″ wide (across the base) and 3.5″ in height.
Colour Breakdowns:
If you’d like to follow the same pattern for your colour changes, I used two different colour variations.
| Option #1 | Option #2 |
| Rows 1 – 6: Contrasting Colour #1 (CC1) Rows 7 – 8: CC2 Rows 9 – 10: CC1 Row 11: CC2 | Rows 1 – 6: Contrasting Colour #1 (CC1) Rows 7 – 8: CC2 Rows 9 – 10: CC1 Row 11: CC3 |
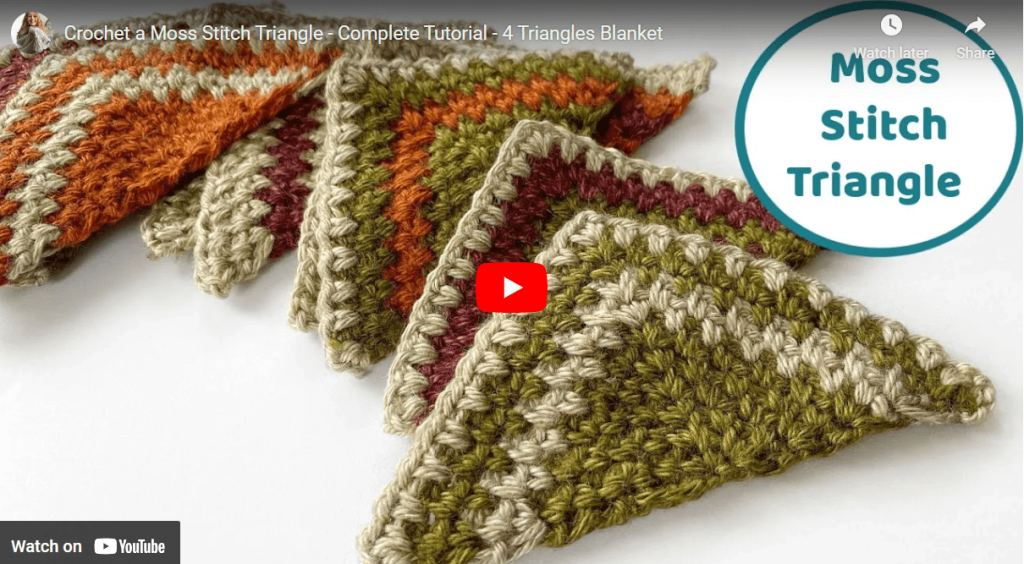
Video Tutorial:
There are timestamps included in the video, so you can skip to the part(s) you need.
Below, you’ll find a step-by-step photo tutorial of the moss stitch triangle.
Abbreviations:
- Ch – chain
- St(s) – stitch(es)
- Sp(s) – space(s)
- Sk – skip
- MR – magic ring
- Sl st – slip stitch
- Sc – single crochet
- YO – yarn over
- [ ] – repeat instructions inside brackets
Notes:
- The beginning ch-3 of each row counts as 1 sc and 1 ch-2 sp.
- Use stitch markers (or safety pins) to mark the first, center, and last ch-2 sp of each row – these ch-2 sps are where the increases occur.
- You can use any yarn and hook size for this tutorial.
Moss Stitch Triangle Photo Tutorial:
Make a MR or ch-4 circle.
Row 1:
- Ch 3 (counts as 1 sc and 1 ch-2 sp here and throughout).
- Sc in MR.
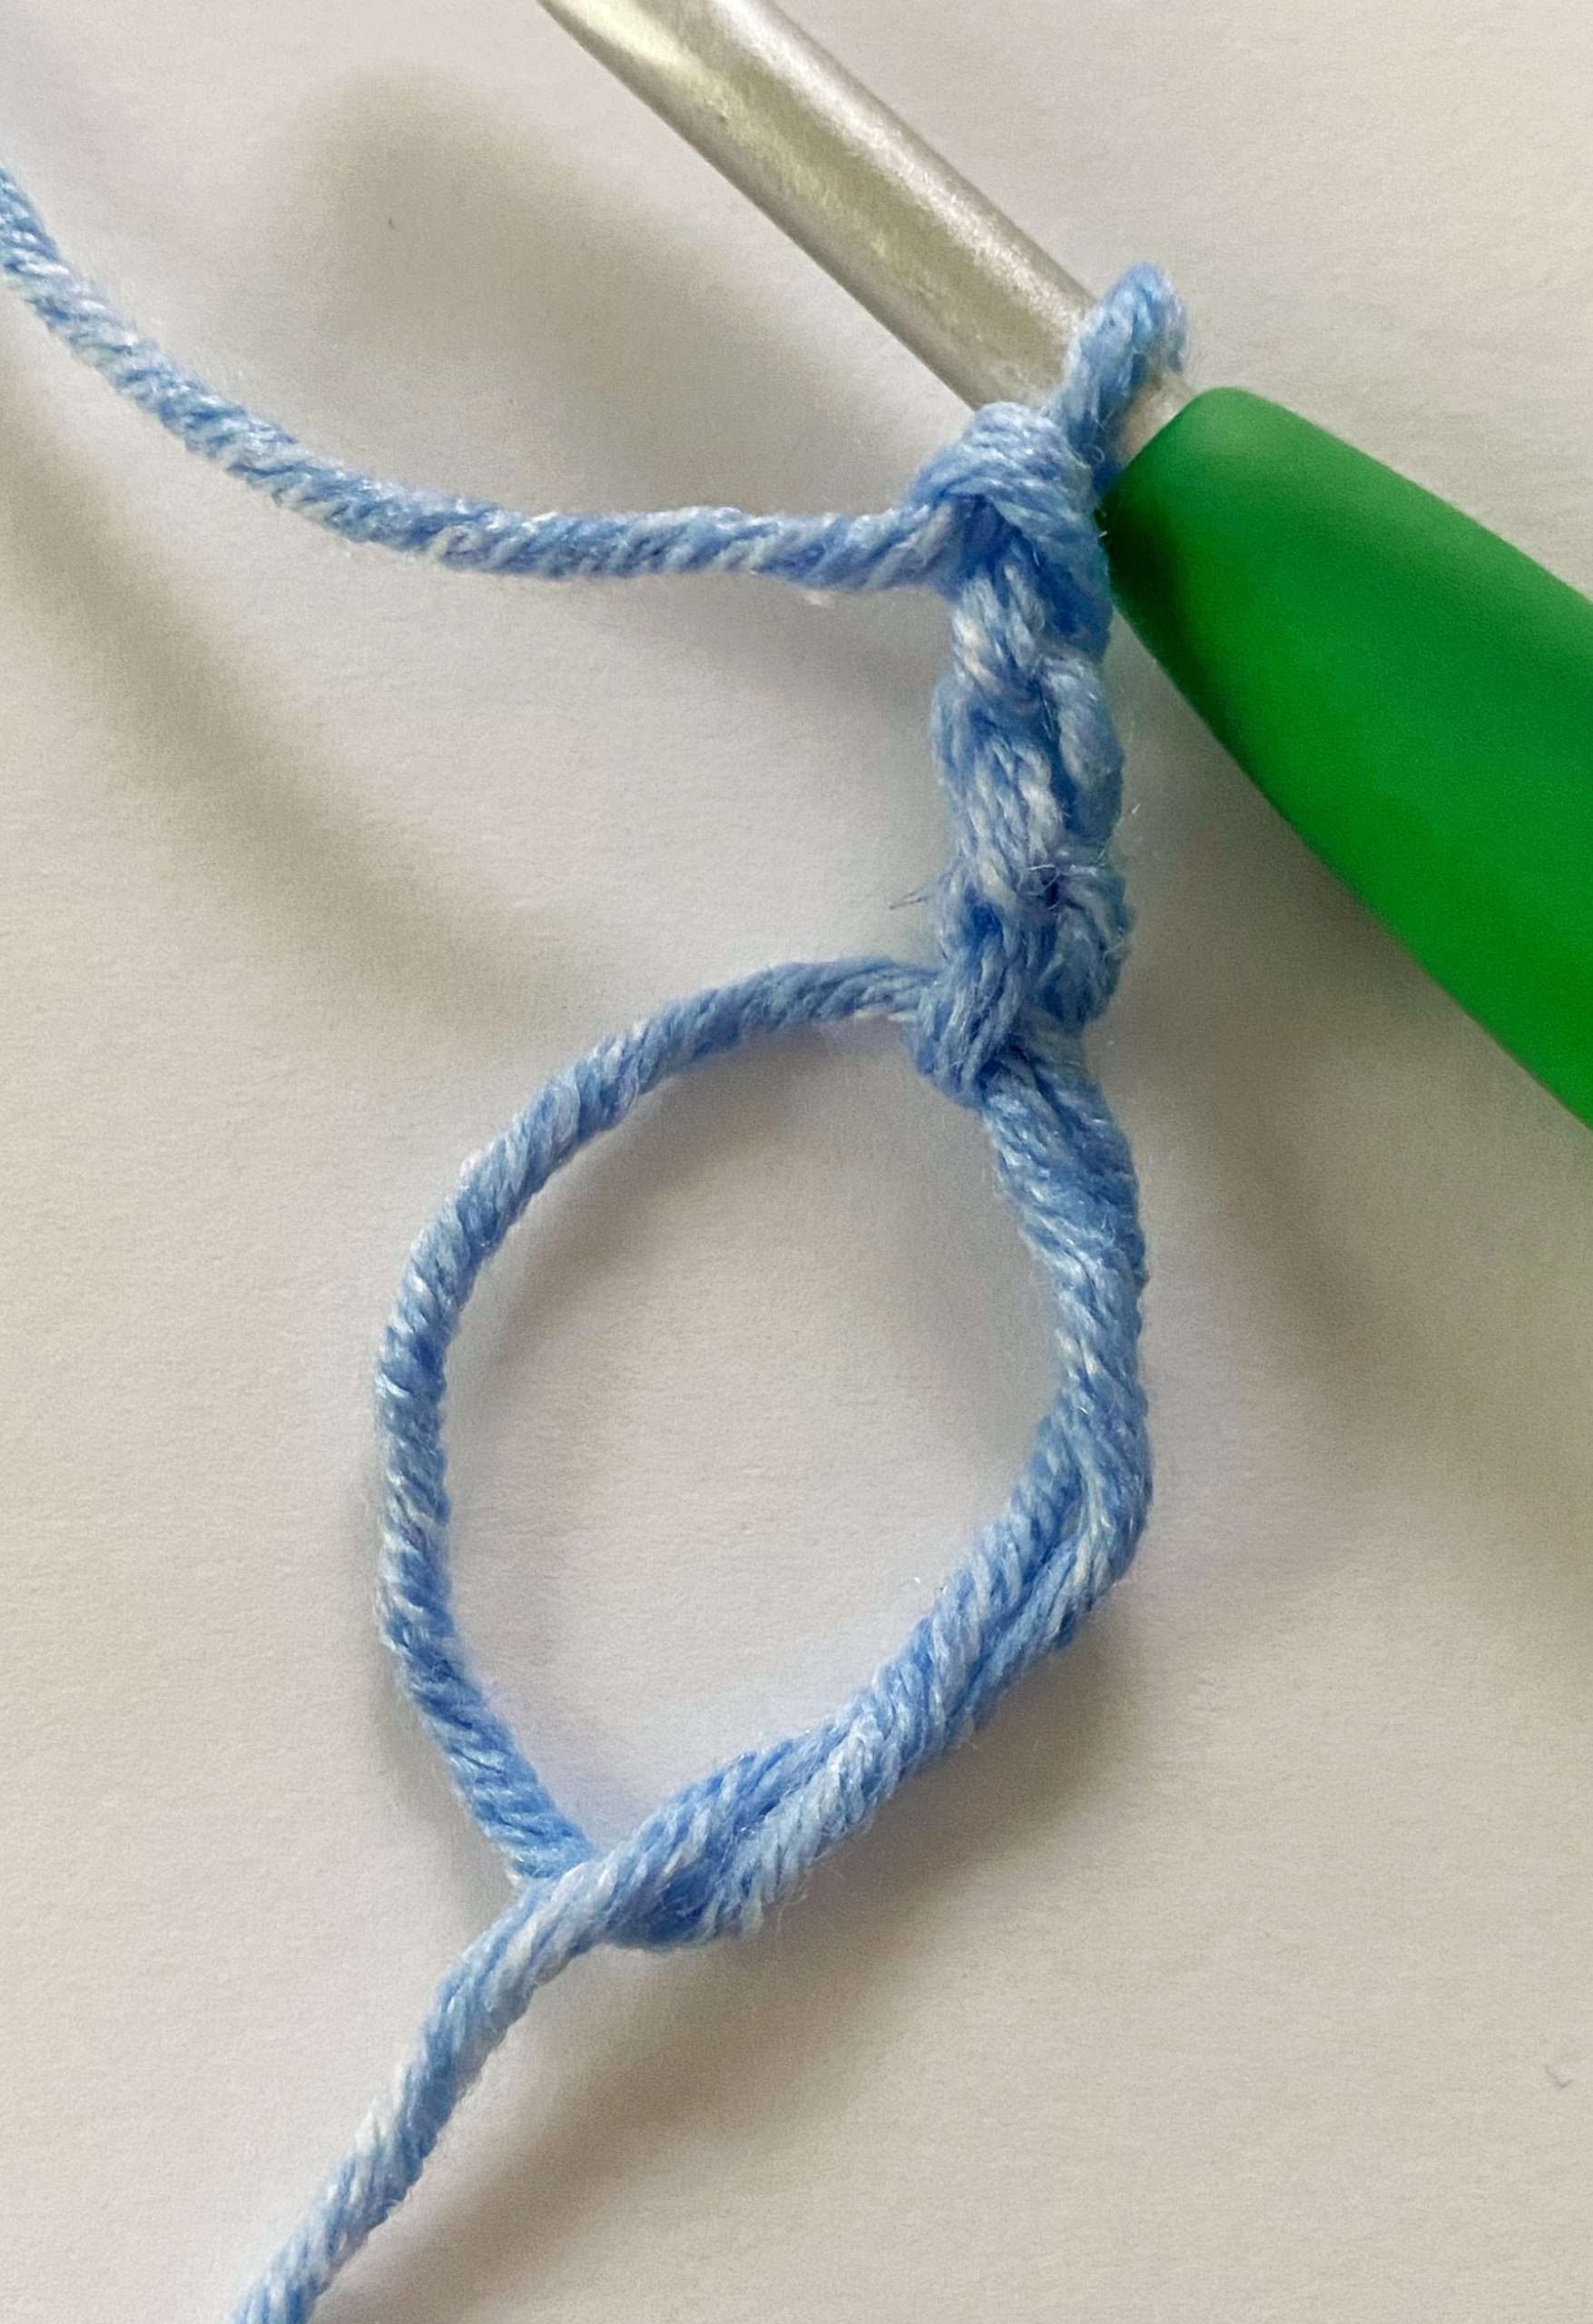
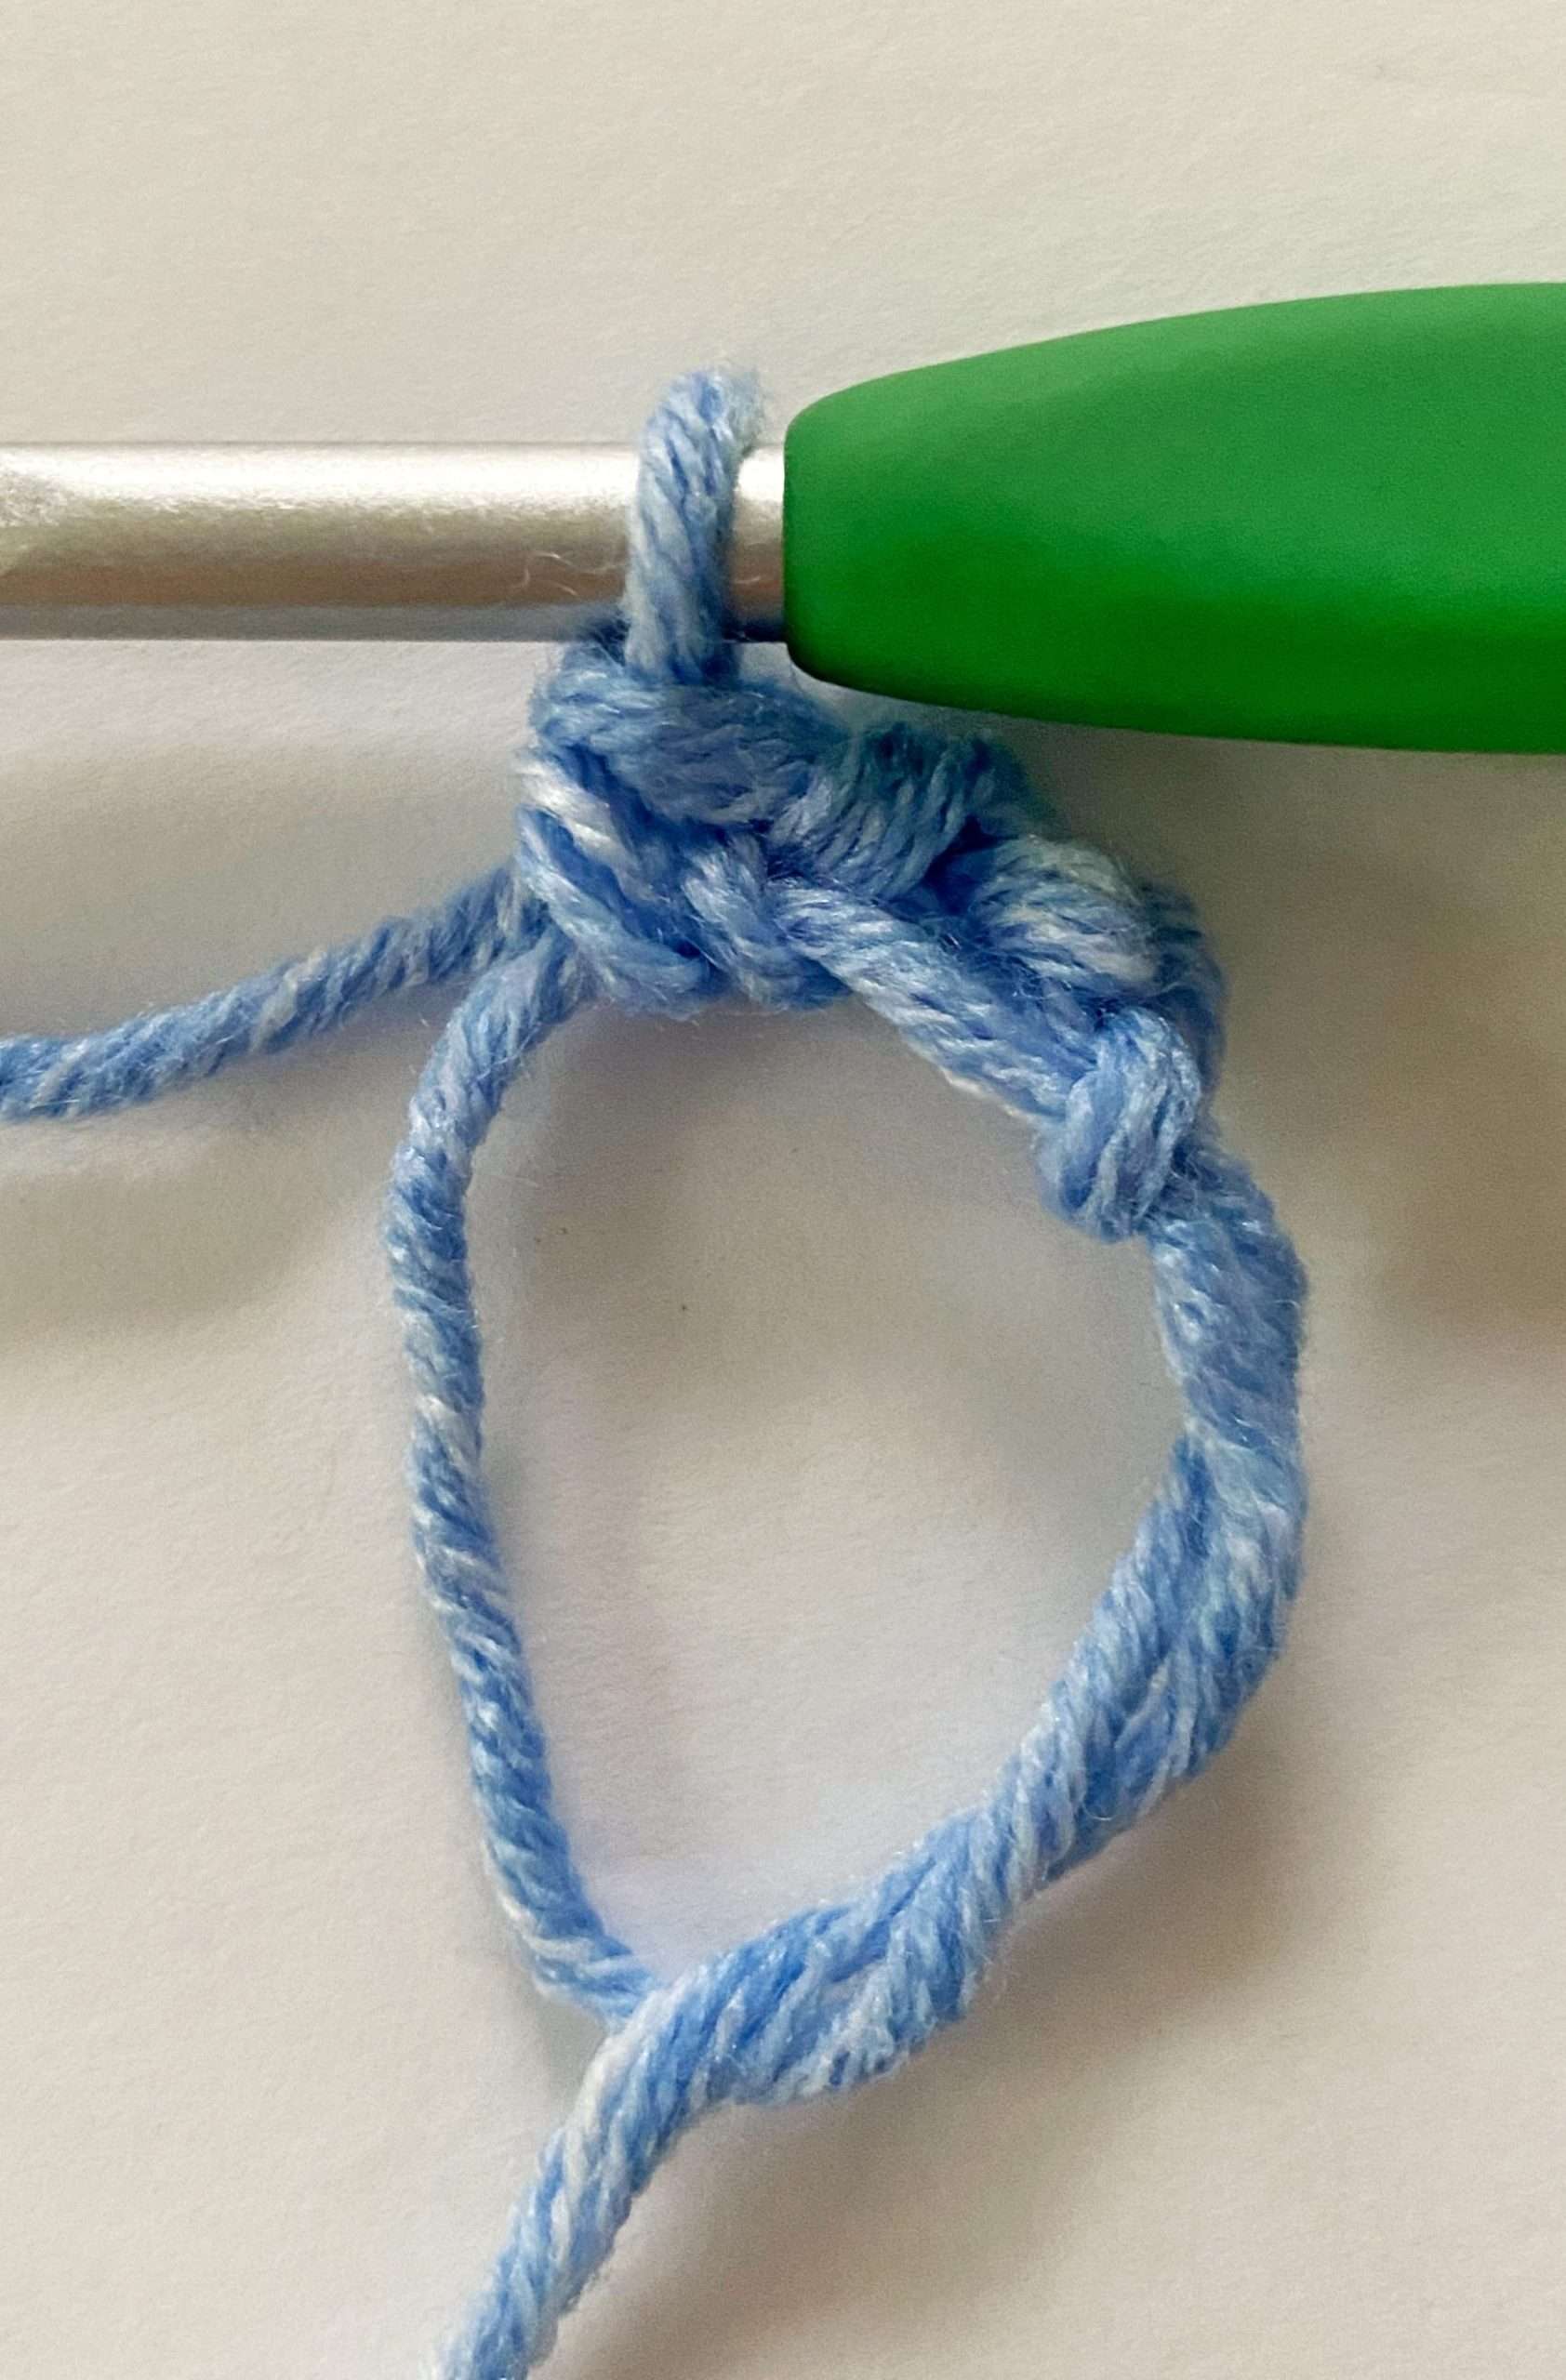
- [ch 2, sc] 2 times in MR.
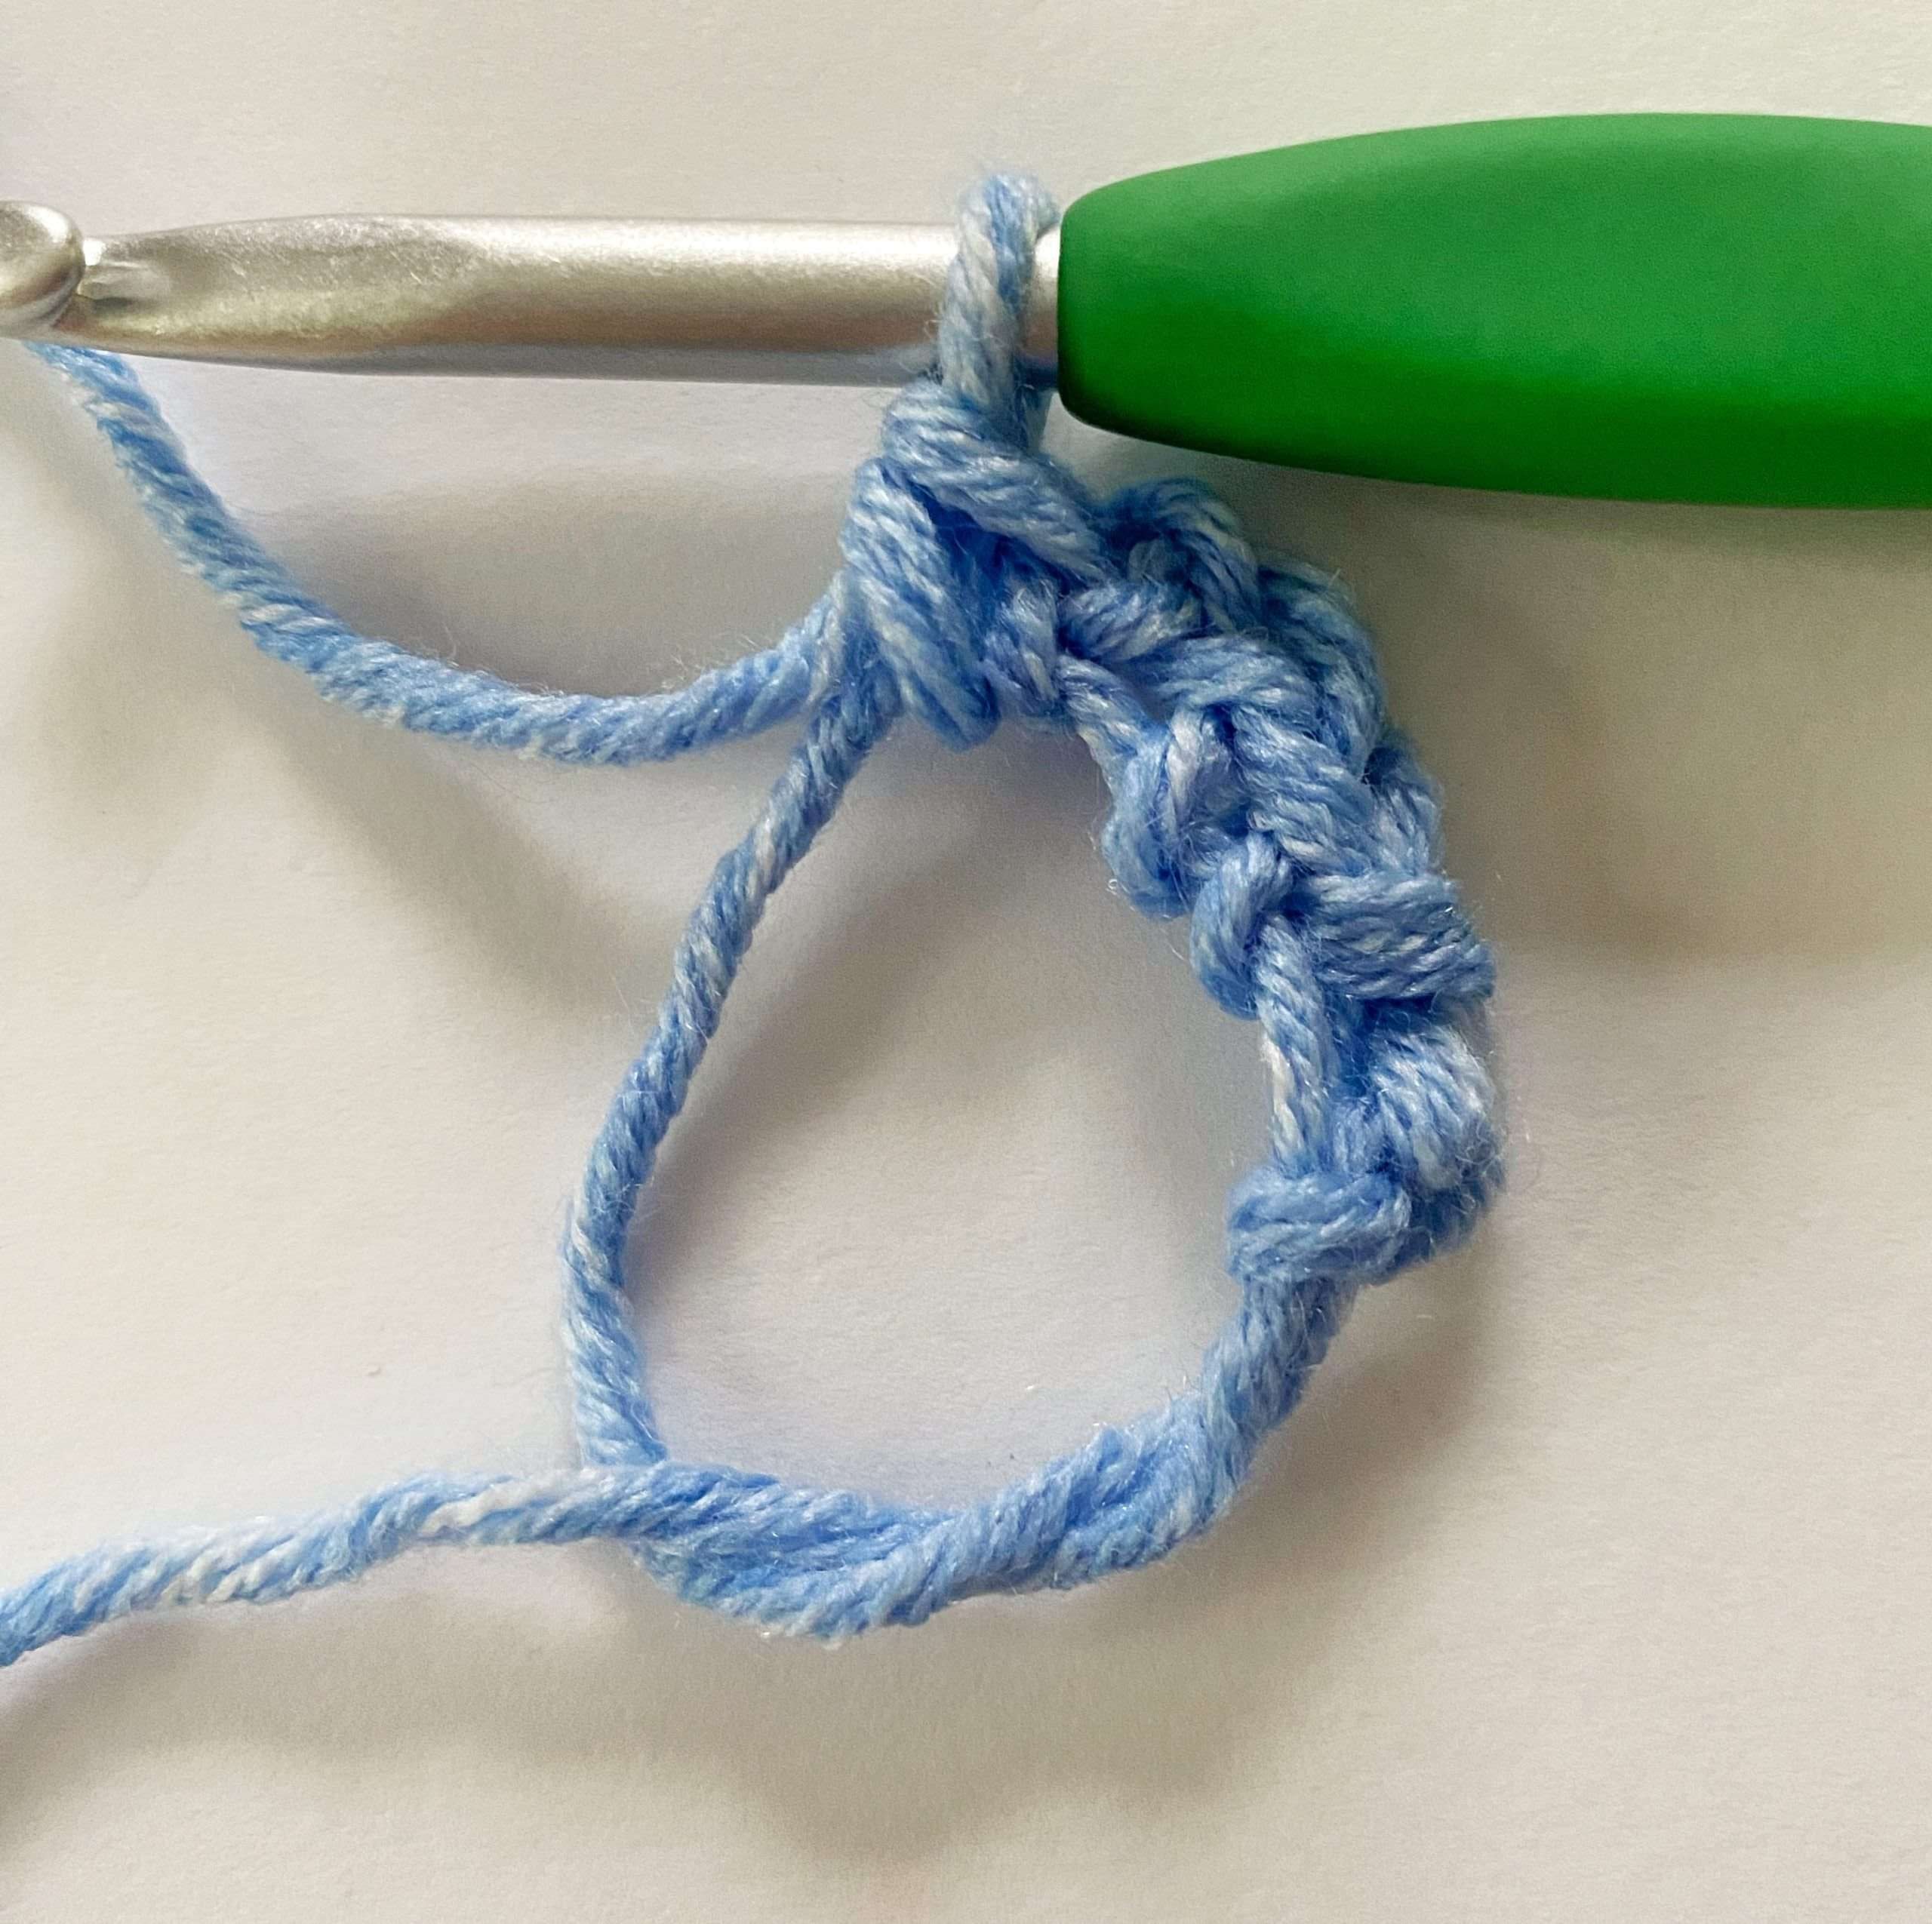
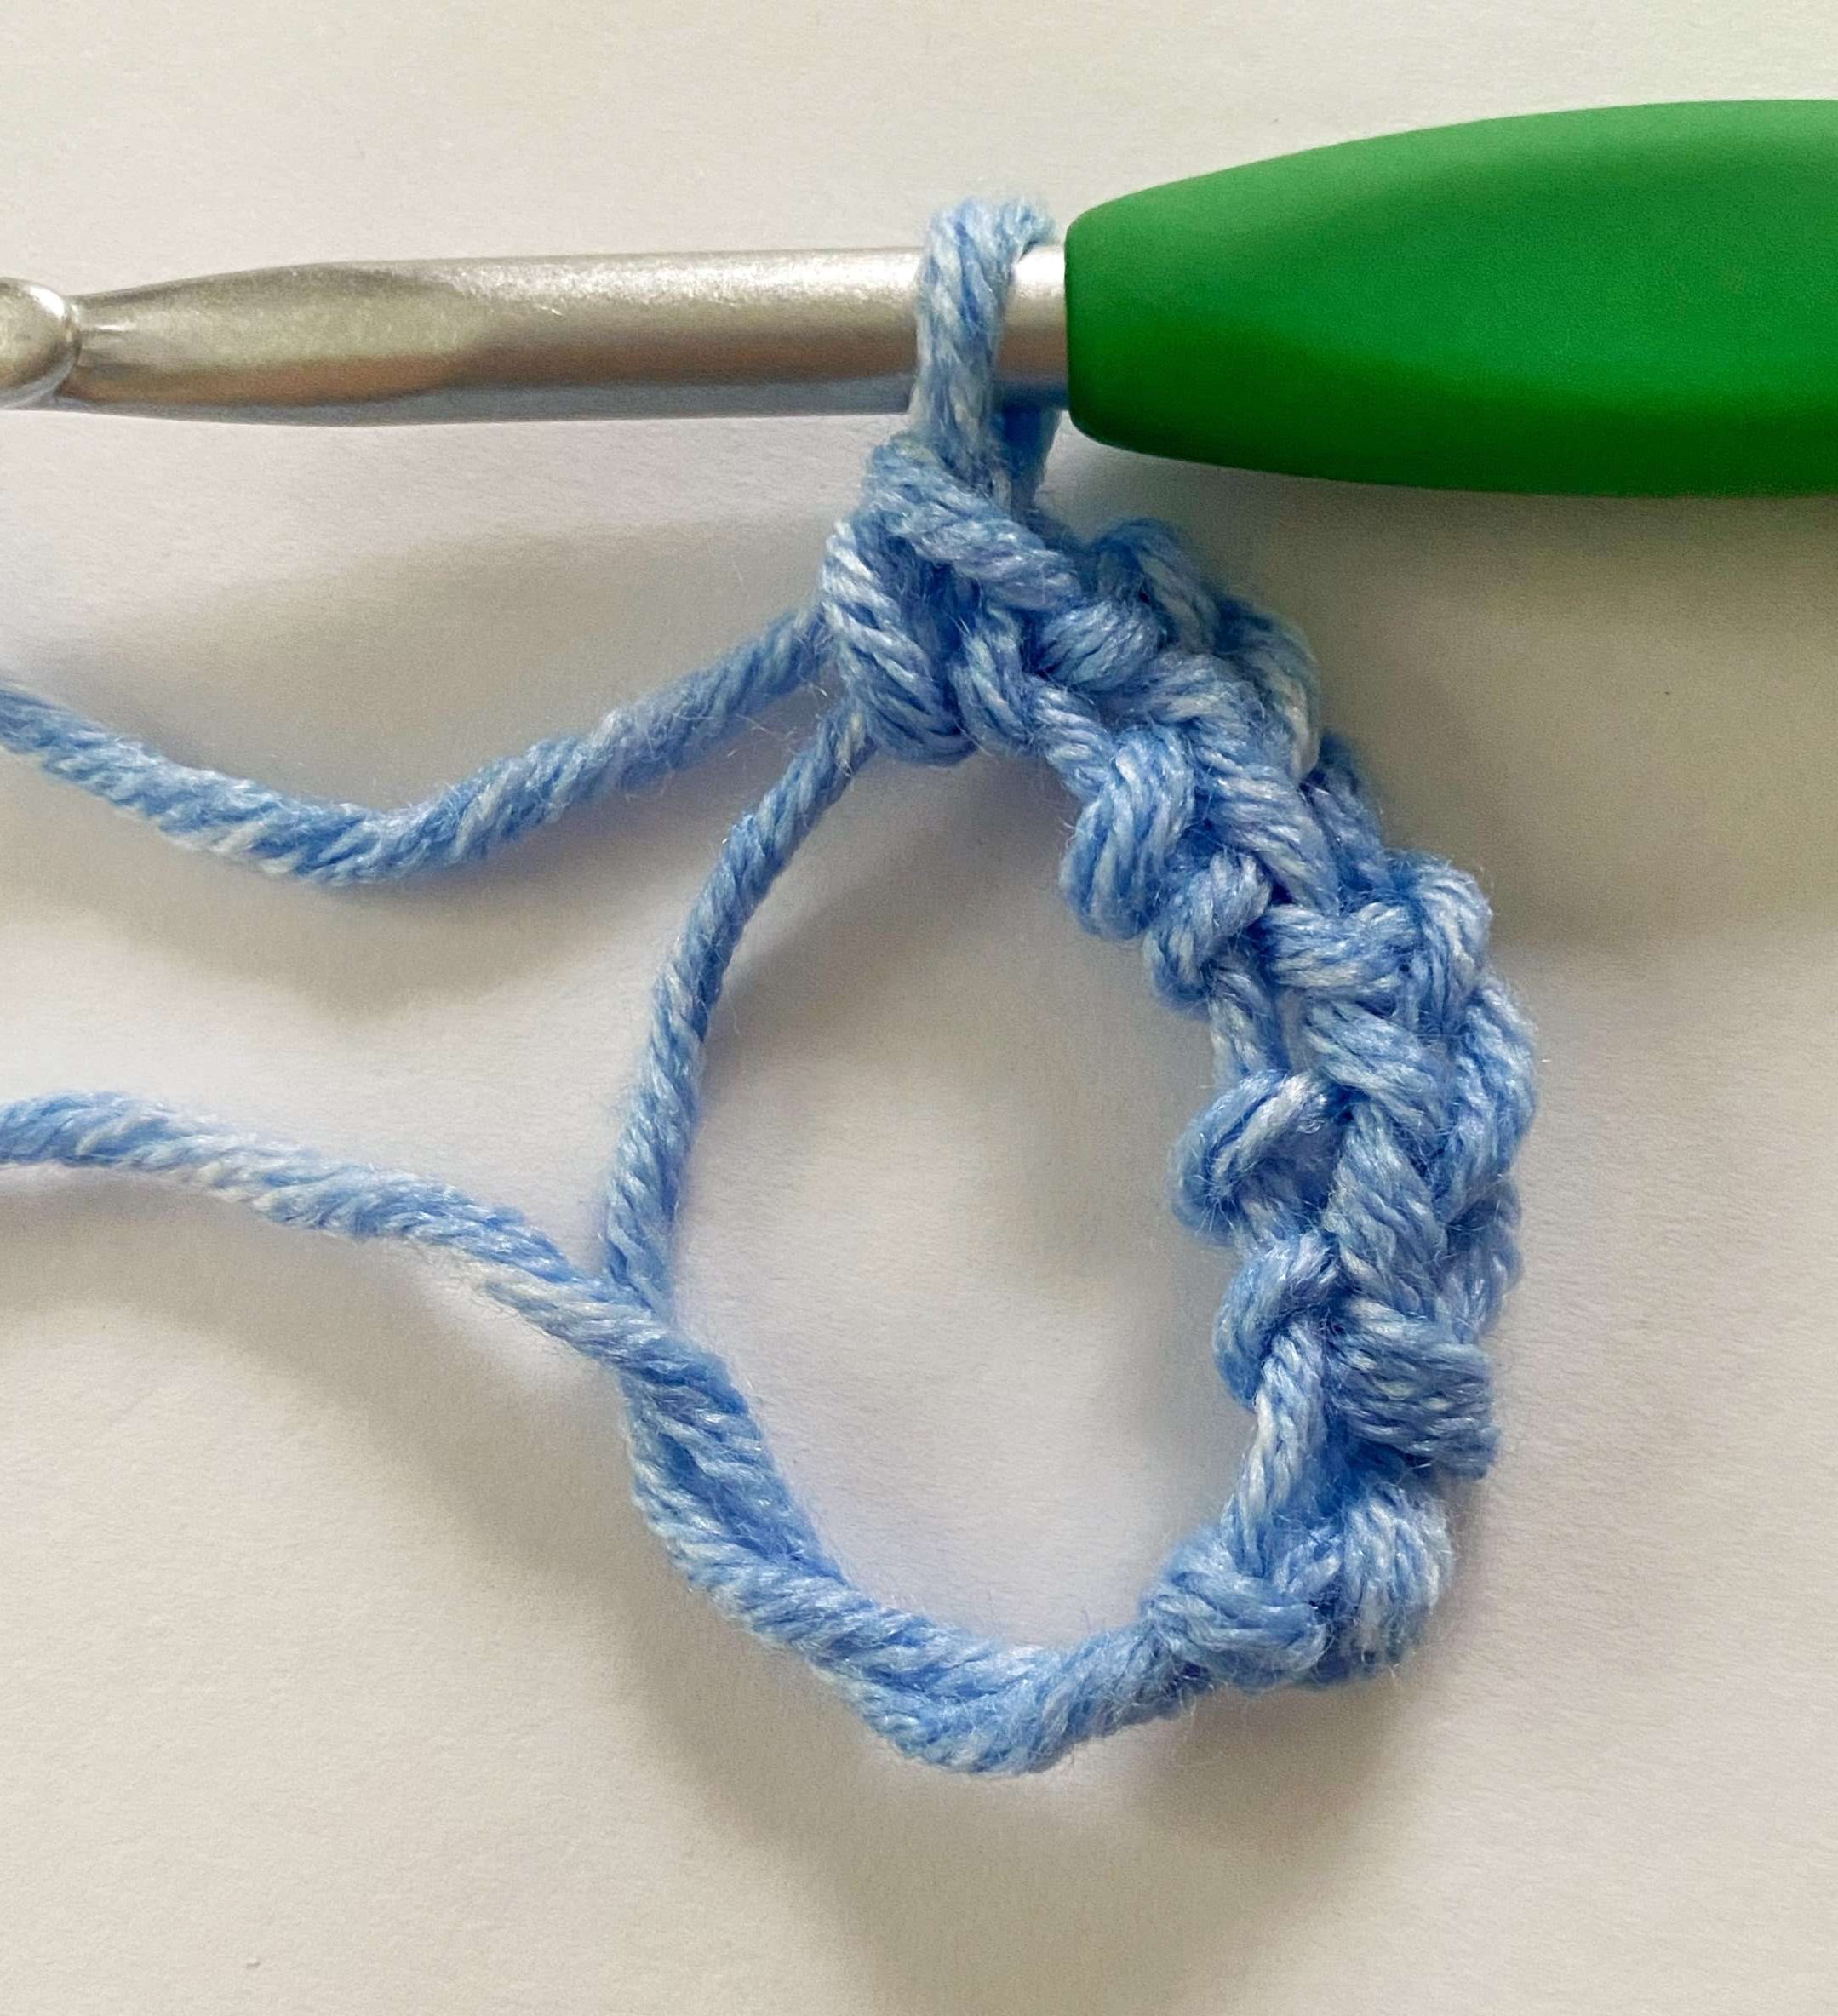
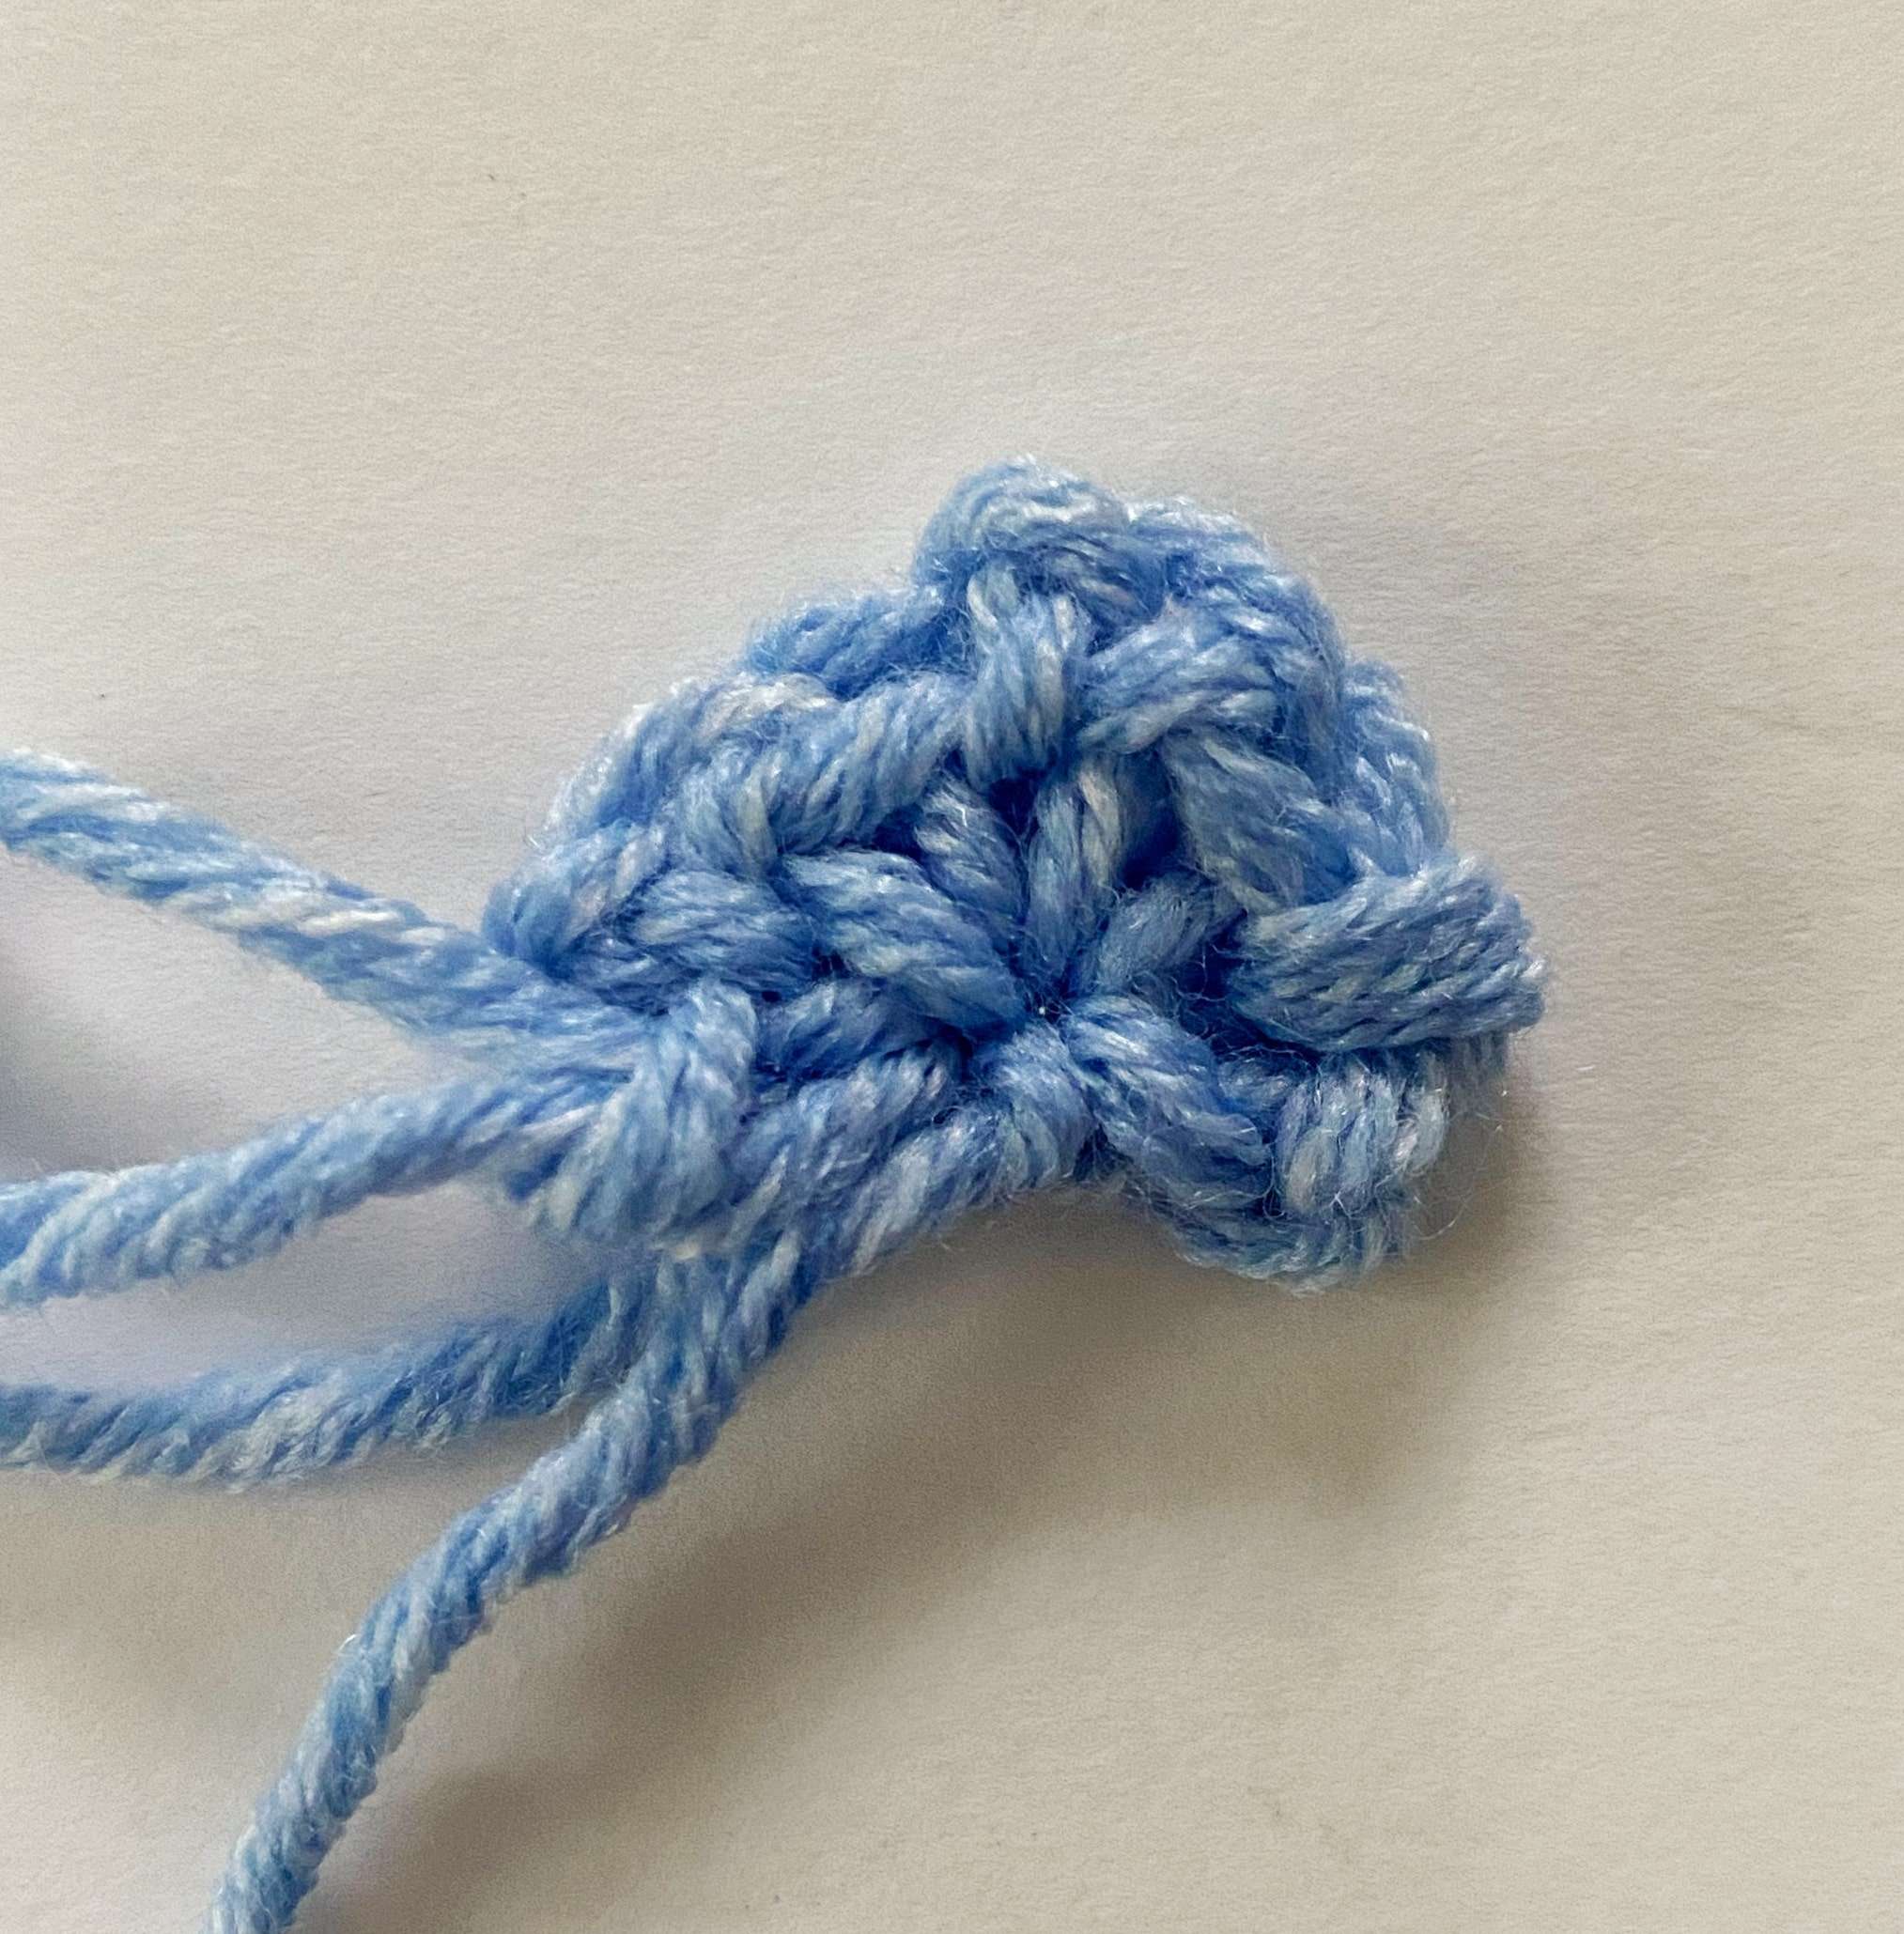
Stitch Count: At the end of Row 1, you should have 4 sc and 3 ch-2 sps.
Row 2:
- Turn your work.
- Ch 3, (sc, ch 1) in first ch-2 sp.
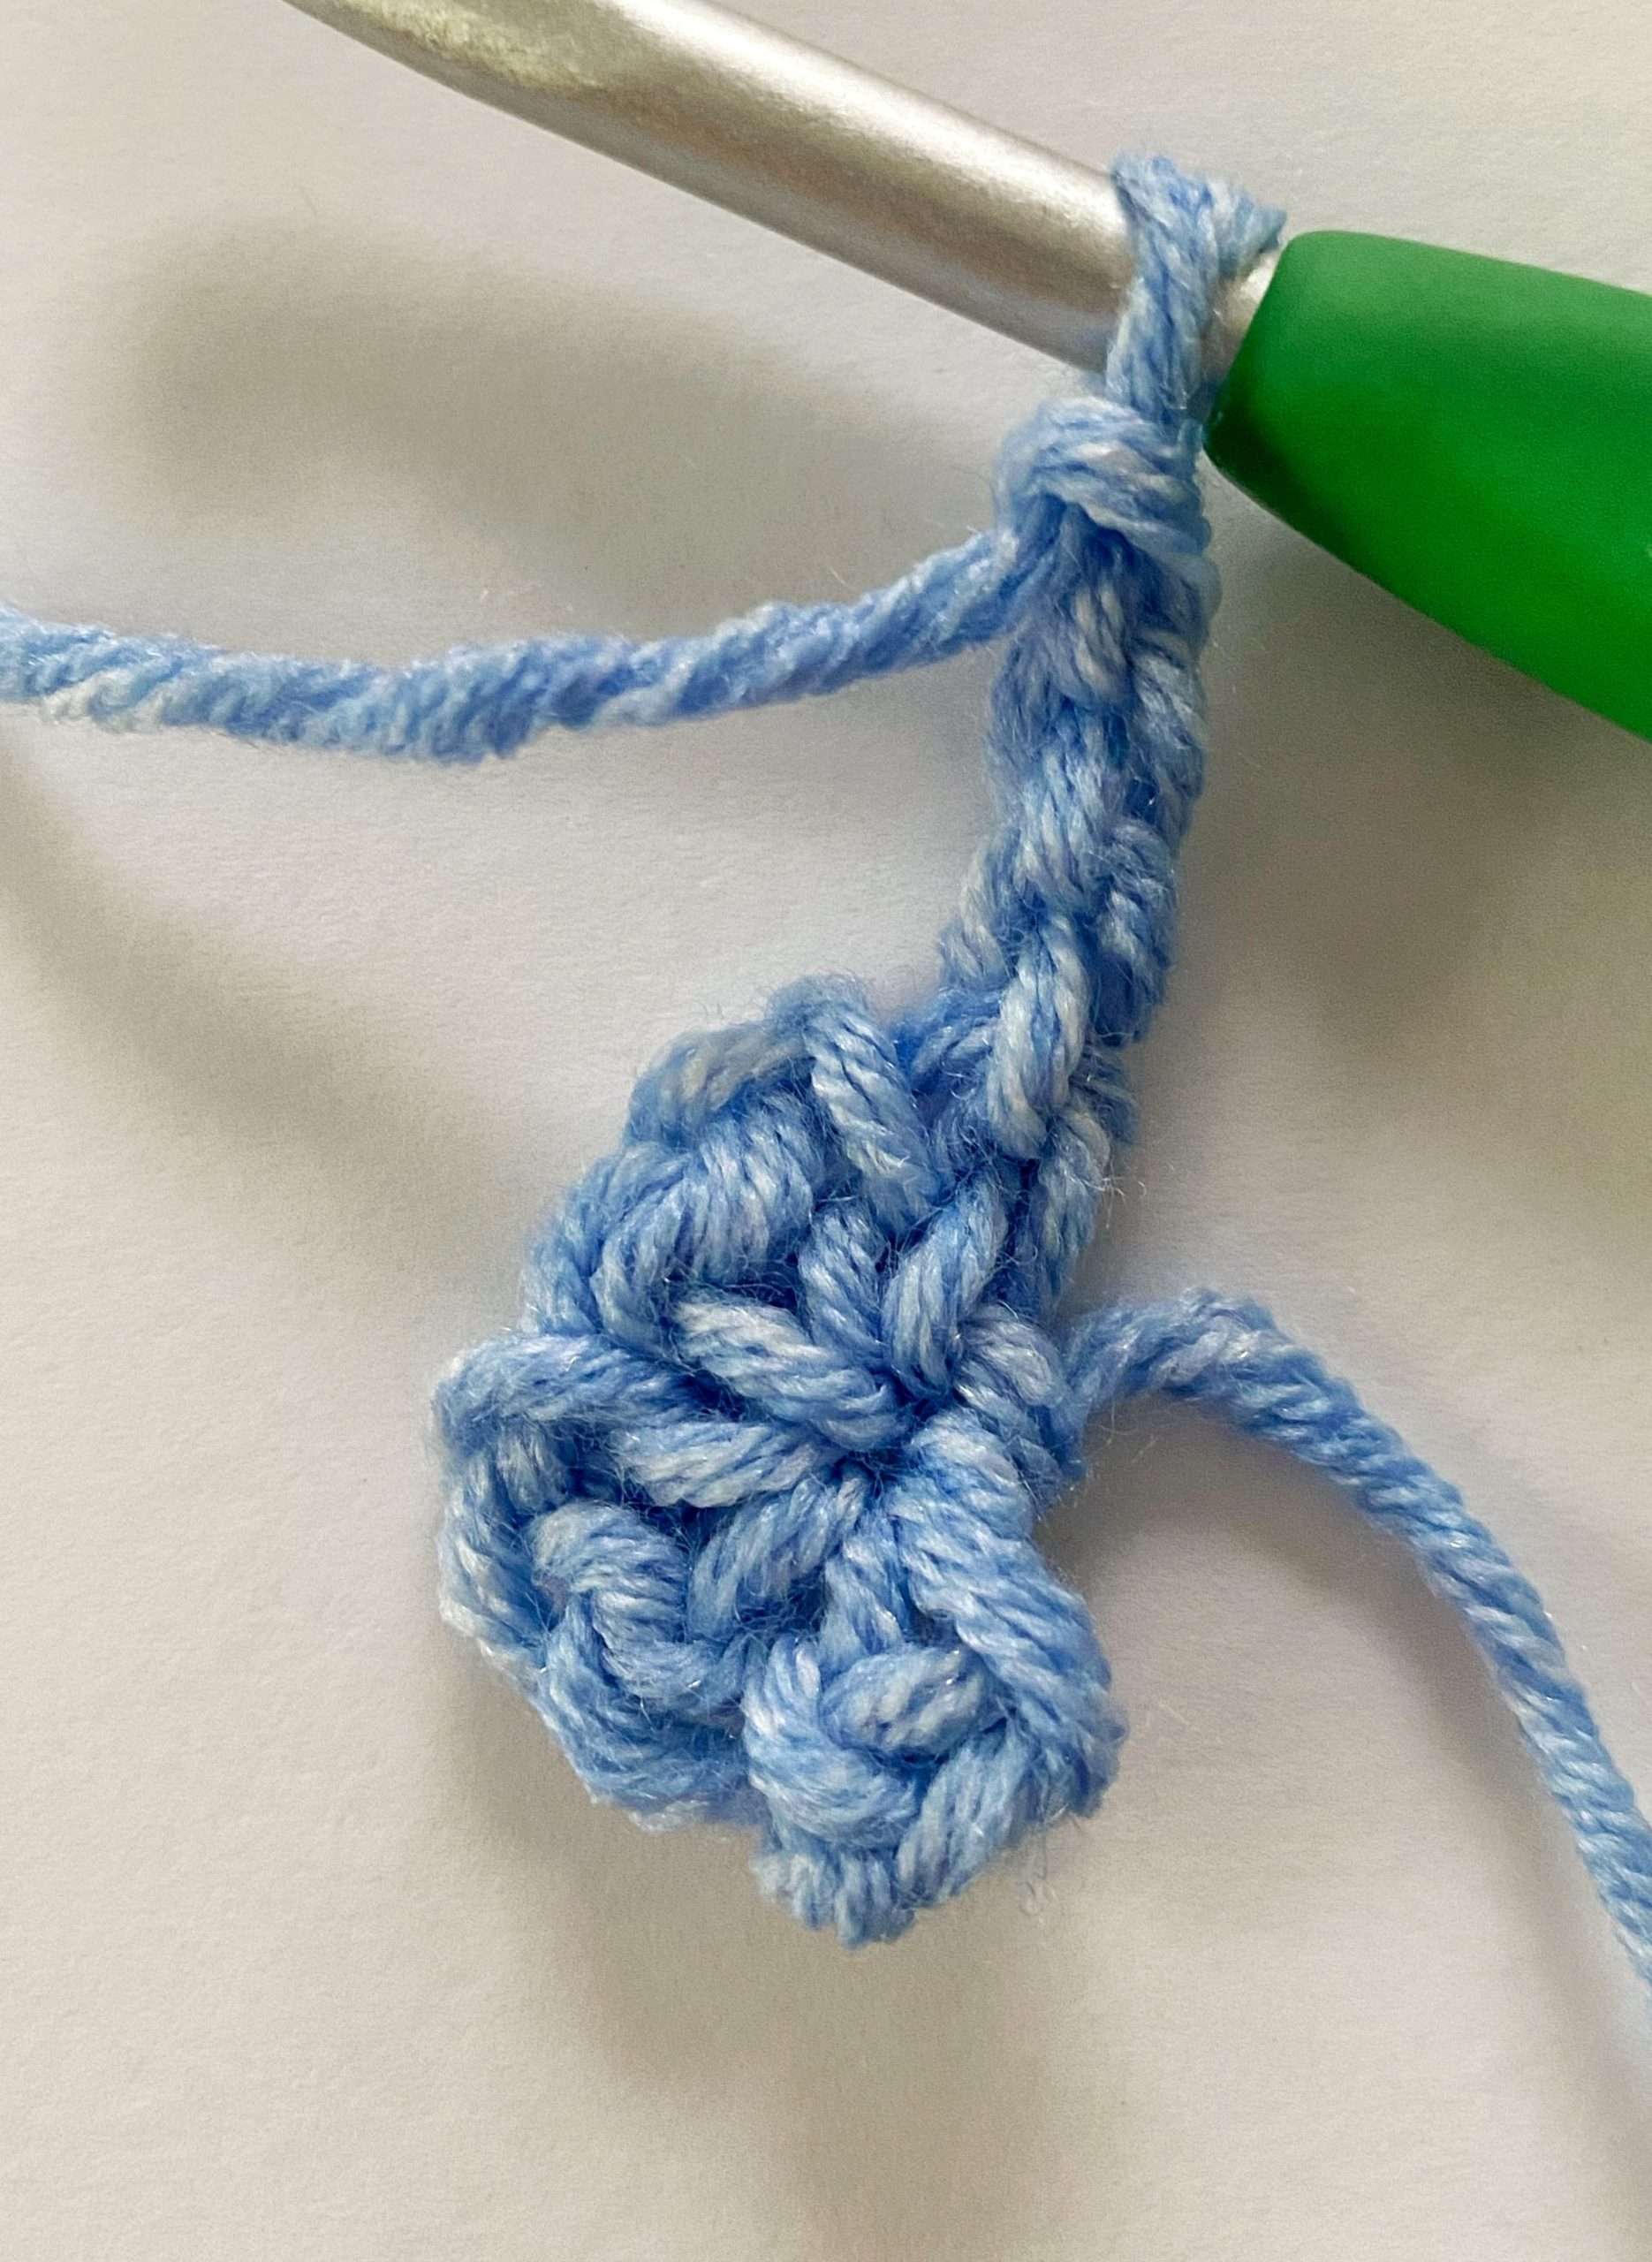
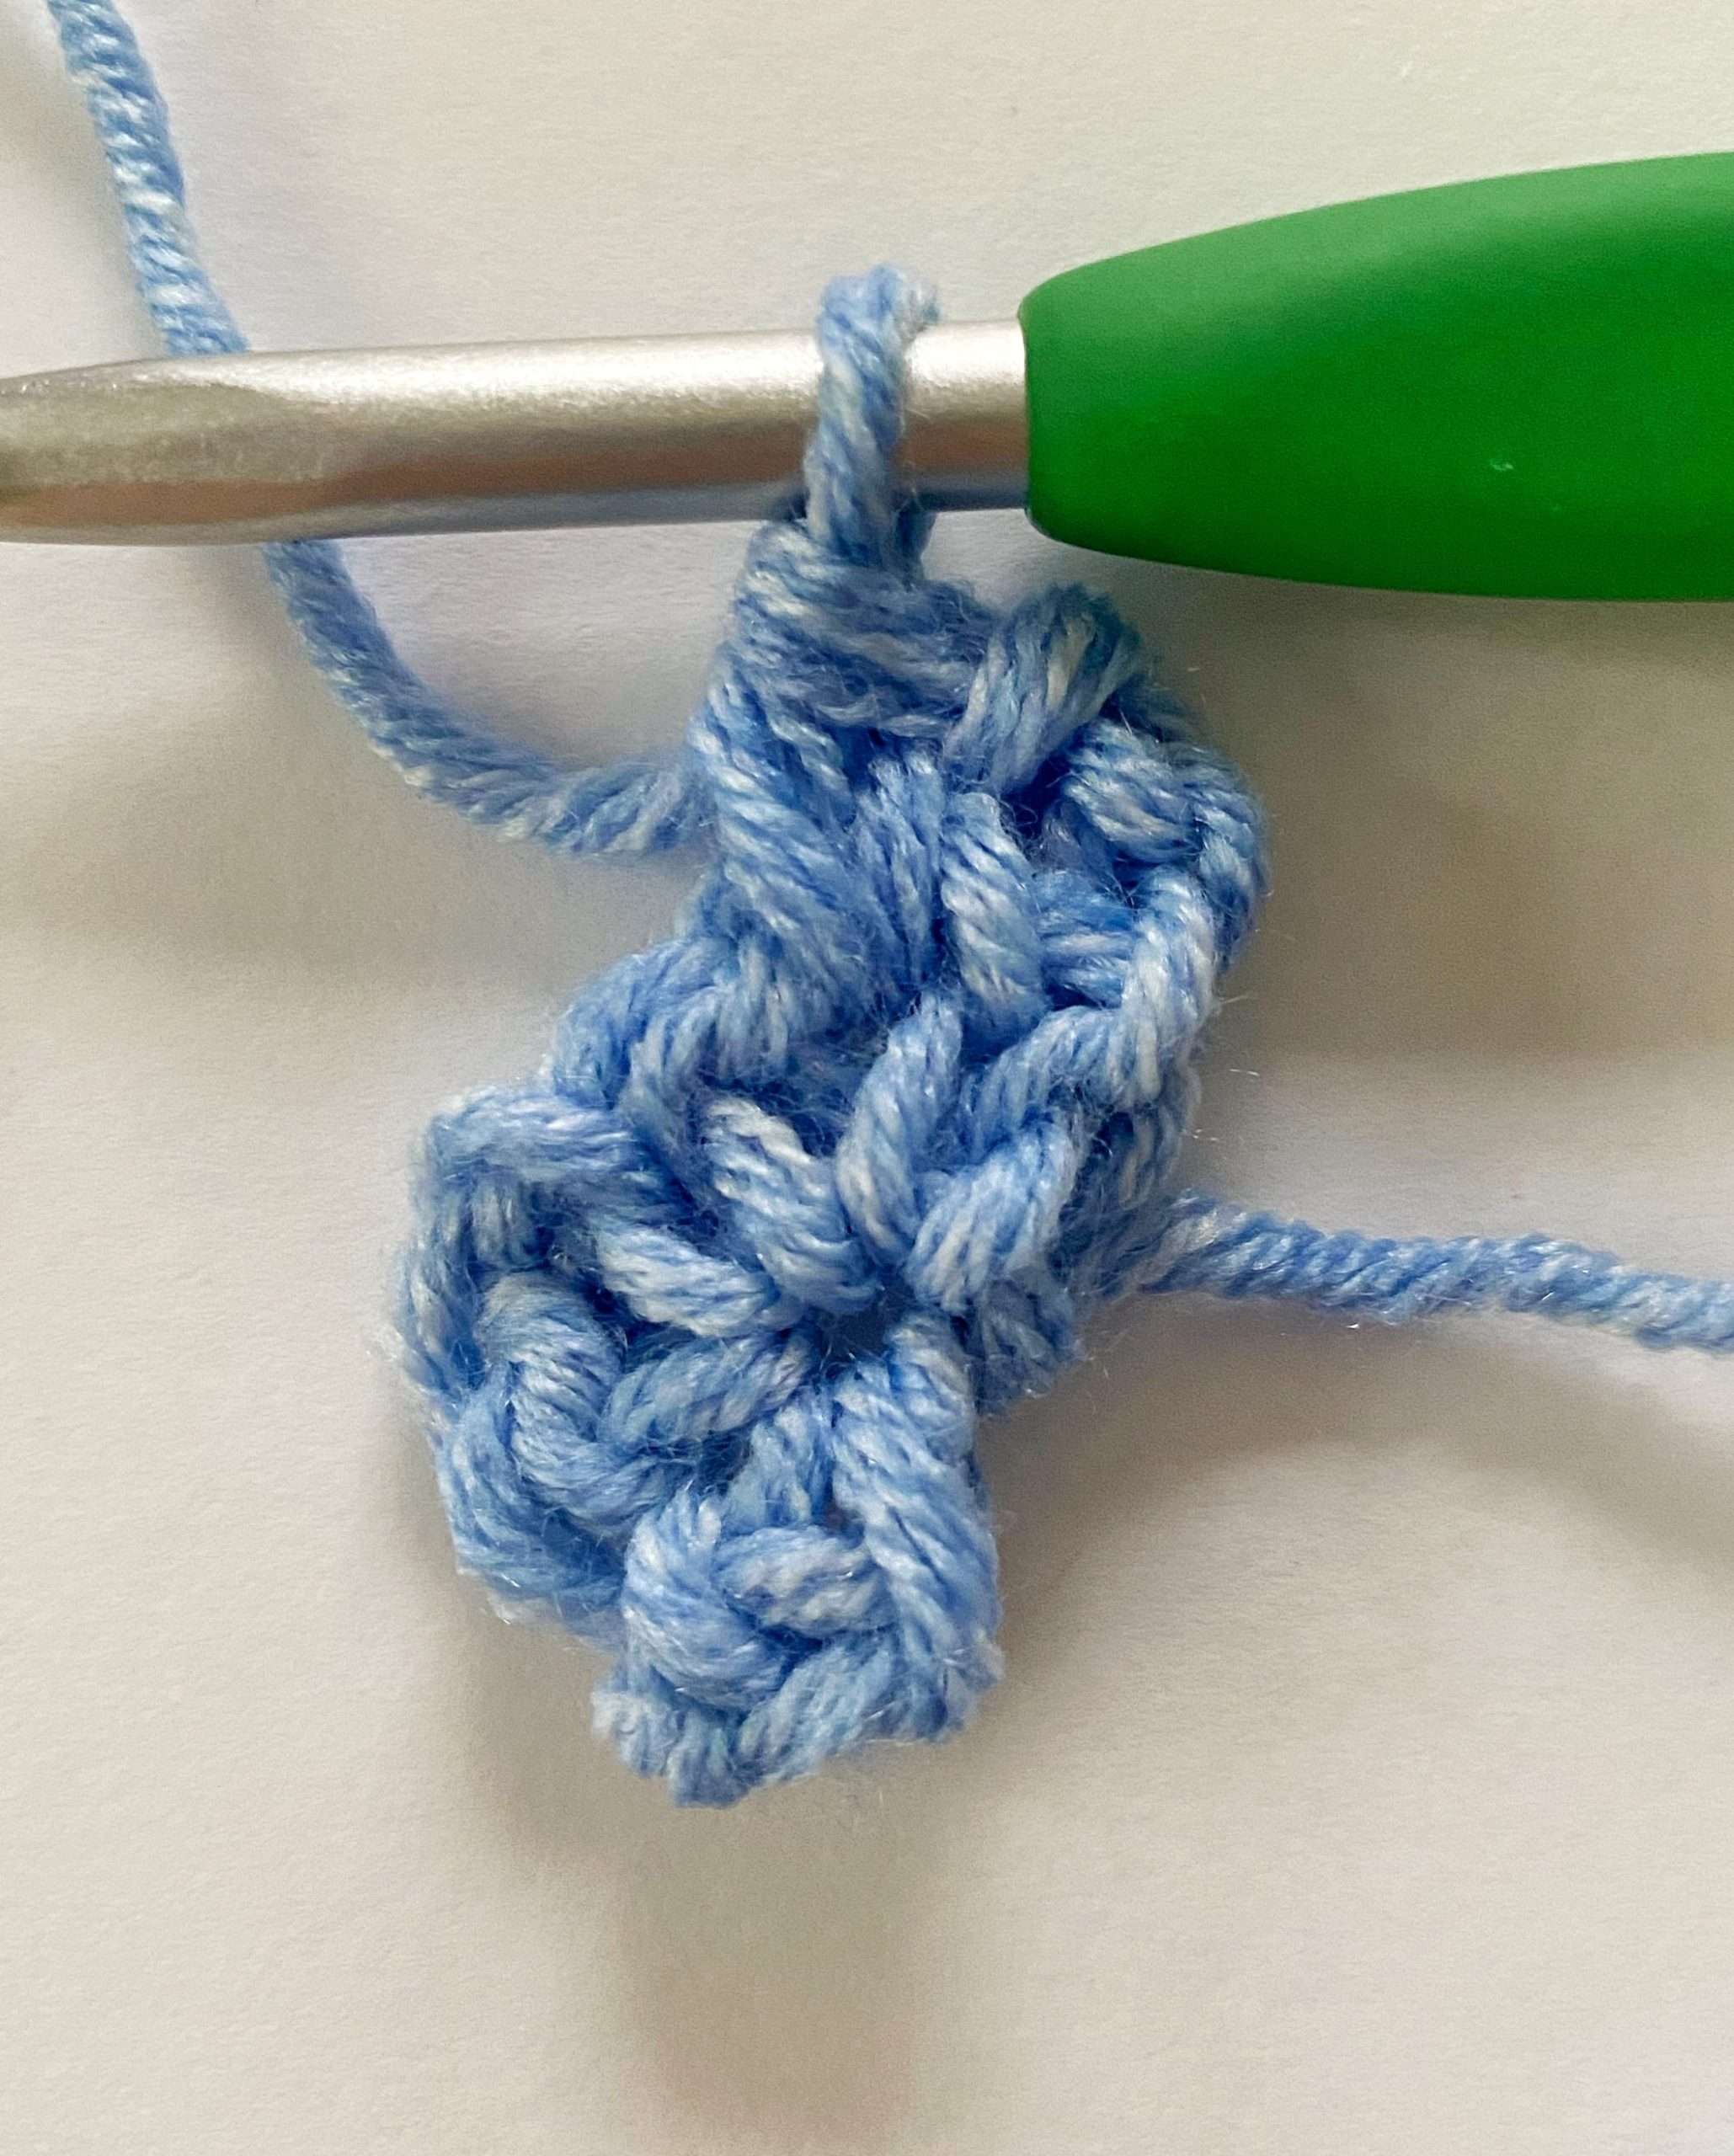
- (Sc, ch 2, sc, ch 1) in center ch-2 sp.
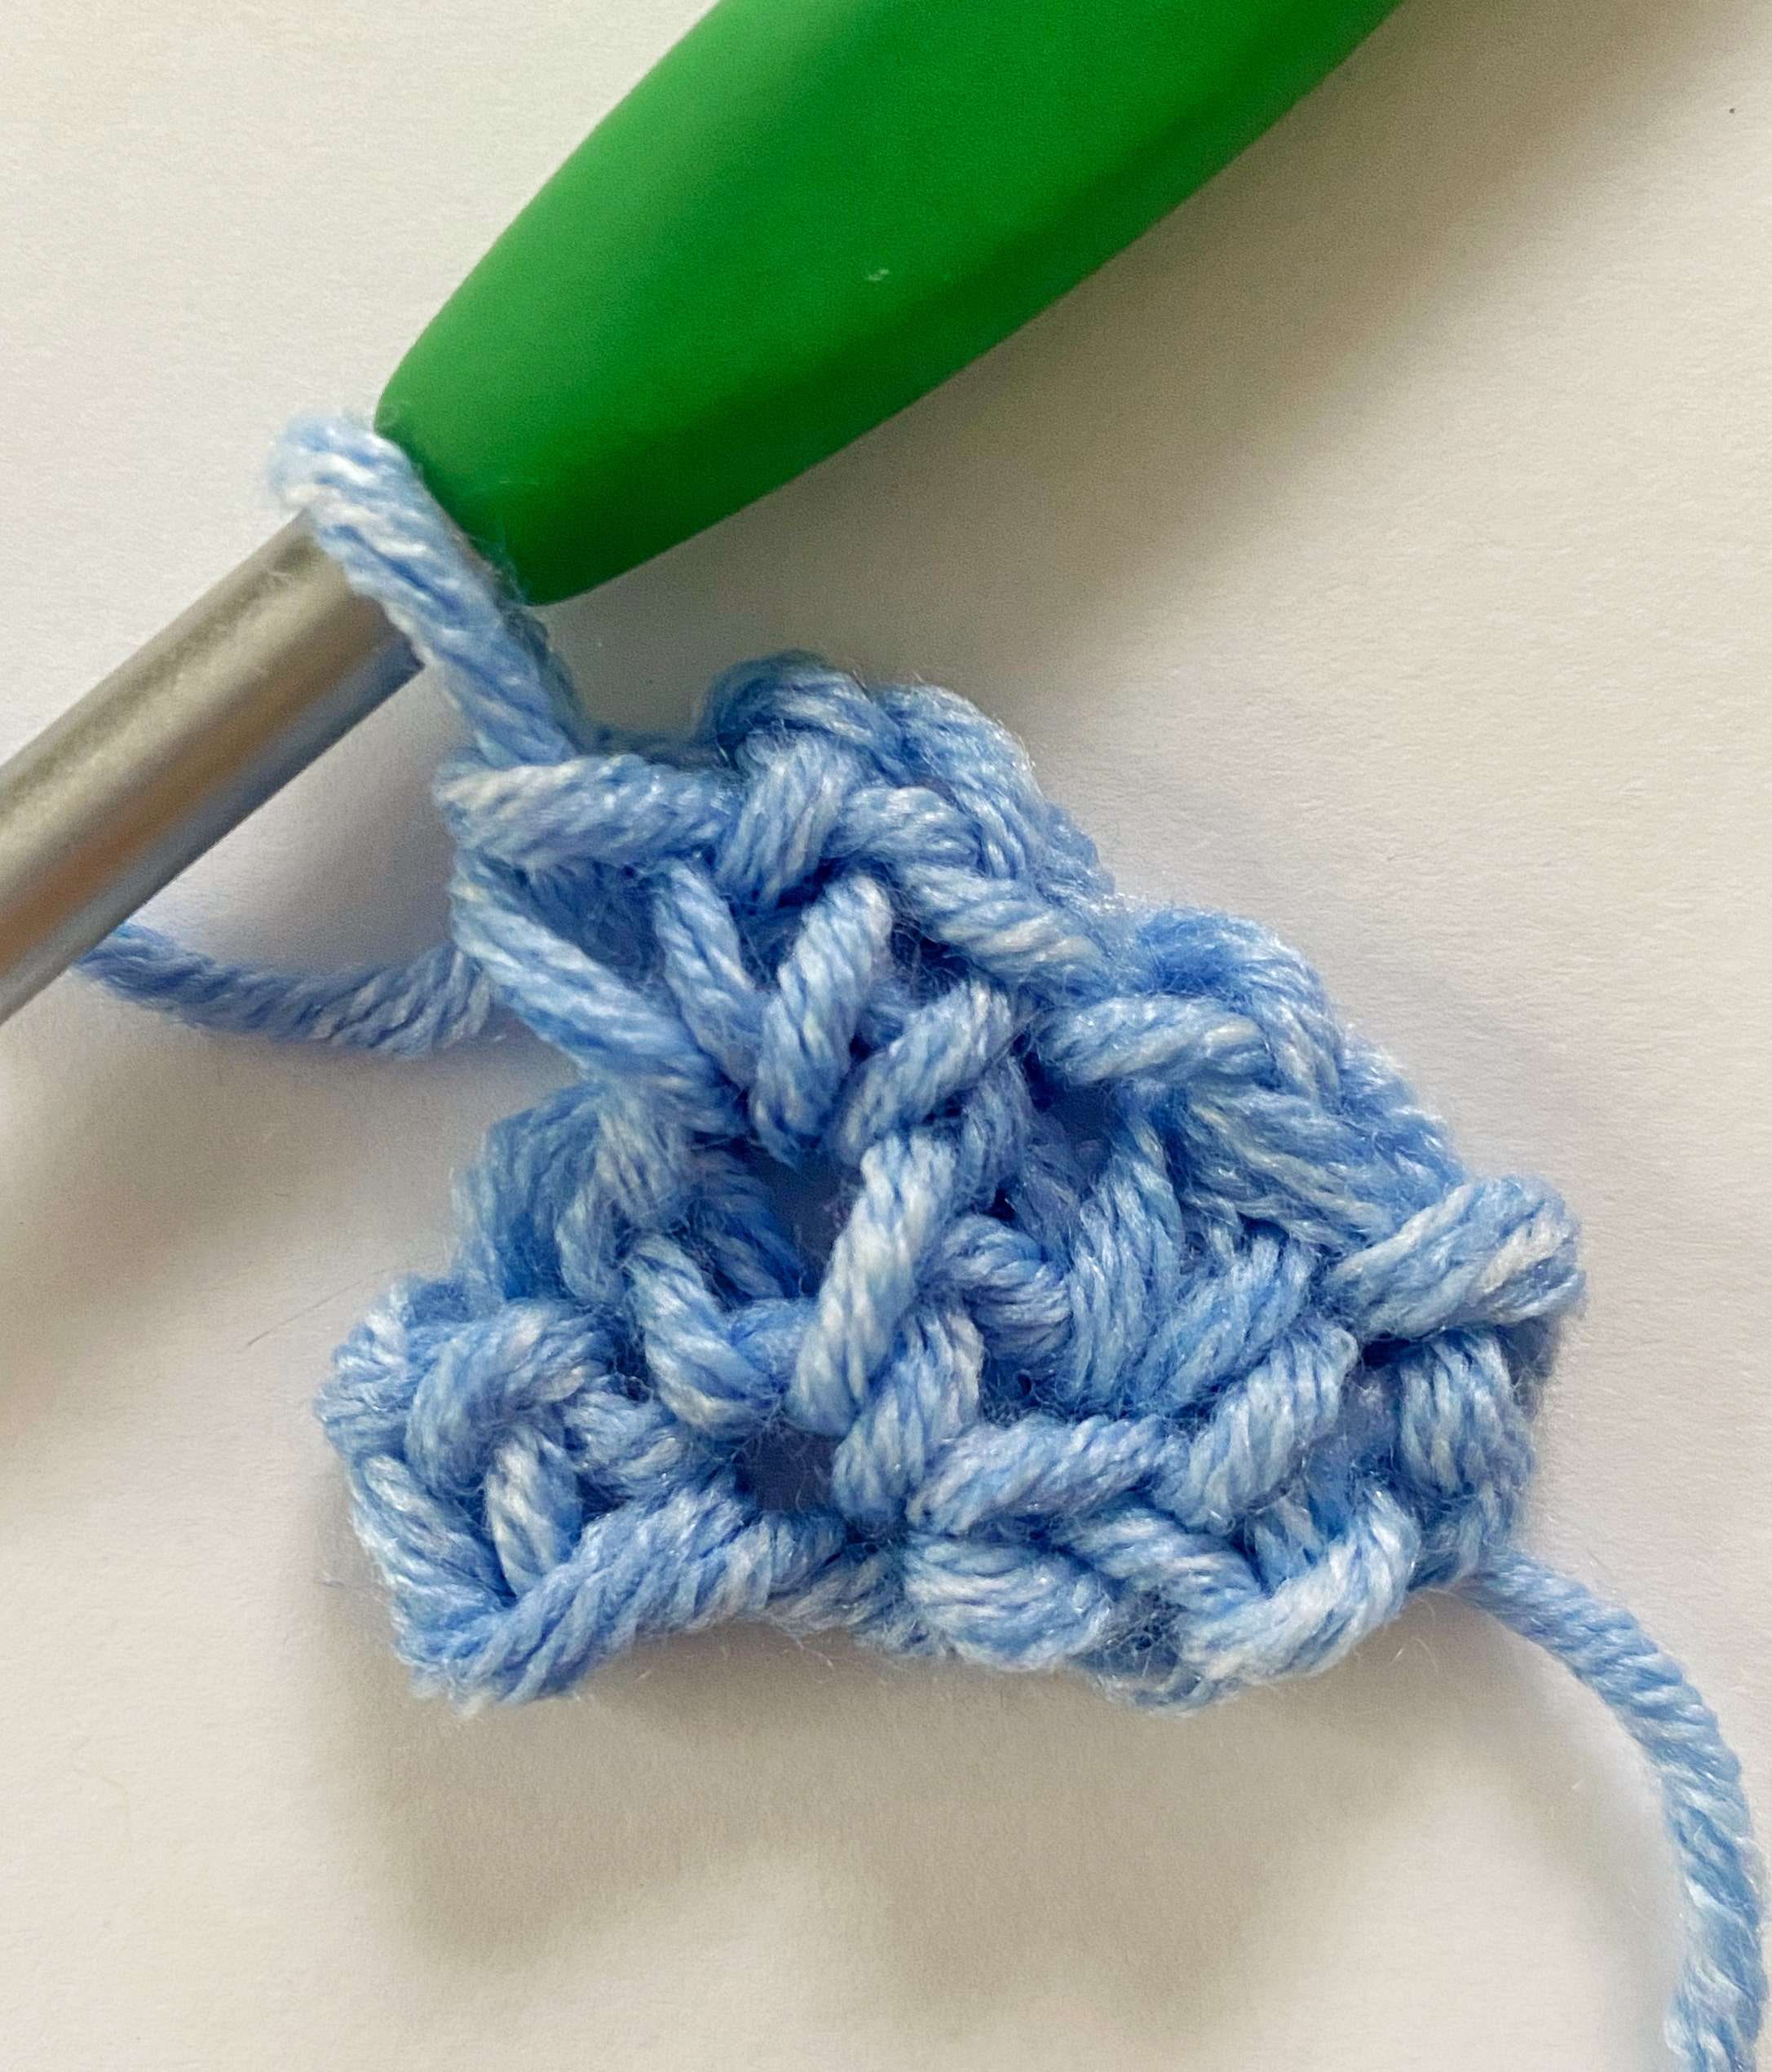
- (Sc, ch 2, sc) in last ch-2 sp.
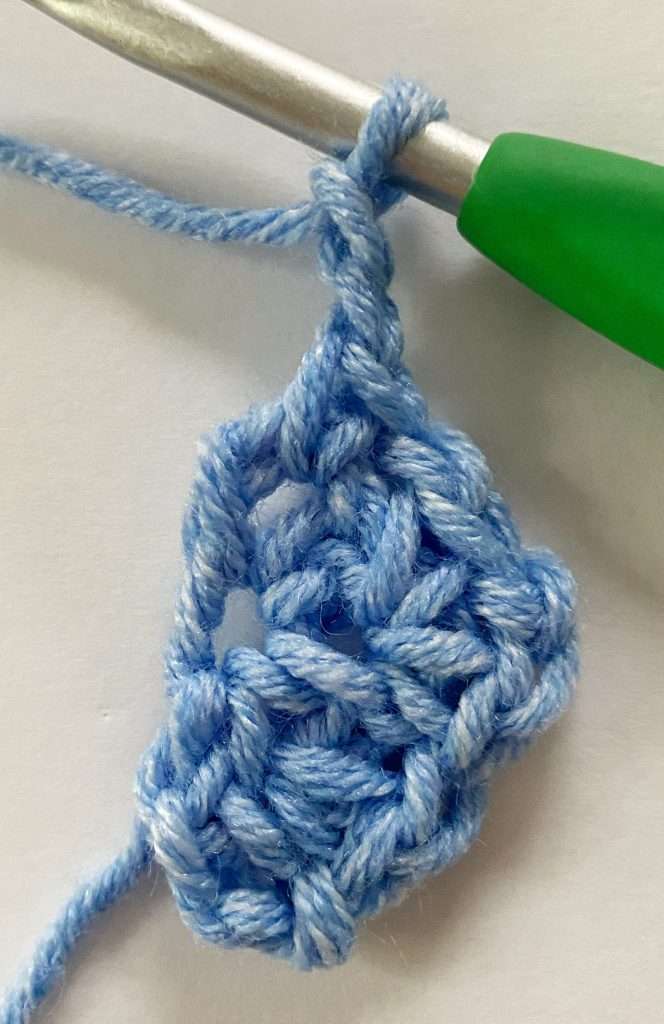
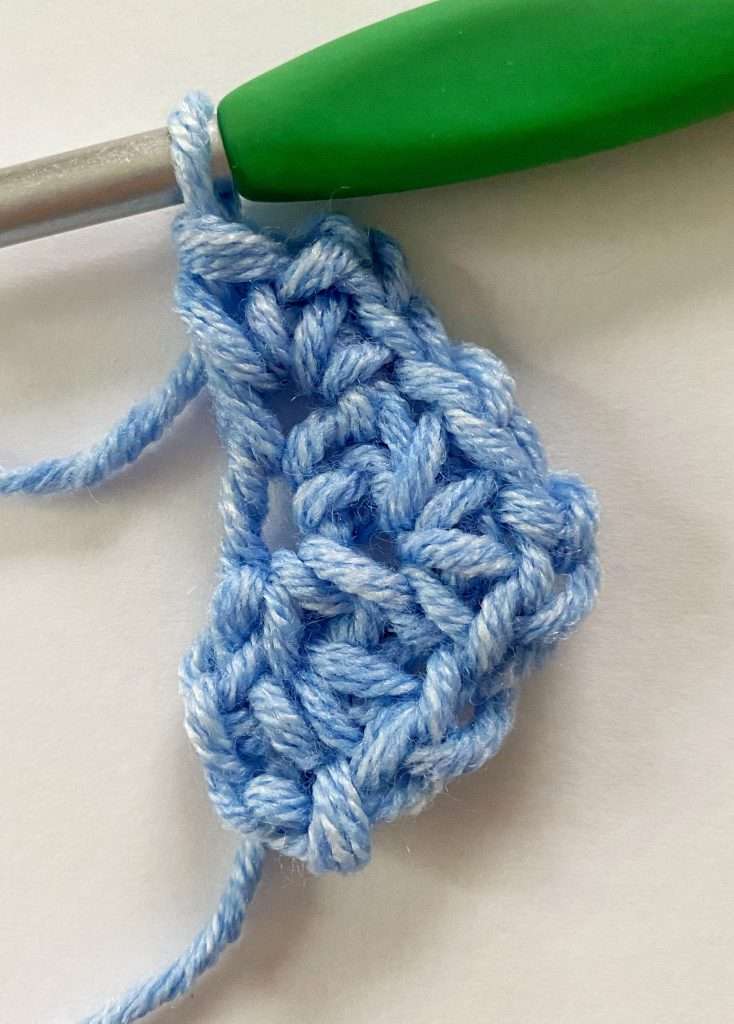
Stitch Count: At the end of Row 2, you should have 3 sc, 1 ch-2 sp, and 1 ch-1 sp on each side of the center ch-2 sp.
Row 3:
- Turn your work.
- Ch 3, (sc, ch 1) in first ch-2 sp.
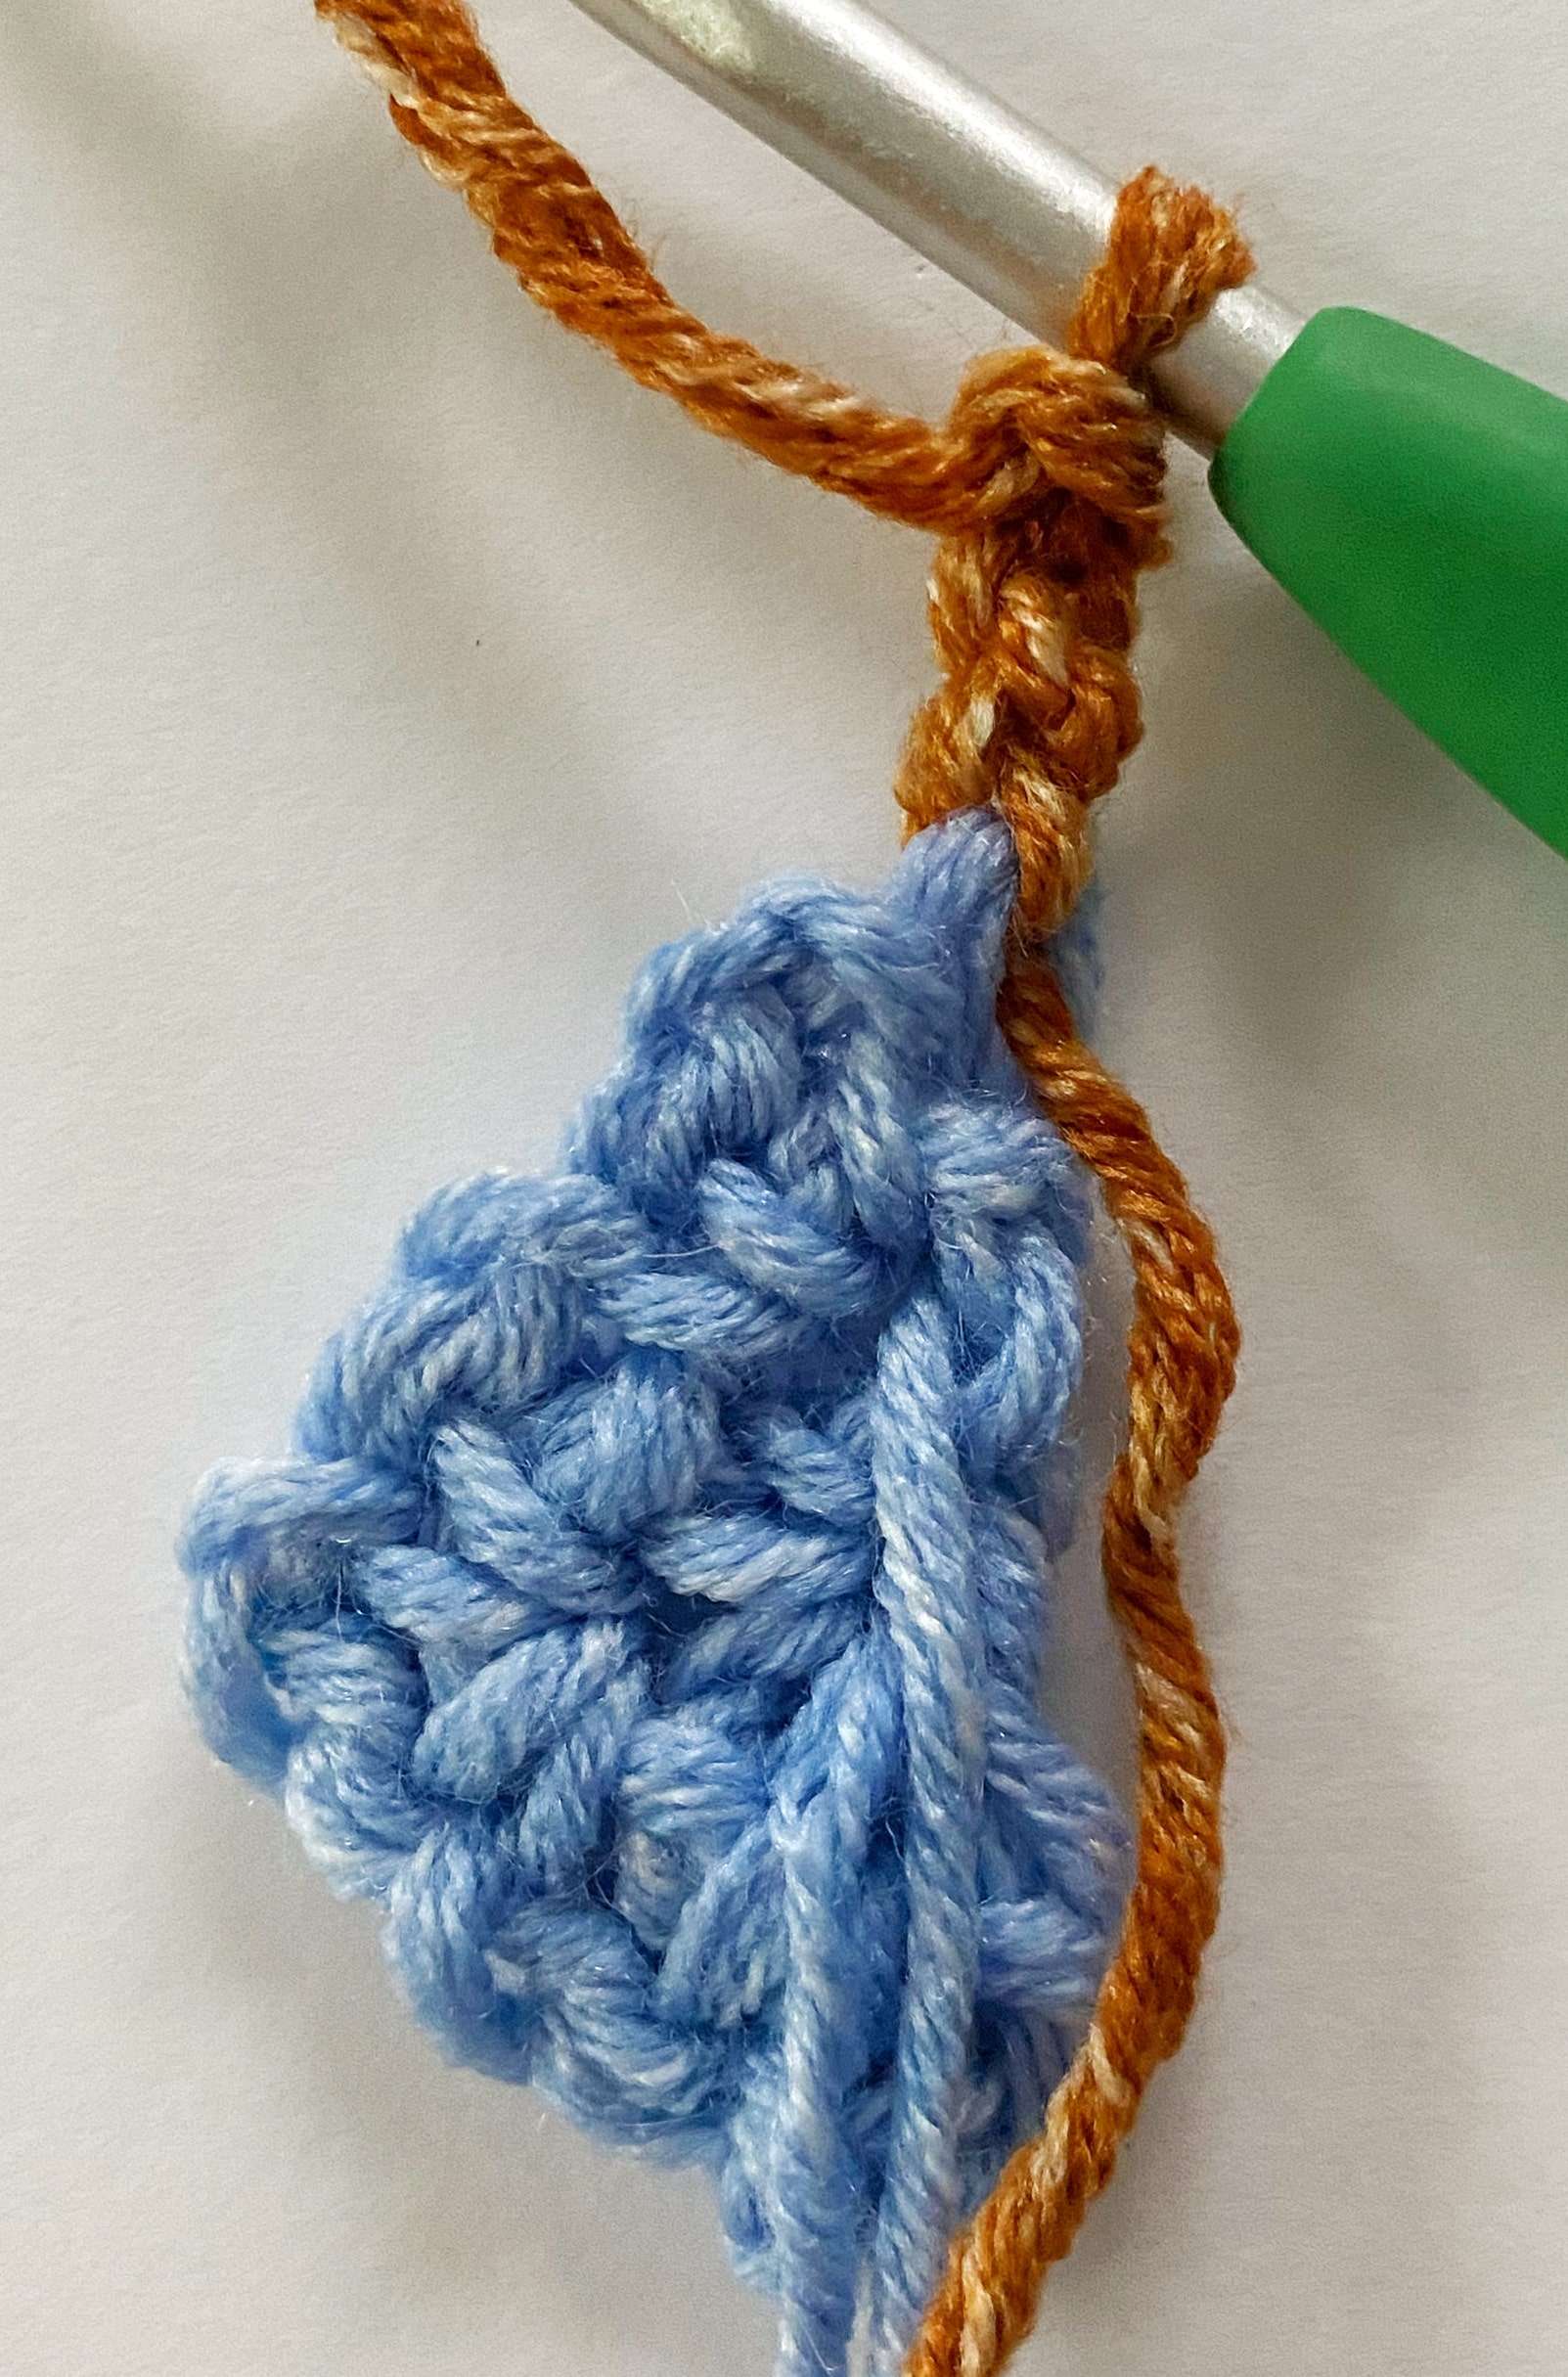
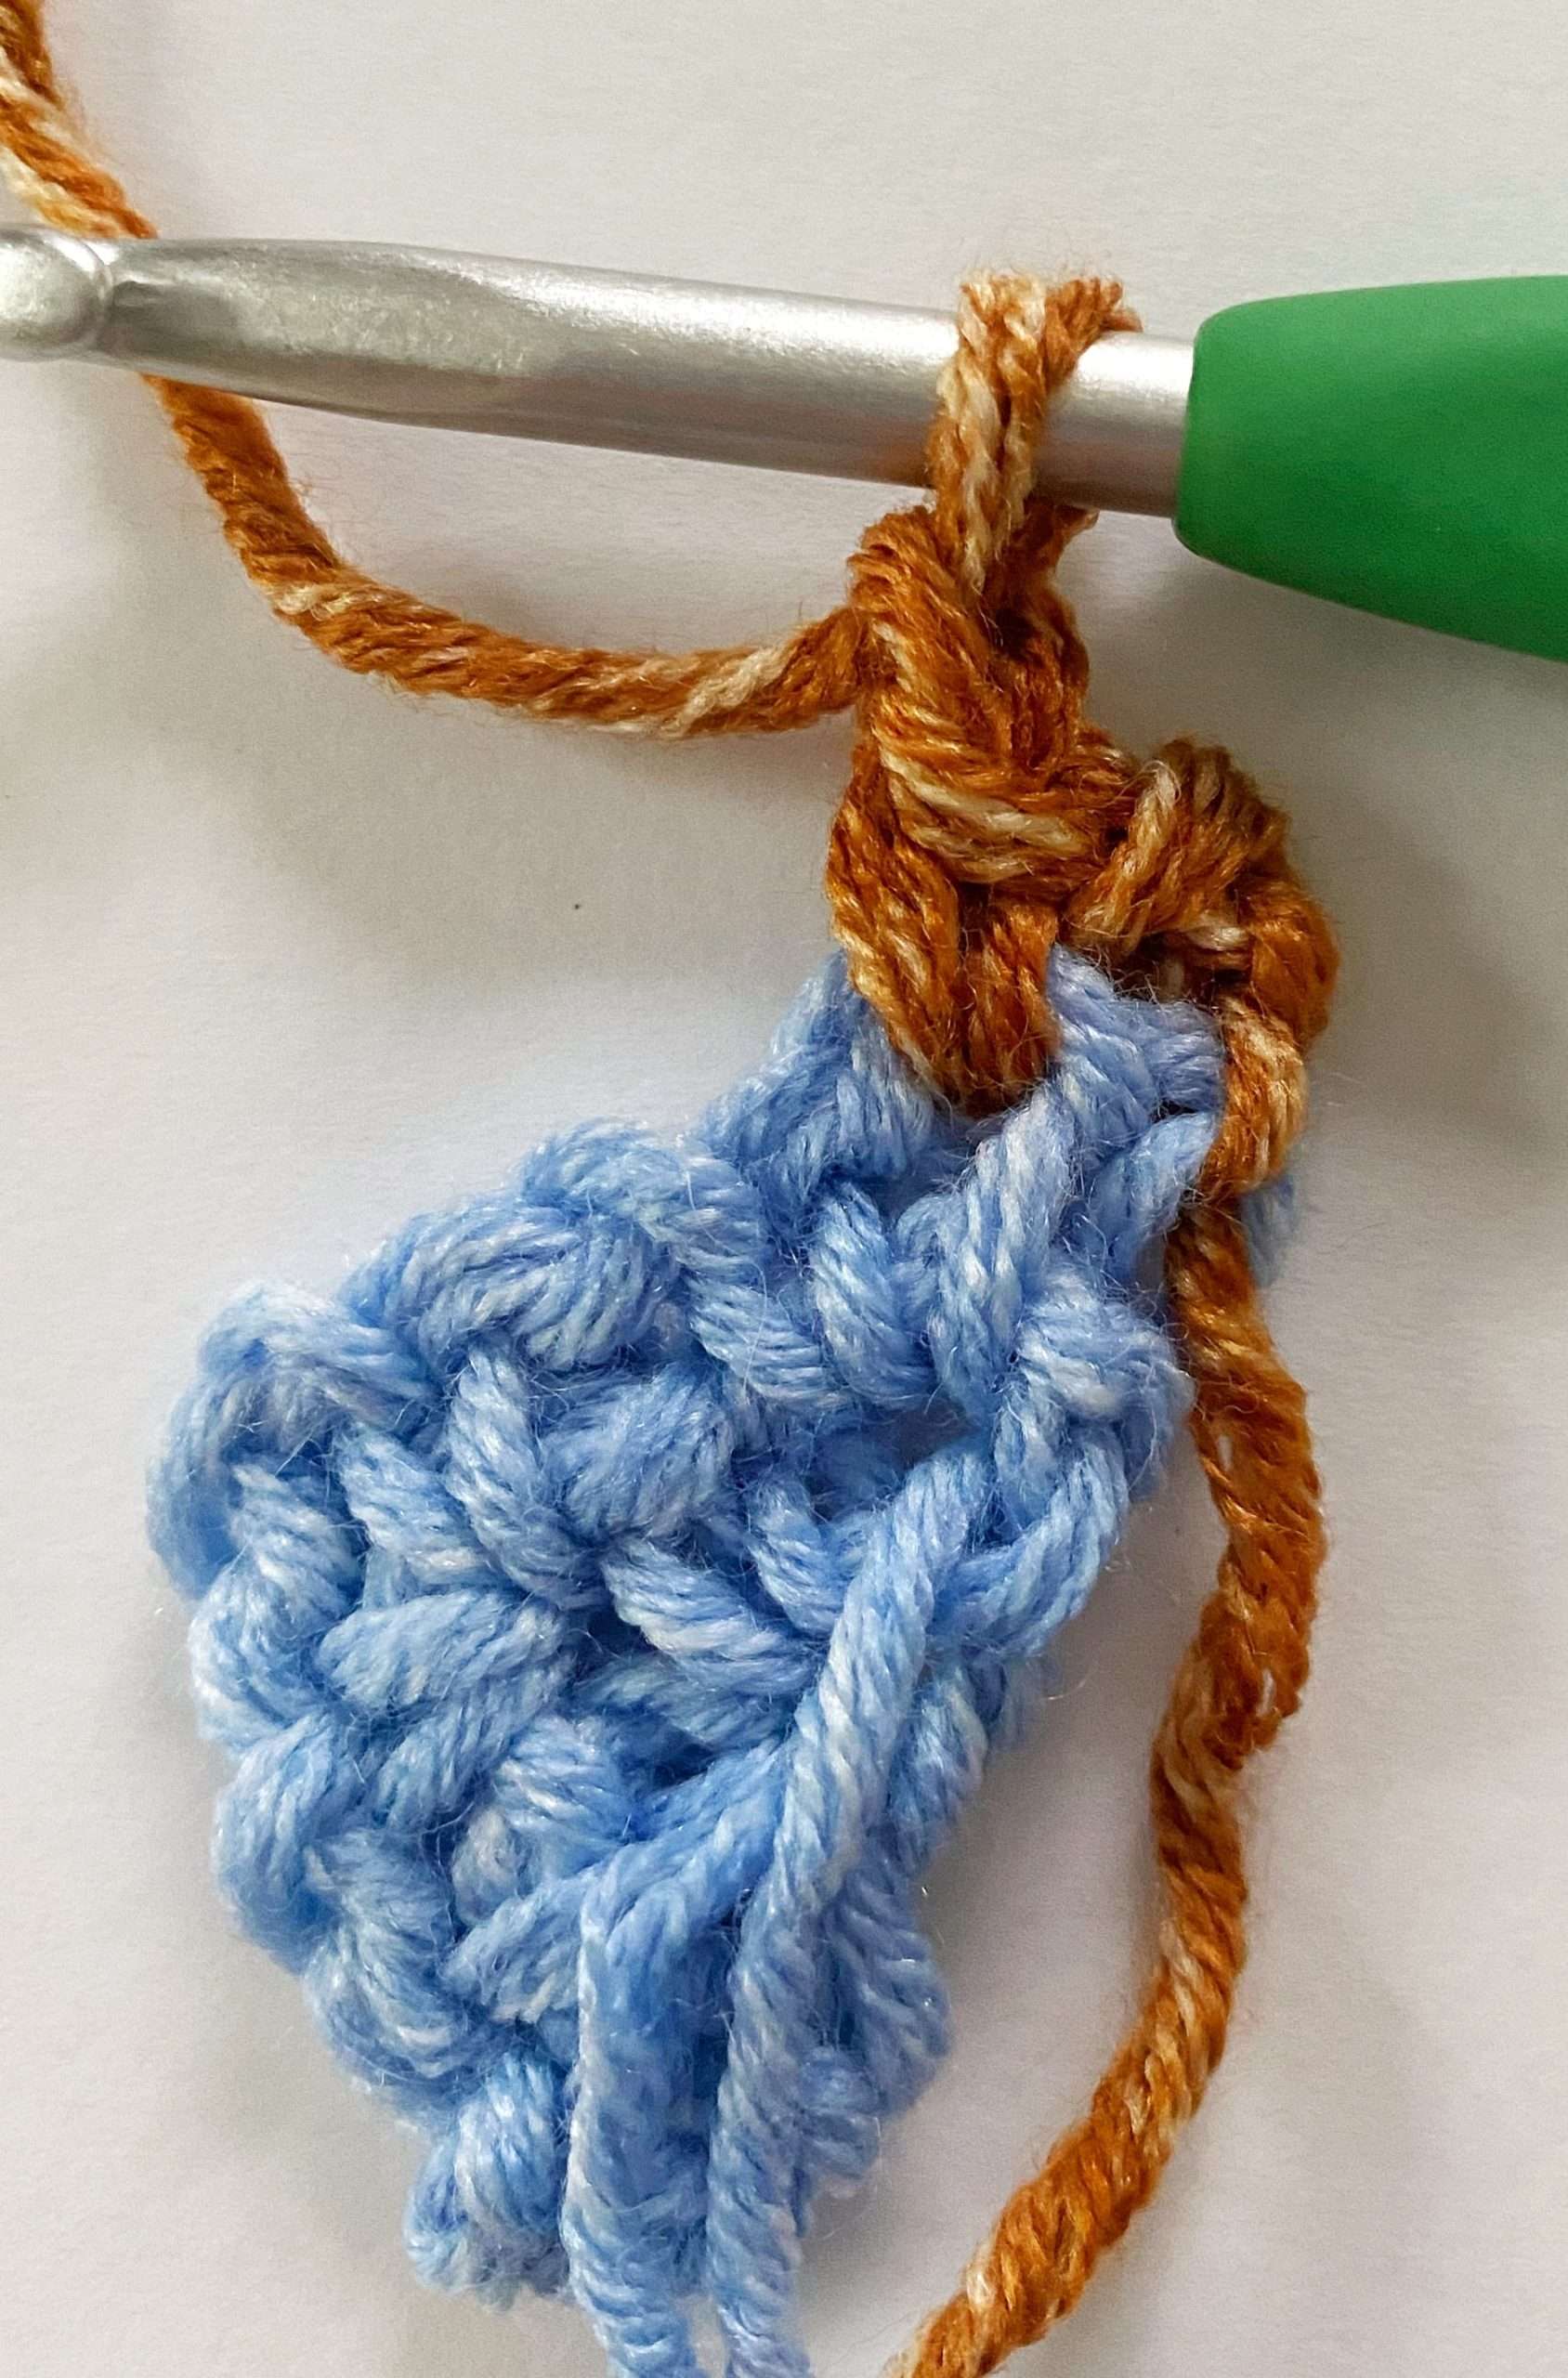
- (Sc, ch 1) in next ch-1 sp.
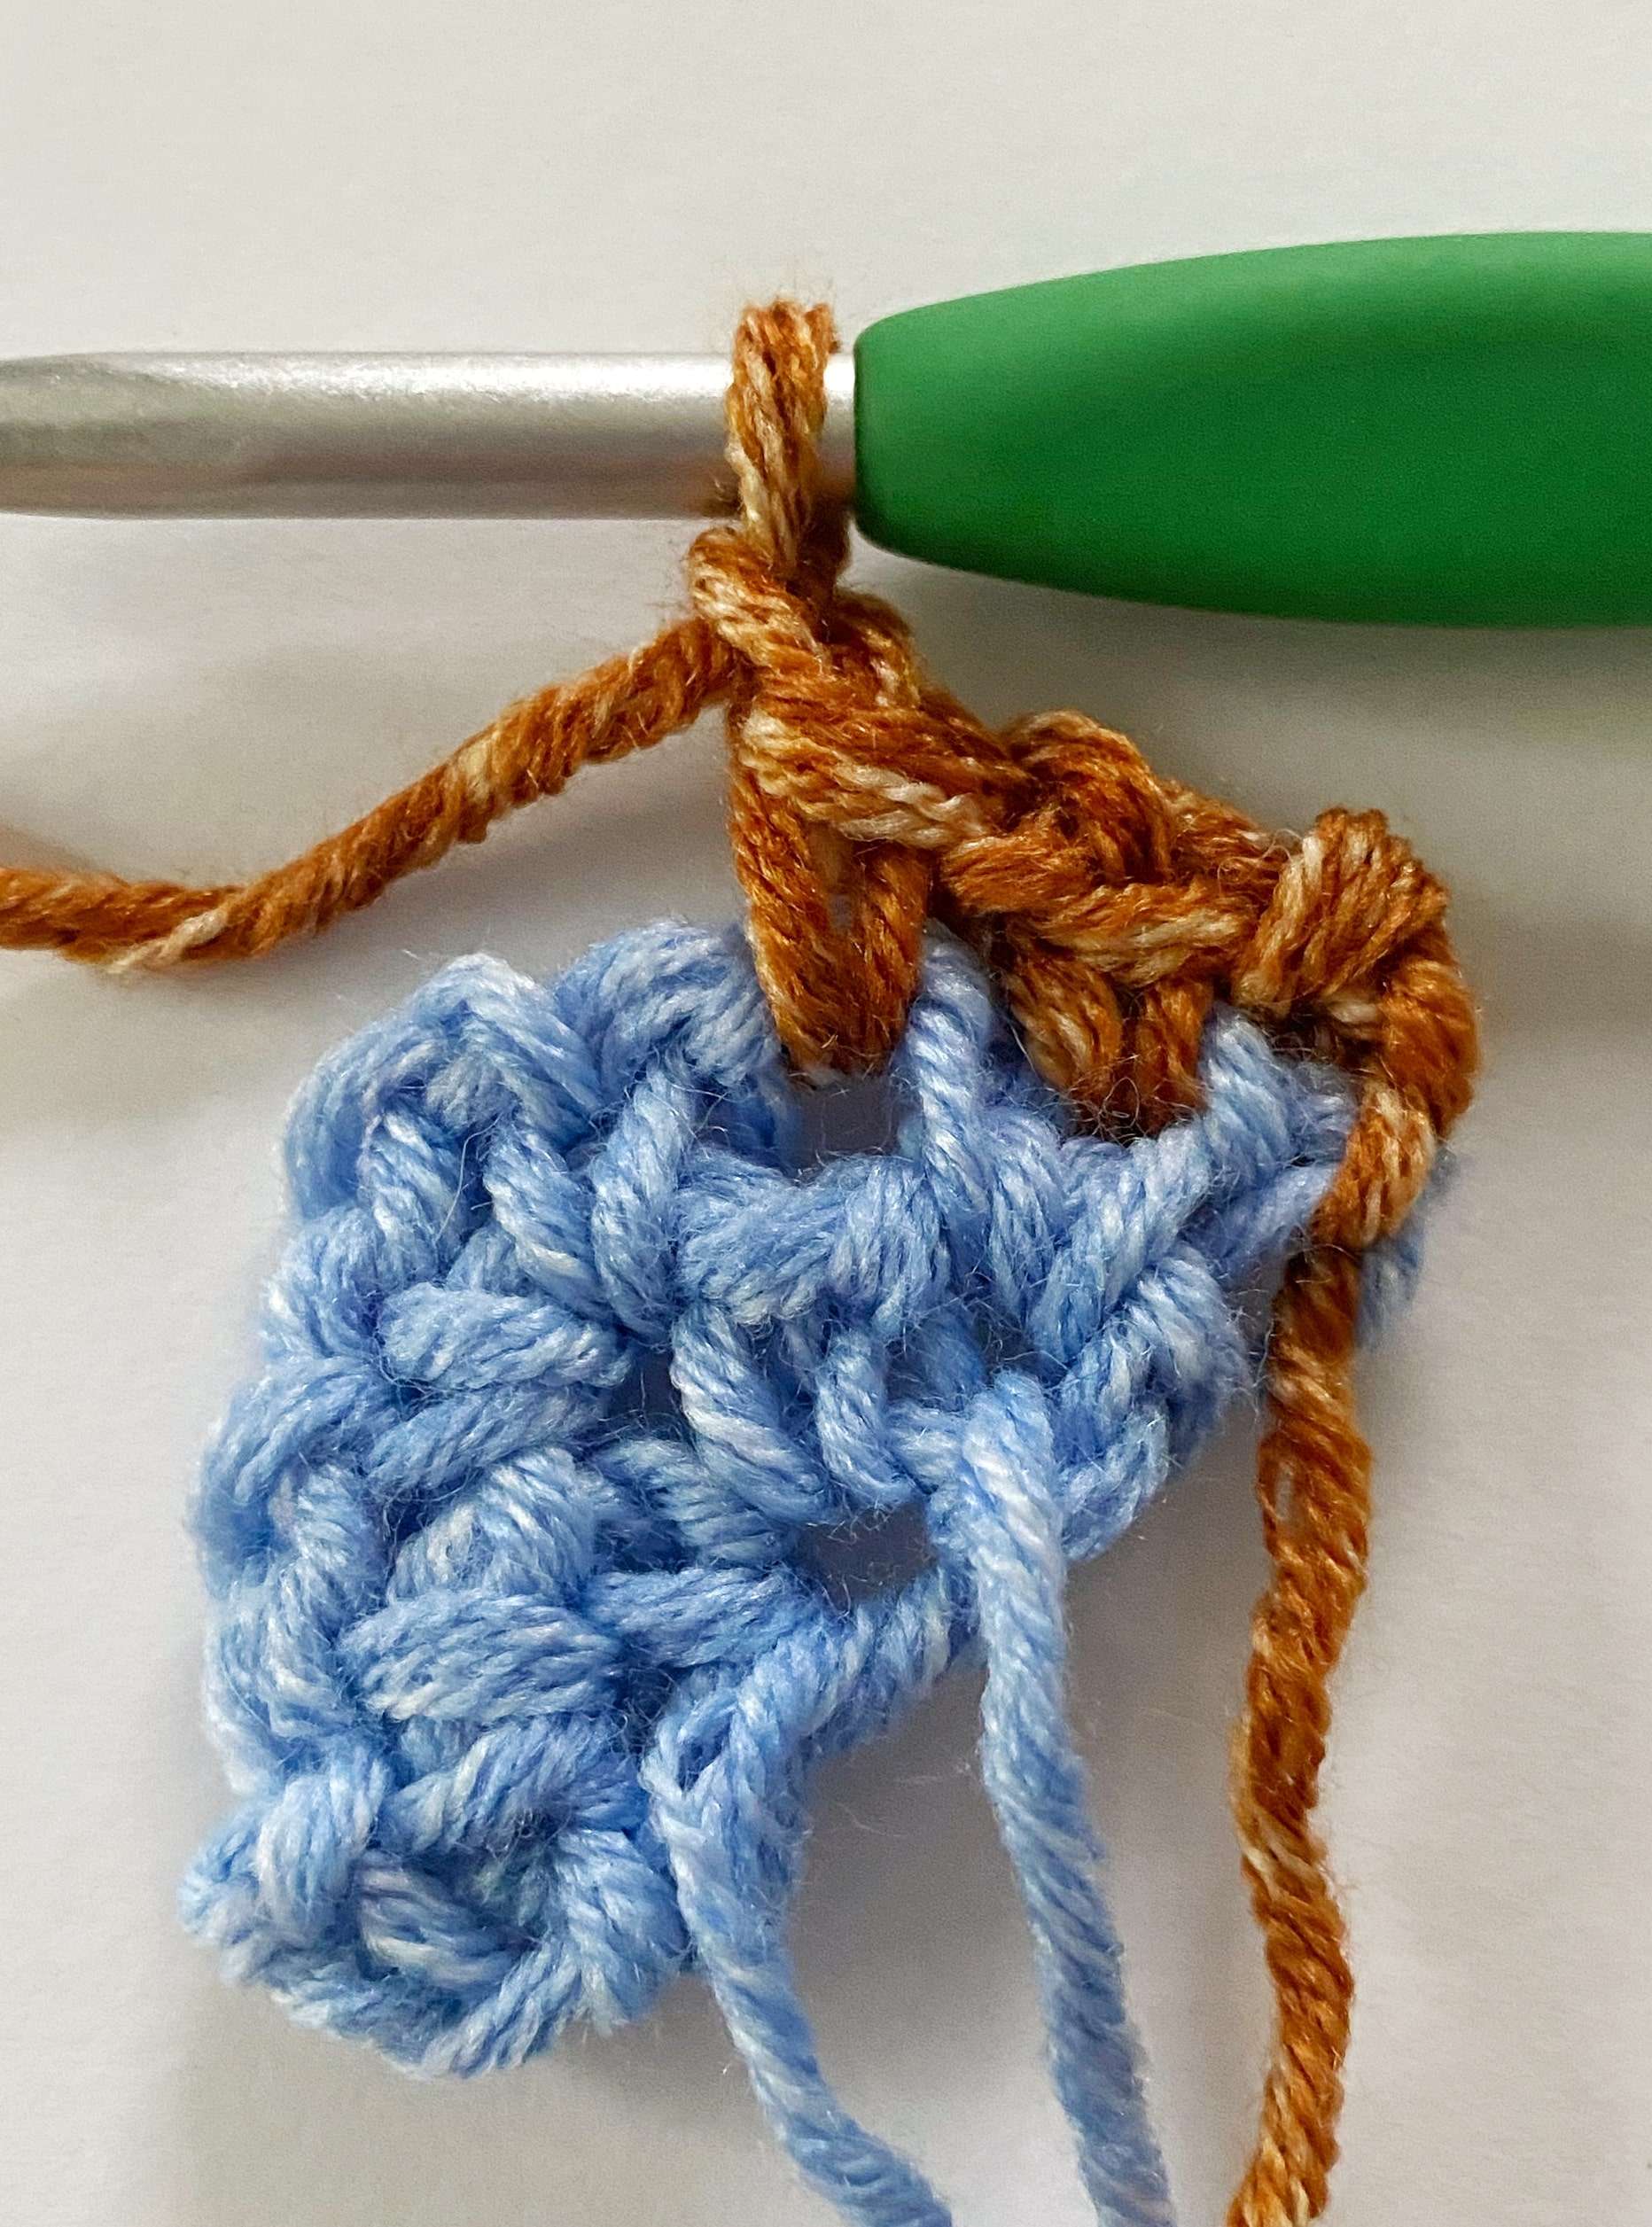
- (Sc, ch 2, sc, ch 1) in center ch-2 sp.
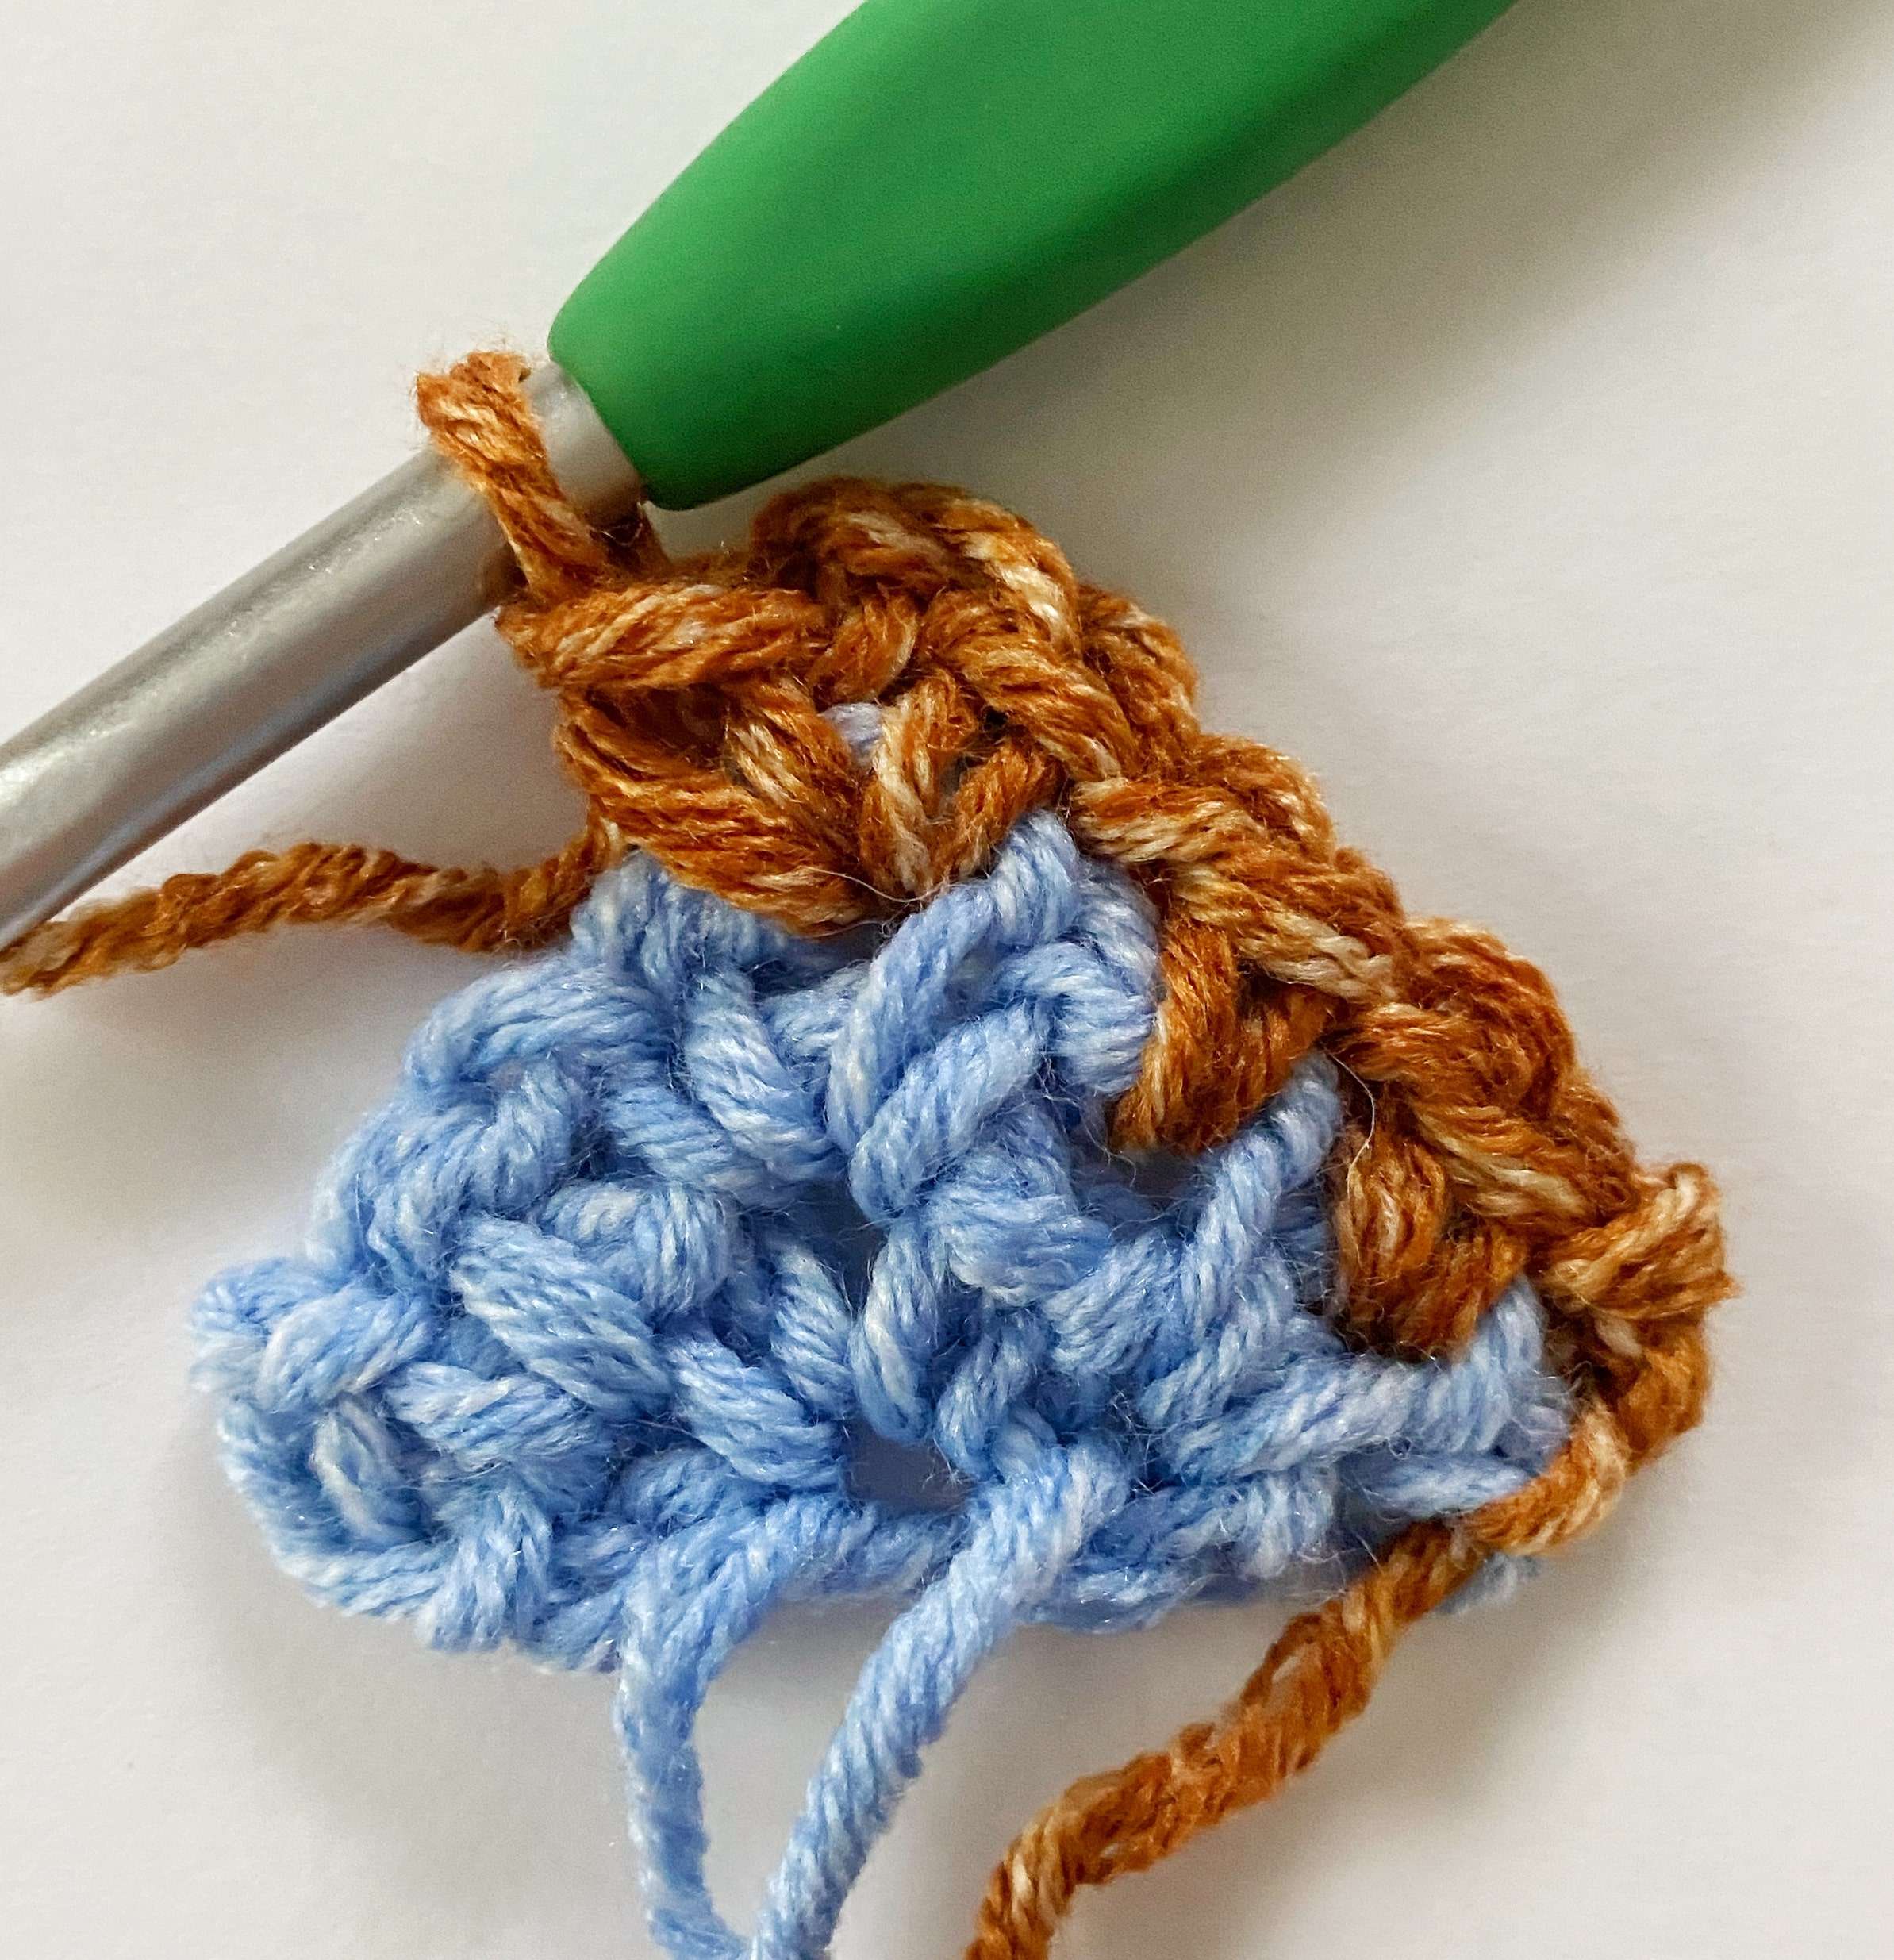
- (Sc, ch 1) in next ch-1 sp.
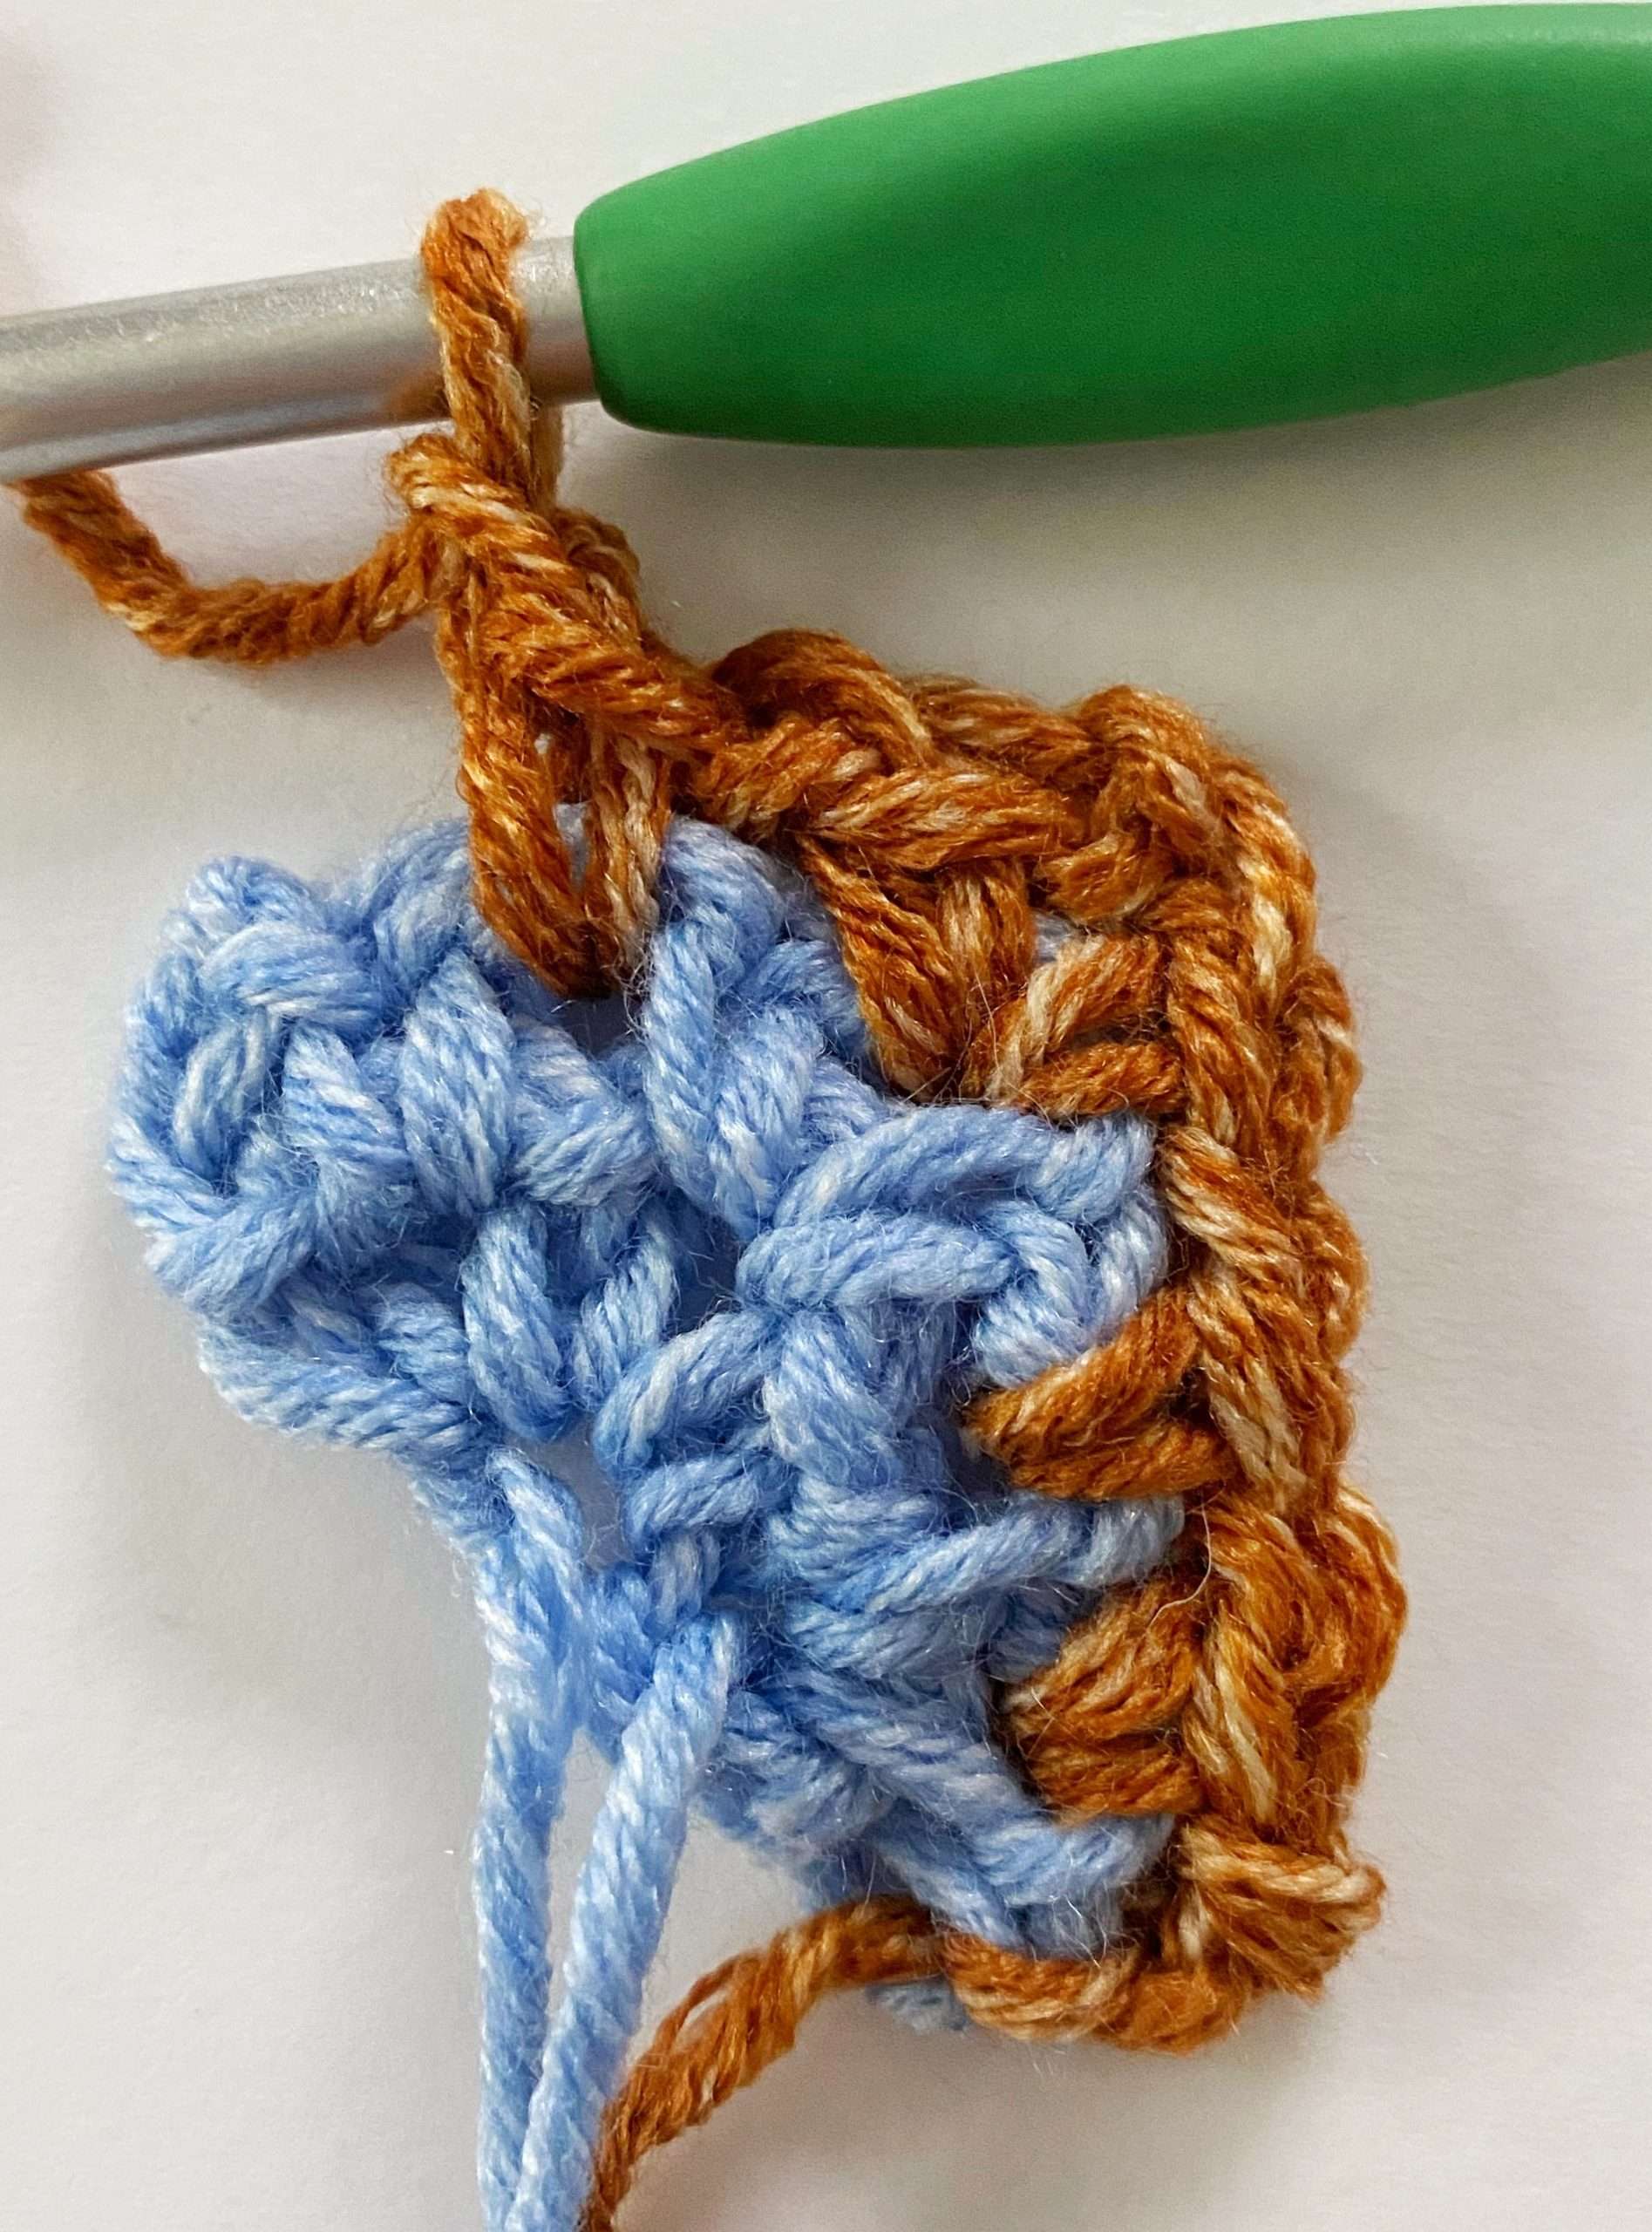
- (Sc, ch 2, sc) in last ch-2 sp.
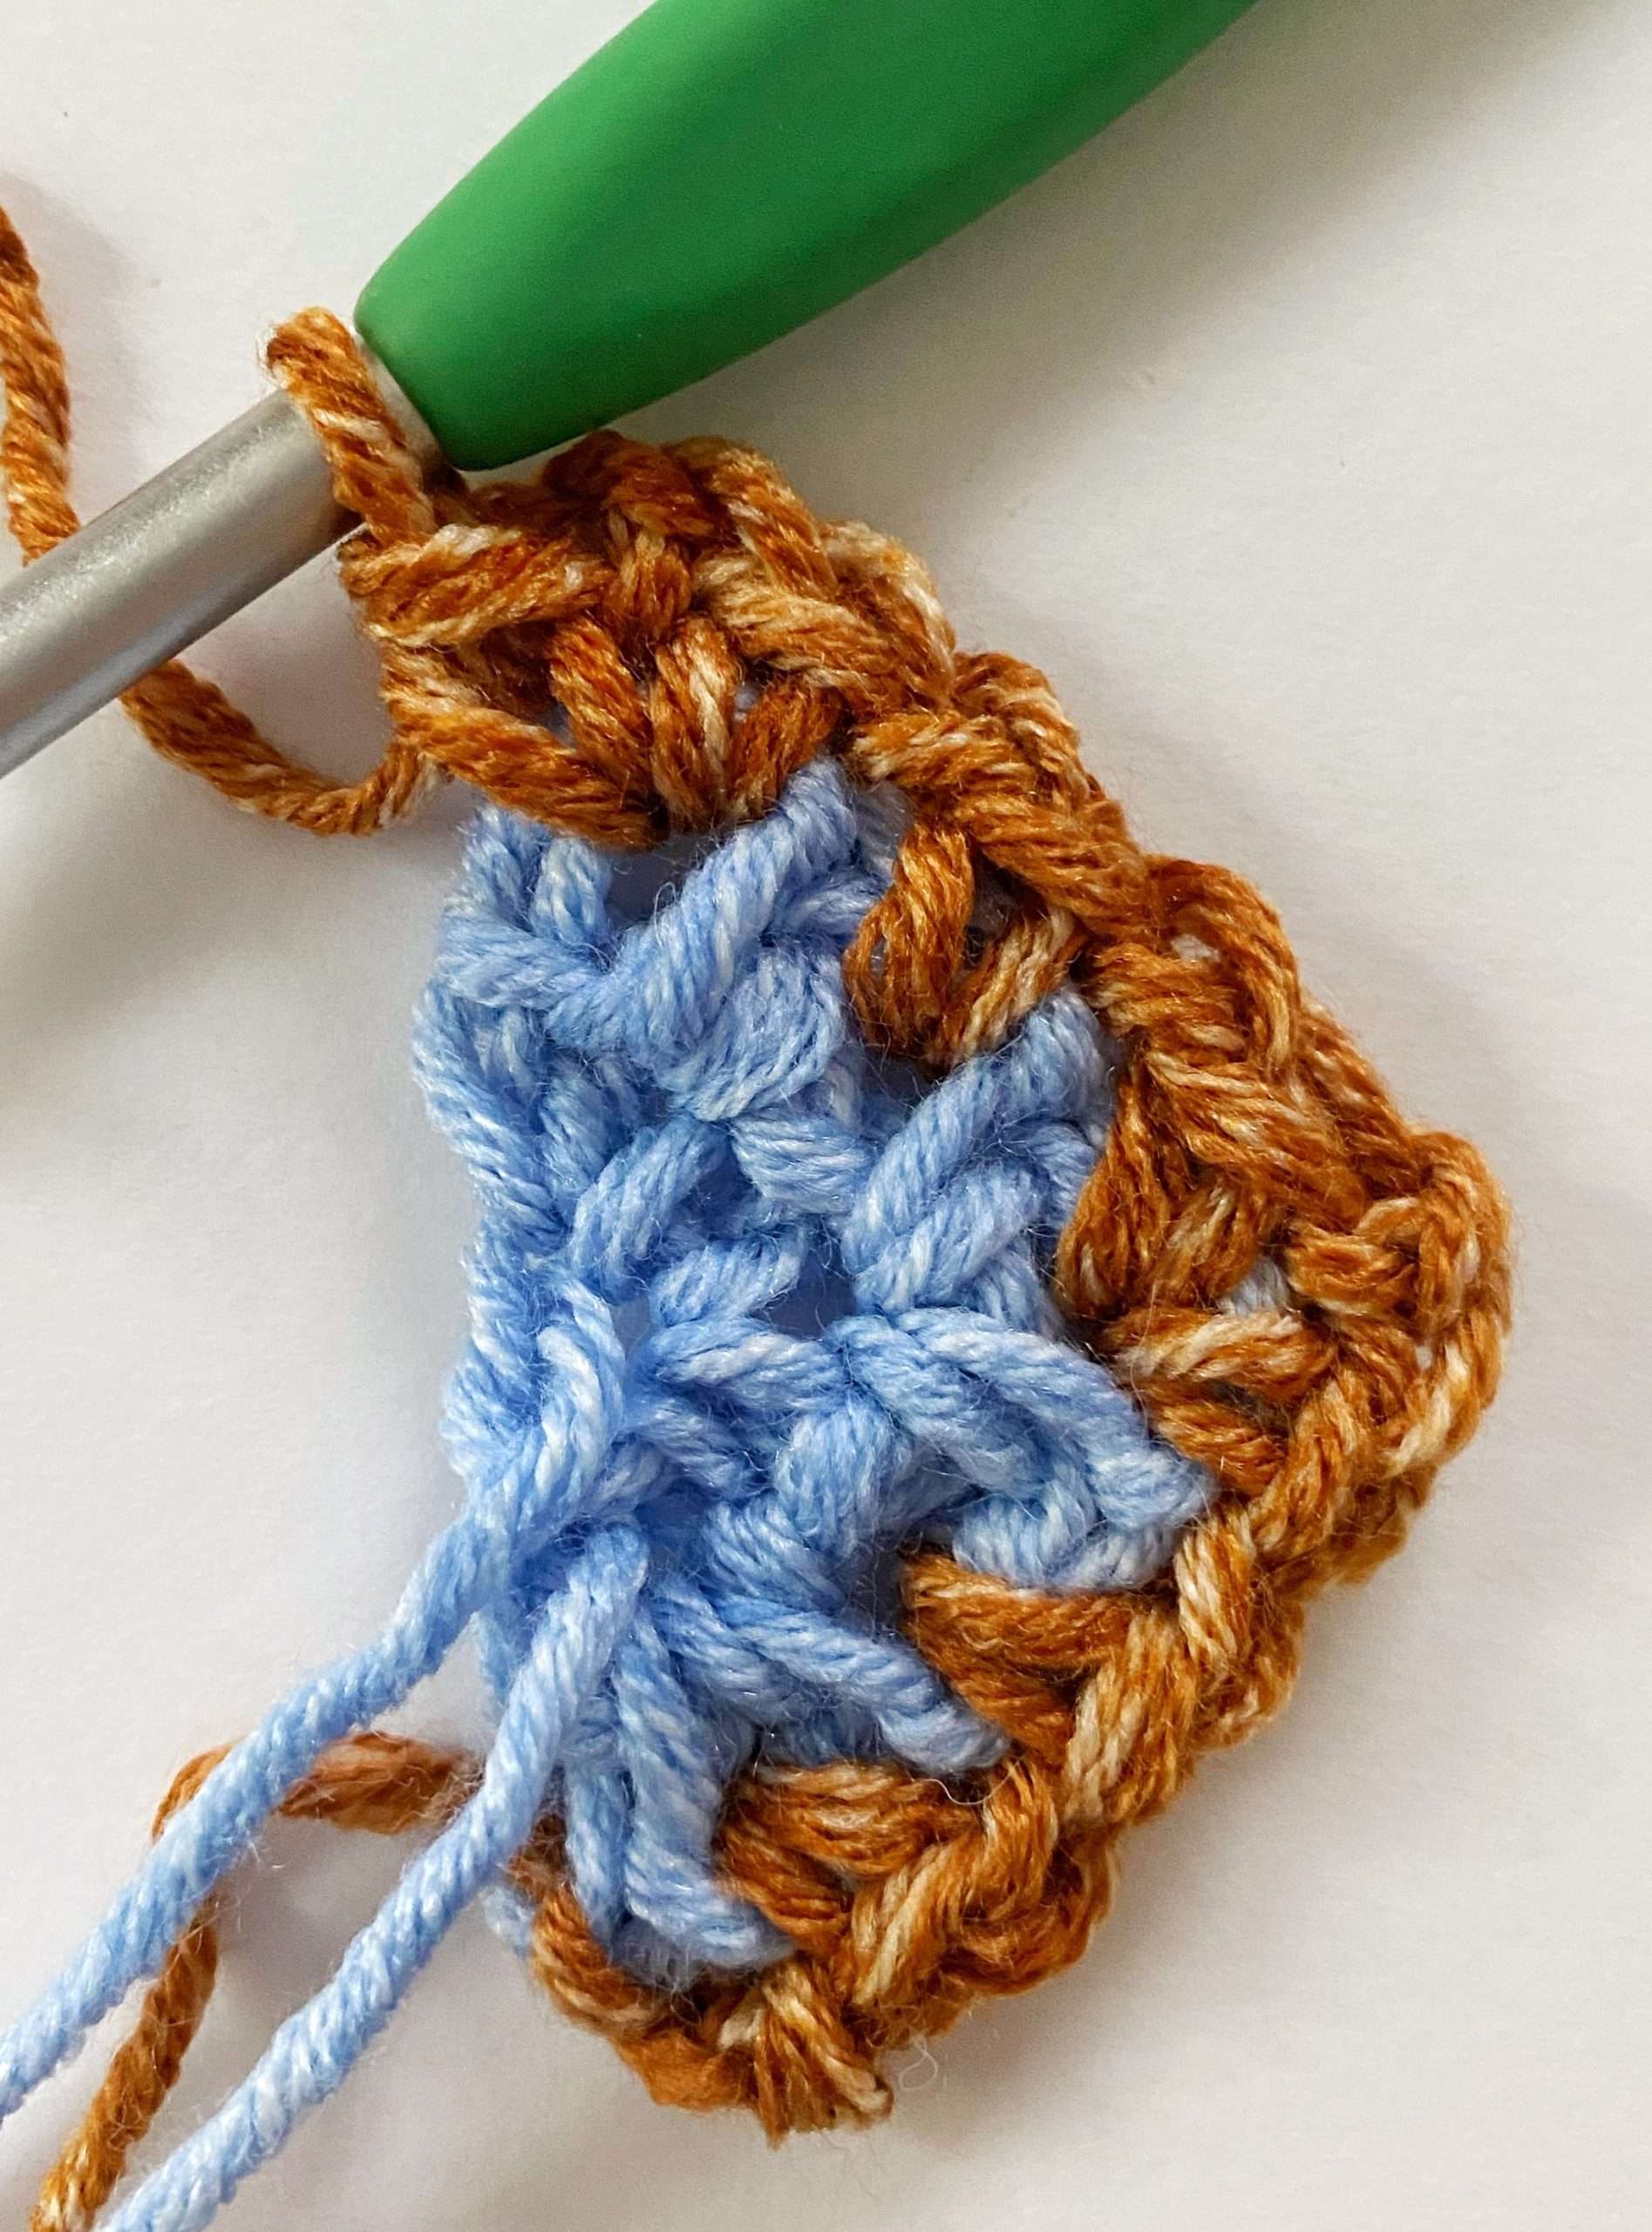
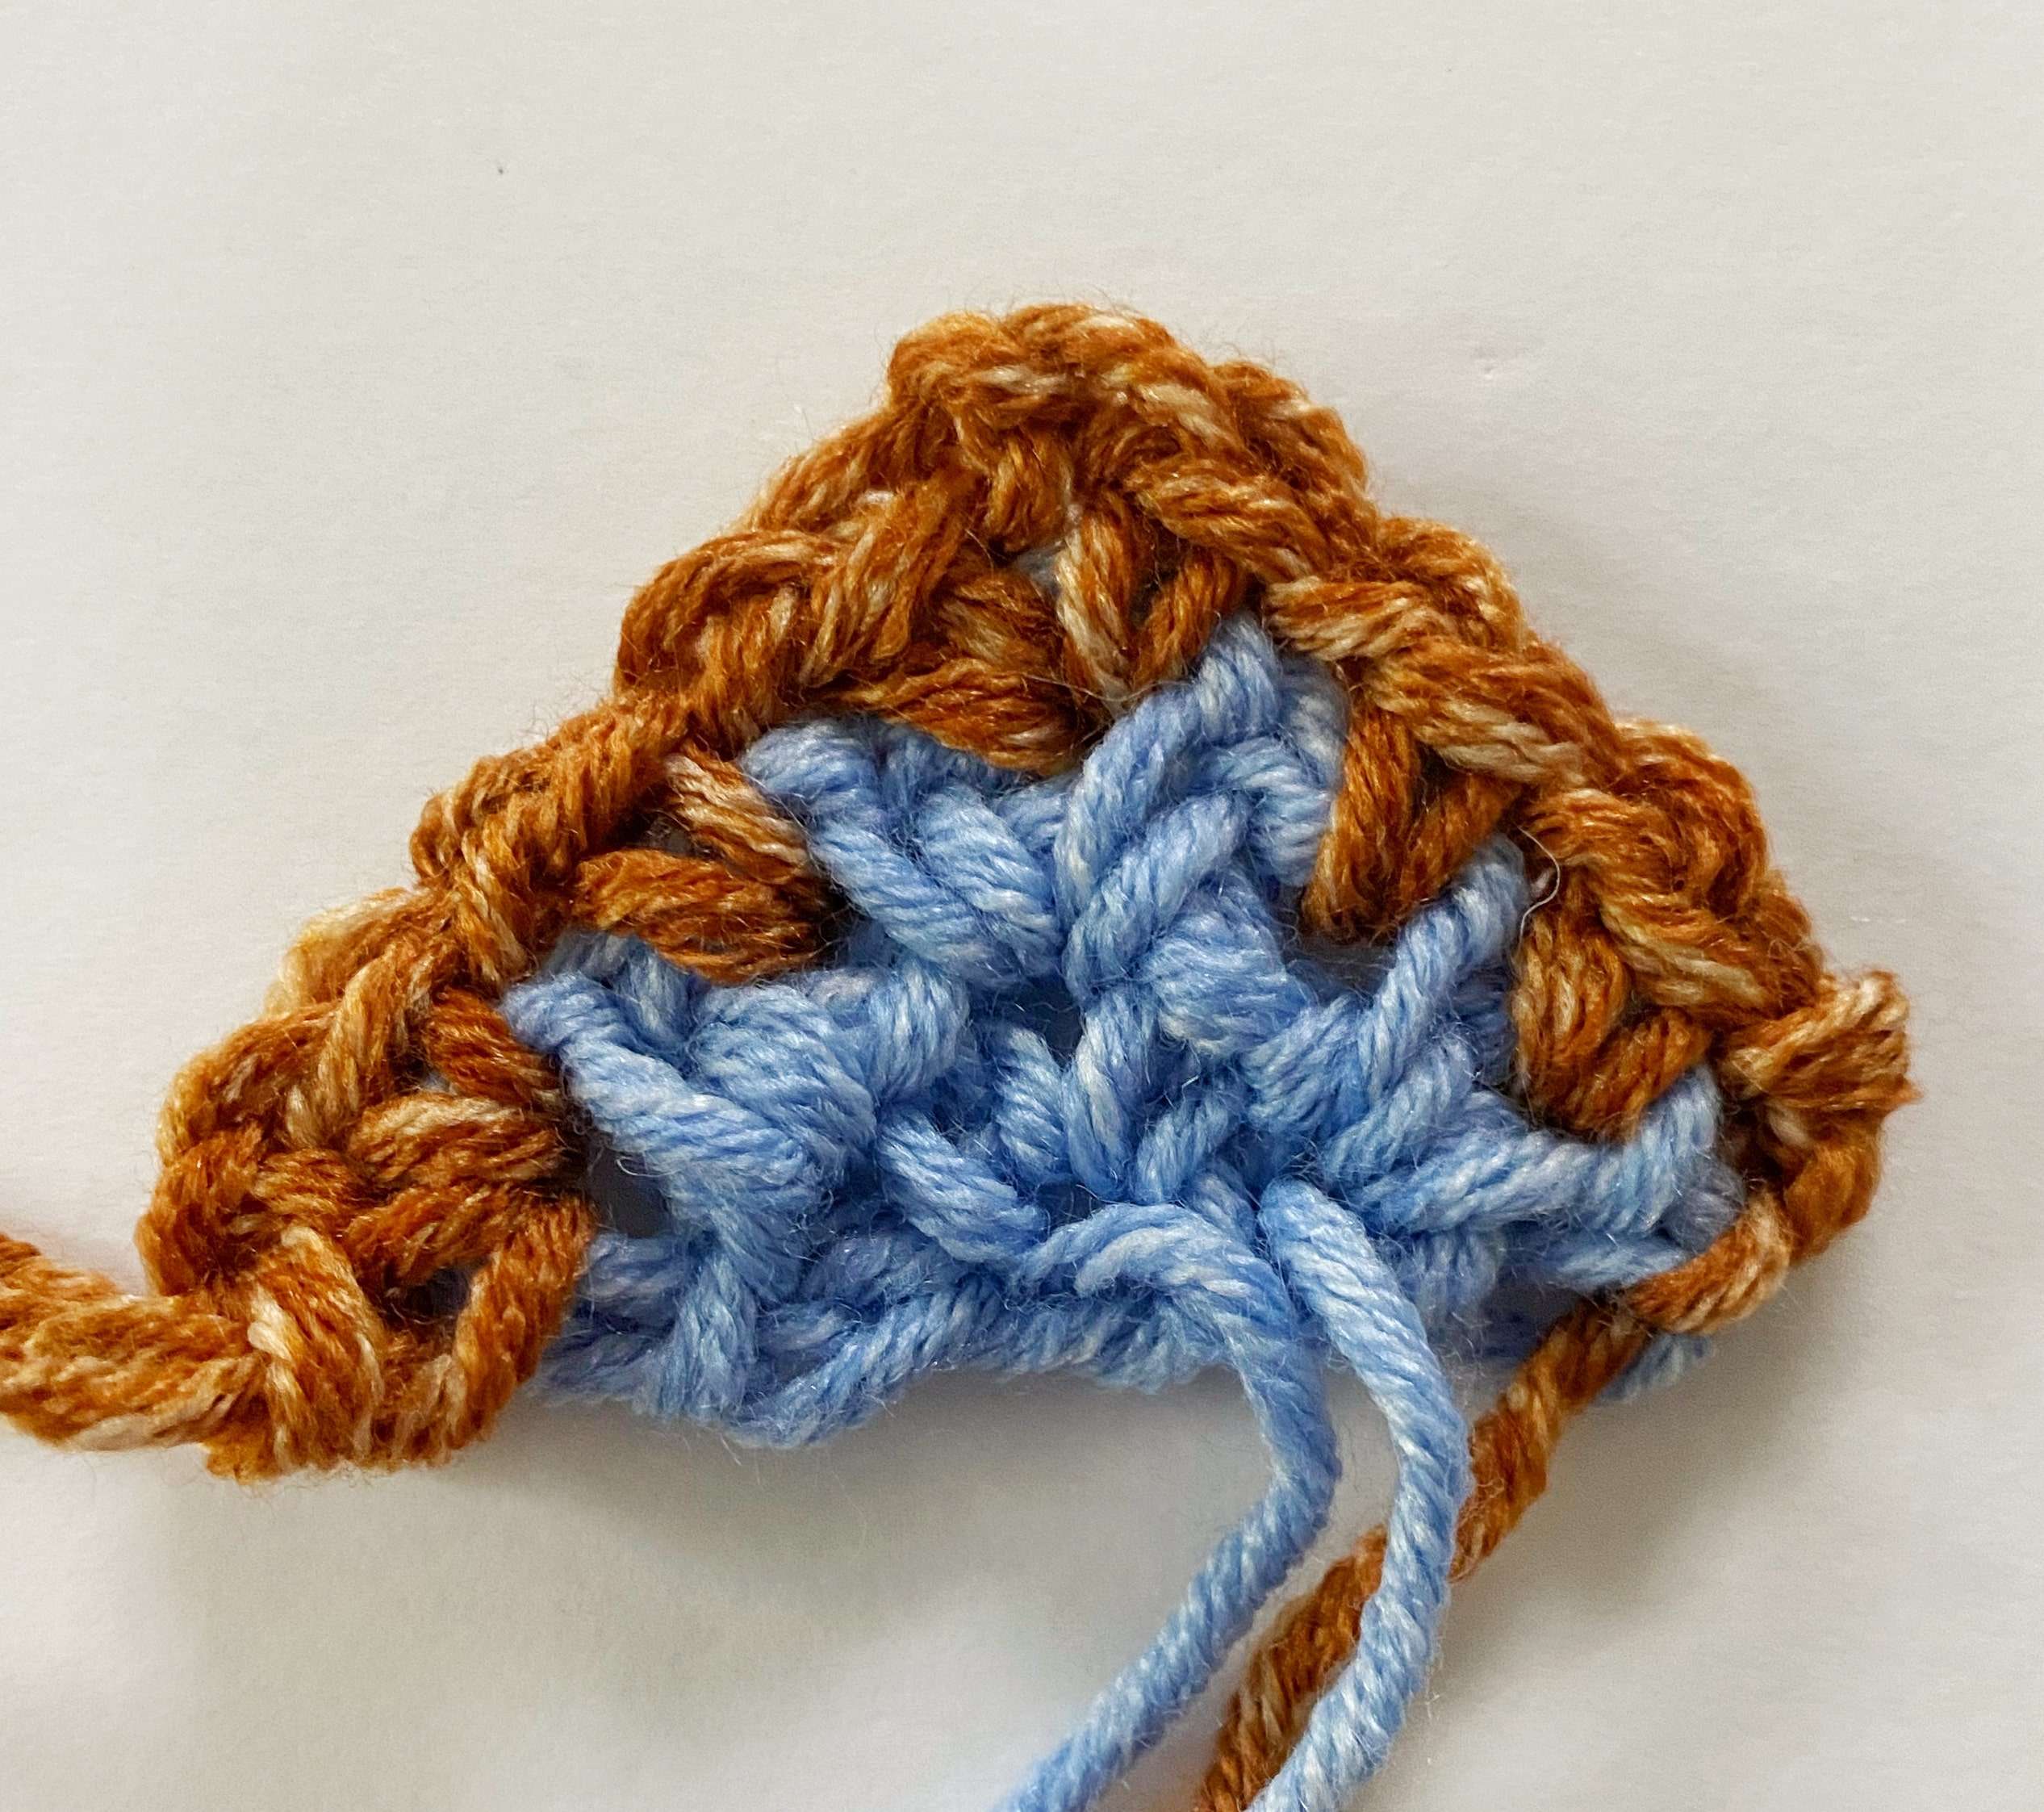
Stitch Count: At the end of Row 3, you should have 4 sc, 1 ch-2 sp, and 2 ch-1 sps on each side of the center ch-2 sp.
Row 4:
- Turn your work.
- Ch 3, (sc, ch 1) in first ch-2 sp.
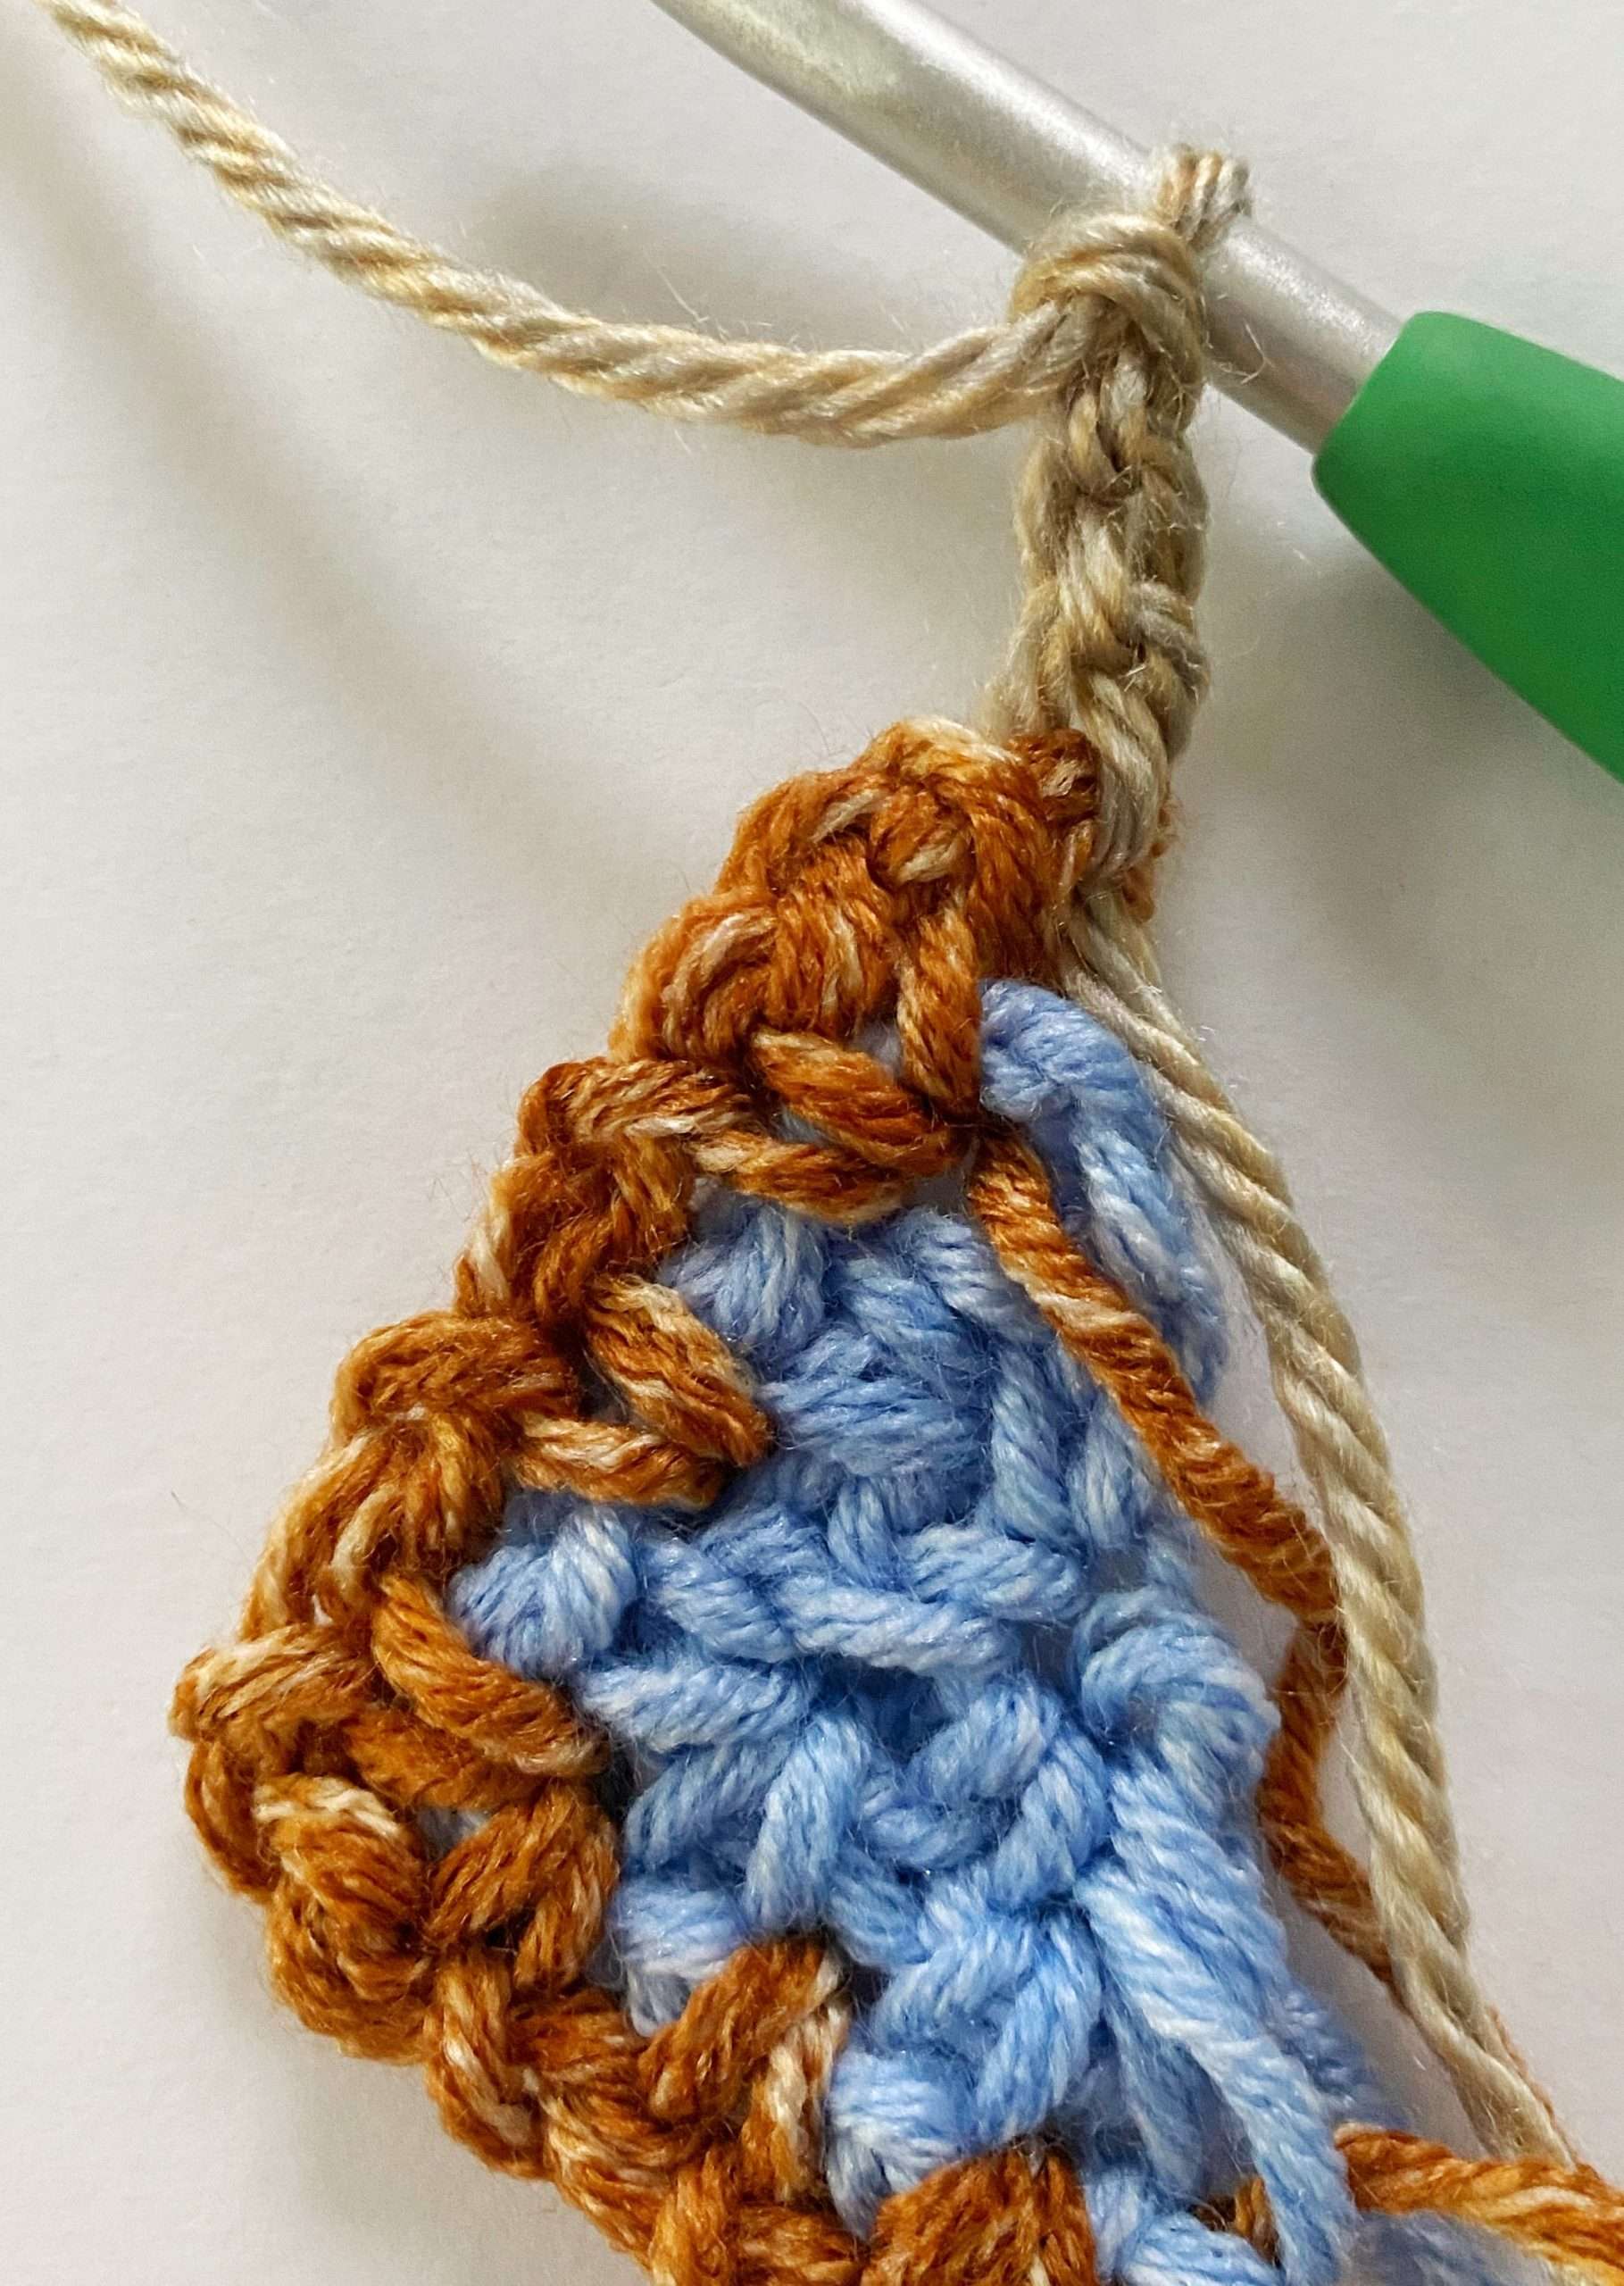
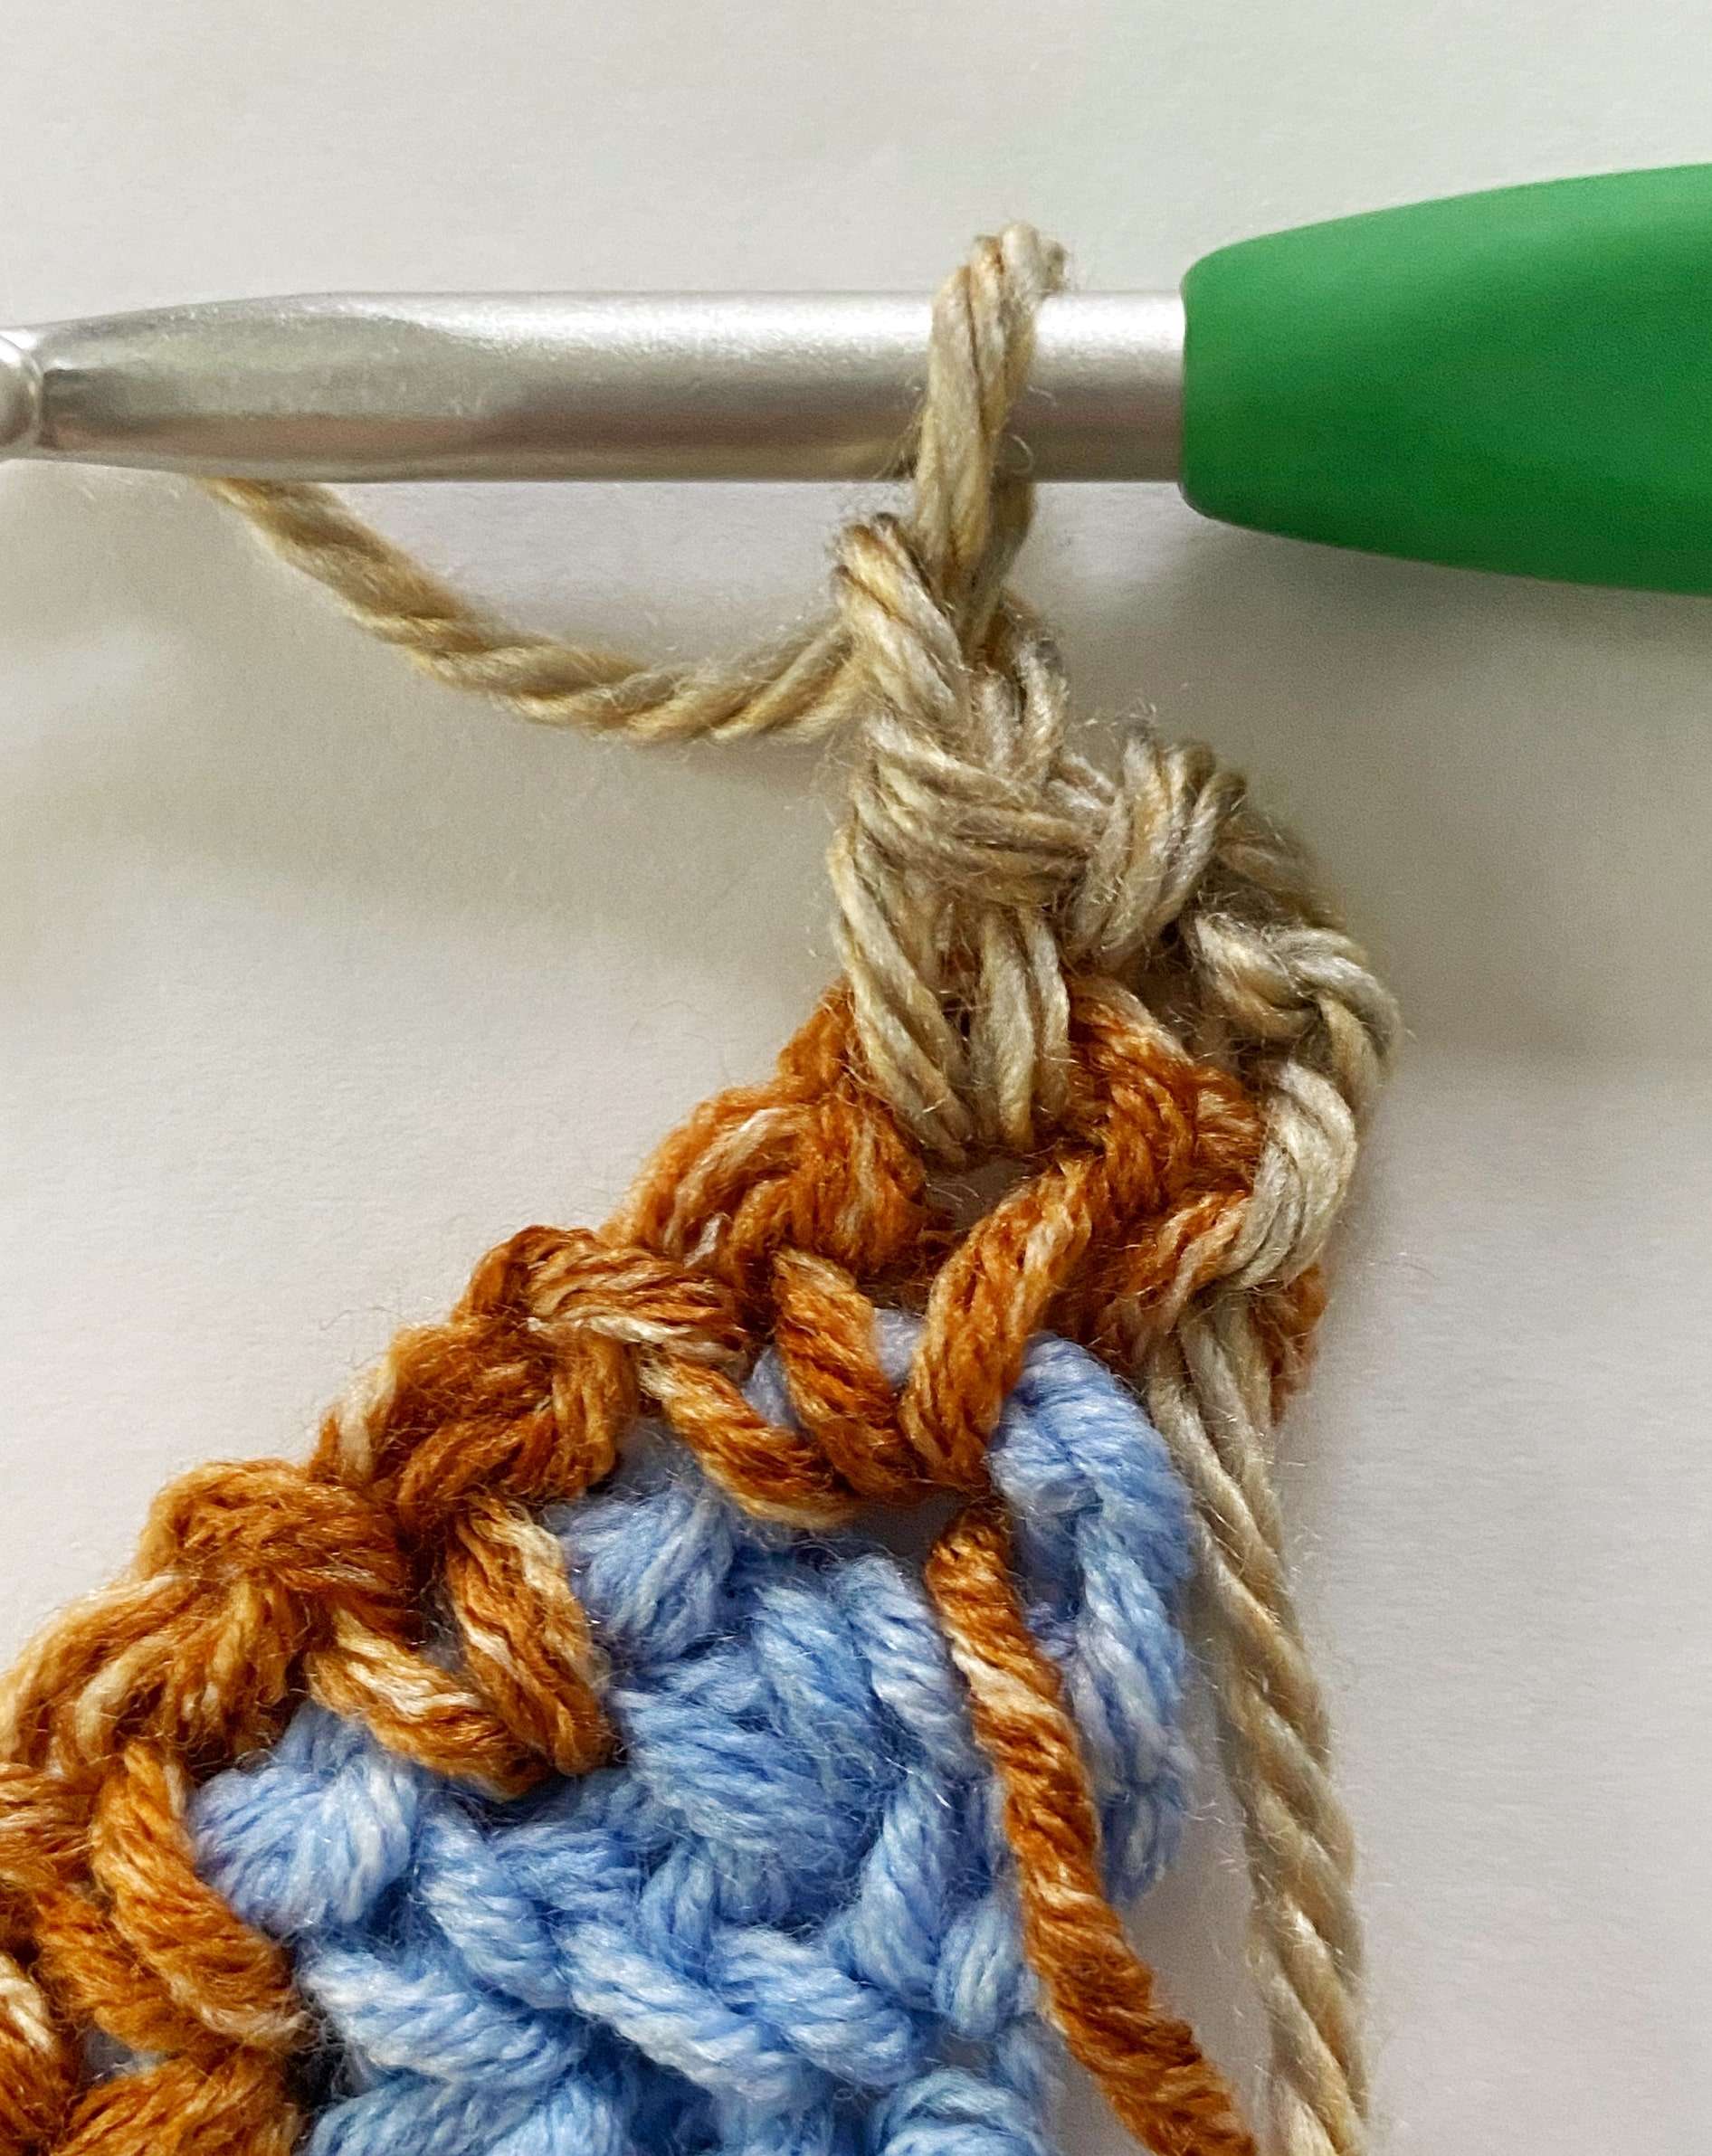
- (Sc, ch 1) in each ch-1 sp until center ch-2 sp.
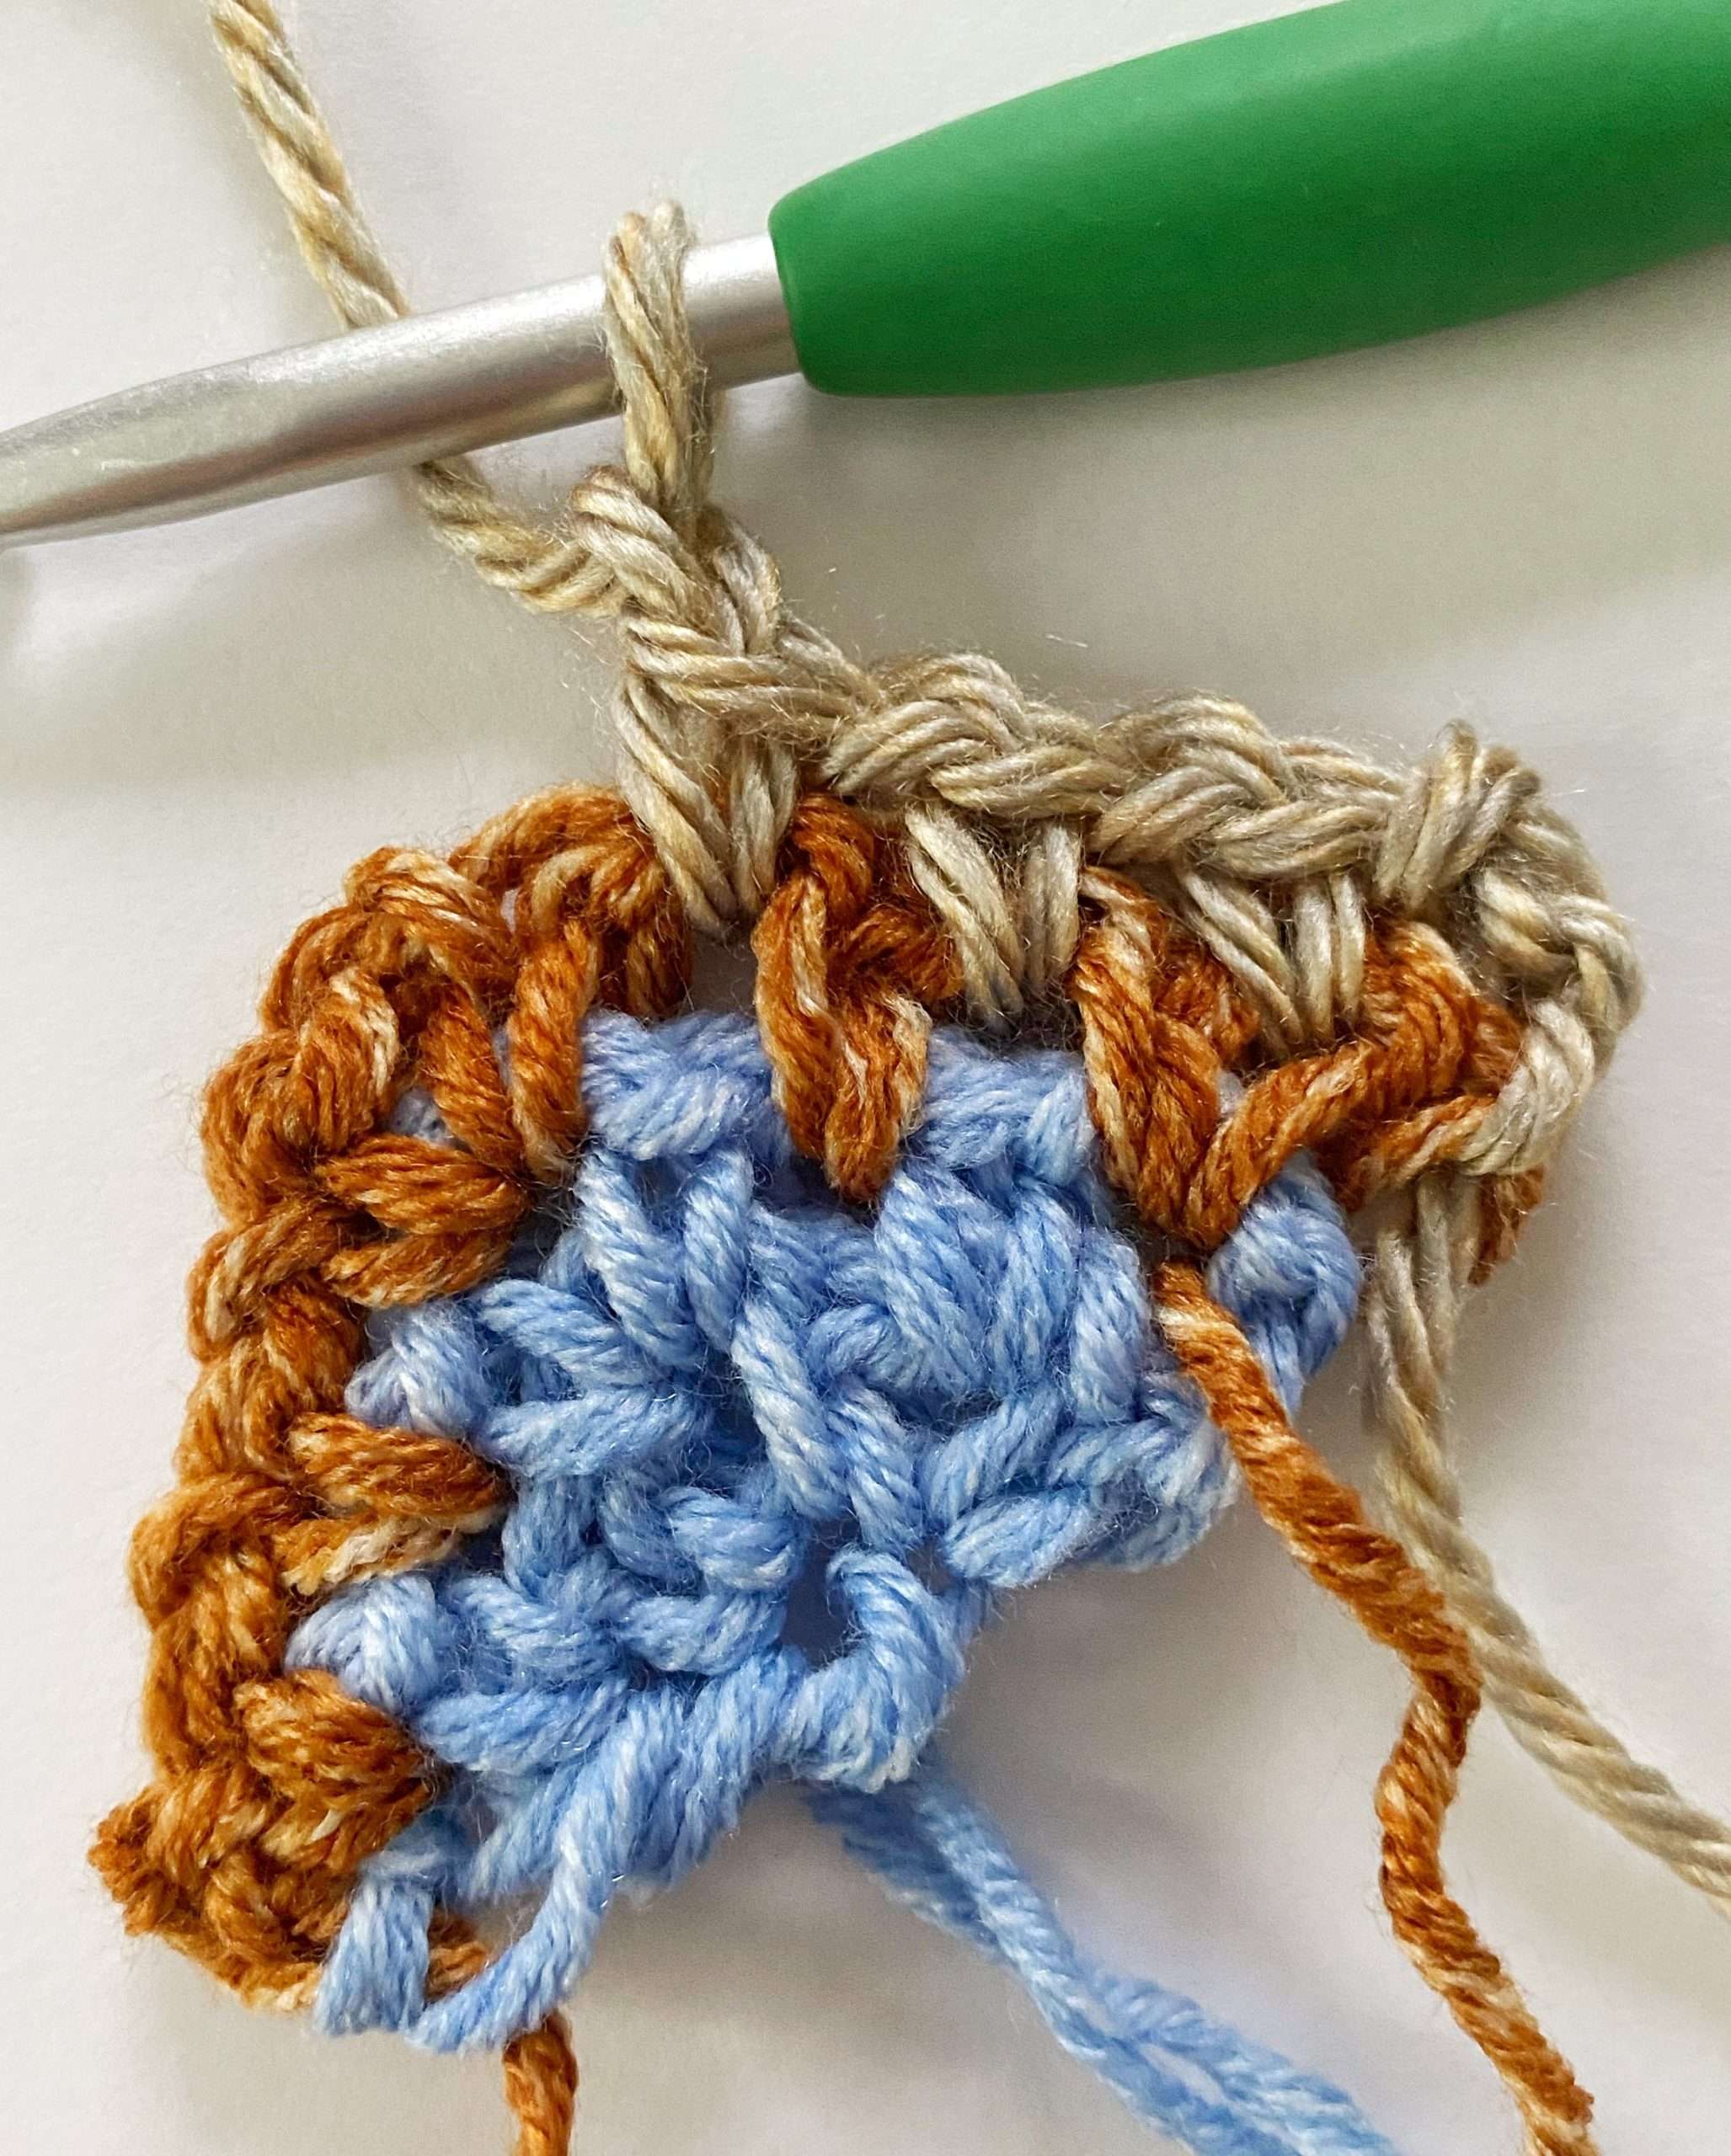
- (Sc, ch 2, sc, ch 1) in center ch-2 sp.
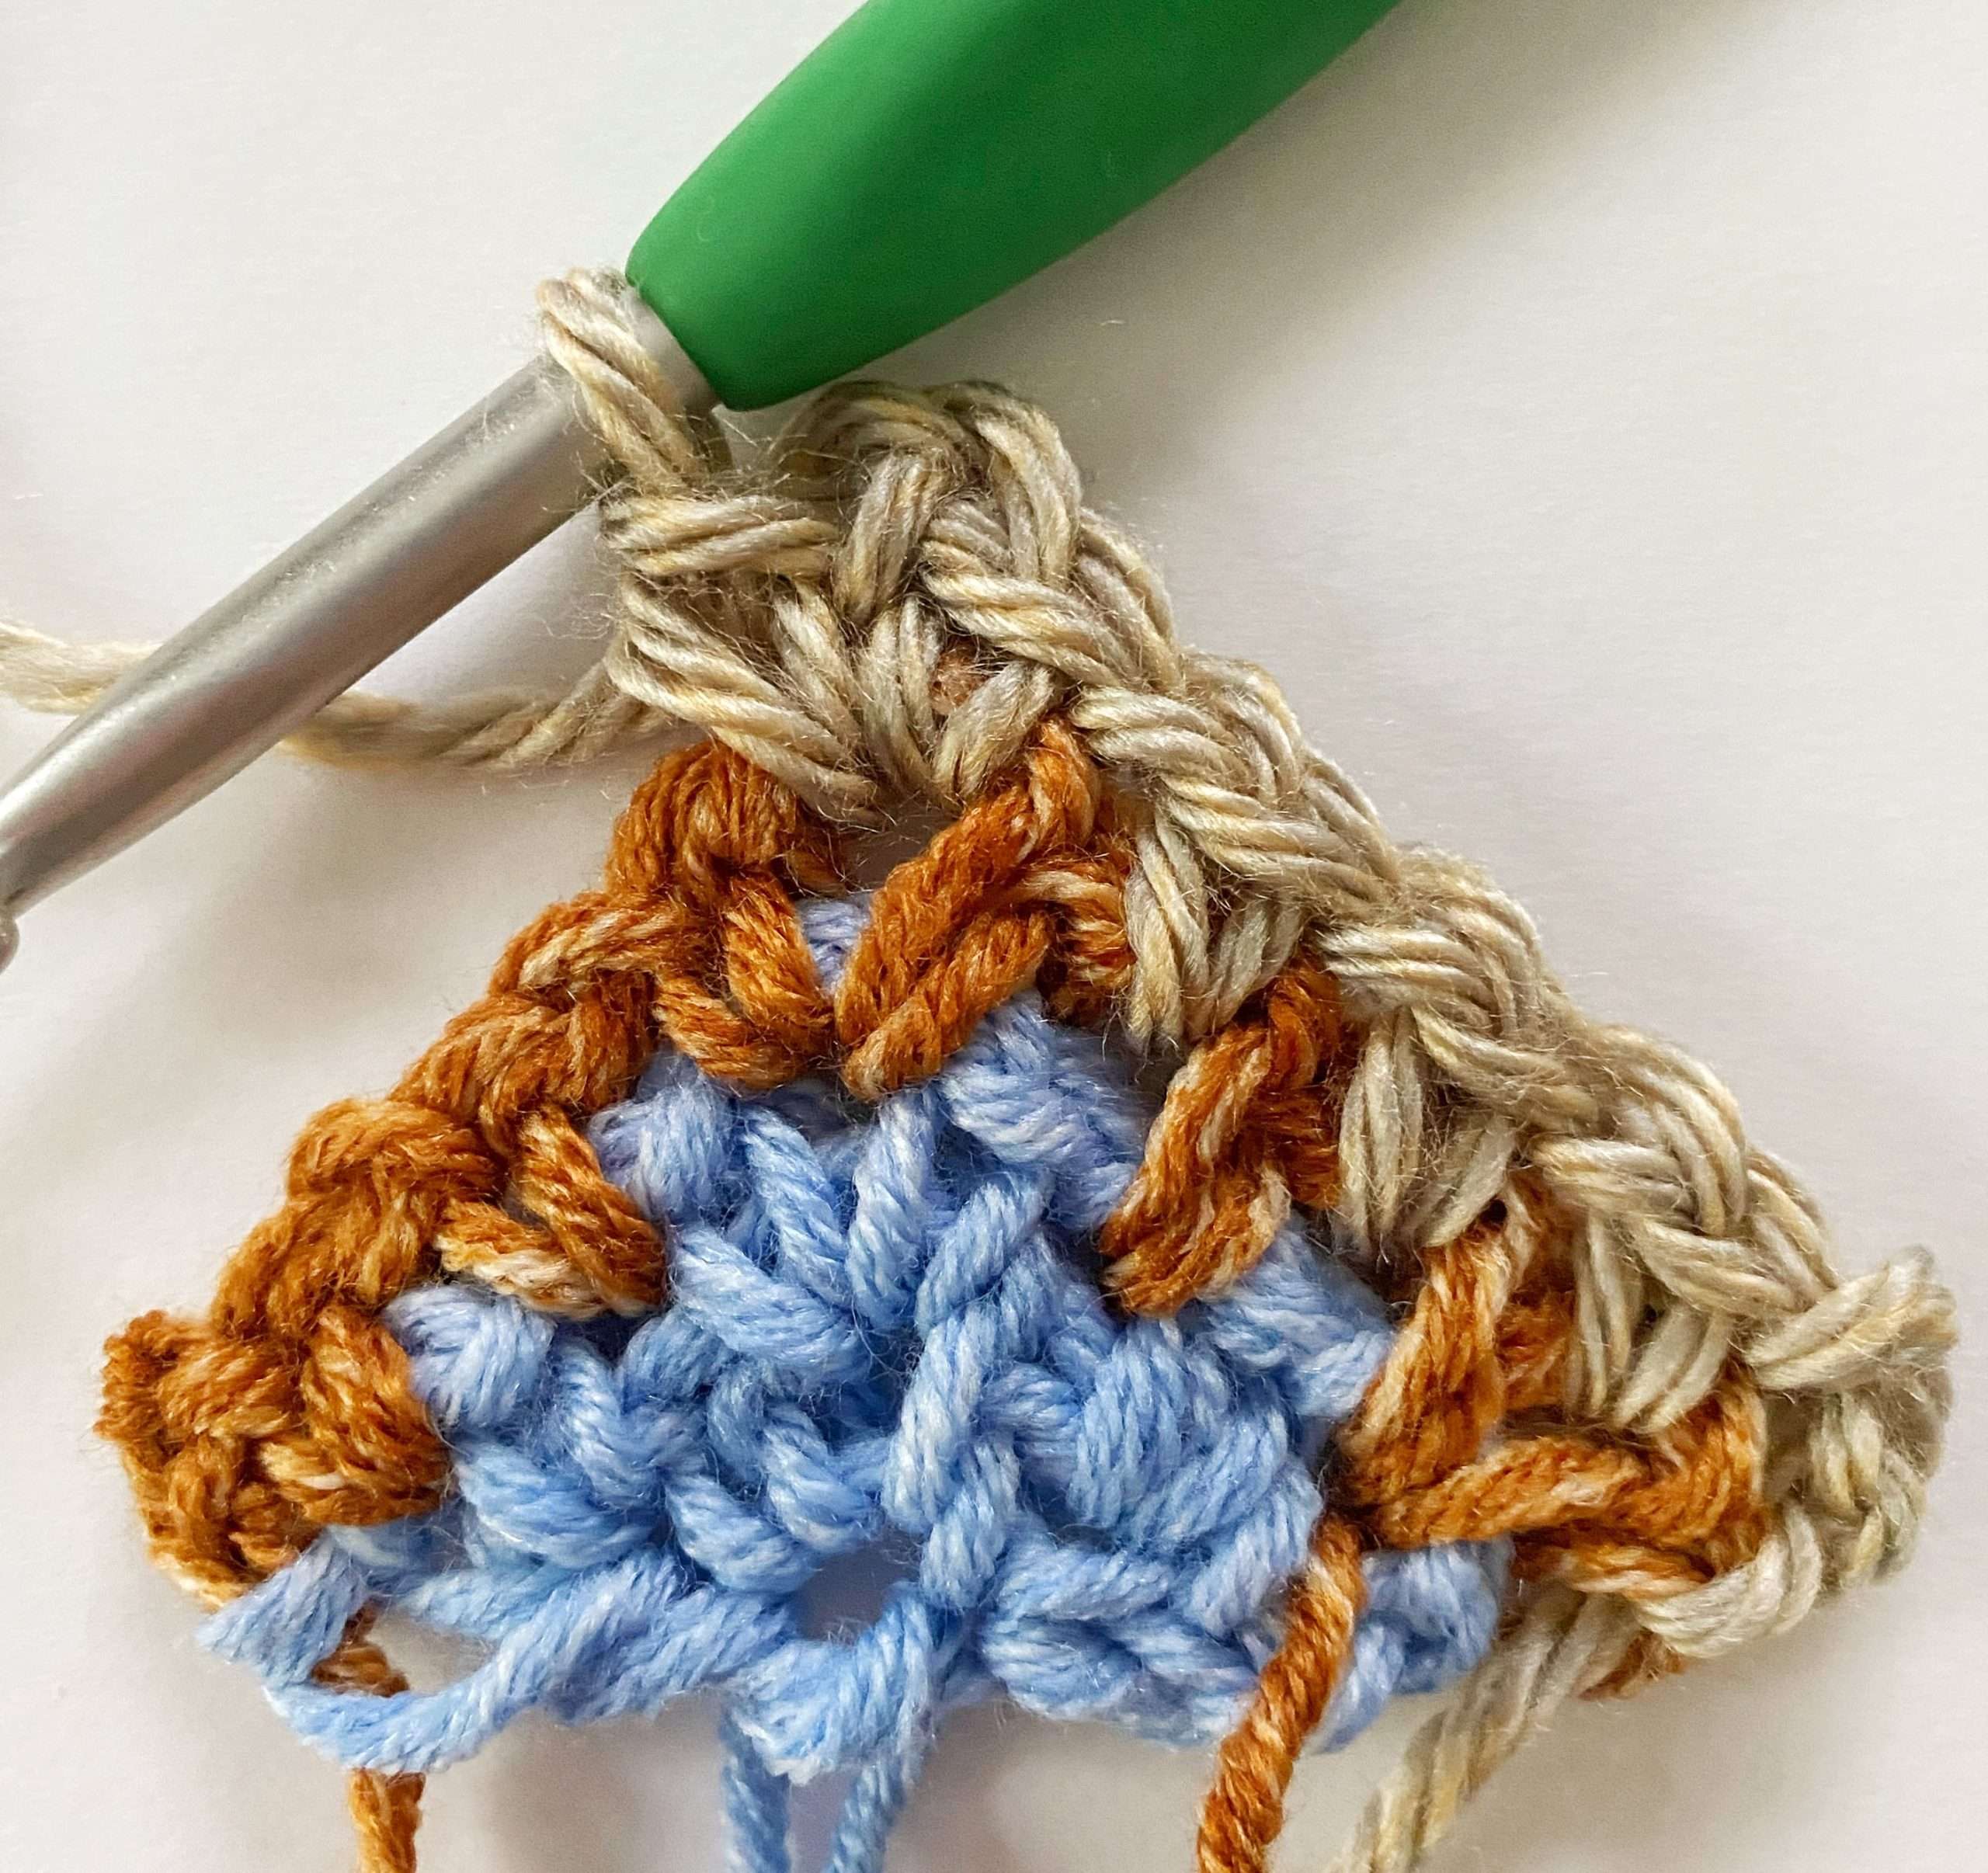
- (Sc, ch 1) in each ch-1 sp until last ch-2 sp.
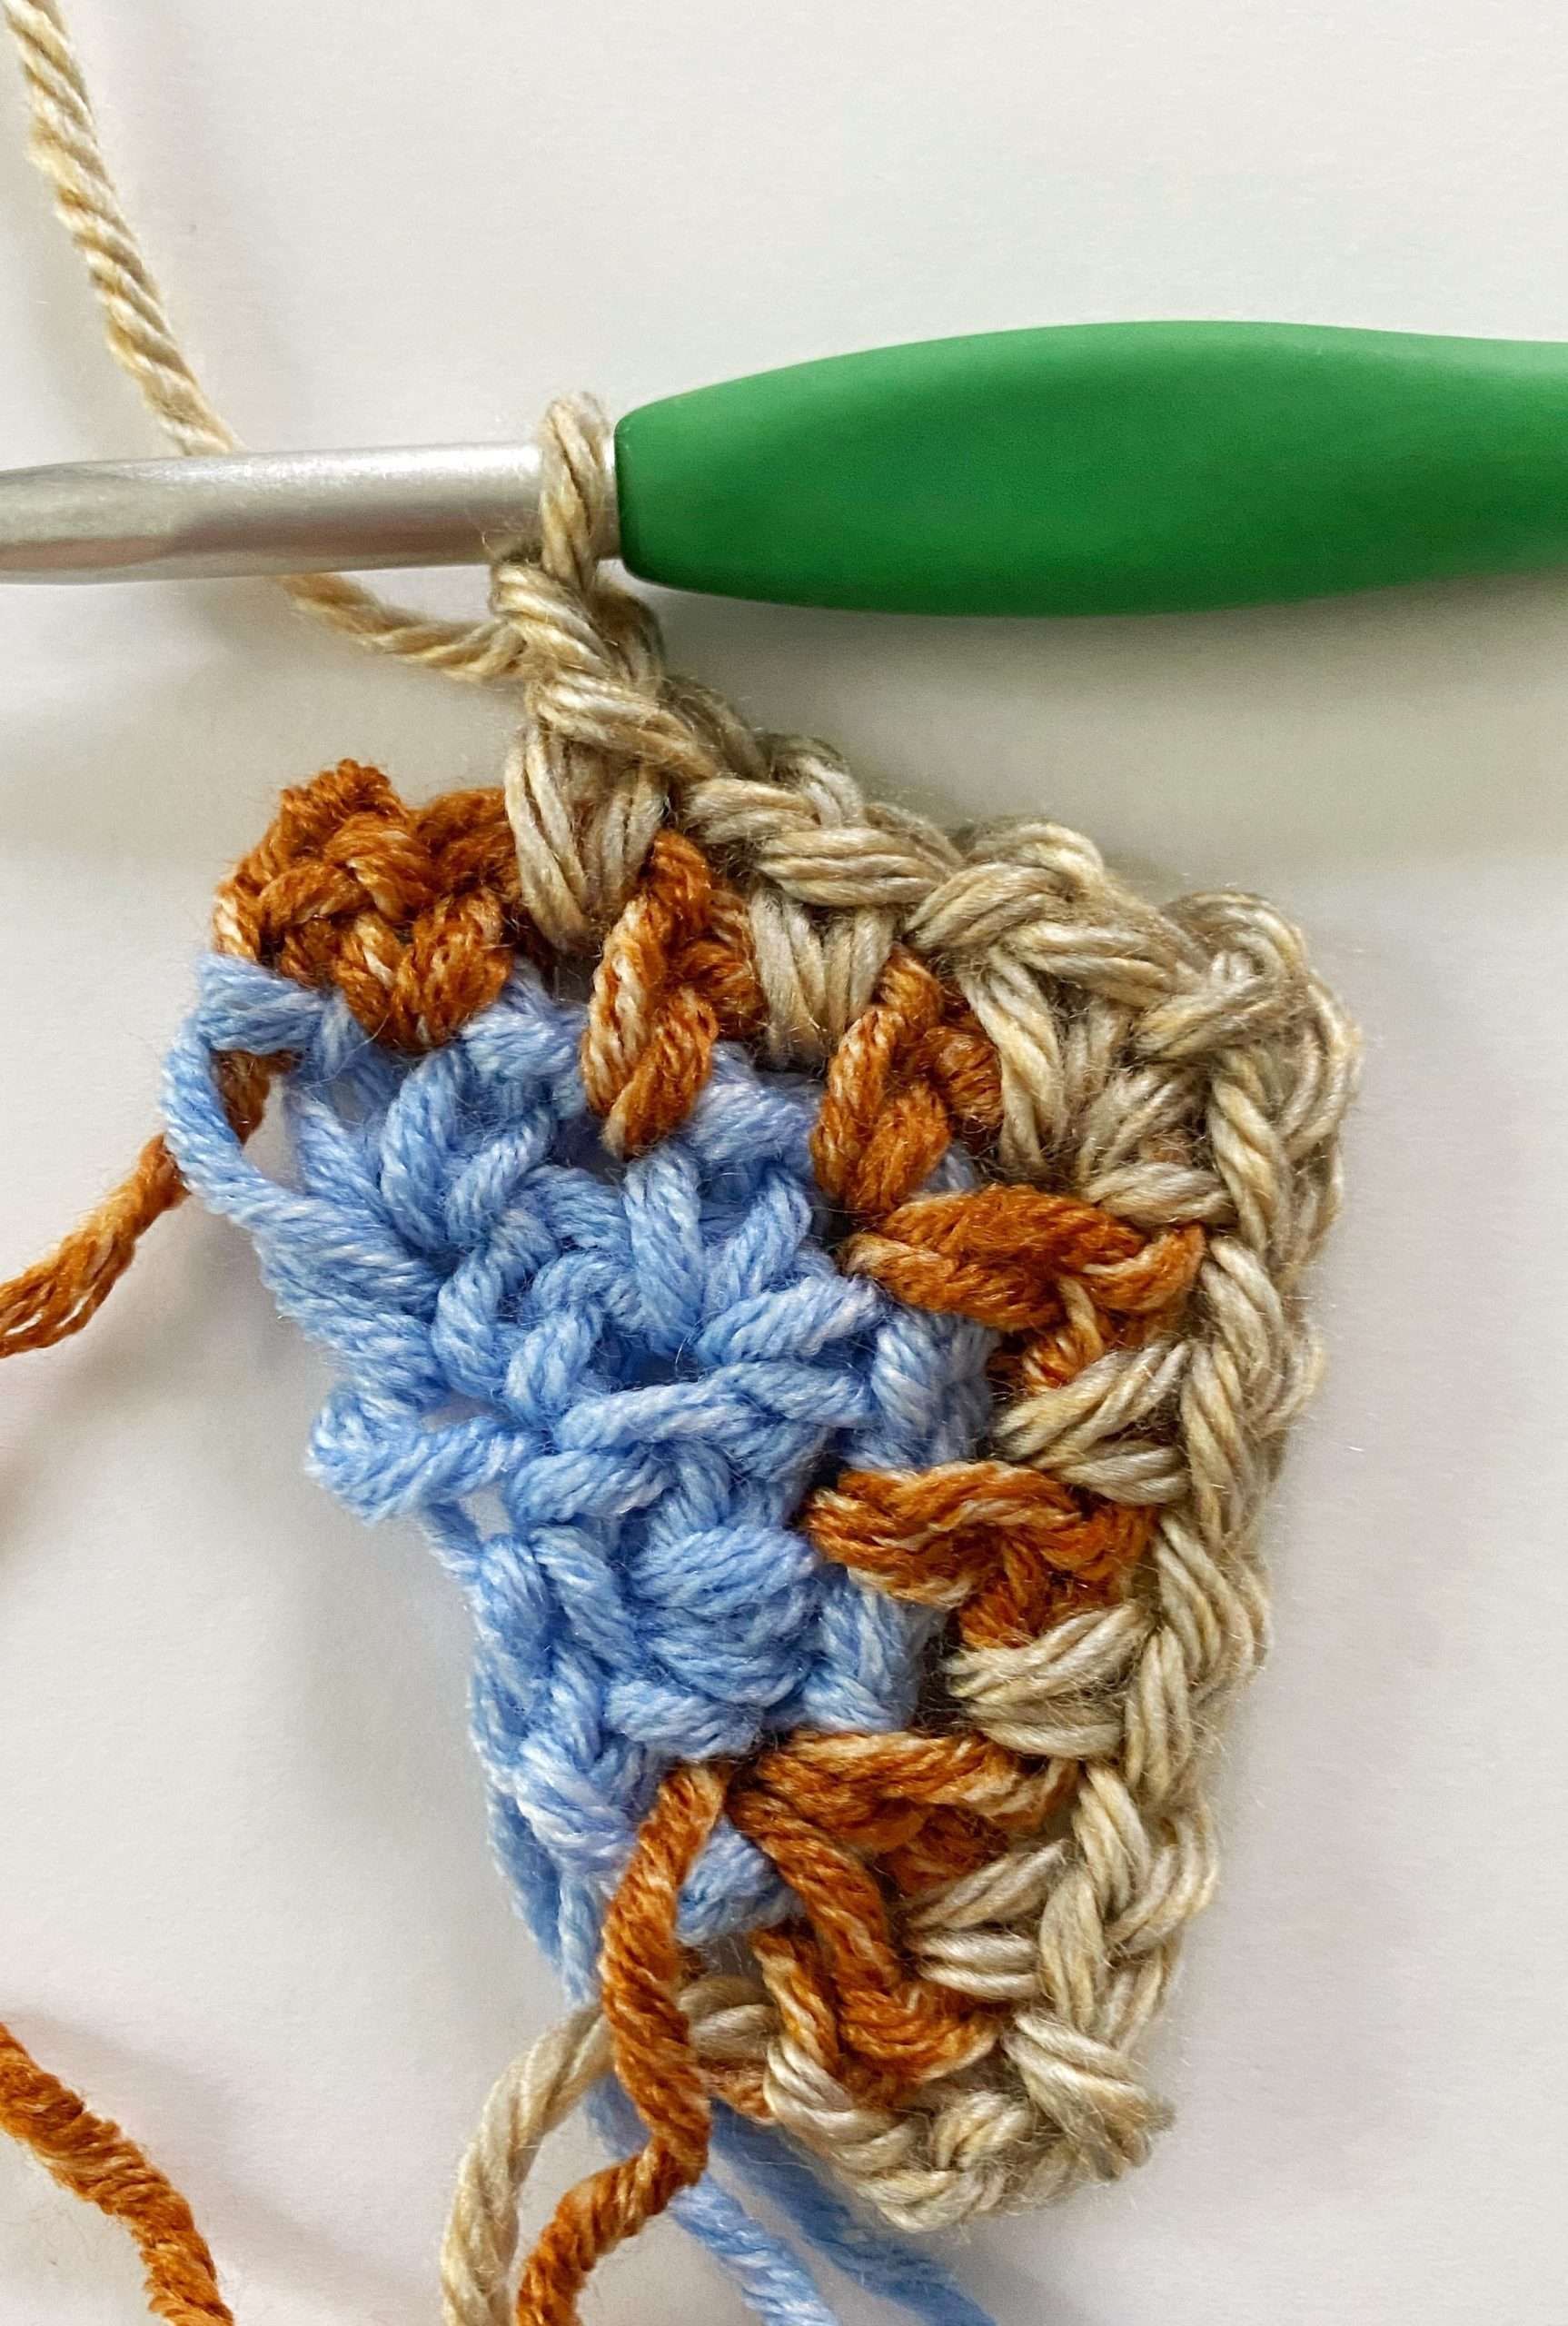
- (Sc, ch 2, sc) in last ch-2 sp.
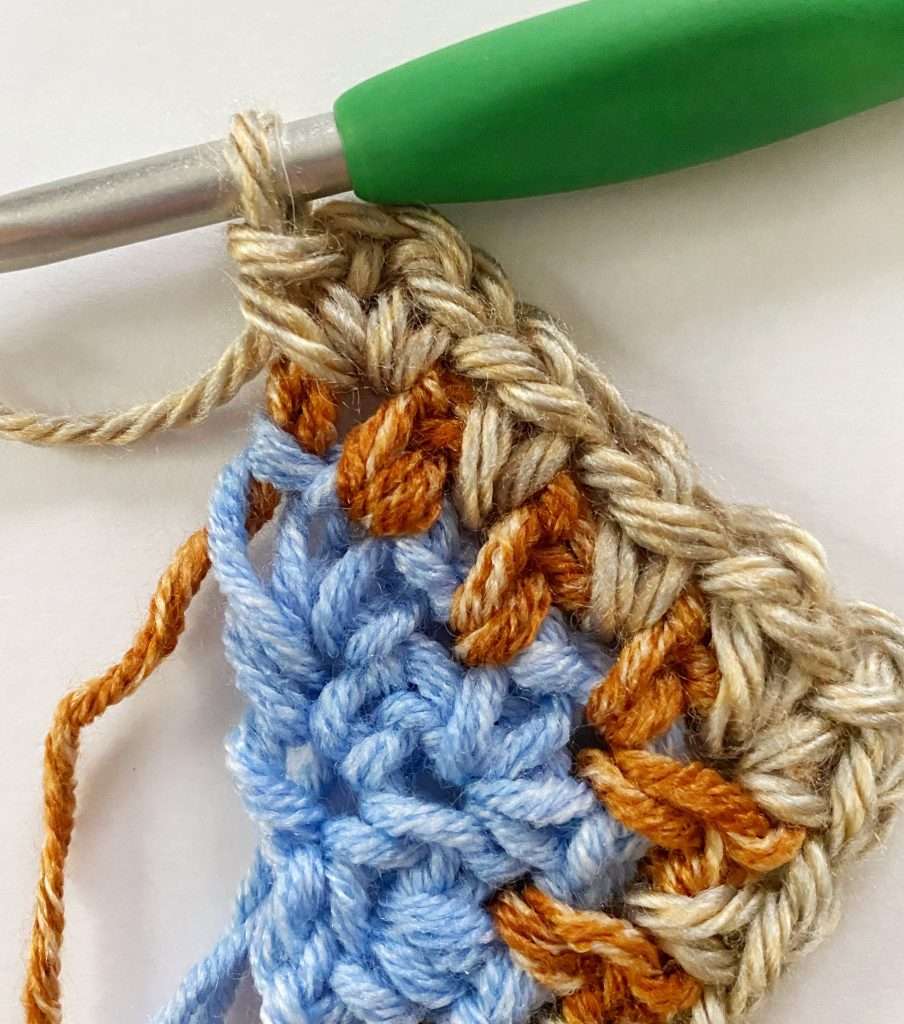
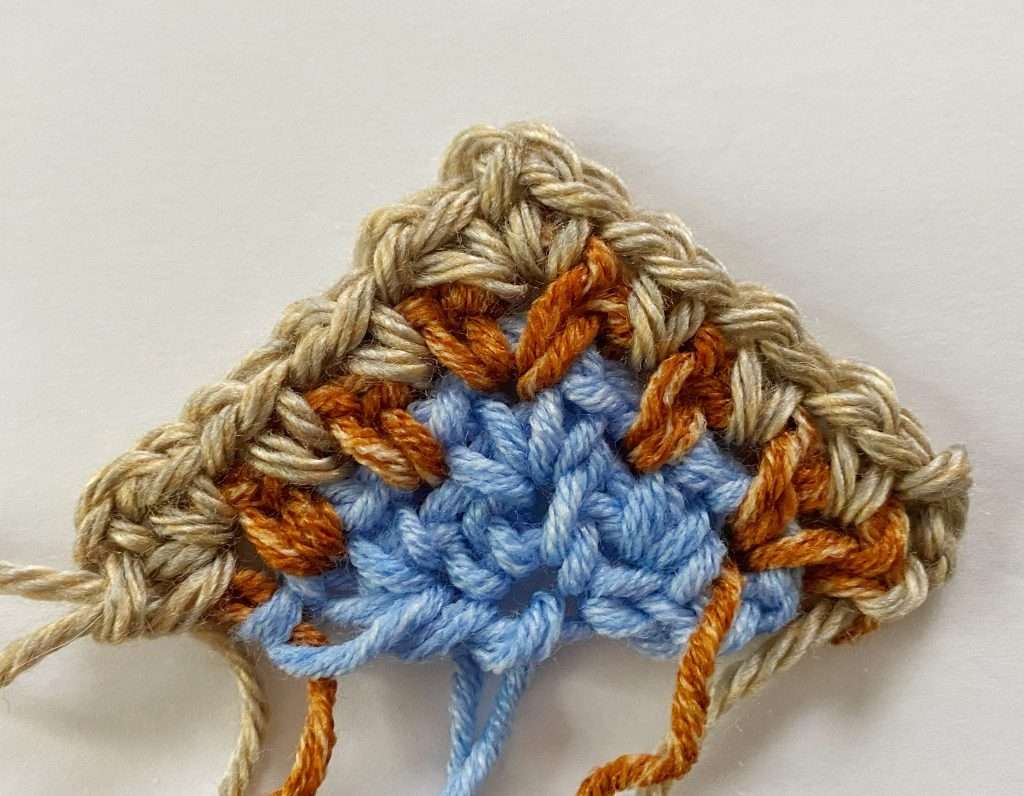
Stitch Count: At the end of Row 4, you should have 5 sc, 1 ch-2 sp, and 3 ch-1 sps on each side of the center ch-2 sp.
Rows 5 and on:
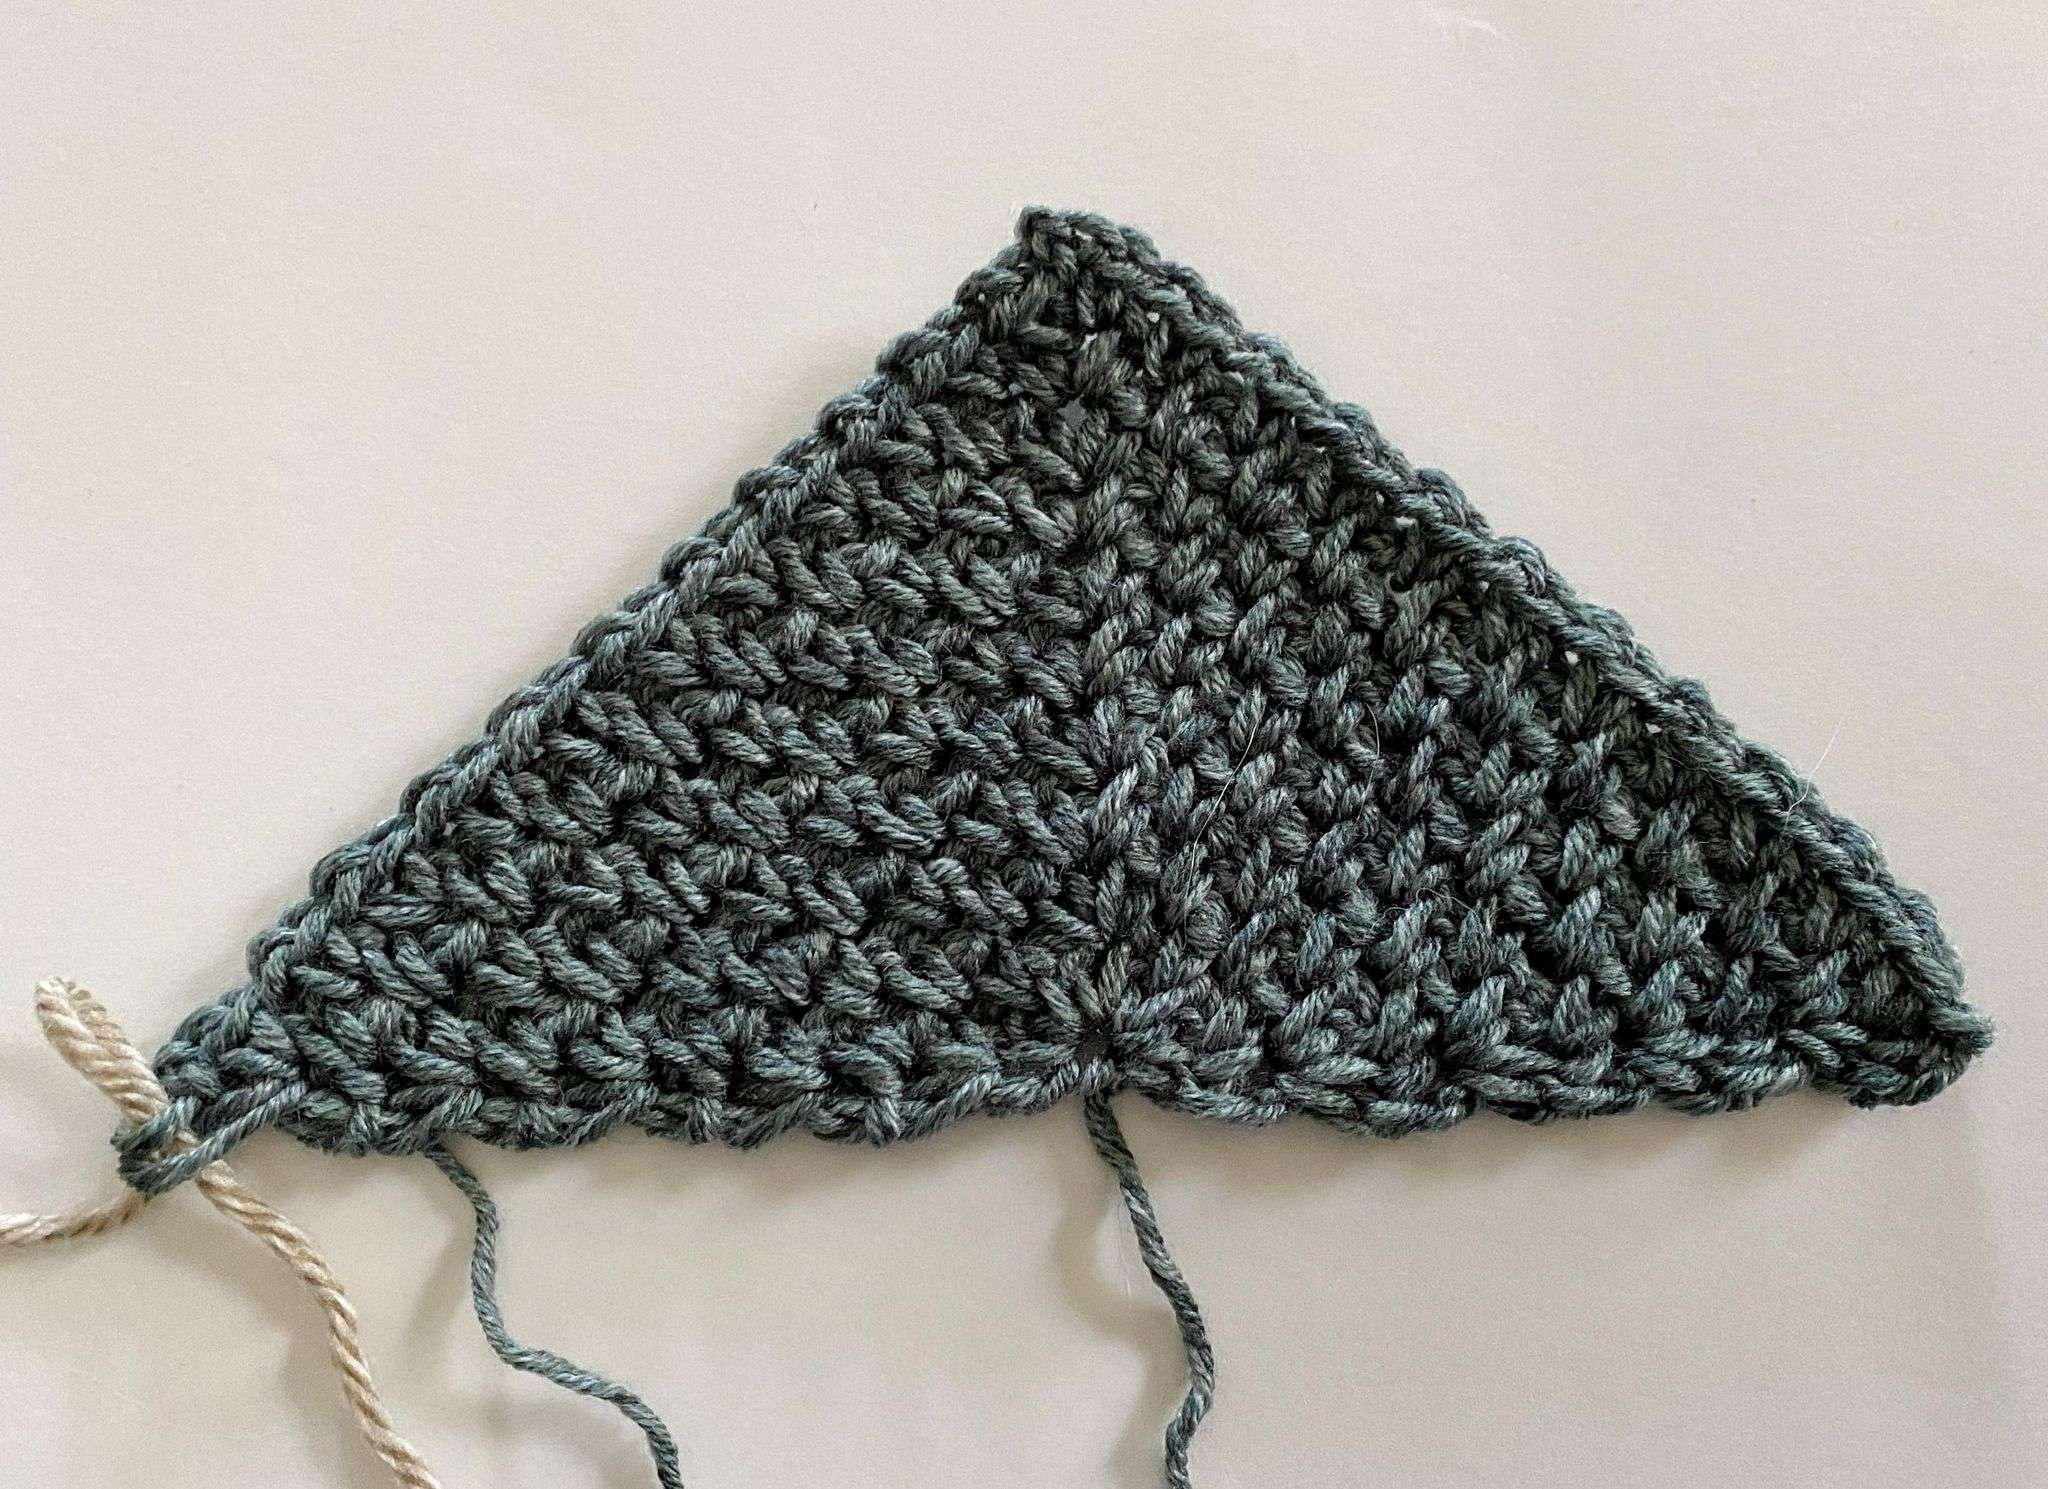
- Repeat Row 4 until you’re happy with the size of your triangle.
- Make sure to turn your work before starting each new row.
- If you’d like to learn how to change colour, keep reading below.
- Each row increases by 1 sc and 1 ch-1 sp on each side of the center ch-2 sp.
How to Change Colour:
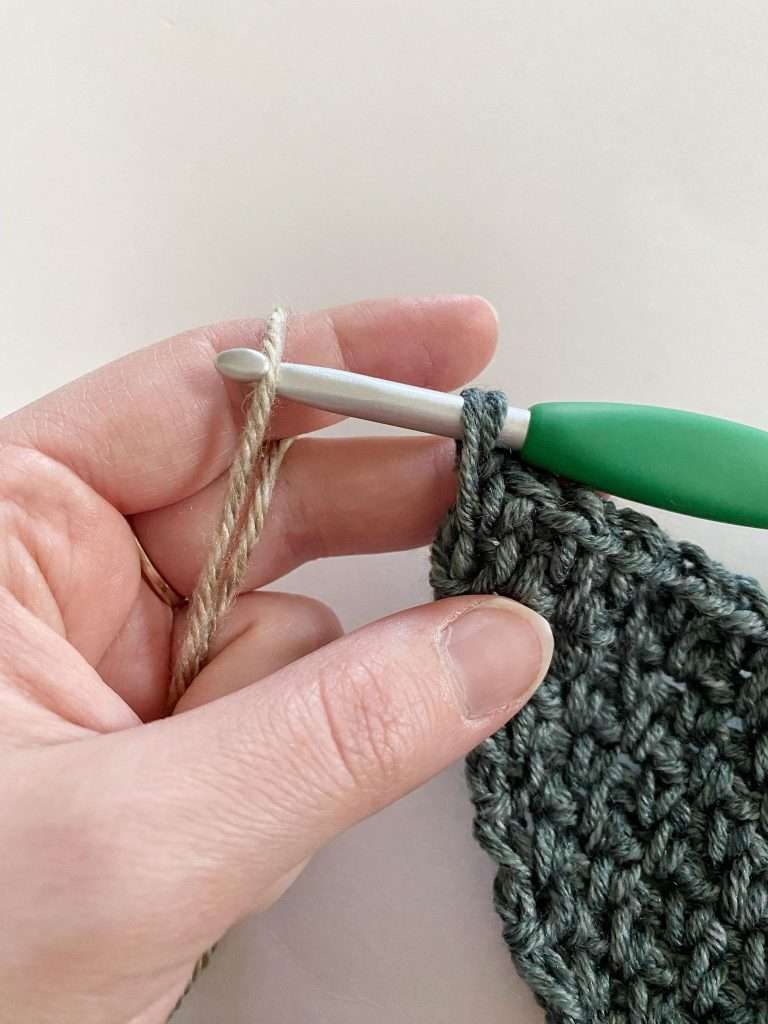
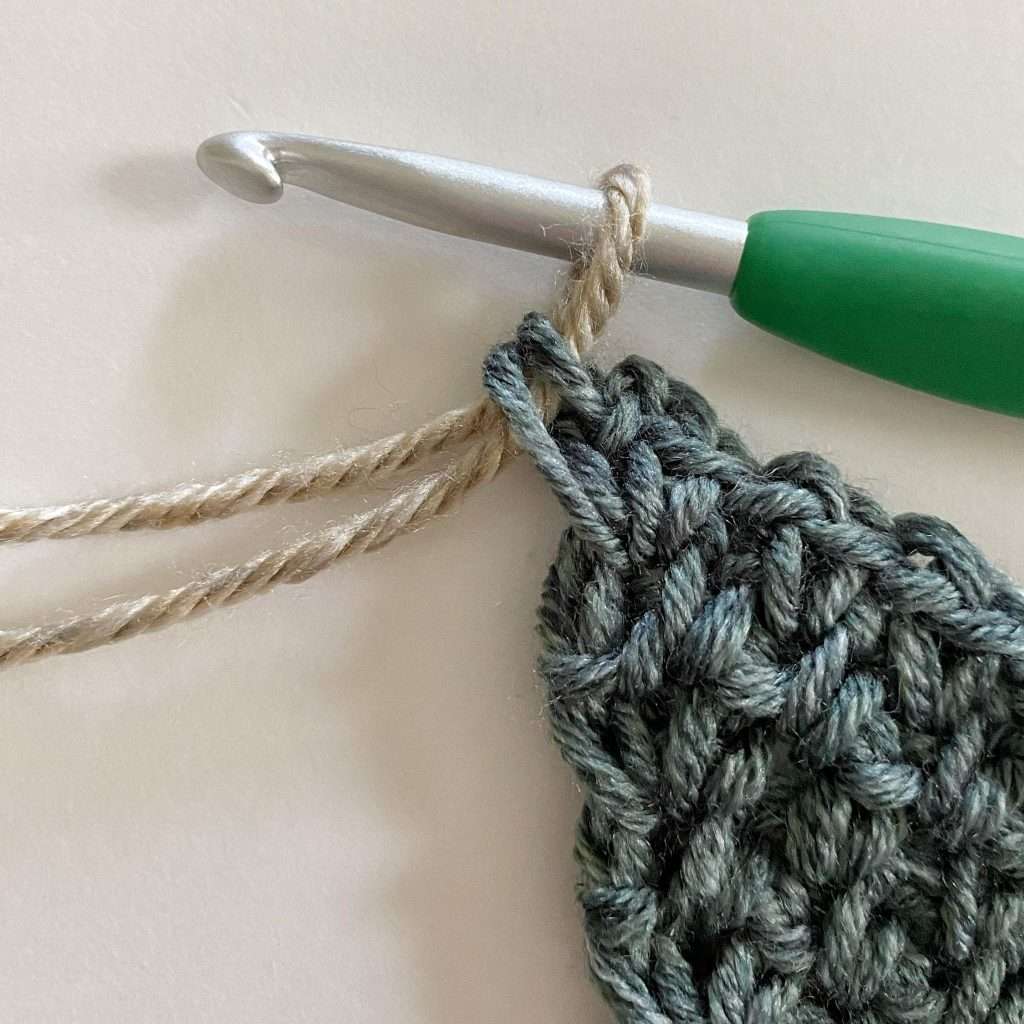
The colour change always happens in the final yarn over of the last single crochet of the row. This creates an invisible colour change.
To change colour:
- Make your last single crochet, but before you pull through the two loops on your hook to complete the stitch, drop the current colour (grey).
- Pick up the new colour with the hook (beige) – to make the join more secure, make a slip knot with the new colour and place it on the hook.
- Pull the new colour through the remaining 2 loops on the hook to close the single crochet.
- If you no longer need the old colour (grey), leave a long tail for weaving in your end, and trim it.
Moss Stitch Patterns You’ll Love!
Looking for a moss stitch pattern to test out your skills? Try some of the ones below. I hope you enjoy making them!
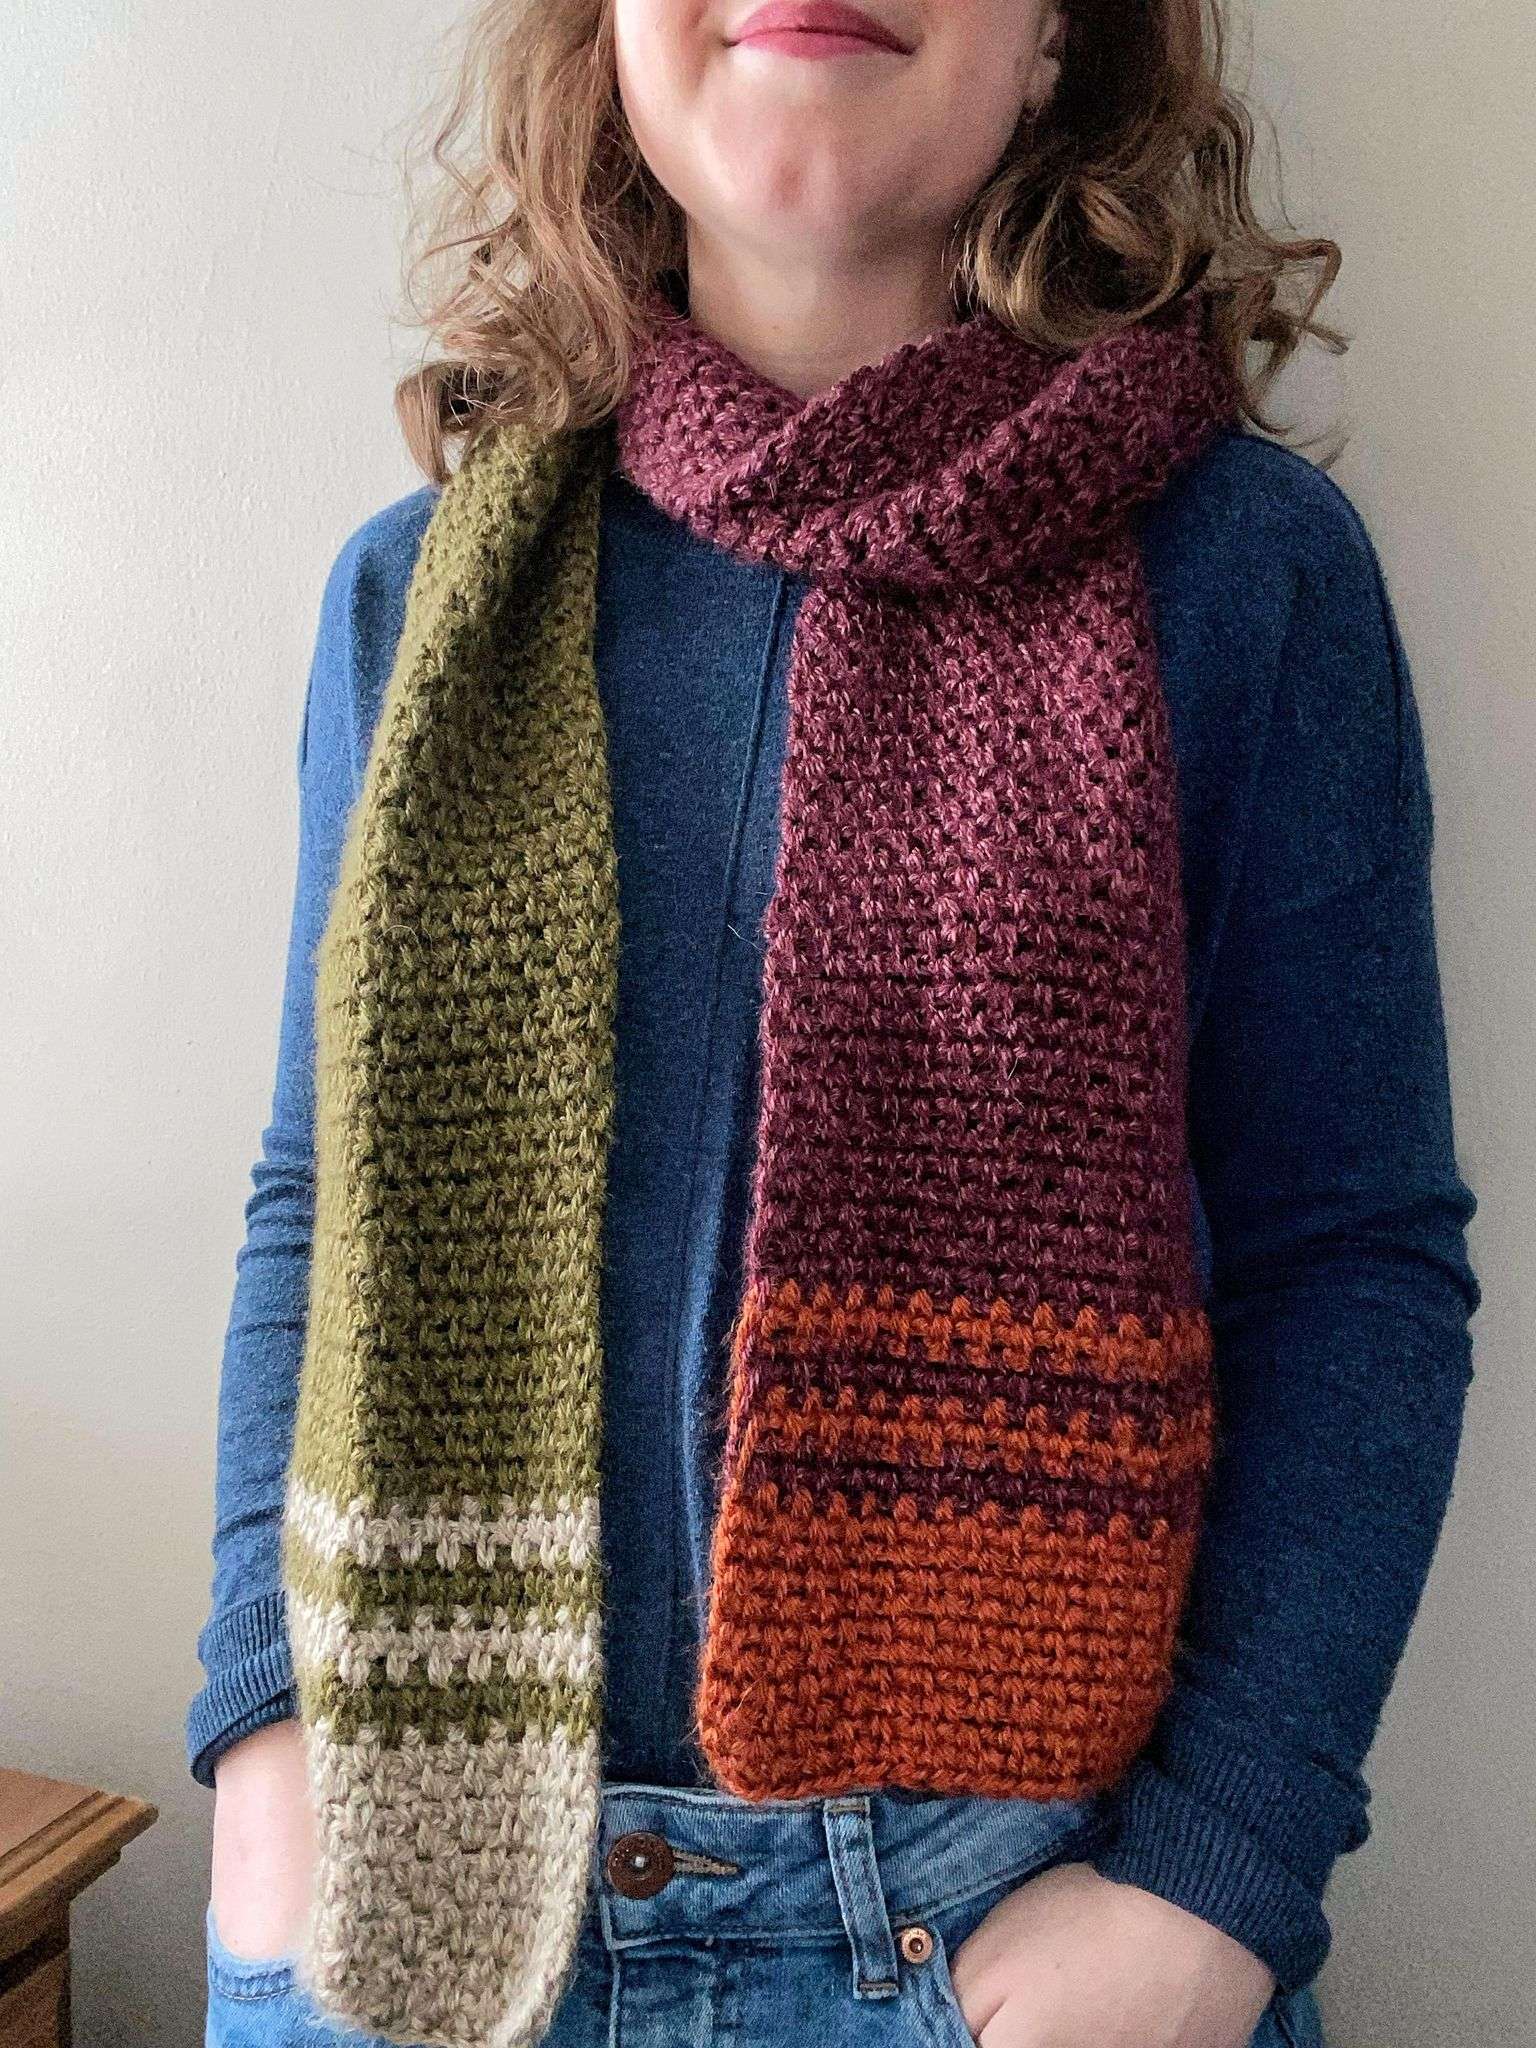
- Beginner Moss Stitch Scarf
- Summer Sunsets Potholder
- Colorama Potholder
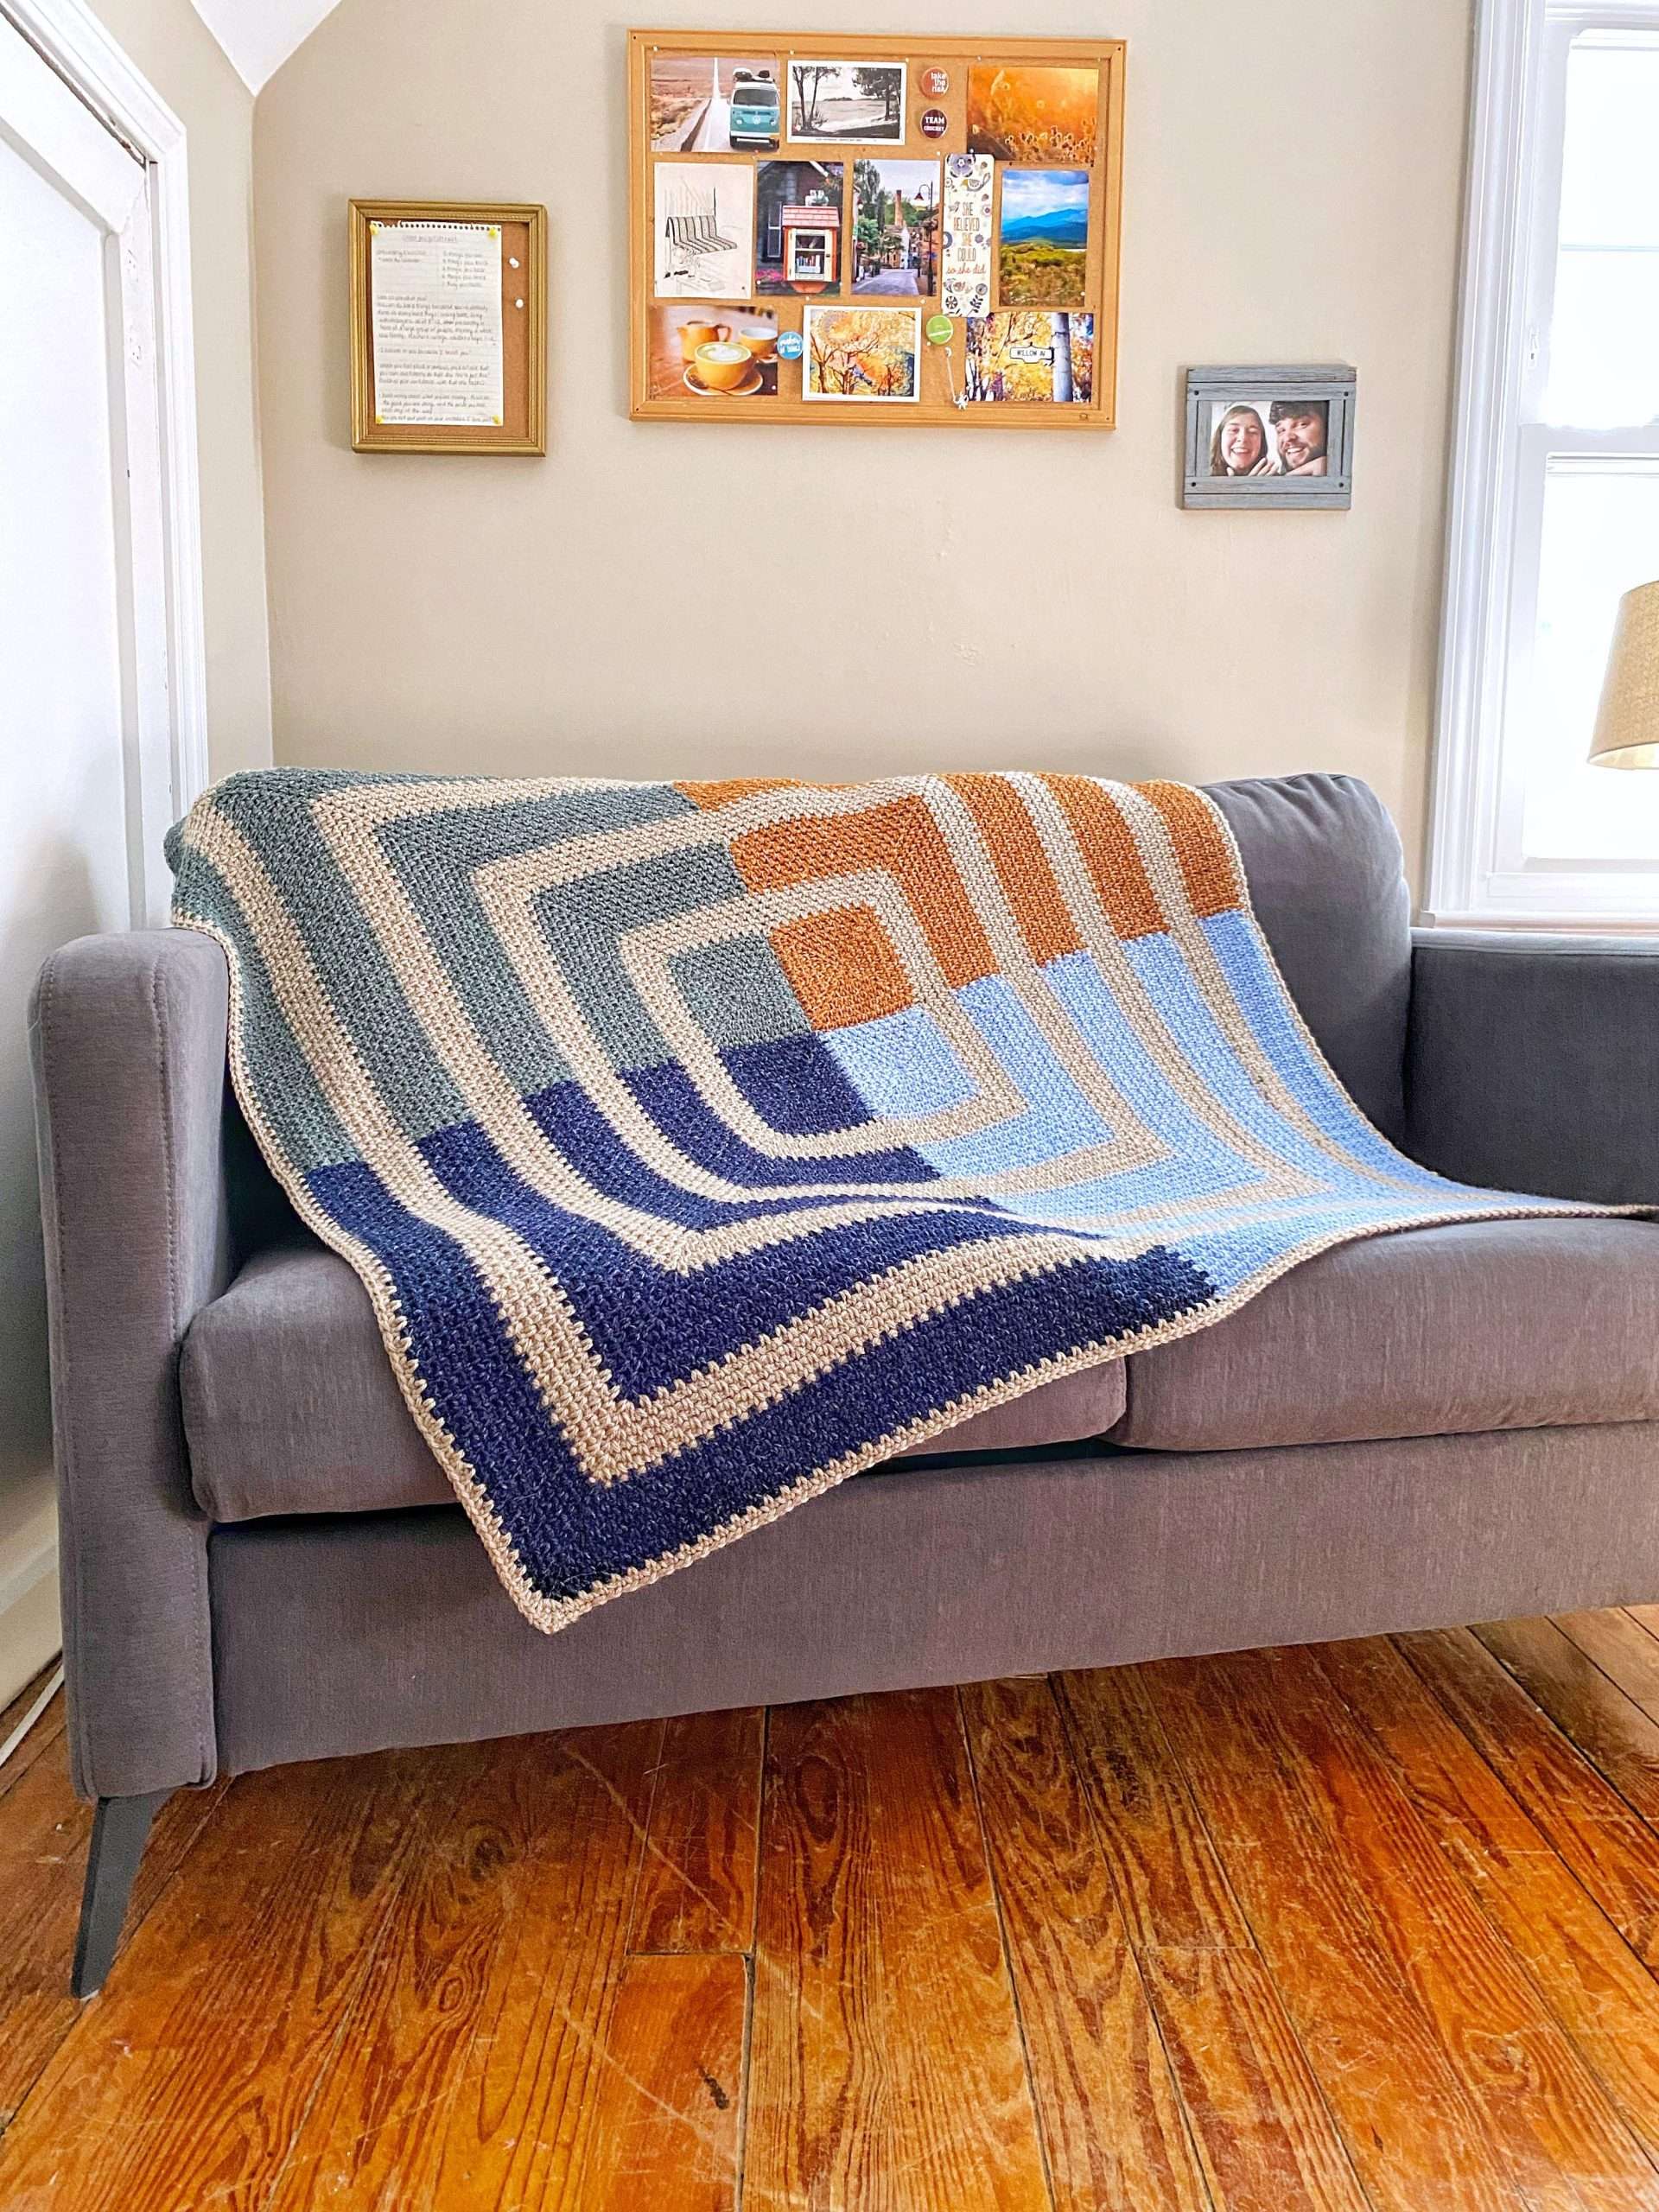
- Four Triangles Blanket
- Four Squares Blanket


I hope you enjoyed this moss stitch triangle tutorial. Let me know in the comments what you plan on making with your triangles!
If you have any questions, please send me an email through my contact page.
Sincerely,
Dayna