
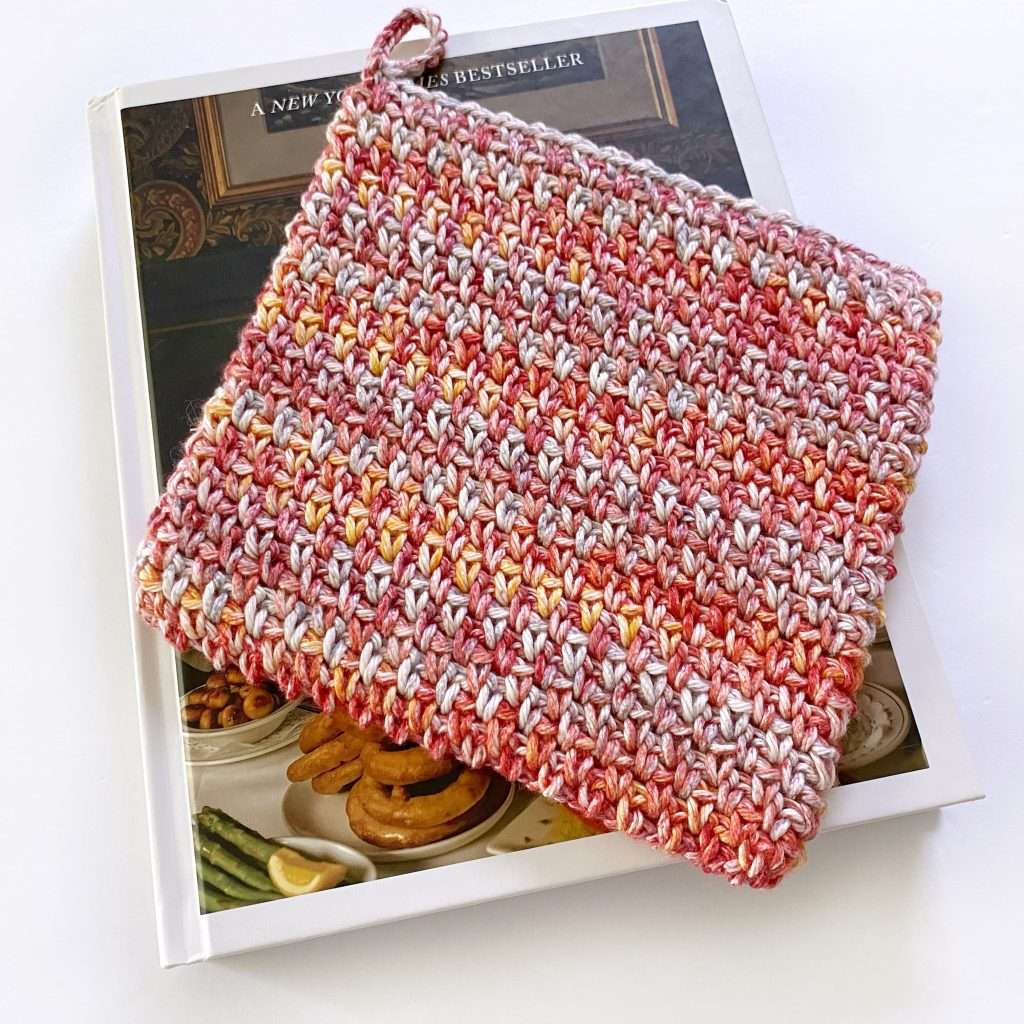
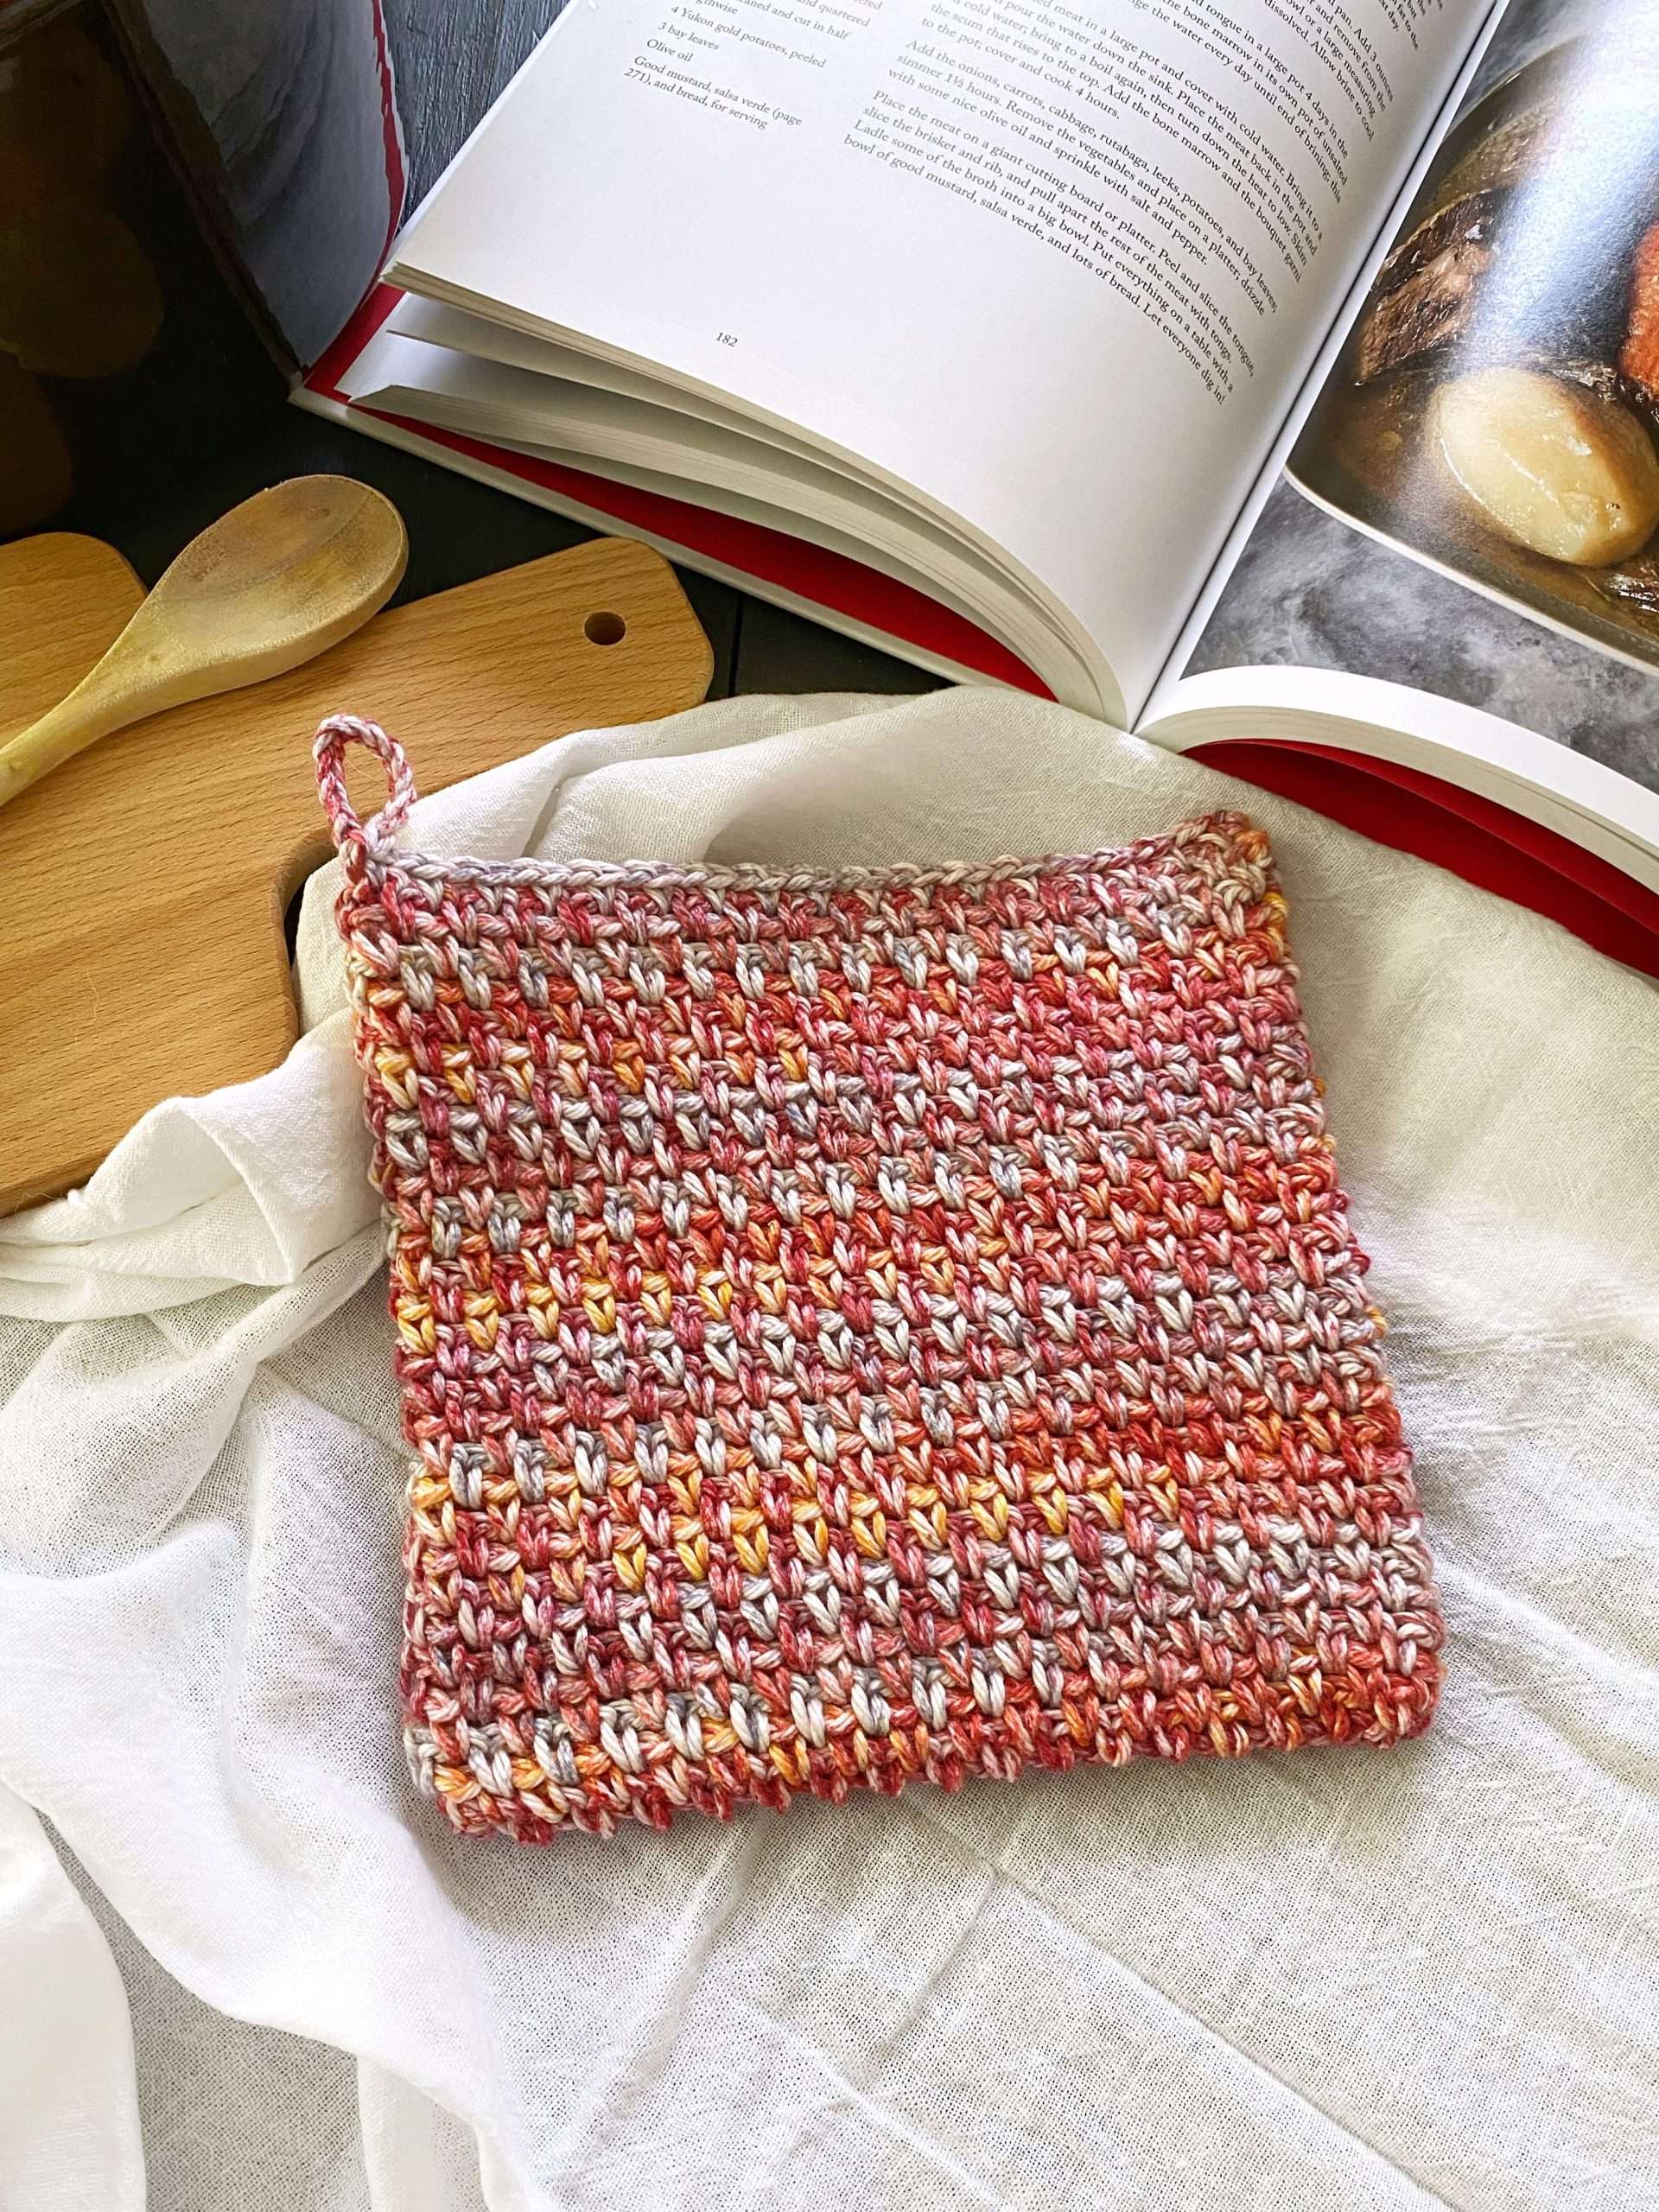
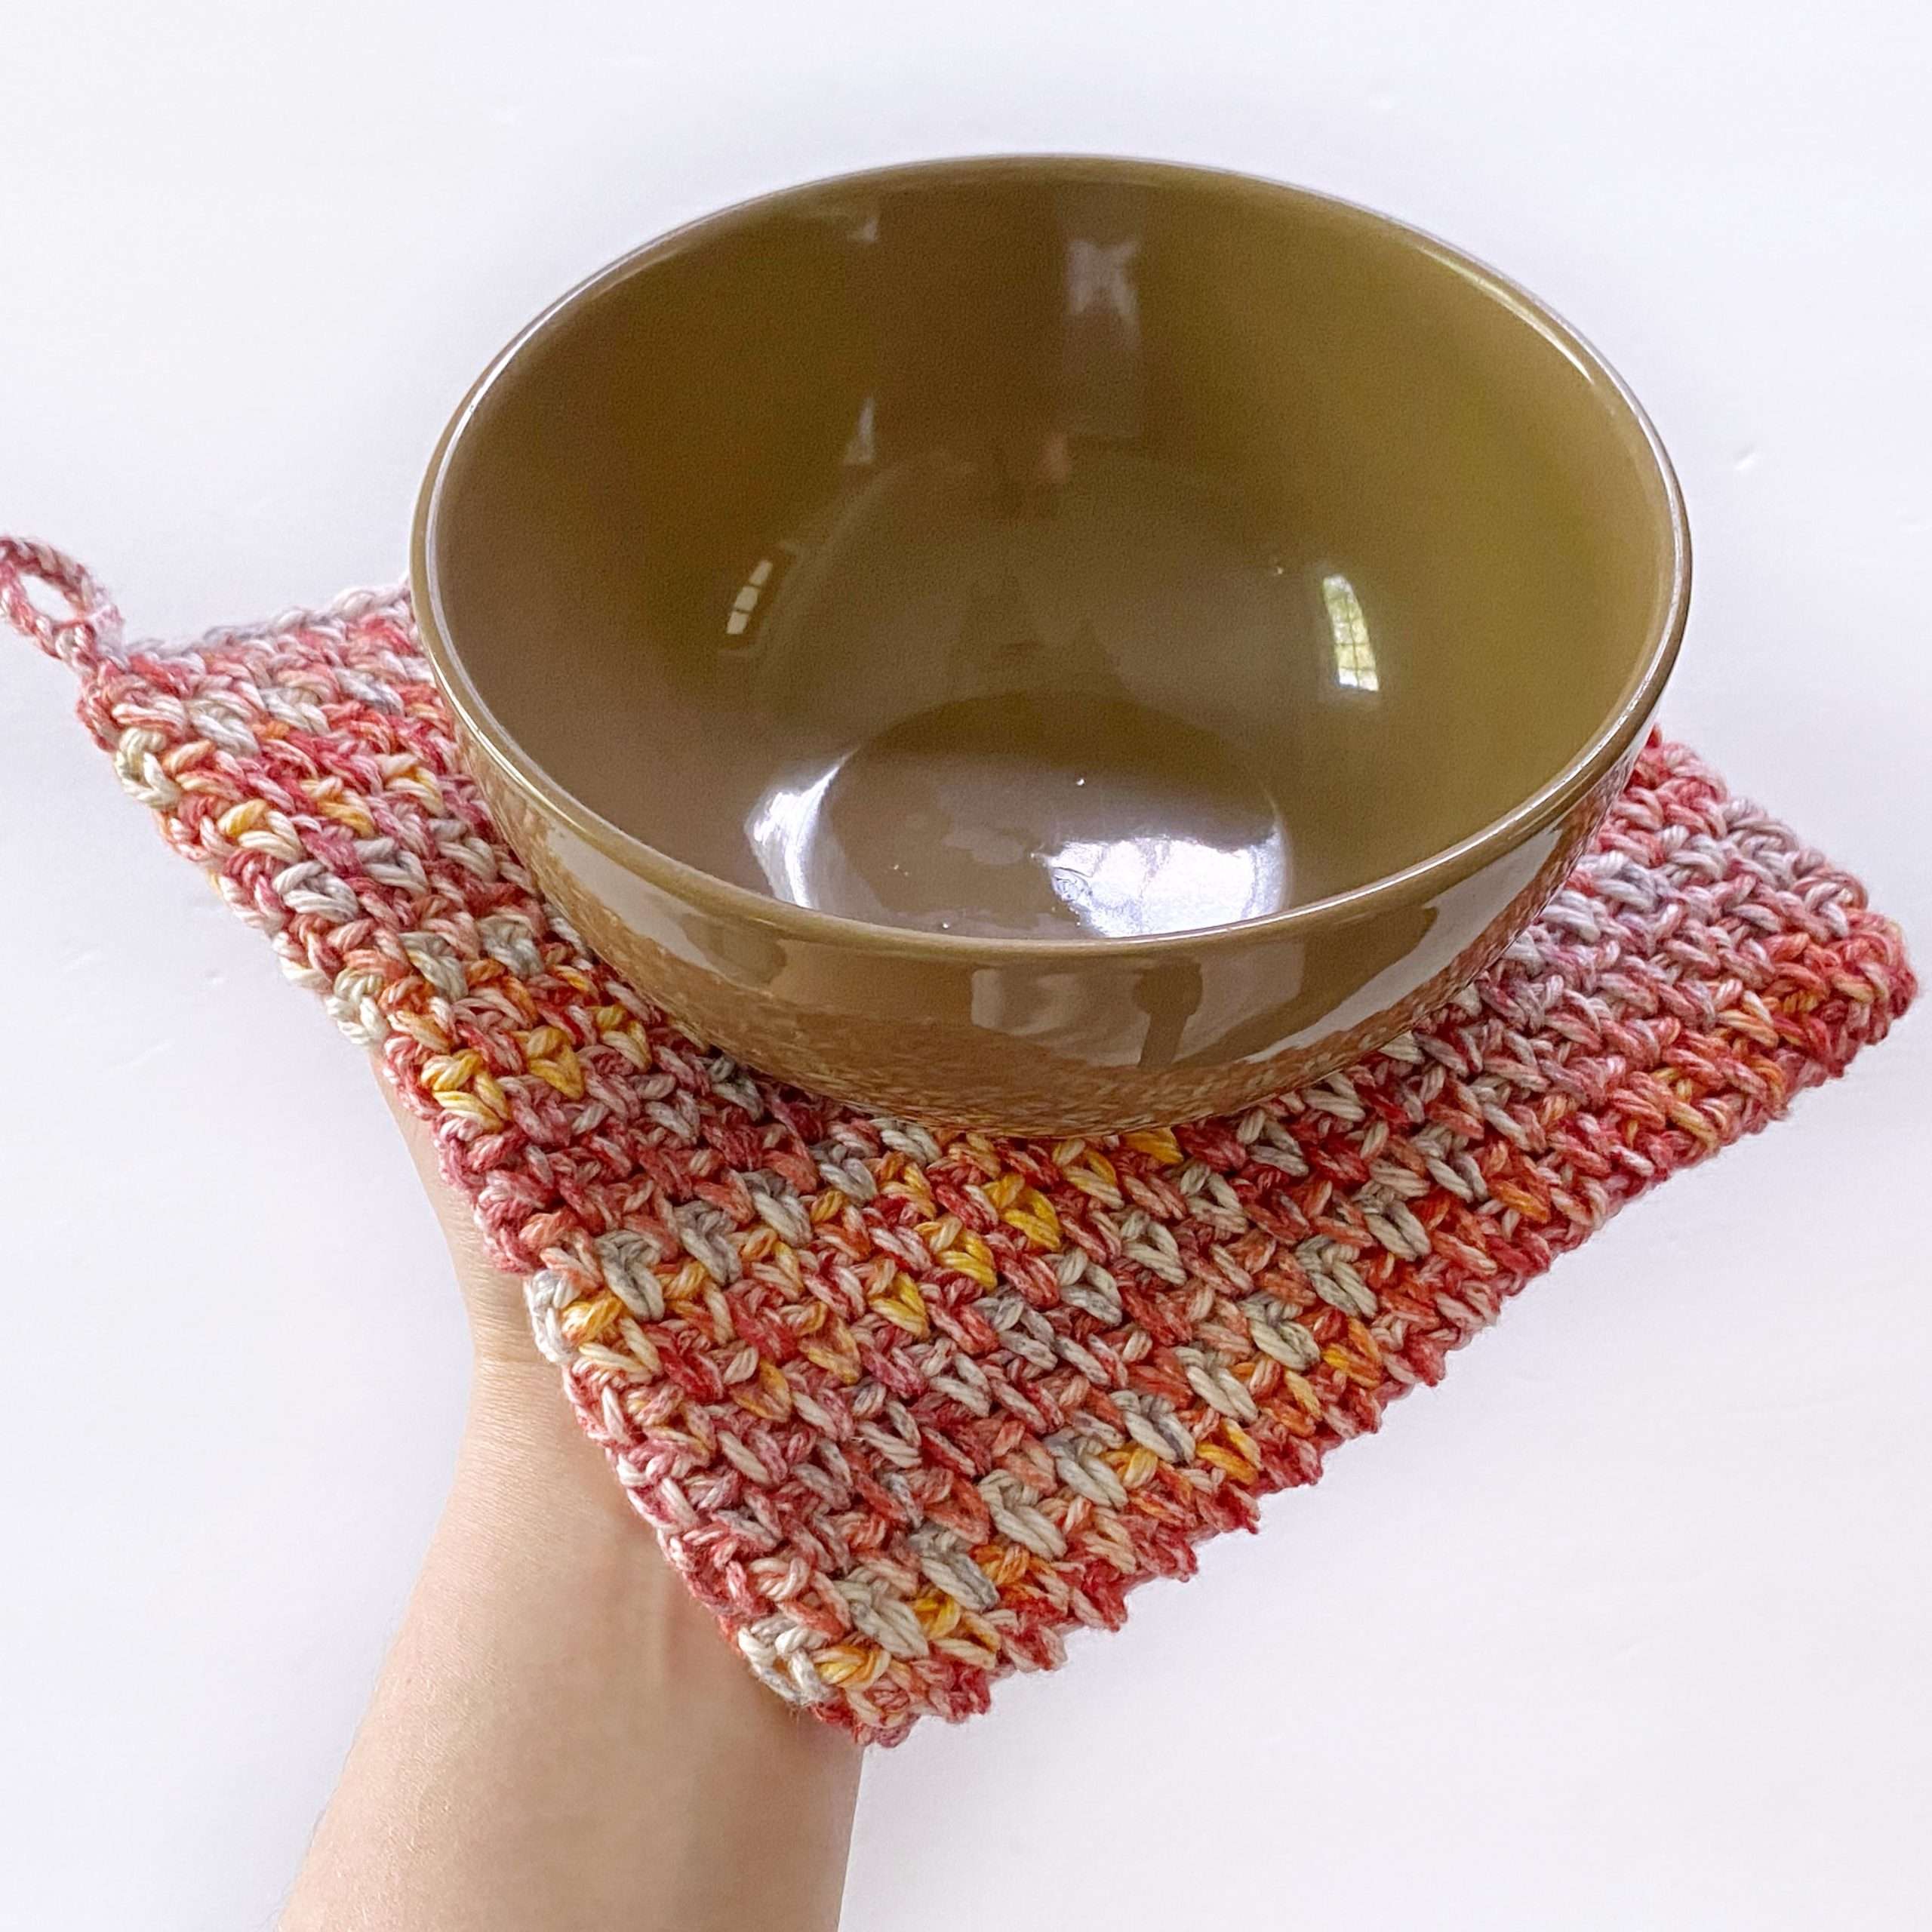
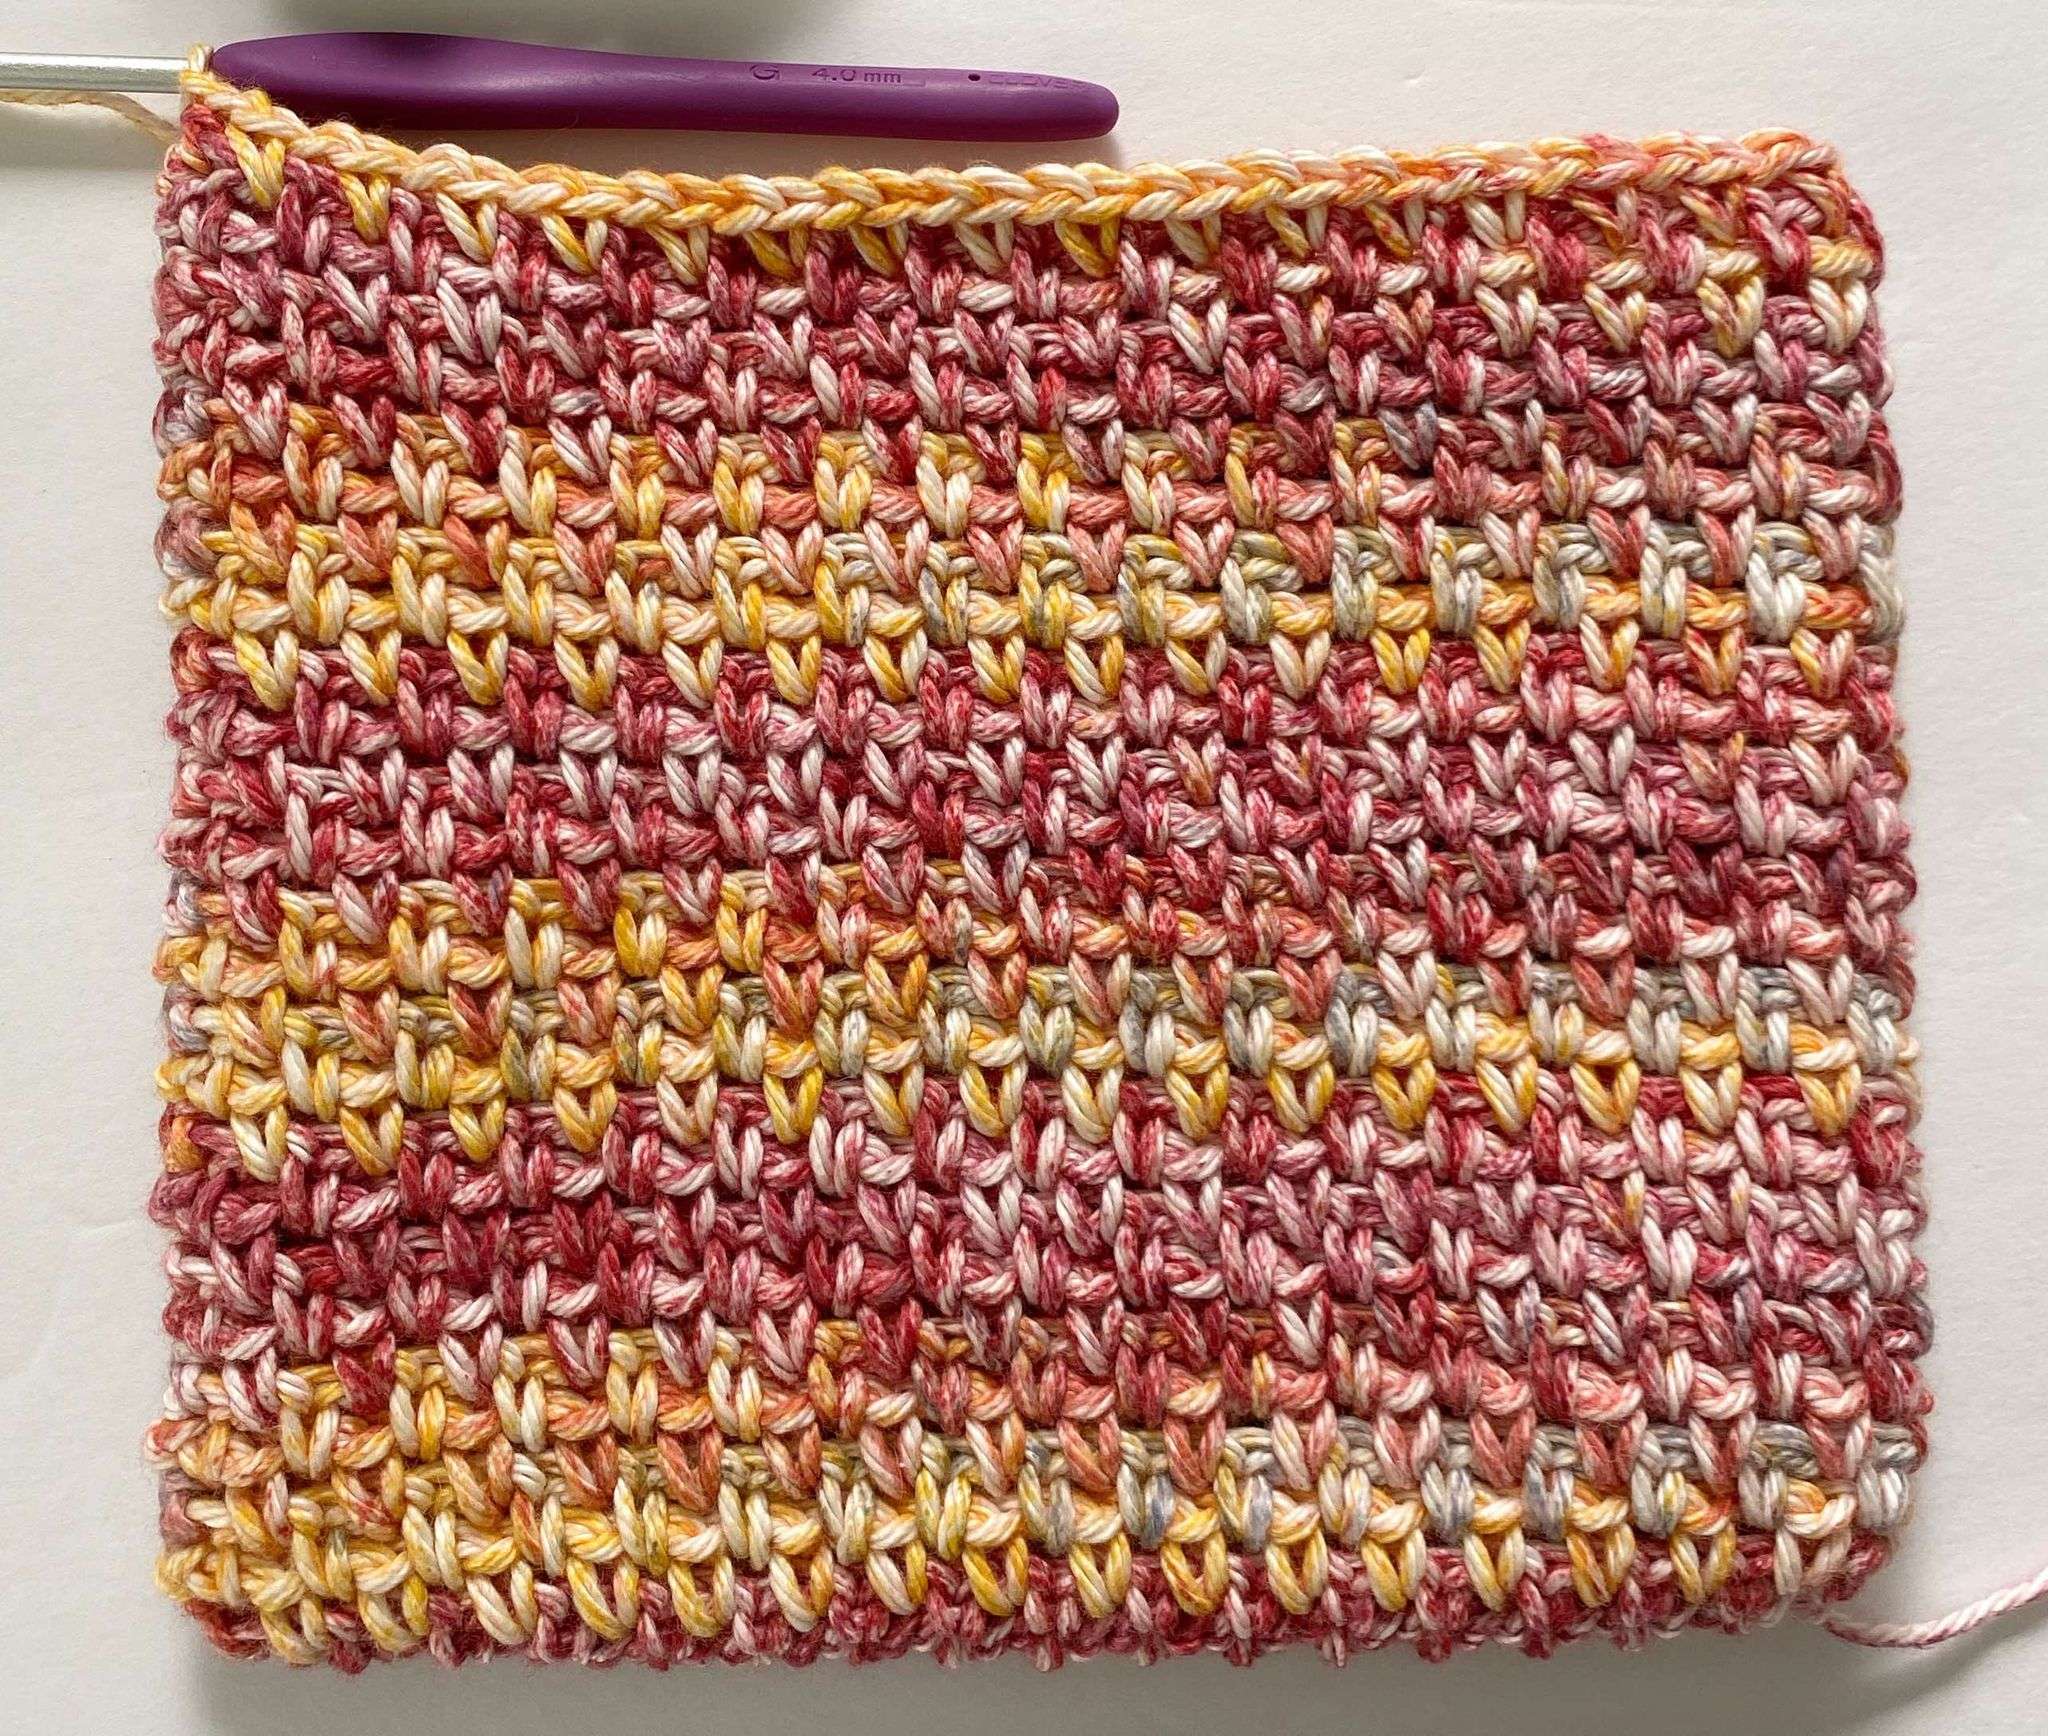
This potholder uses the moss stitch – a combination of the single crochet and chain stitch. The moss stitch looks great with self-striping or variegated yarn because the simple stitch pattern allows the beauty of the yarn to shine. So, if you have some cotton yarn that just doesn’t “work” with other projects, then this might be the perfect fit. The more colourful, the better.
You can also use a solid colour or add in some fun stripes, and your potholder will still look amazing. I hope you have fun experimenting with colour and creating your own unique design!
Pin this Moss Stitch Potholder – HERE!

Important Links / Schedule:
Previous Potholders:
Materials:
Yarn:
*Yarn Note:
Yardage:
Choosing your Colours:
There are so many ways to add colour and texture to your potholder, but it depends on the effect you’d like to create. Here are 3 options that highlight different aspects of the design:
- Solid Colour: Show off the texture of the stitch by crocheting in a solid colour.
- Variegated Yarn: If you’d like the yarn to shine, then choose a variegated (multi-colour) or self-striping yarn – the more colourful the better.
- Stripes: Highlight the overlapping stitches by changing colour every round to create stripes.
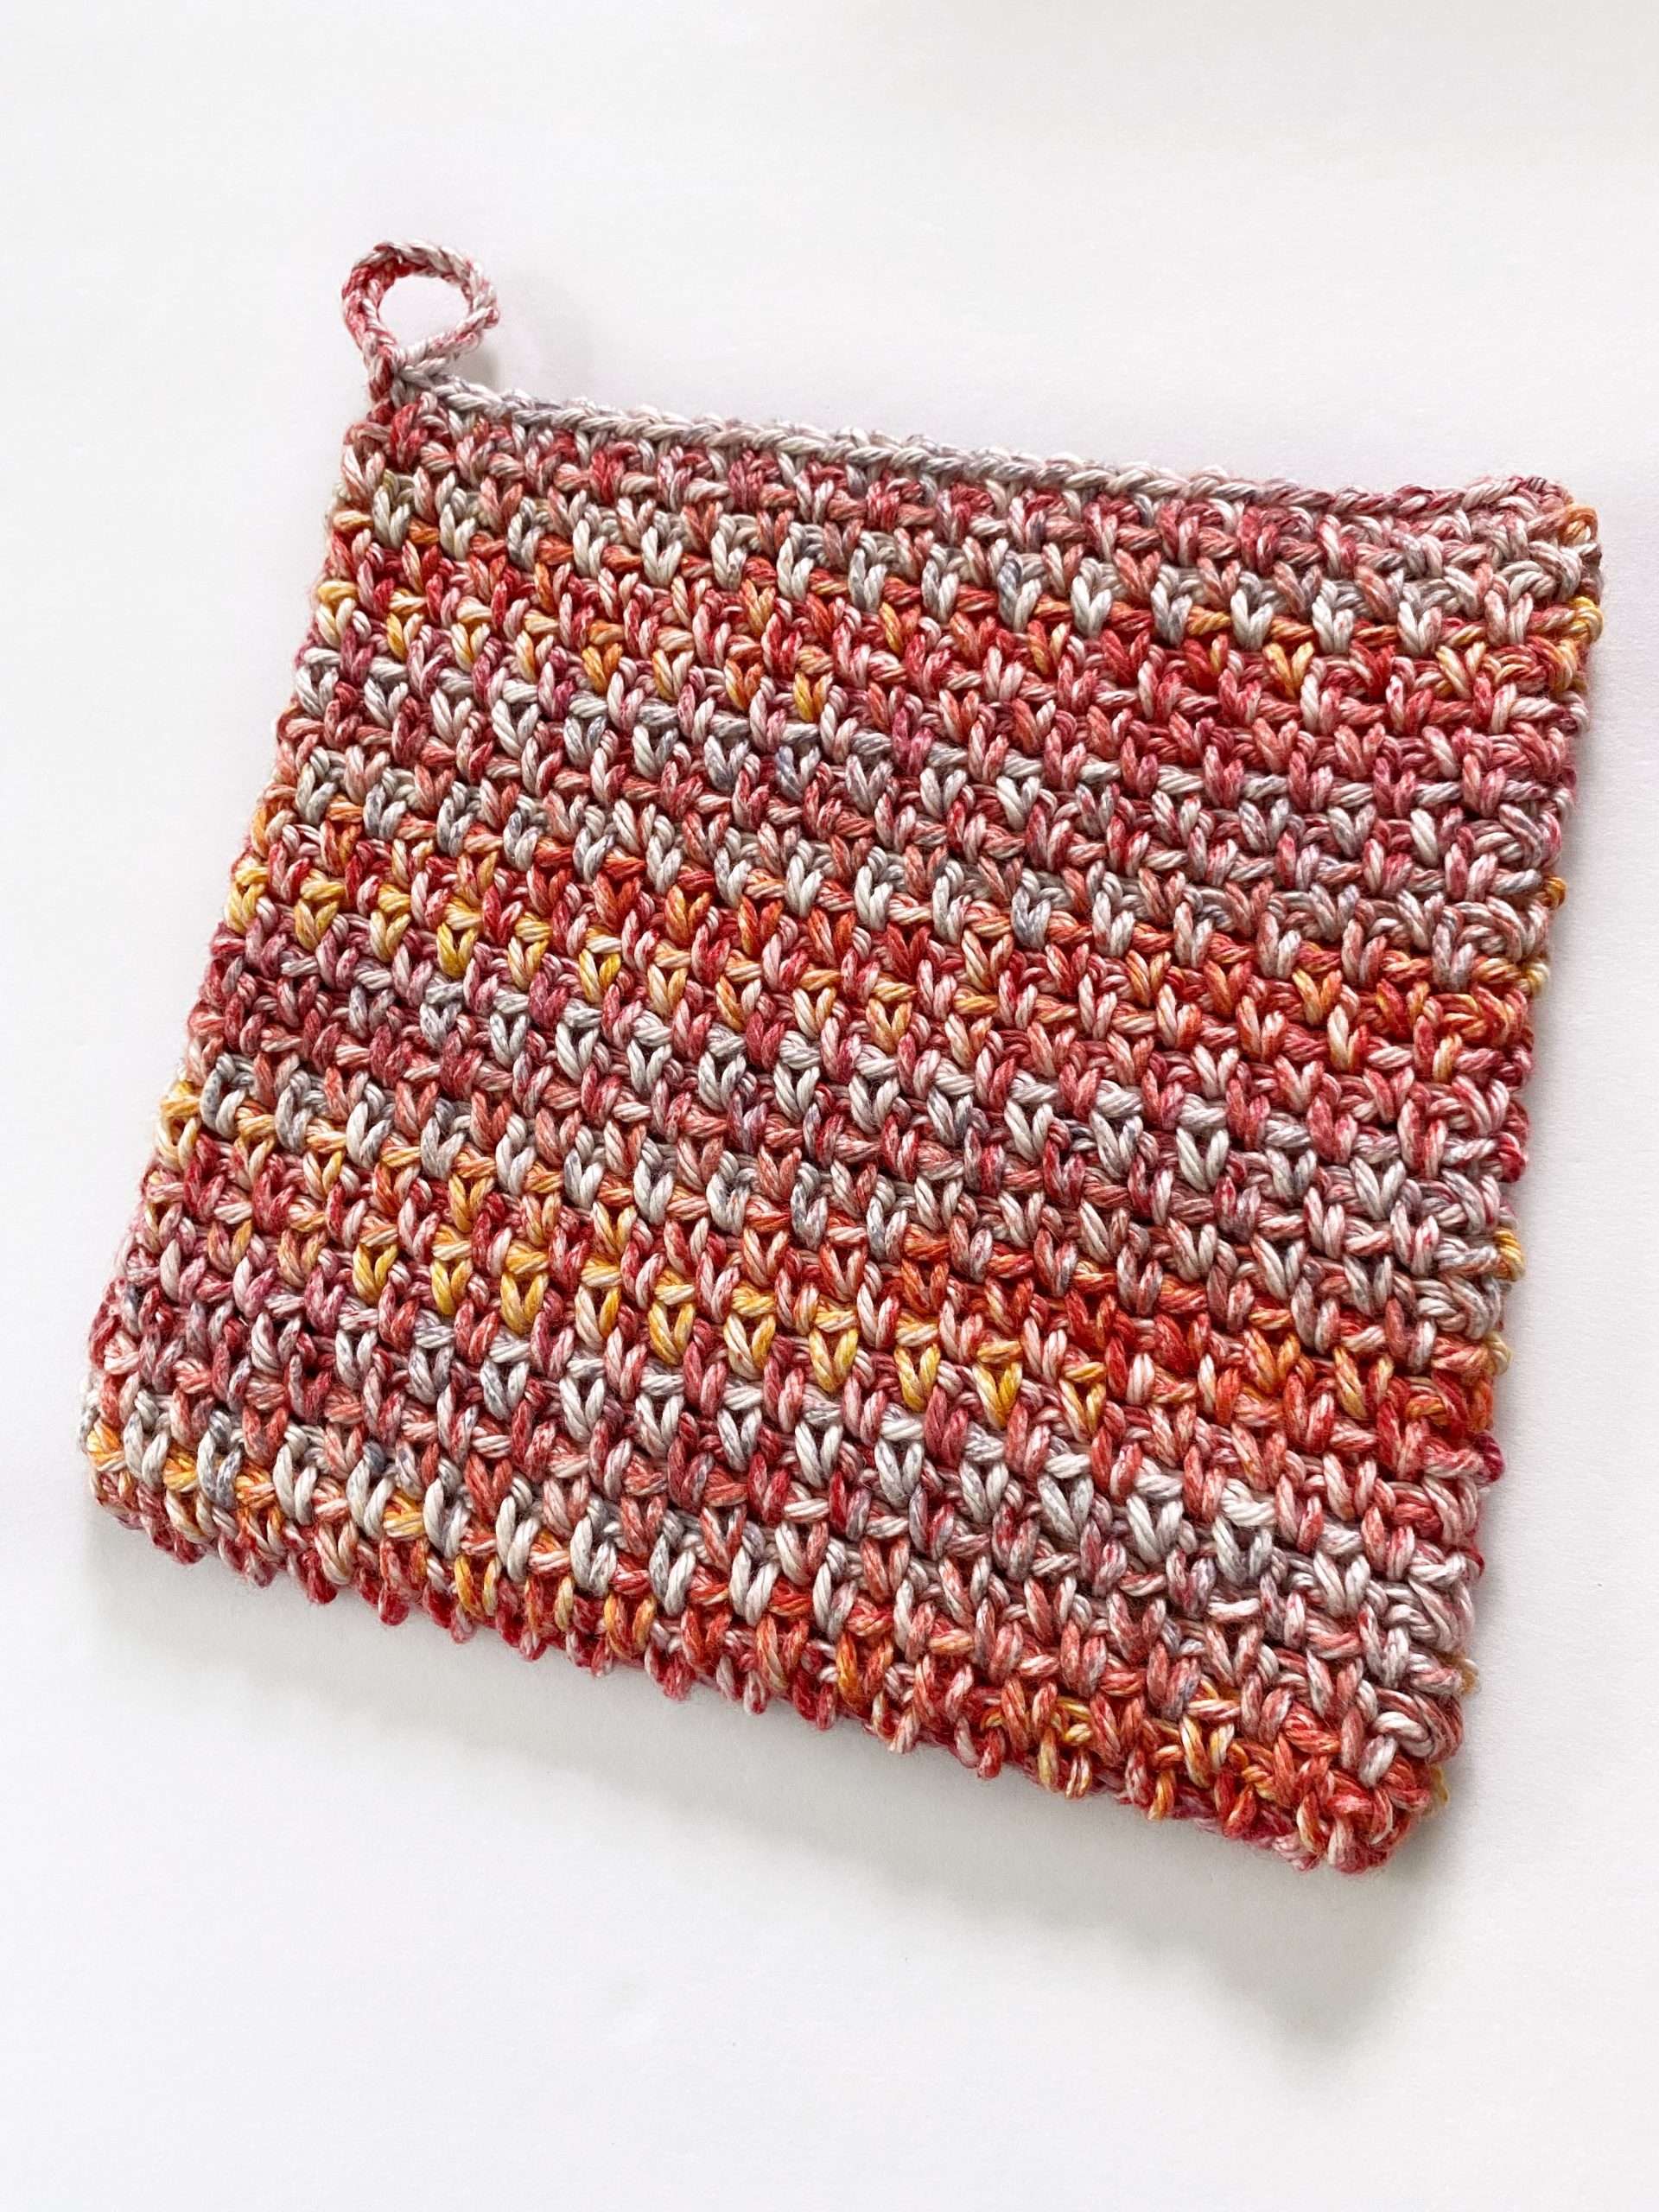
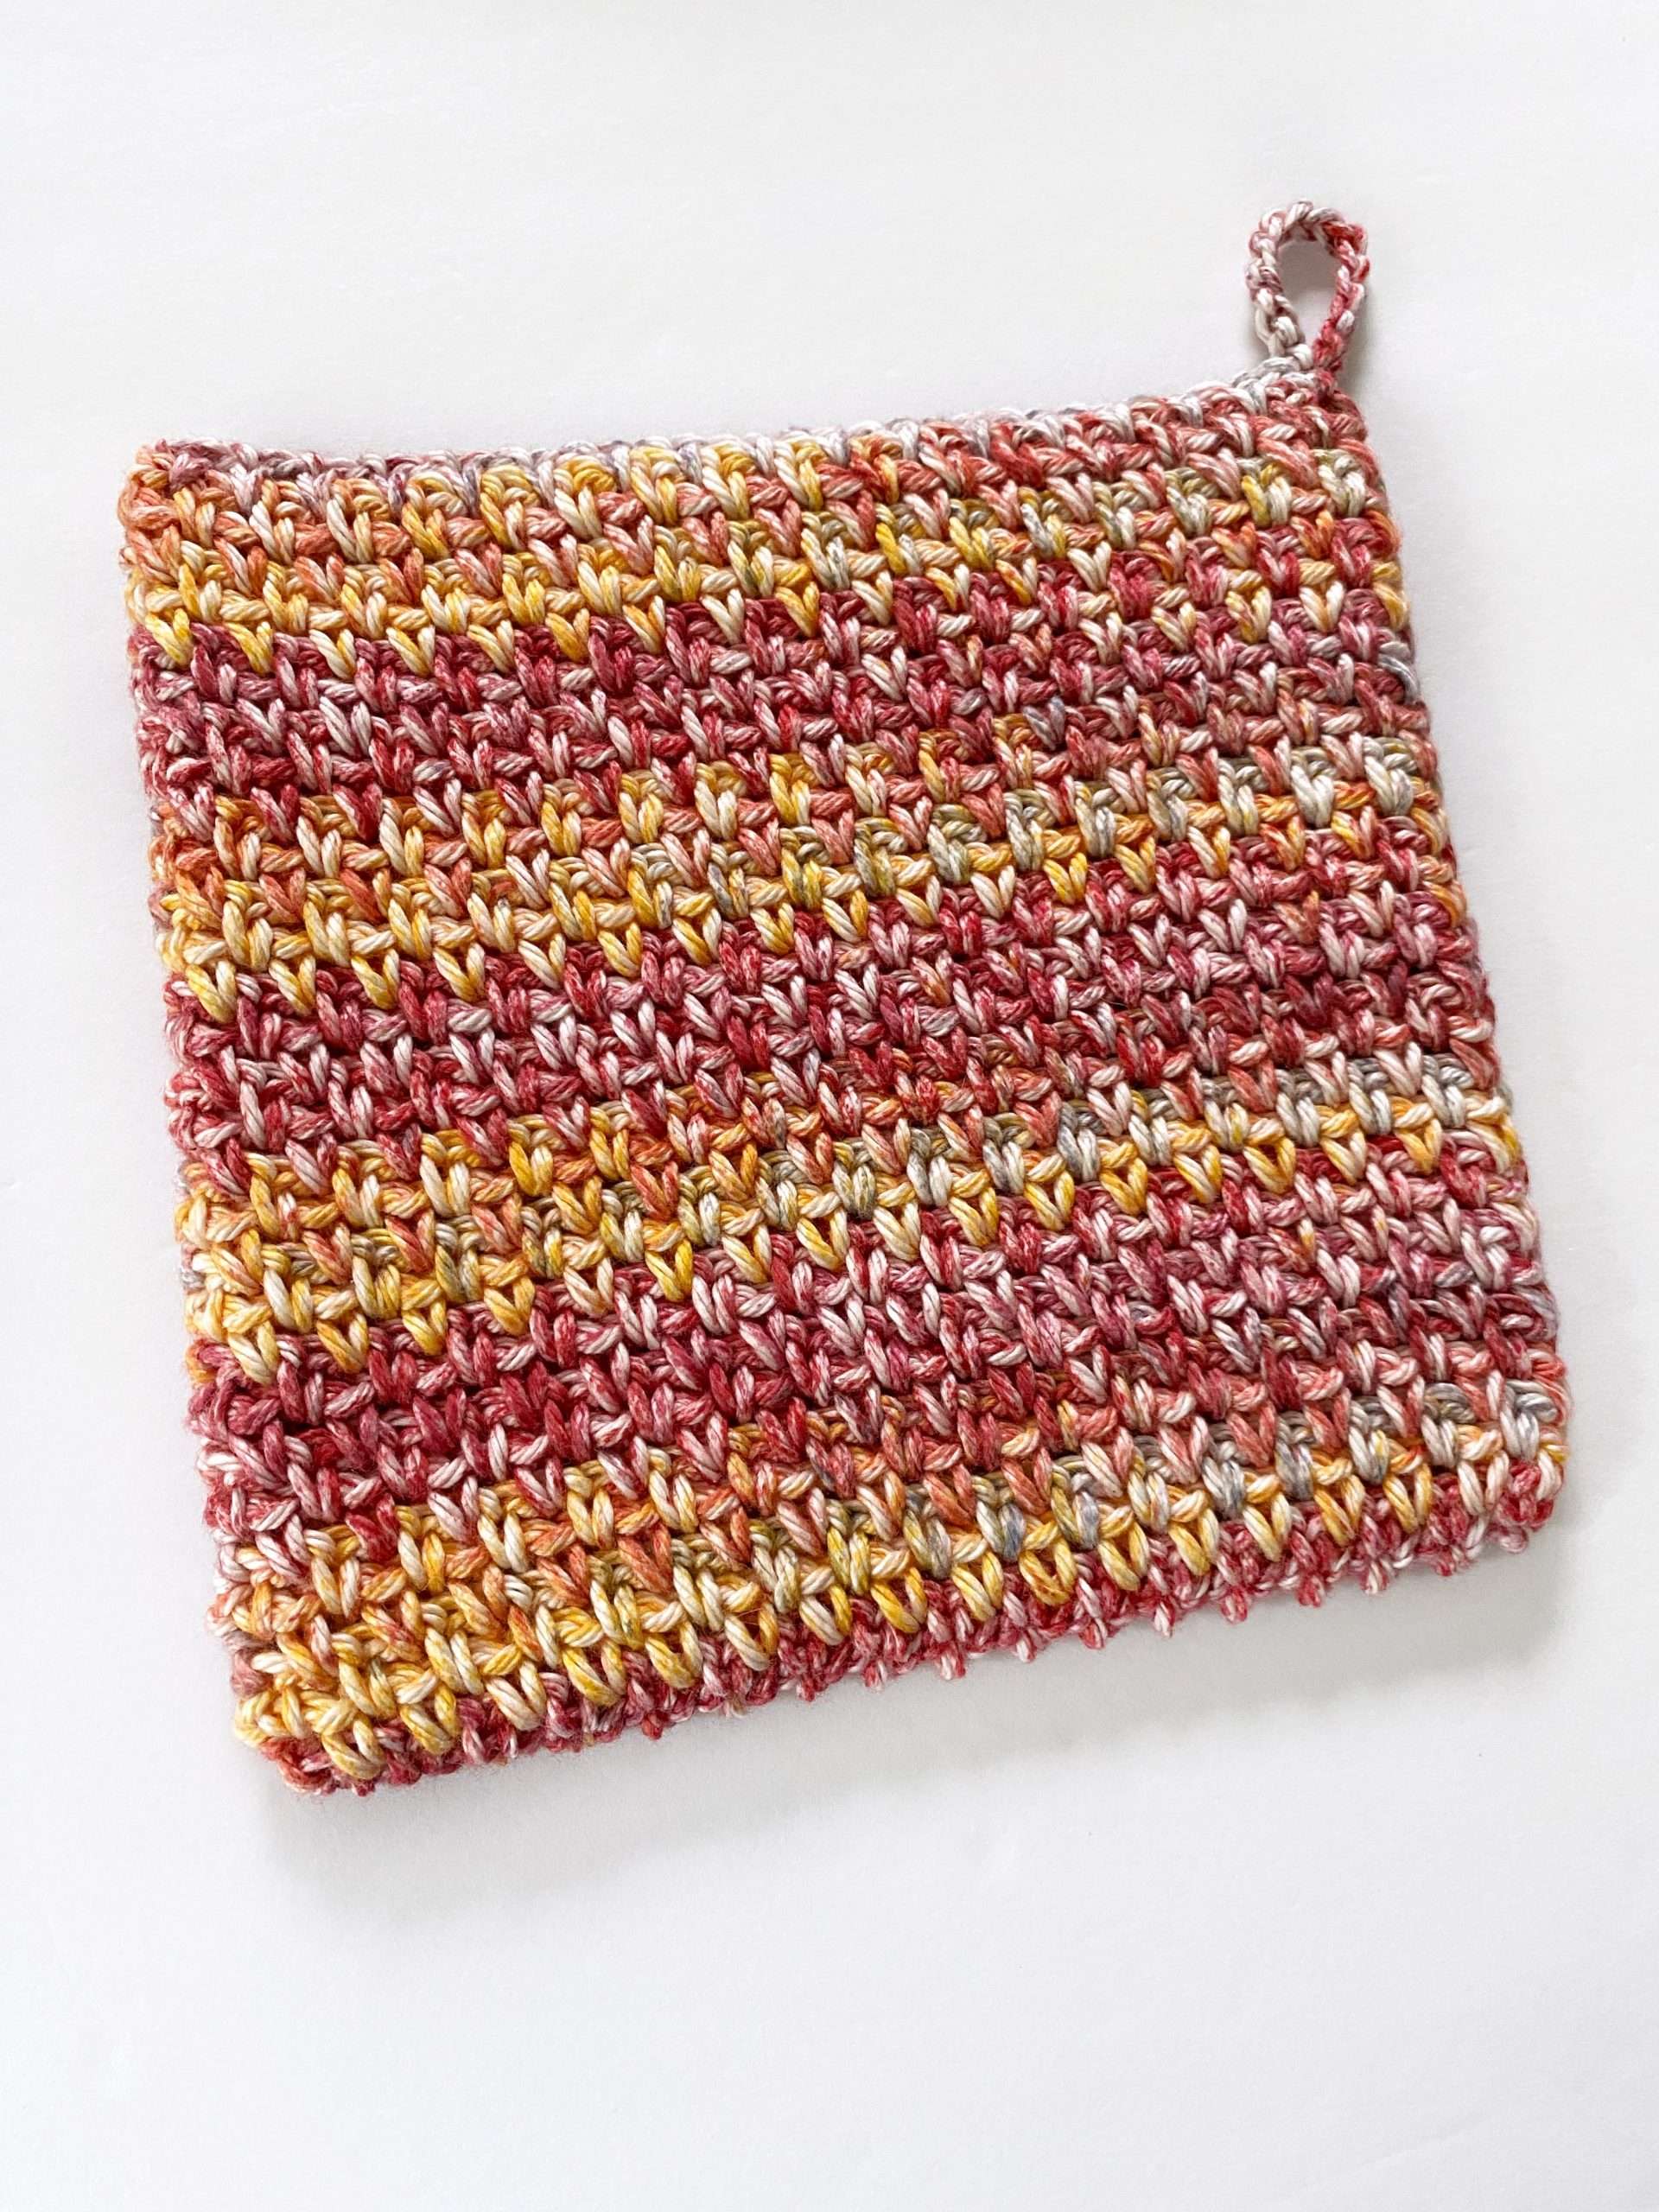
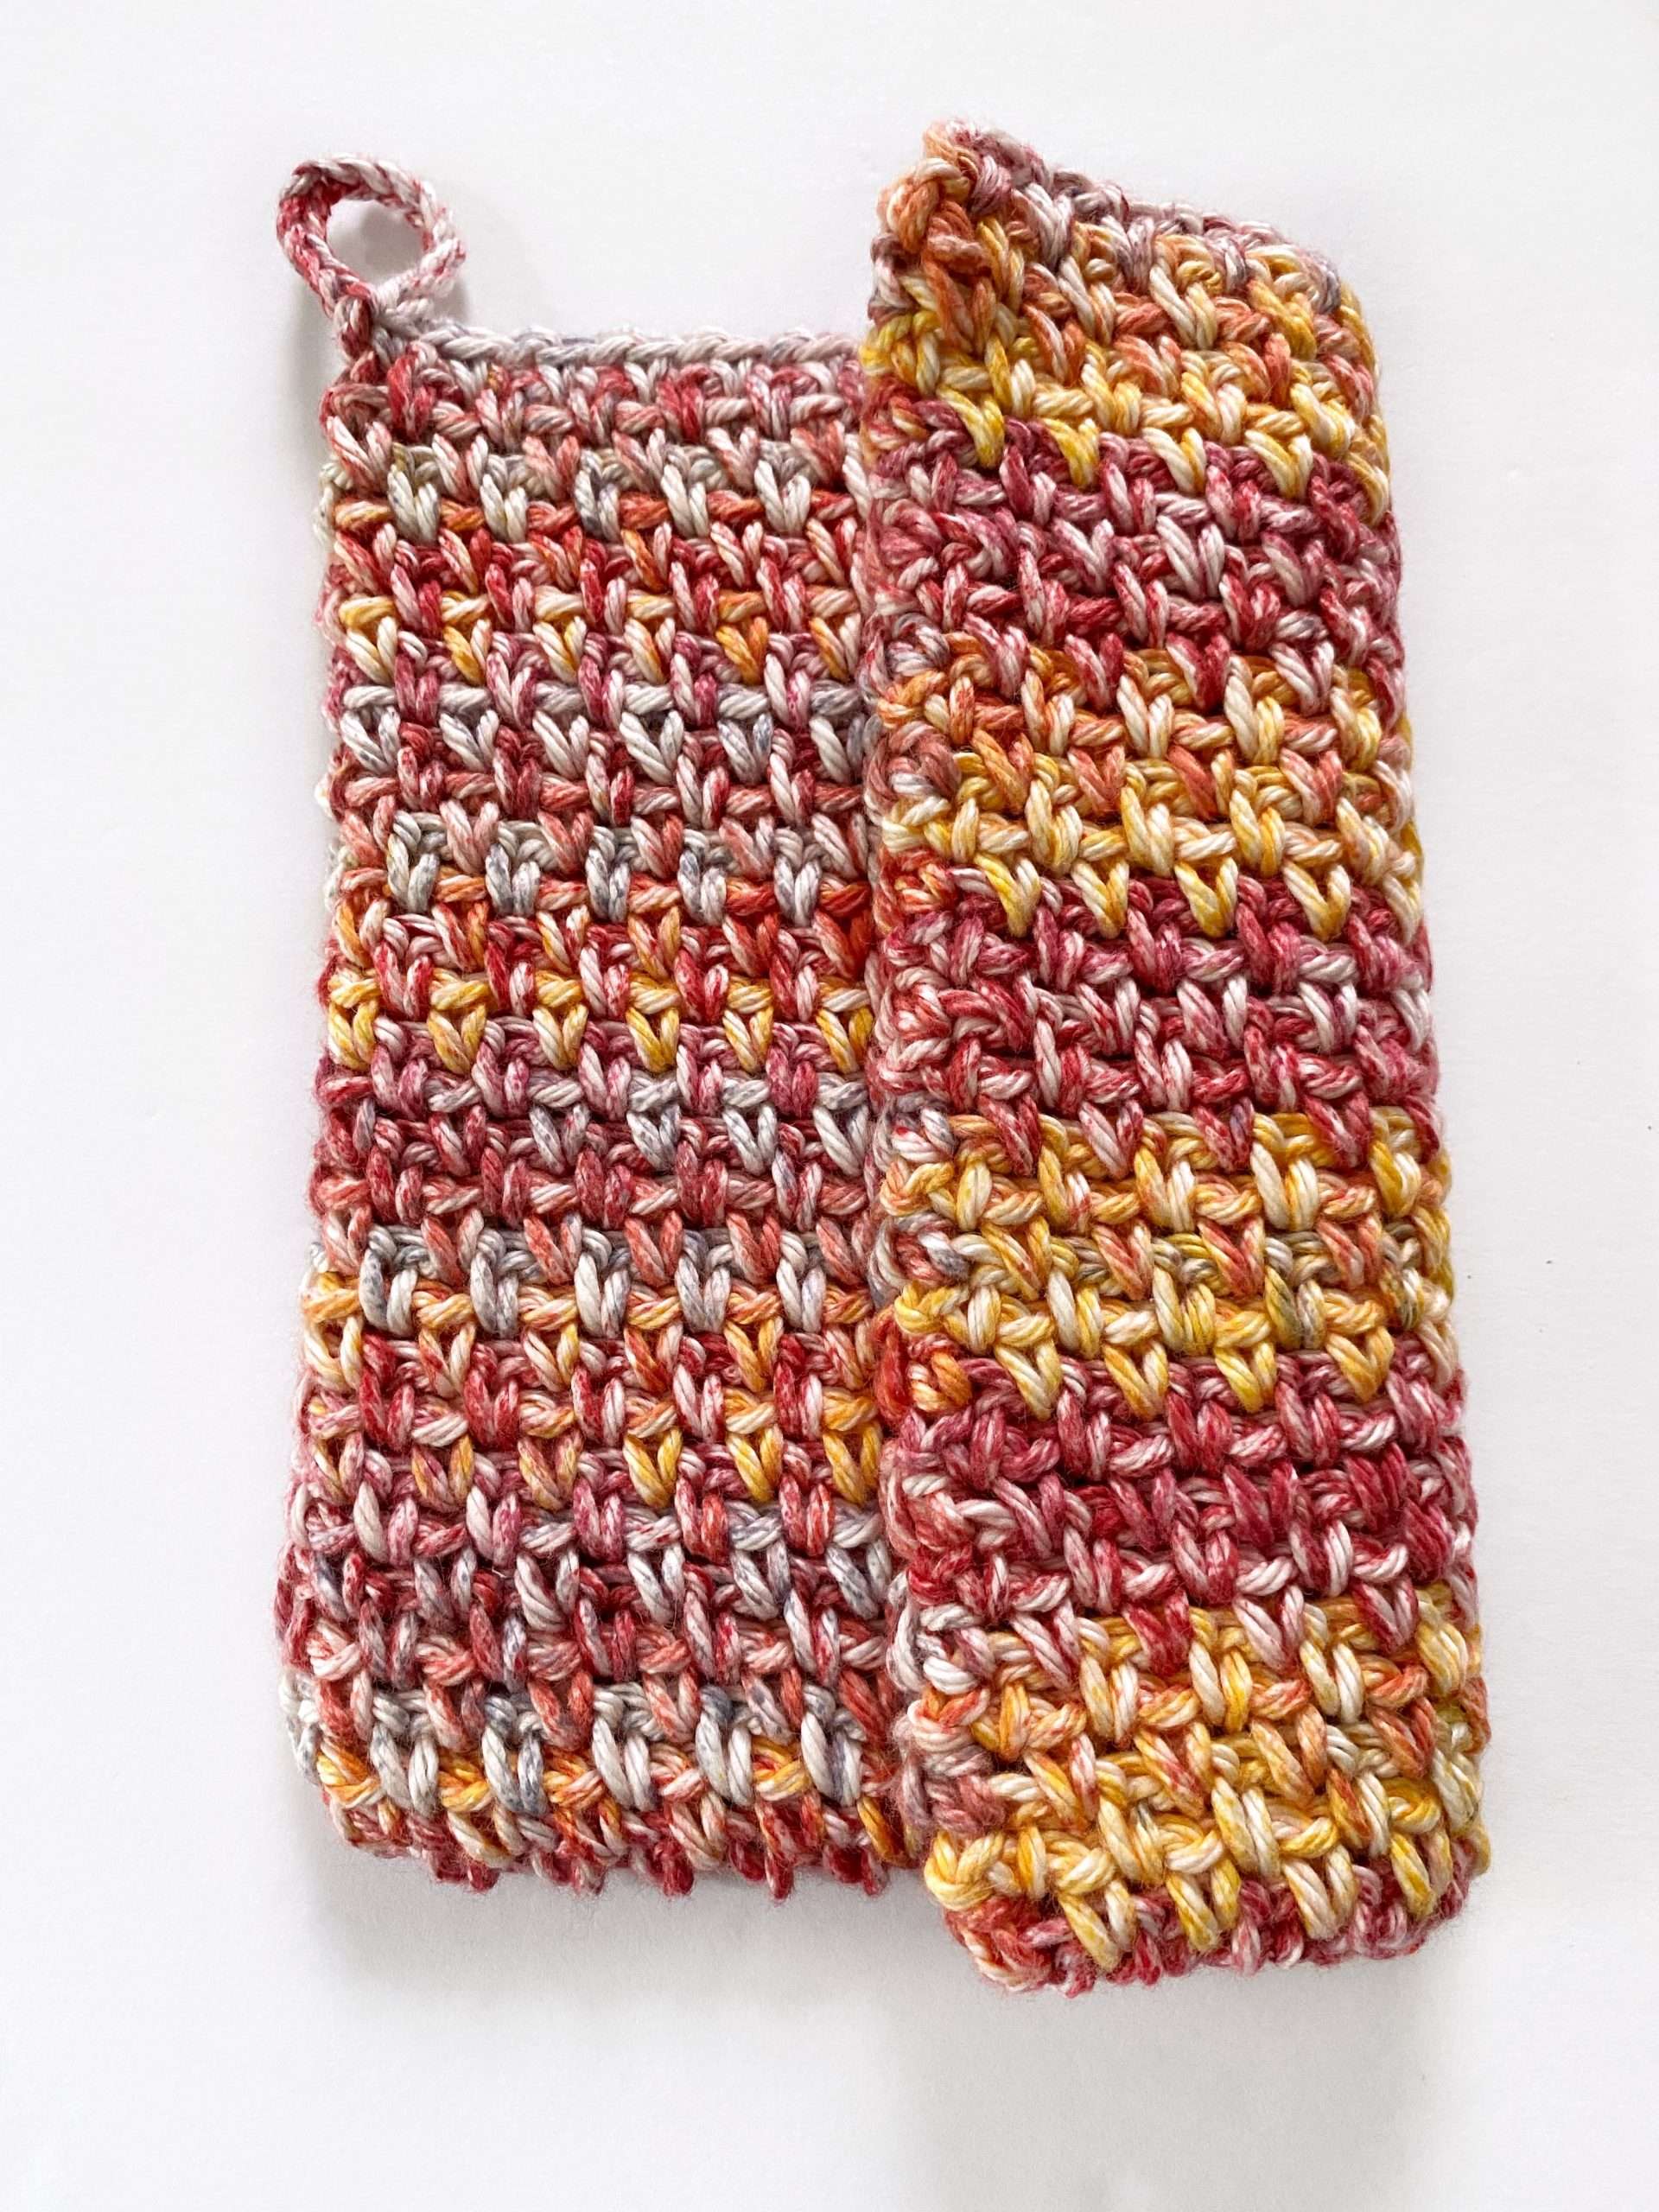
Front, Back and Seam of the Potholder:
Abbreviations:
Gauge: Approximately 19 sts x 17 rows = 4” x 4”
Stitches include ch-1 sps and sc.
- If your gauge is too small (more than 19 sts or 17 rows), try using a thicker weight 4 yarn or a larger crochet hook.
- If your gauge is too big (less than 19 sts or 17 rows), try using a thinner weight 4 yarn or a smaller crochet hook. You can also try adjusting your tension.
Pattern Measurements & Construction:
Customize the Size of your Moss Stitch Potholder:
The Ad-free Printable PDF for the Summer Sunsets Moss Stitch Potholder is available as an individual PDF pattern Ravelry and Etsy; or as a Crochet Along bundle, which includes written instructions for all 13 patterns on Ravelry or Etsy!
Invisible Colour Change Tutorial:
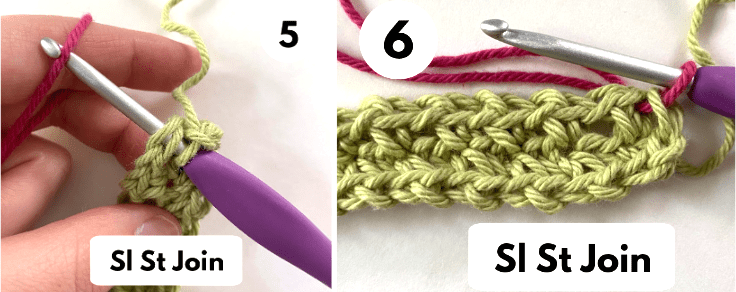
If you’d like to add stripes or crochet with multiple colours, then here is how you can change colour:
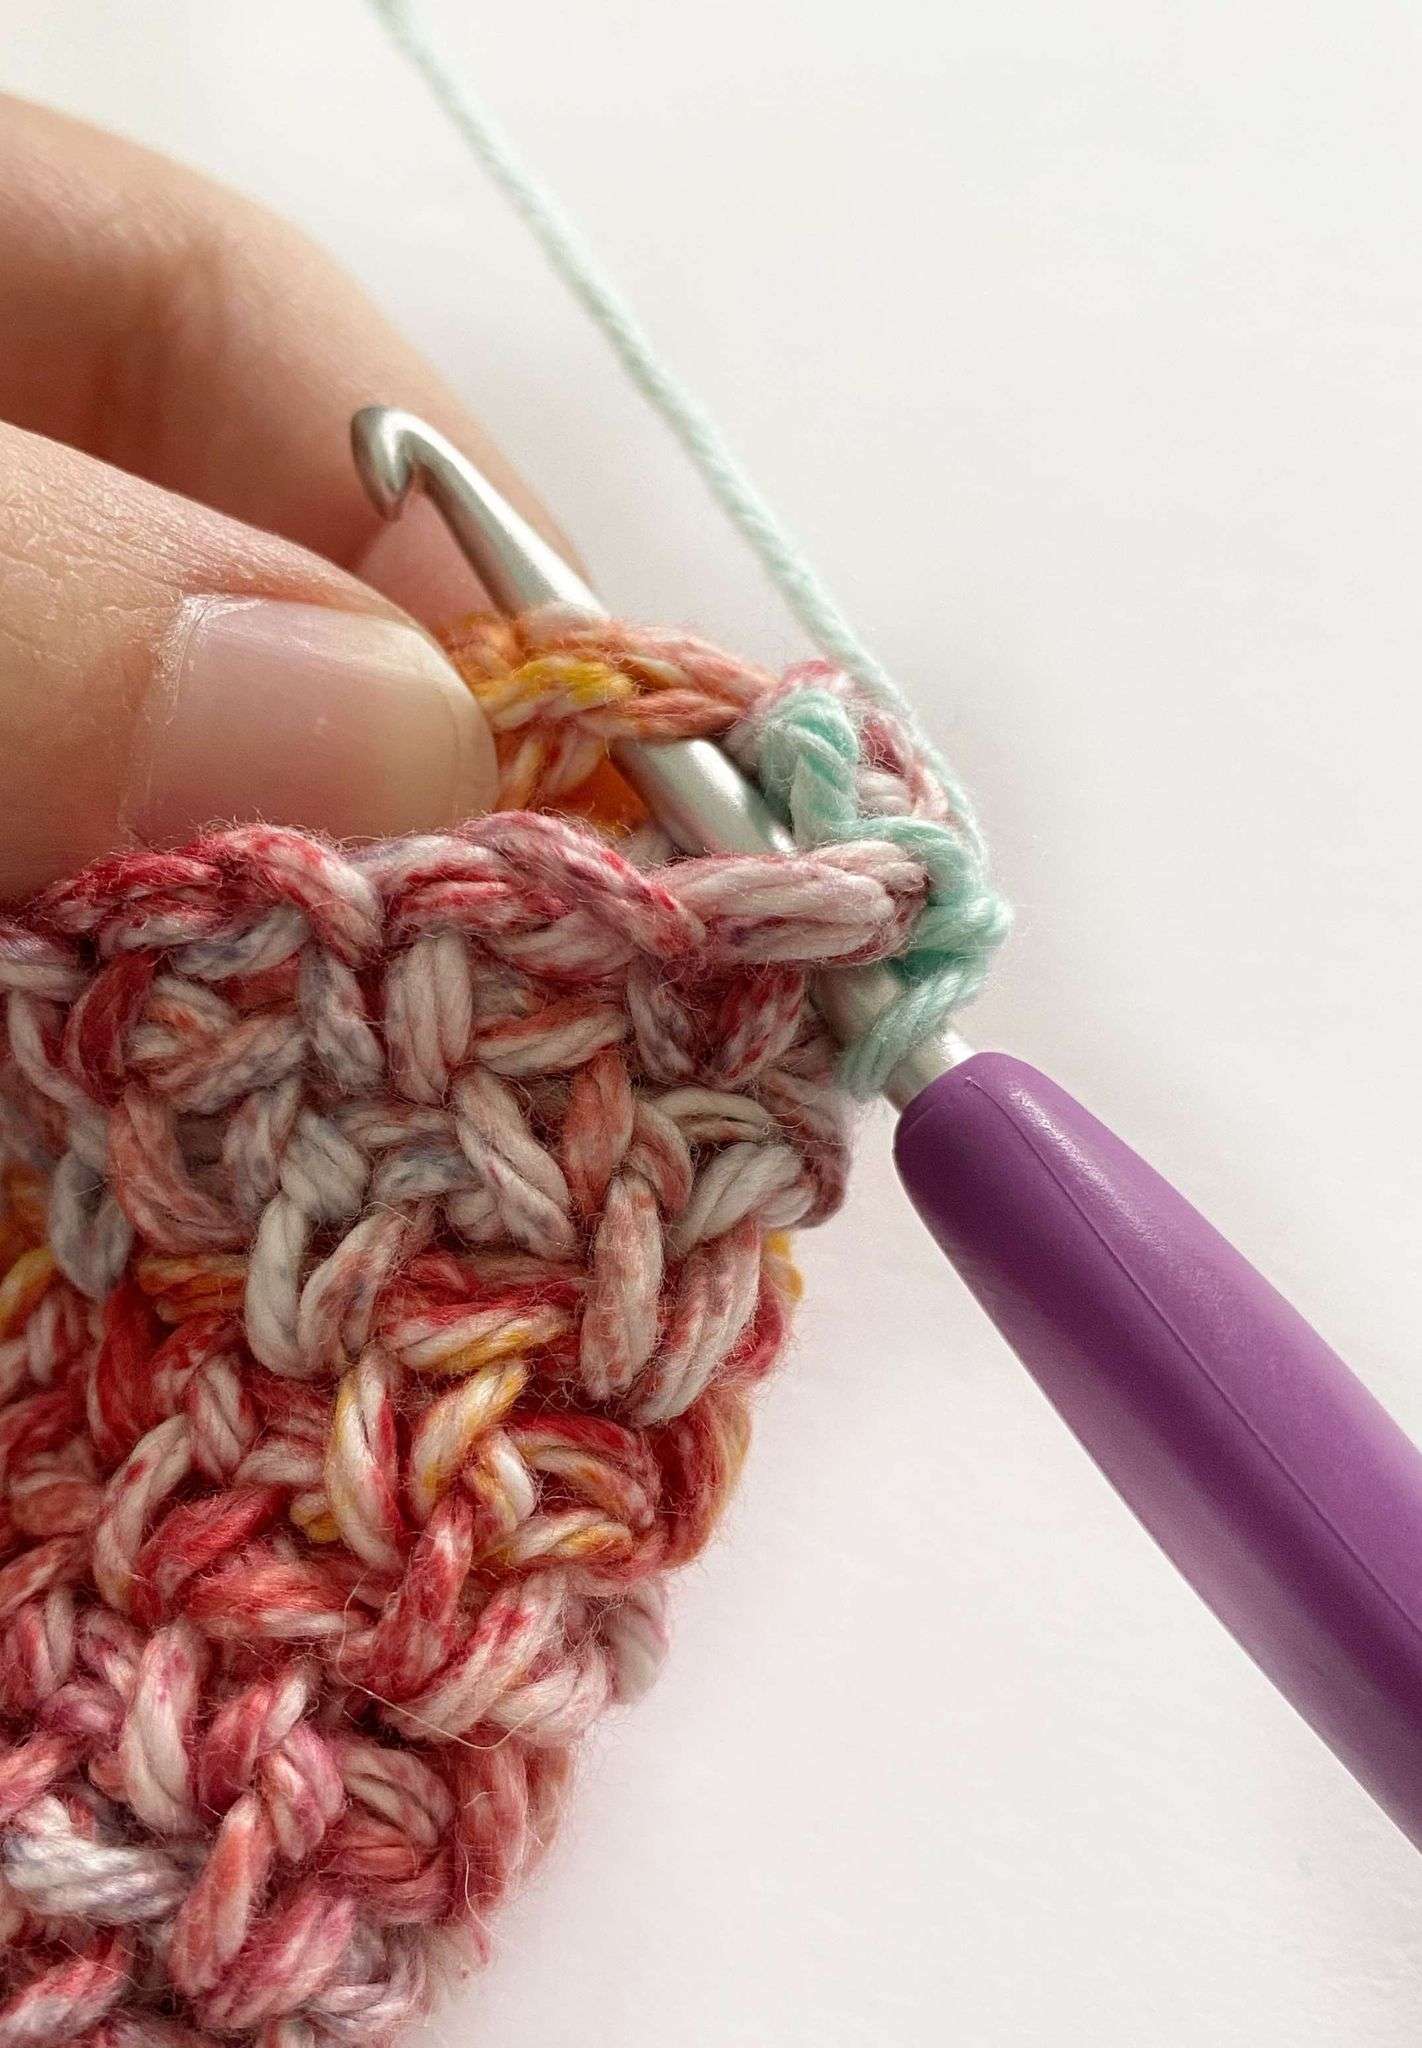
- To create an “invisible” colour change at the end of each rnd, make a sl st by inserting the hook into the first st of the rnd with the current colour (green) – Picture 5.
- Drop the current colour (green) and place it at the back of your work – Picture 5.
- YO with the new colour (pink) – Picture 5.
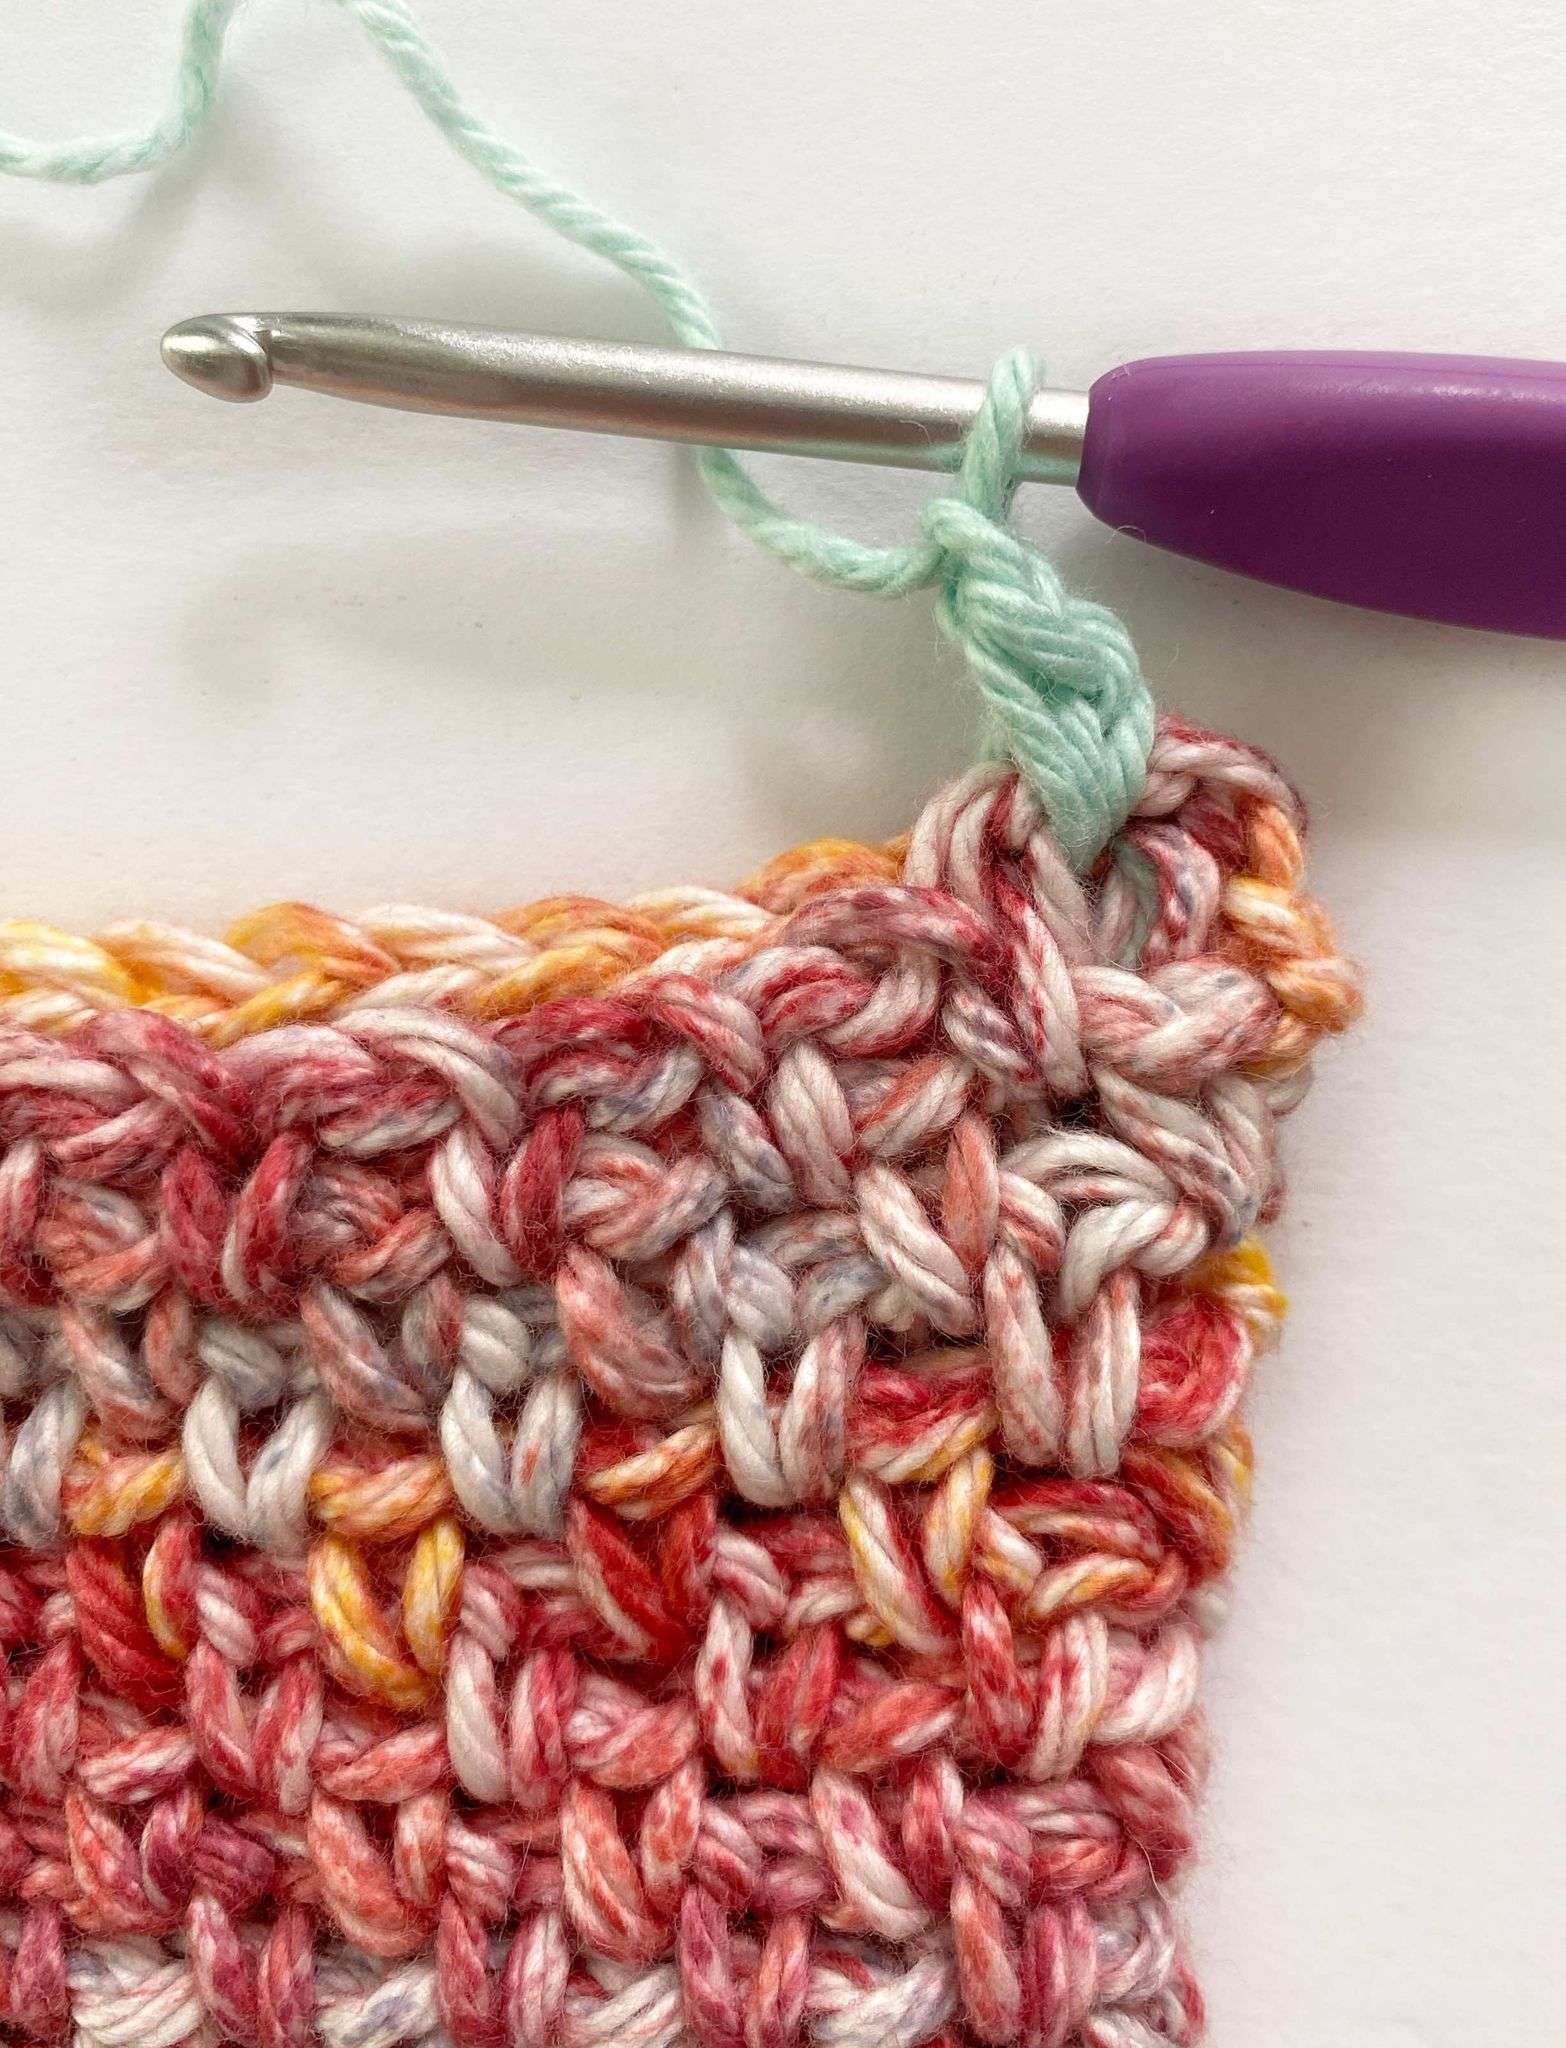
- Pull the new colour through the st and the loop on the hook to complete the sl st – Picture 6.
- You have completed the rnd, and changed colours!
Video Tutorial:
Pattern:
- Turn your work at the end of each rnd, so that the seam stays straight on the side of the potholder.
- Stitch counts are given at the end of each rnd in <> brackets.
- The beginning ch 1 of each rnd does not count as a st.
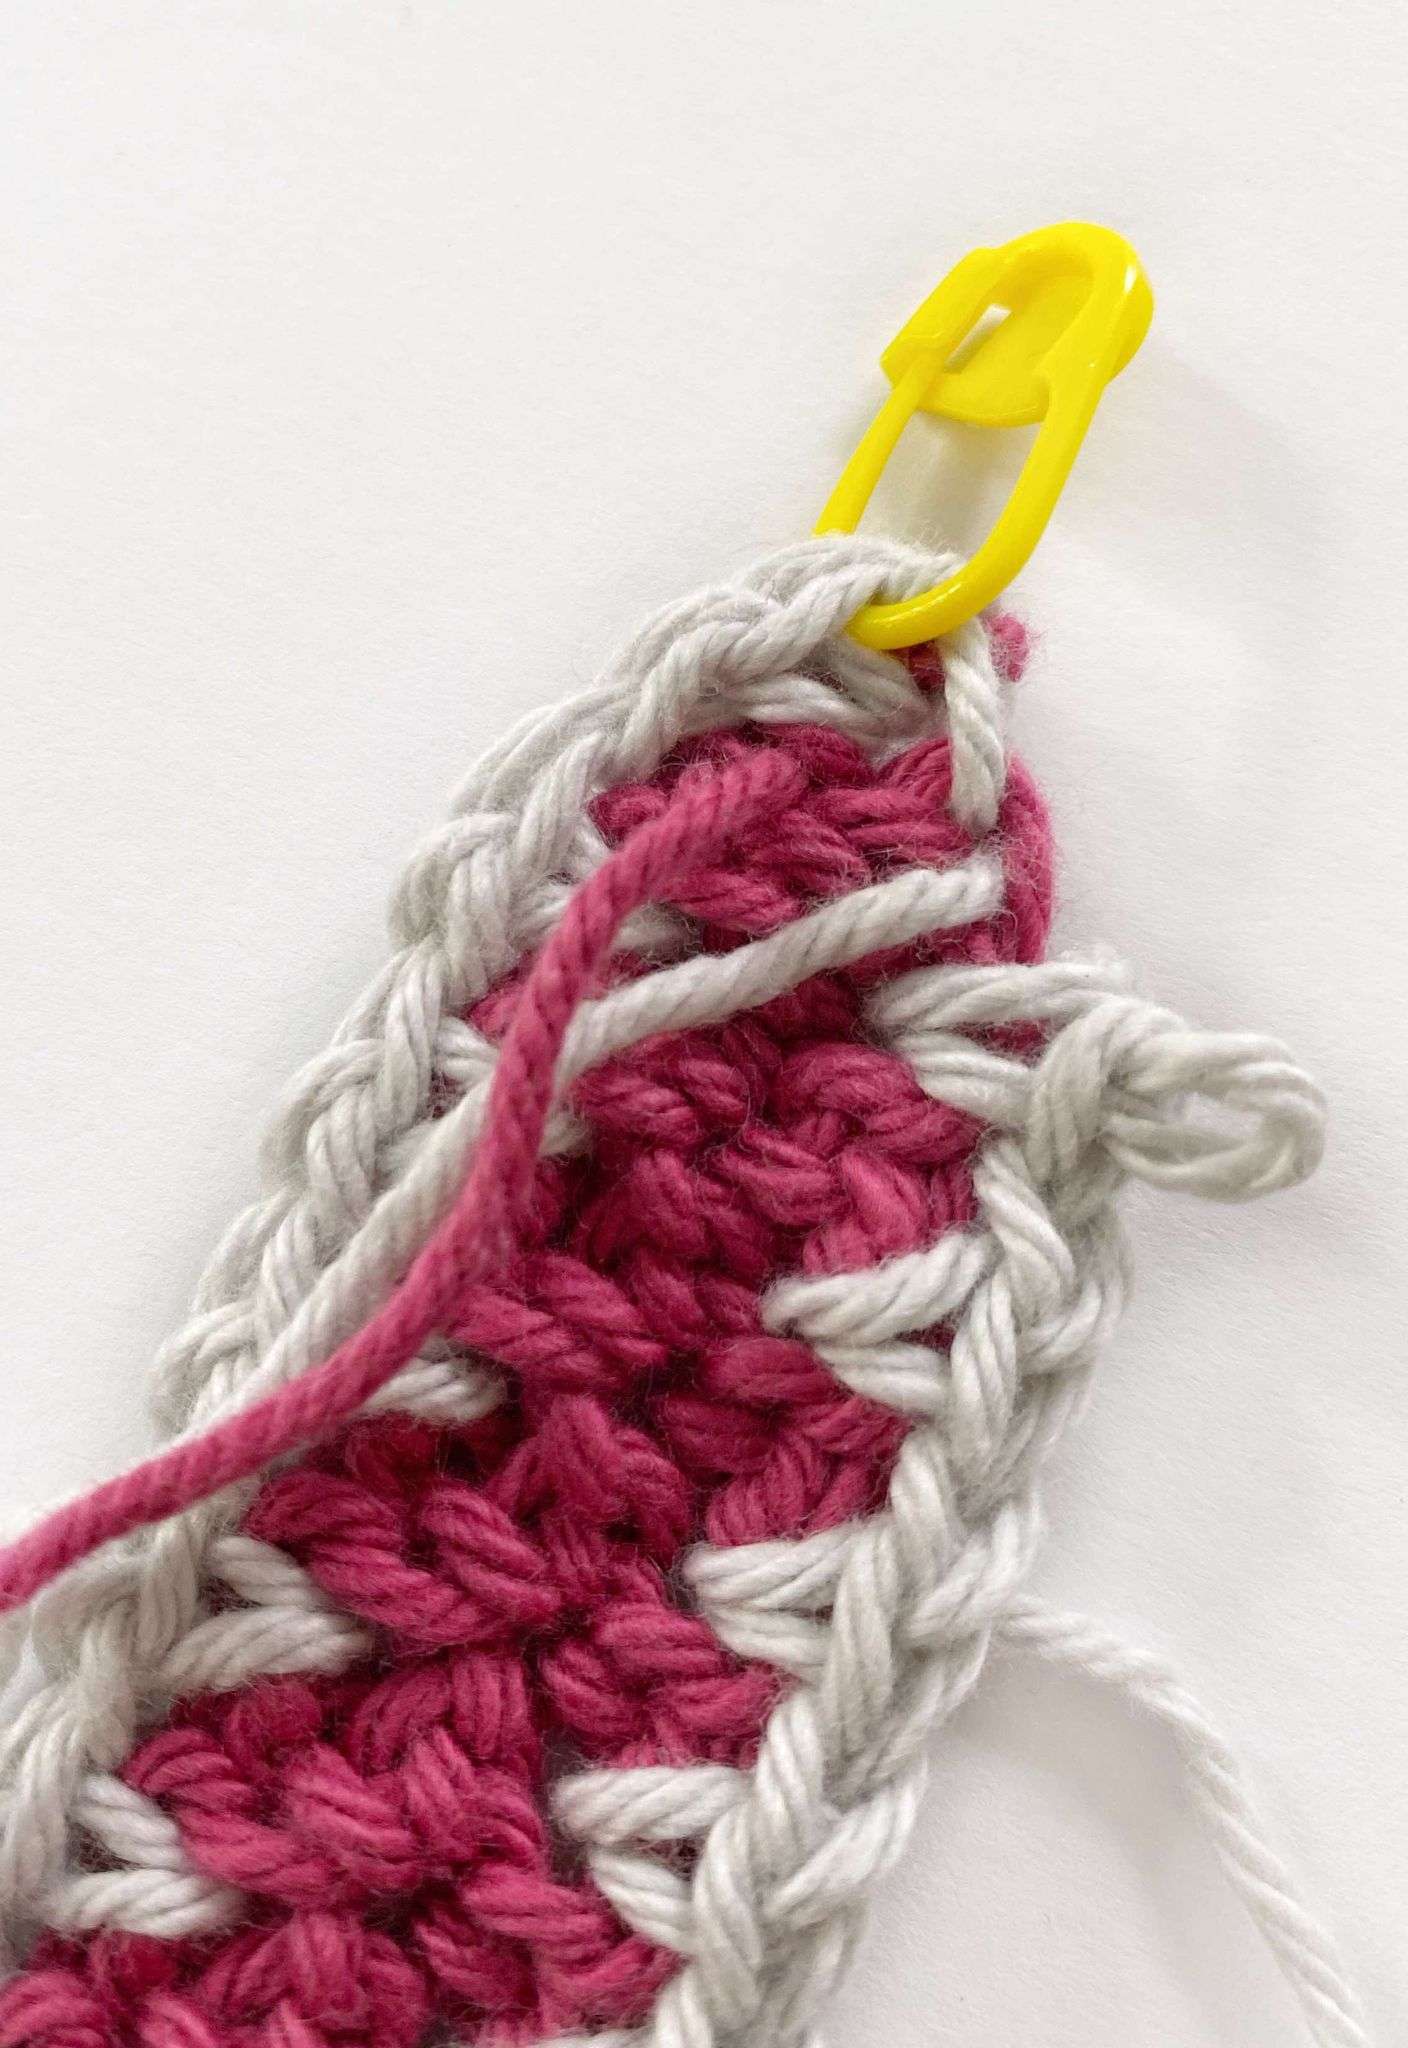
- Mark the first sc and last ch-sp of each new rnd with a stitch marker, so you know where the new rnd starts and ends. After Rnd 1, the first sc of each rnd is worked into the last ch-sp of the previous rnd.
- The pattern is written with instructions for the 2 sizes included in the size chart above, from smallest to largest. Ex. Ch 34 (40), means ch 34 for Size #1, and ch 40 for Size #2.
With Colour A, ch 34 (40)
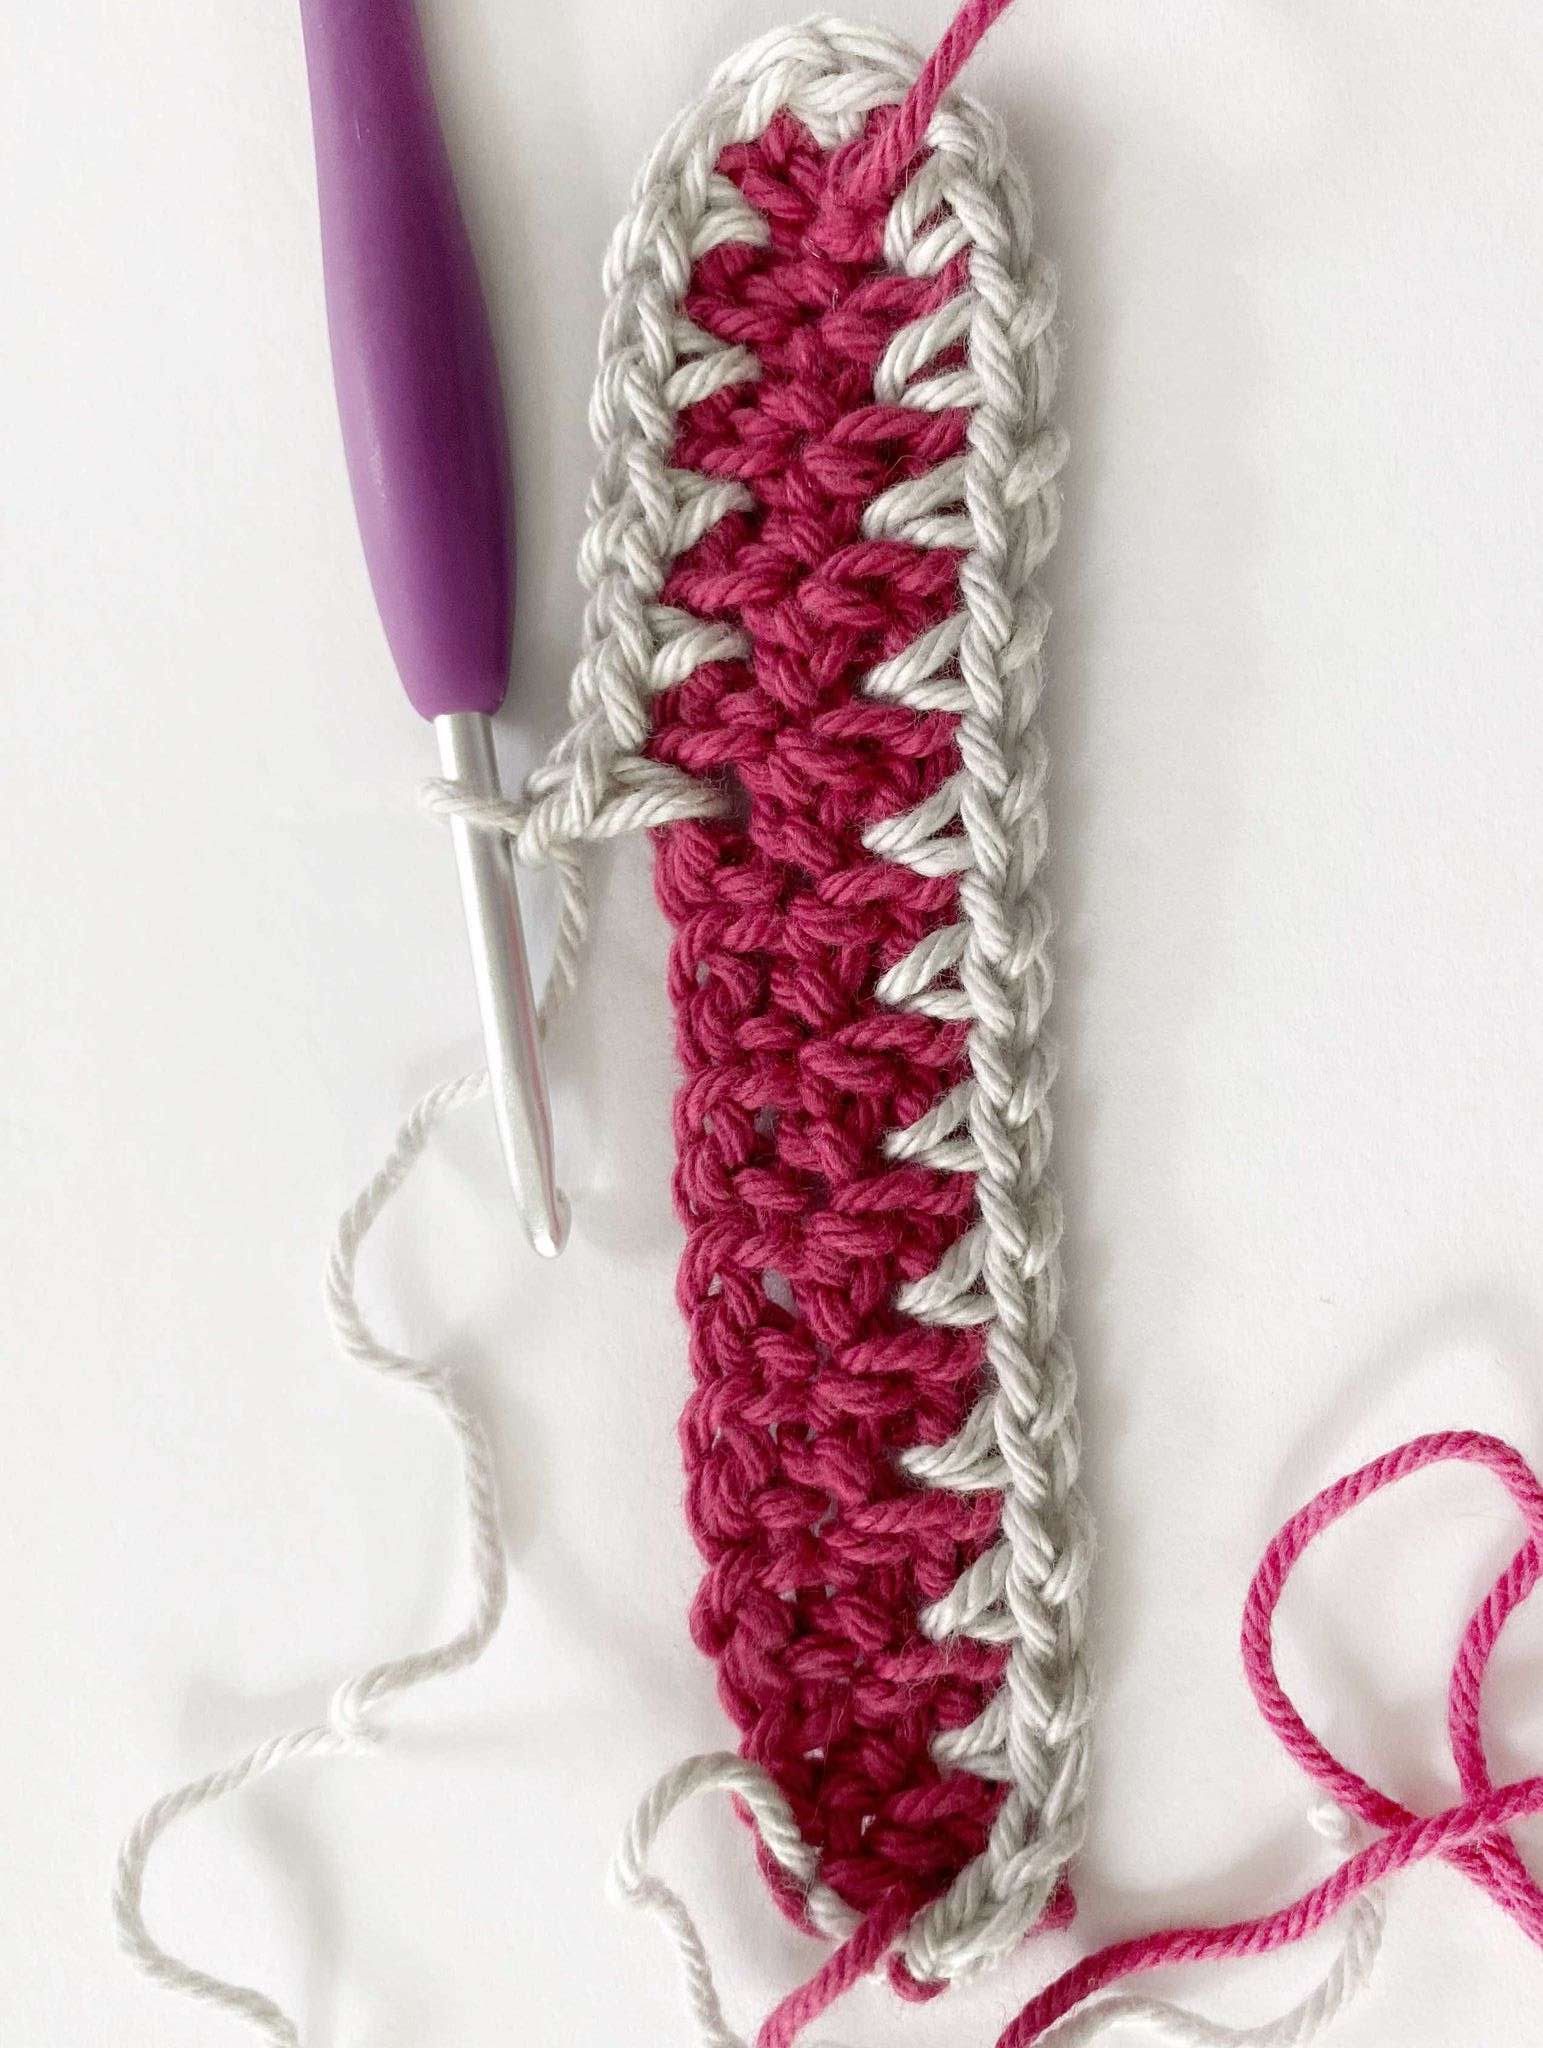
Rnd 1: Sc in second ch from hook (mark with a stitch marker), ch 1, [sk 1 ch, (sc, ch 1) in next ch] across until 1 ch remains; (sc, ch 2, sc, ch 1) in last ch – this is a corner.
- Rotate your work 180 degrees clockwise, so you are working along the bottom of the chain.
- [sk 1 ch, (sc, ch 1) in next ch] across until 1 ch remains; (sc, ch 2) in last ch to complete the corner. Mark the last ch-2 with a stitch marker. Sl st into the first sc of the rnd to join. Turn.
<34 (40) sc, 34 (40) ch-sp>
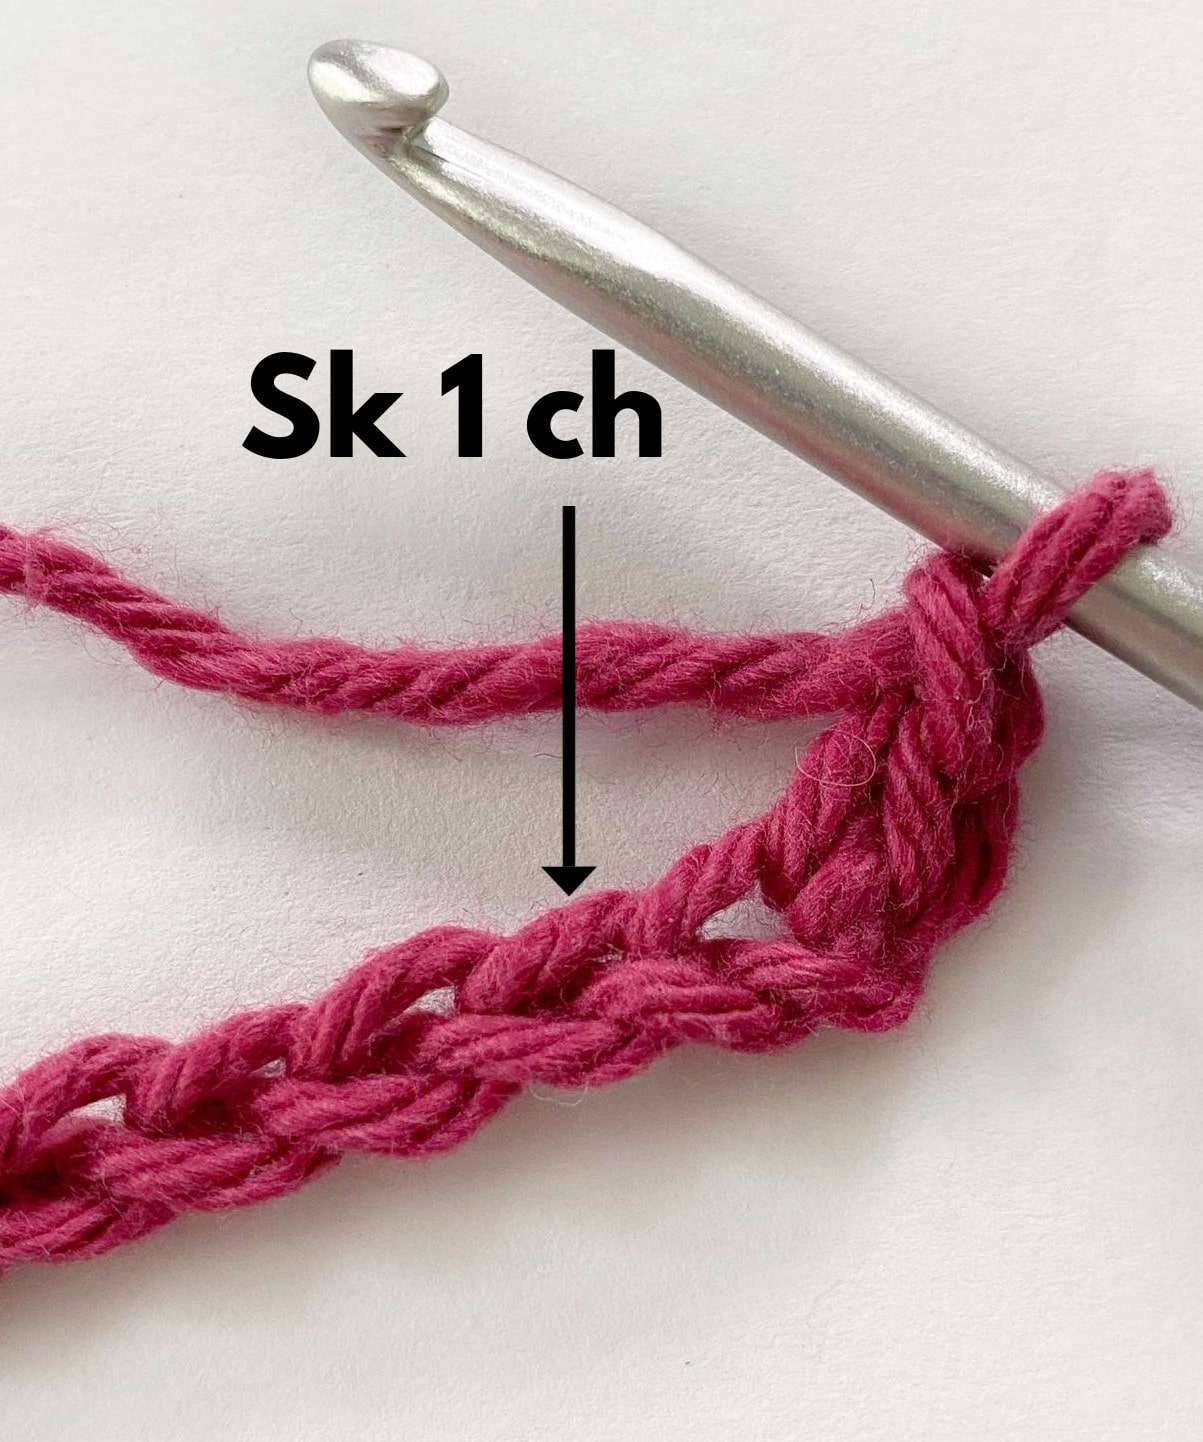
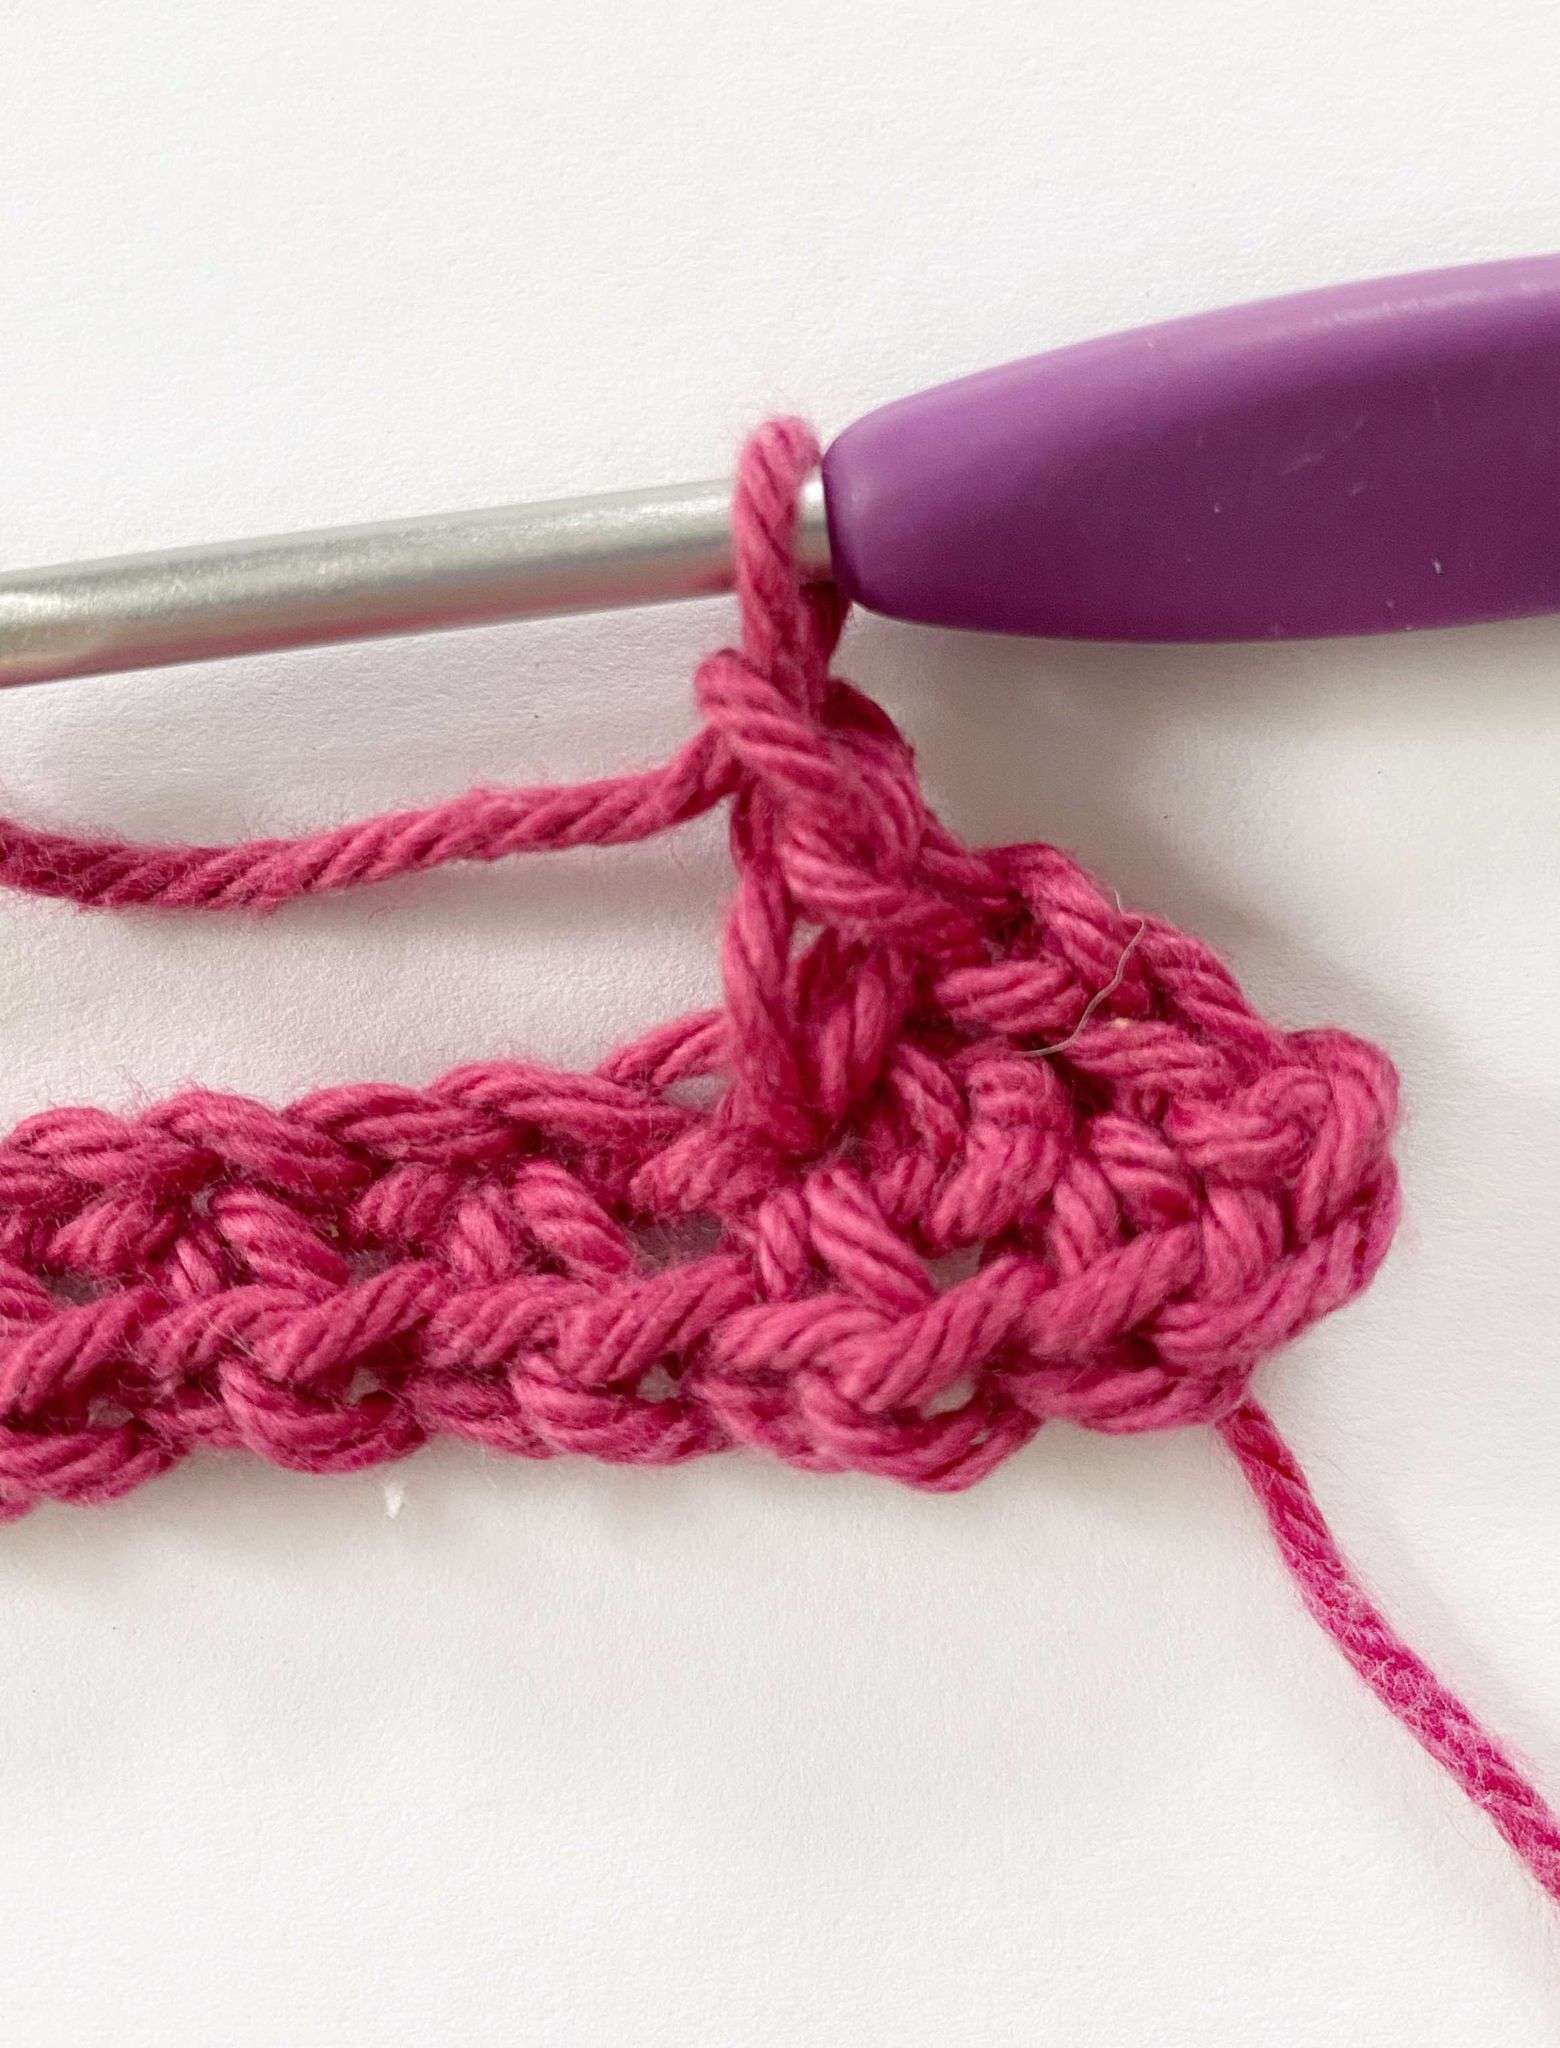
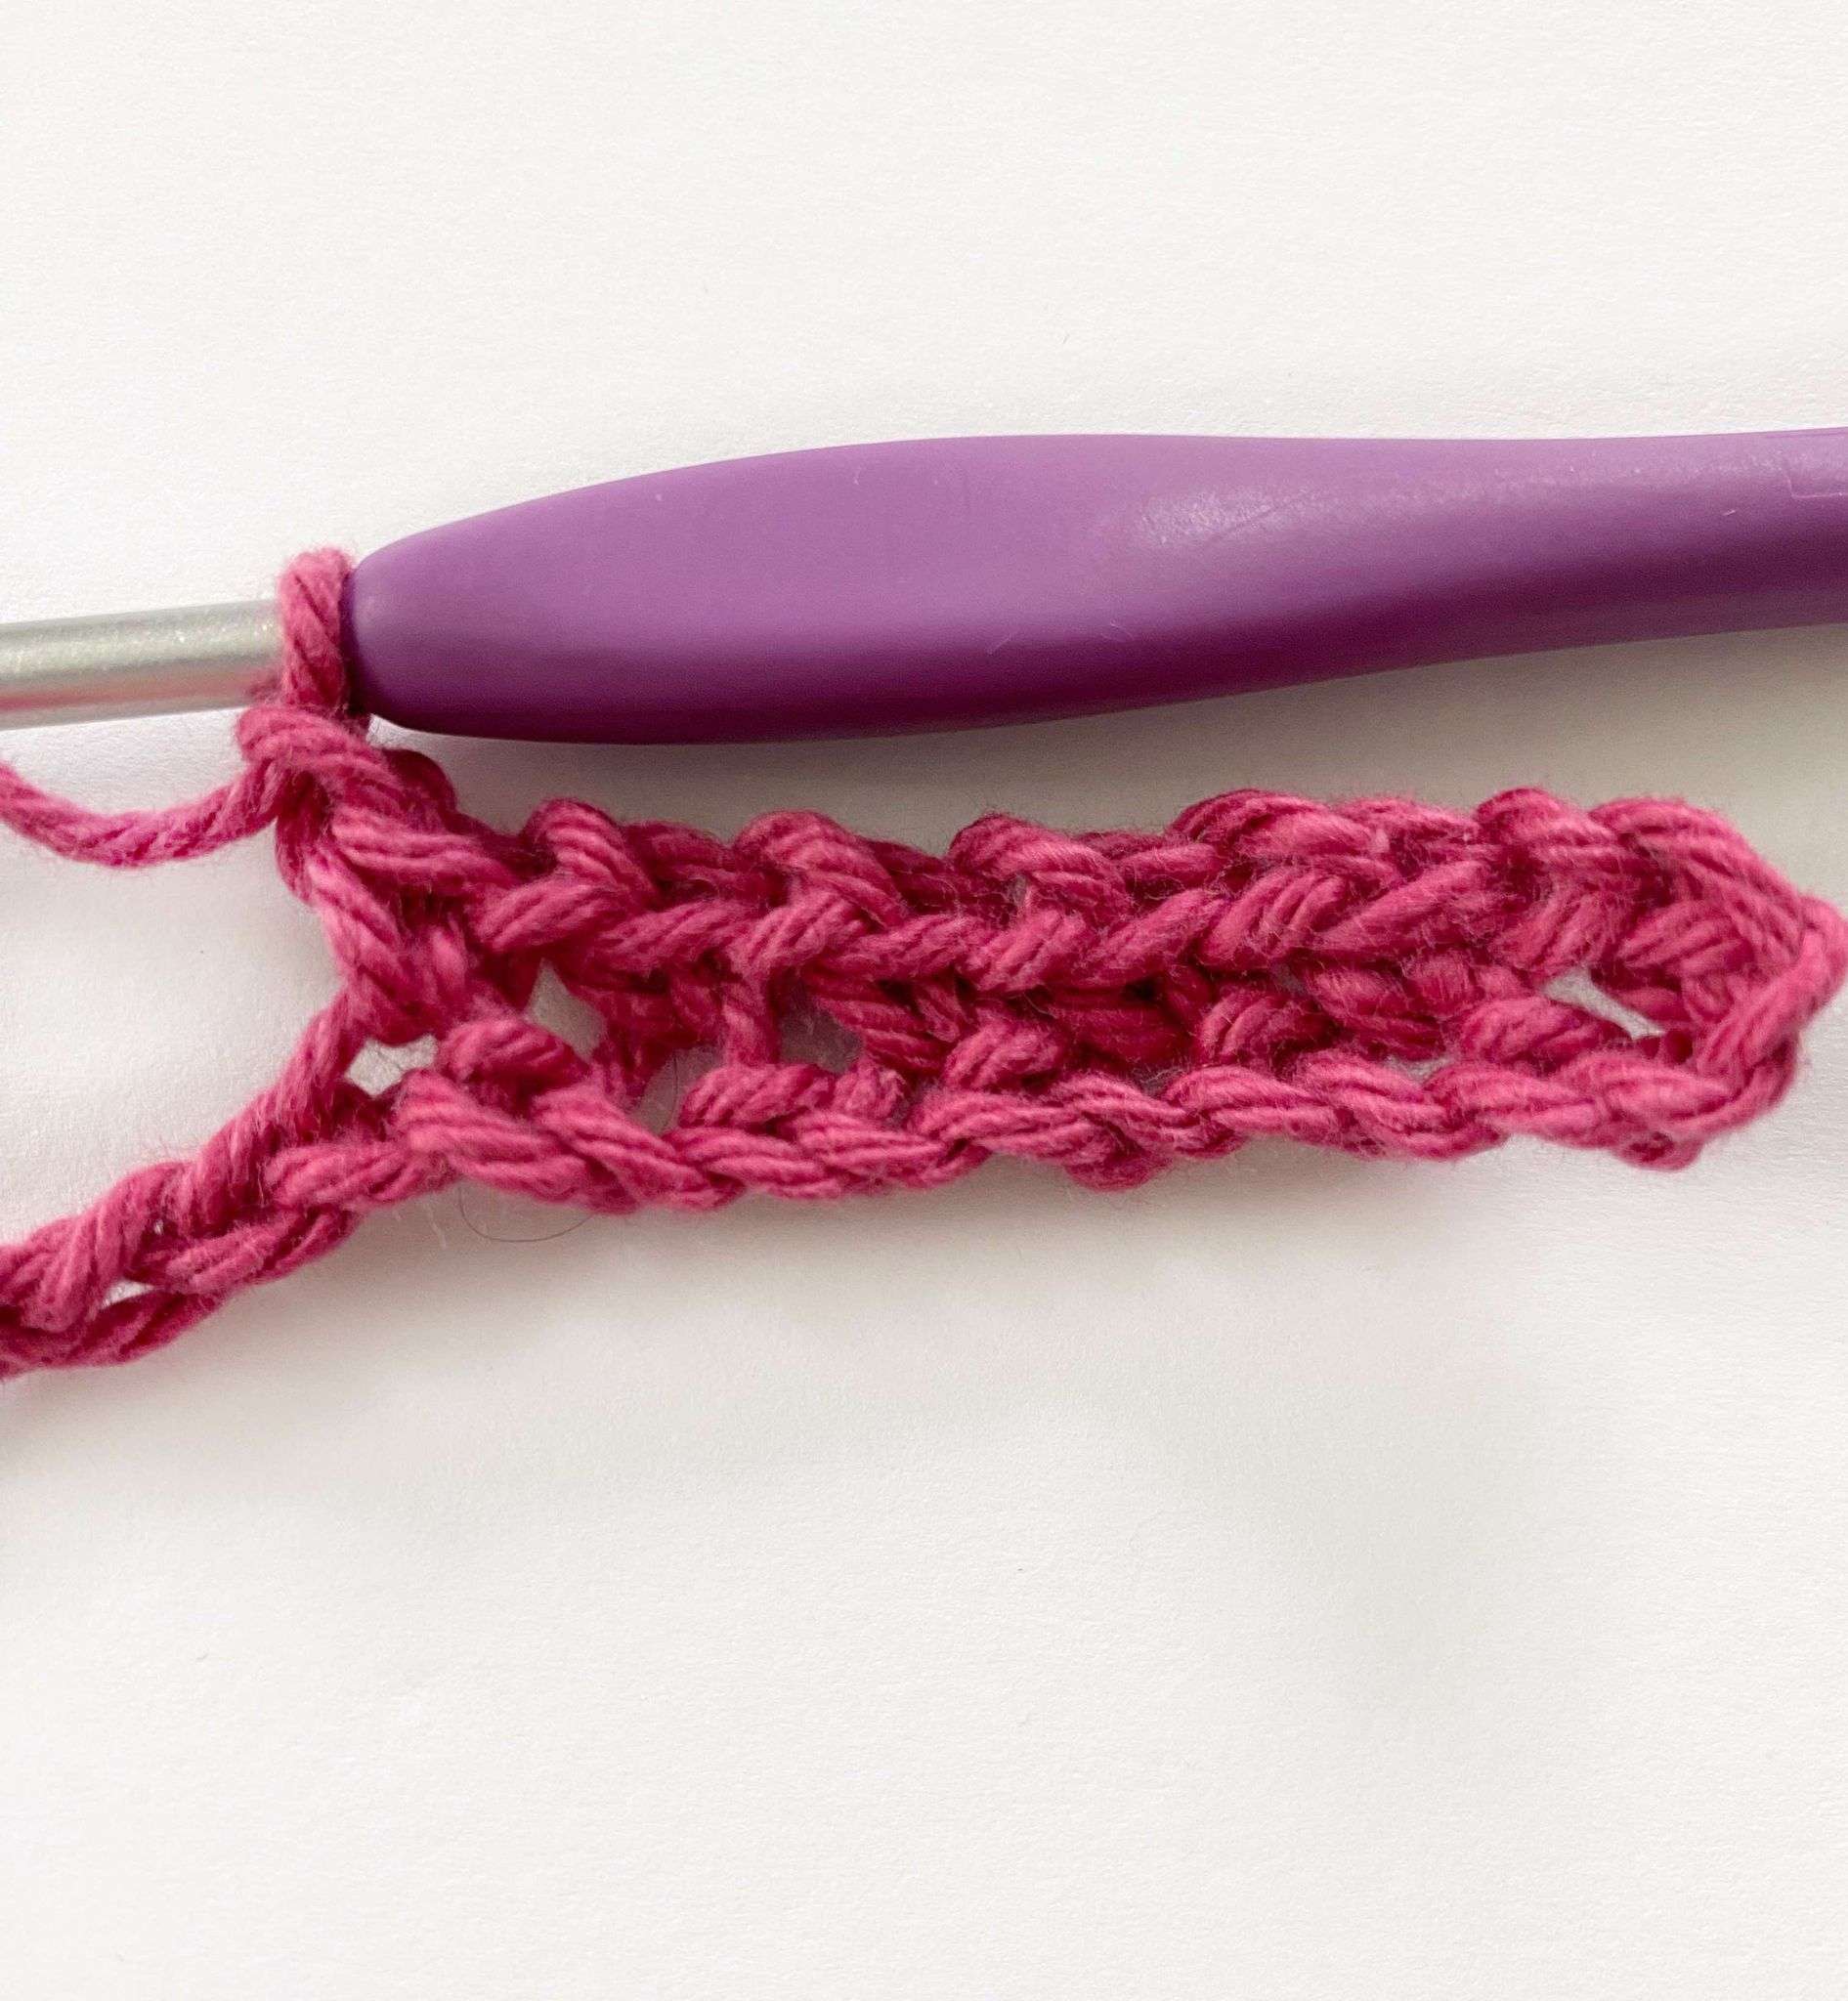
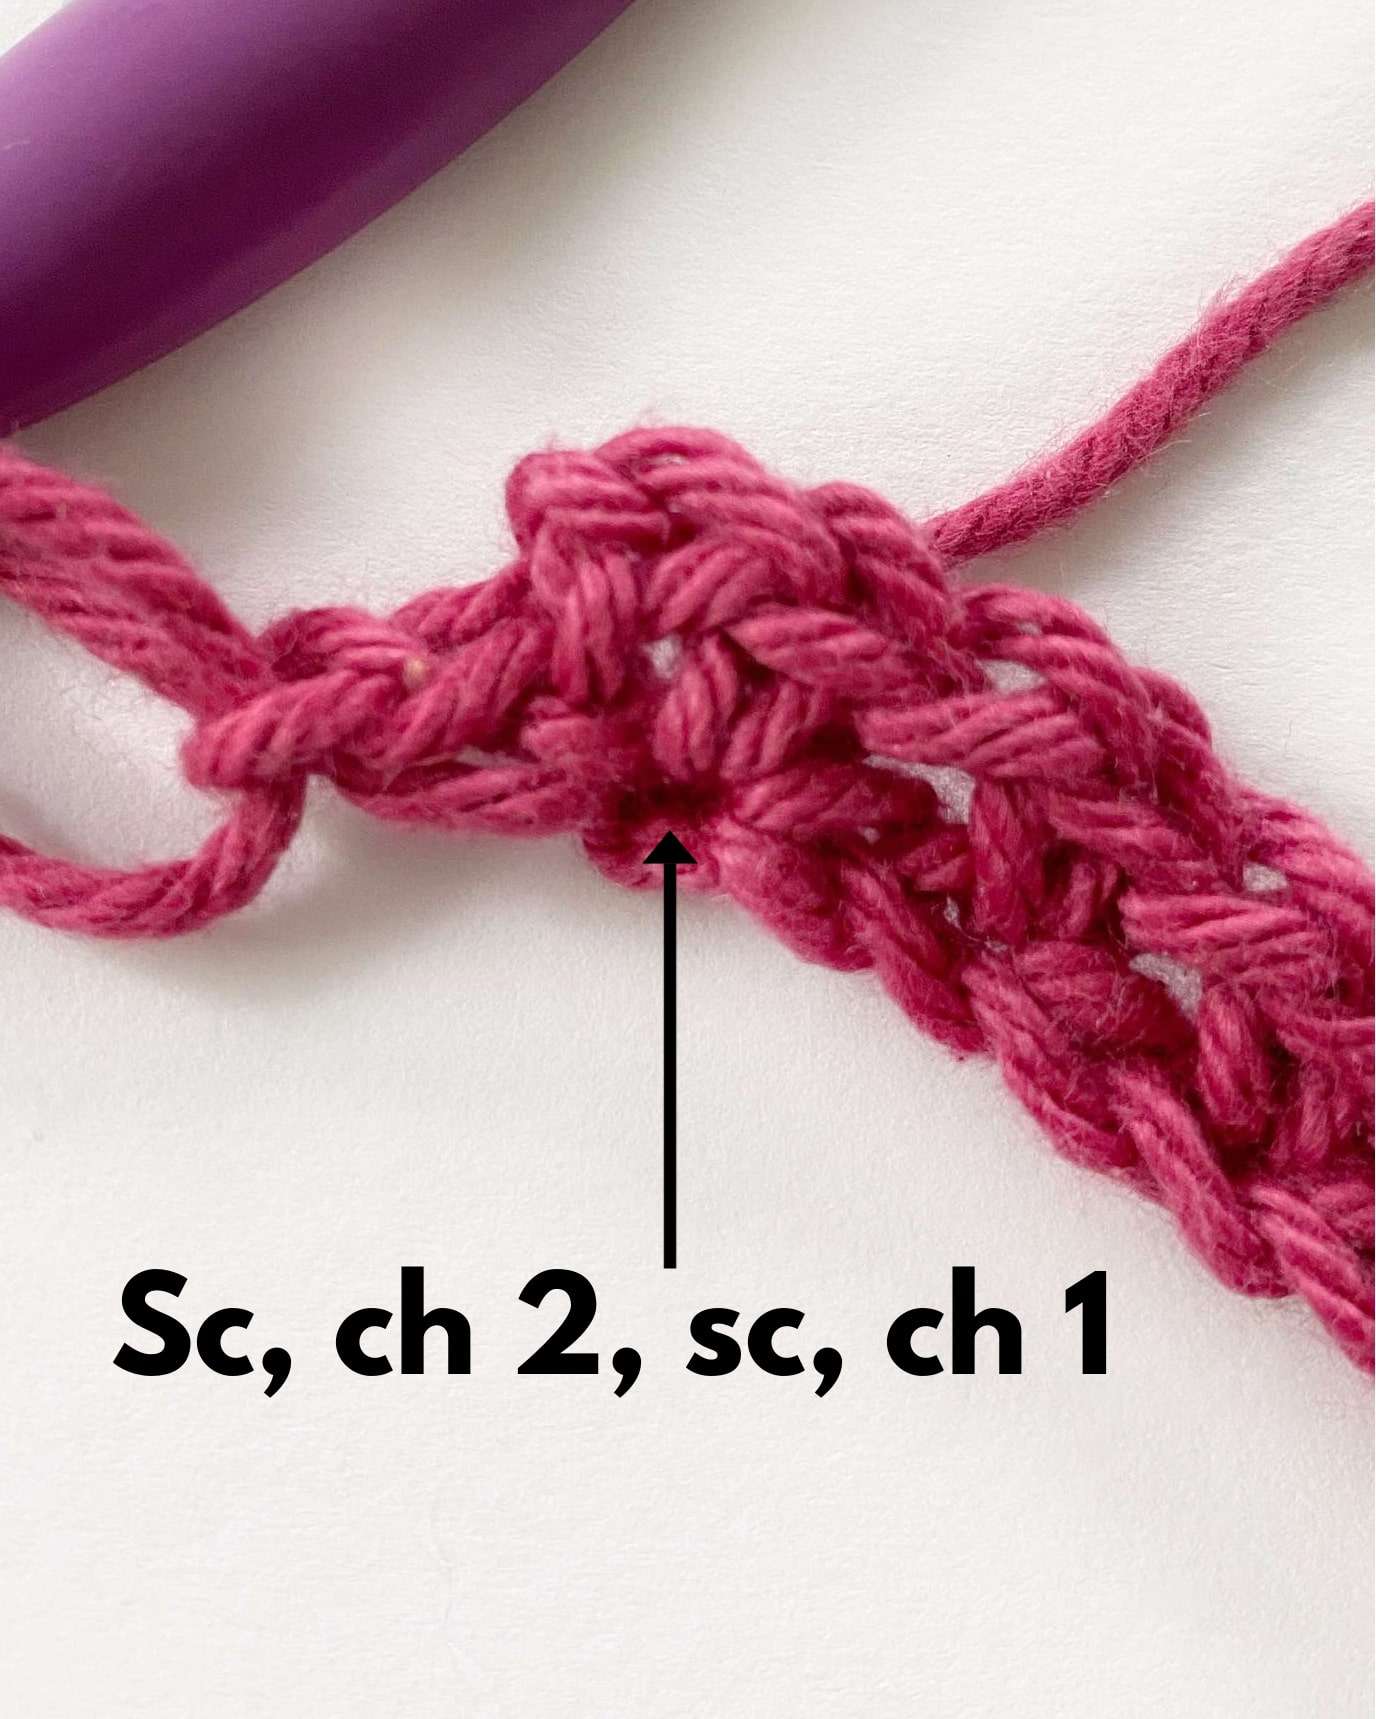
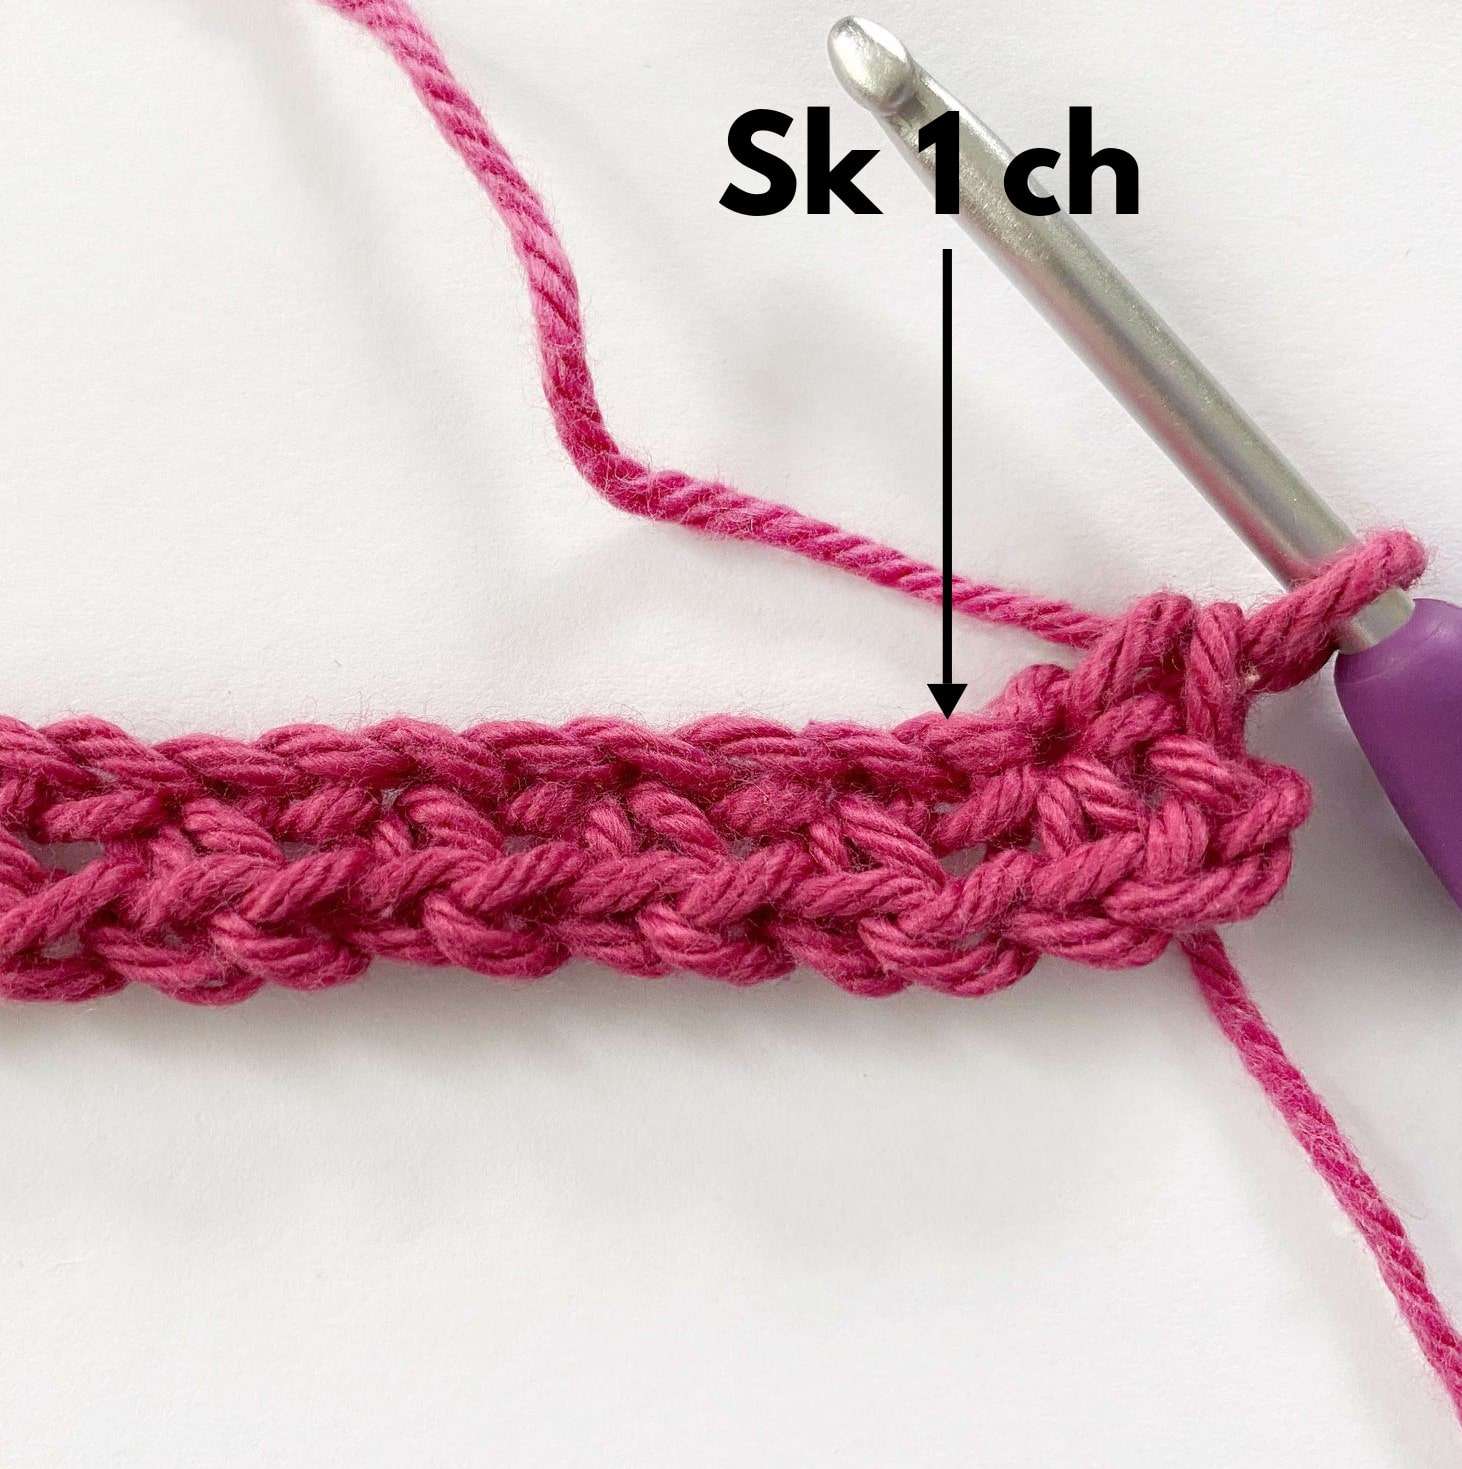
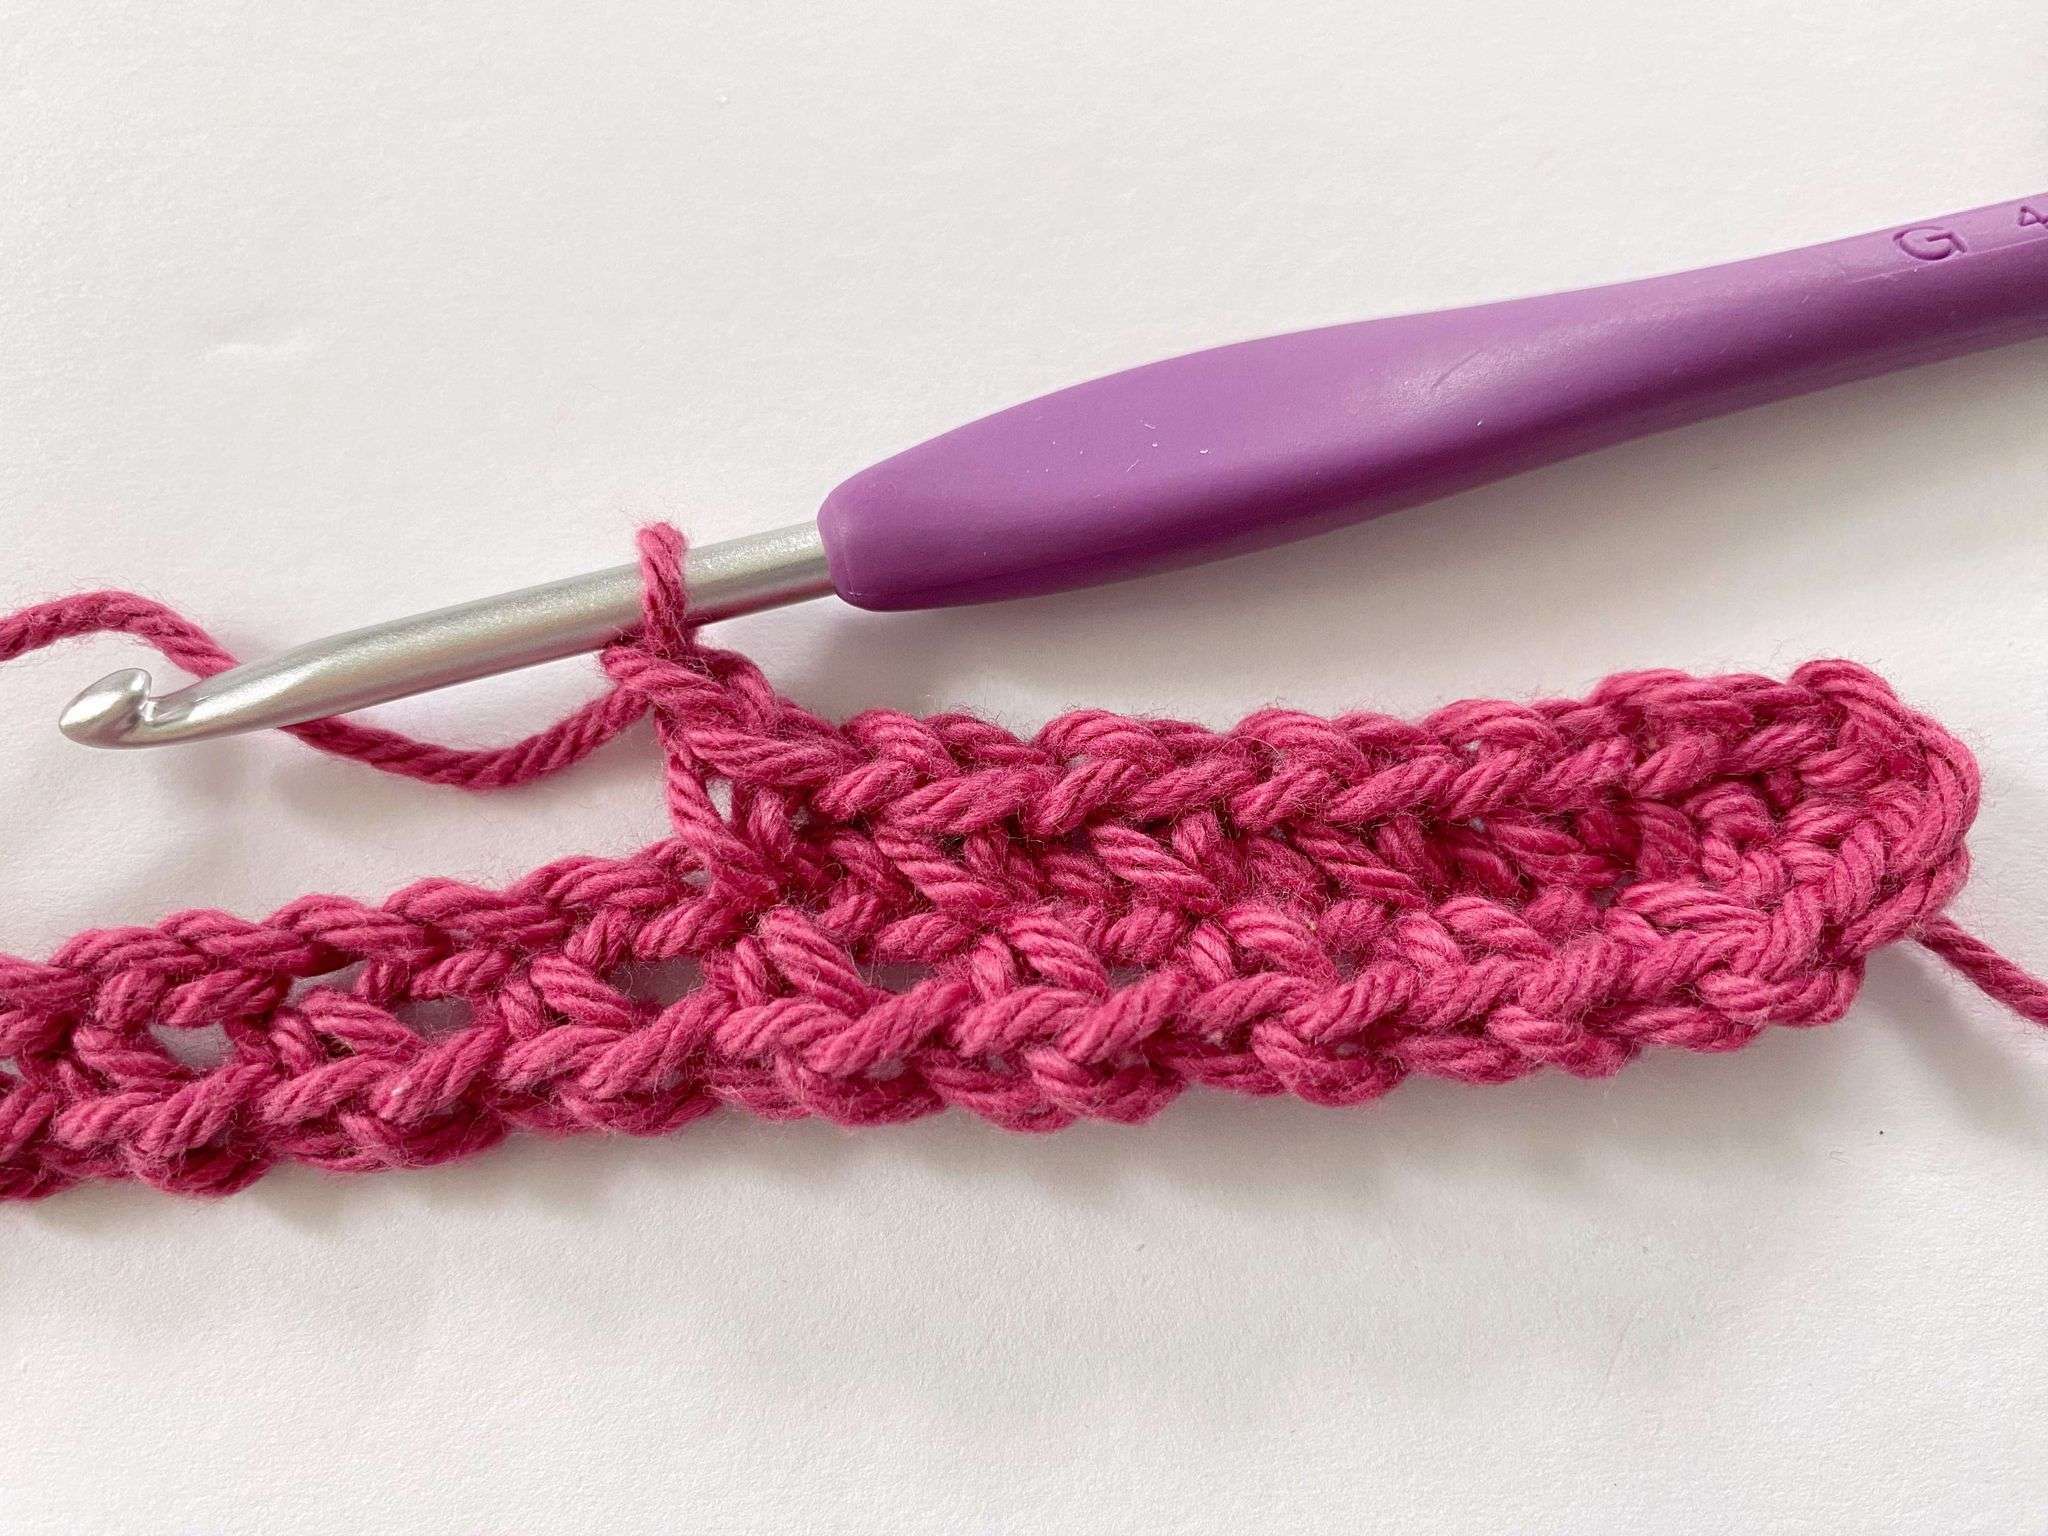
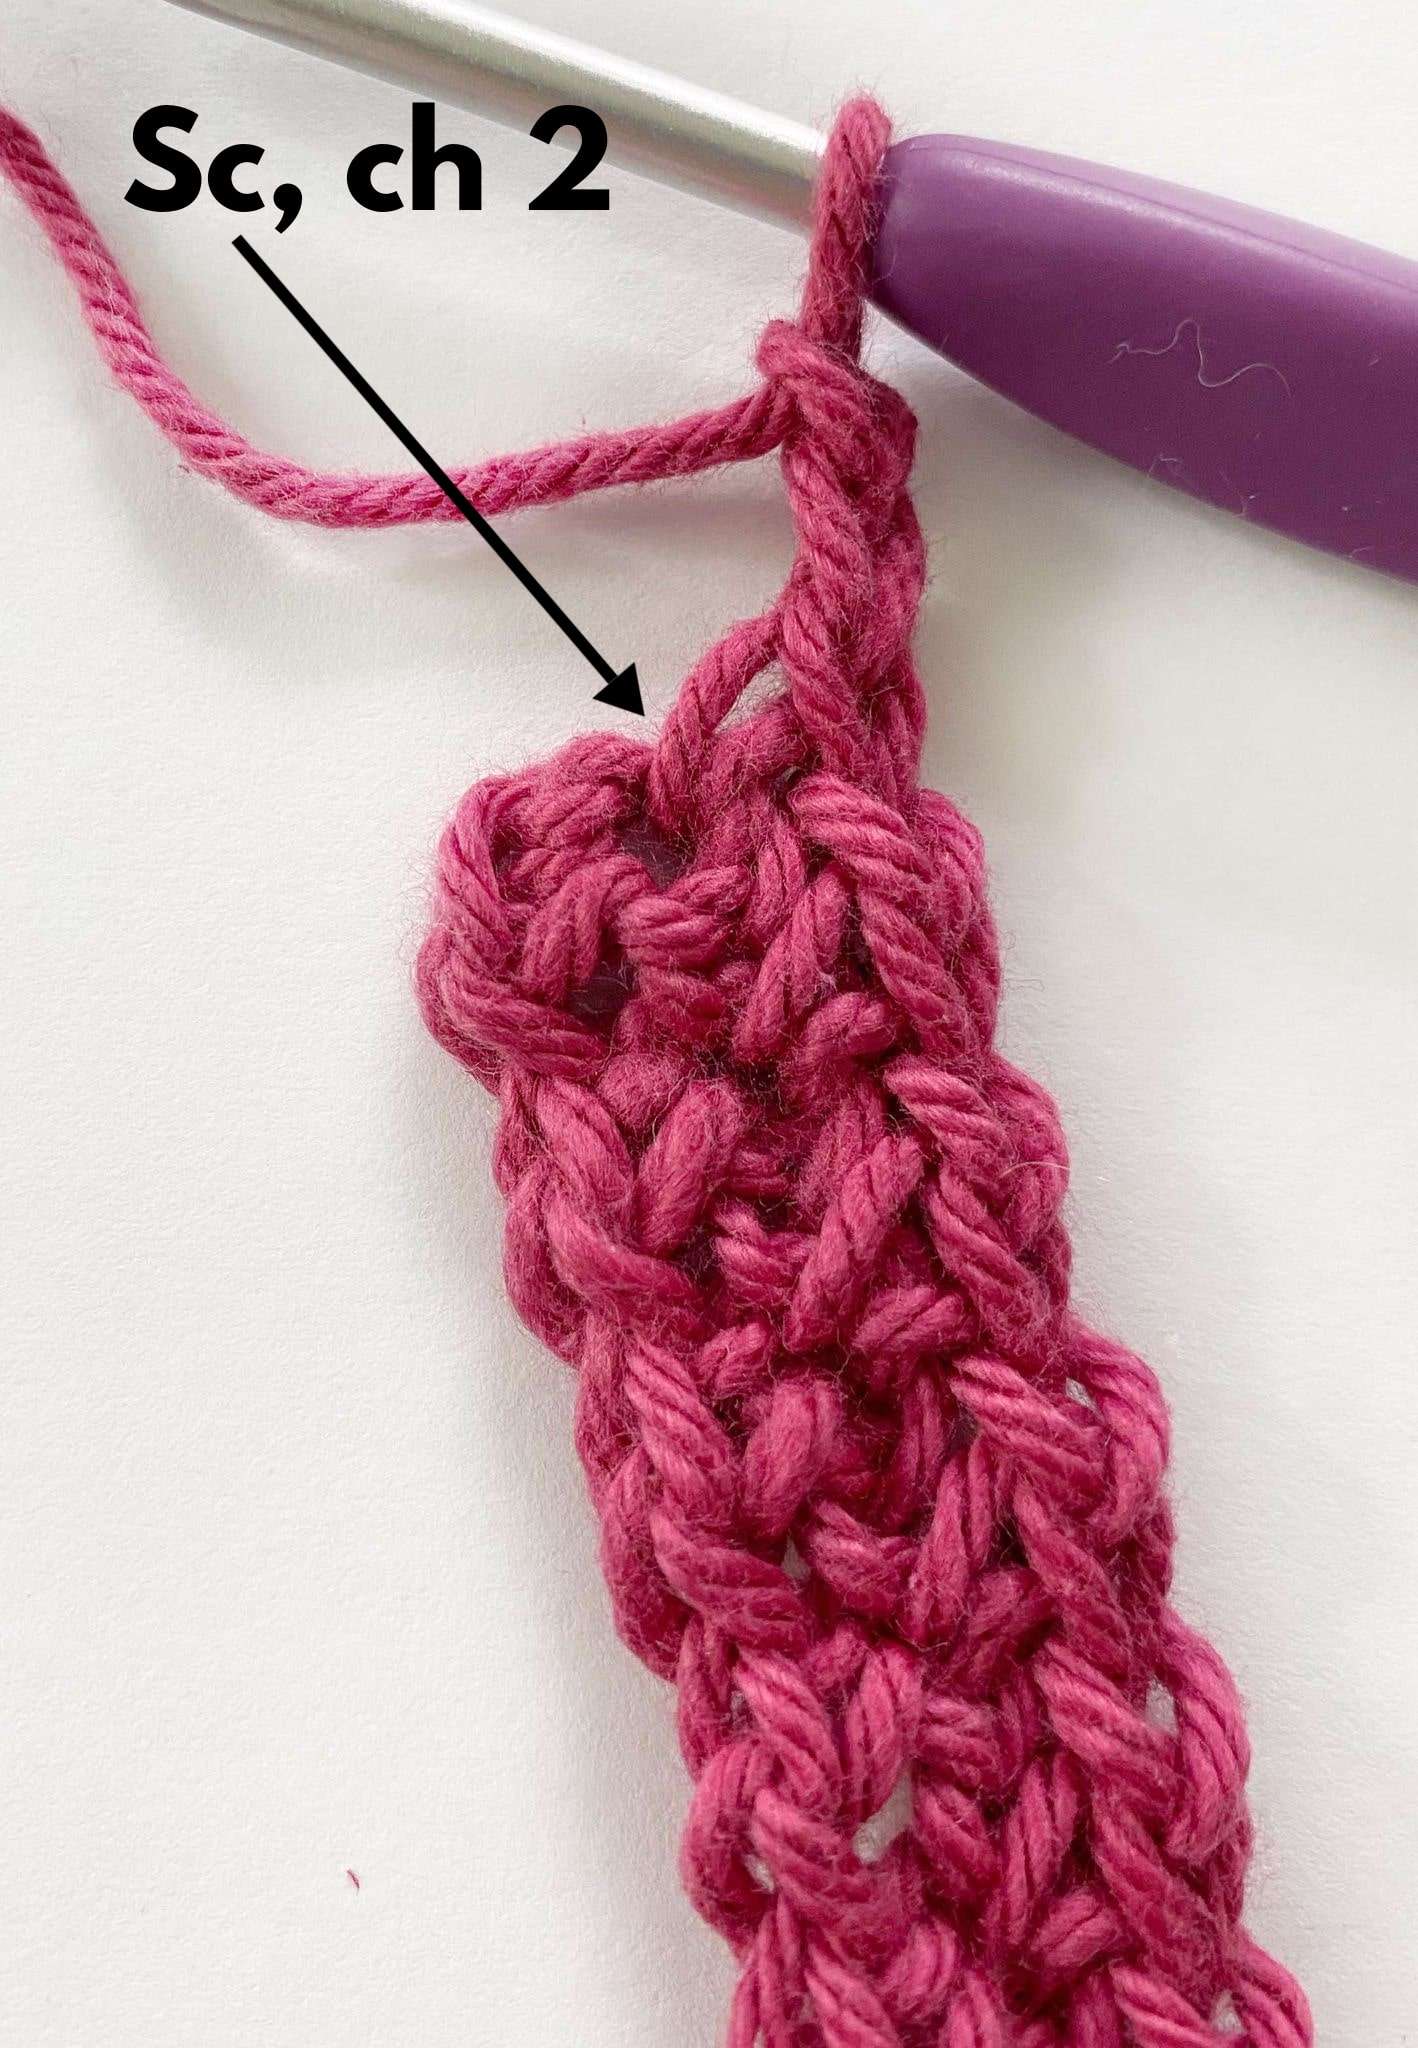
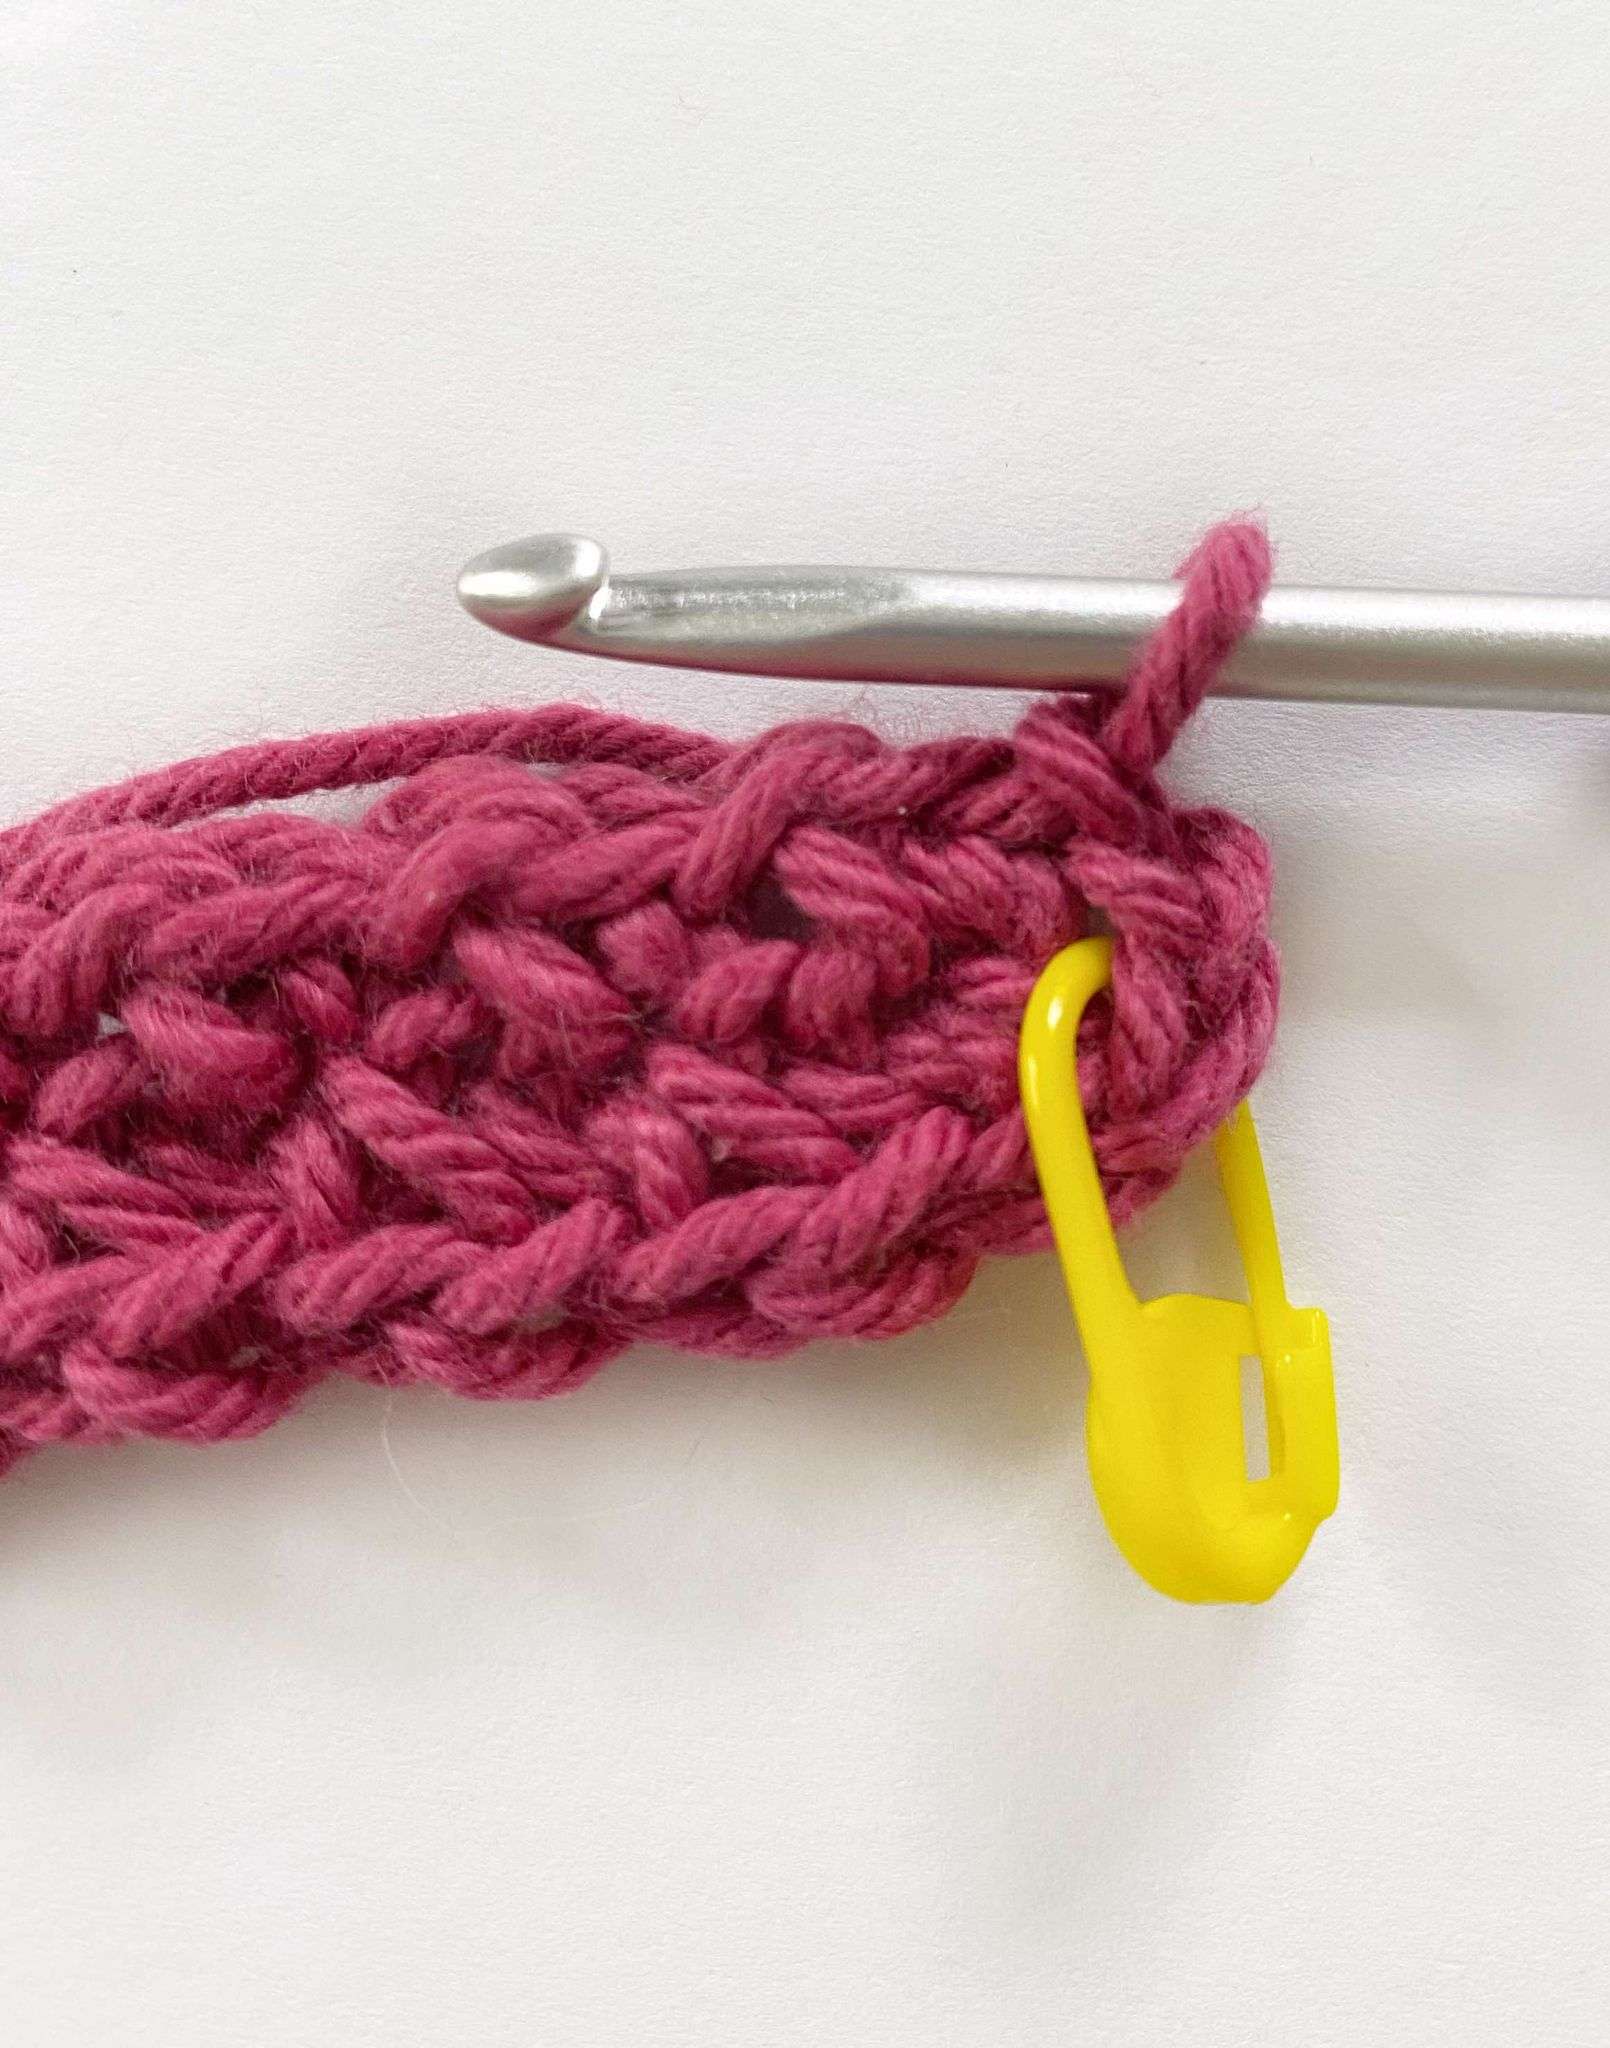
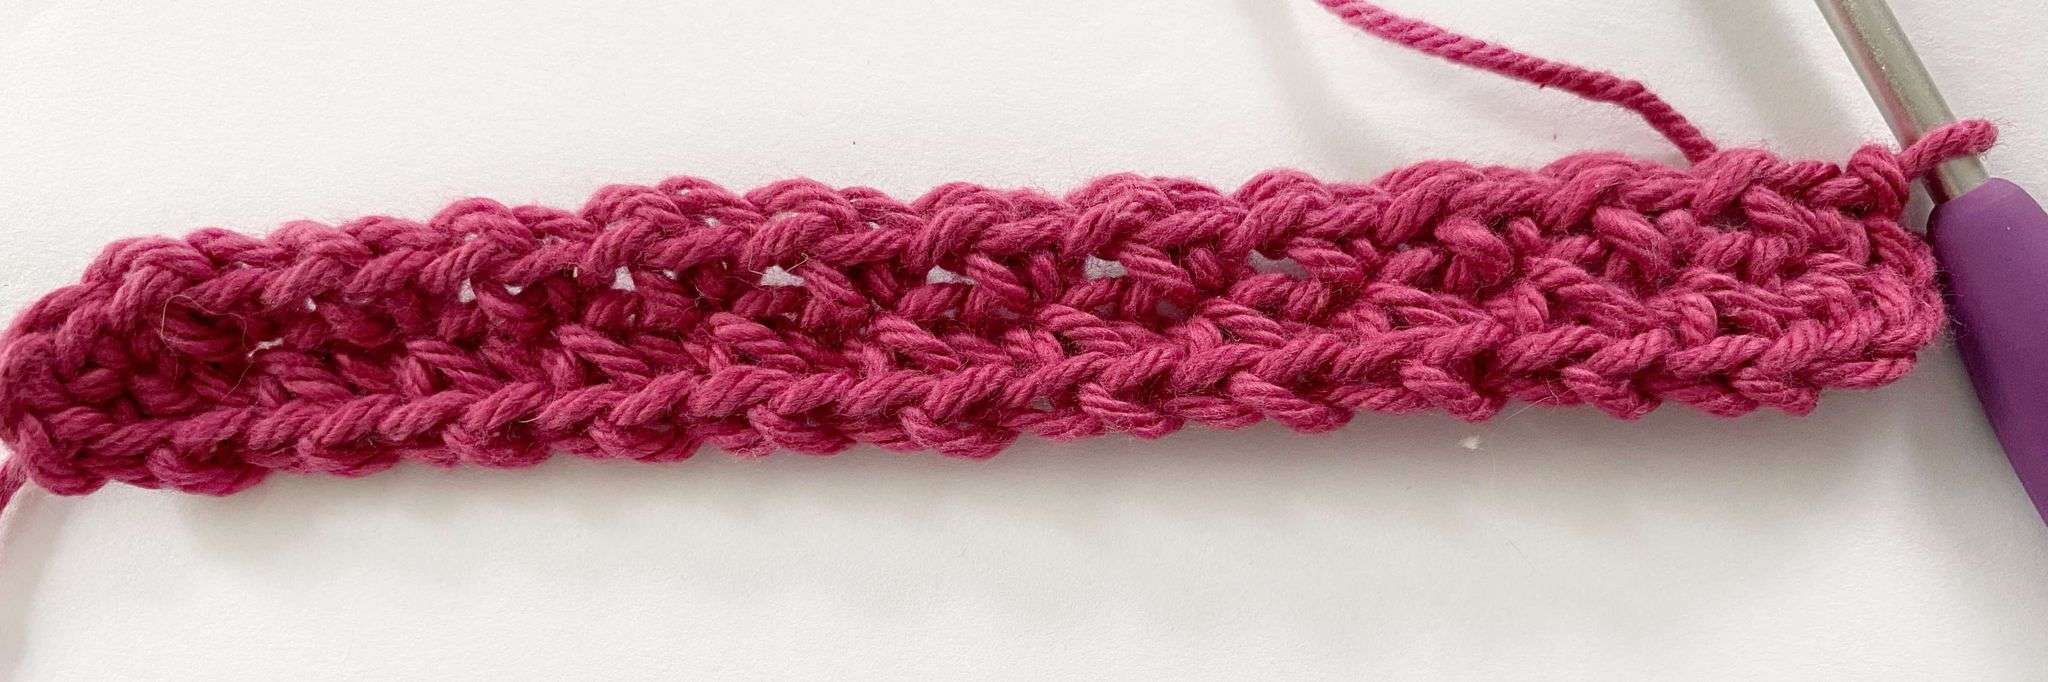
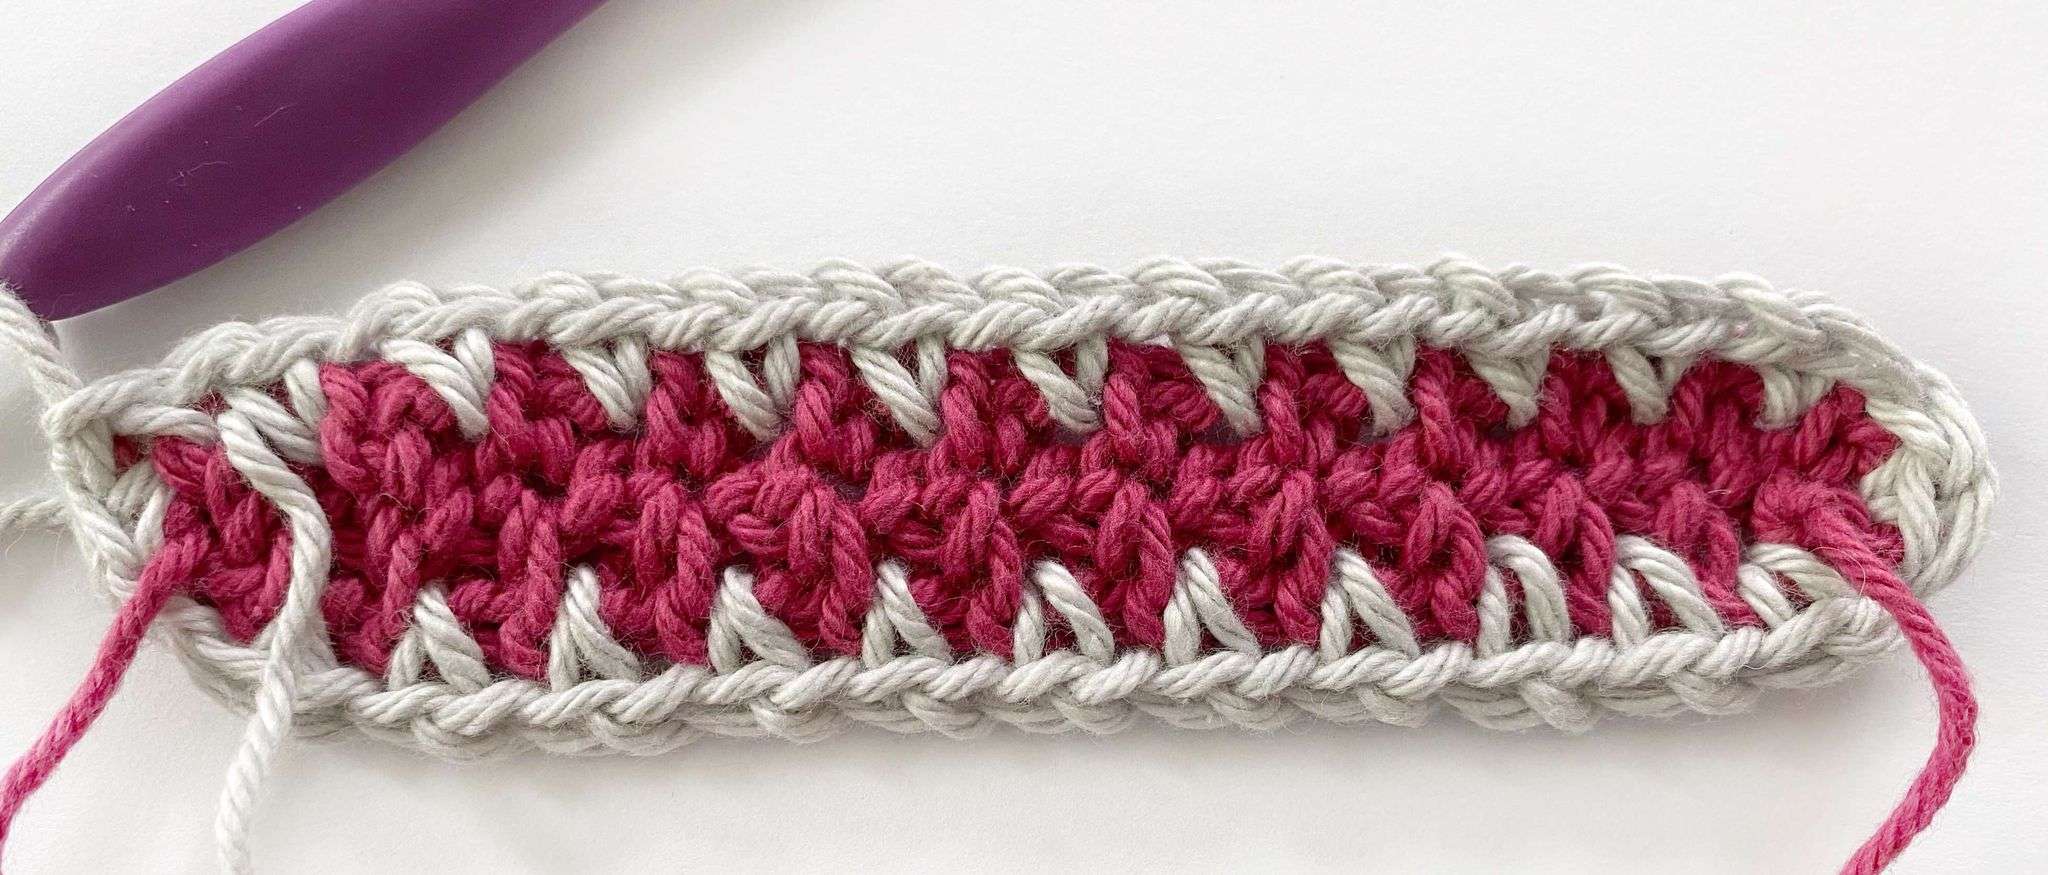
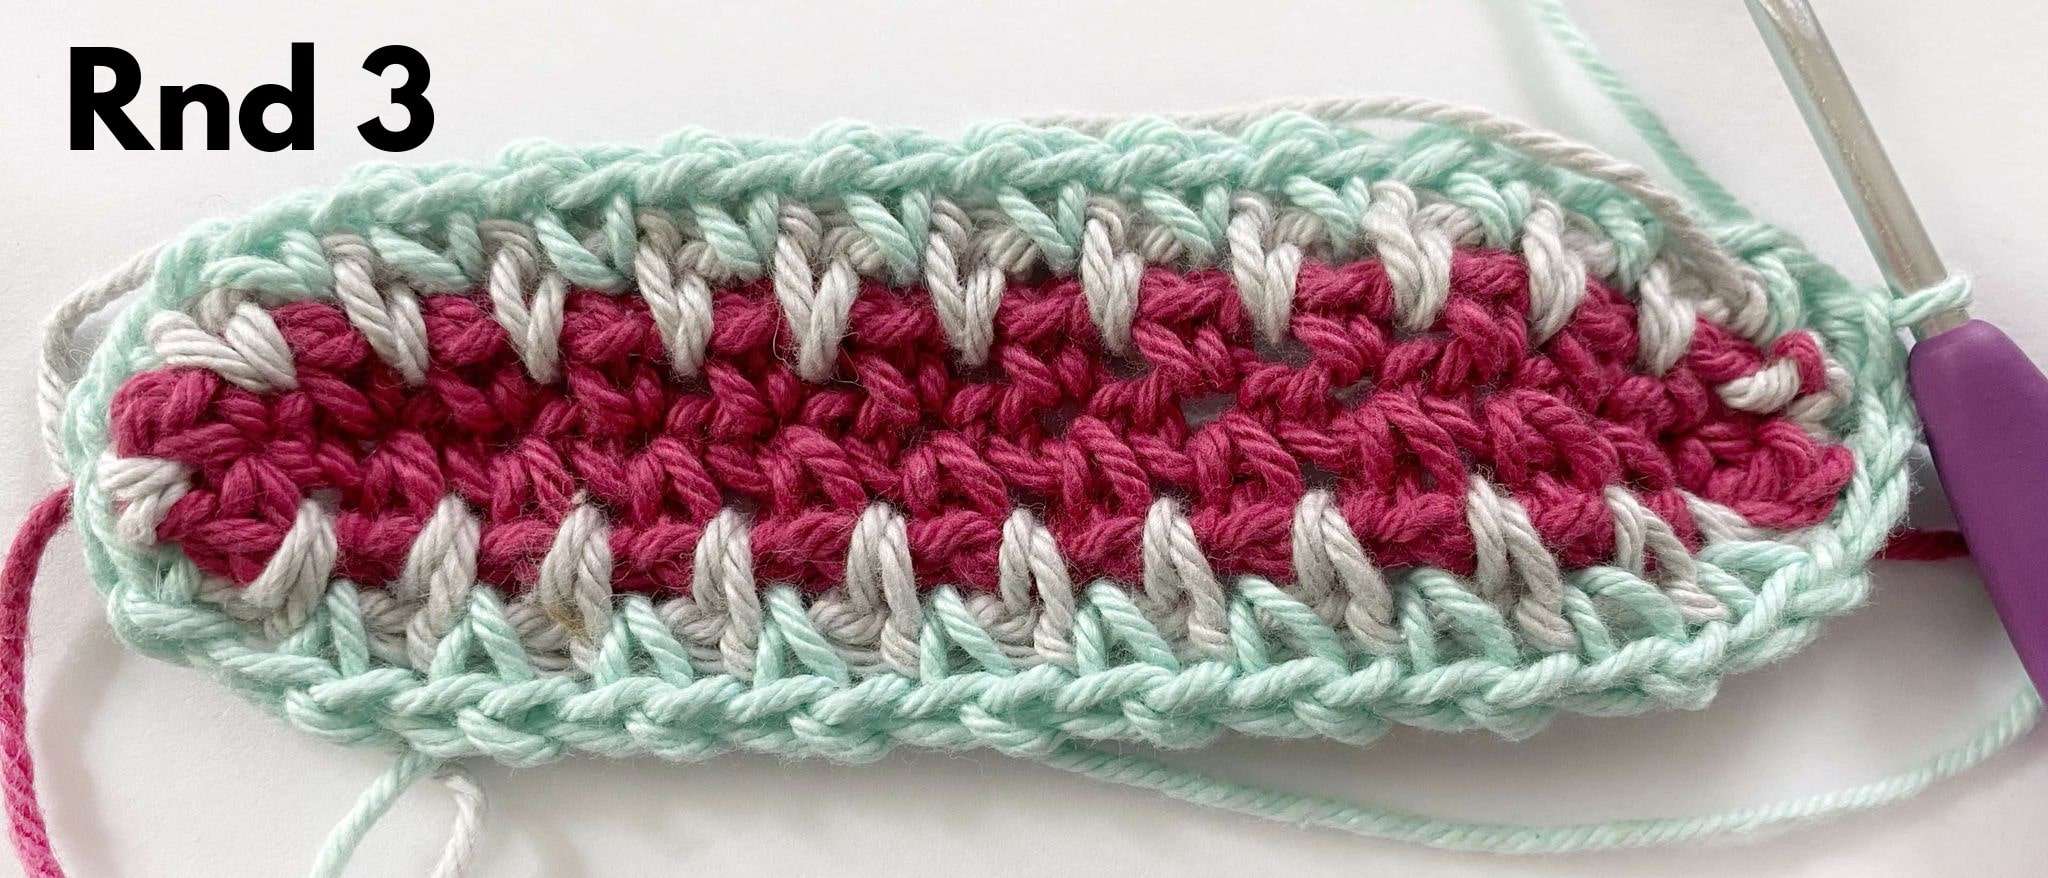
Rnd 2: Ch 1, (sc, ch 1) in marked ch-sp – mark sc with a stitch marker, (sc, ch 1) in each ch-sp around. Mark the last ch-1 with a stitch marker. Sl st into the first sc of the rnd to join. Turn. <34 (40) sc, 34 (40) ch-1 sp>
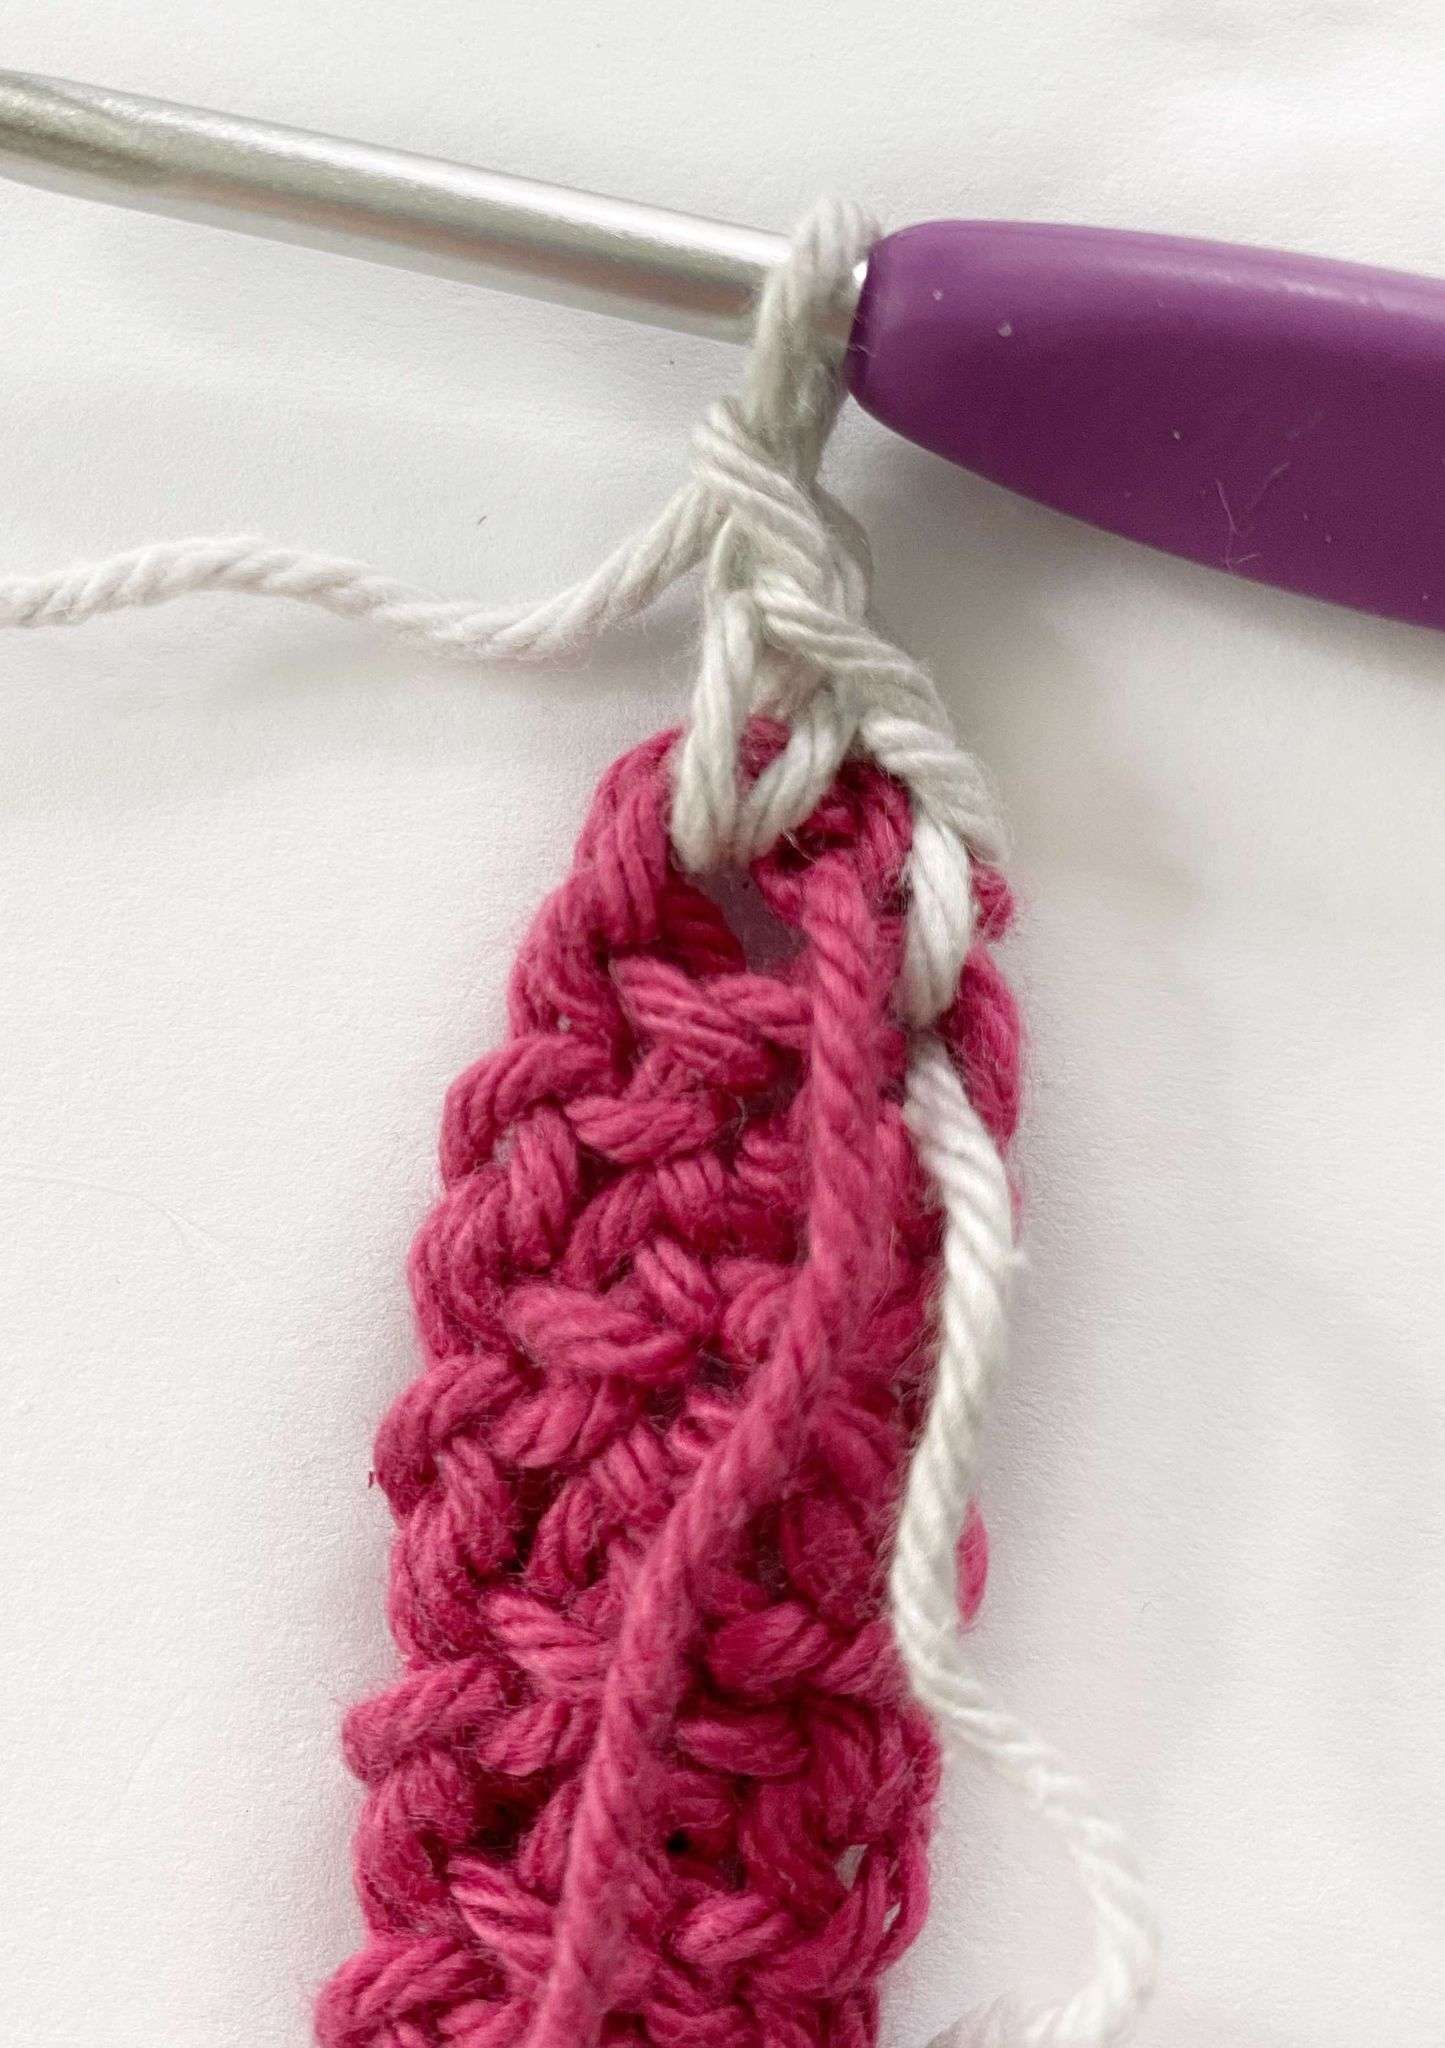
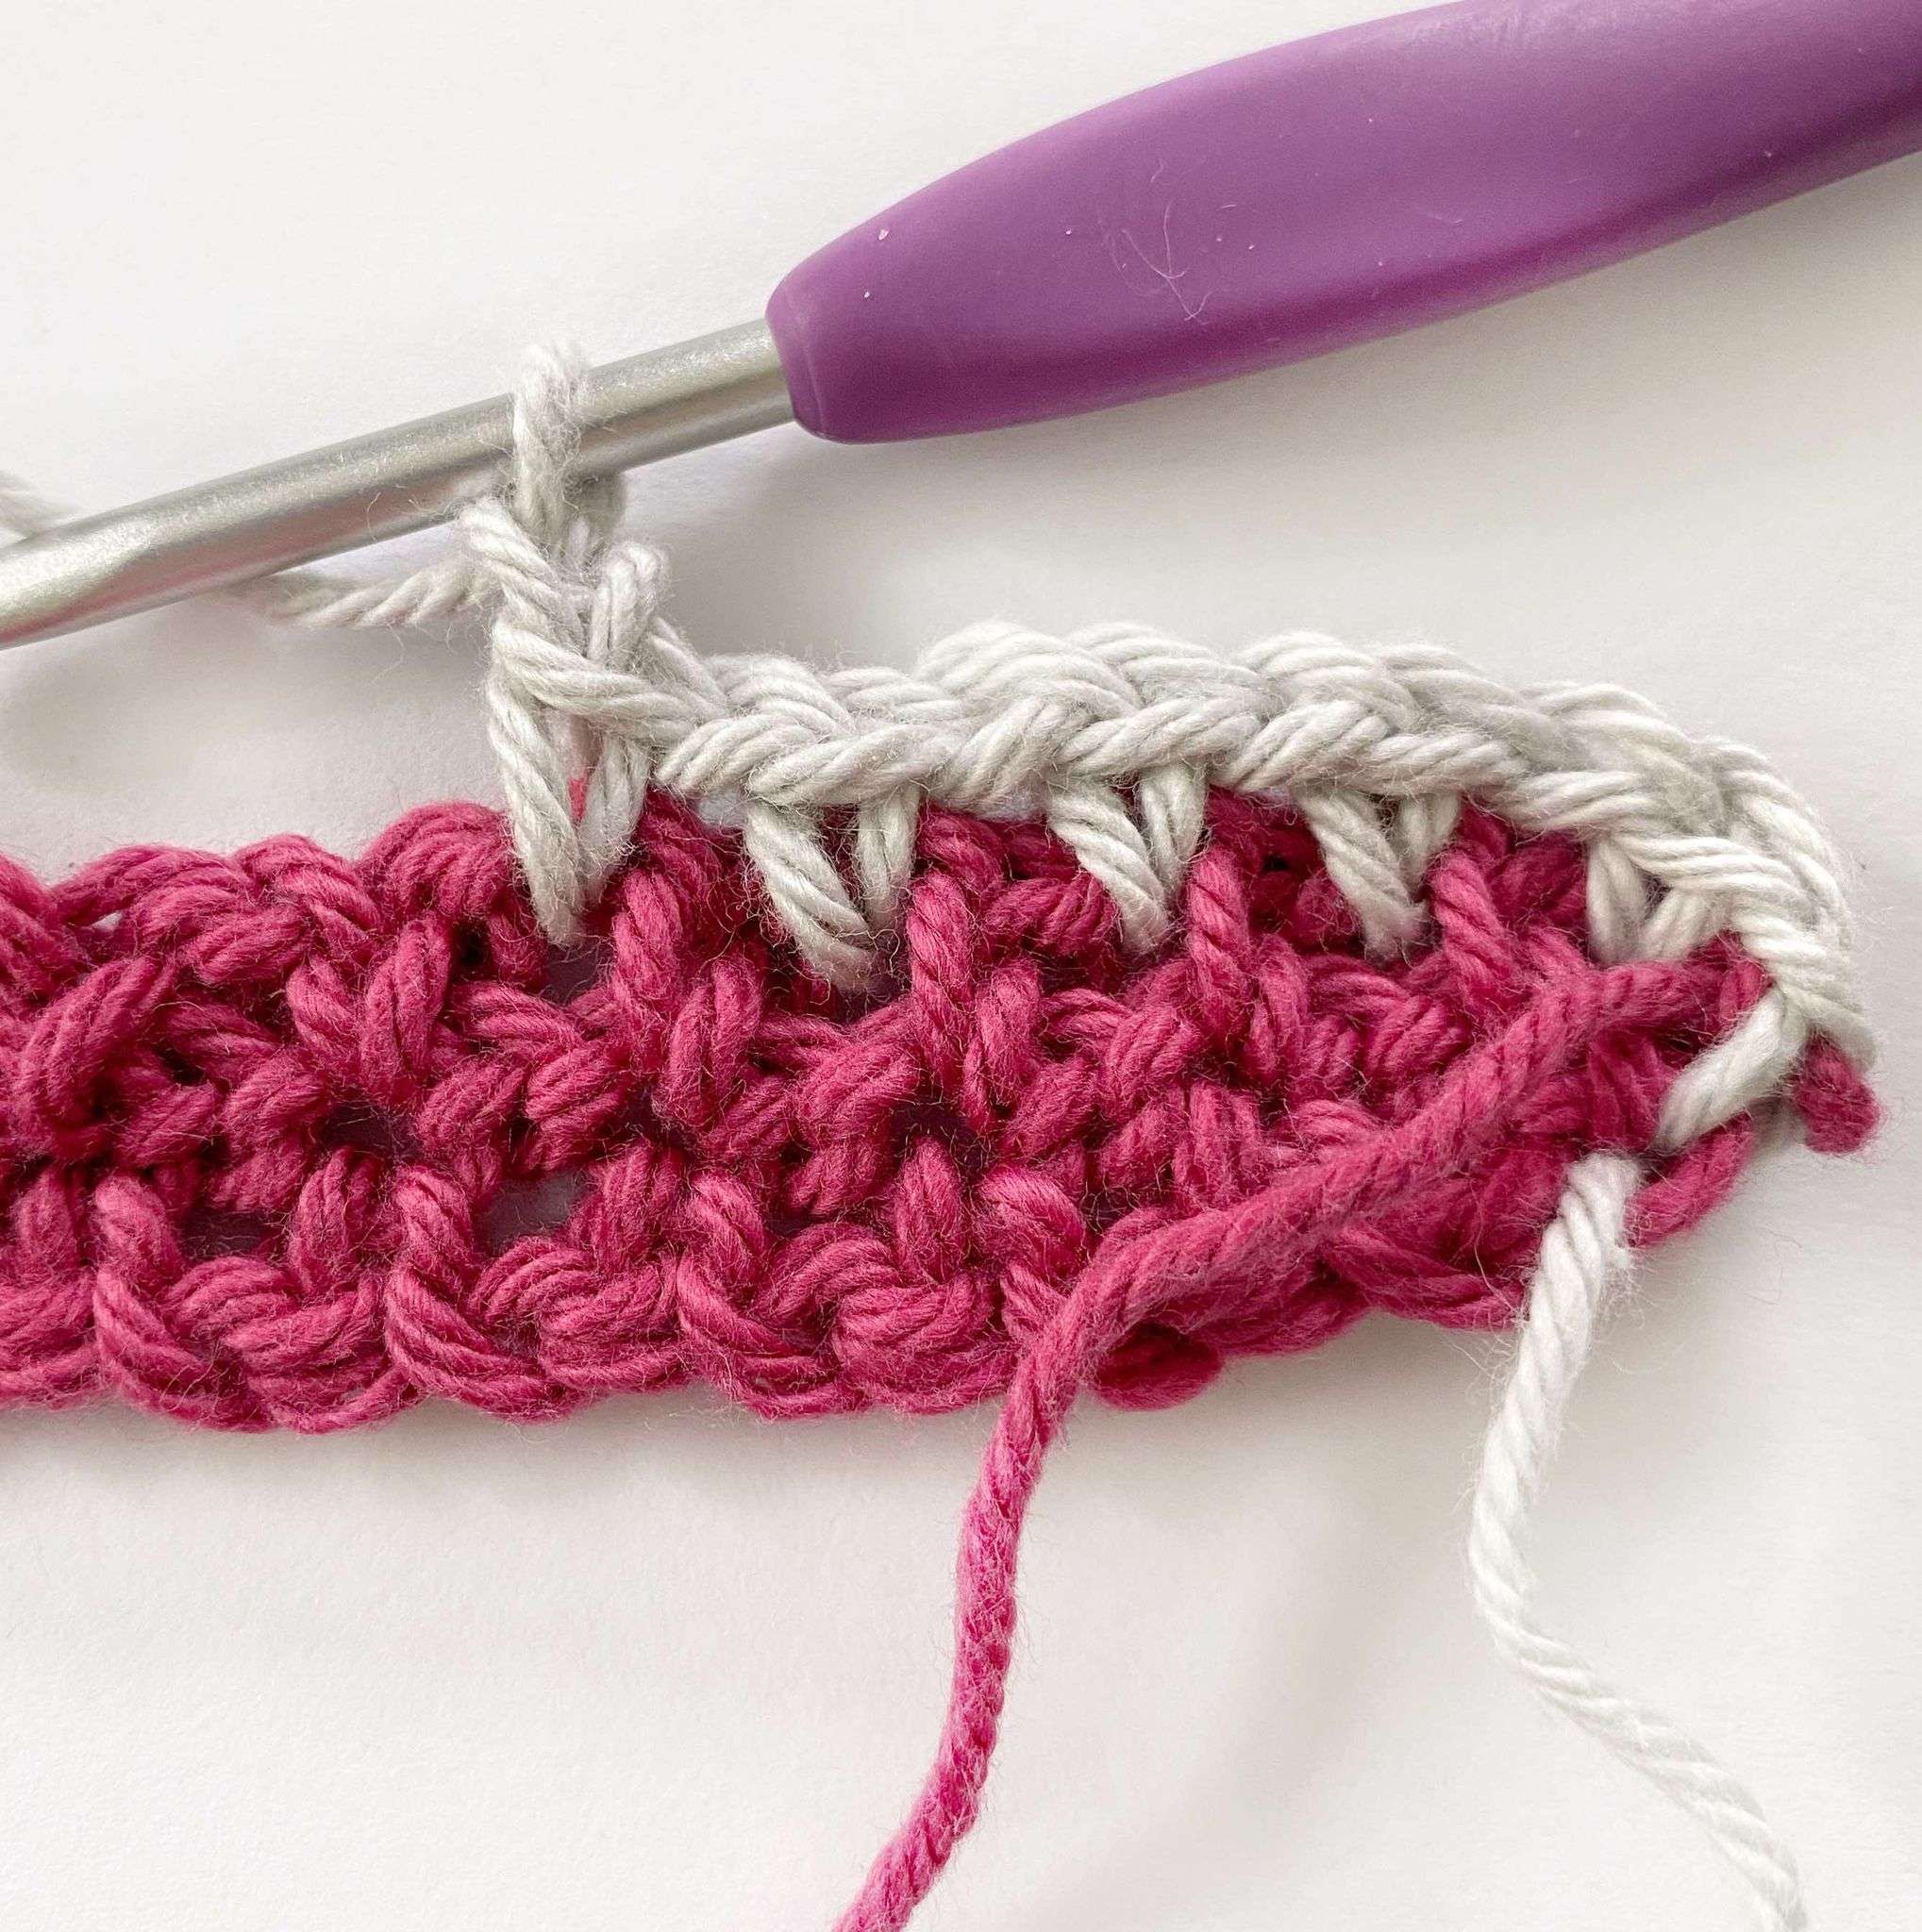
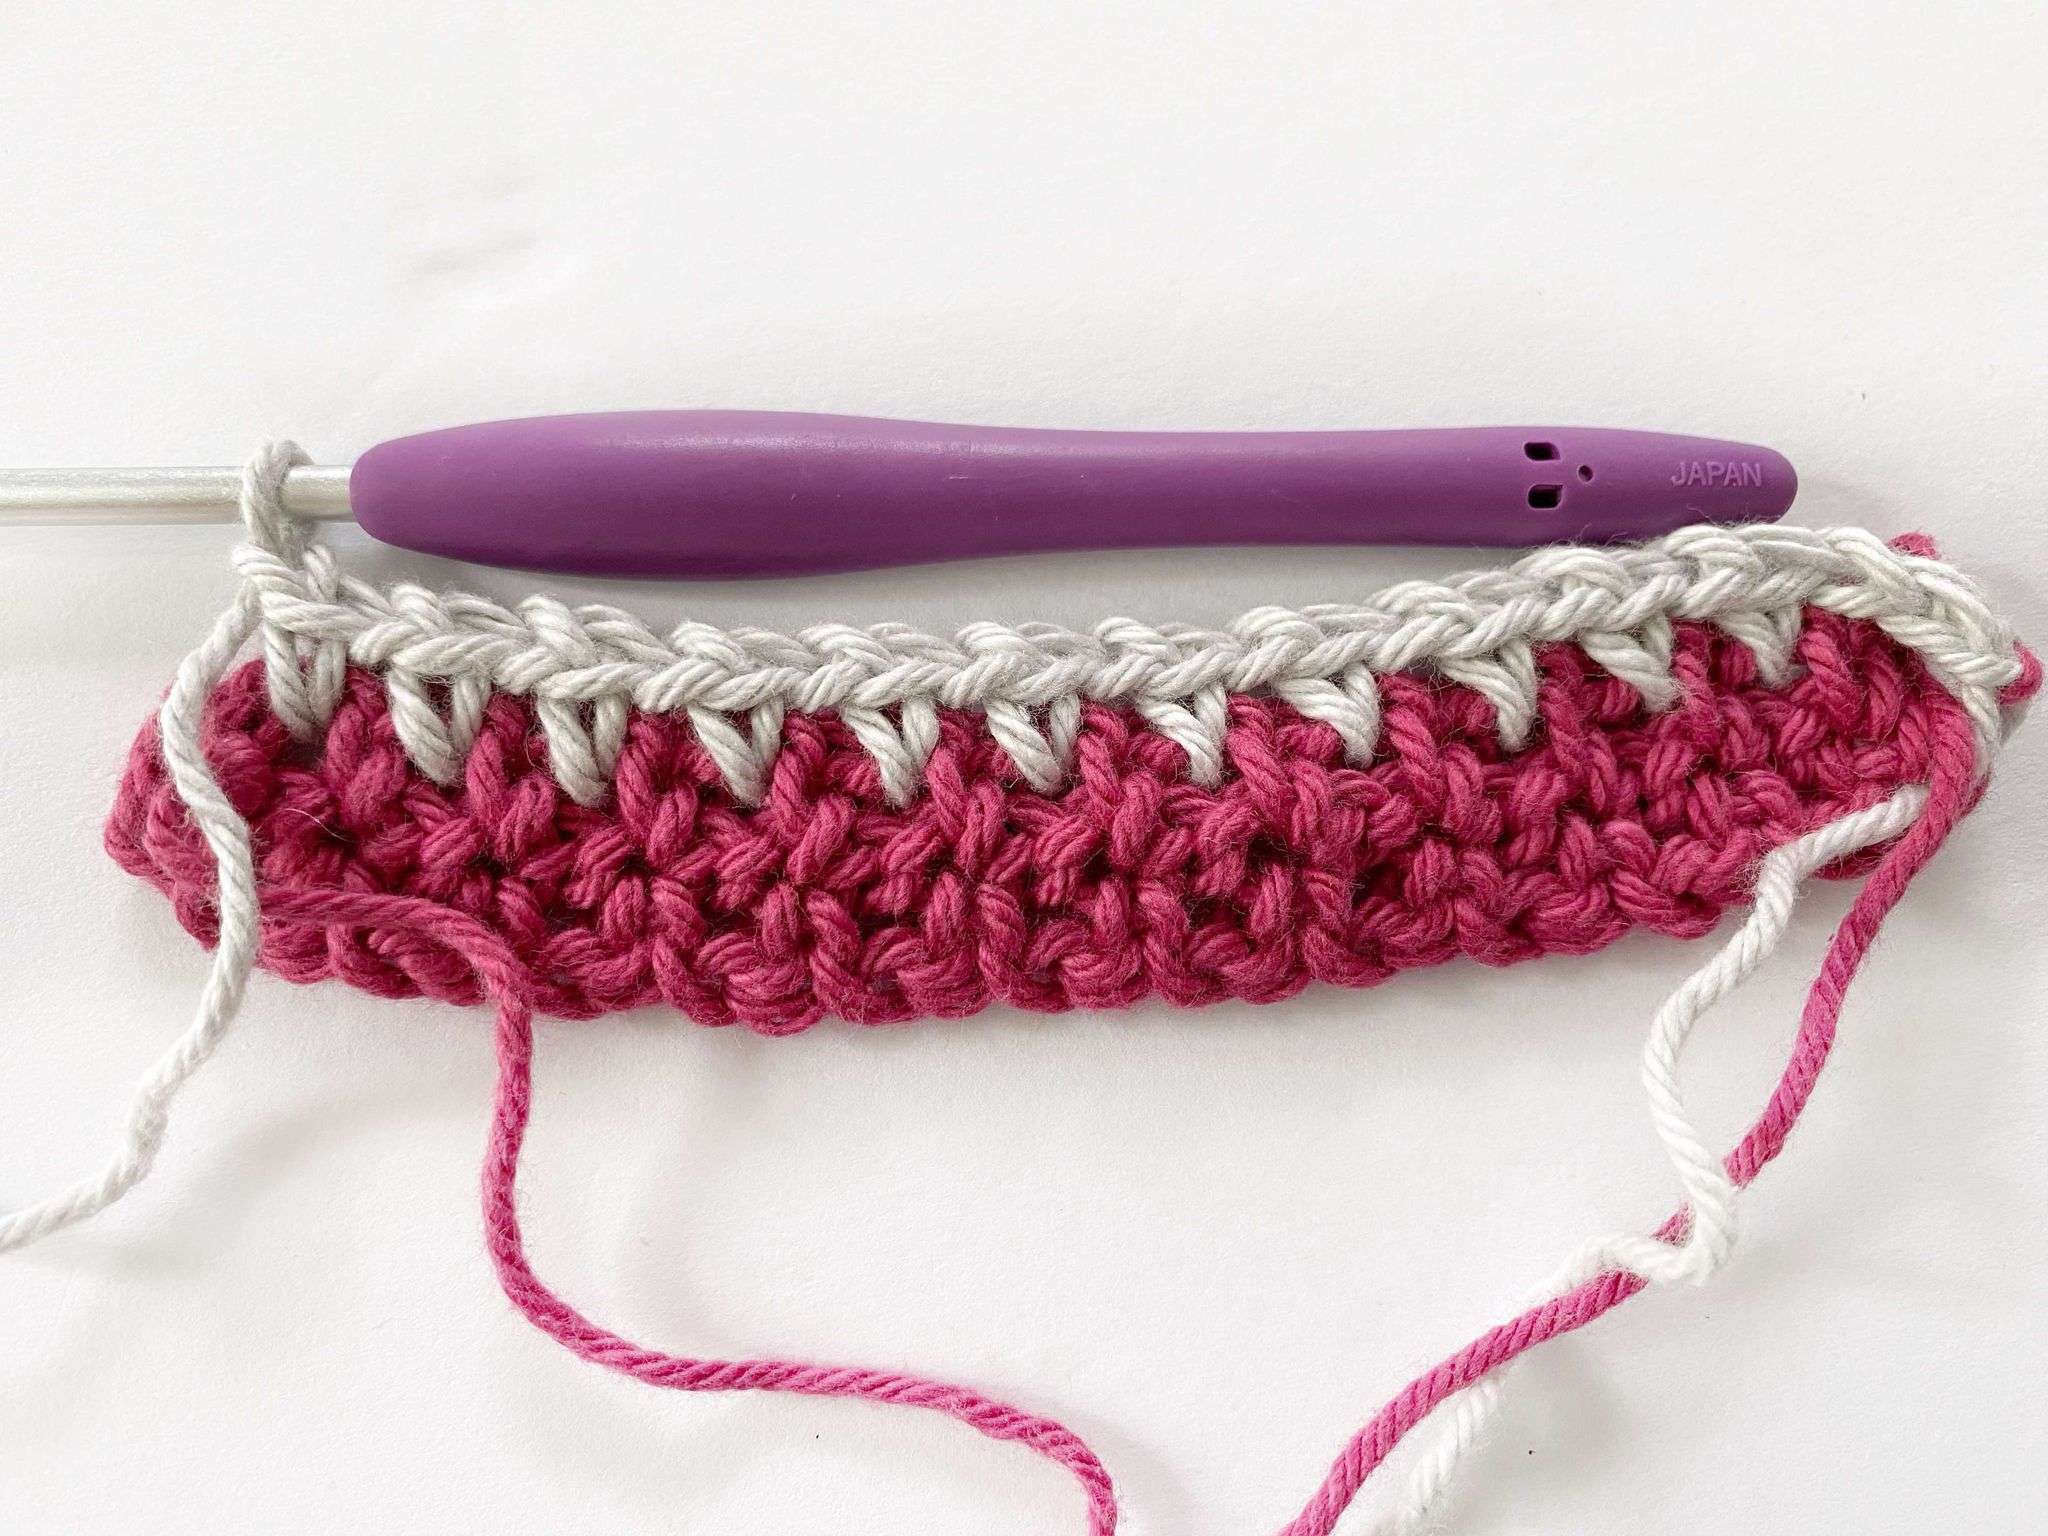
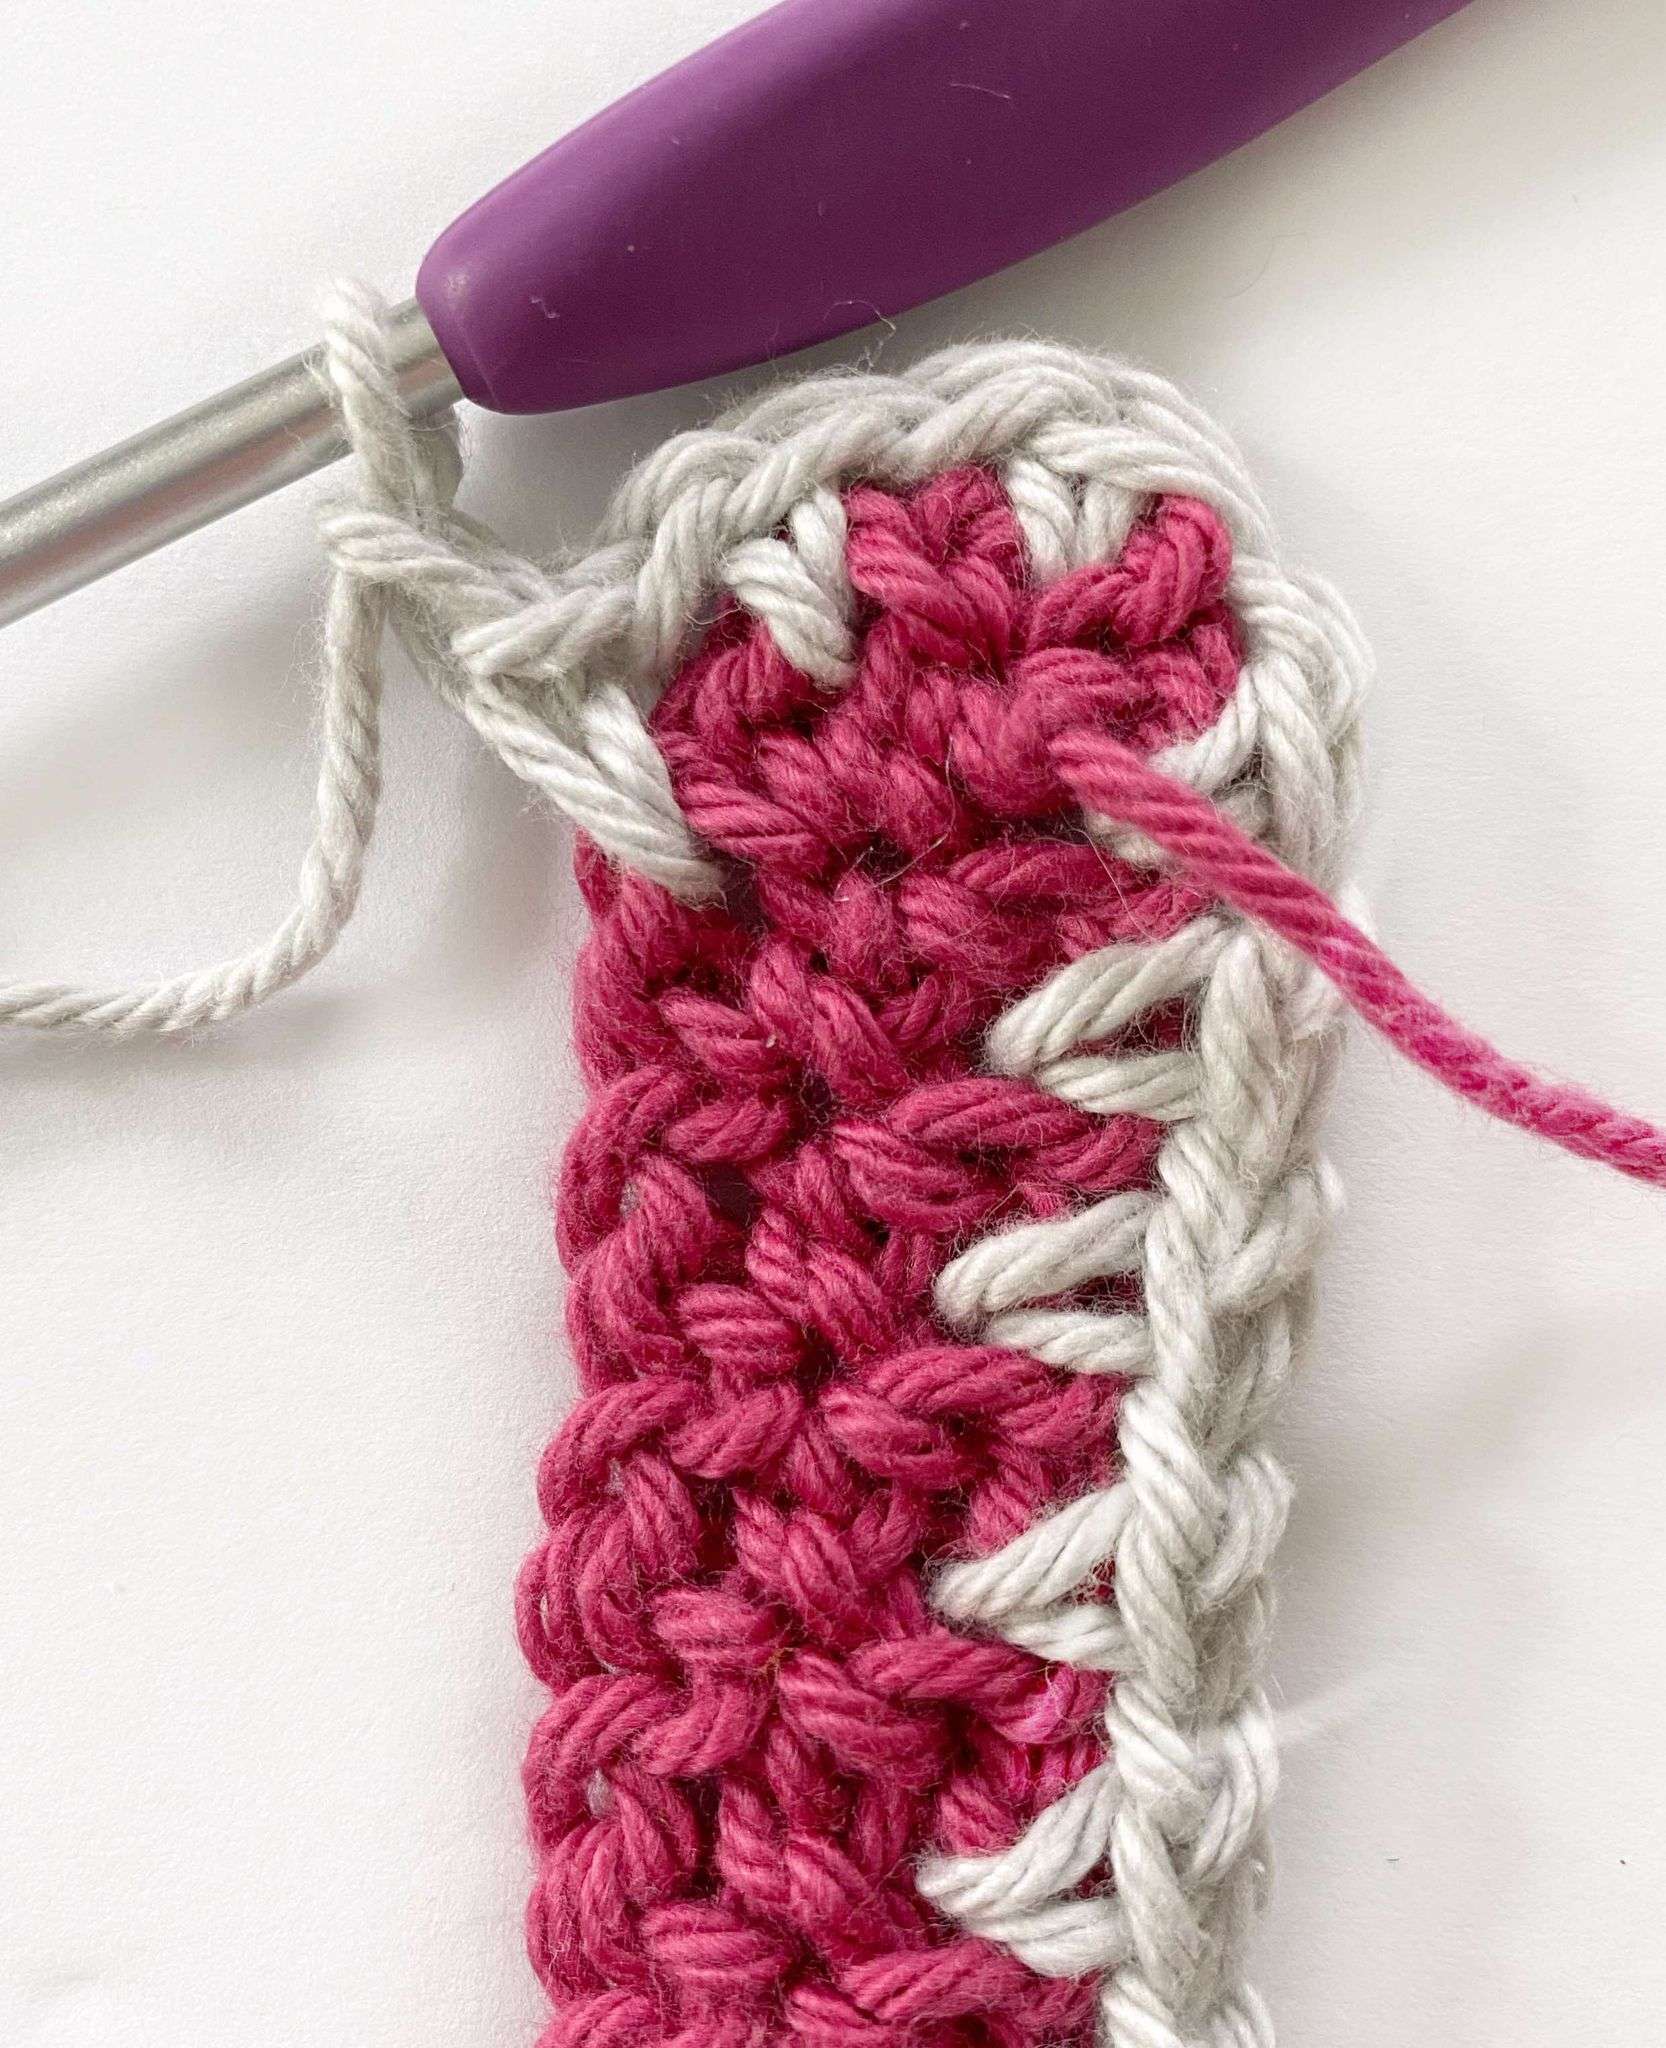
Size #1:
Rnds 3 – 30: Repeat Rnd 2.
Size #2:
Rnds 3 – 34: Repeat Rnd 2.
Do not fasten off, as you will need this yarn for closing the top of the potholder. Weave in all ends (except for the current yarn strand).
Crocheting the Potholder Closed:
- Lay the potholder flat, and line up the front and back stitches.
- With Colour A, ch 1, insert hook into first ch-1 sp on the front, and the matching ch-1 sp on the back of the potholder, and (sc, ch 1).
(Sc, ch 1) in each ch-1 sp across, inserting the hook into the matching front and back ch-1 sp to join. The last st should be a sc, without a ch-1. Do not fasten off. <17 (20) sc, 17 (20) ch-1 sp>
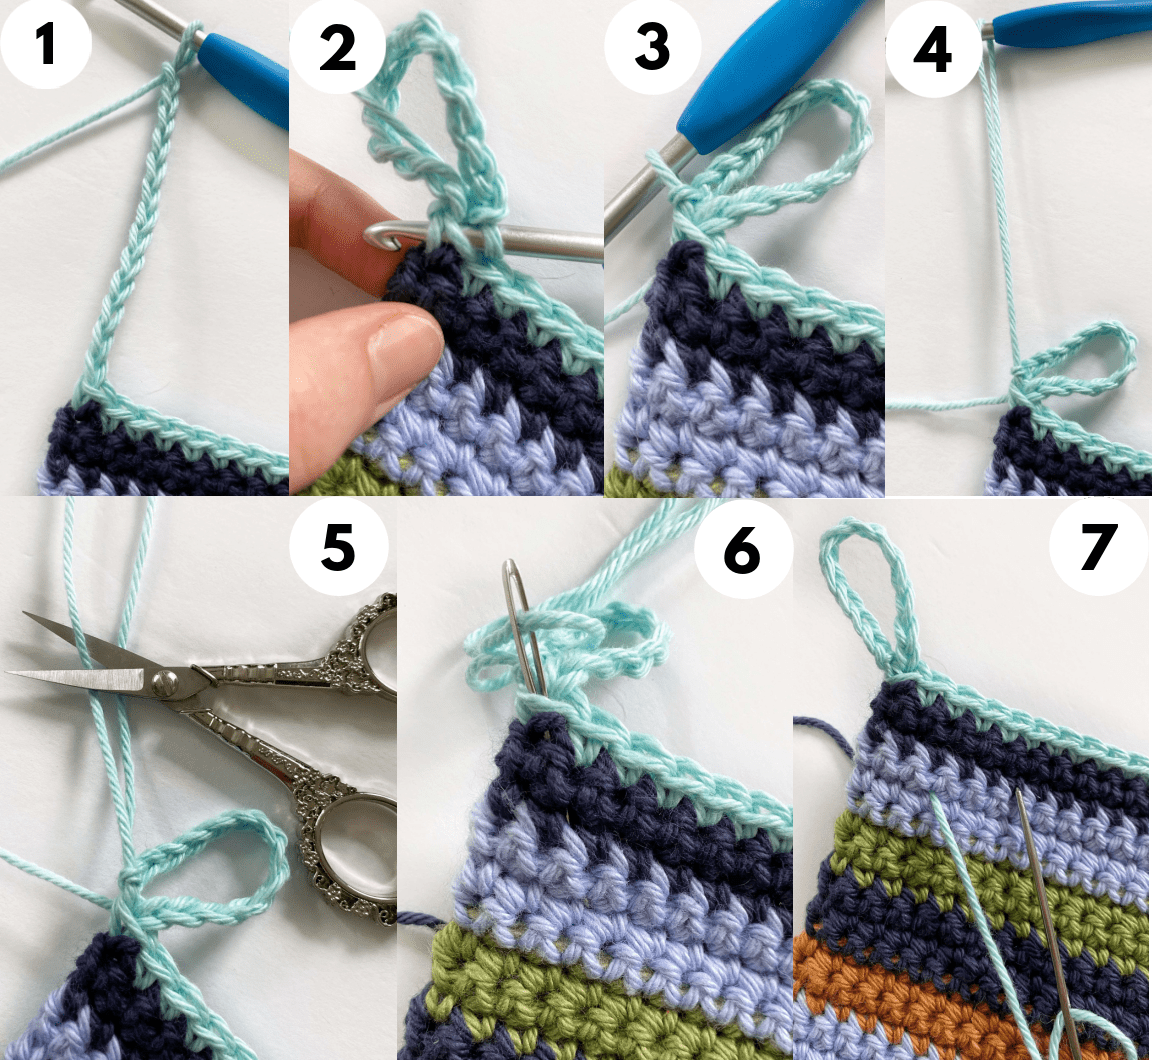
Adding a Ch-Circle:
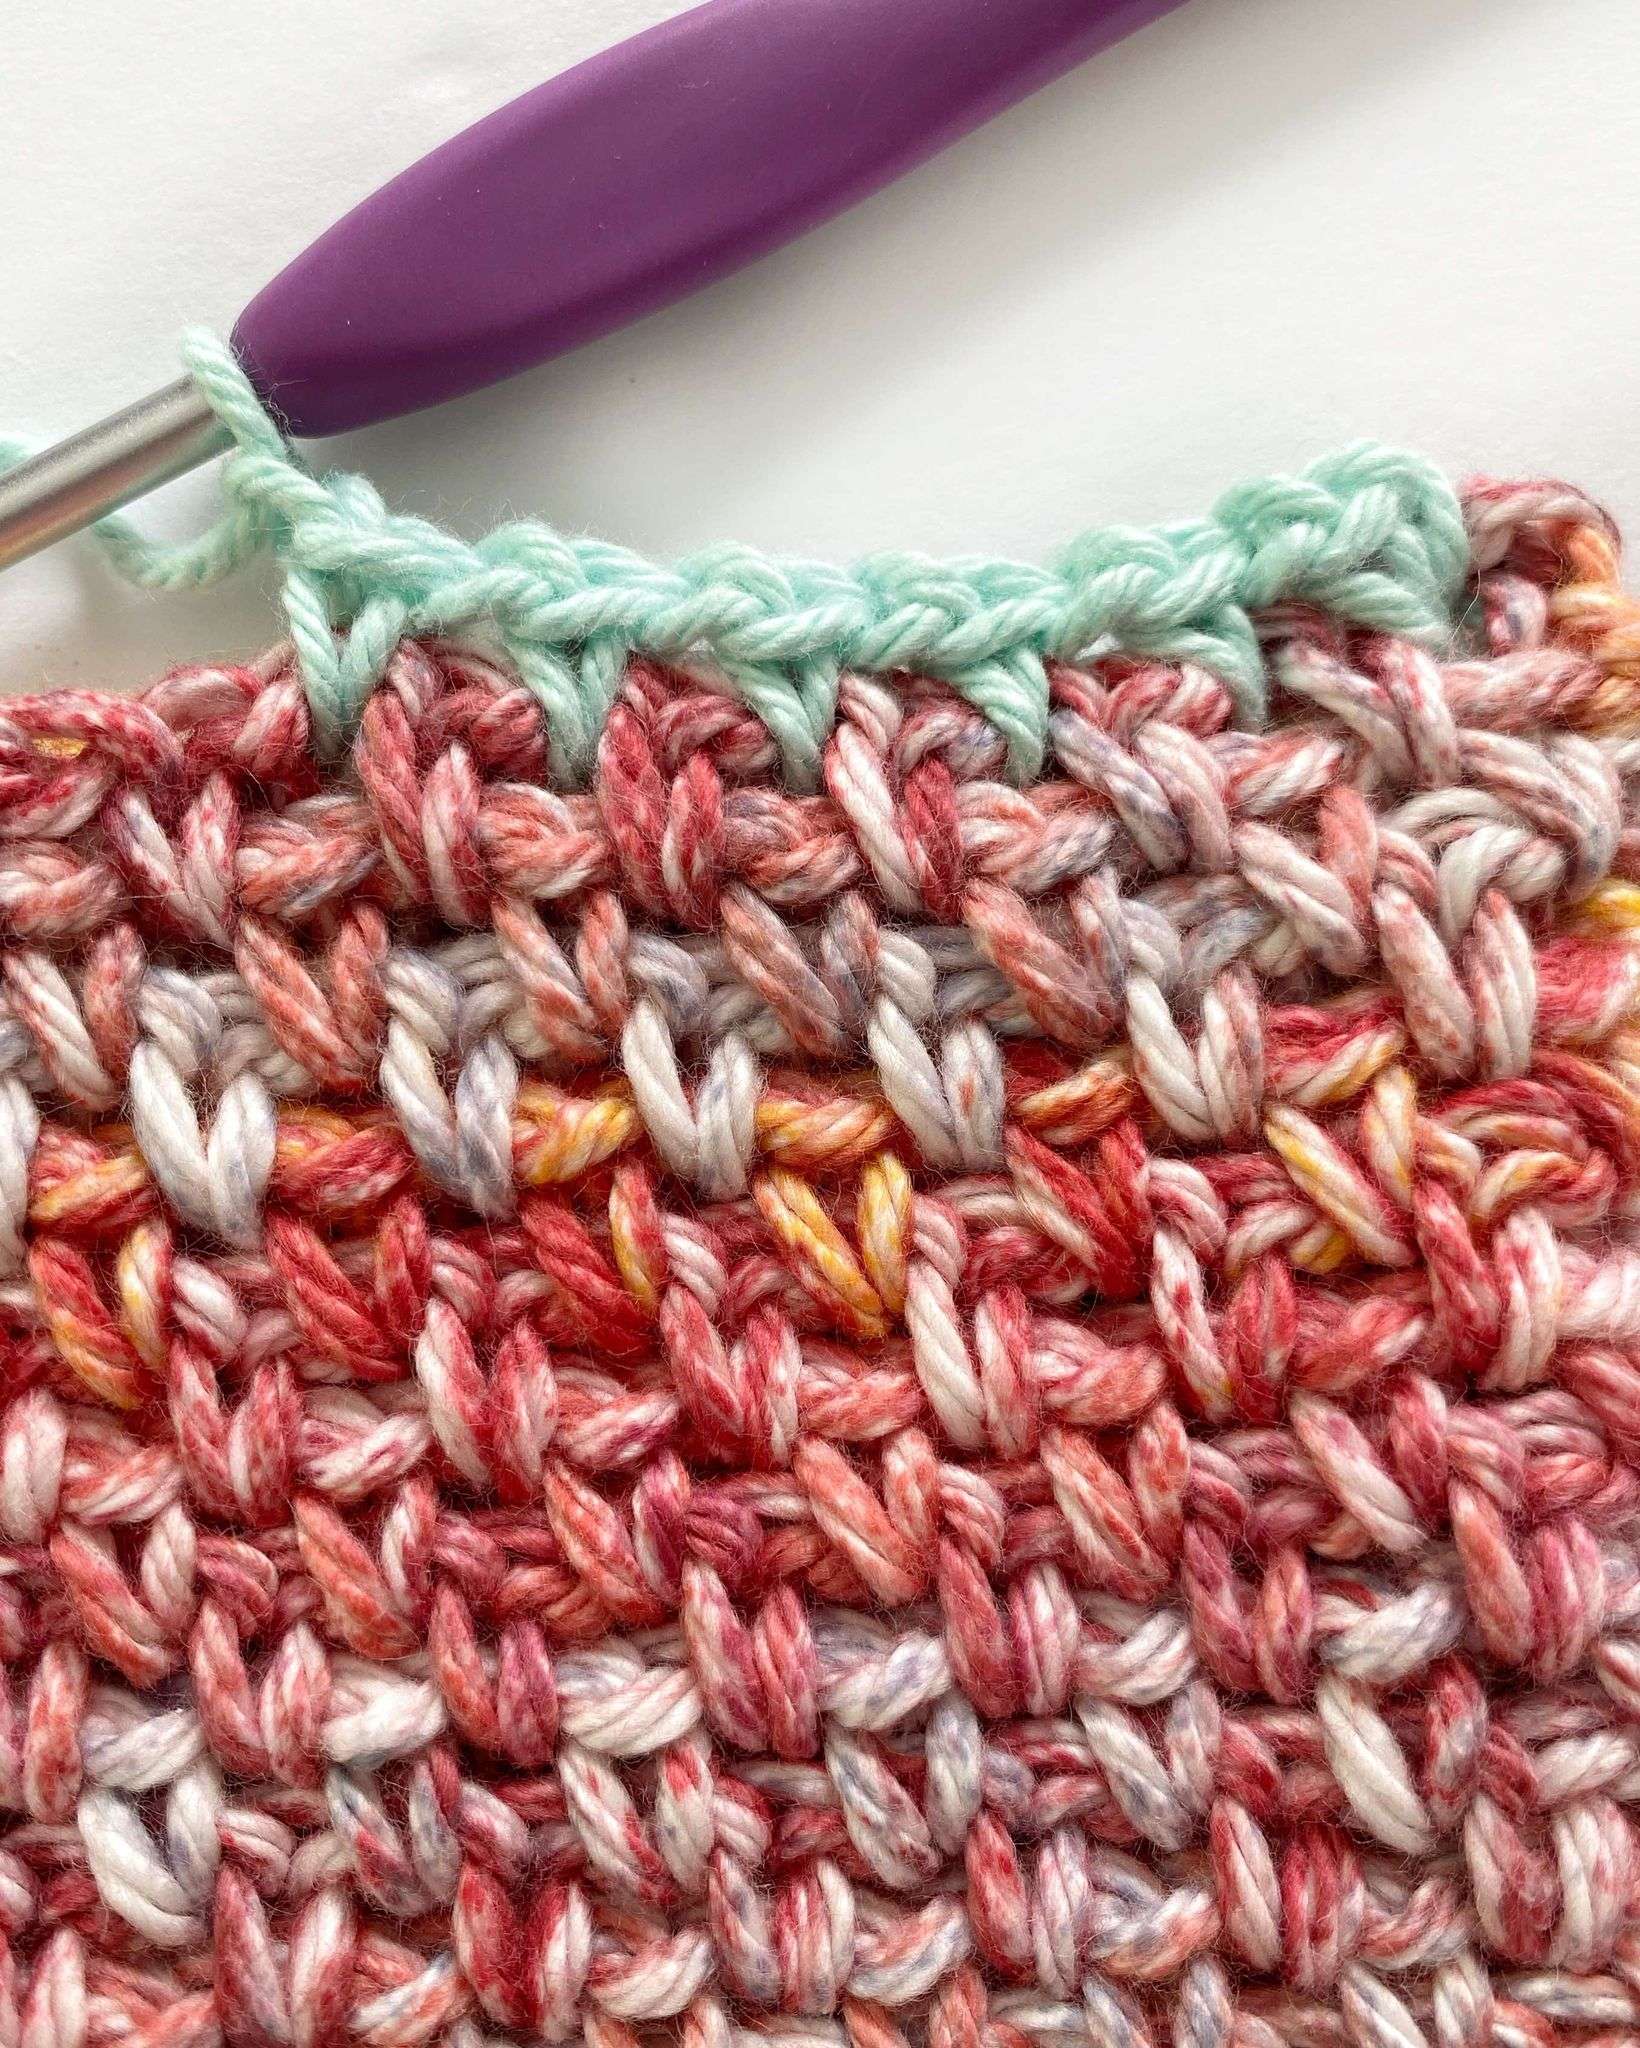
- After making the final sc, ch 13 with Colour A, (Picture 1).
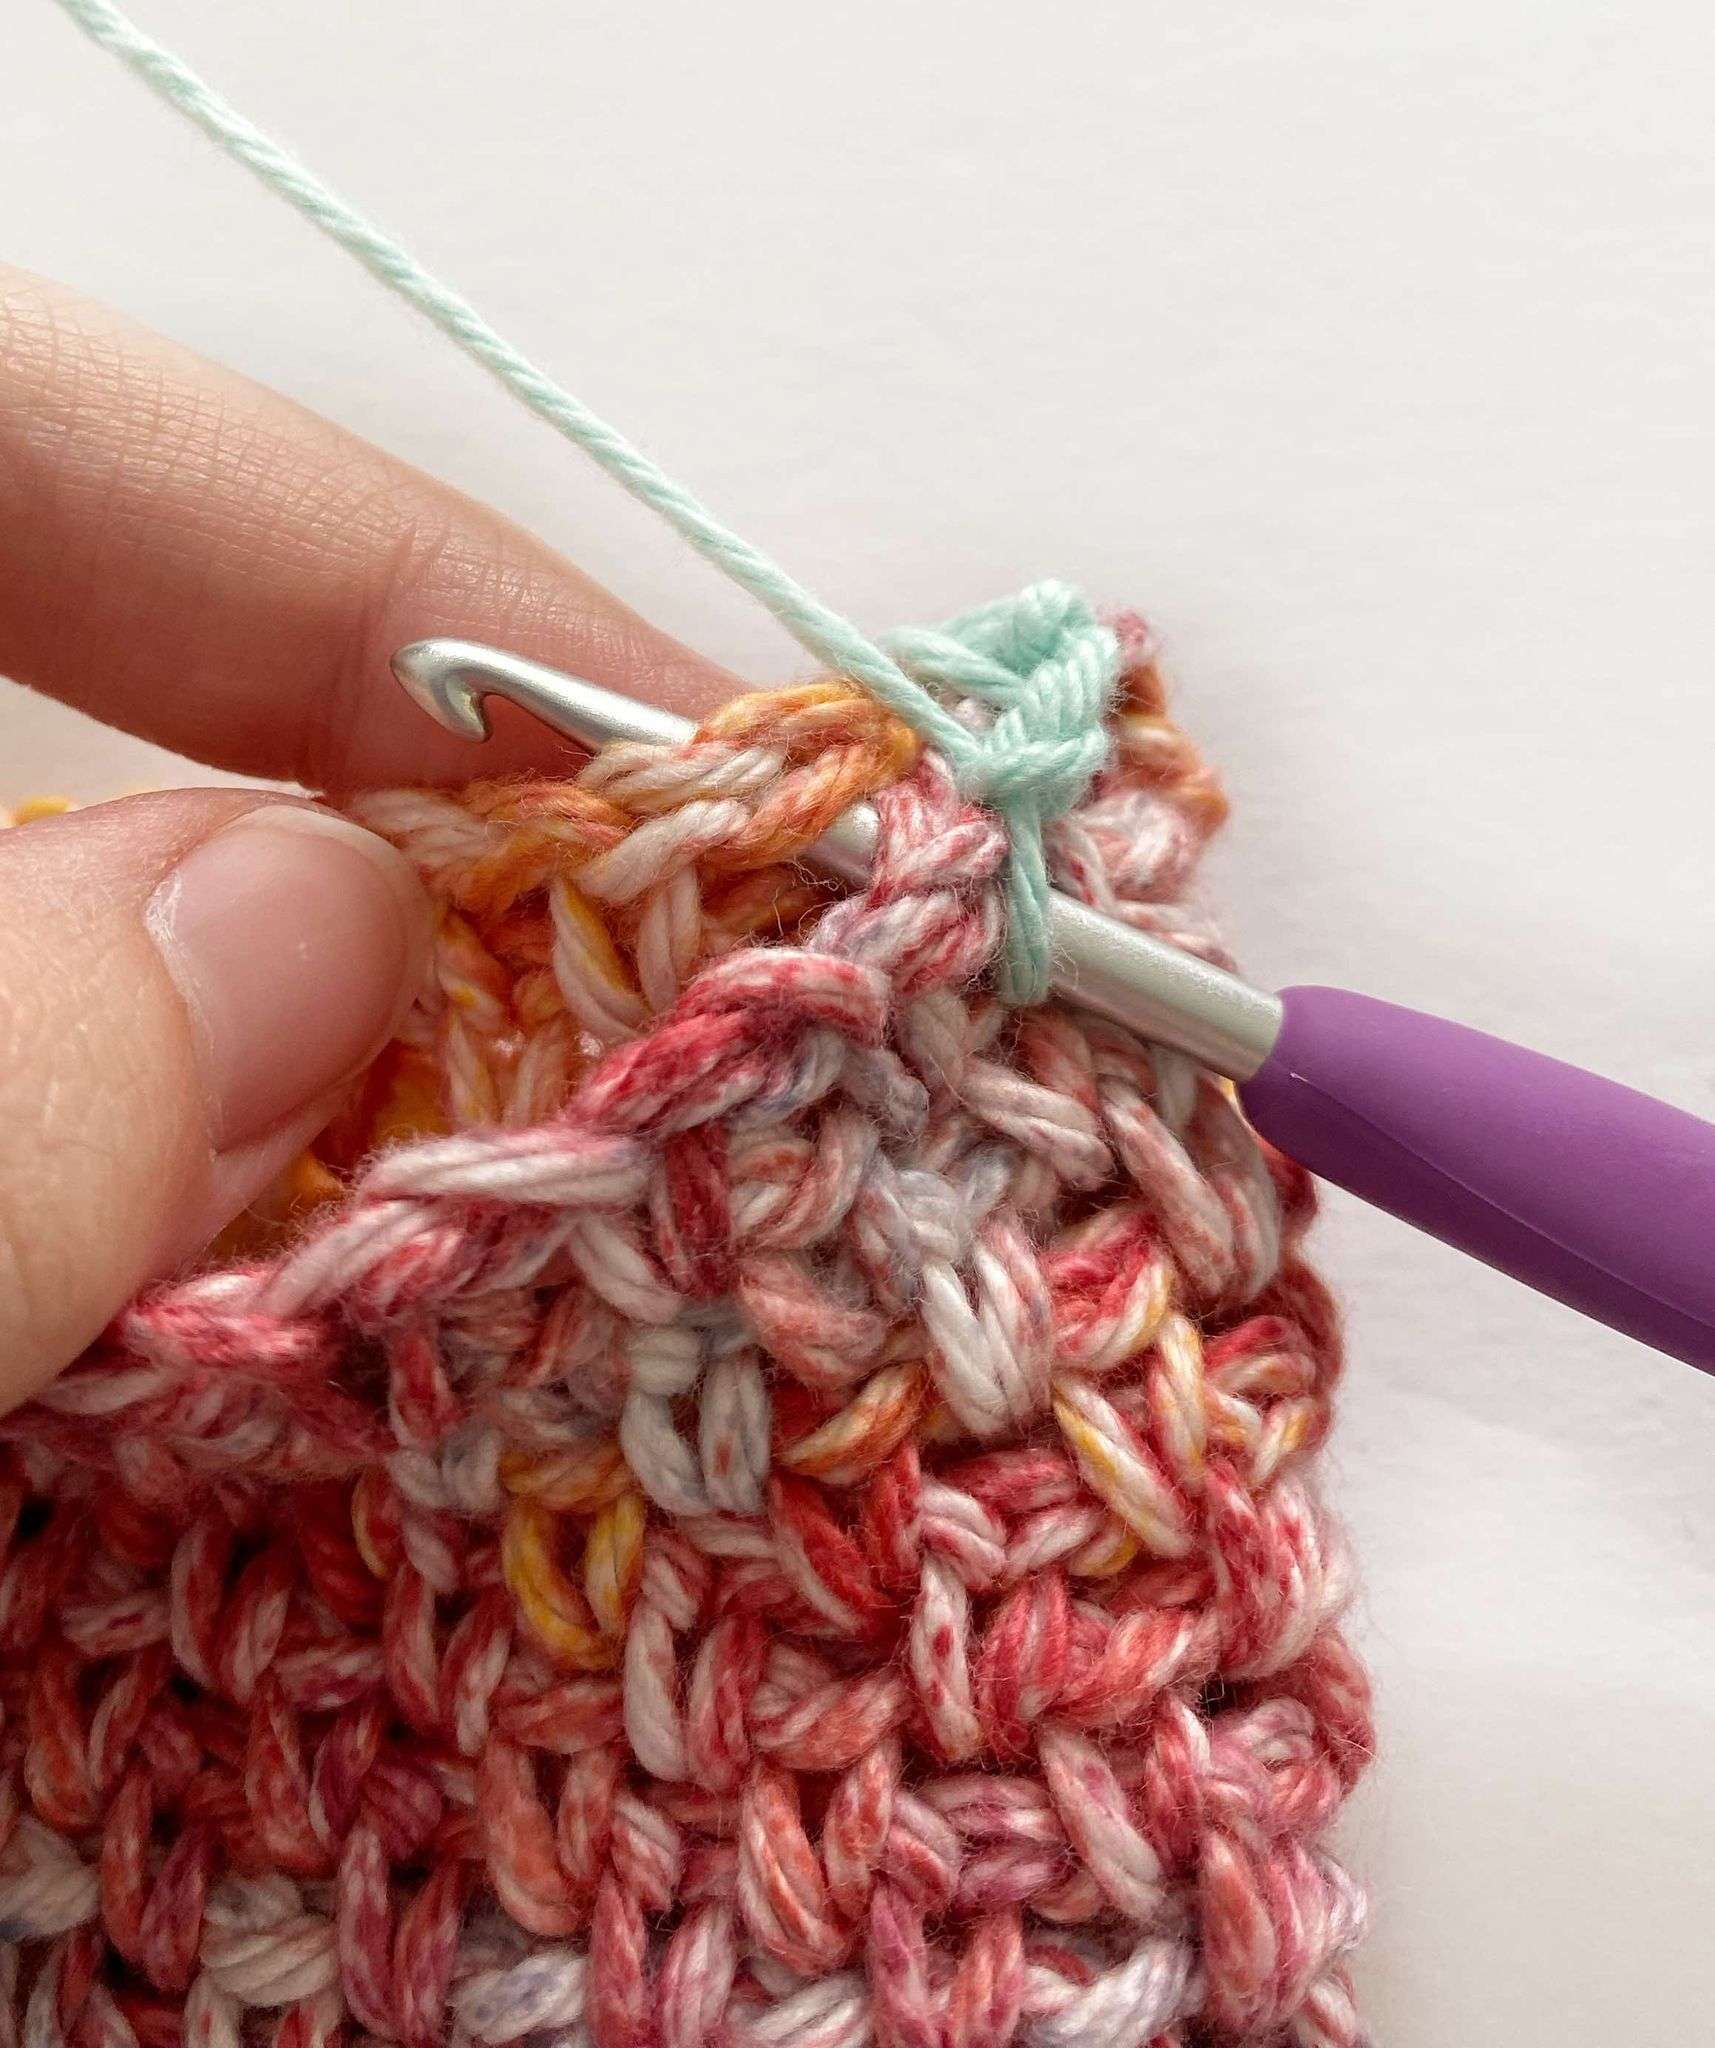
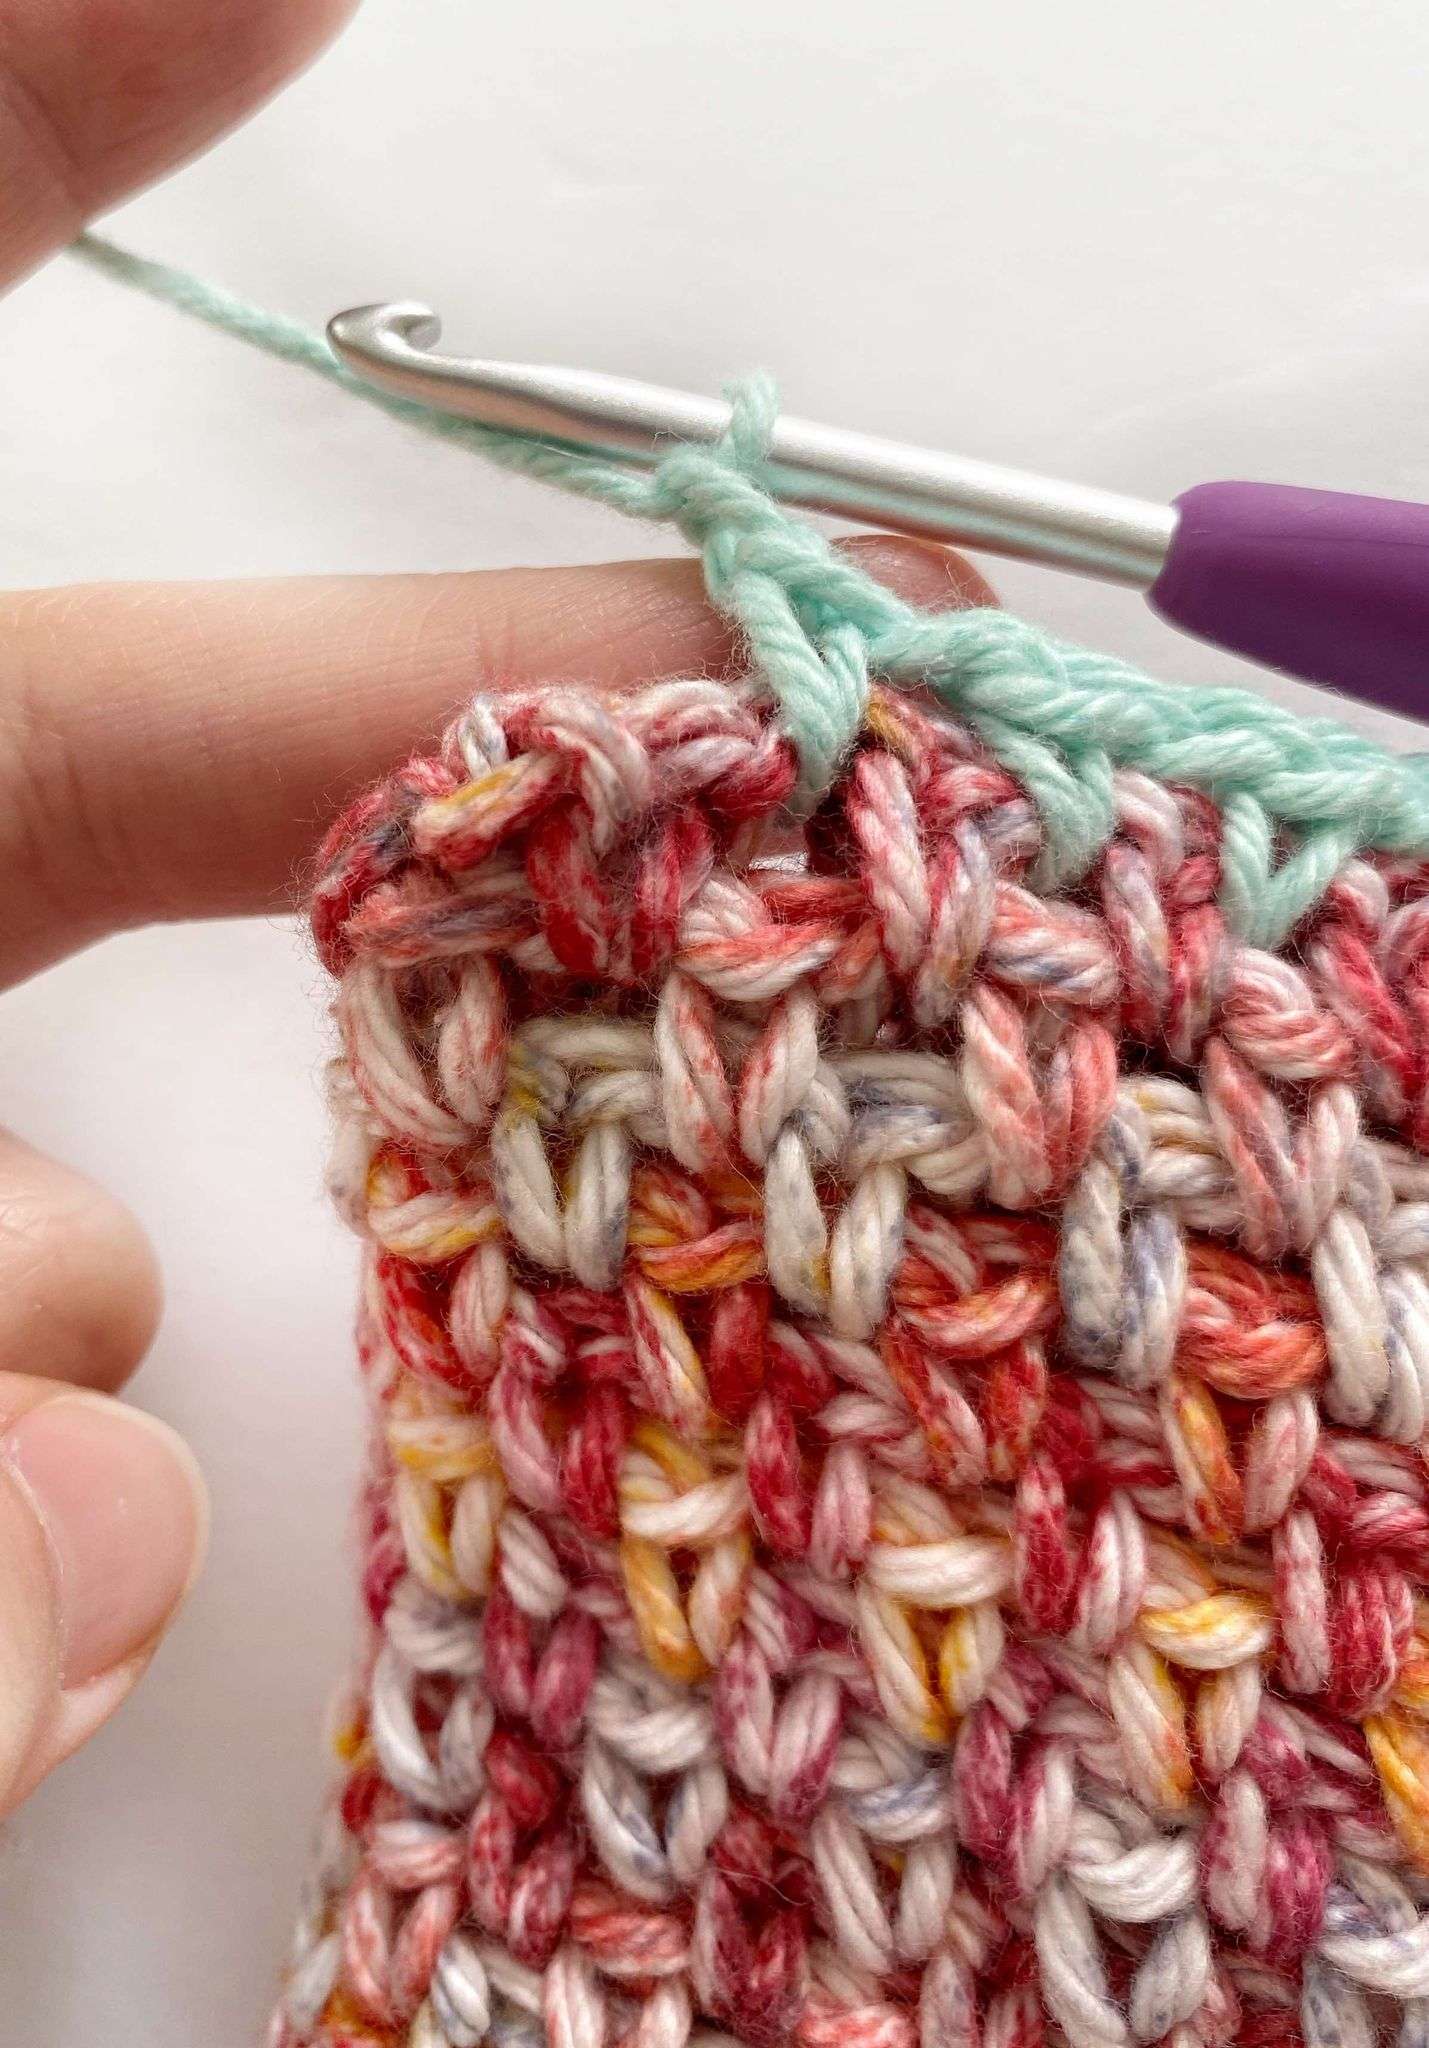
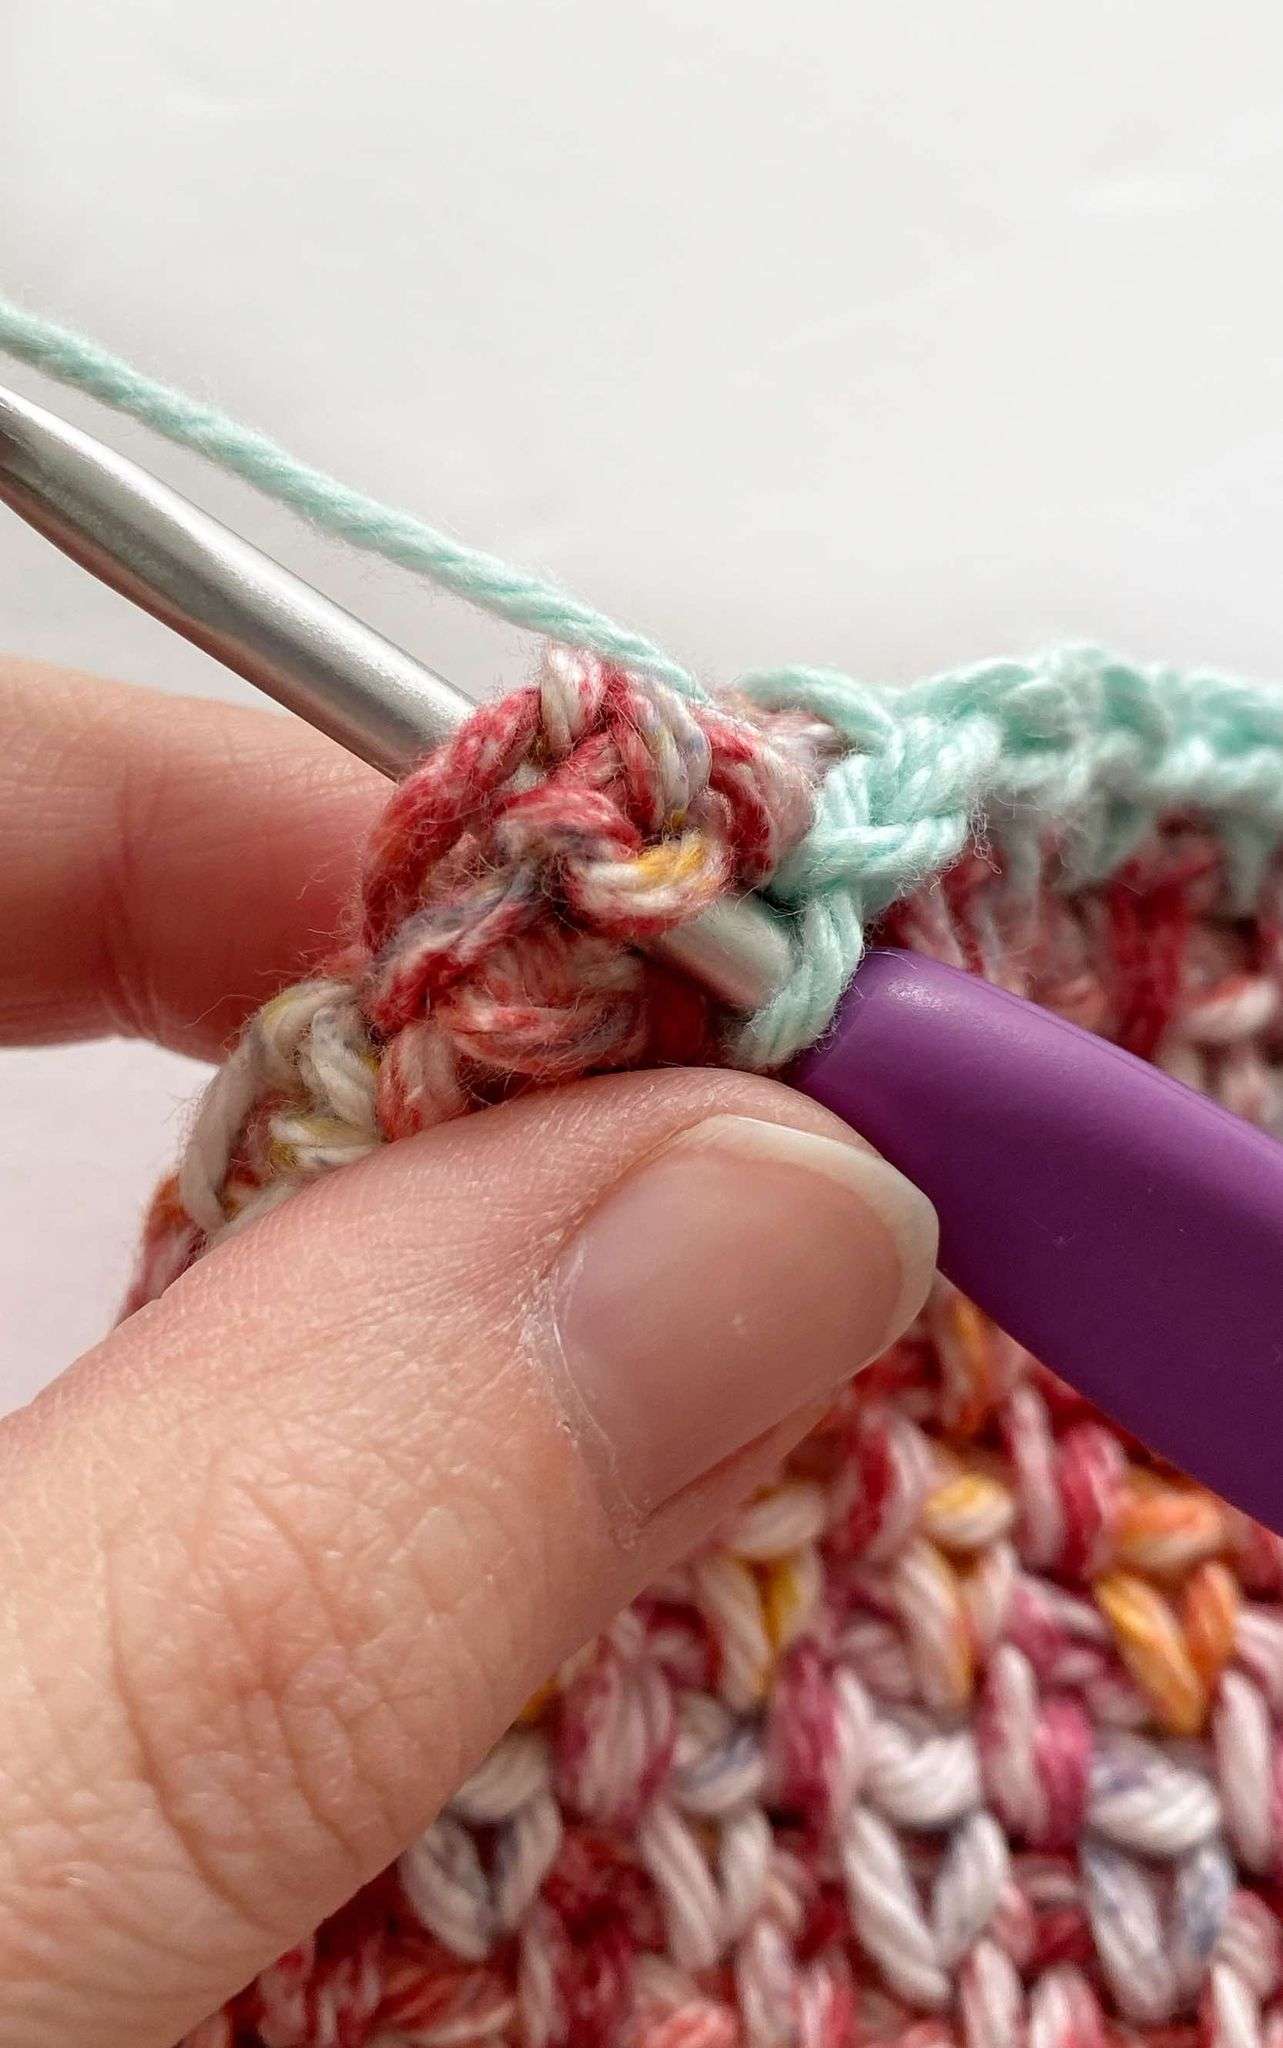
- Insert hook into front loop and first (outer) leg of last sc (going on a diagonal). Make a sl st to close the ch-circle. (Picture 2 & 3)
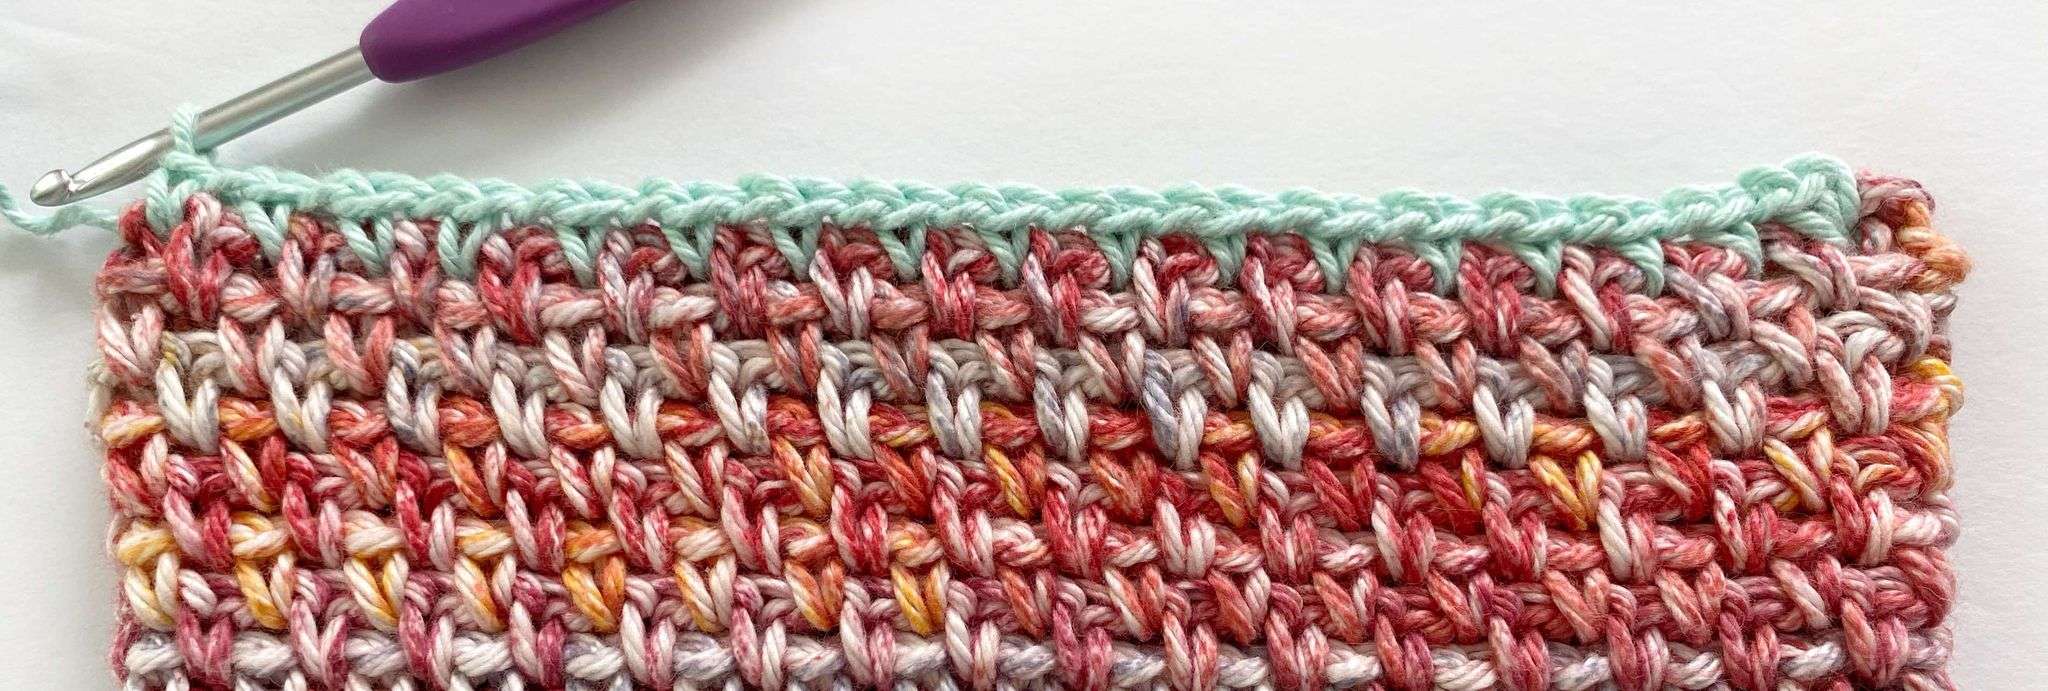
- Fasten off, leave a tail, and weave in the last end (Picture 4, 5, 6, 7).
Questions?
If you have any questions as you work through the pattern, please reach out to me. I am happy to help! Send me an email through my contact page or ask in the Facebook CAL Group.
Other Crochet Potholders You’ll Love!


End Notes:
Congratulations! You just finished your first Summer Sunsets Moss Stitch Potholder. I hope you had fun crocheting it.
If you’d like to make more potholders, or other crochet home decor items with your cotton yarn, explore some patterns by clicking on the button below:
The fourth potholder will be released on August 7, 2024!
Disclaimer: You are welcome to sell items that you’ve made from this pattern; however, you are not allowed to use my pictures or sell my pattern as your own (Copyright @ ThisPixieCreates).
Please share pictures of anything and everything related to the 2024 Potholders Galore Crochet-along in the Facebook Group HERE. I can’t wait to see your lovely potholder(s)!
I hope you have a wonderful day, and happy crocheting!
Sincerely, Dayna
Shouldn’t there be a ch 1 after the first single crochet after placing the stitch marker in round one? It was in the video but not in the written instructions.
Yes, thank you so much for catching that mistake, Catherine. Round 1 is updated now. 🙂