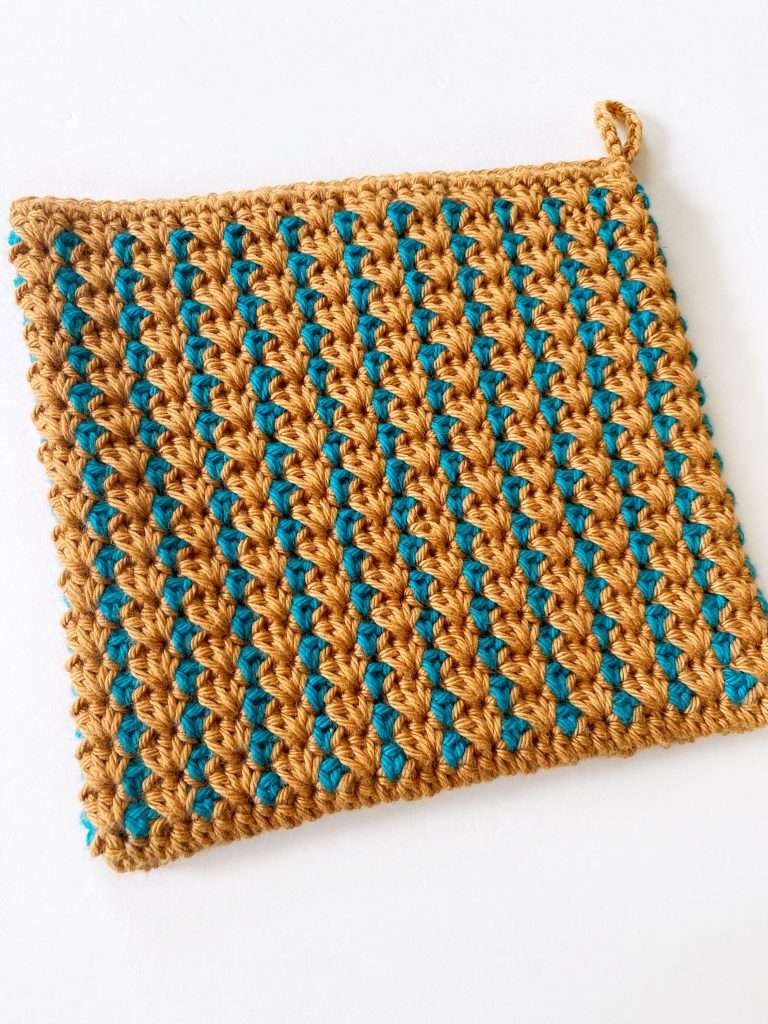
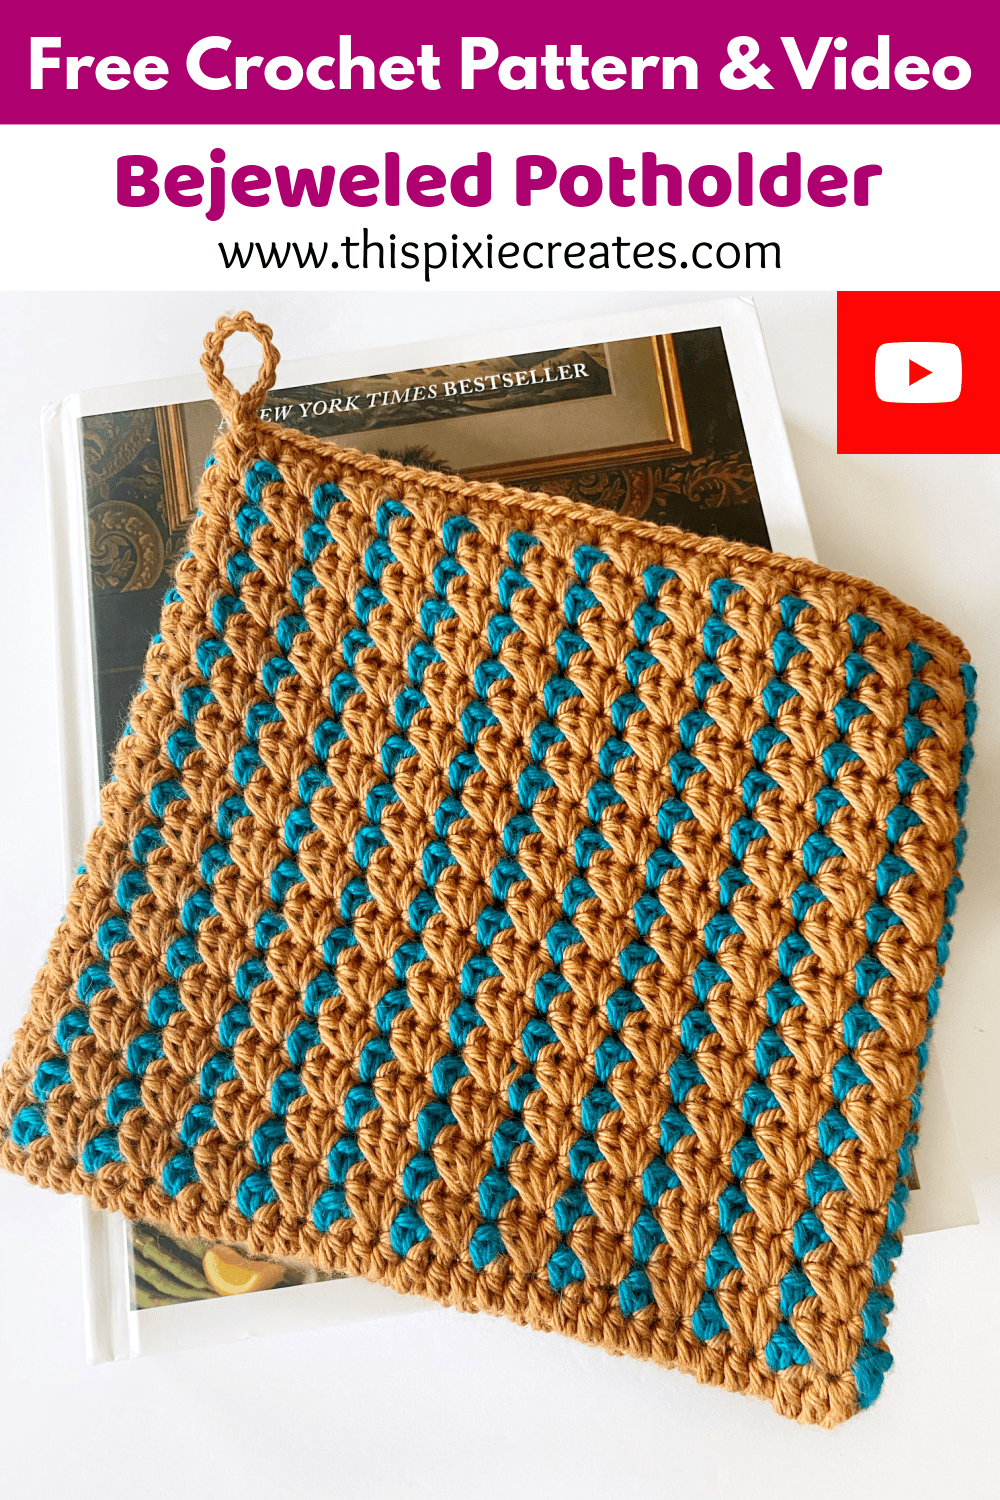
Pin this Block Stitch Potholder – HERE!
Important Links / Schedule:
Potholder Patterns:
Materials:
Yarn:
- I Love this Cotton Yarn, Weight 4 Medium Worsted Yarn (100% Cotton, 180 yd / 165 m, 3.5 oz / 100 g)
- Colour Combo #1:
- Colour A: Rosey Li (1 Skein)
- Colour B: Serene Spa (1 Skein)
- Colour Combo #2:
- Colour A: Antique Gold (1 Skein)
- Colour B: Deep Teal (1 Skein)
*Yarn Note:
Yardage:
There are two potholder sizes to choose from. Below you’ll find the amount of yarn needed to make each size.
| Potholder Size | Yardage |
| 6.75” x 7” | Colour A: 100 yds / 92 m Colour B: 45 yds / 41 m Total: 145 yds / 133 m |
| 8.25” x 8” | Colour A: 135 yds / 123 m Colour B: 60 yds / 55 m Total: 195 yds / 178 m |
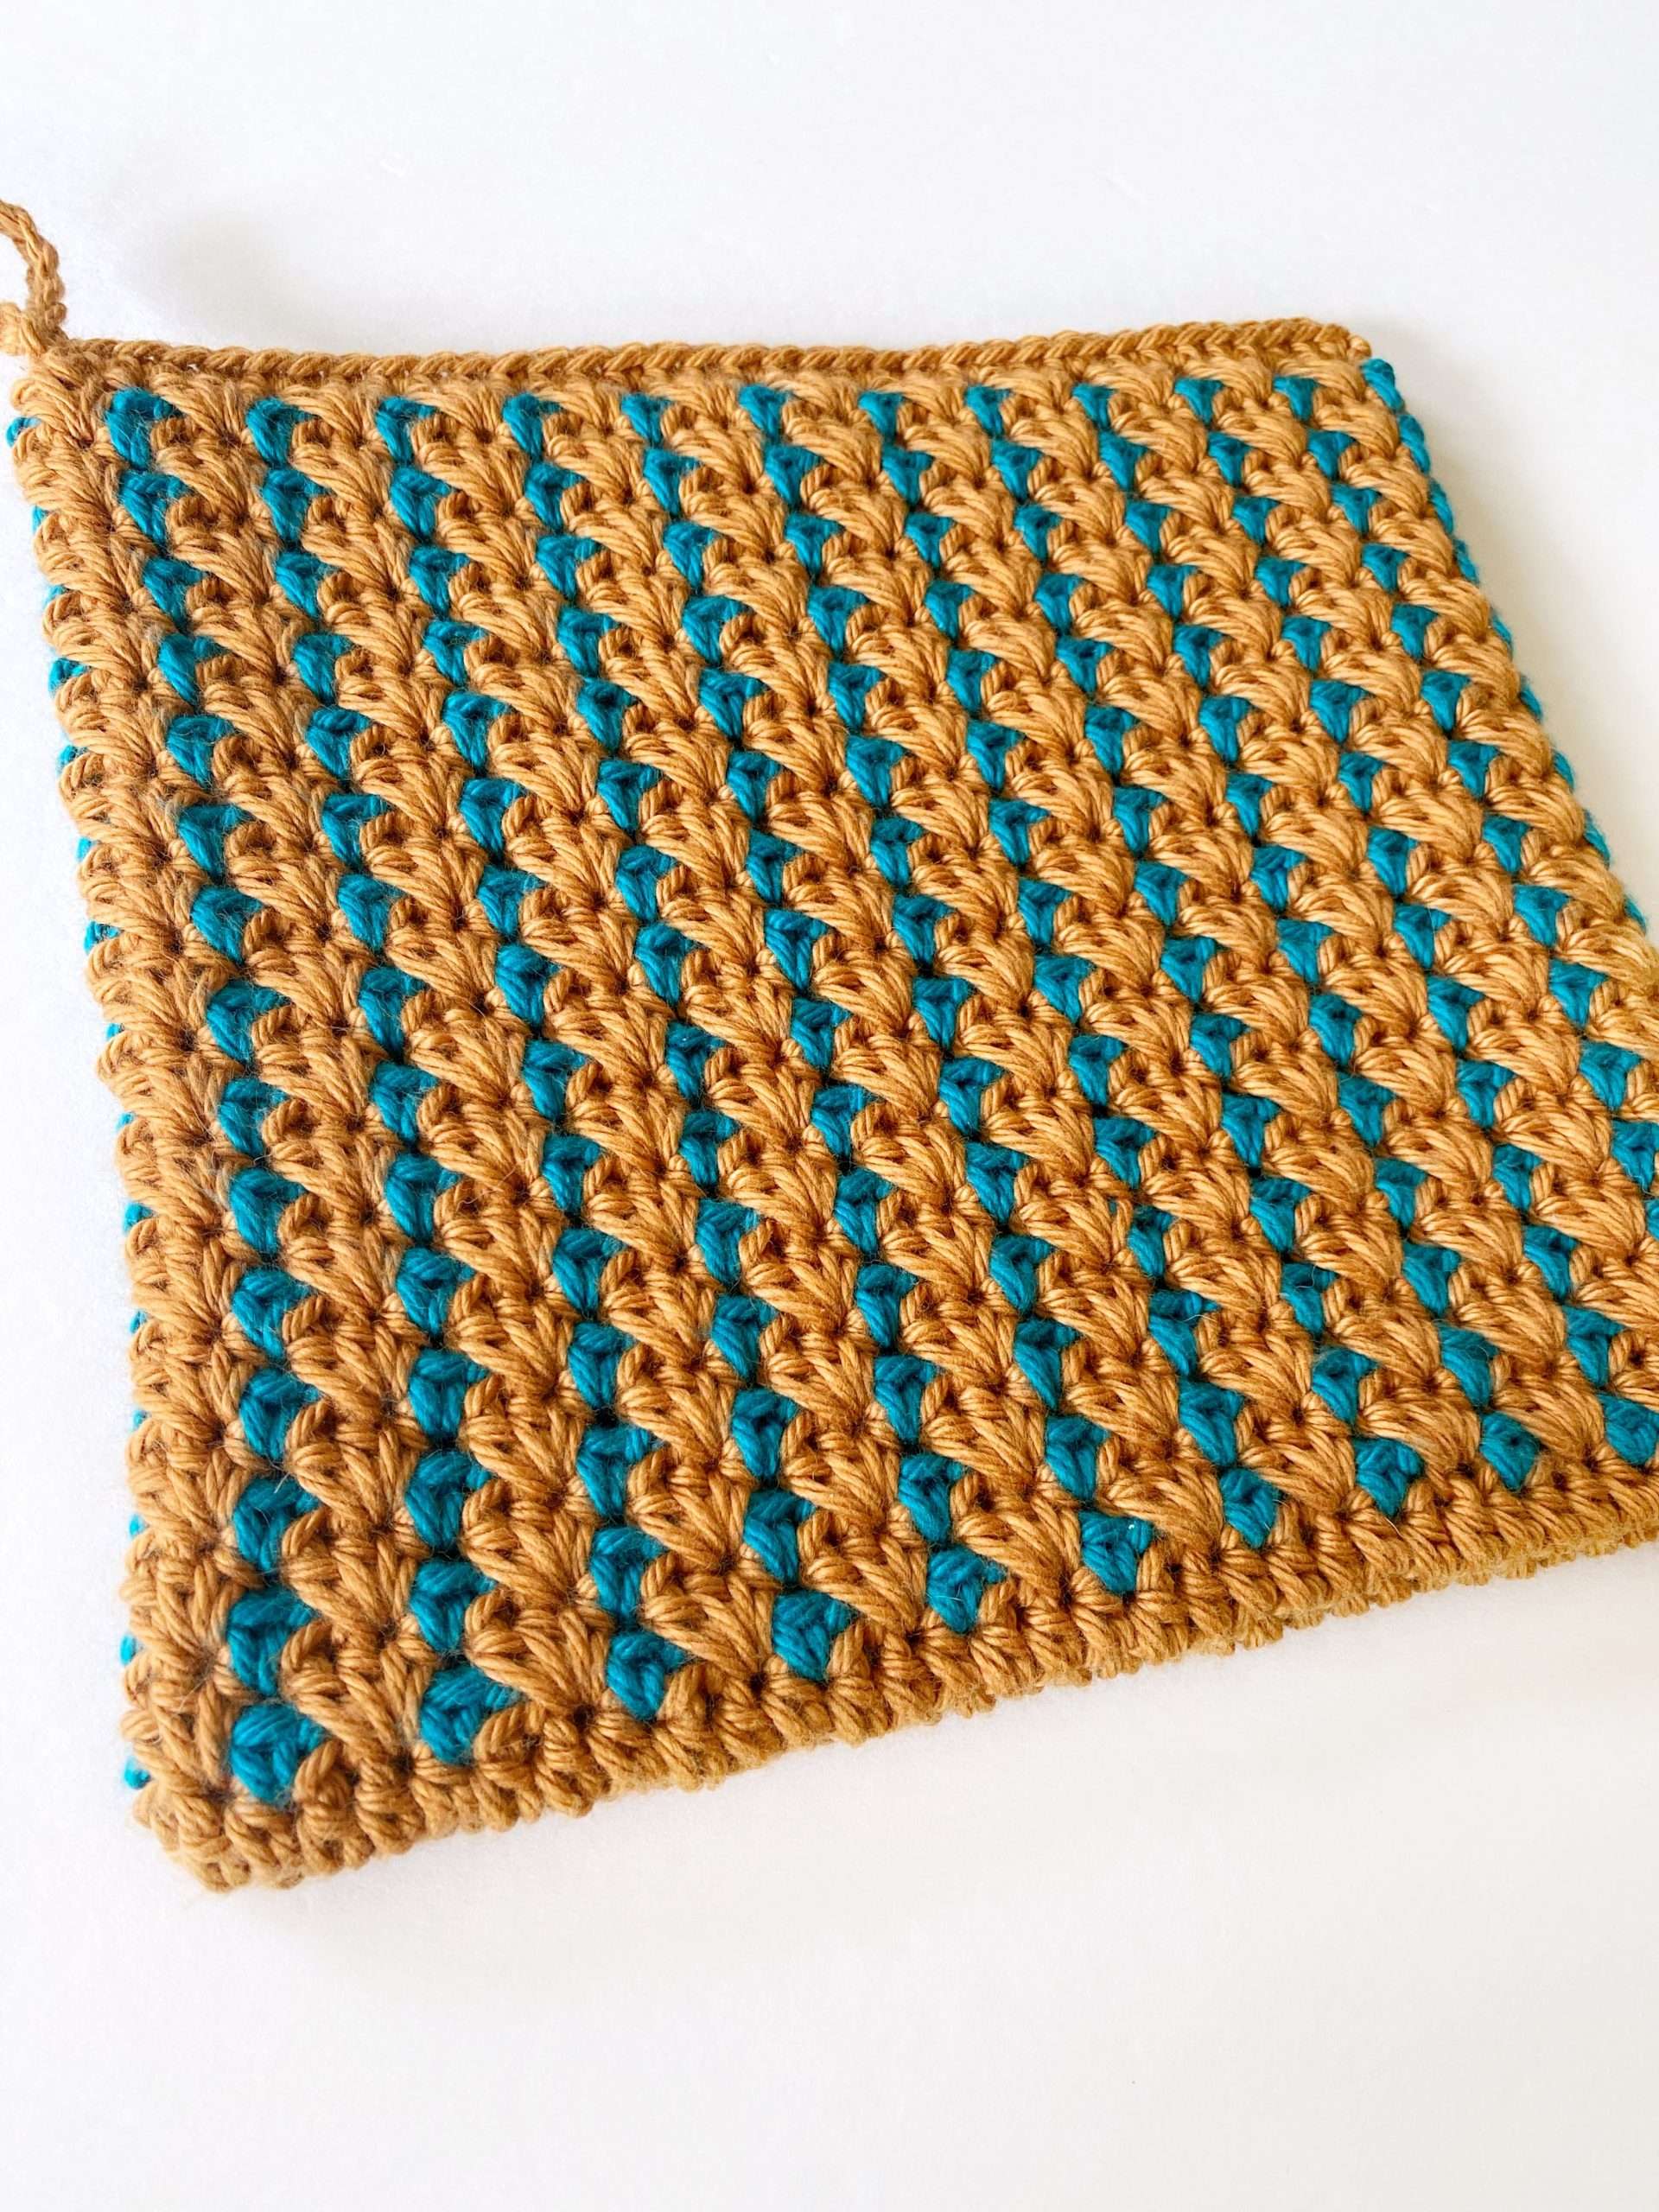
Front, Back and Seam of the Potholder:

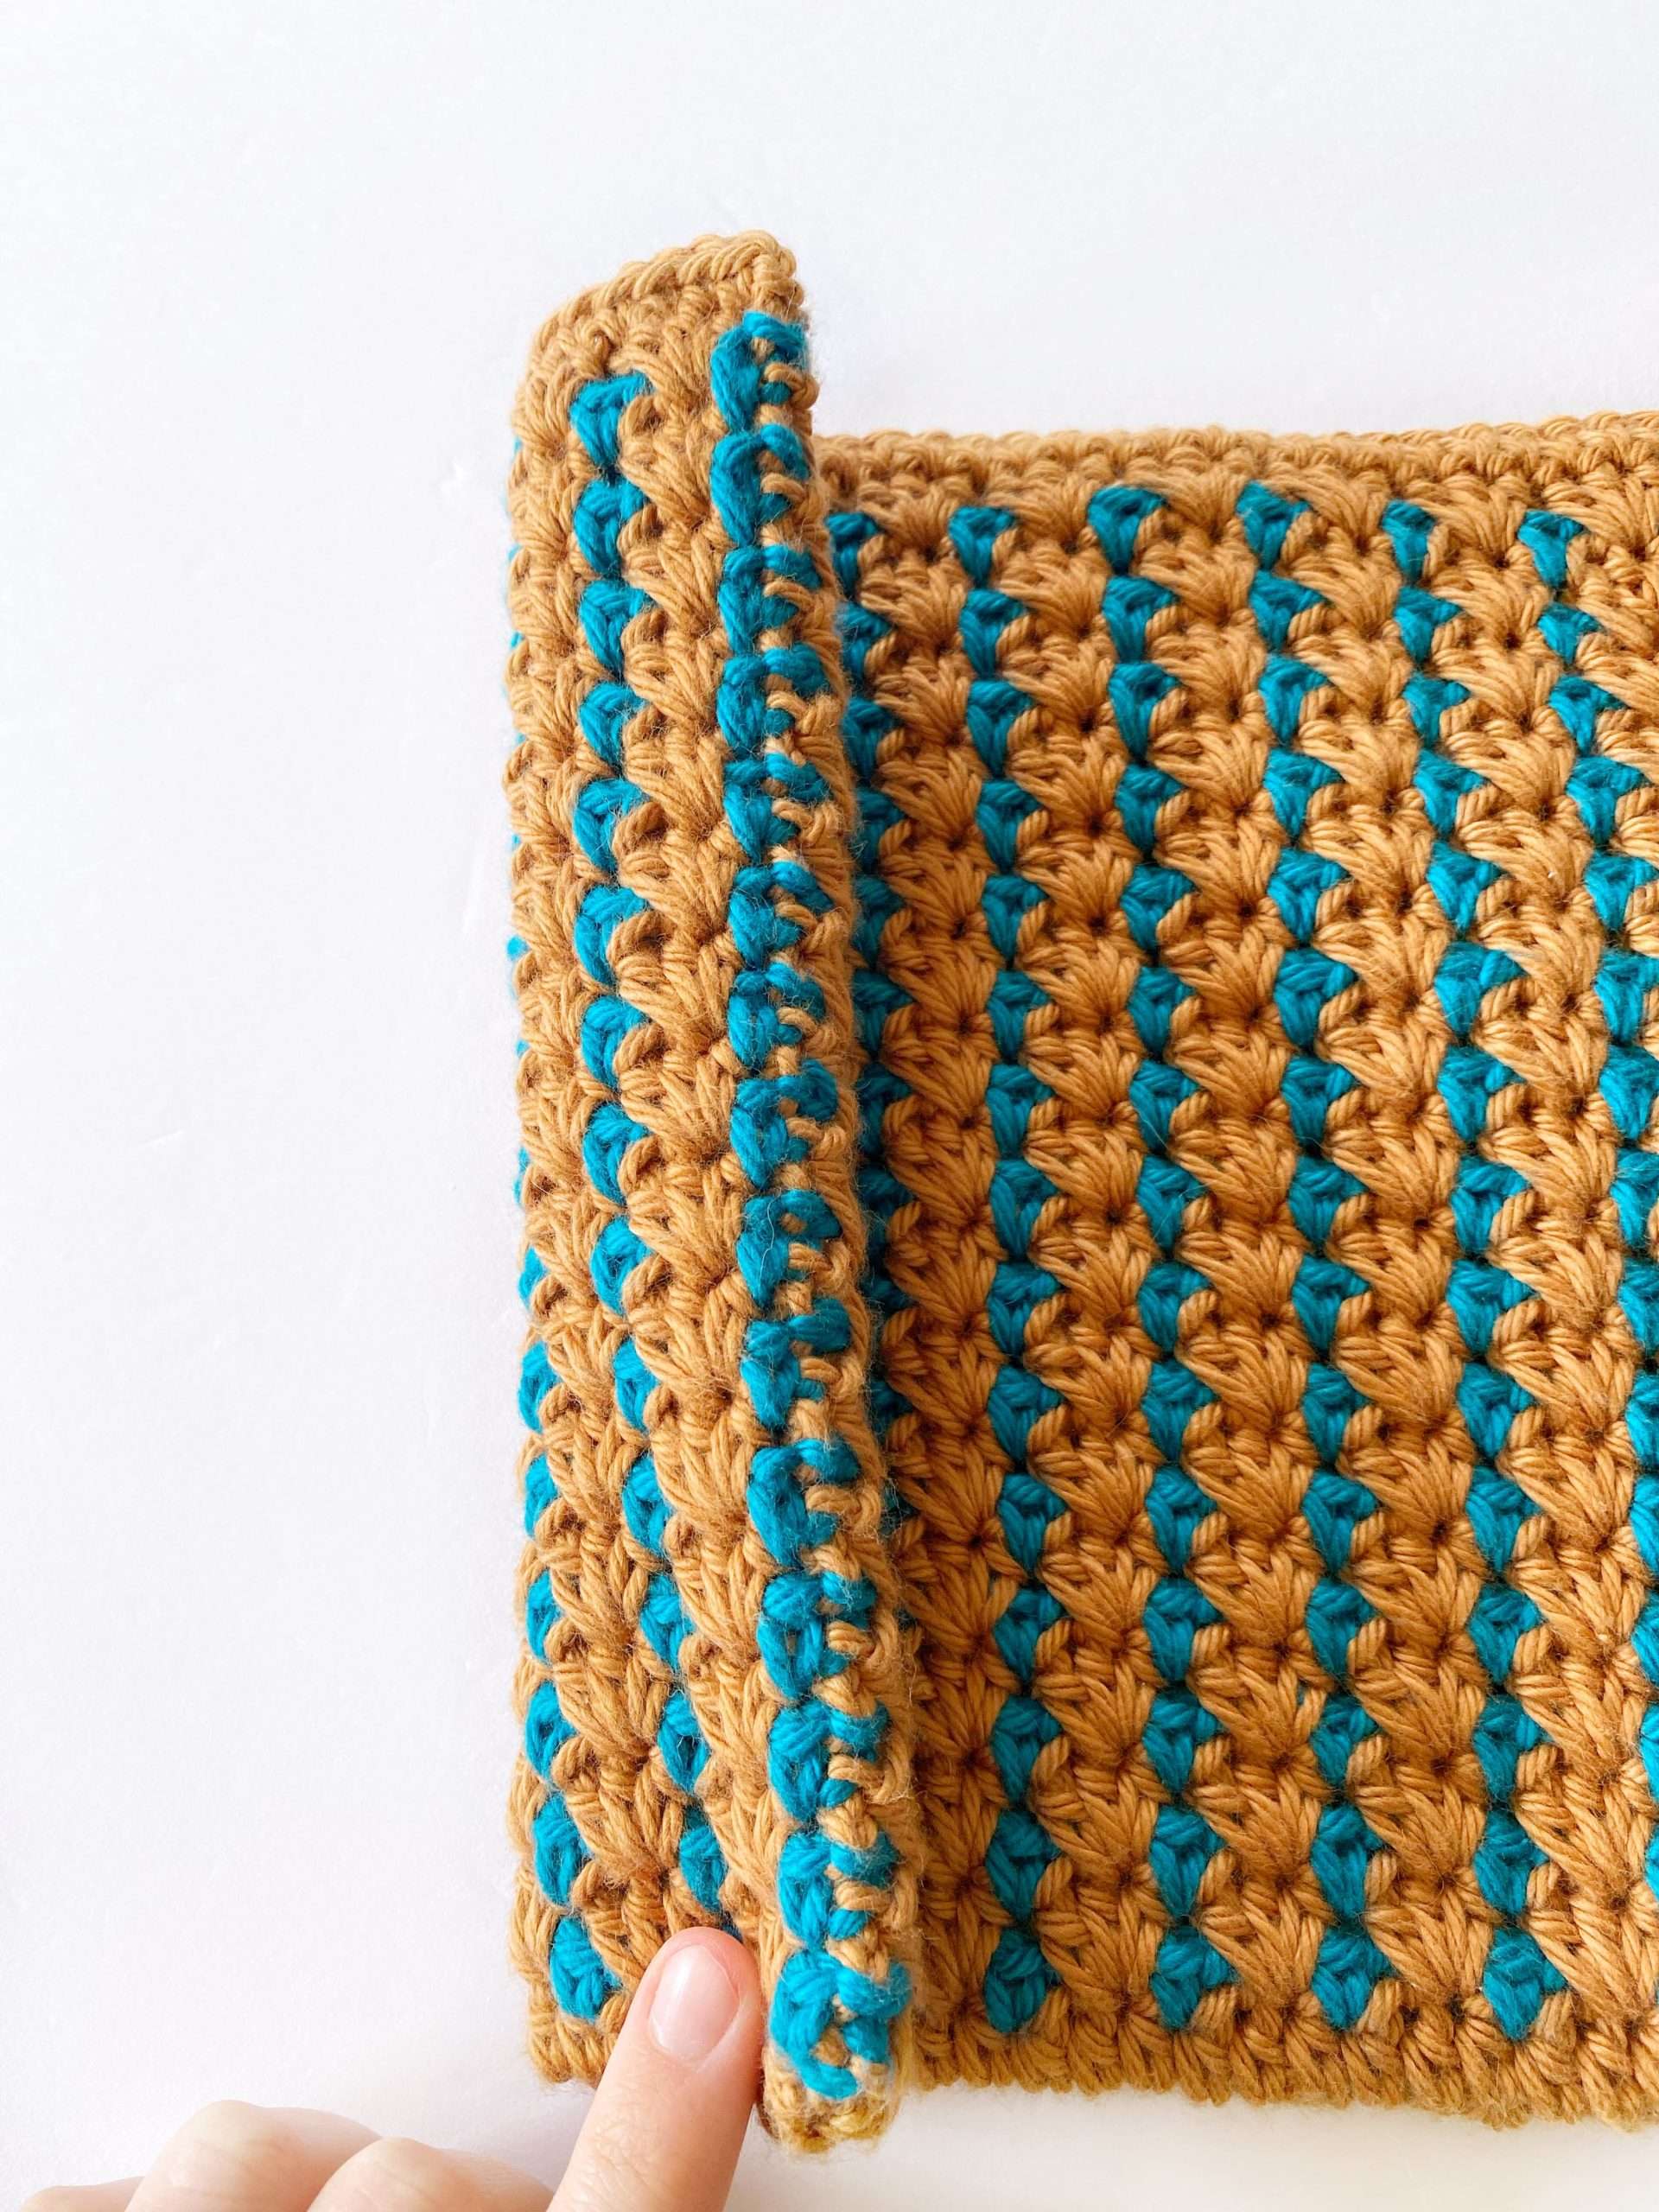
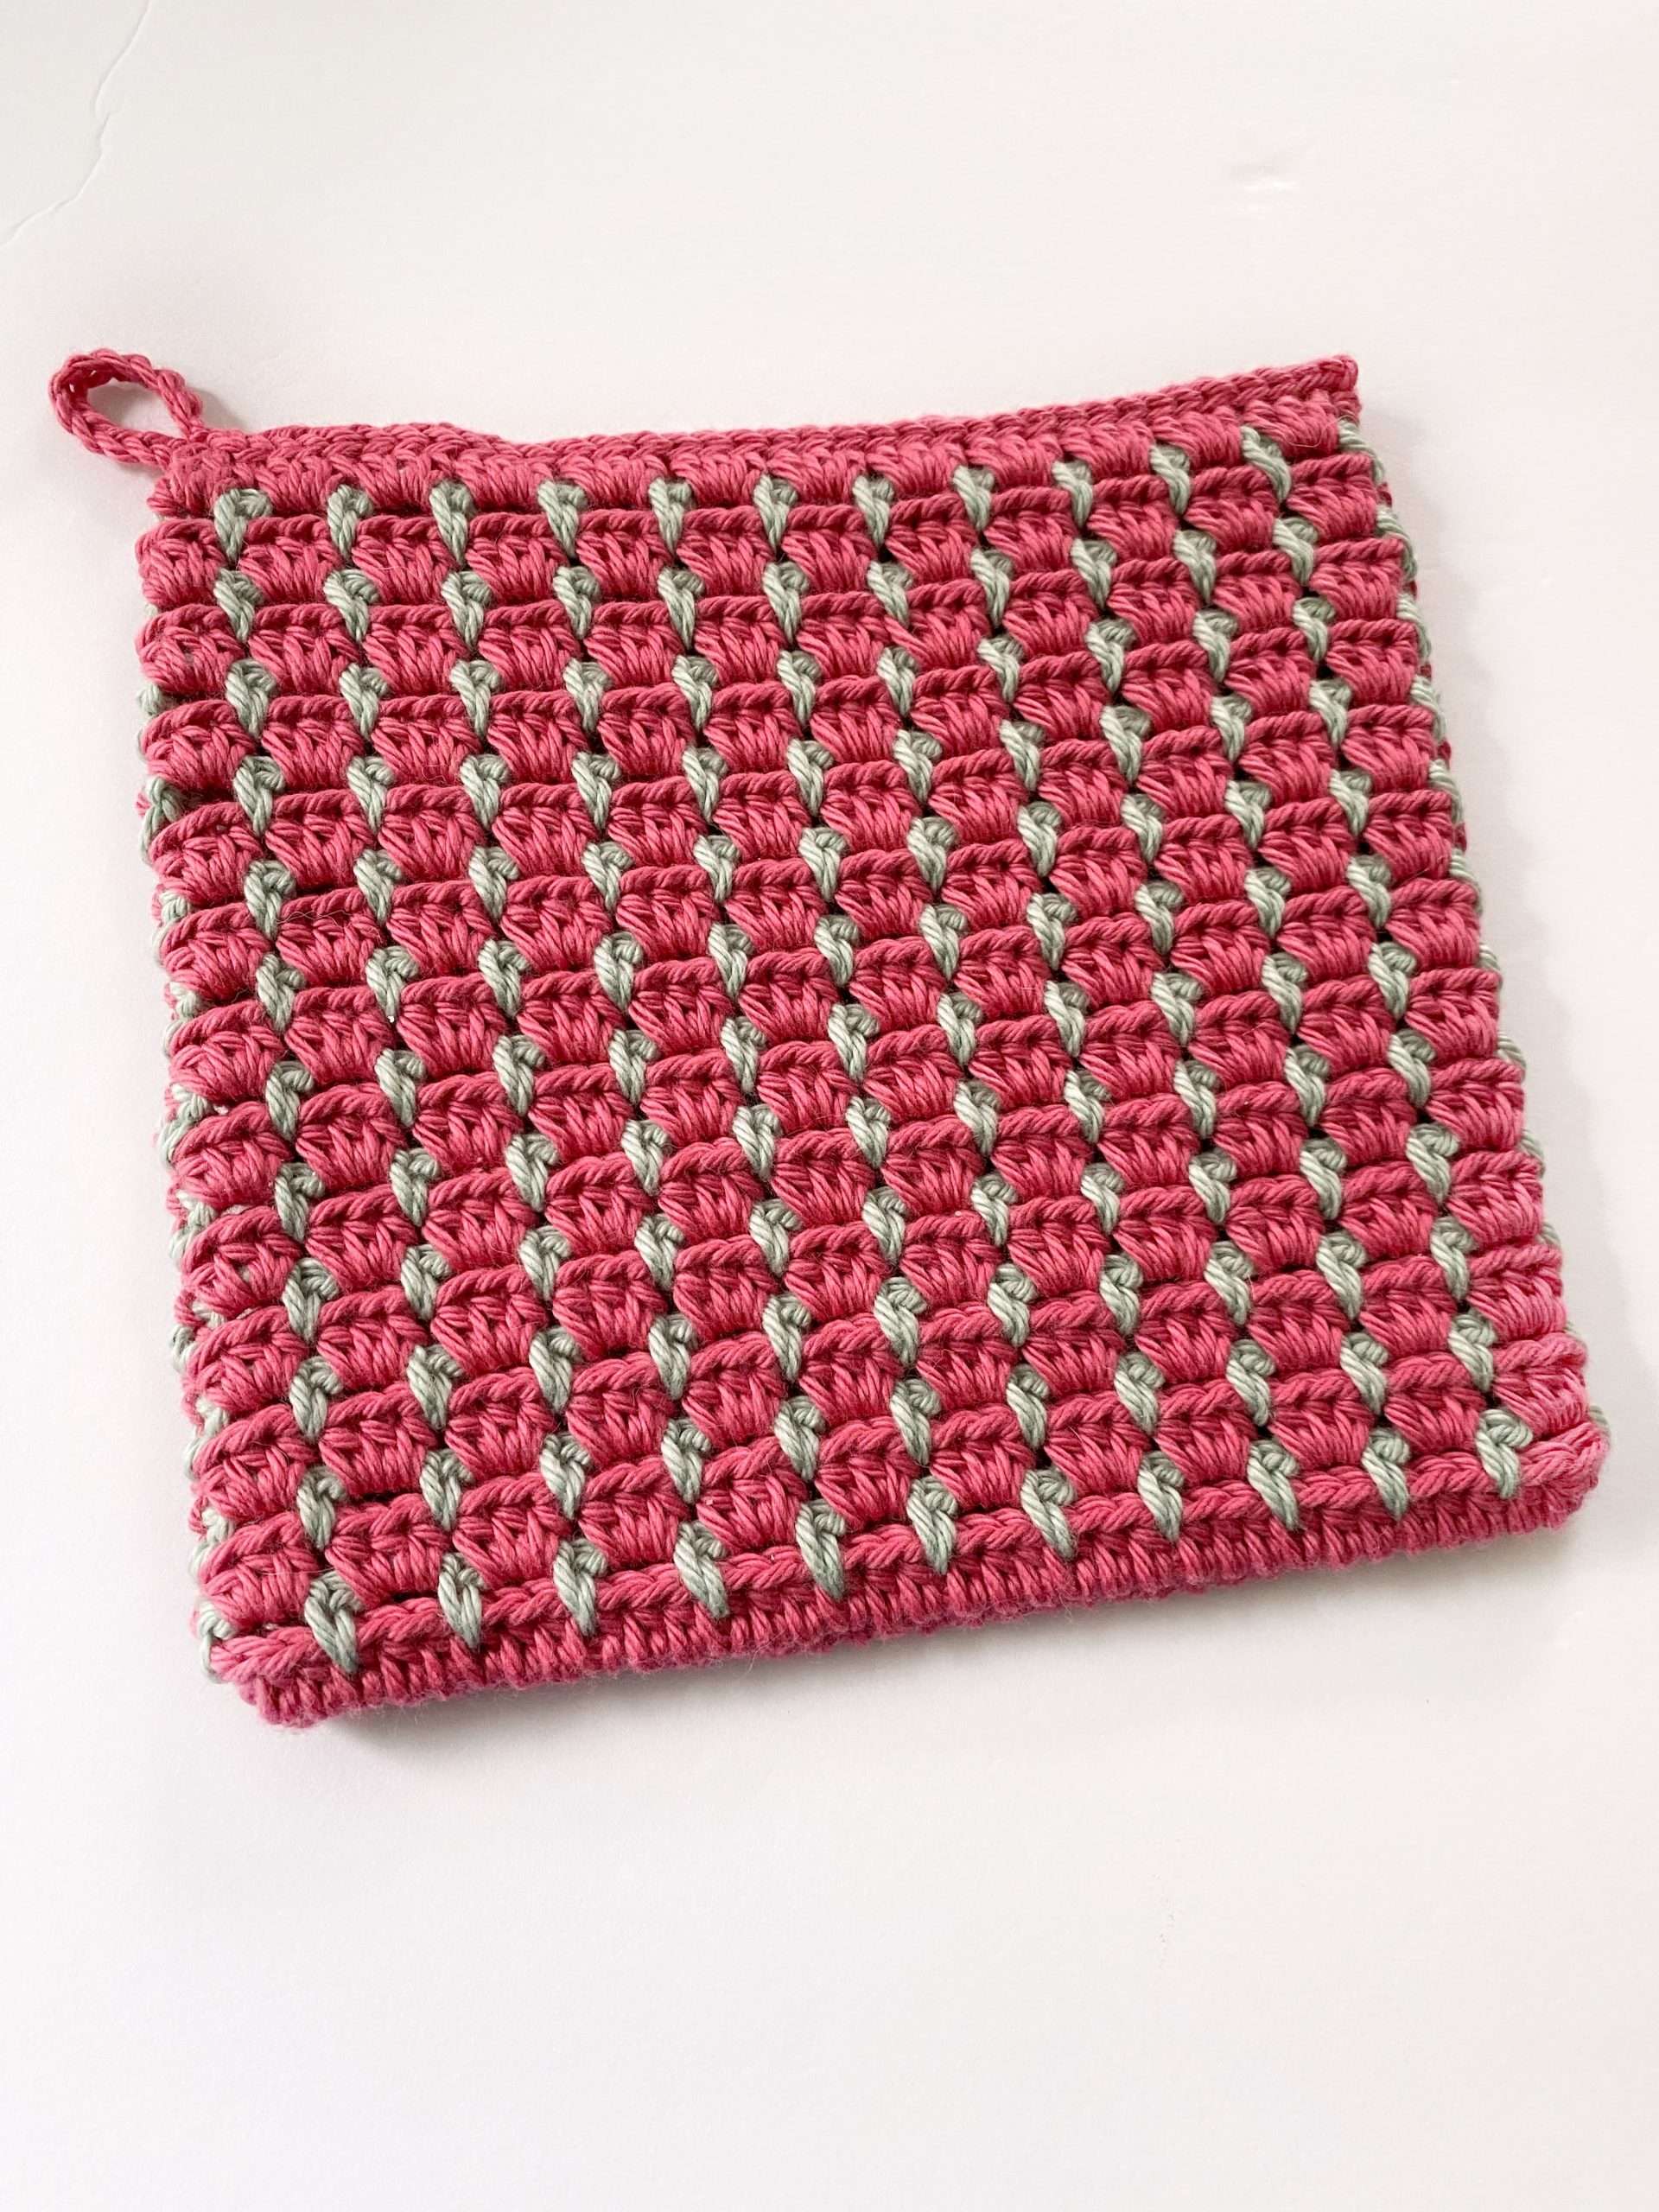
How it Looks in Multiple Colours:
The beauty of this stitch really pops with more than 1 colour. You can choose any two colours for your potholder, but I find that the more contrast the colours have, the better. I think this would make a beautiful Christmas themed potholder with red and green, red and white, or green and white.
You can also use more than two colours for a fun, multi-coloured striped design.
If you’re worried about using more than one colour because of the extra ends, don’t be. Each colour is carried throughout the potholder, so you’ll only have 2 ends to weave in for every colour used.
Abbreviations:
Gauge: Approximately 6 hdc-cl x 15 rows = 4” x 4”
- If your gauge is too small (more than 6 hdc-cl or 15 rows), try using a thicker weight 4 yarn or a larger crochet hook.
- If your gauge is too big (less than 6 hdc-cl or 15 rows), try using a thinner weight 4 yarn or a smaller crochet hook. You can also try adjusting your tension.
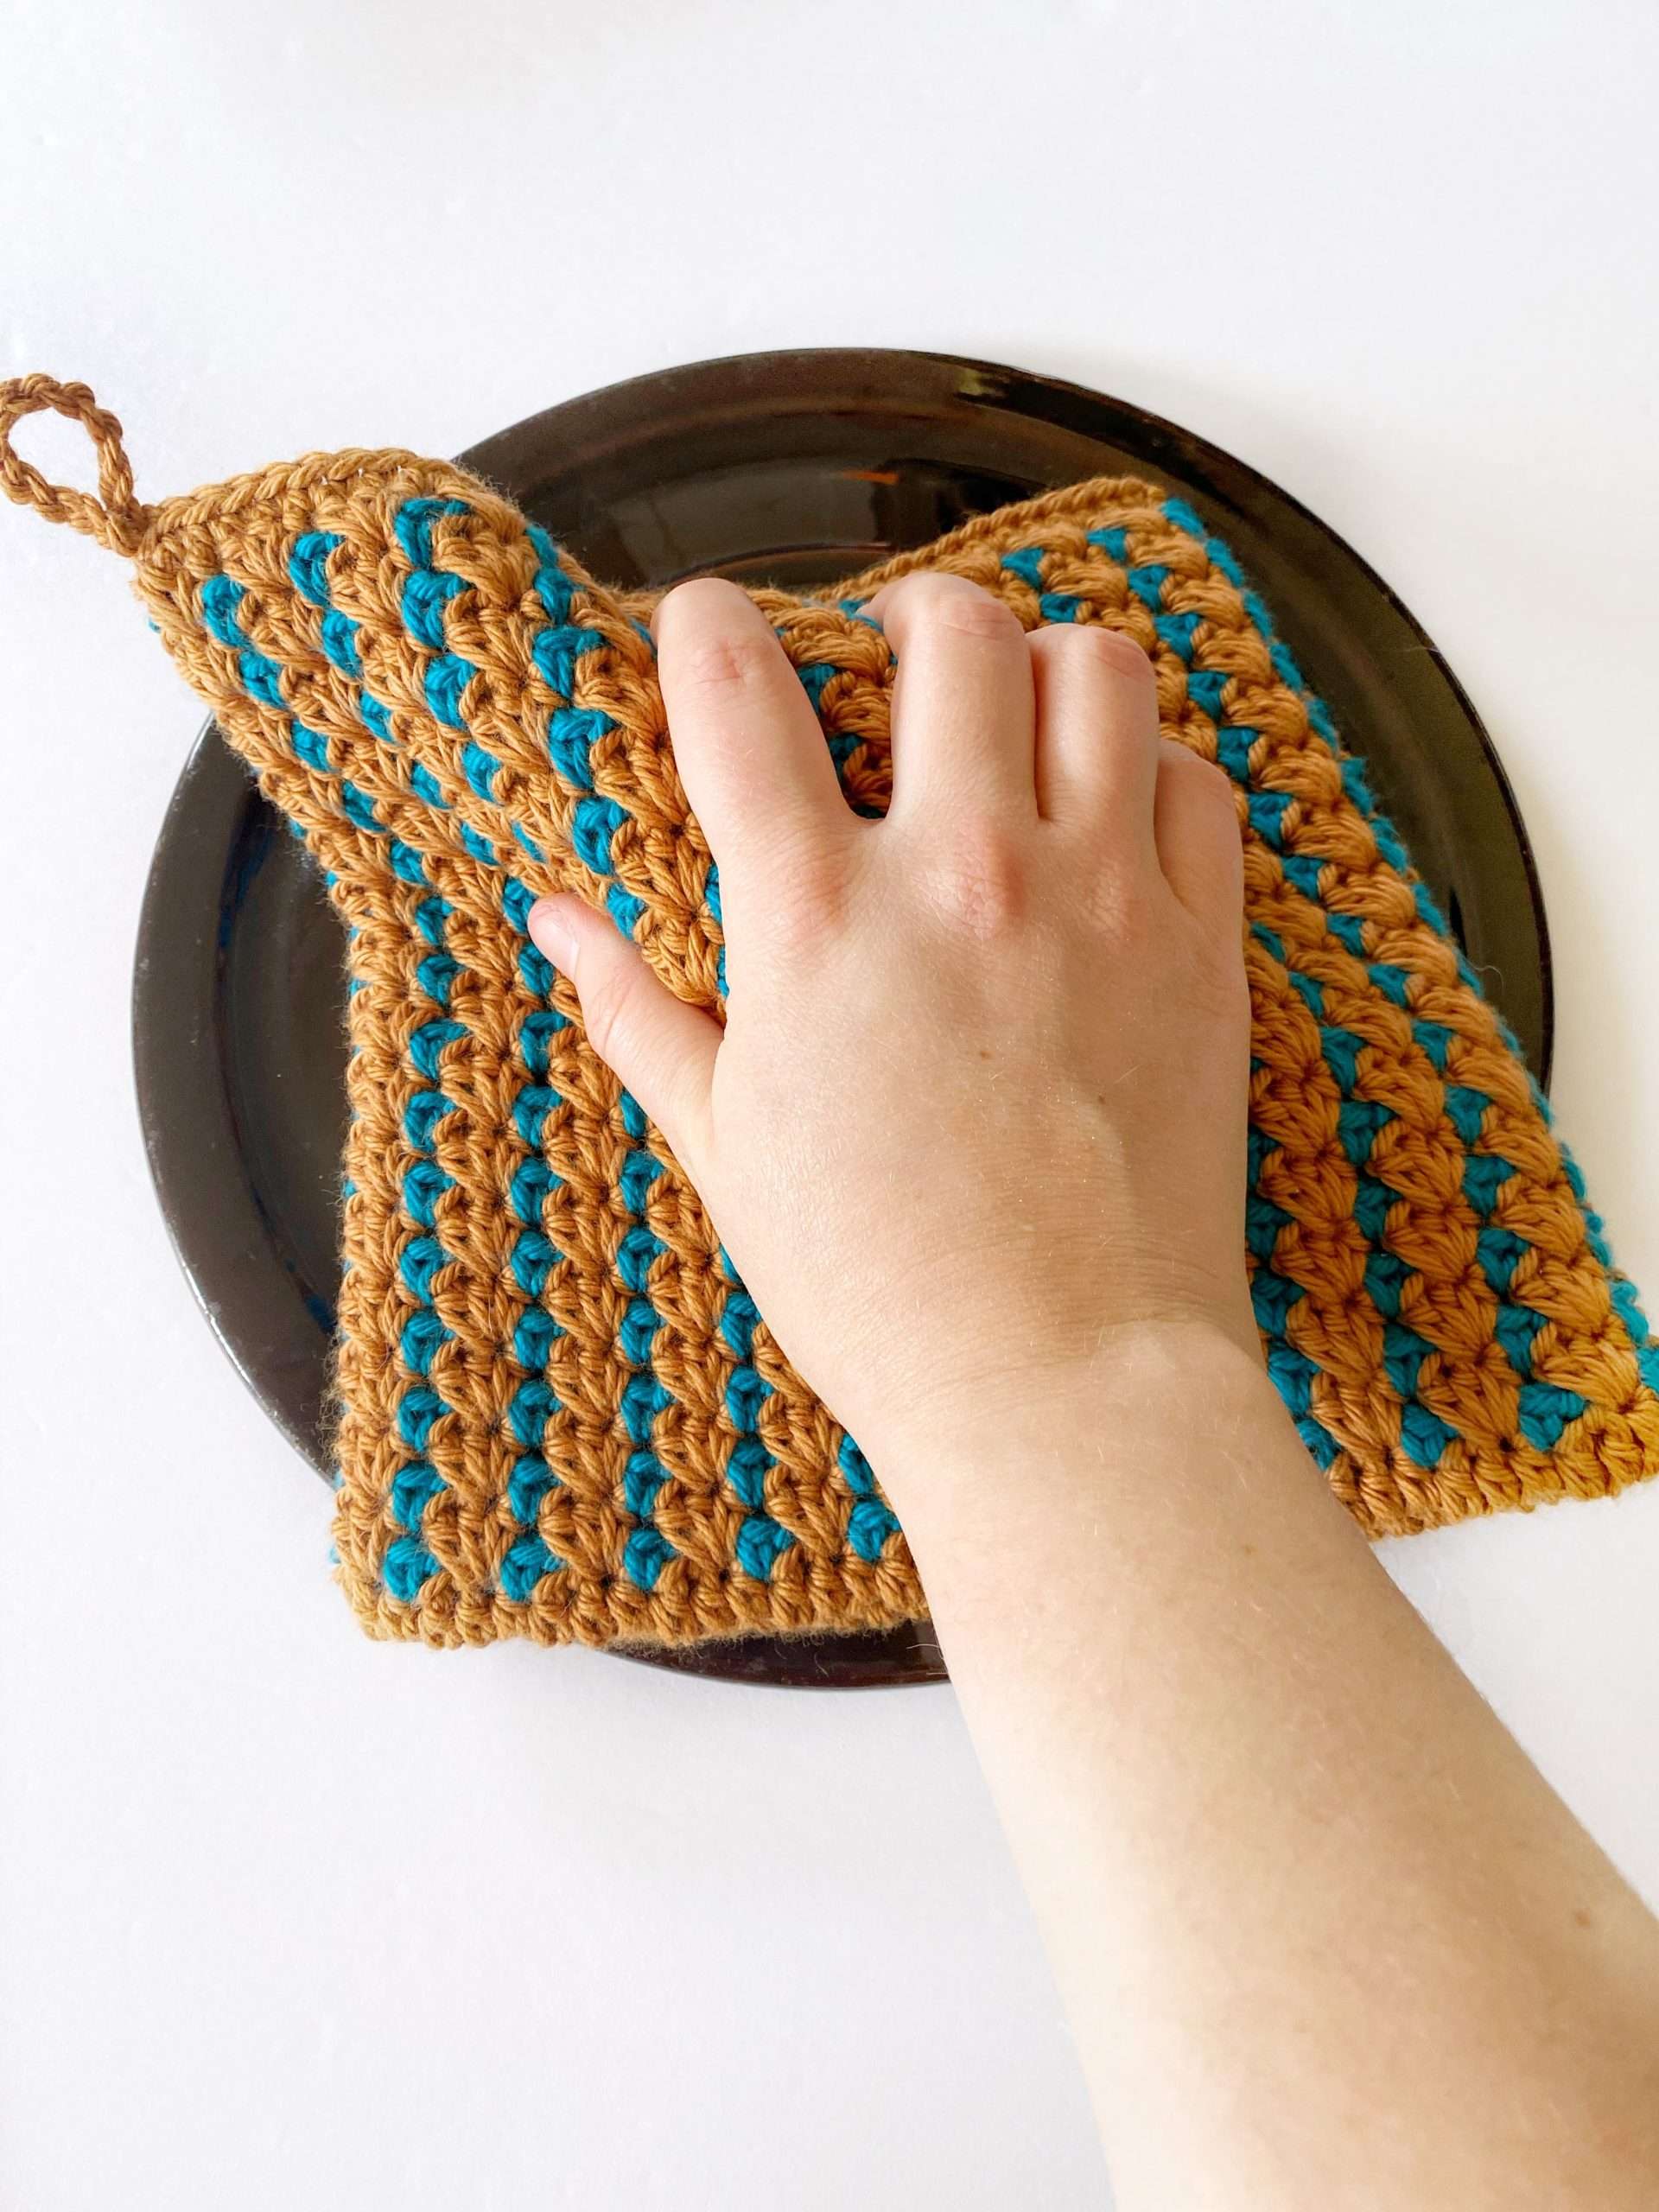
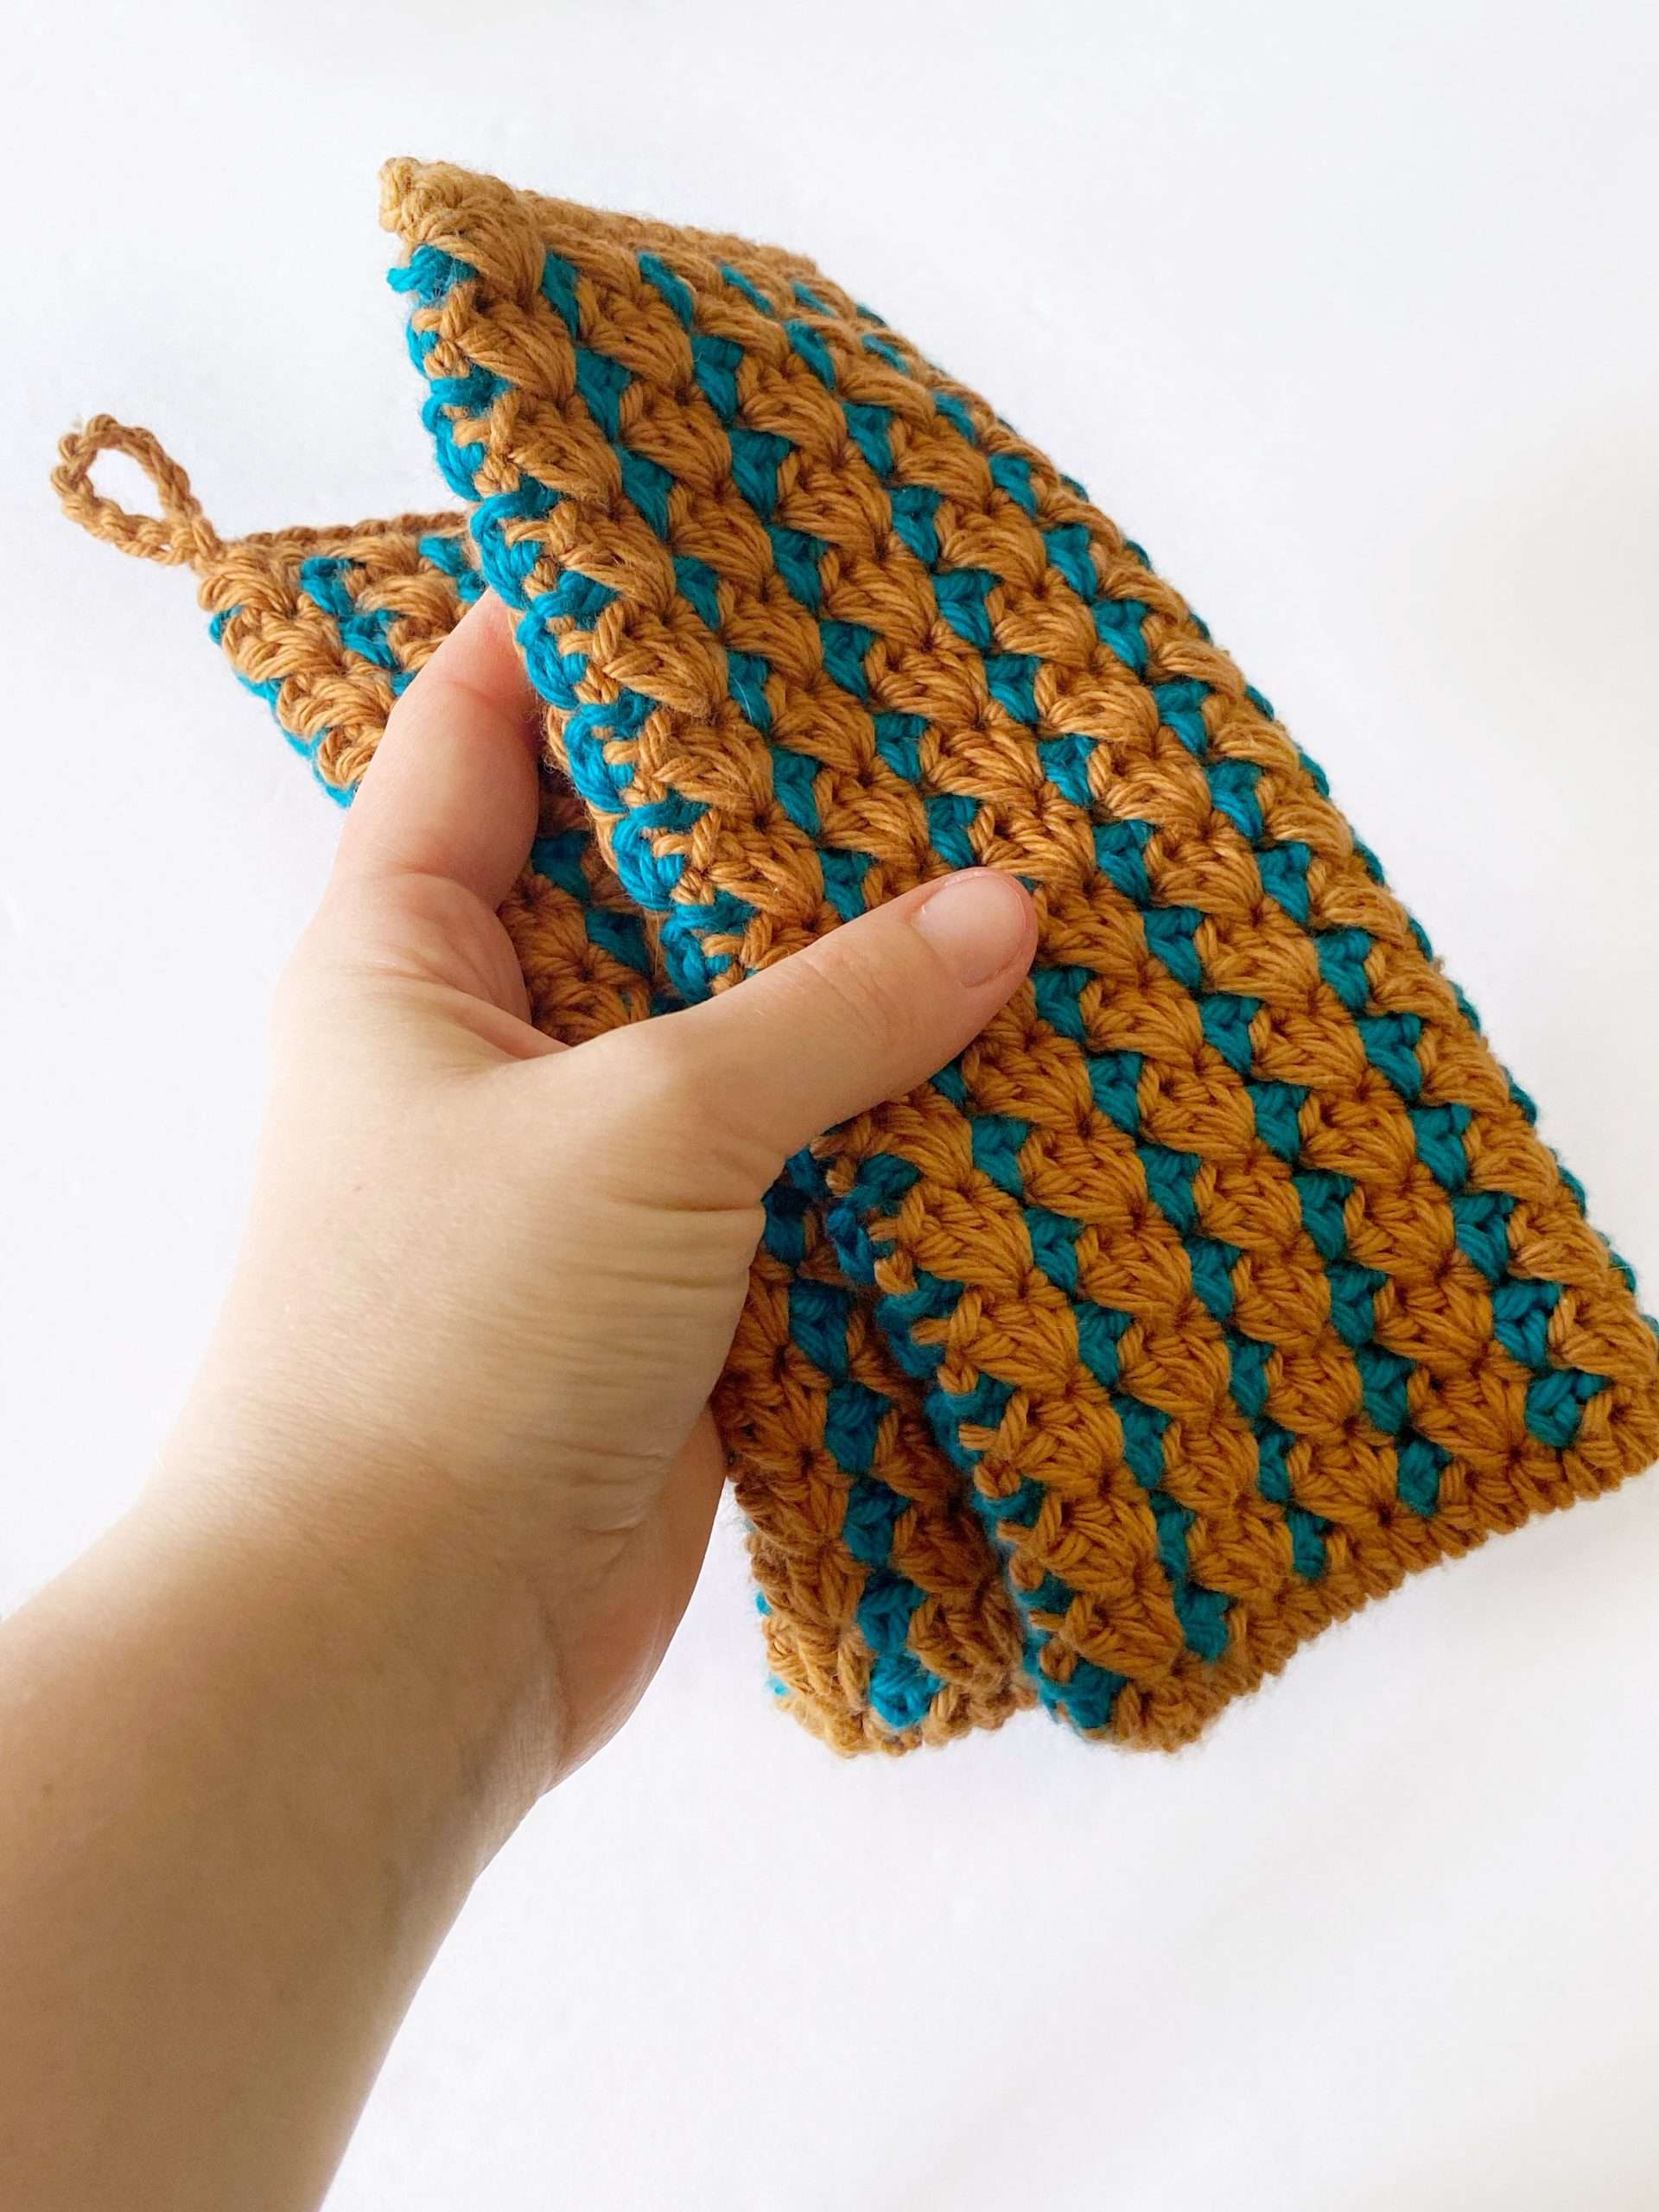
Pattern Measurements & Construction:
There are two potholder sizes to choose from:
- Size #1: 6.75″ x 7″
- Size #2: 8.25″ x 8″
Customize the Size of your Block Stitch Potholder:
- Width: The width of the potholder is determined by the starting chain. Chain a multiple of 3 (+1). Ex. Multiple of 3: 30 (+ 1) = 31.
- Length: To make your potholder longer or shorter, repeat Rnds 4 – 5, while following the colour changes, until satisfied. The last rnd should be a Rnd 5 repeat.
The Ad-free Printable PDF for the Bejeweled Potholder is available as an individual PDF pattern on Ravelry or Etsy; or as a Crochet Along bundle, which includes written instructions for all 13 patterns on Ravelry or Etsy!
Colour Change Tutorial:
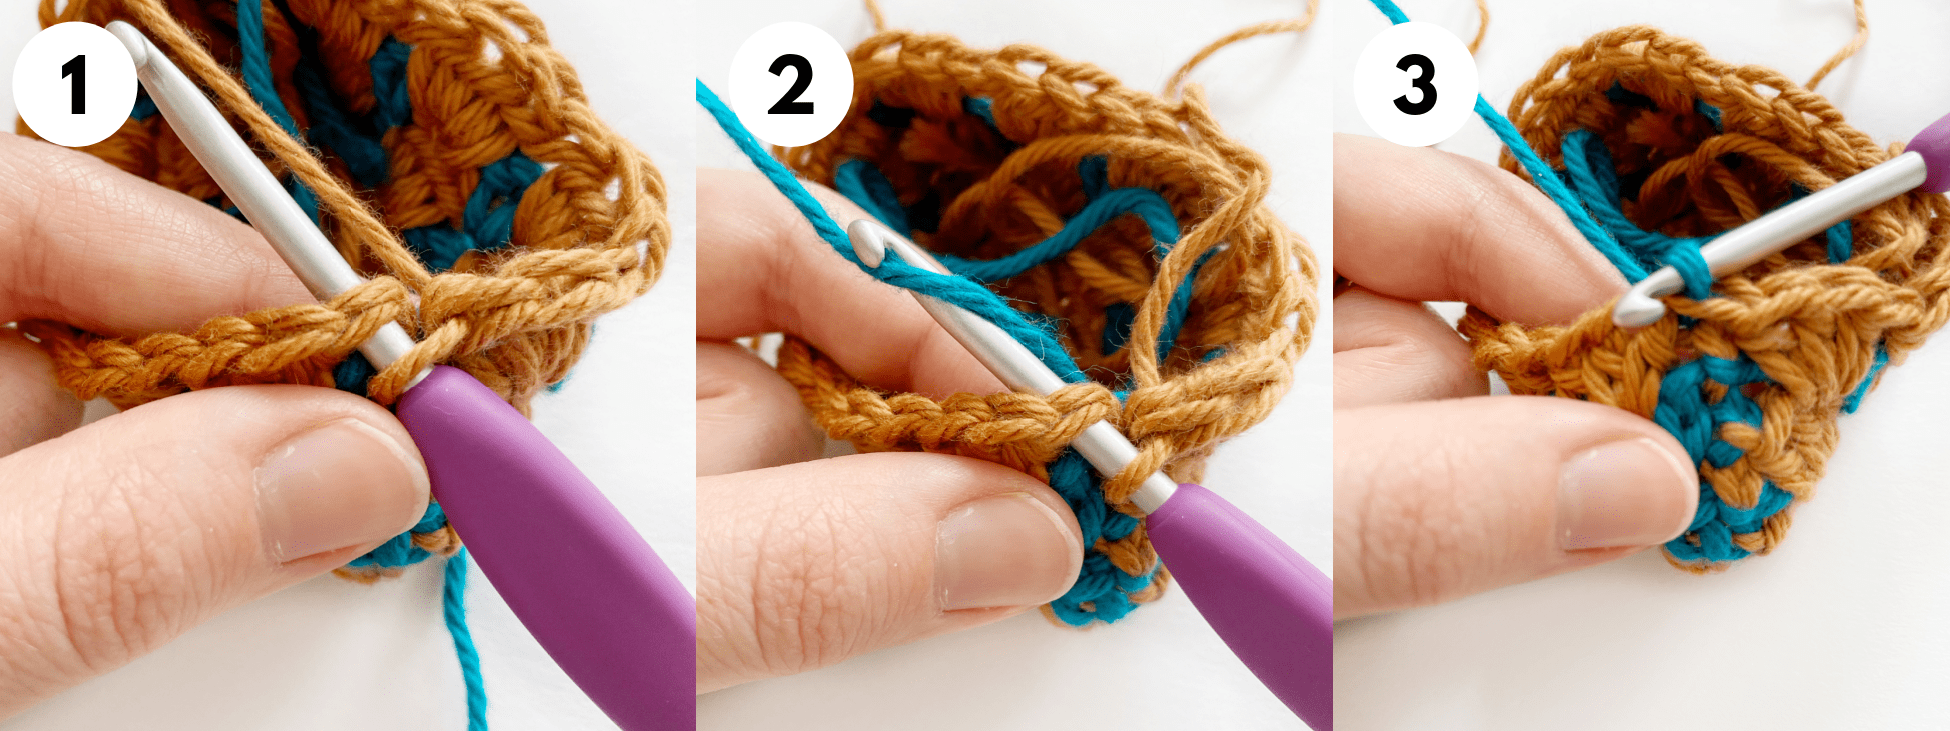
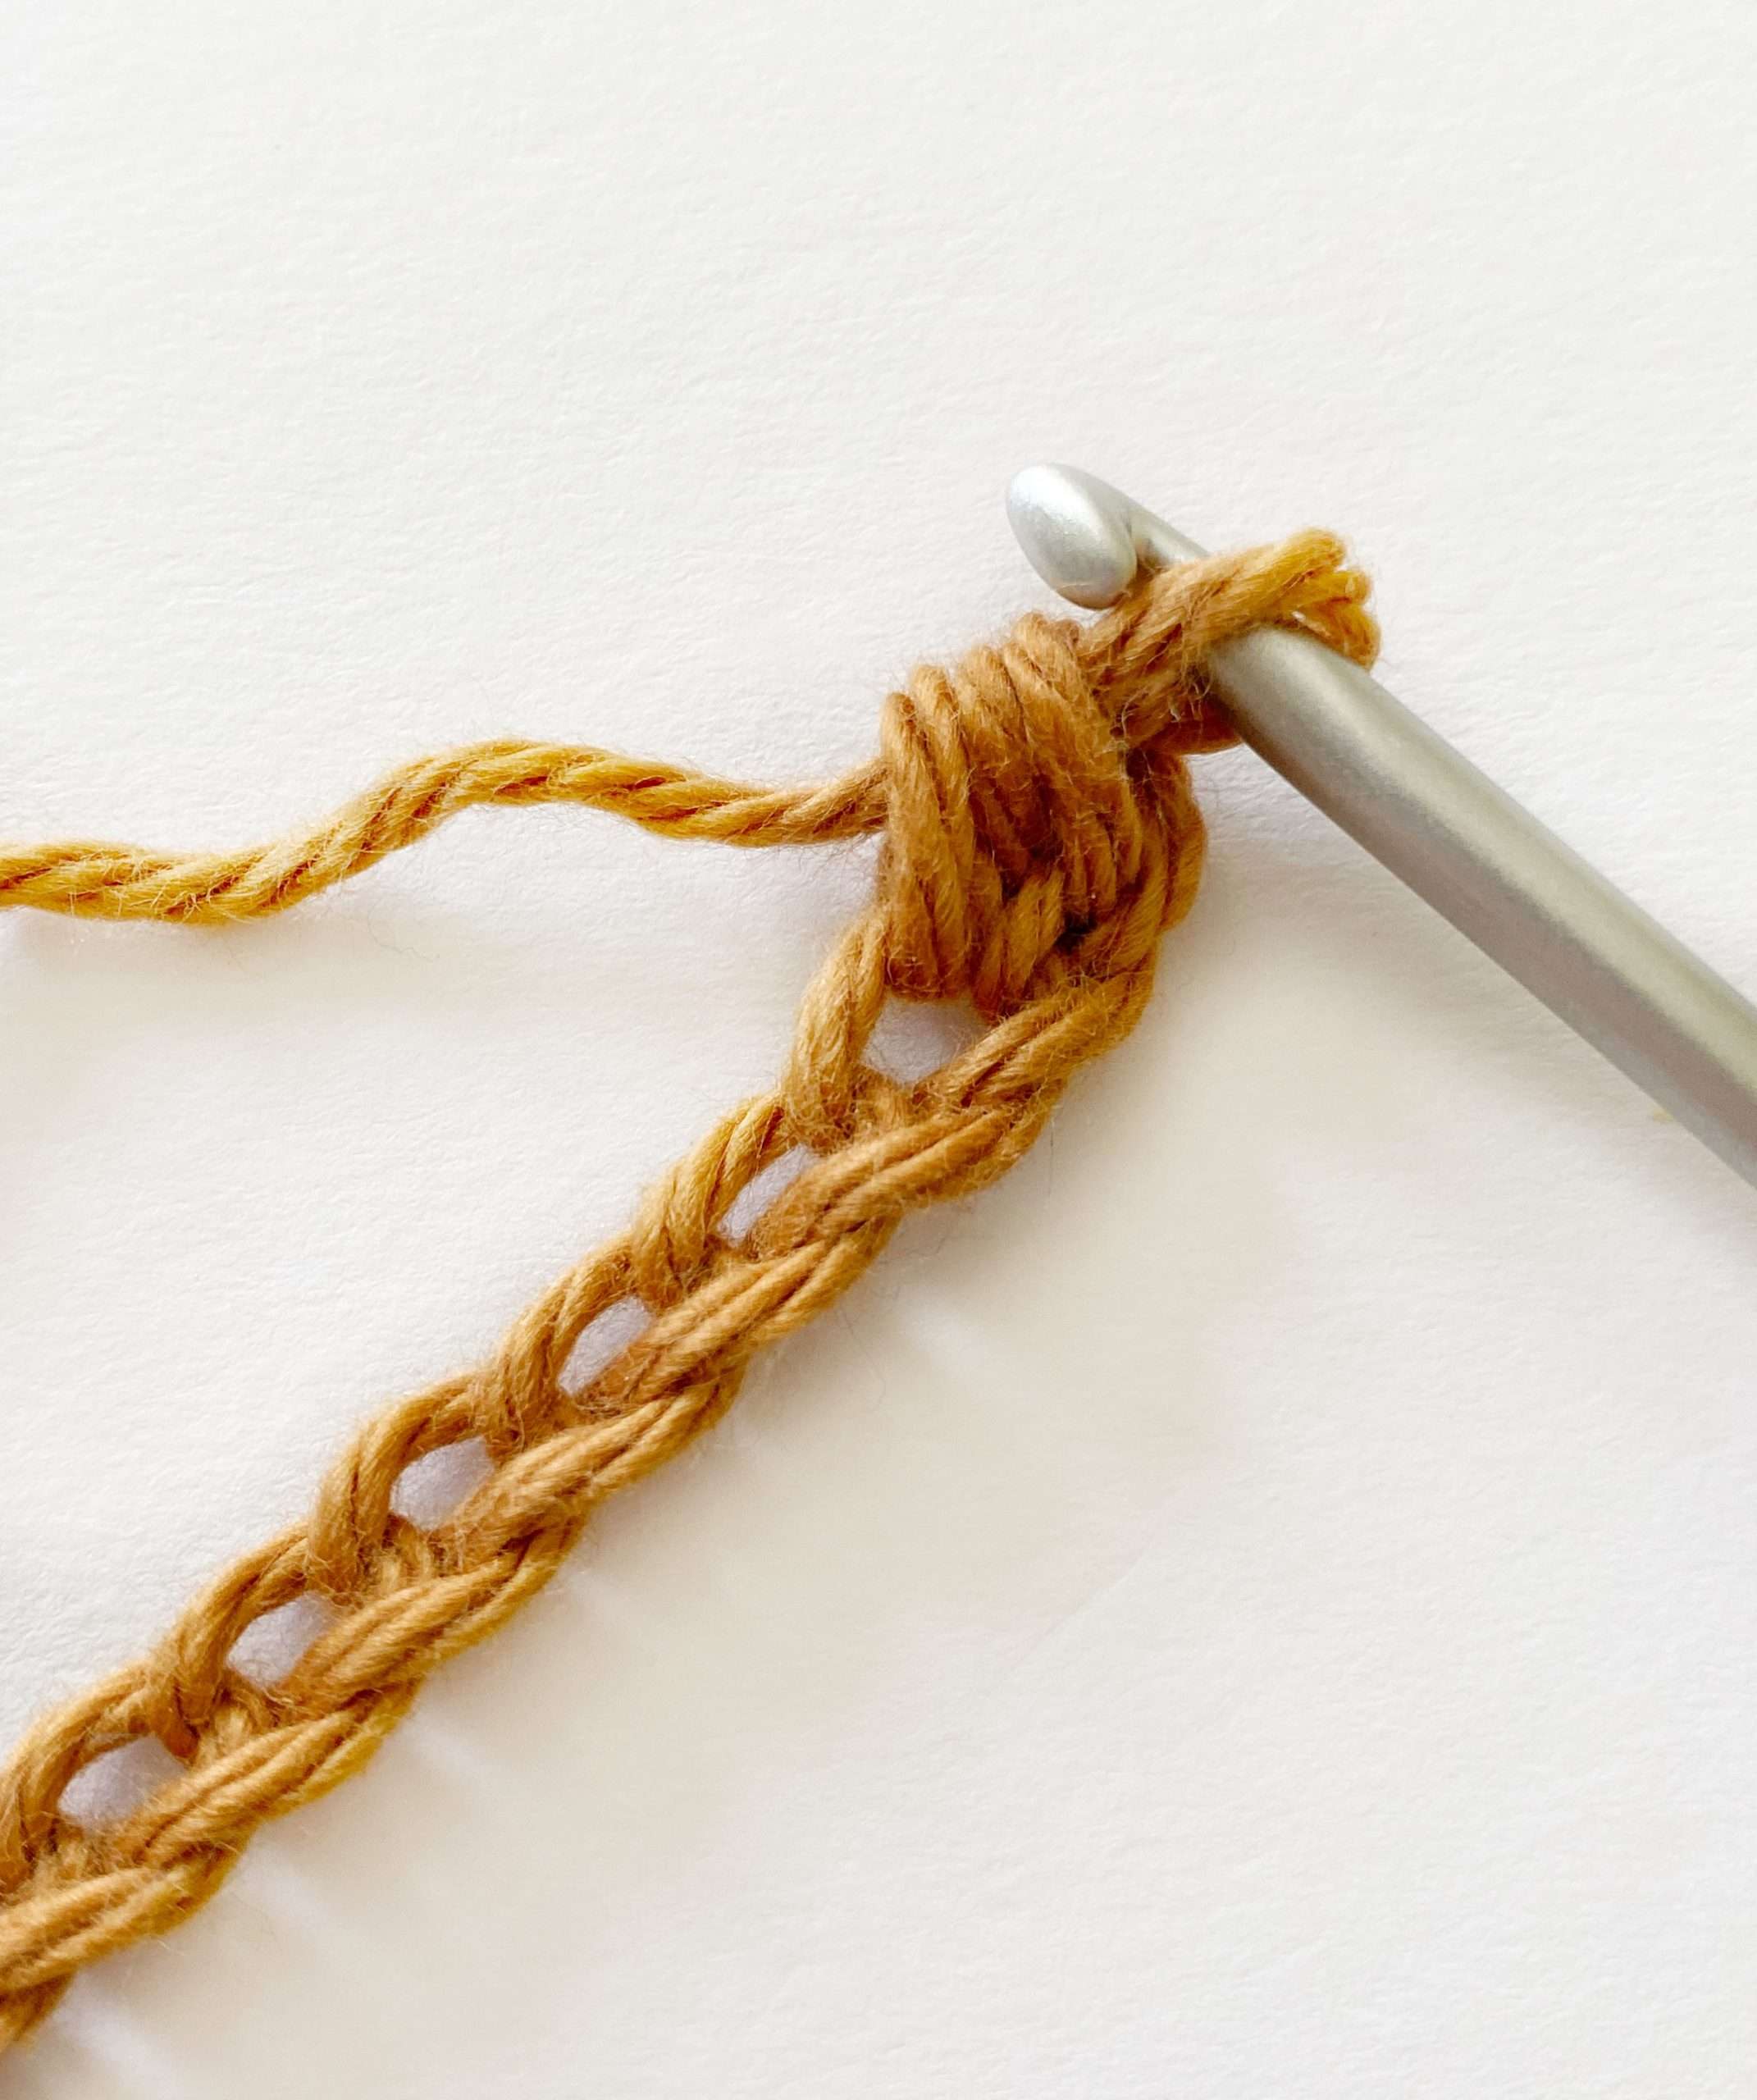
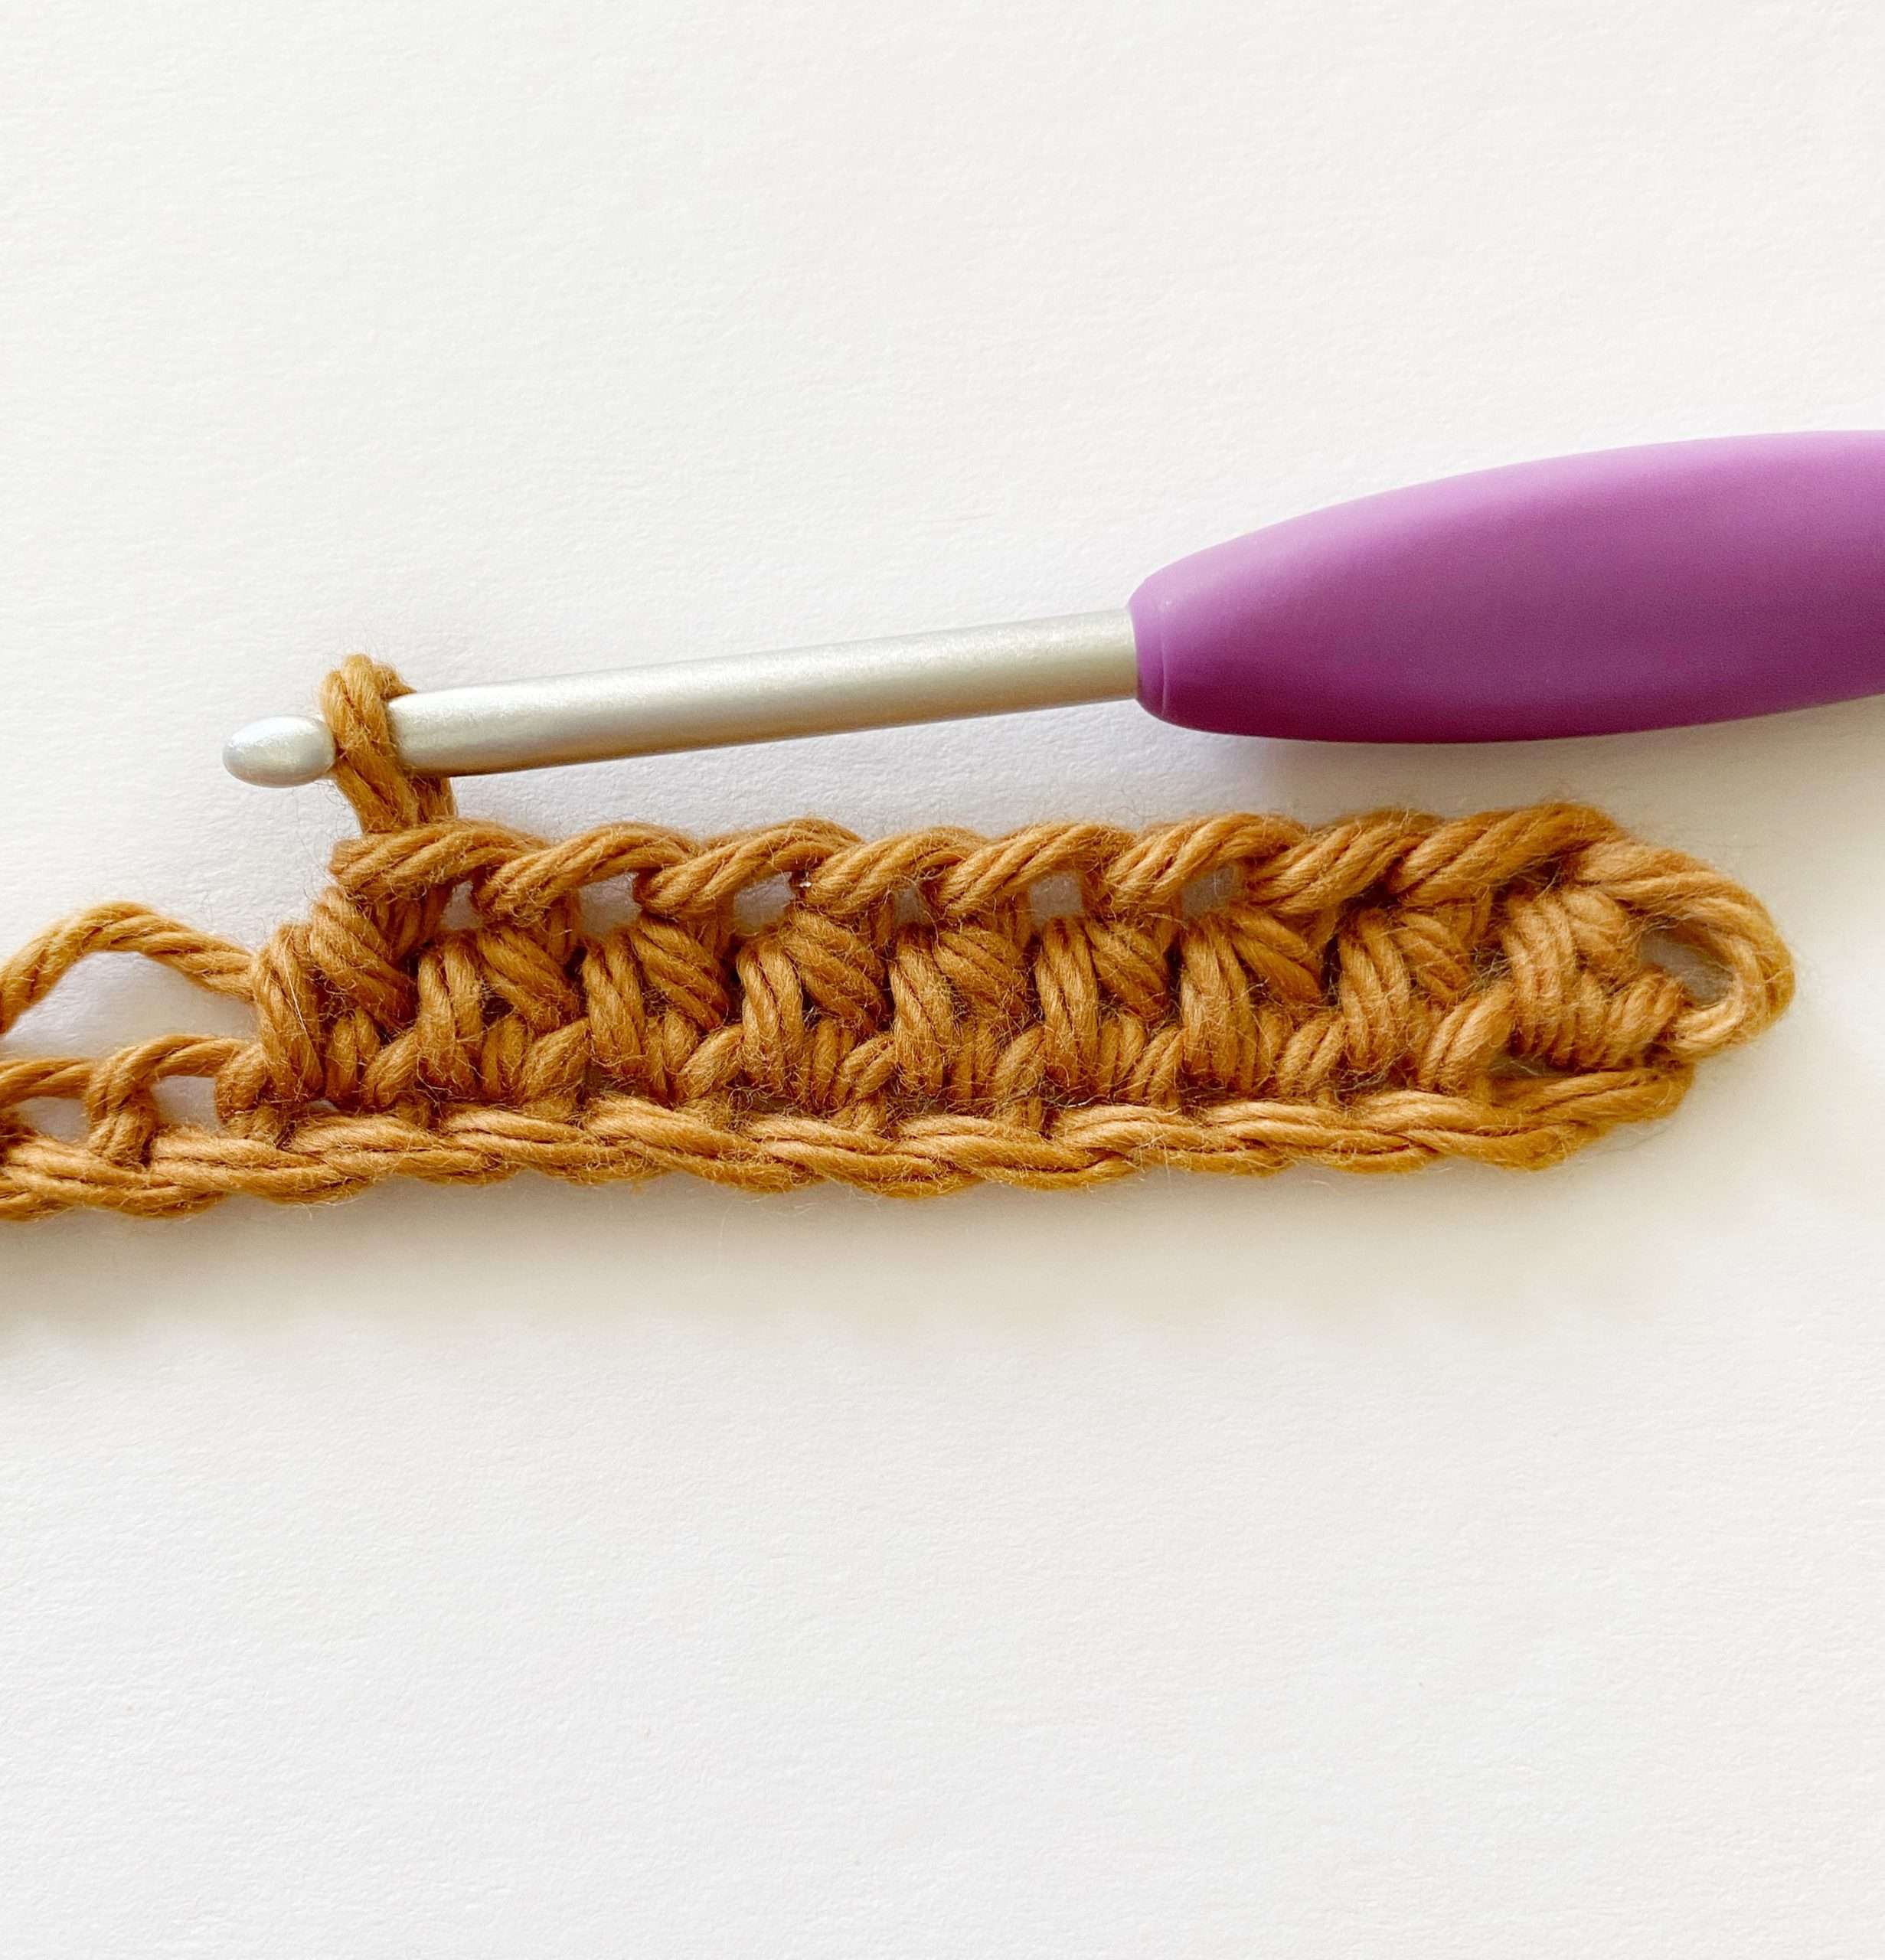
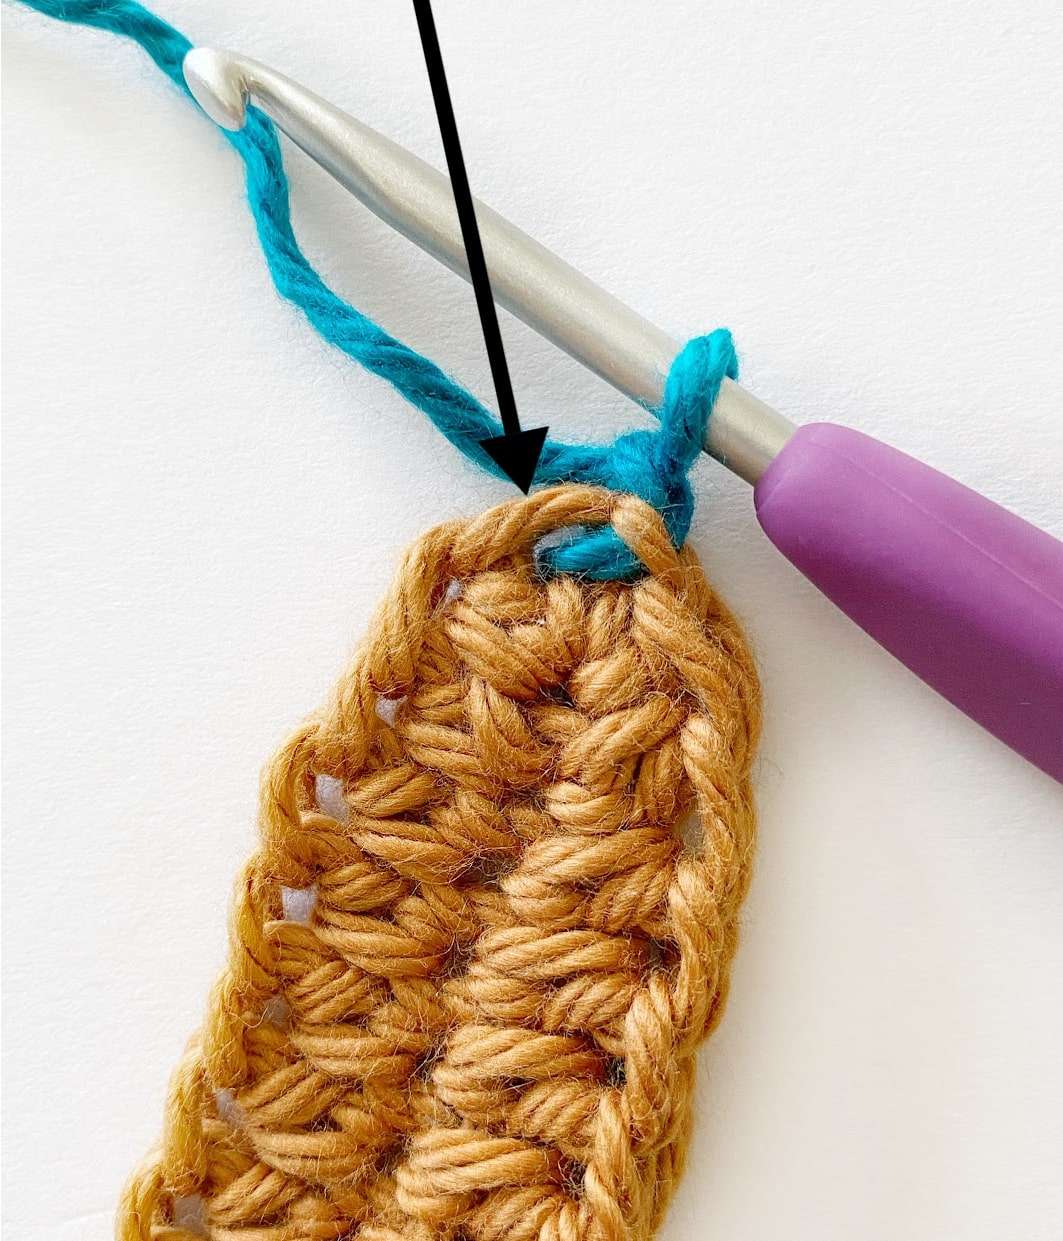
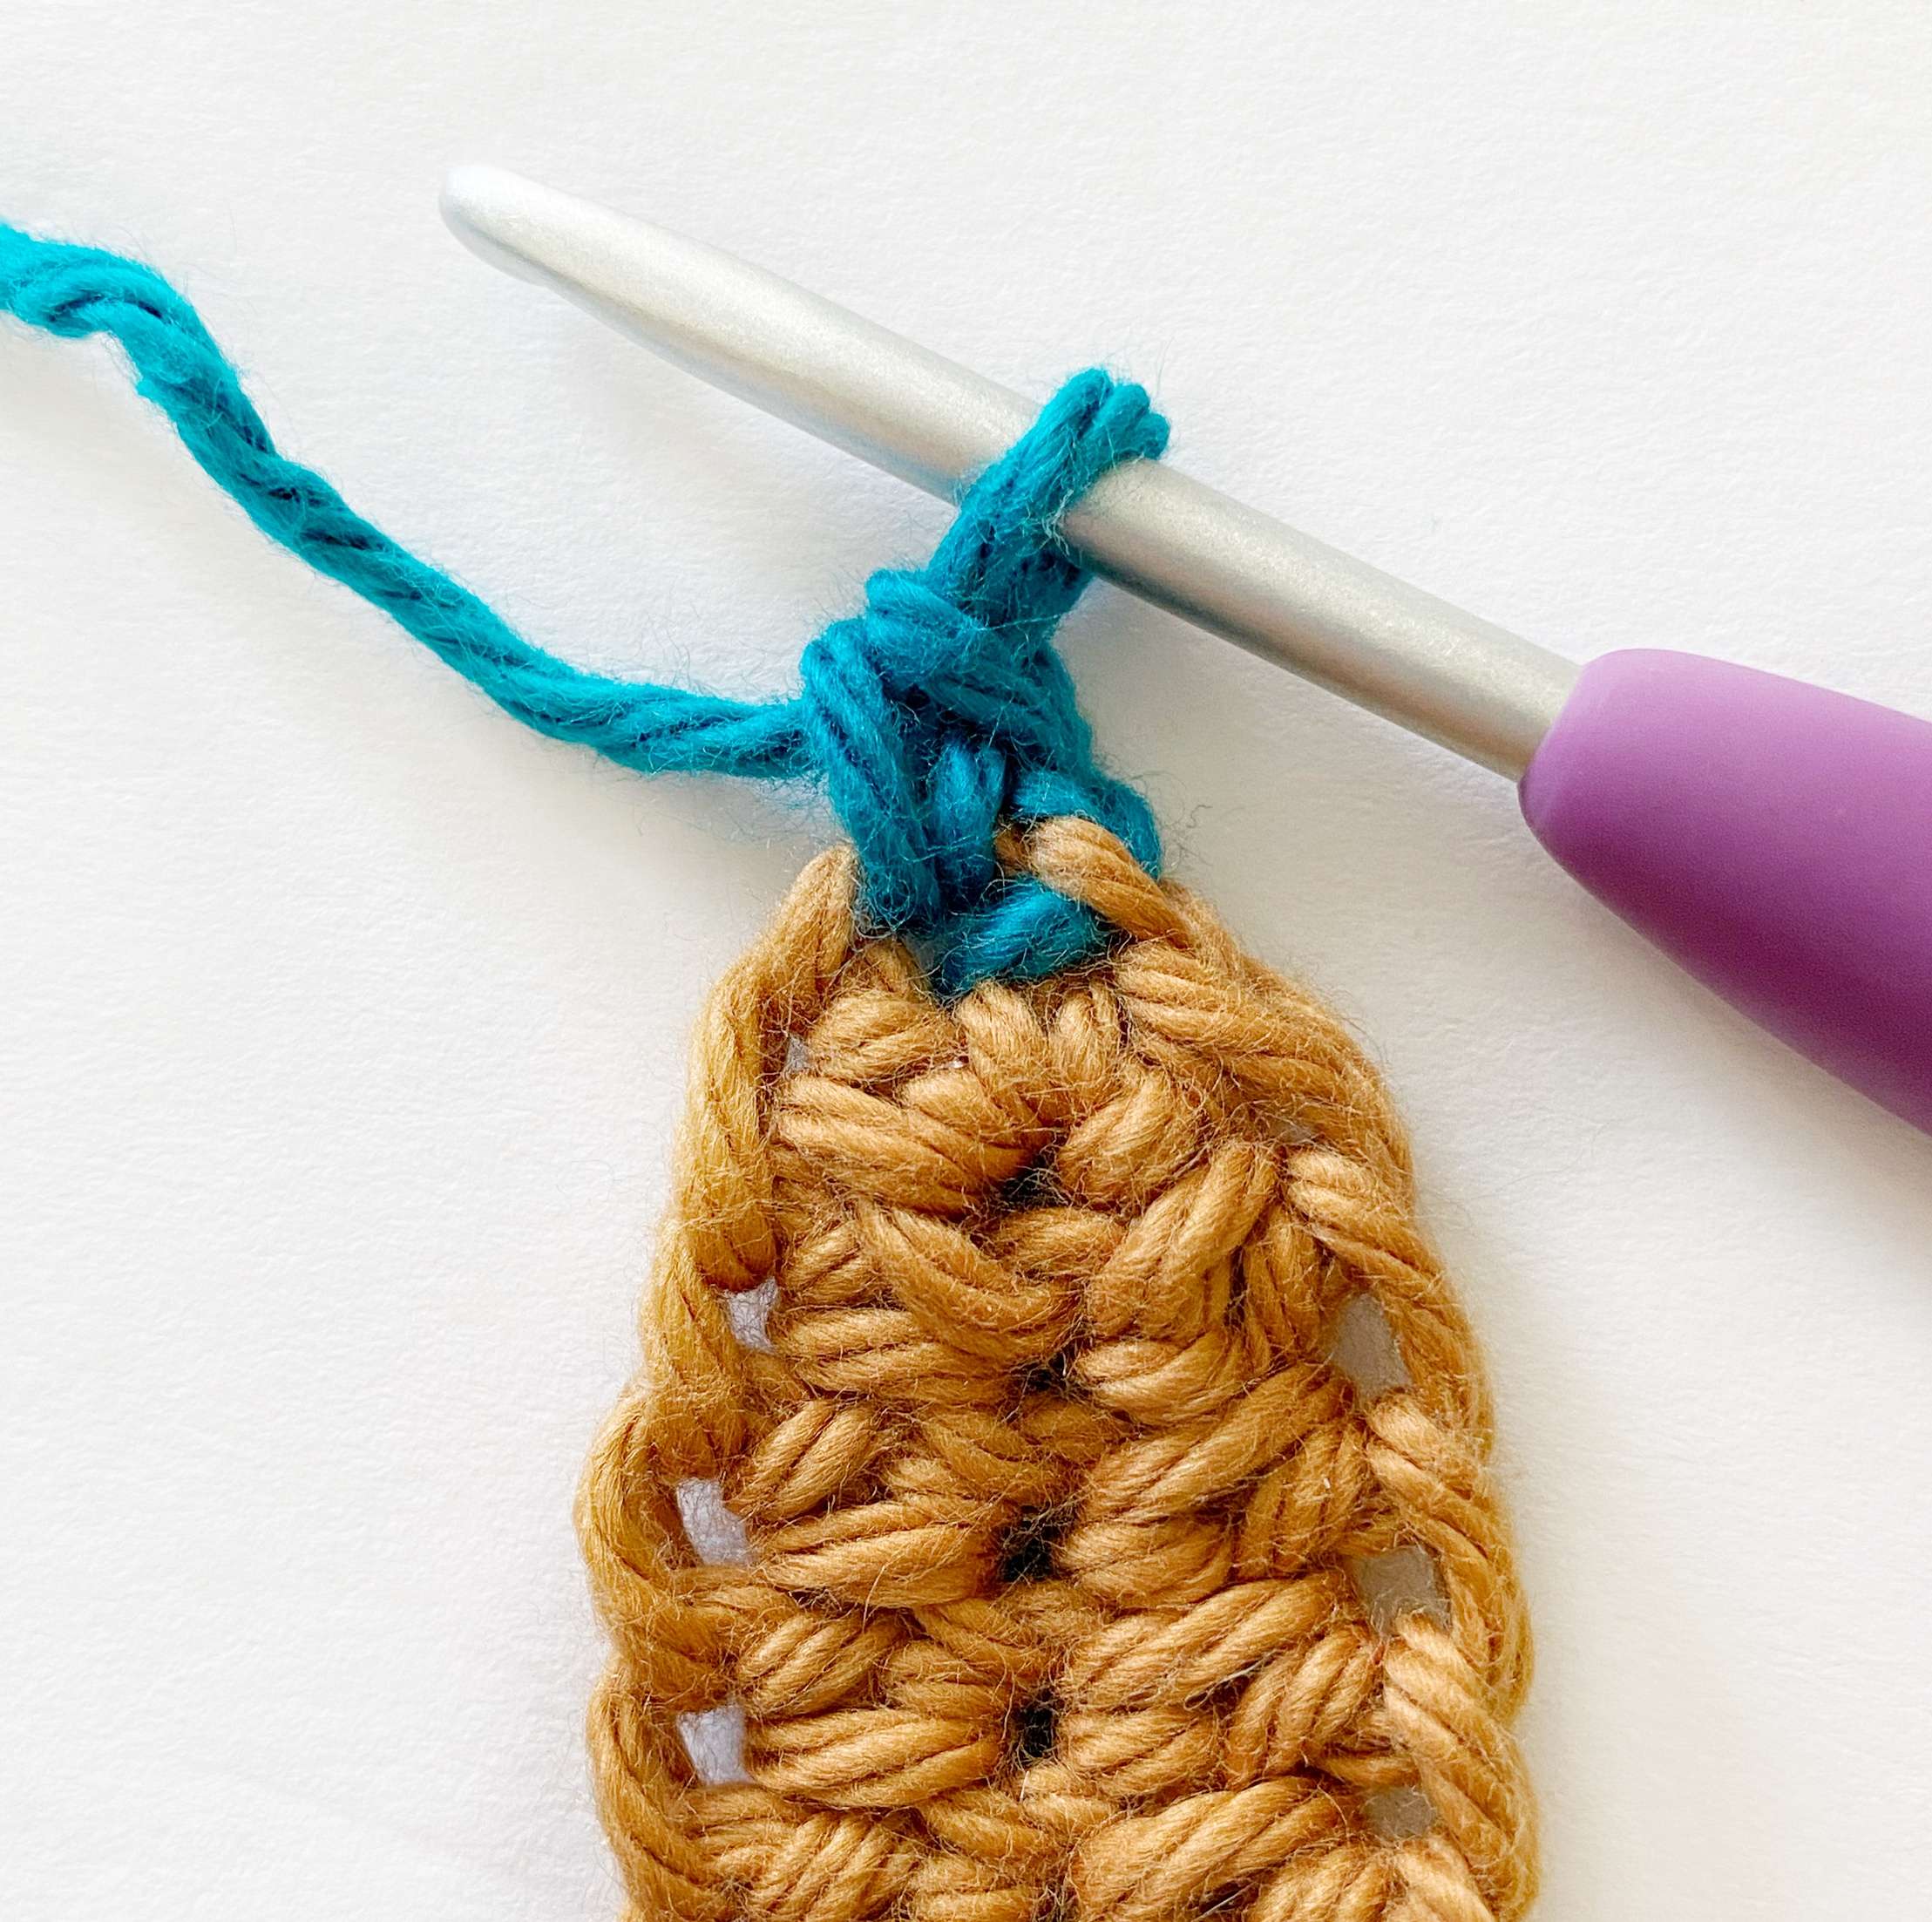
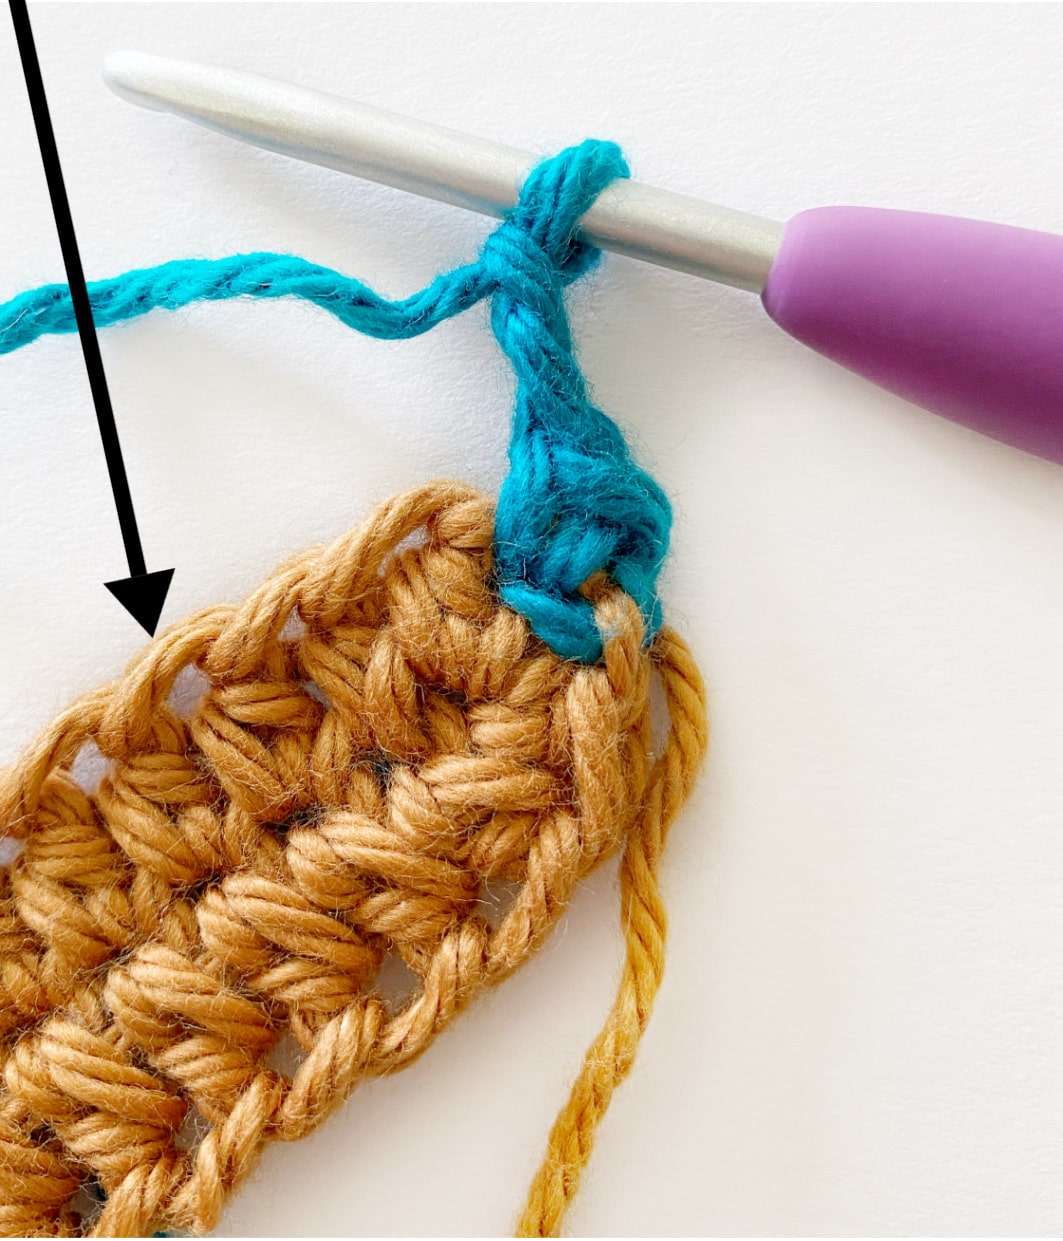
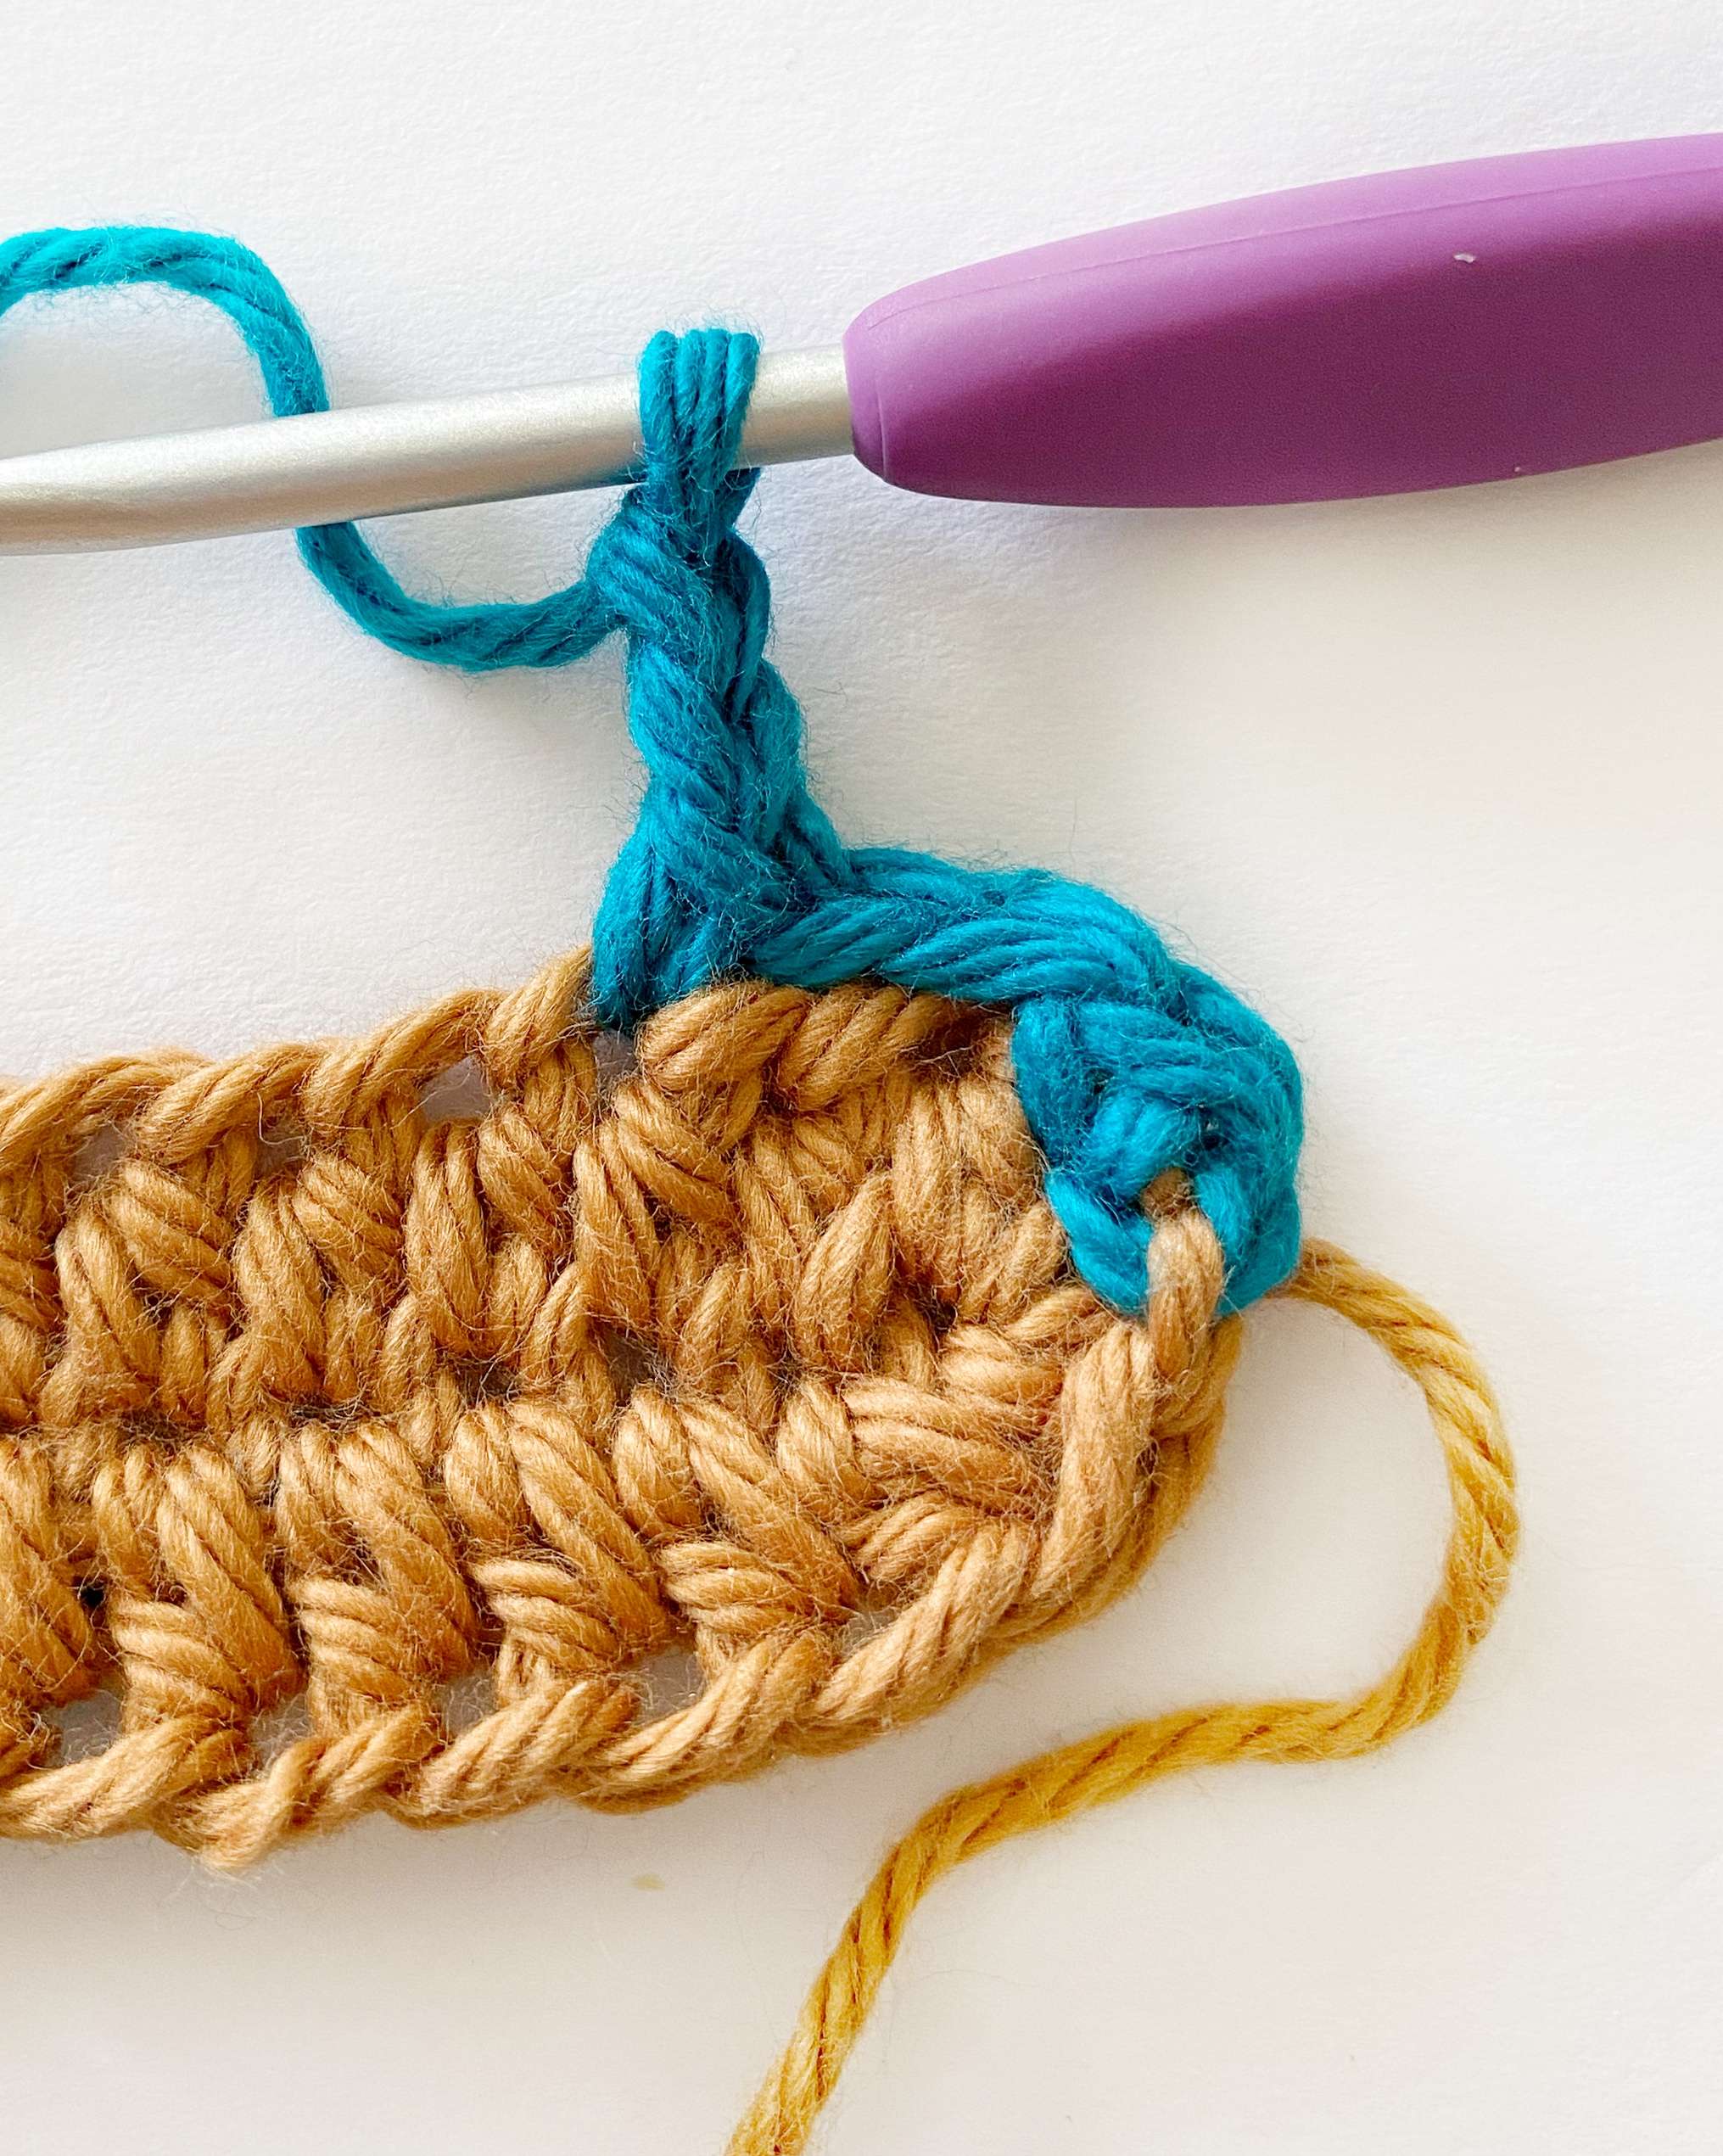
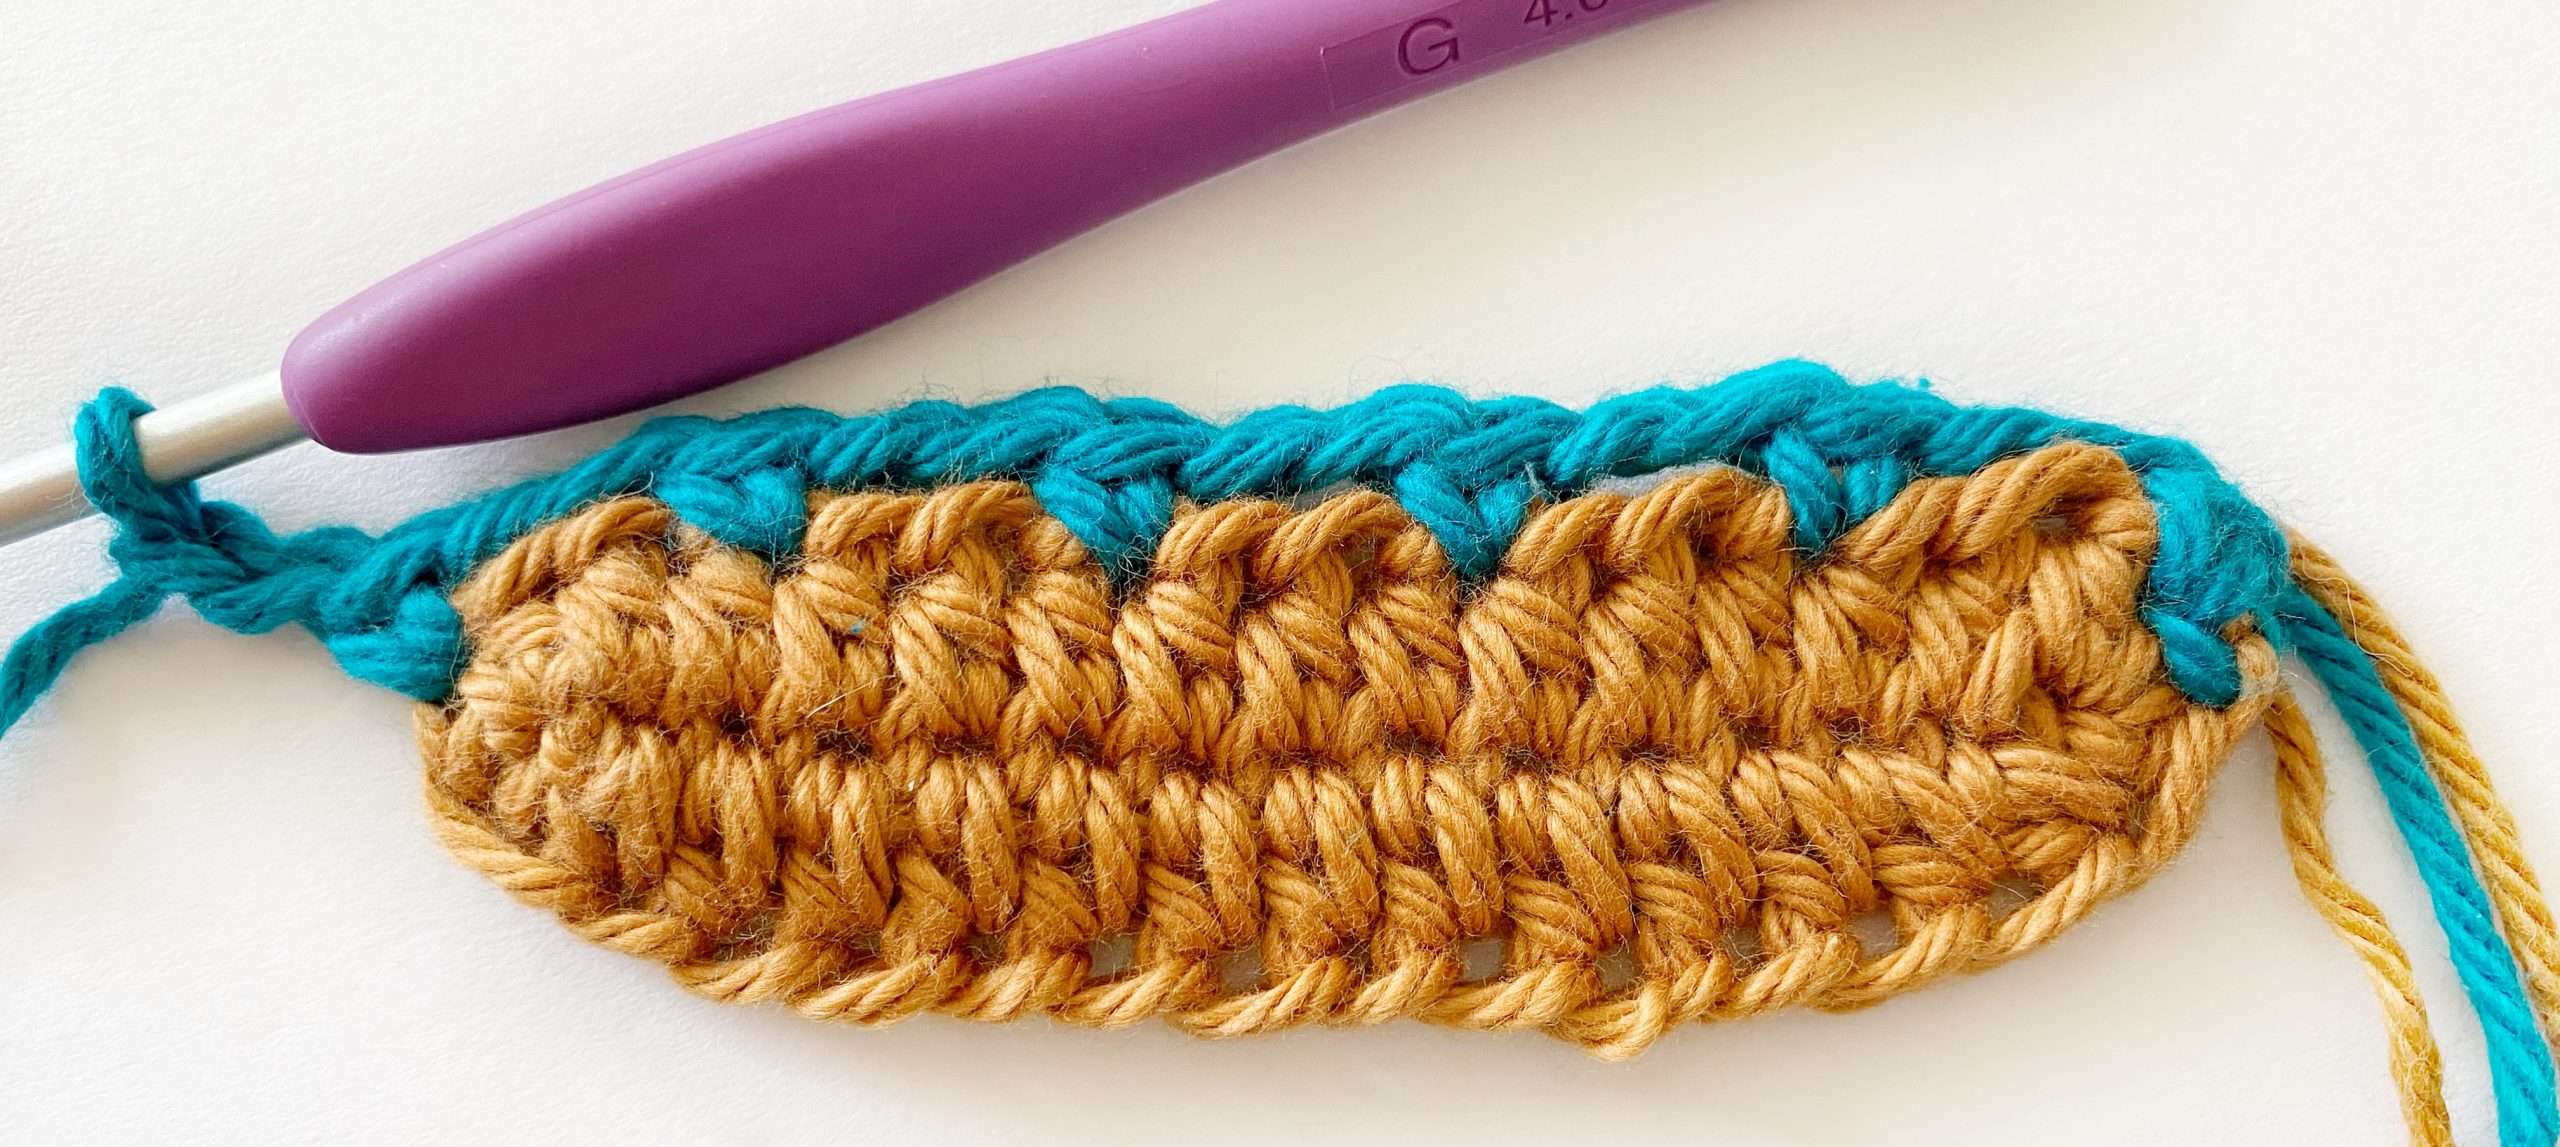
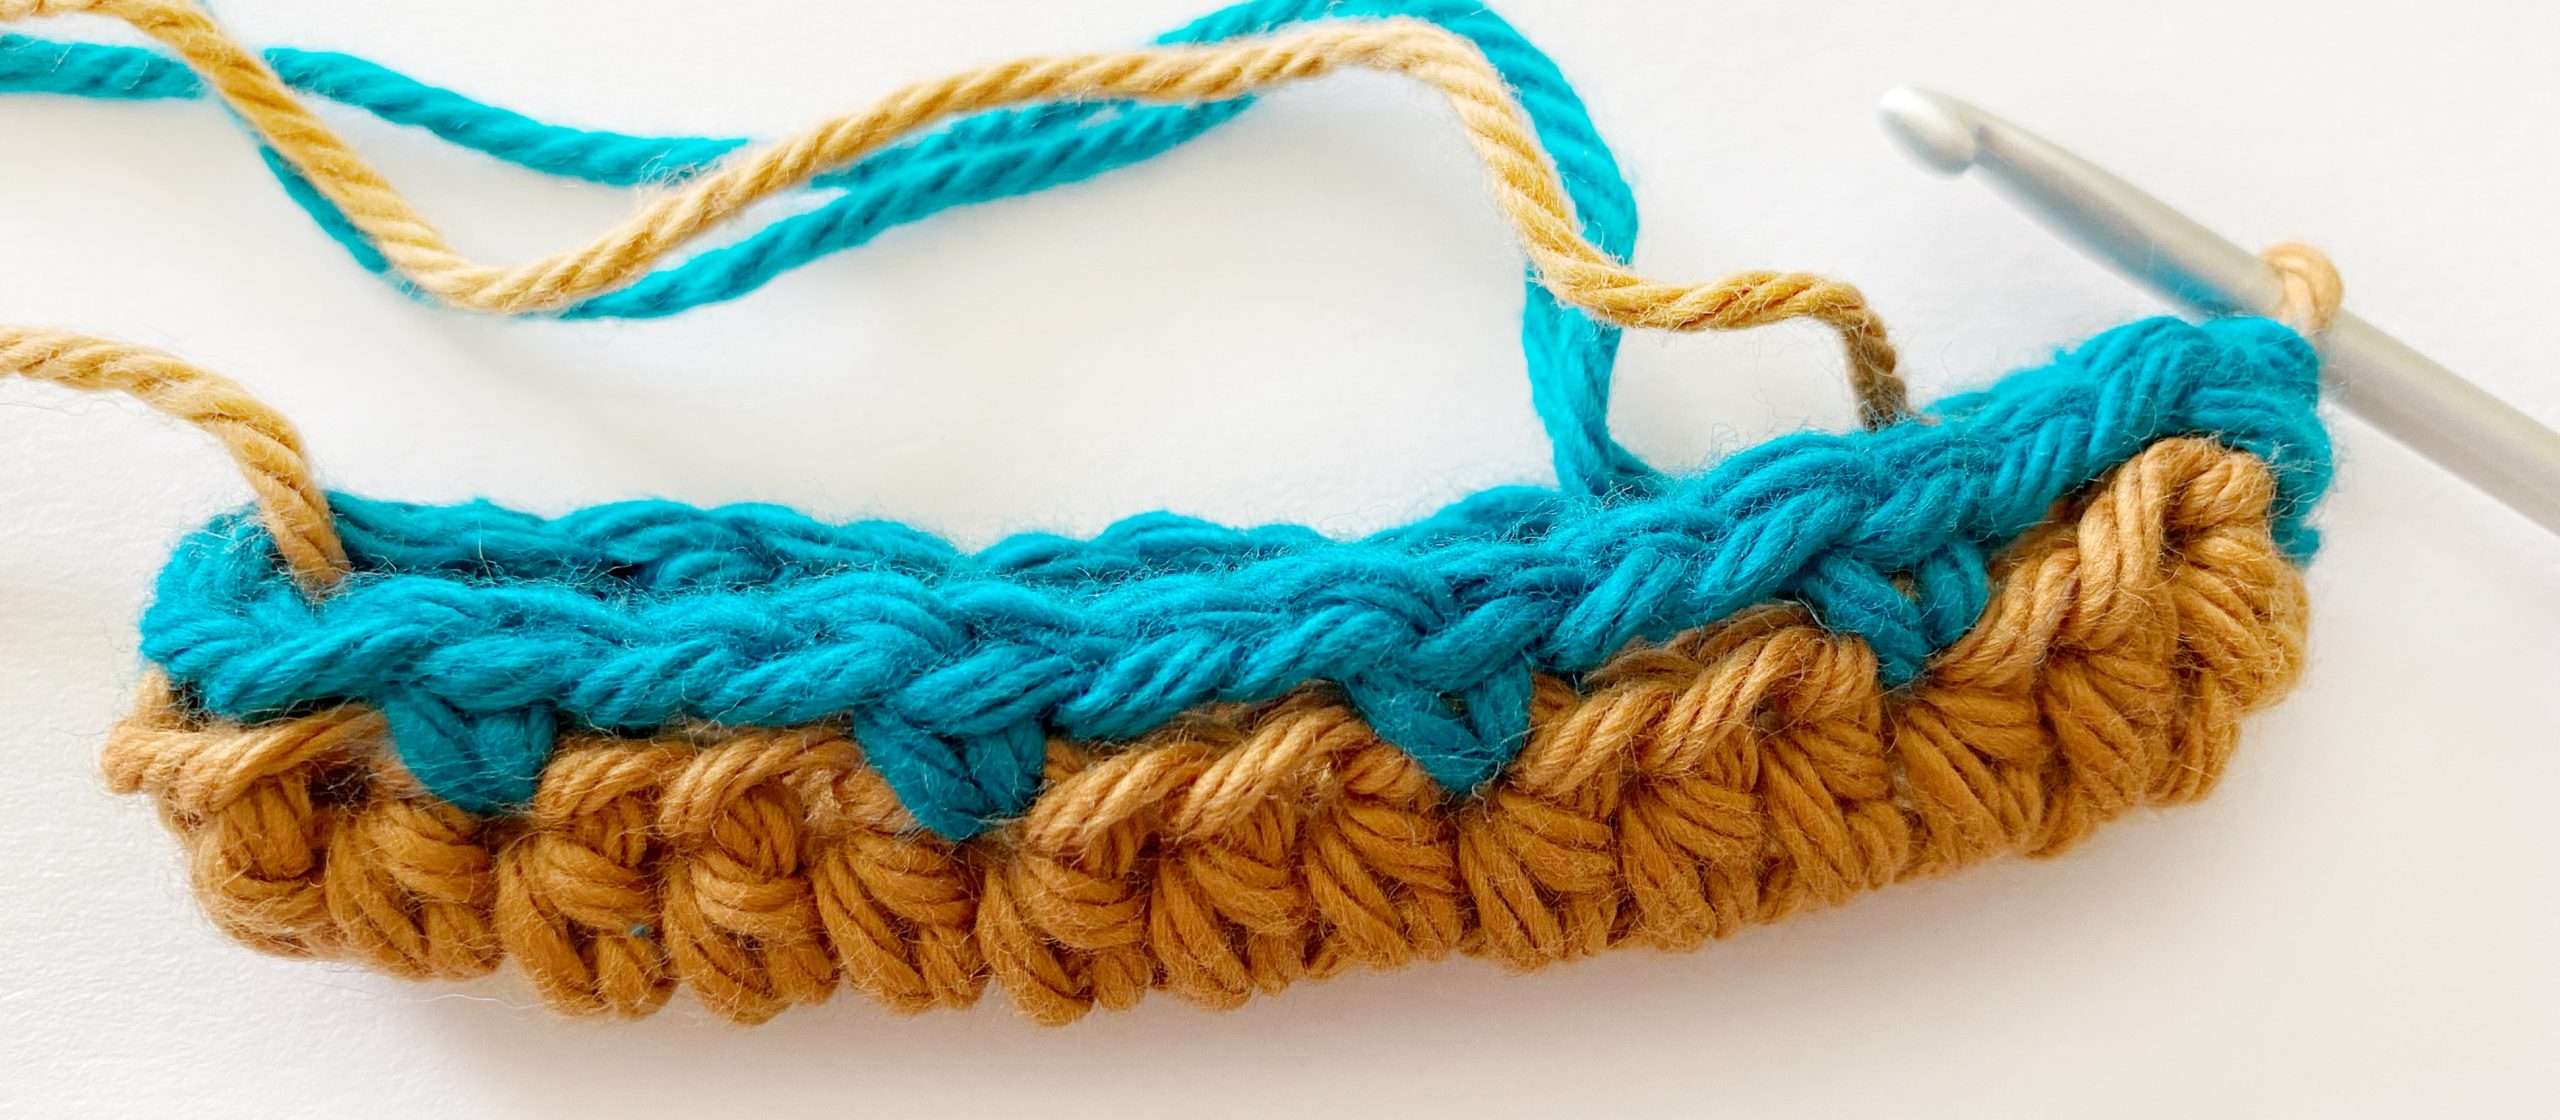
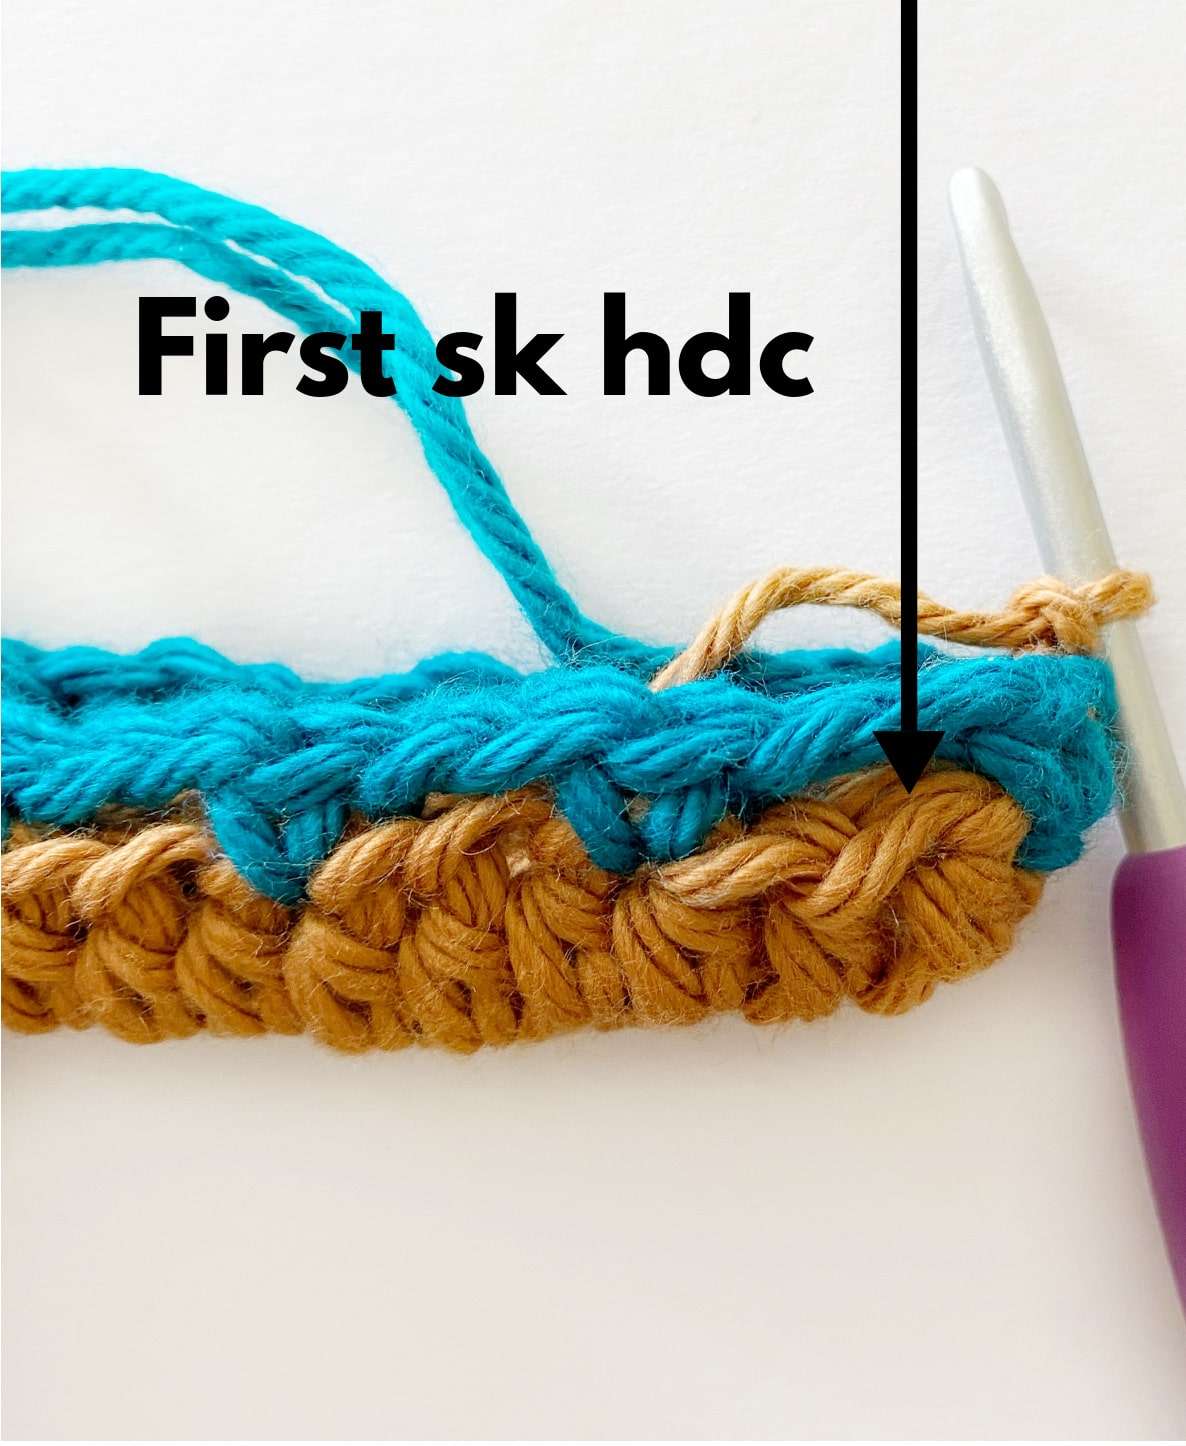
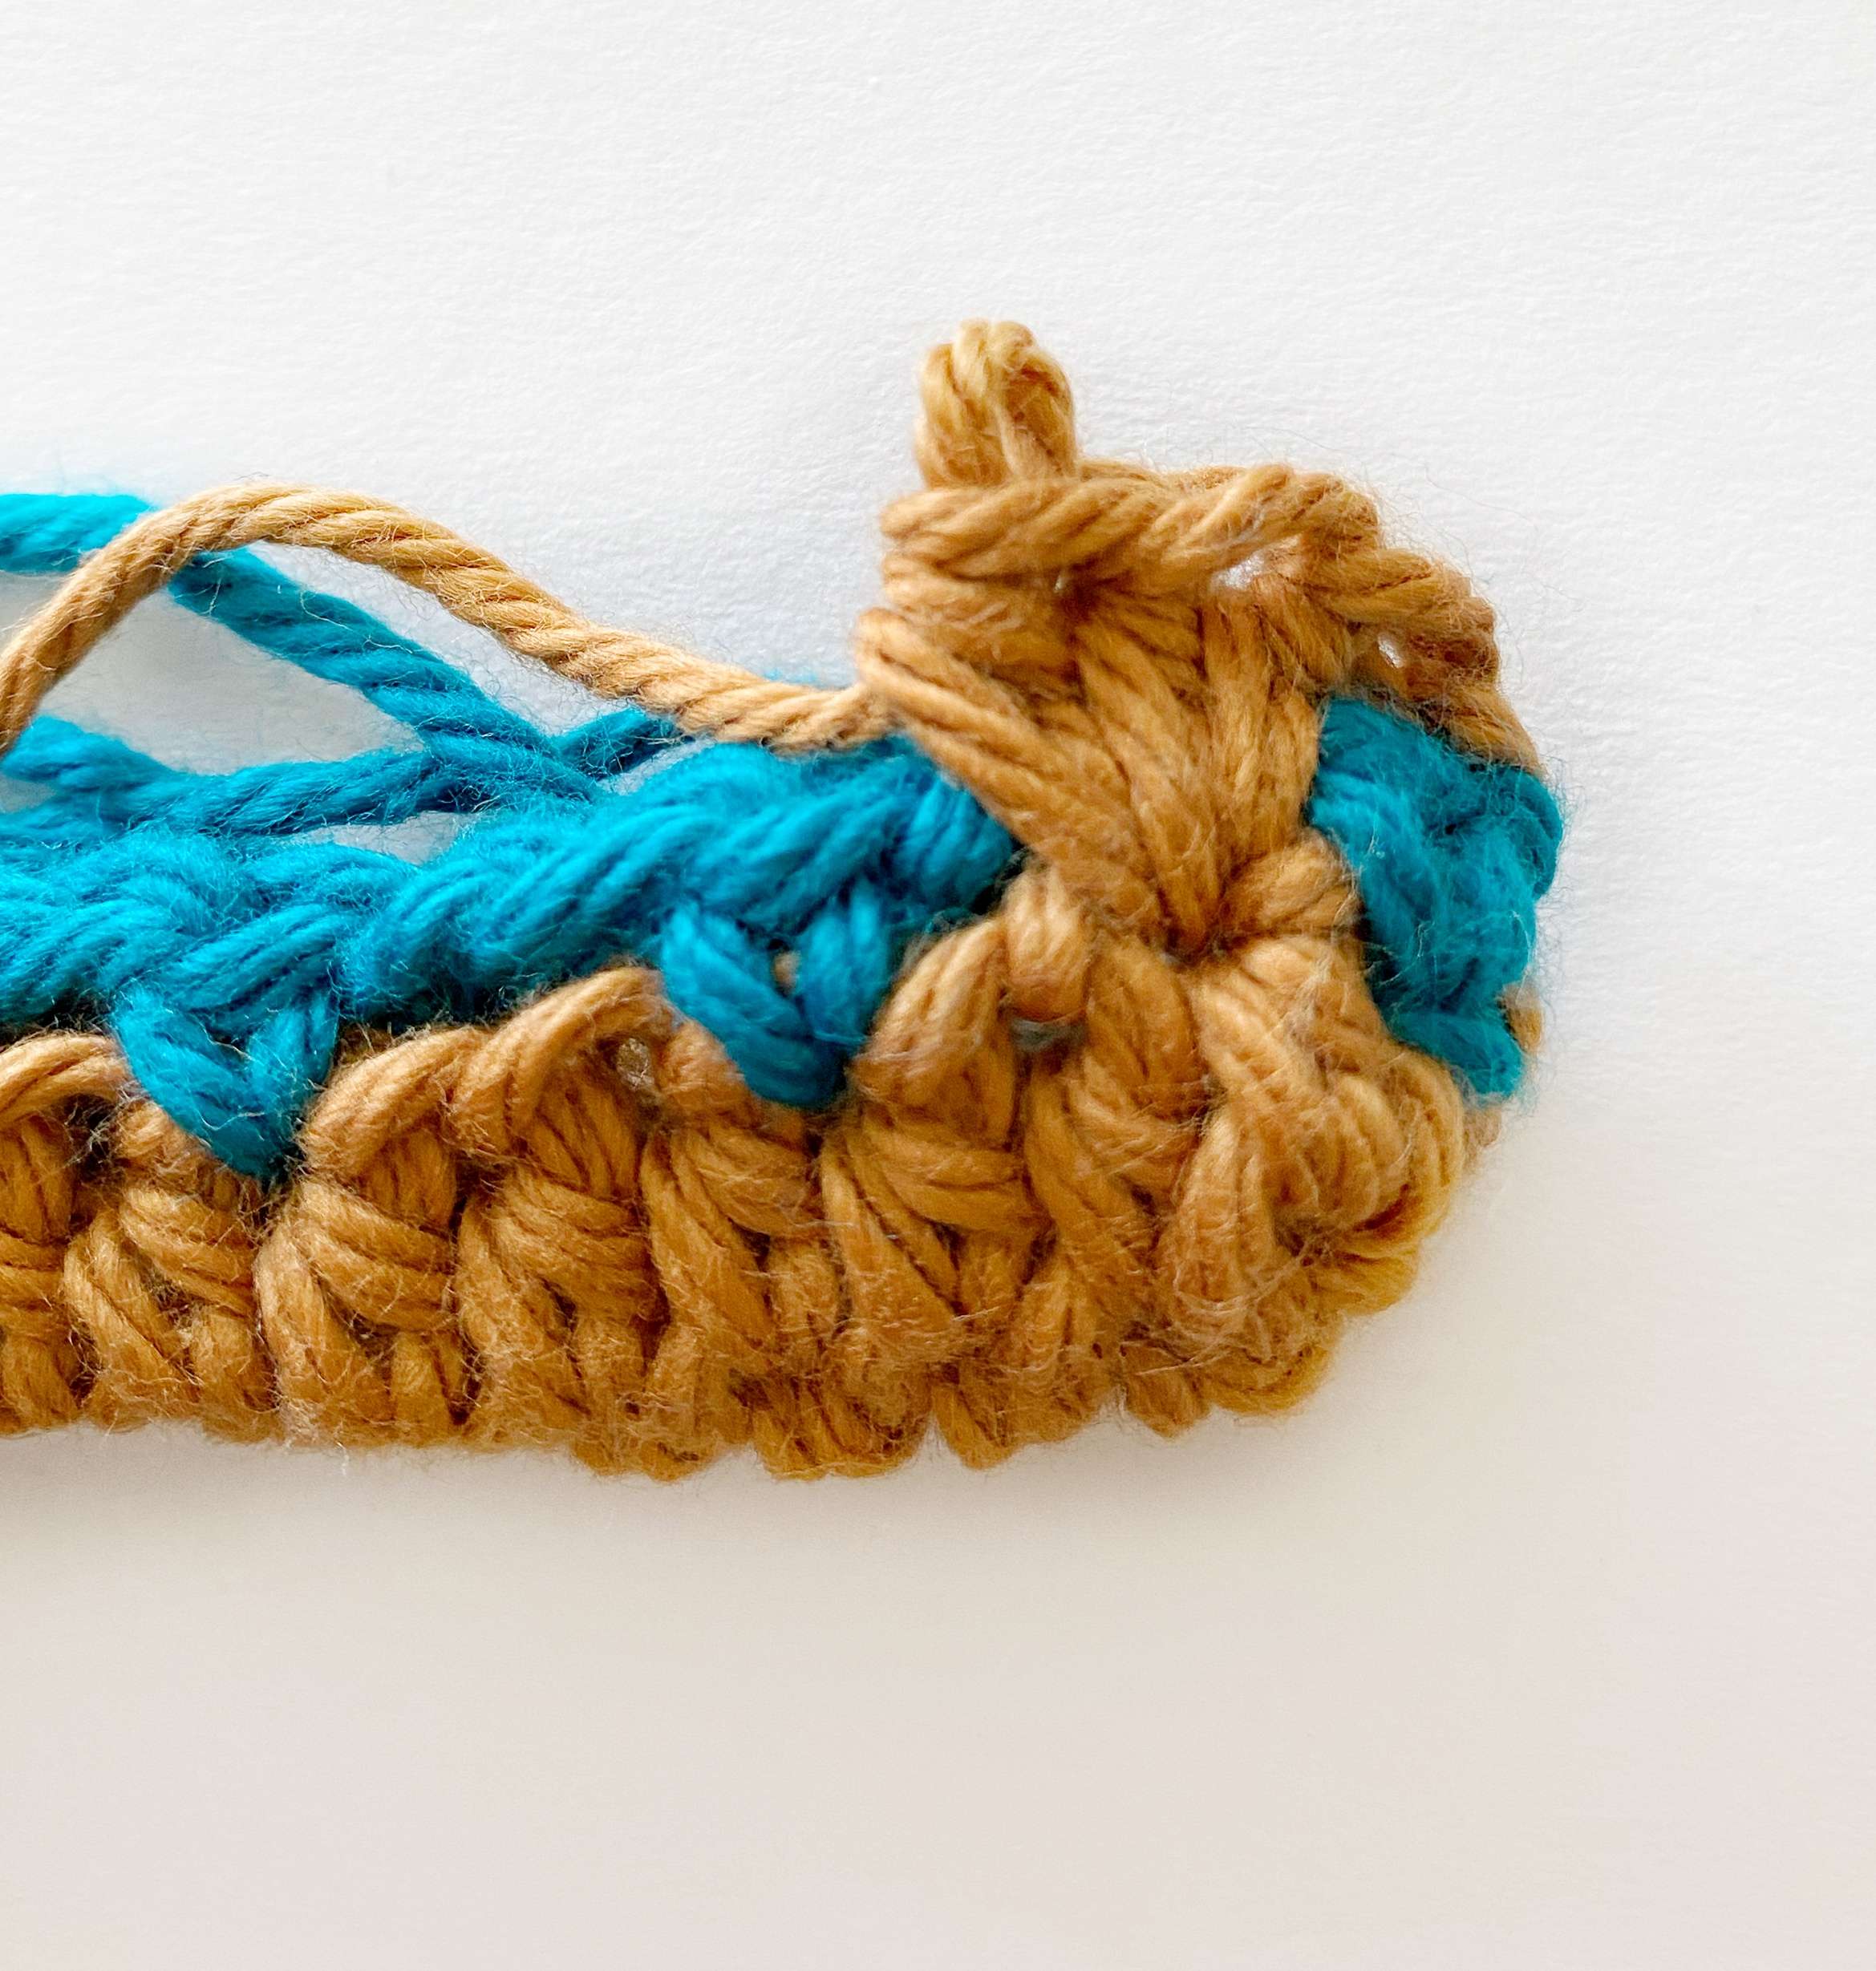
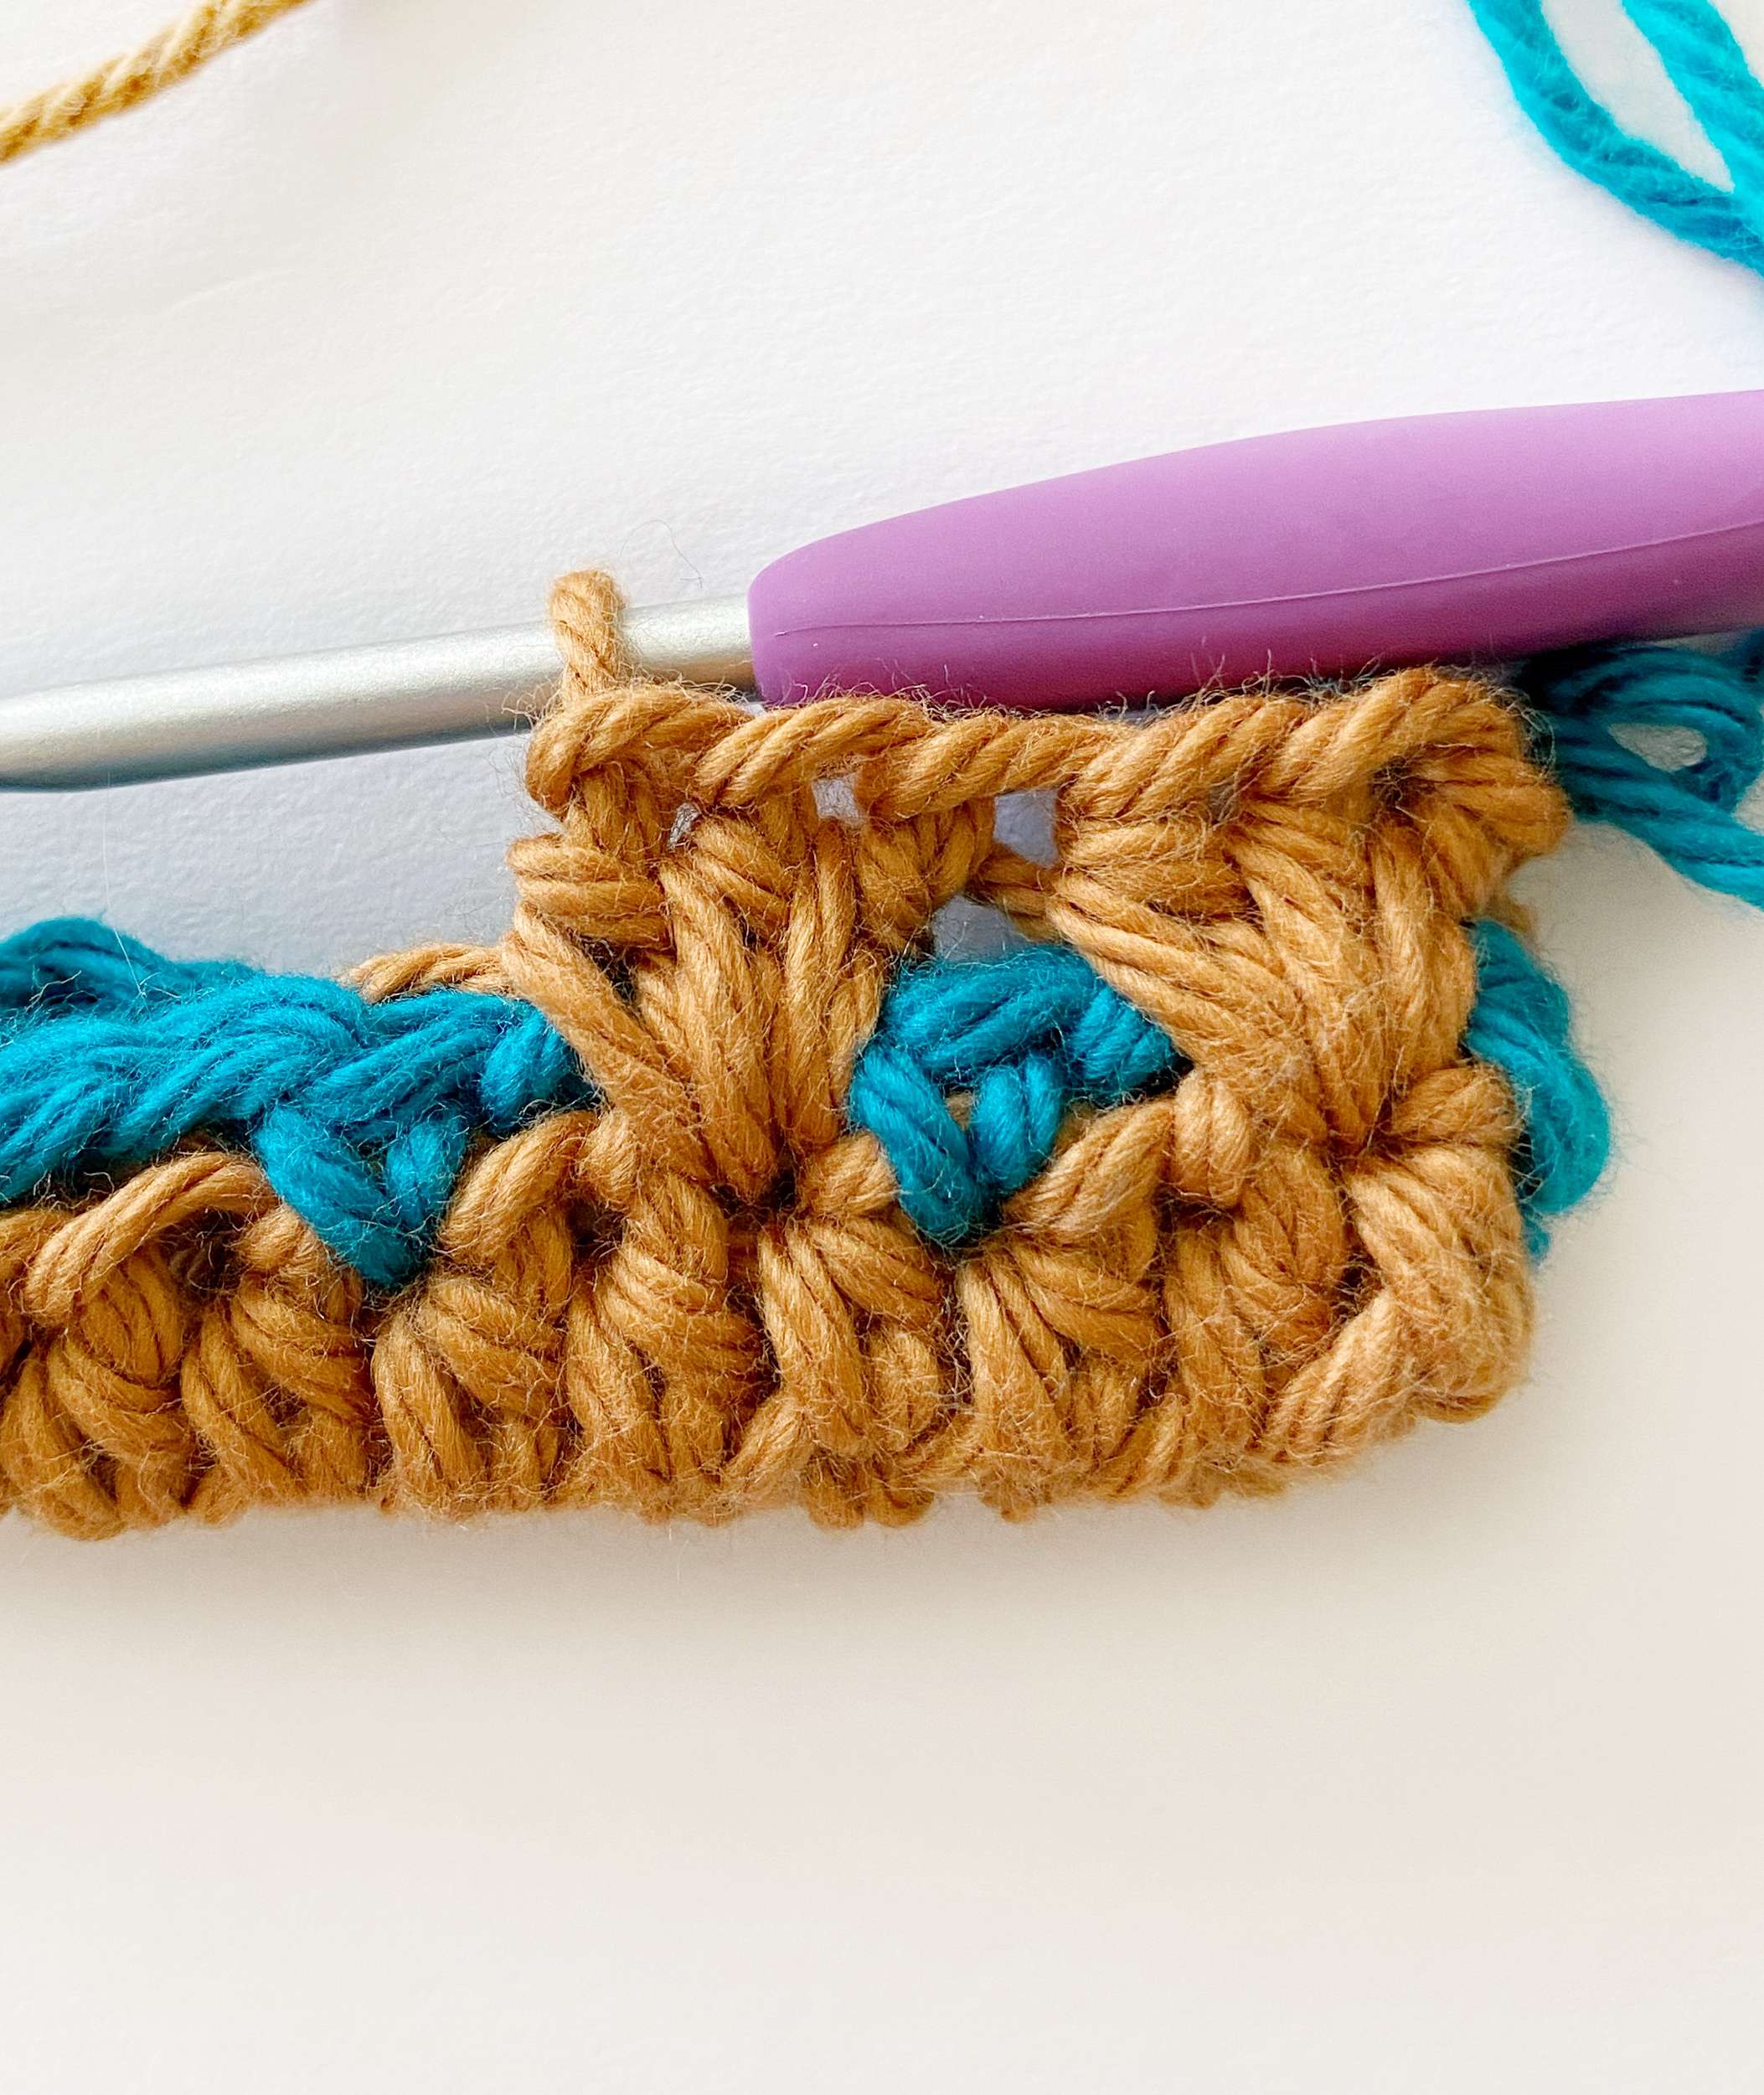
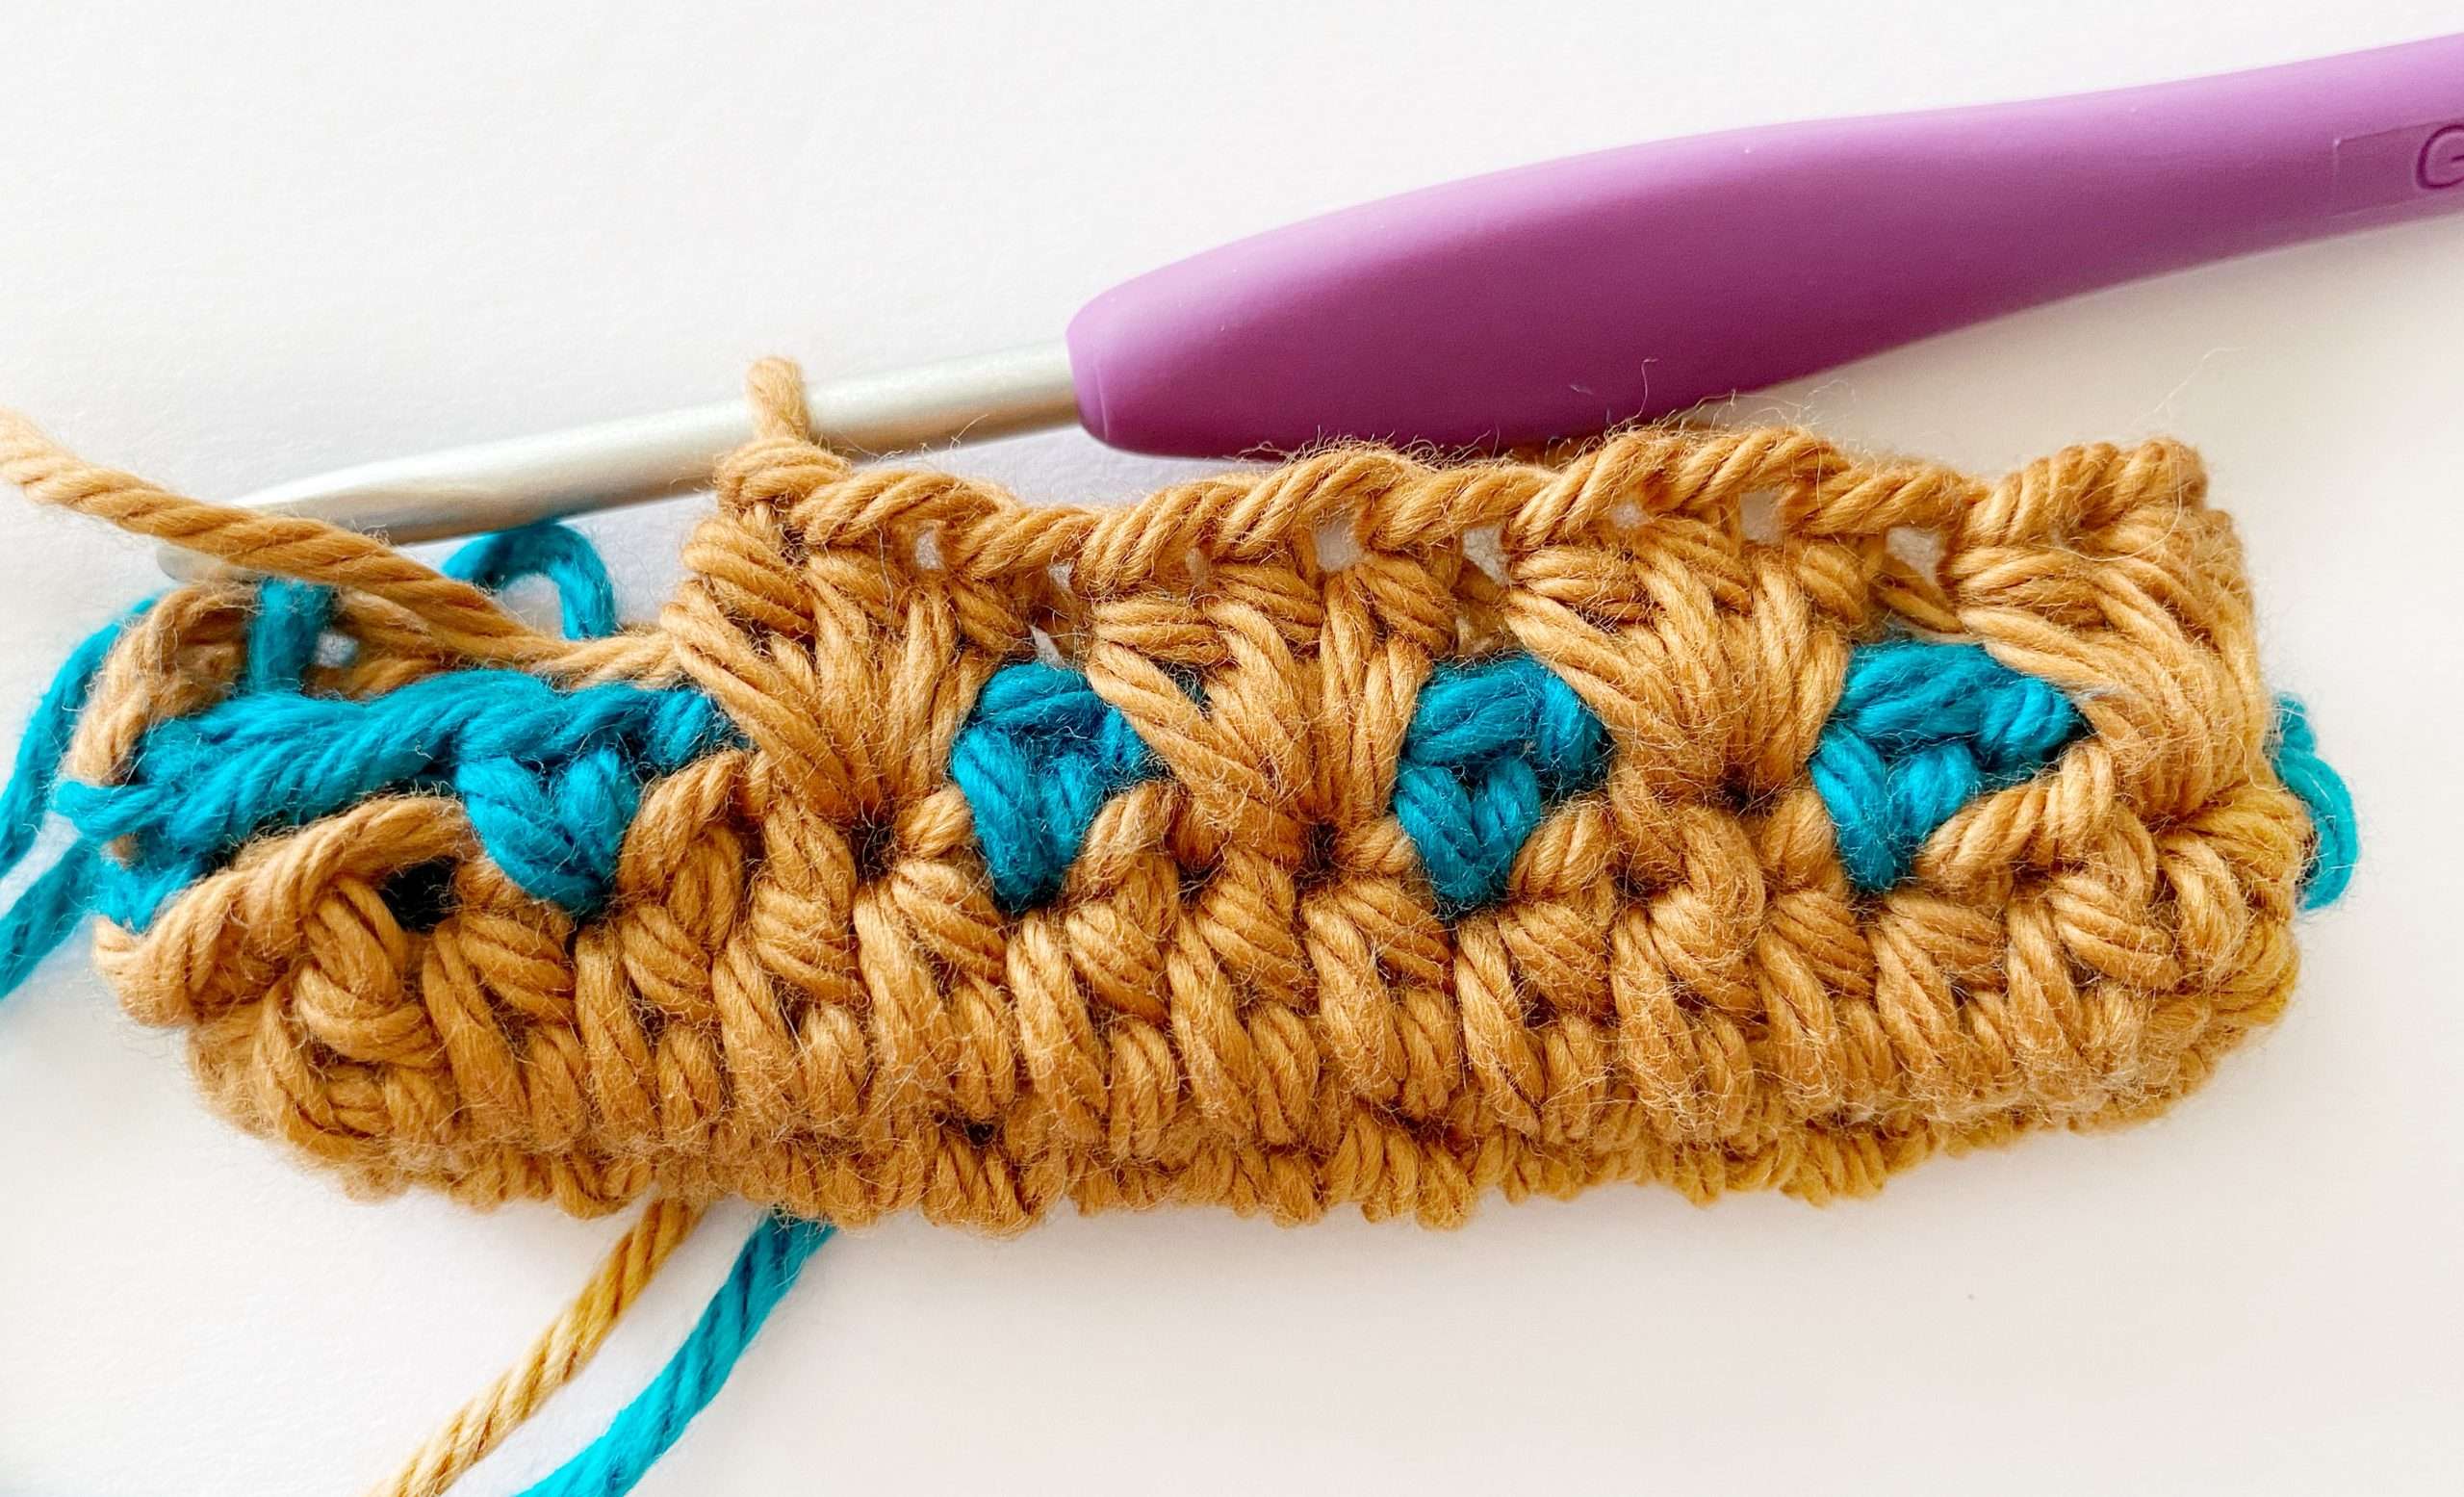
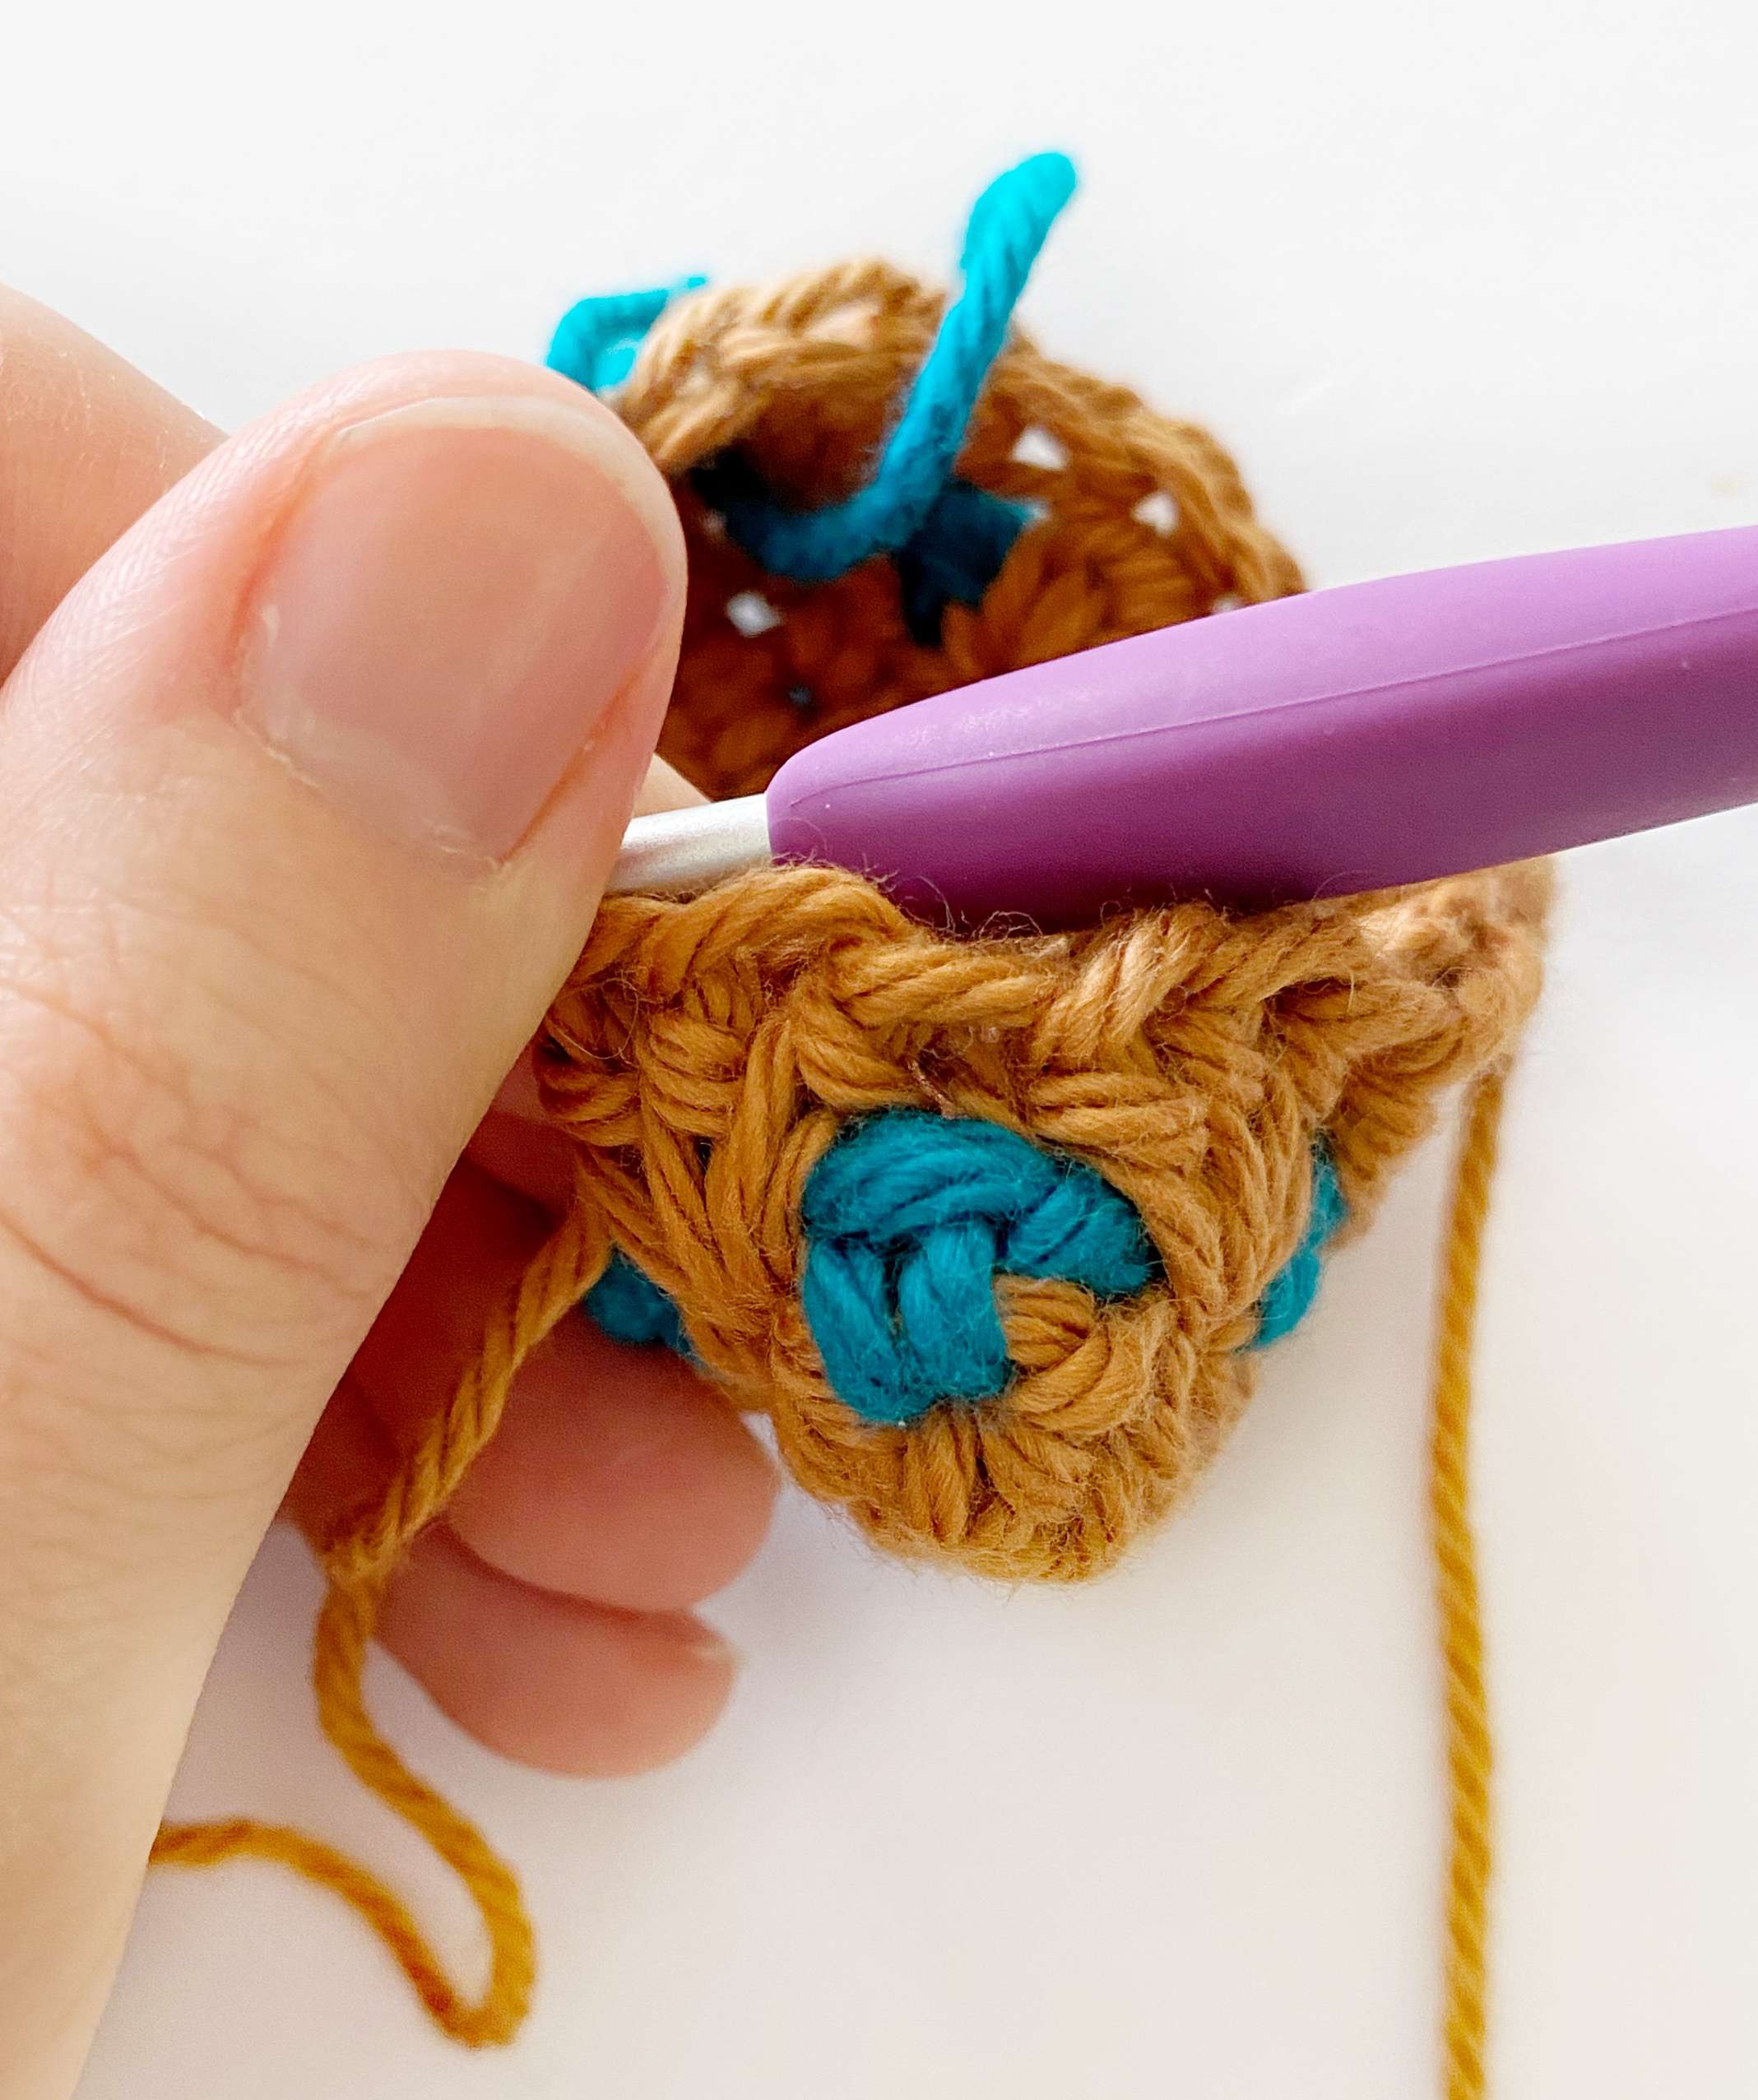
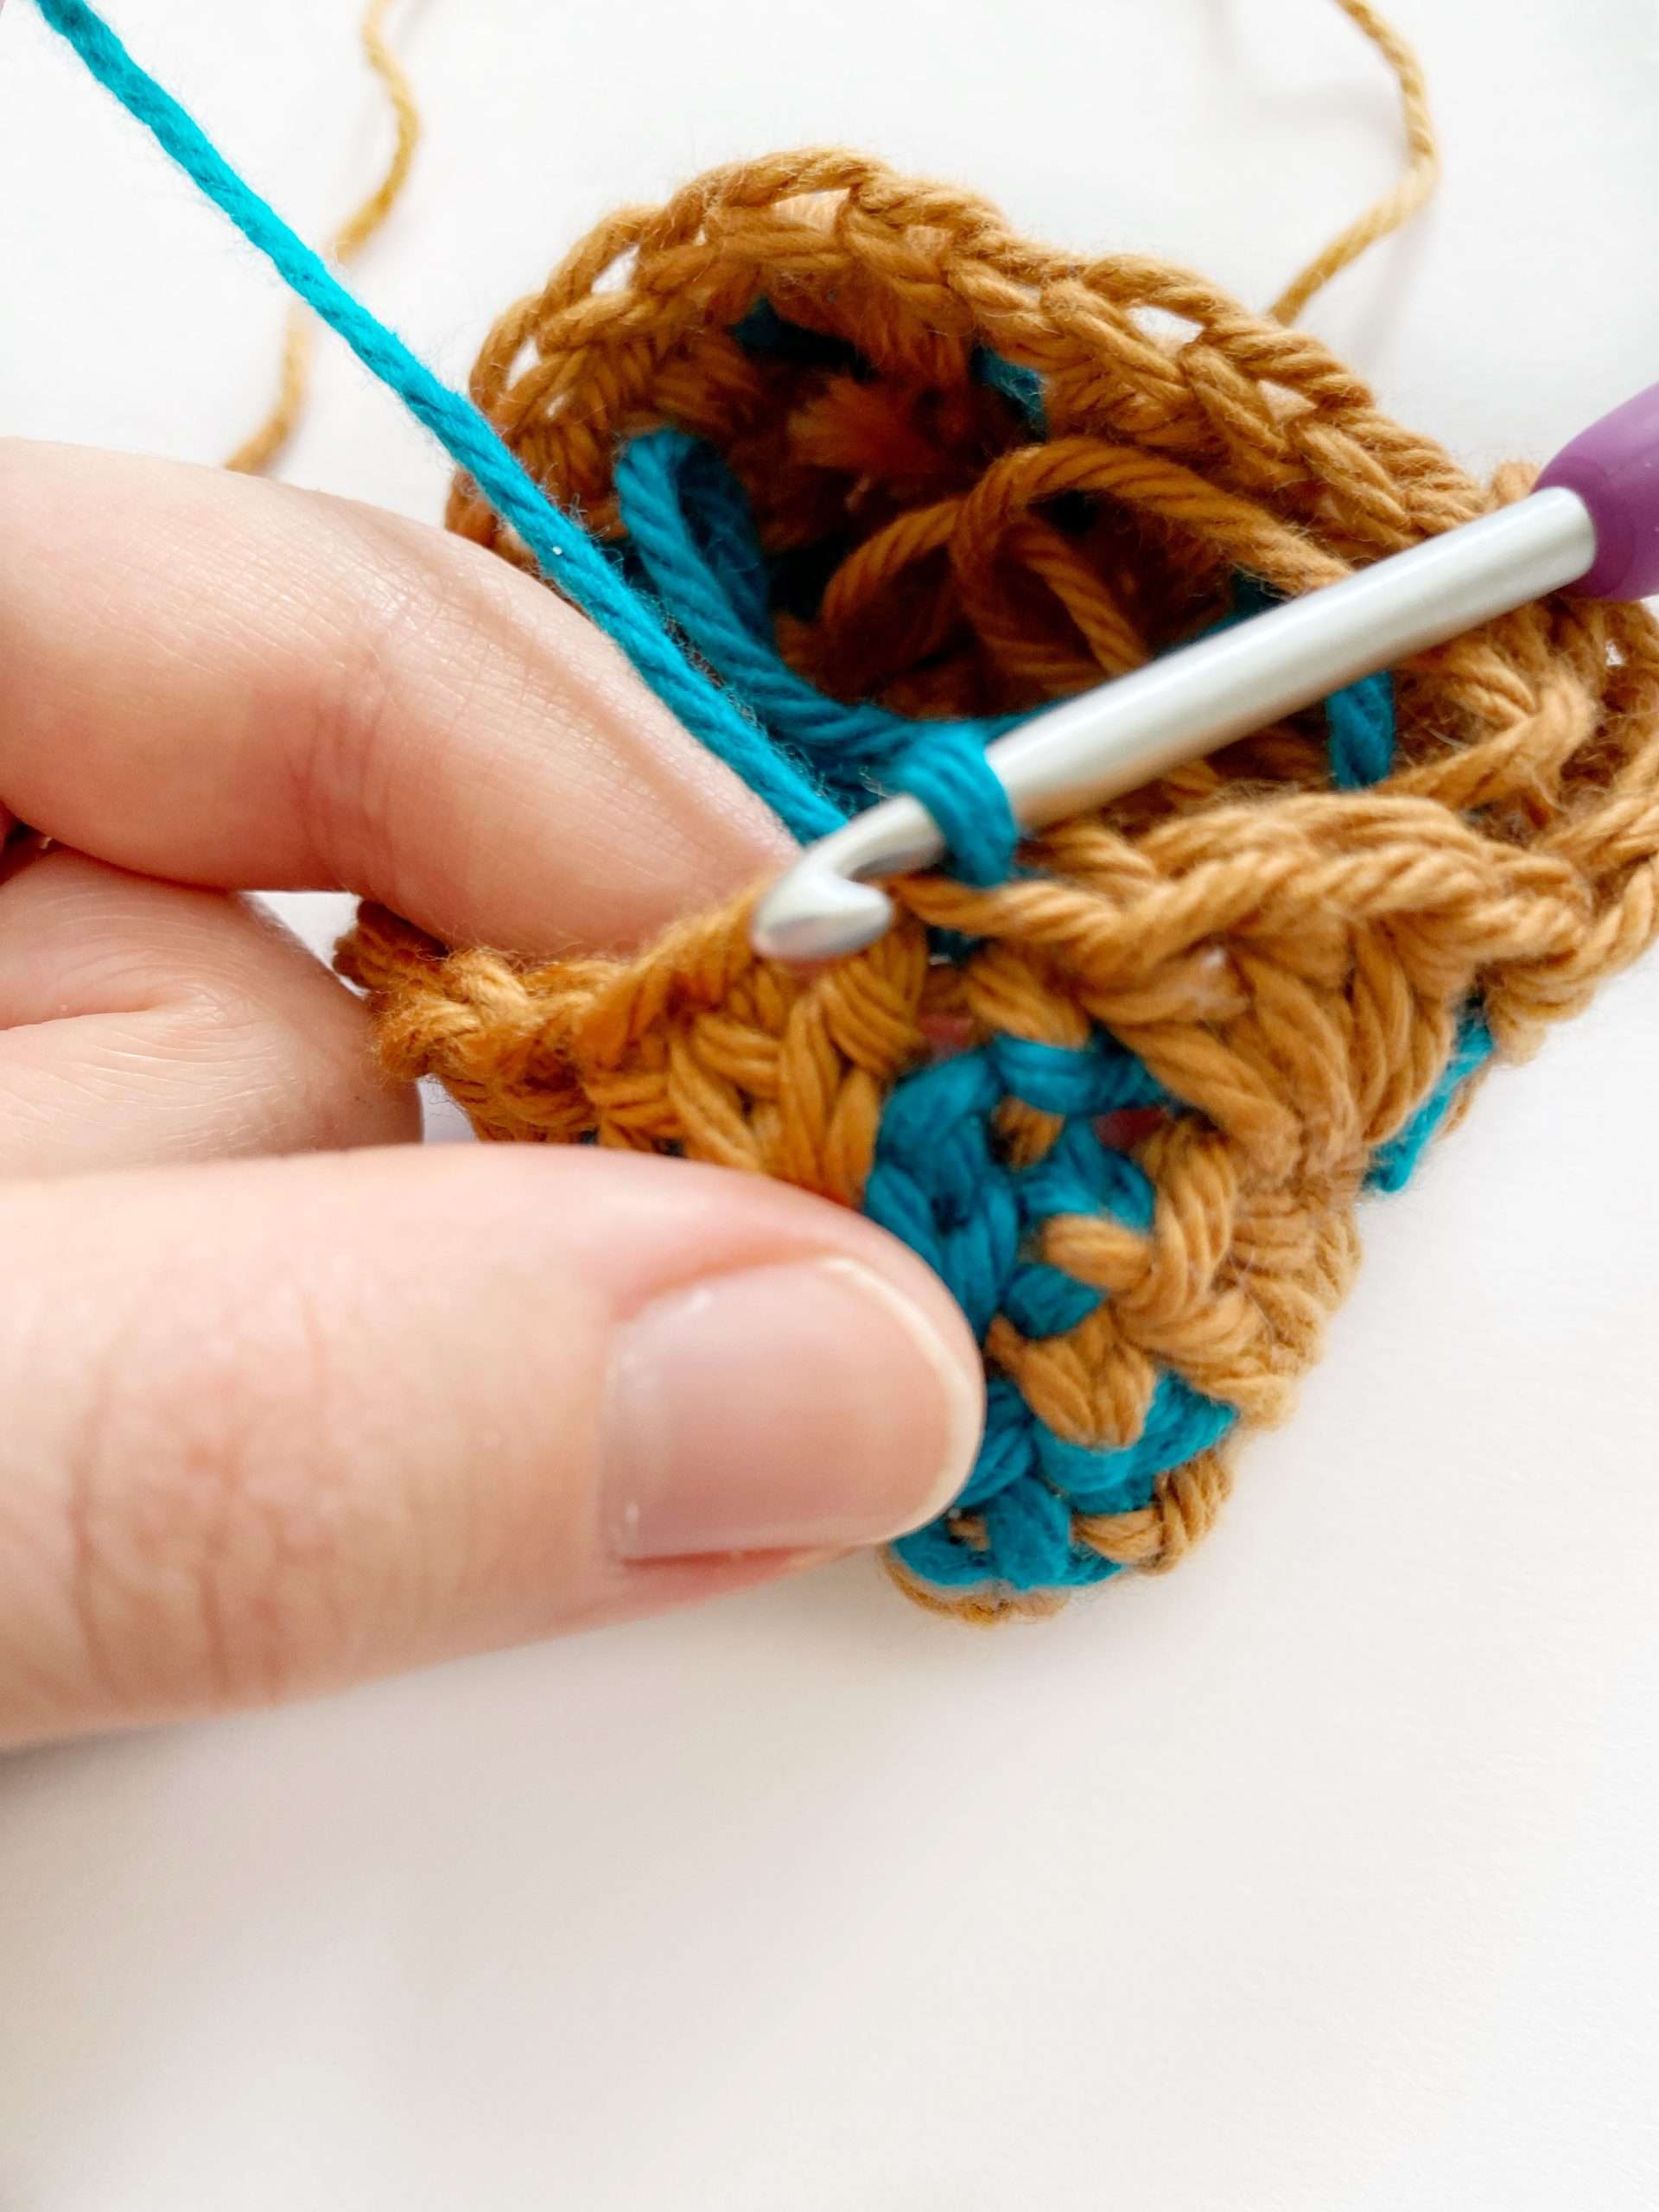
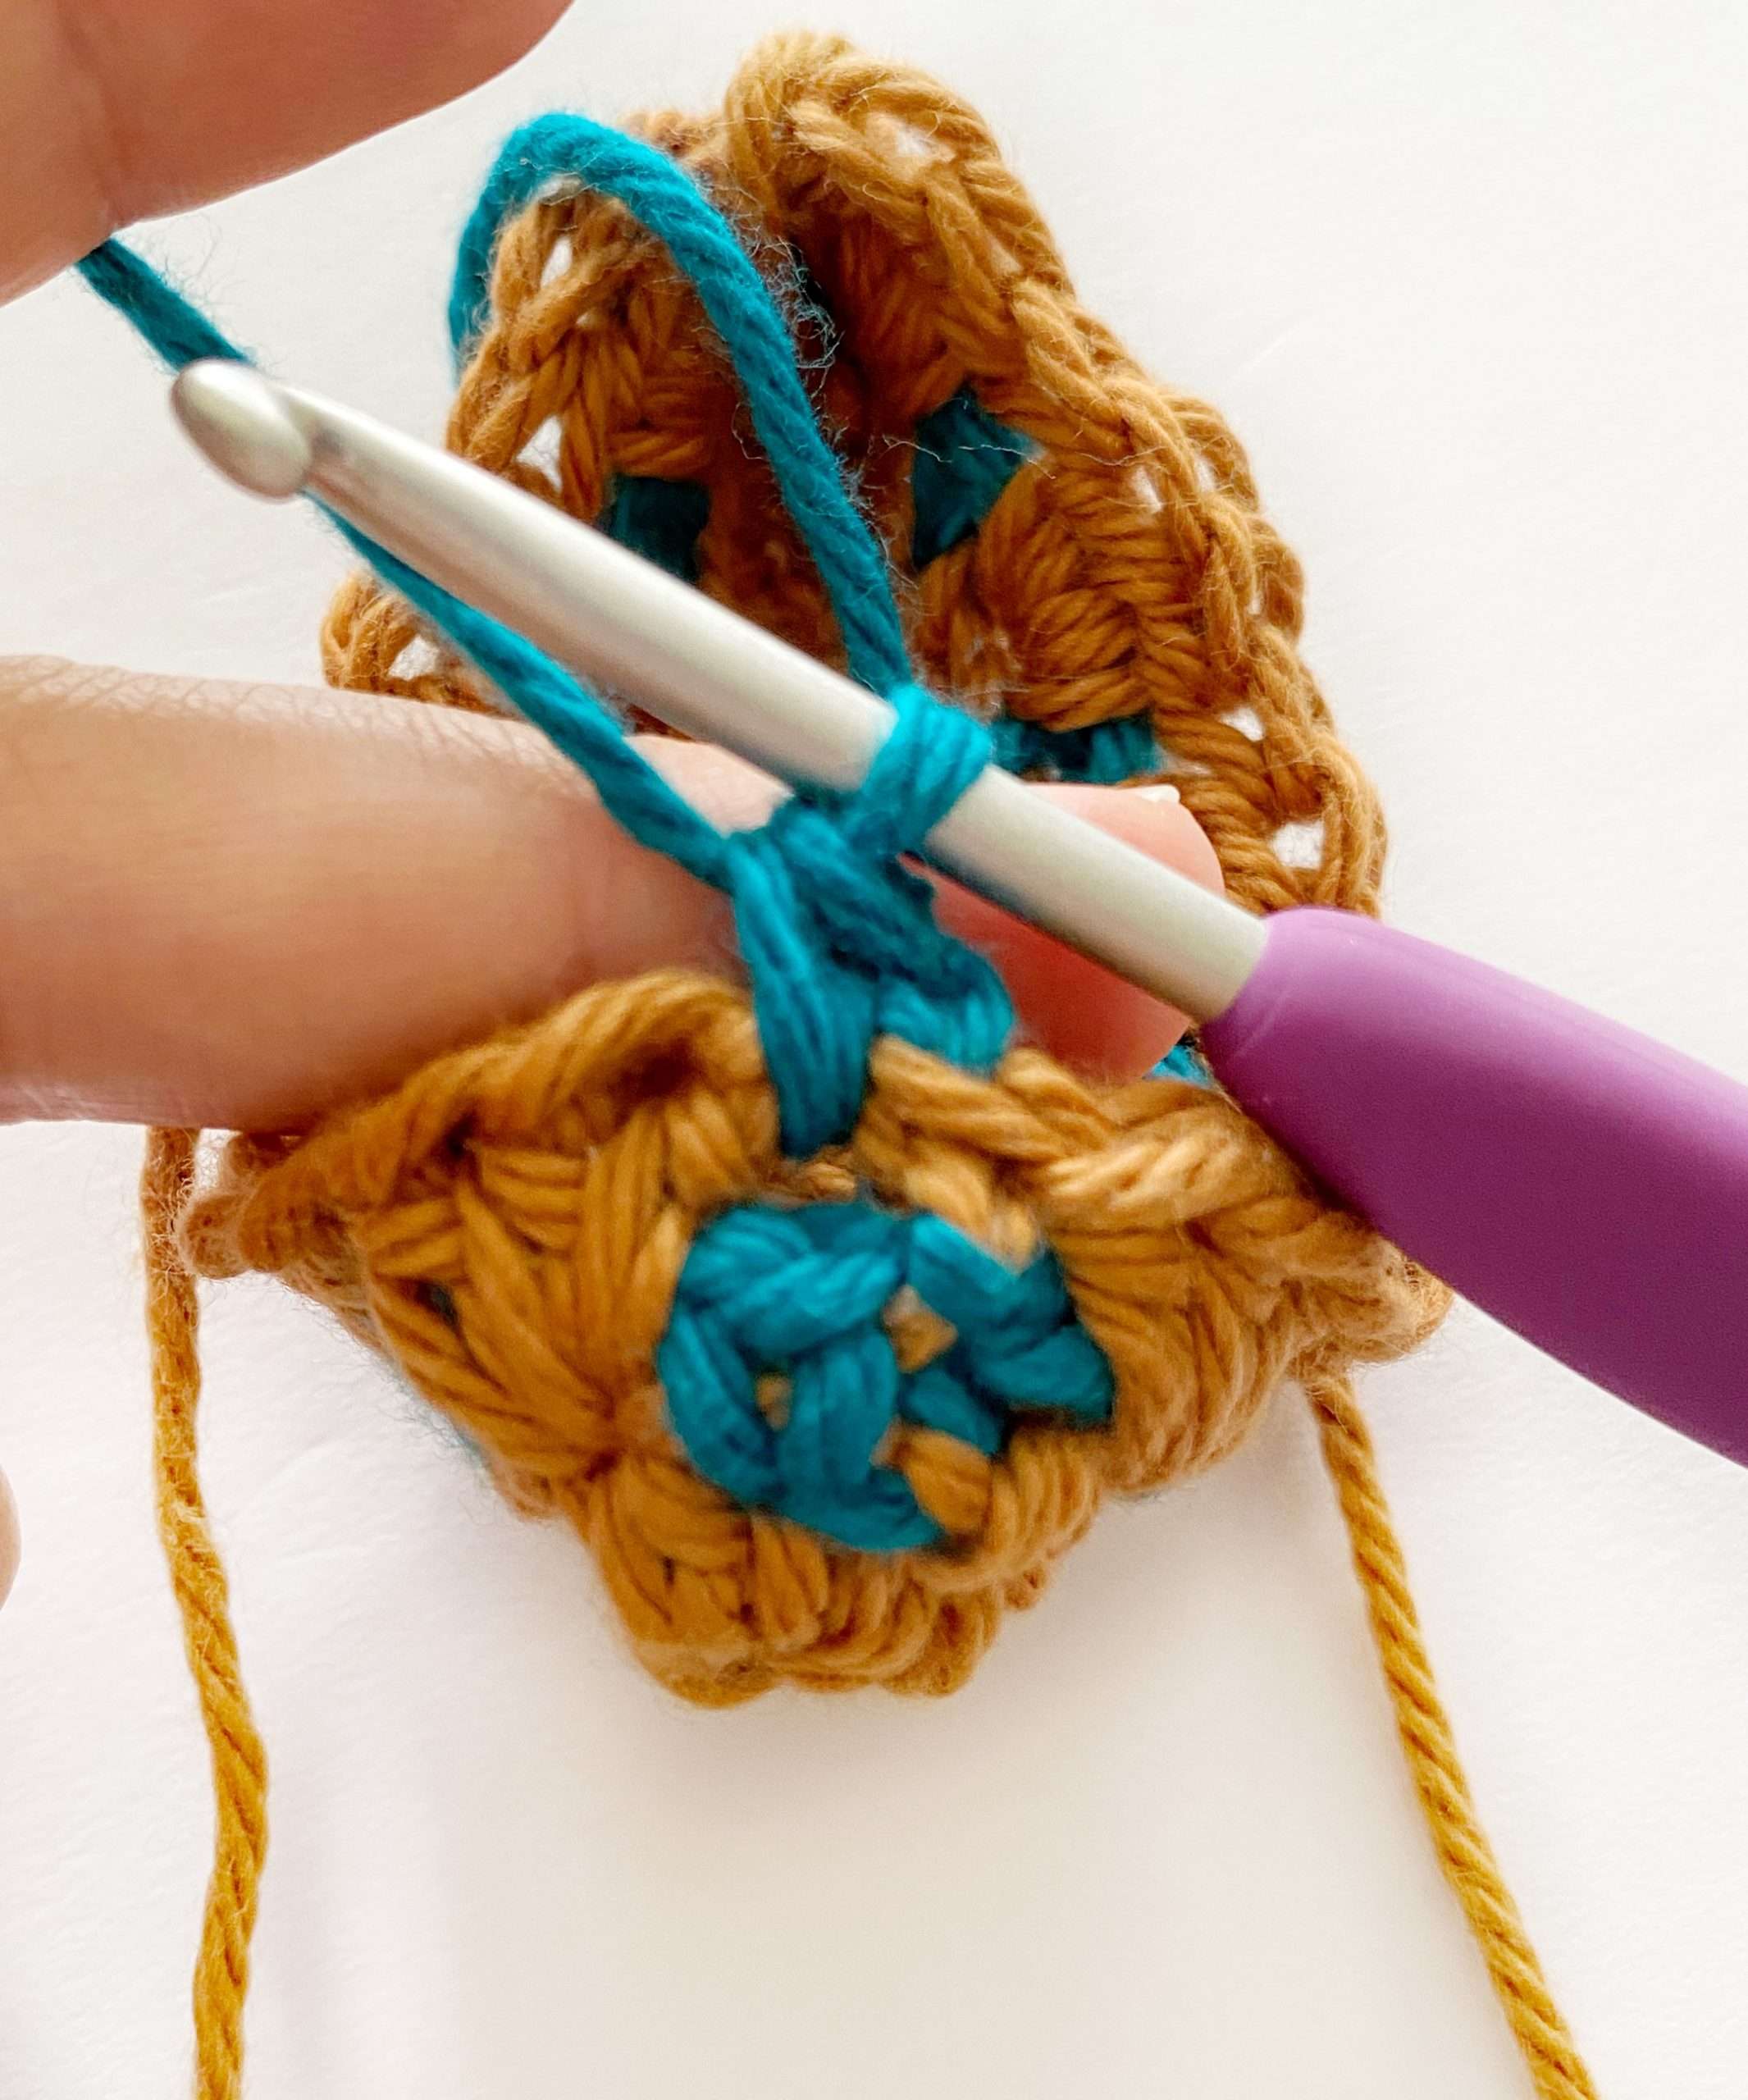
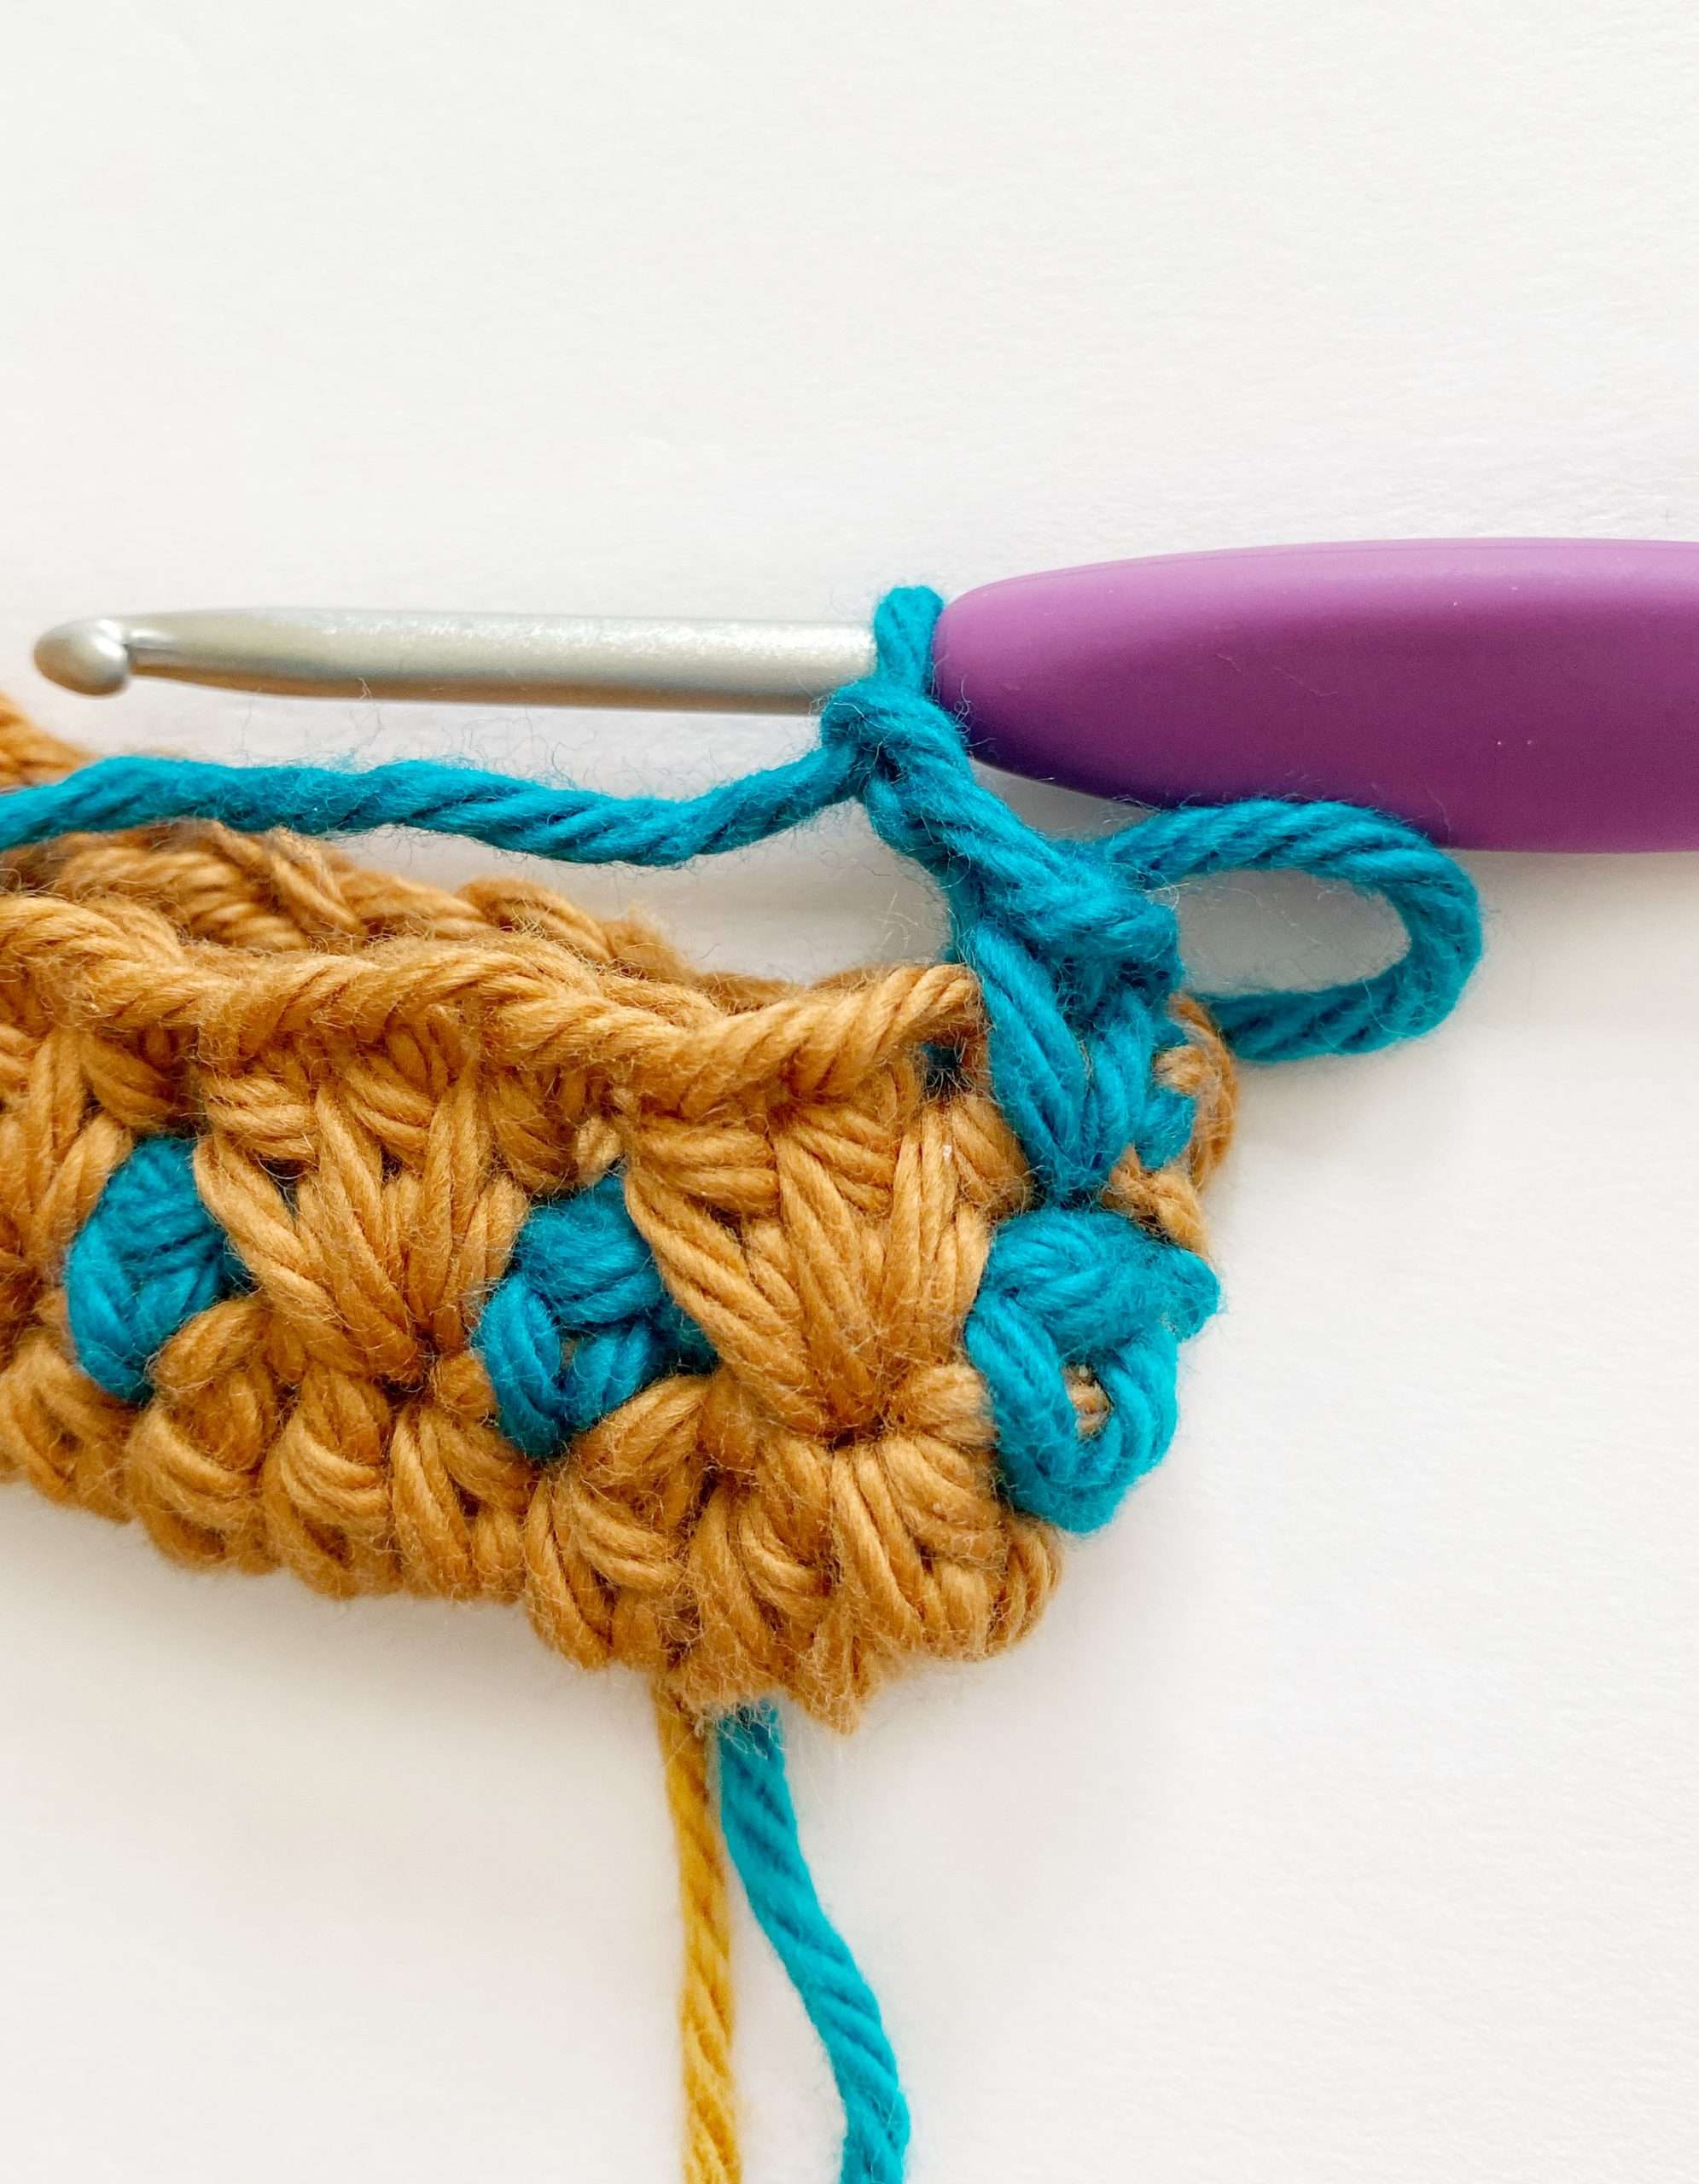
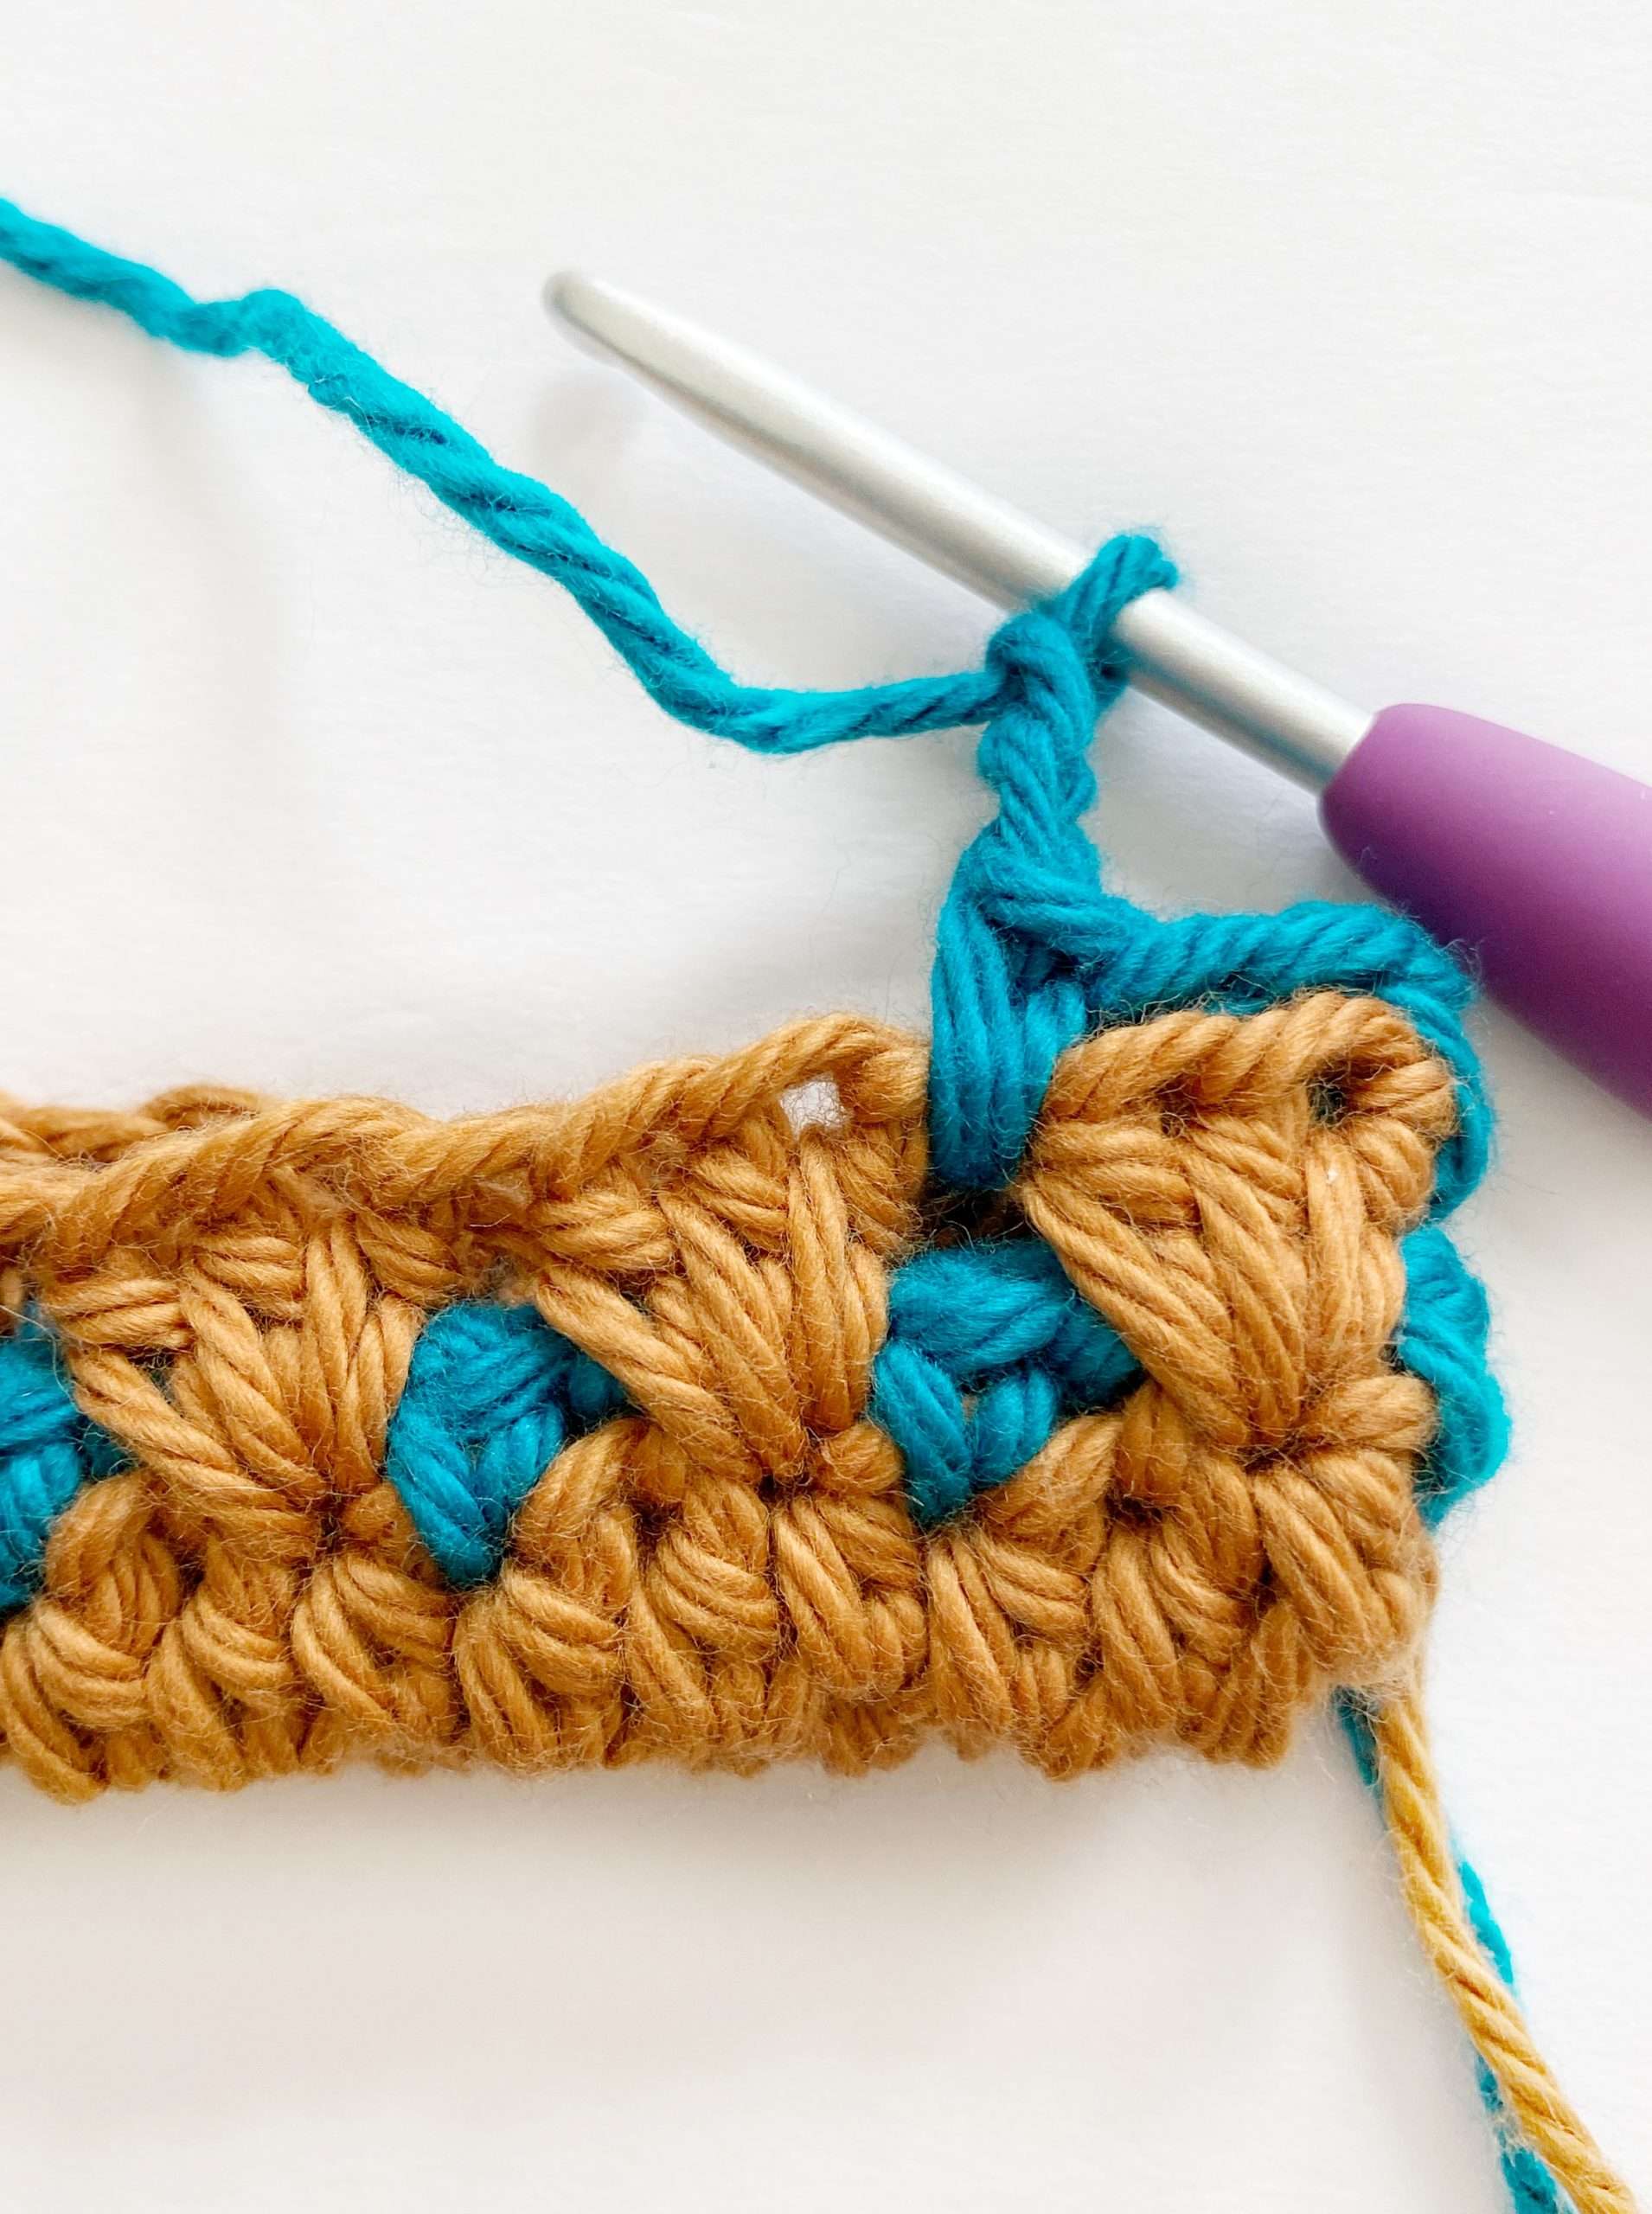
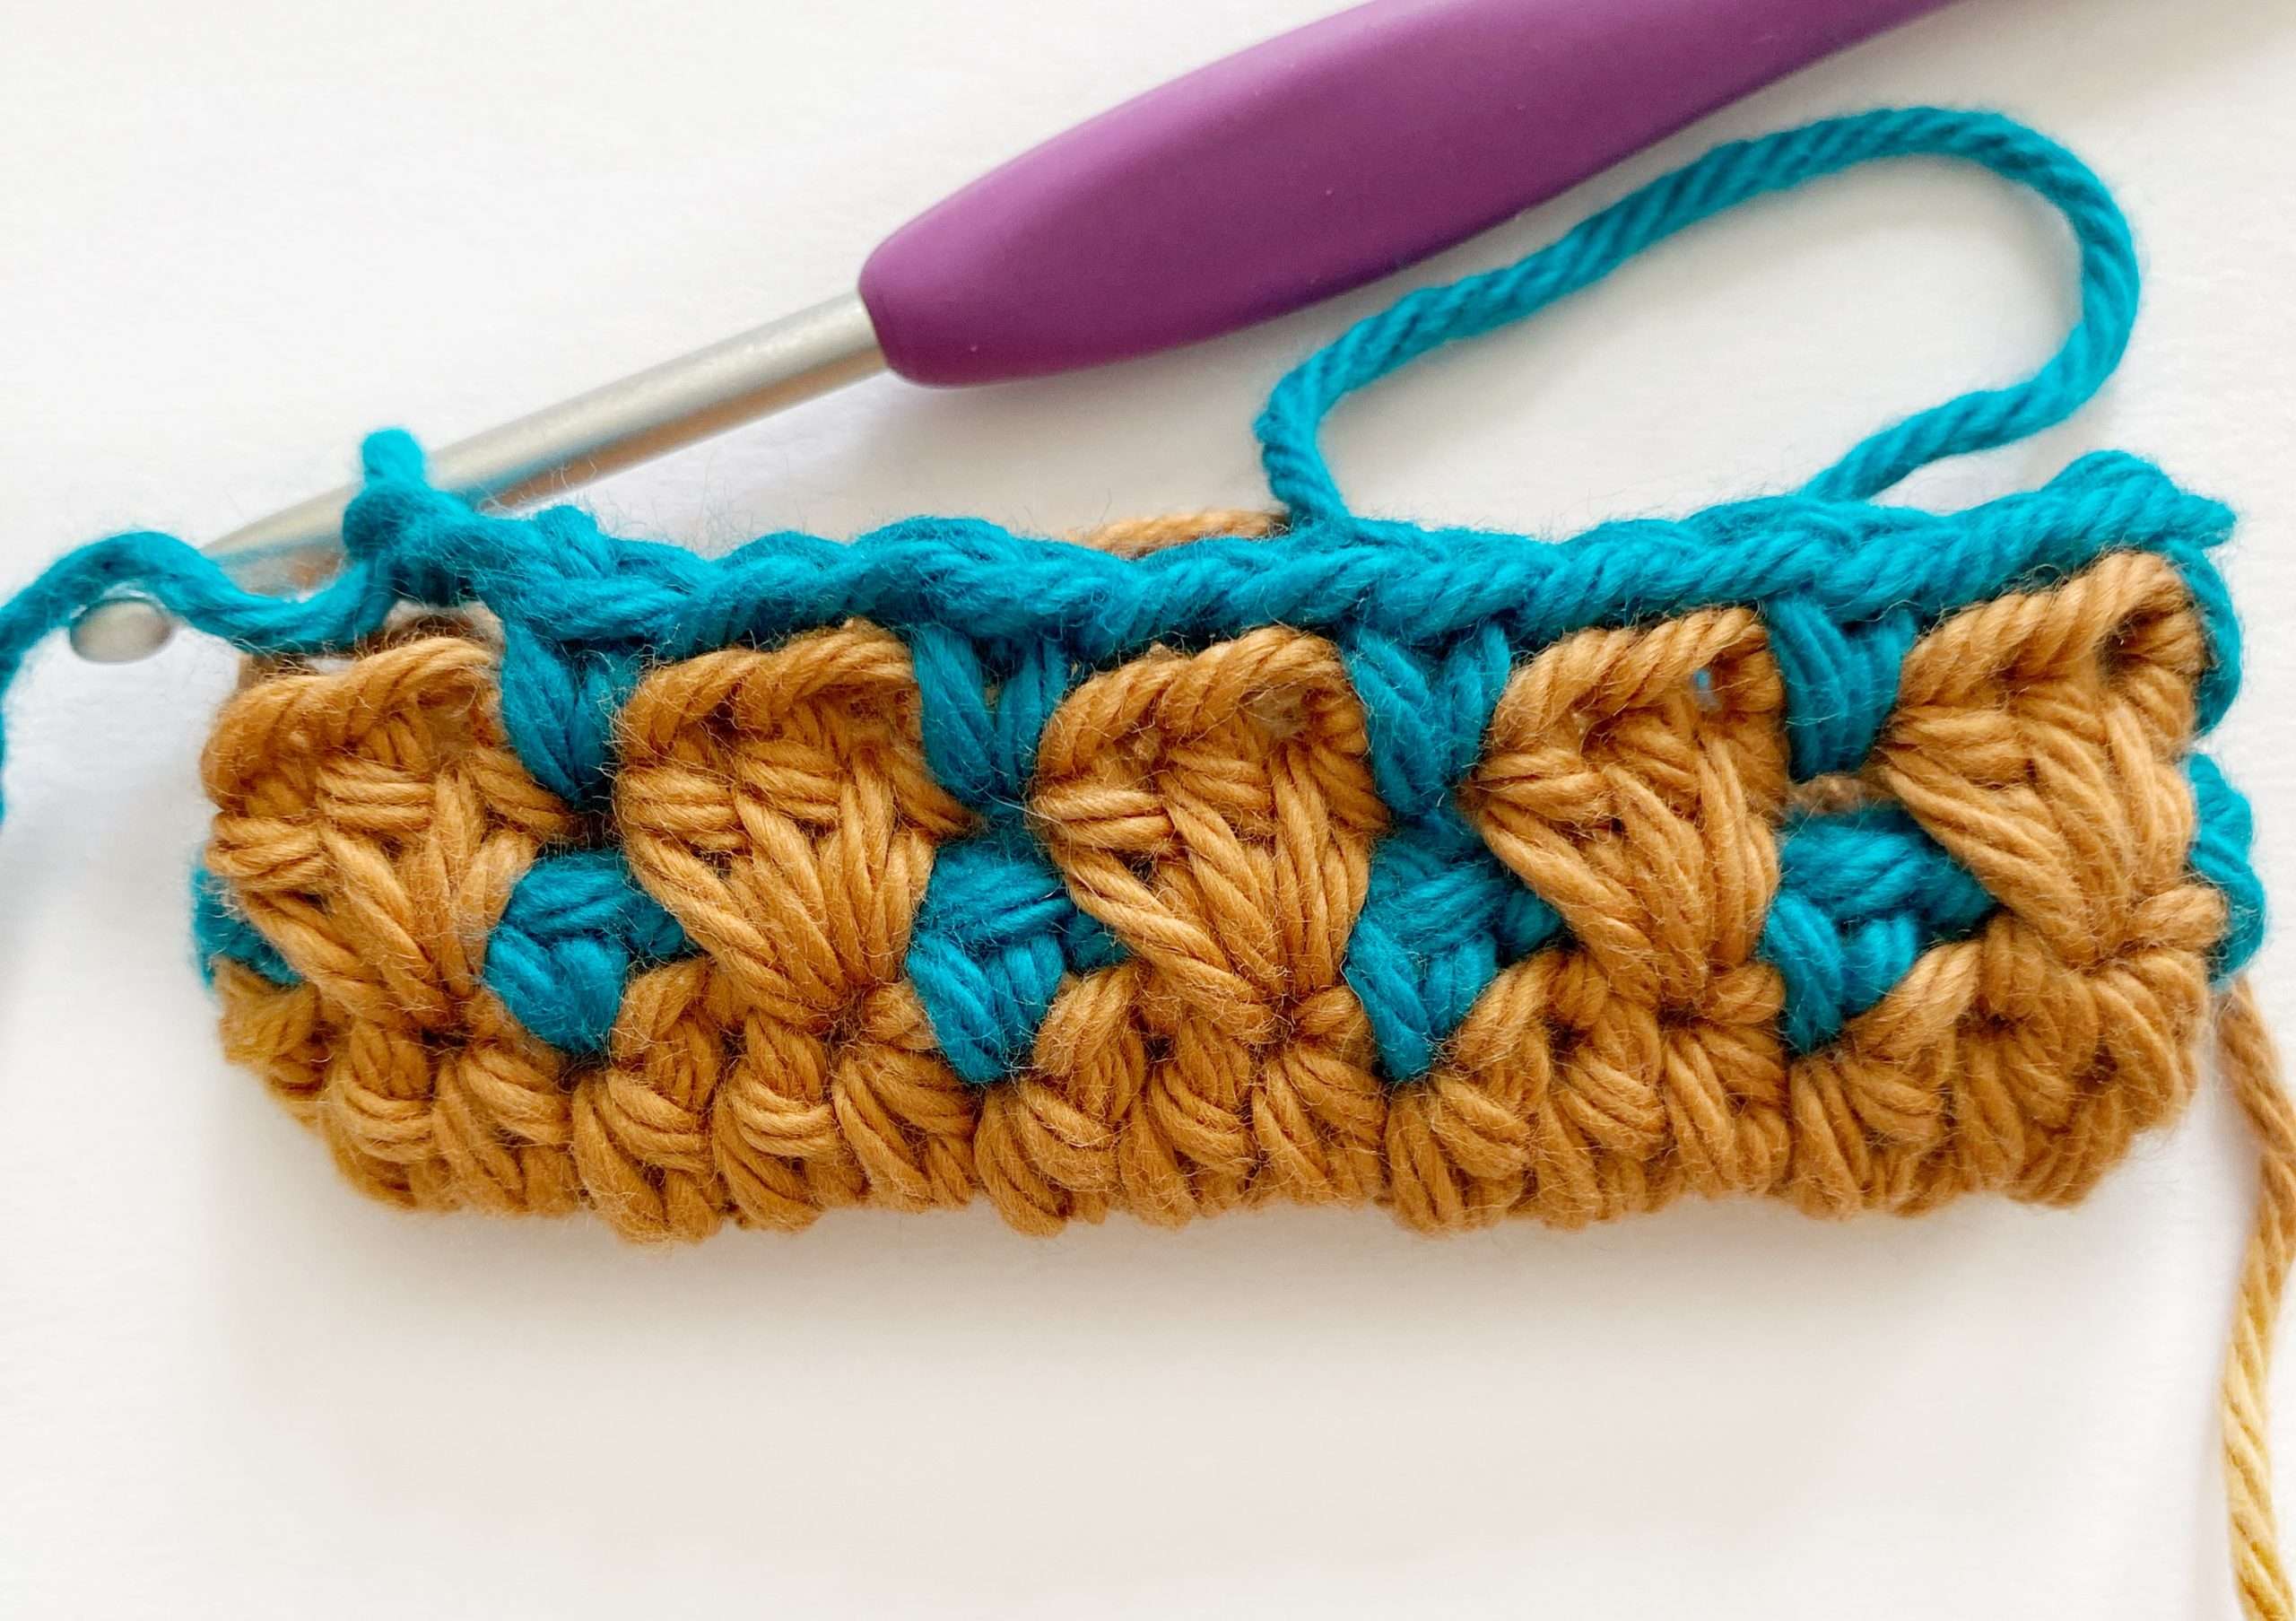
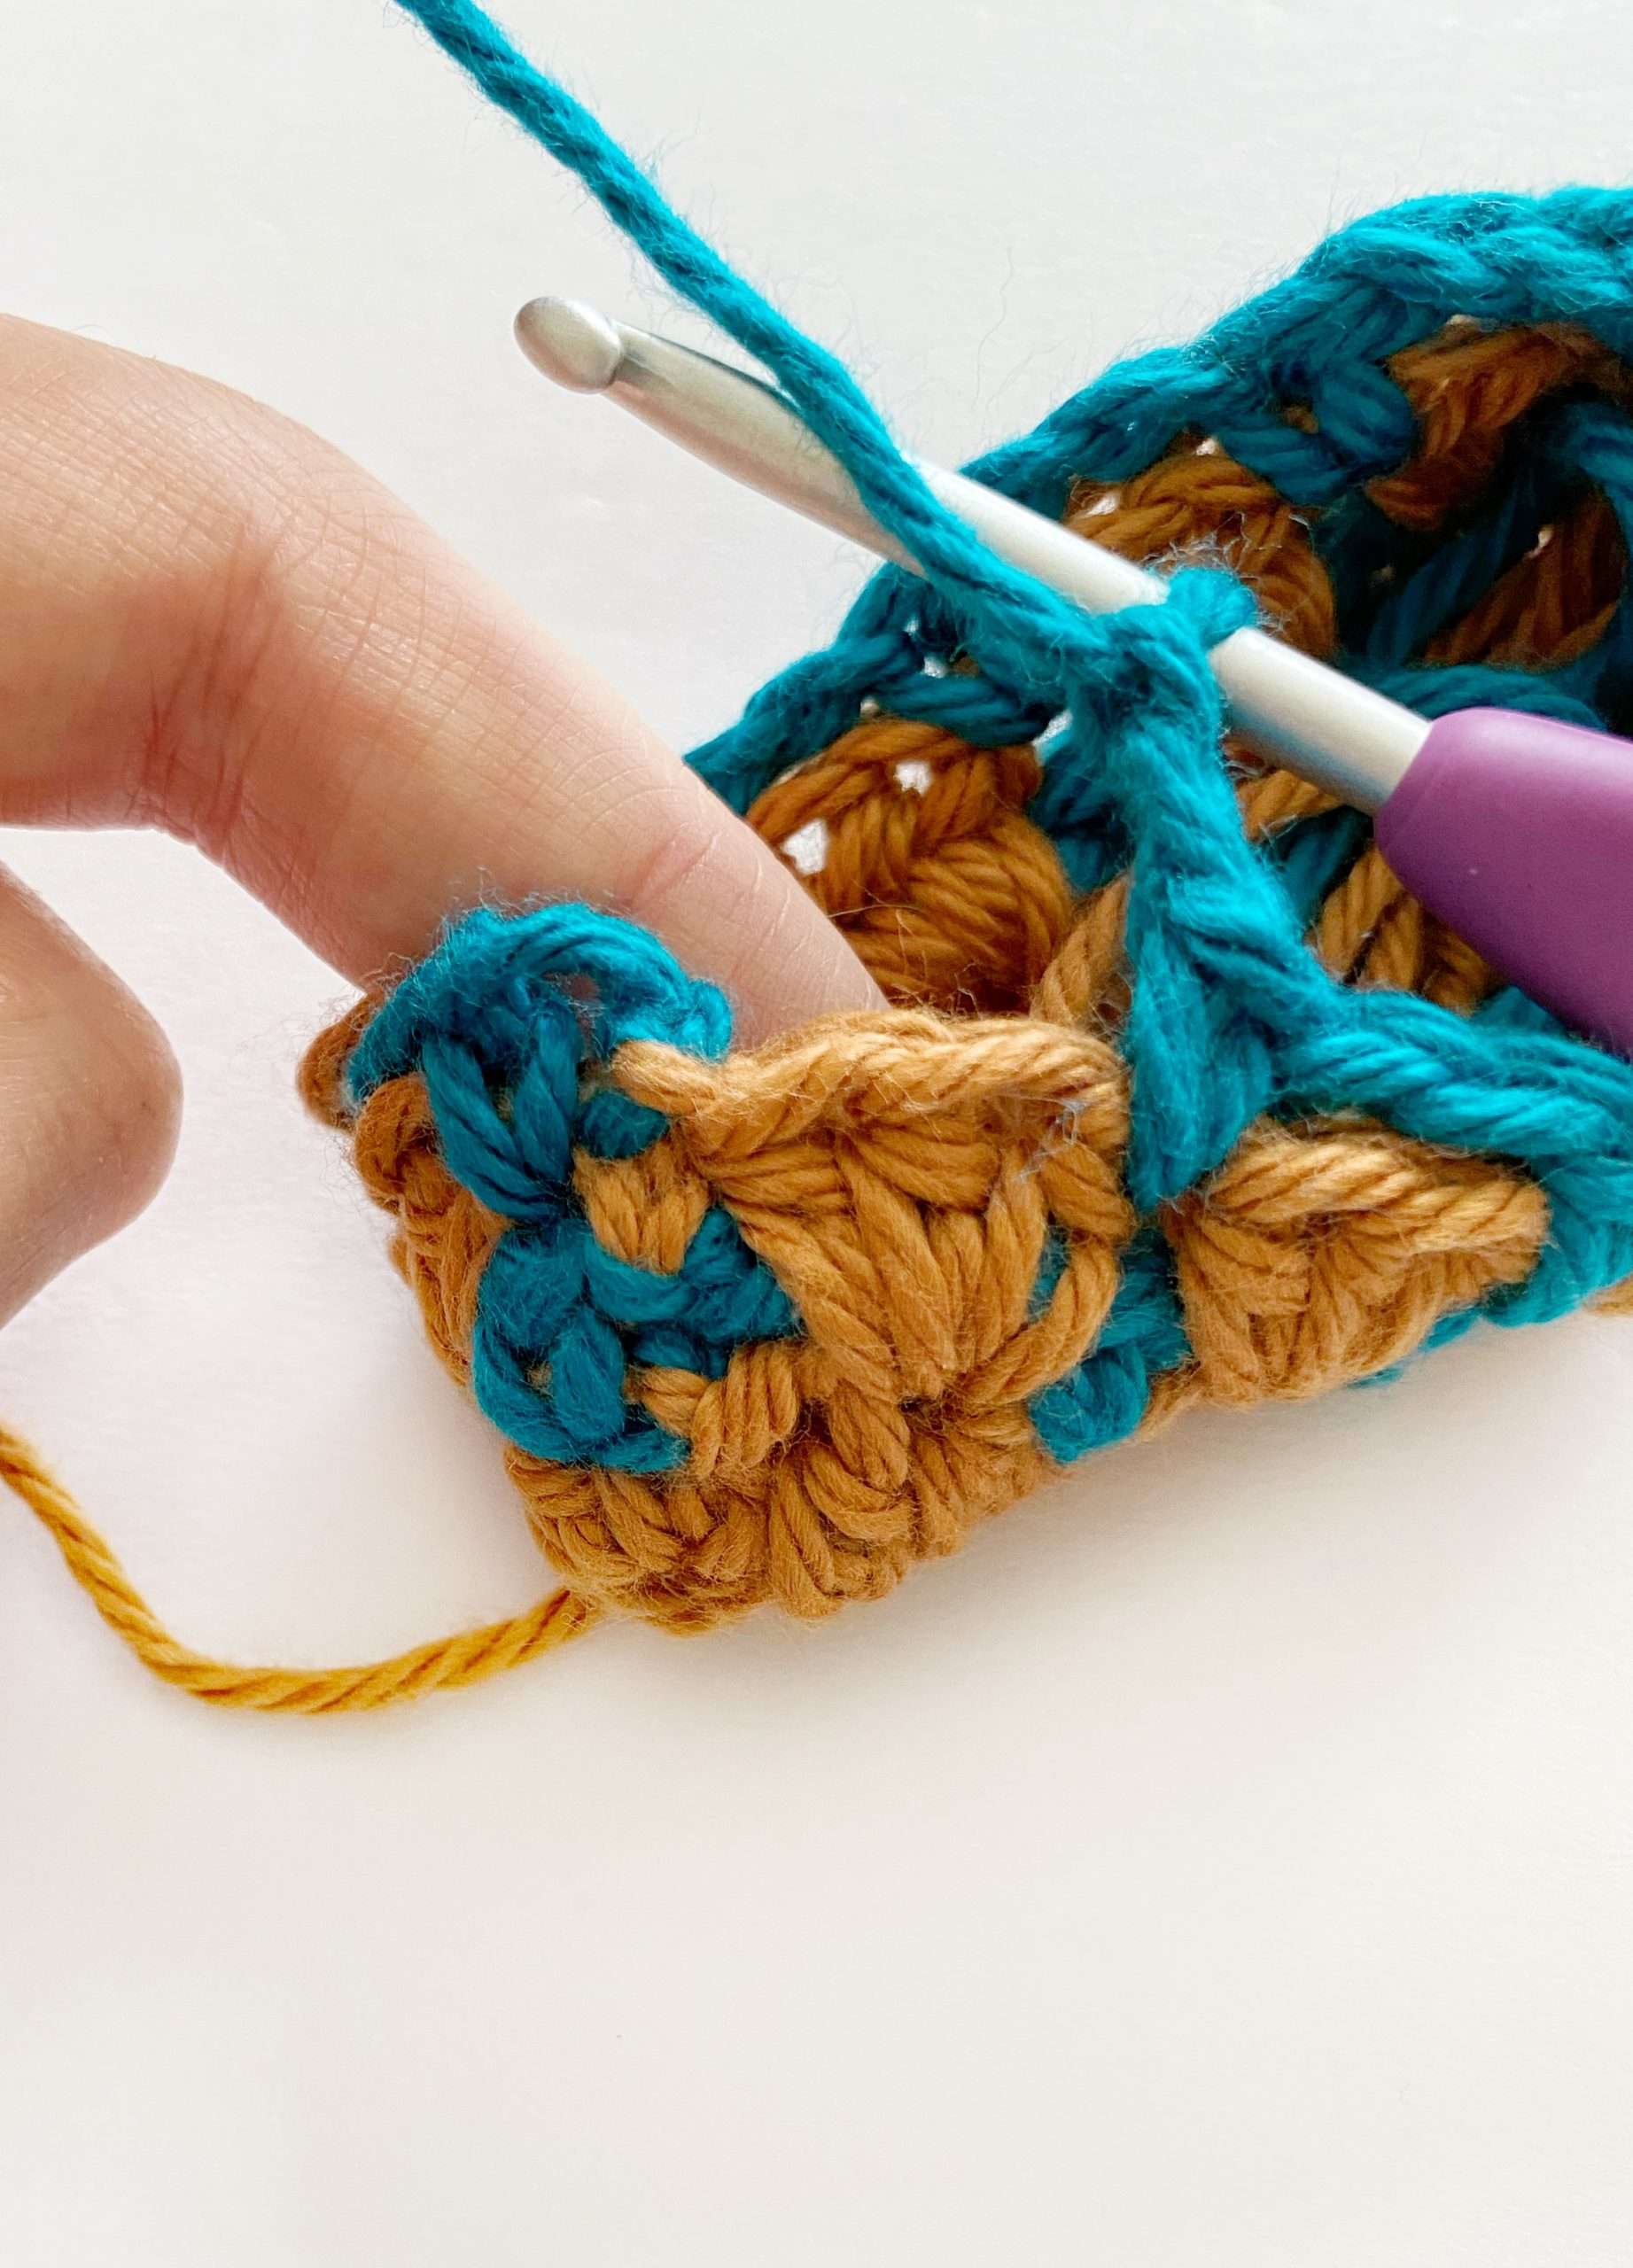
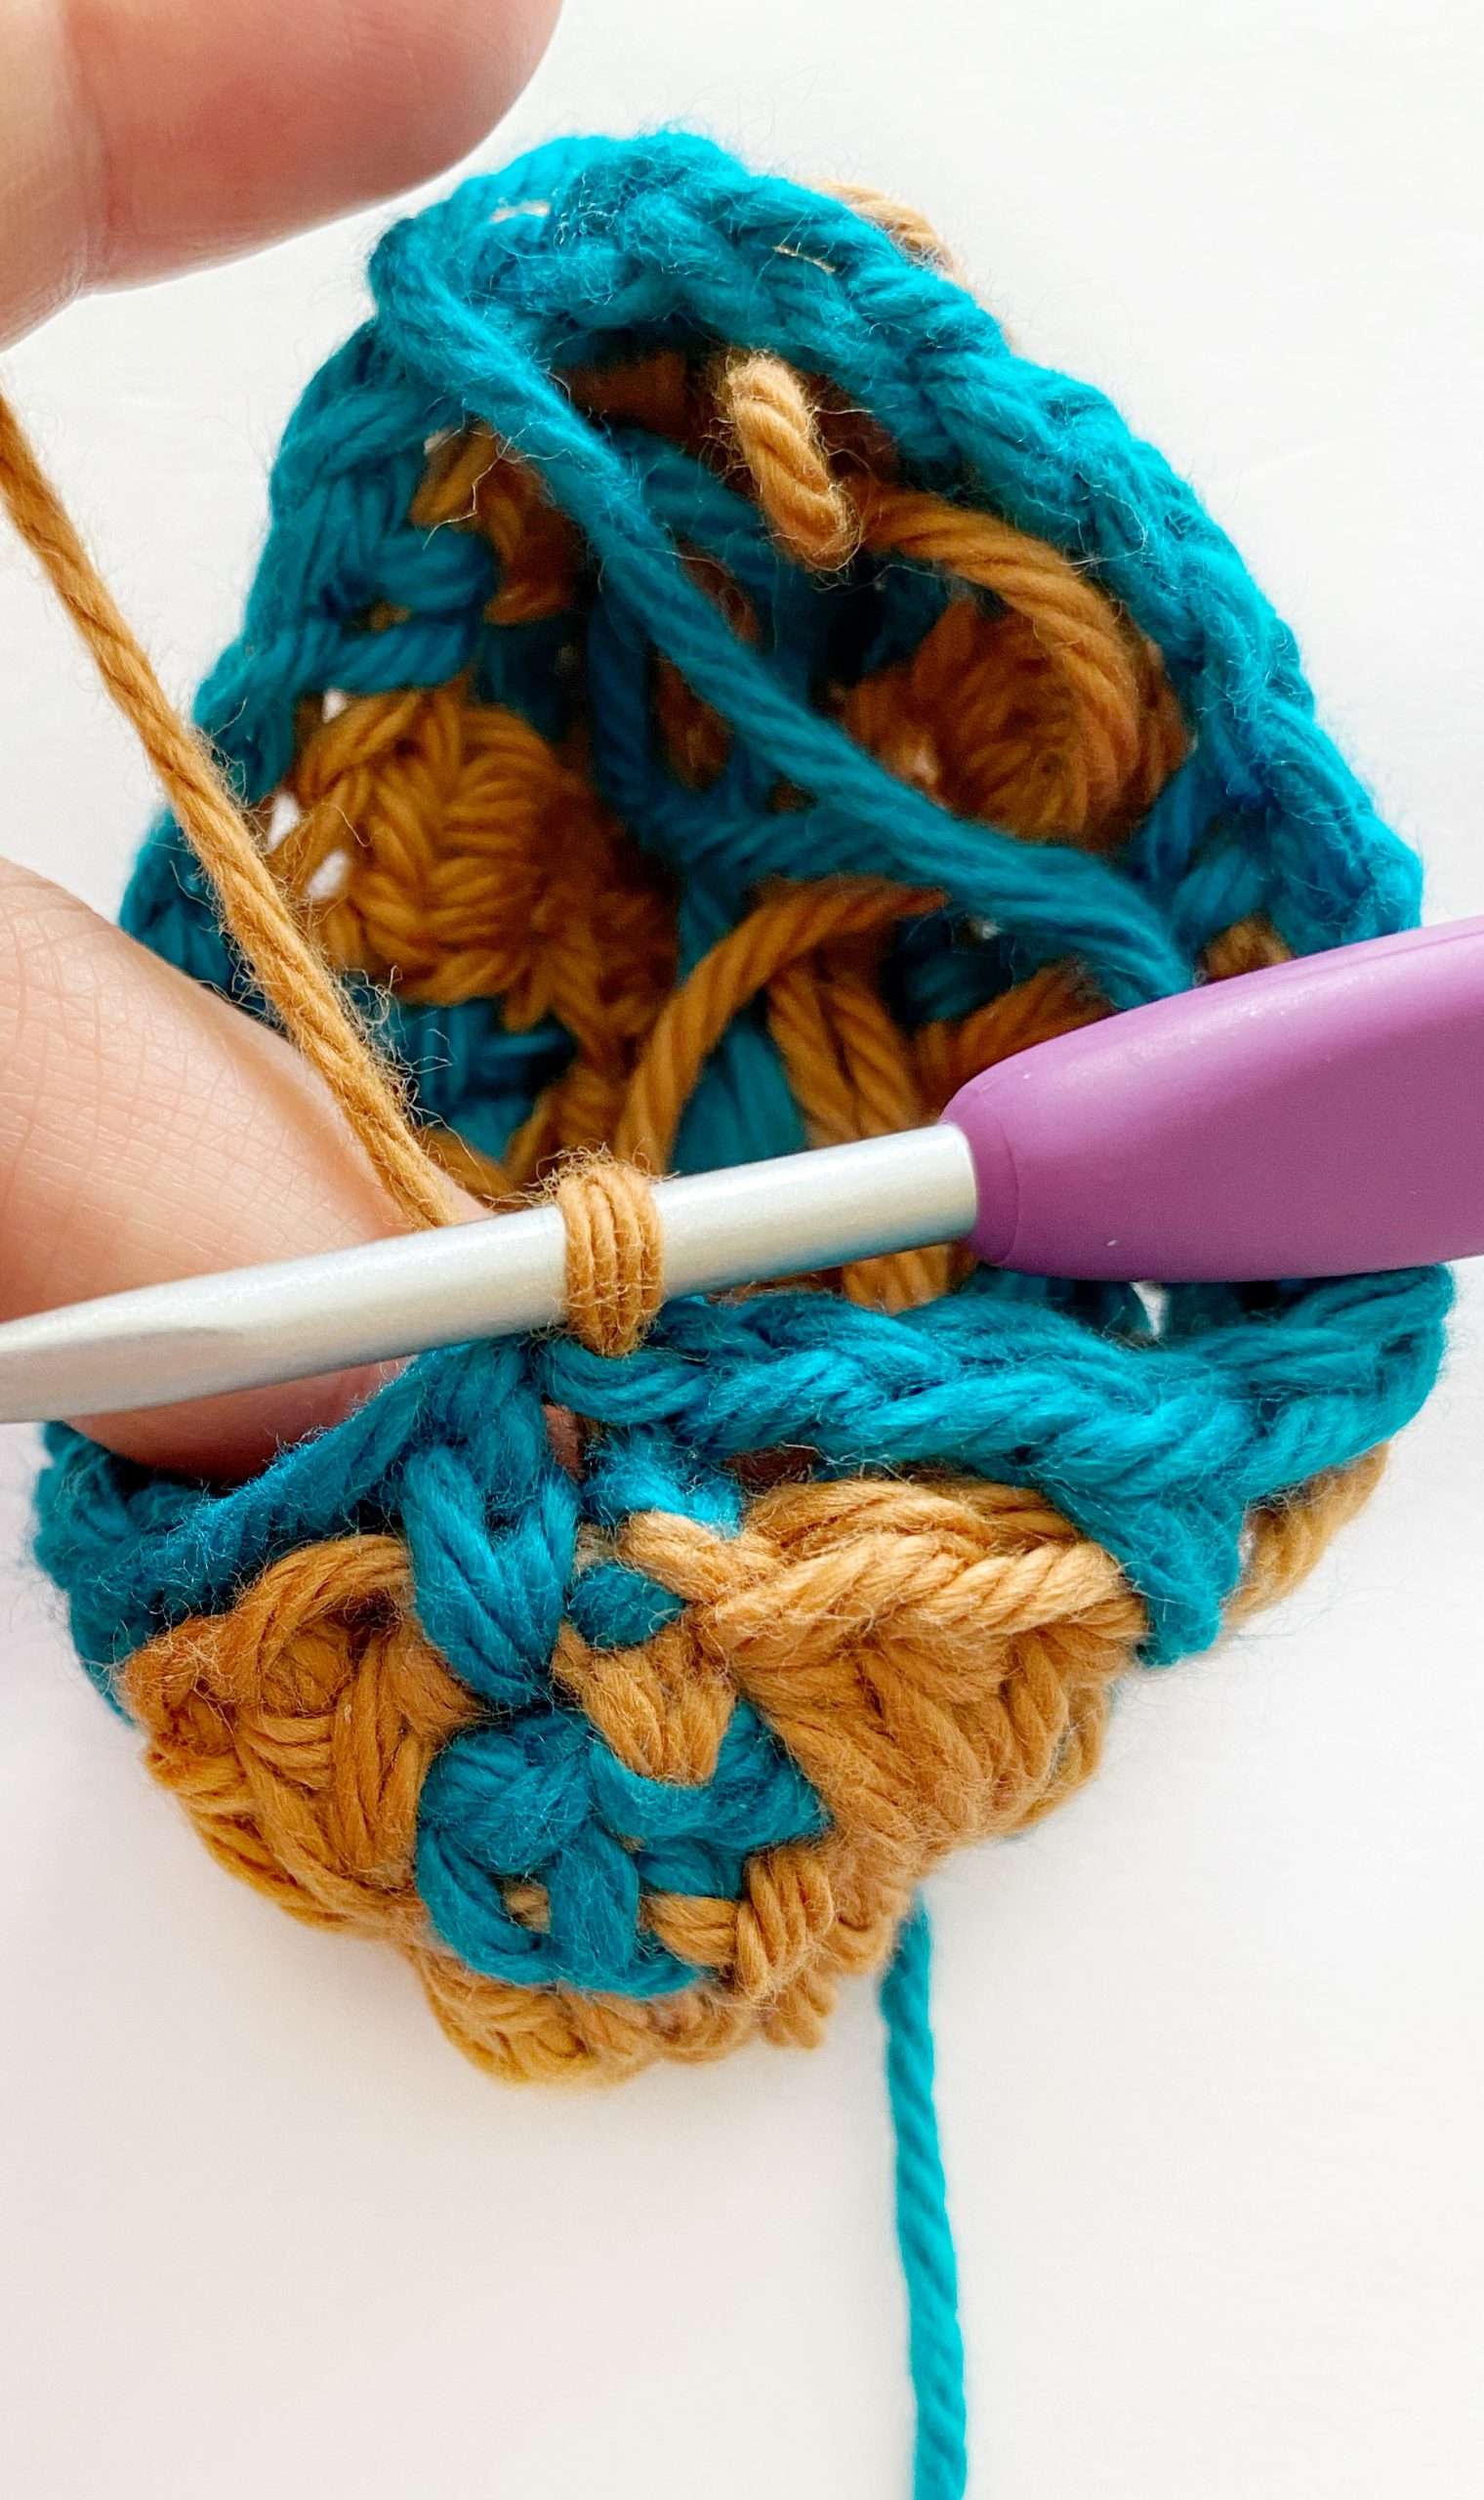
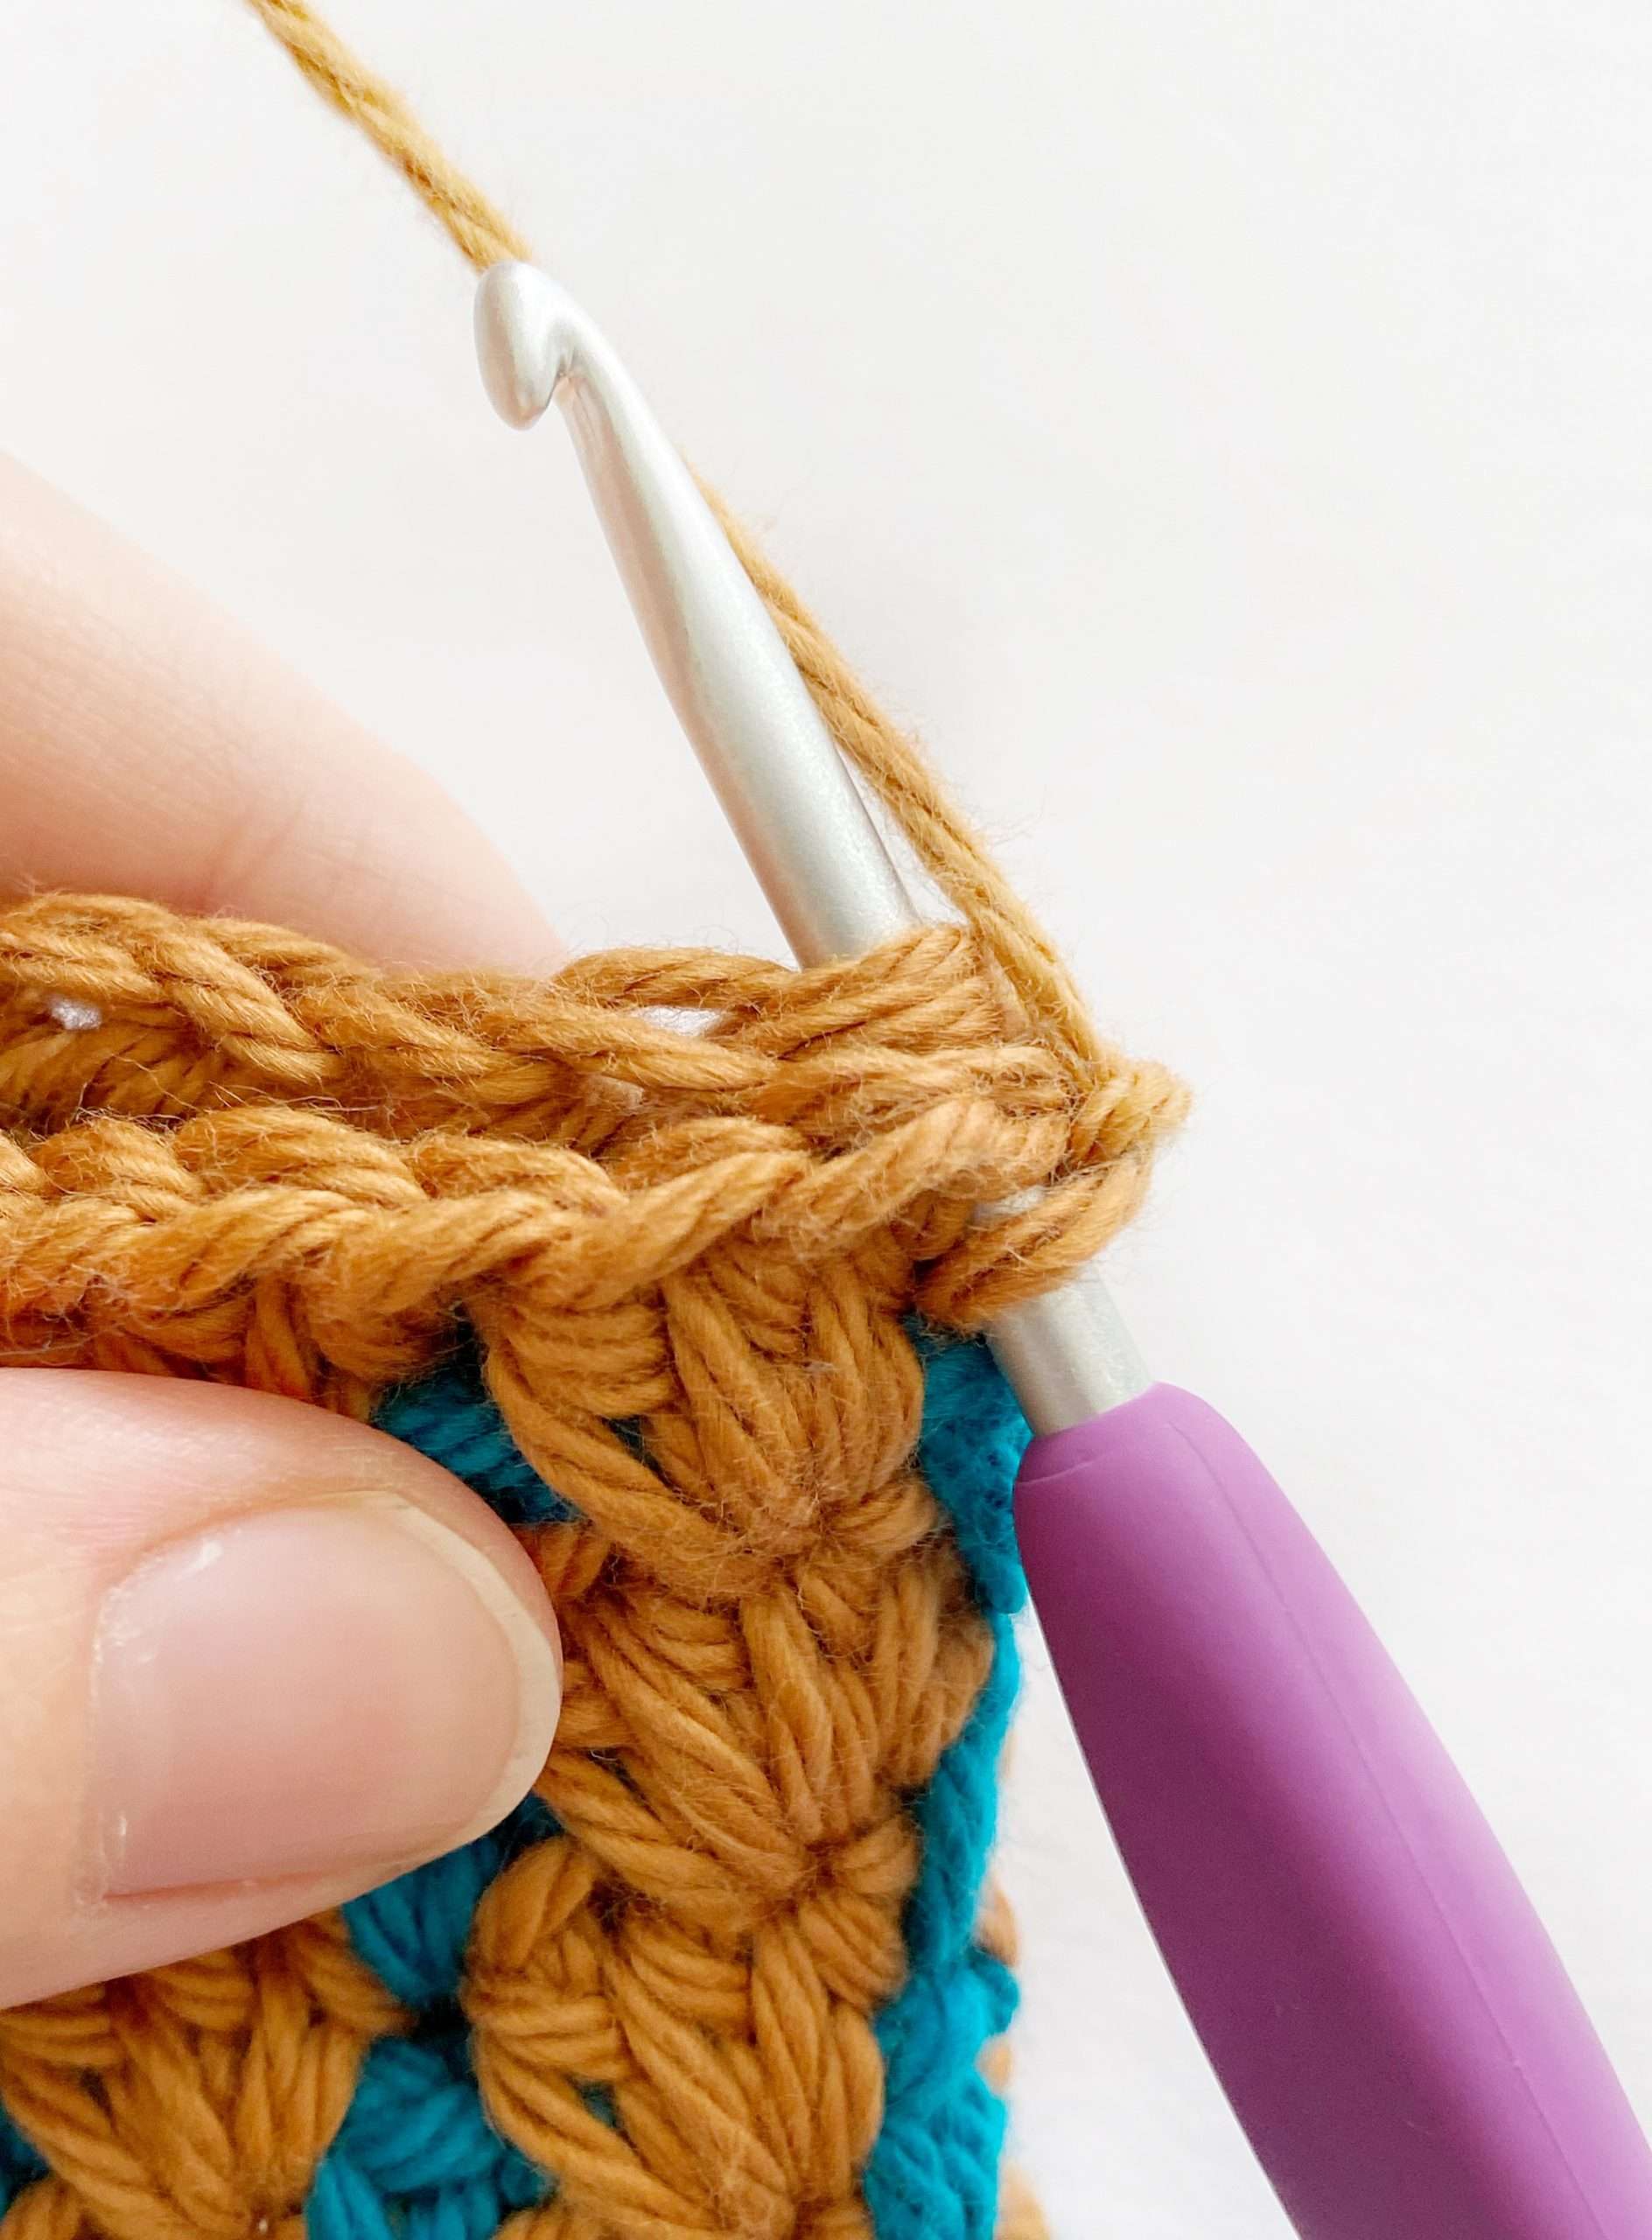
Colour changes happen at the end of the rnd in the sl st join. Always leave your unused colour strand attached to your potholder because you’ll need it for future rnds, and it’ll save you from weaving in extra ends.
- After crocheting the last st of the rnd, insert hook into the first st of the rnd to join. Drop the current colour (gold). (Picture 1).
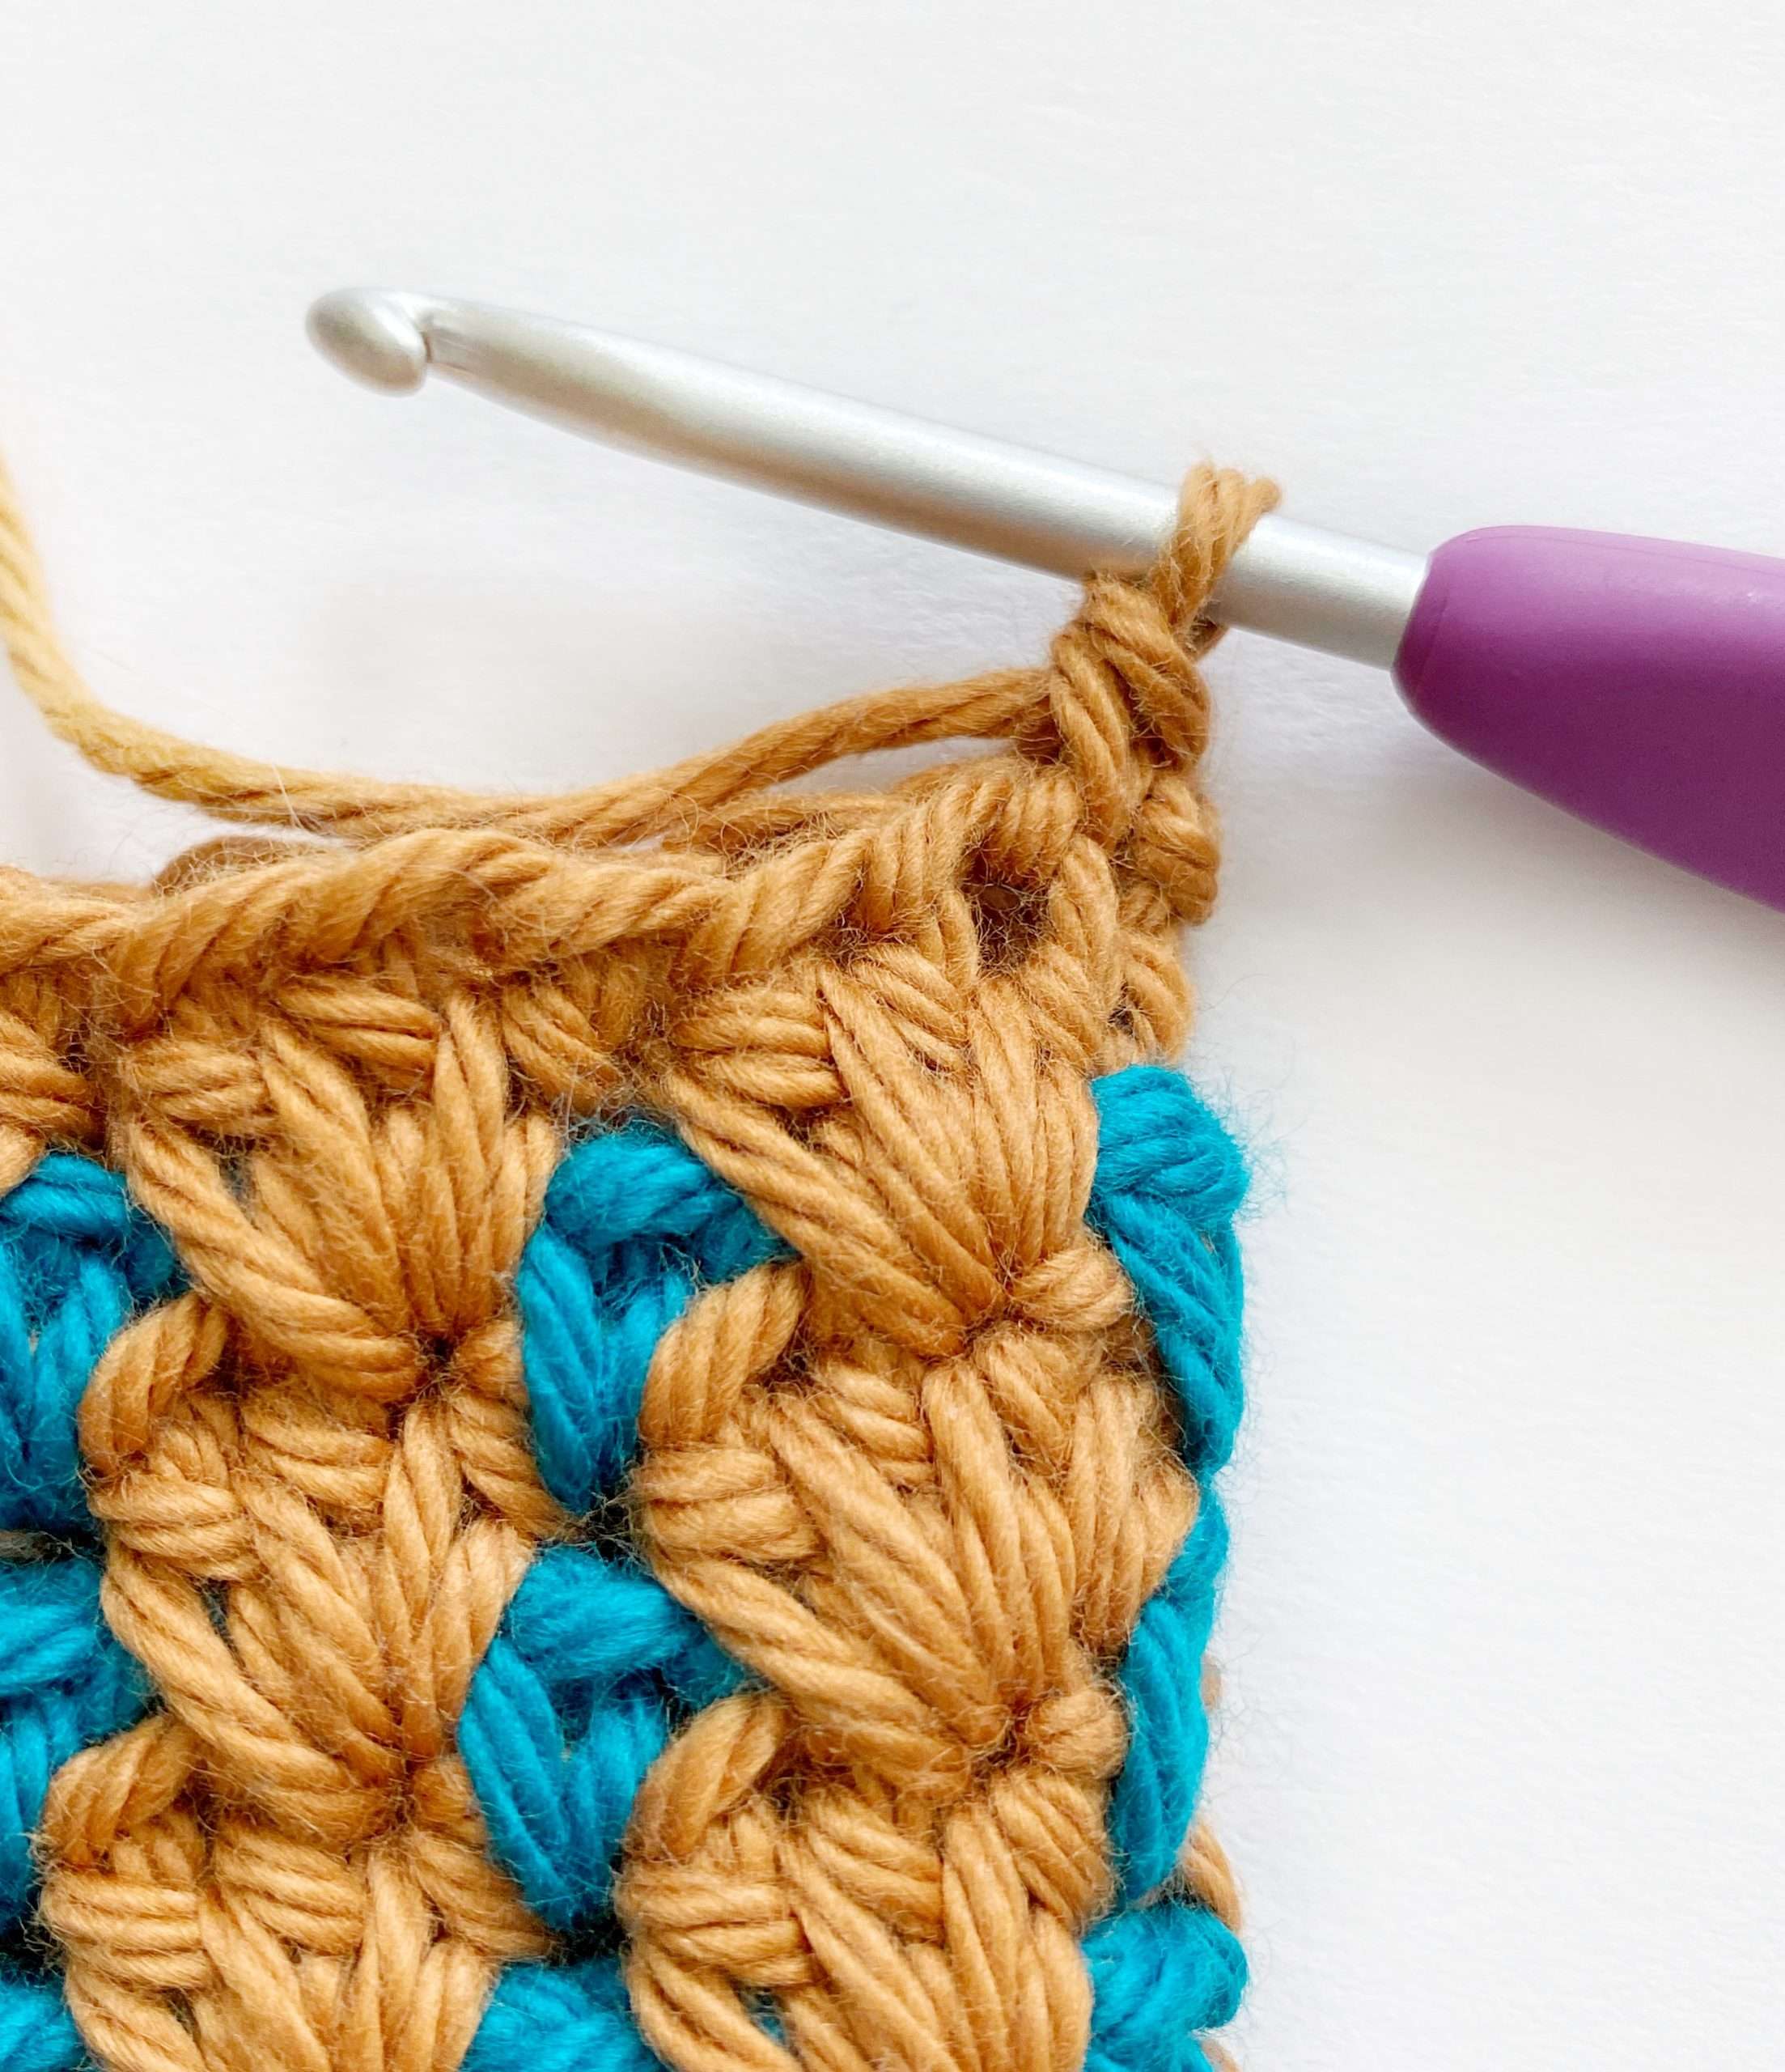
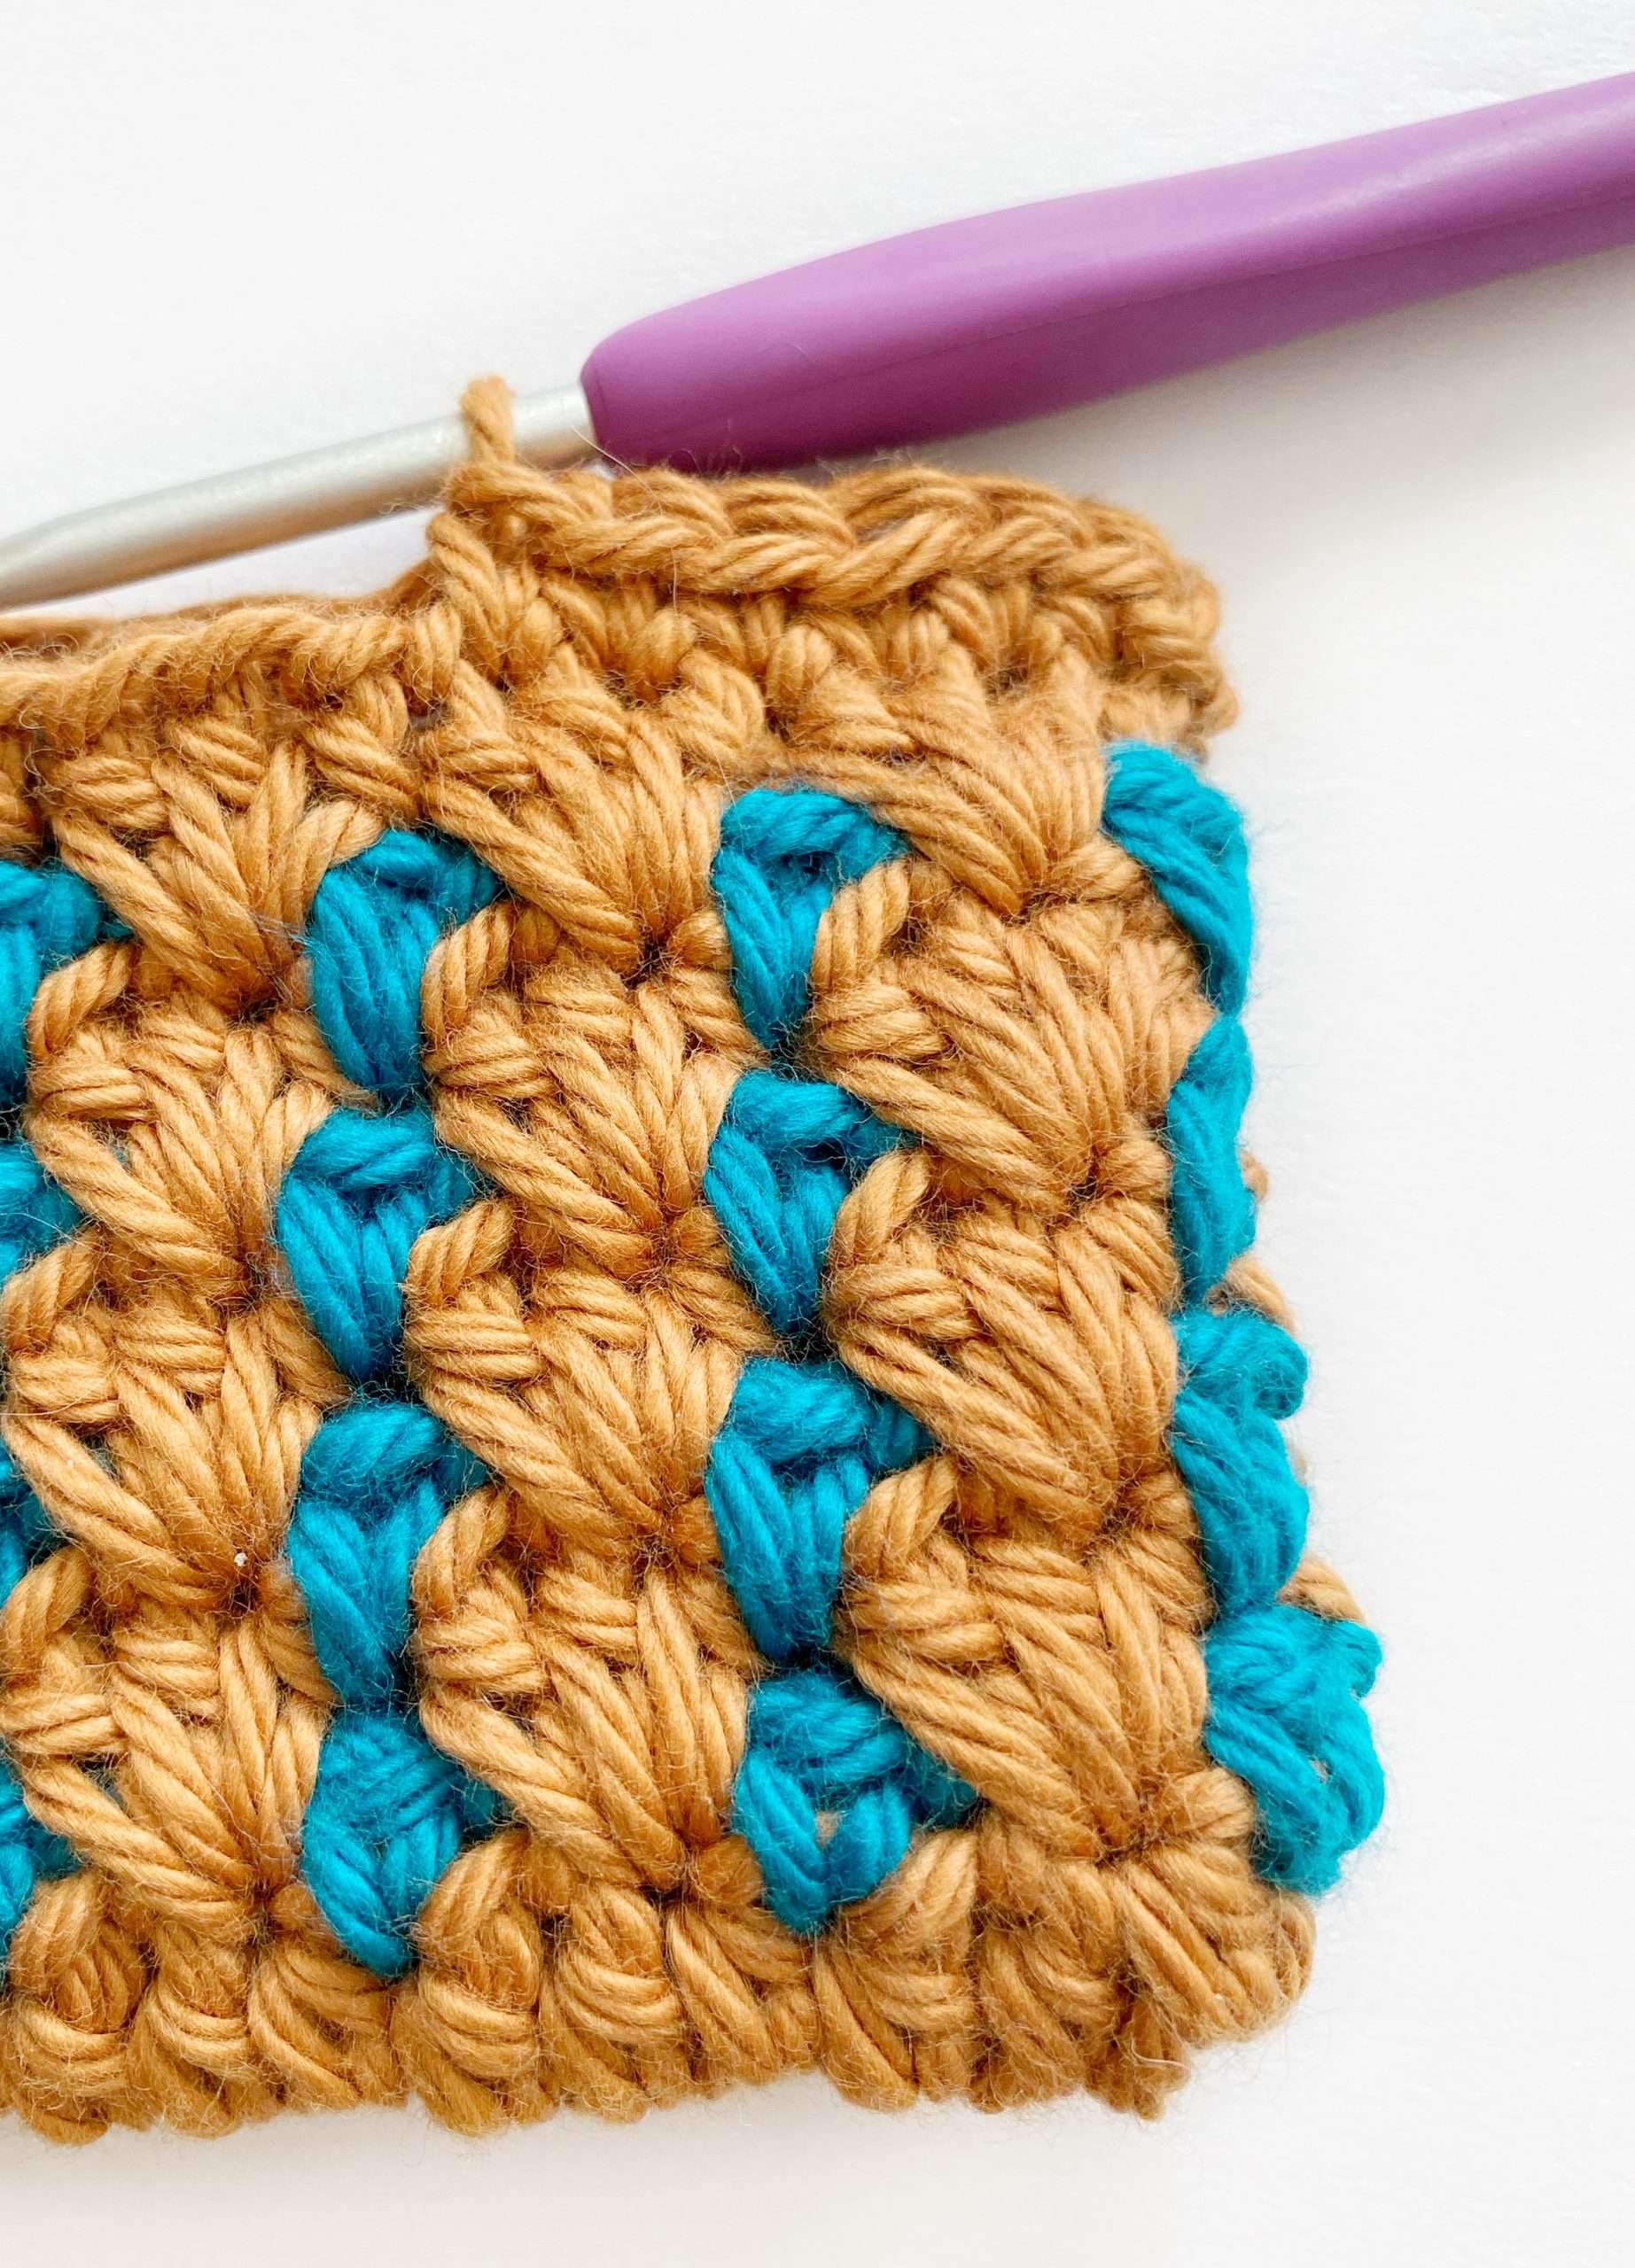
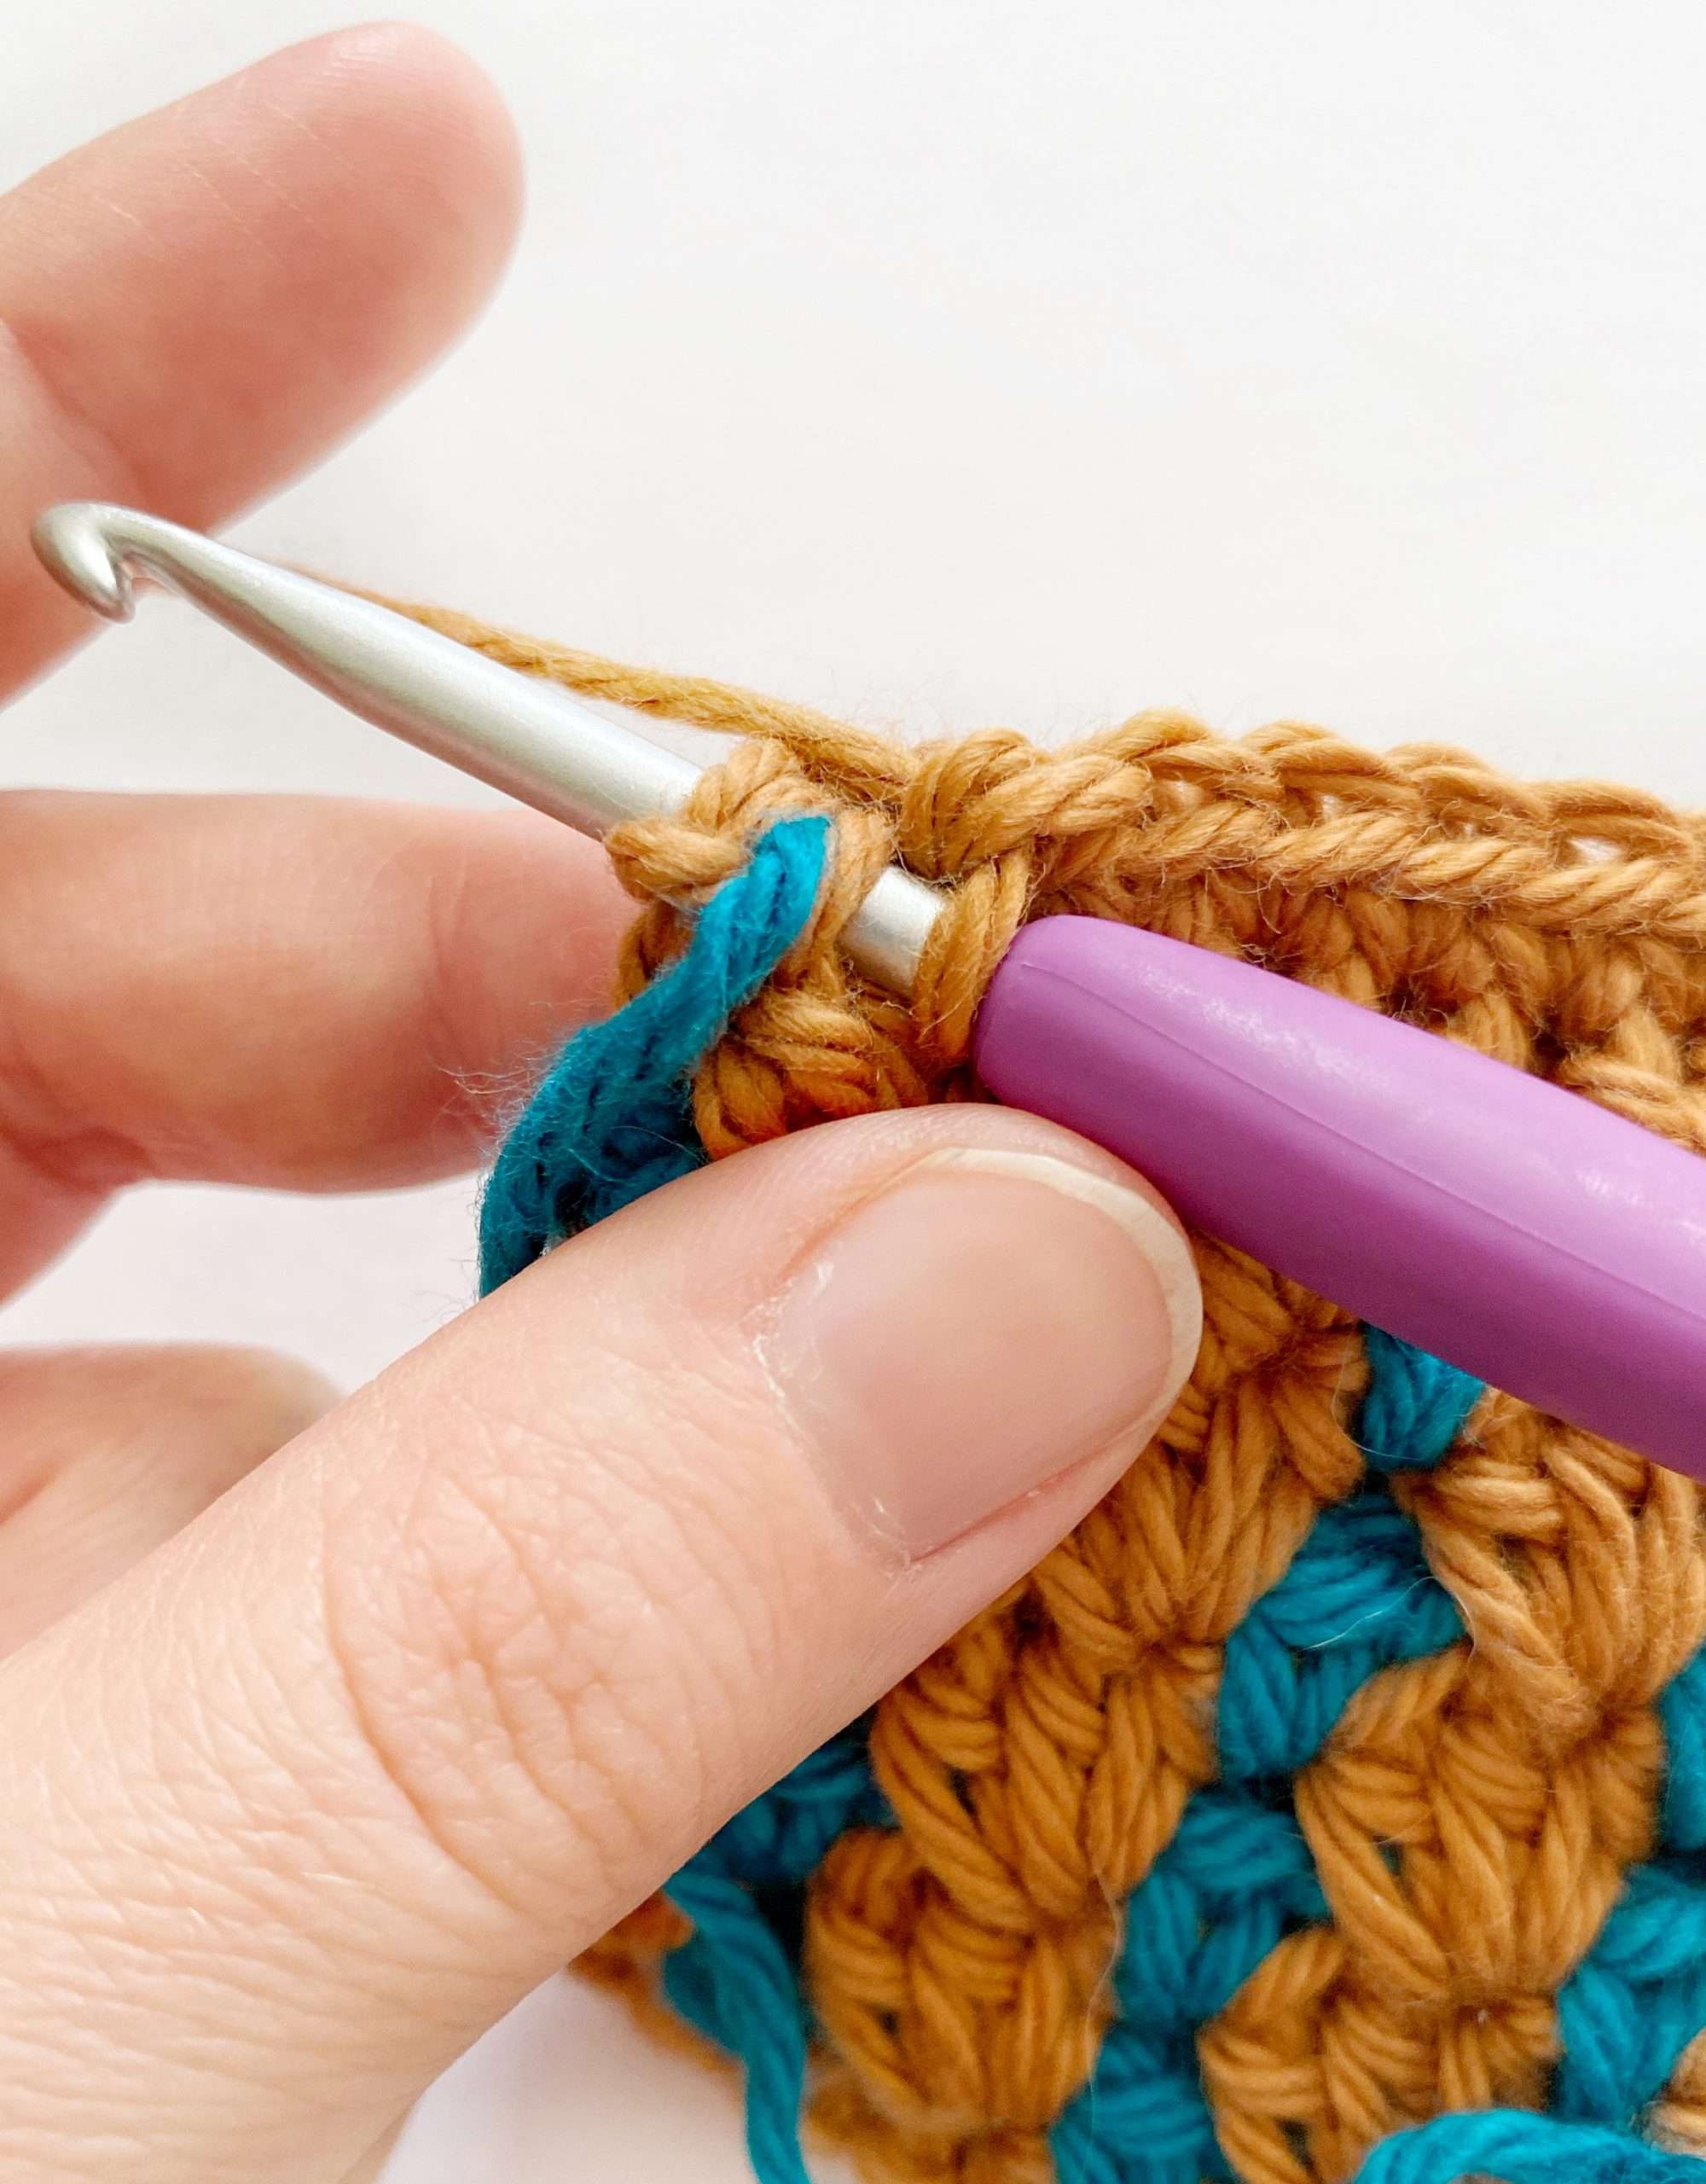
- YO with the new colour (blue), and pull through the st and loop on the hook to complete the sl st and change colour (Picture 2 & 3).
- Make sure the unused colour (gold) is hanging from the back of your work, so you can pick it up when you need it.
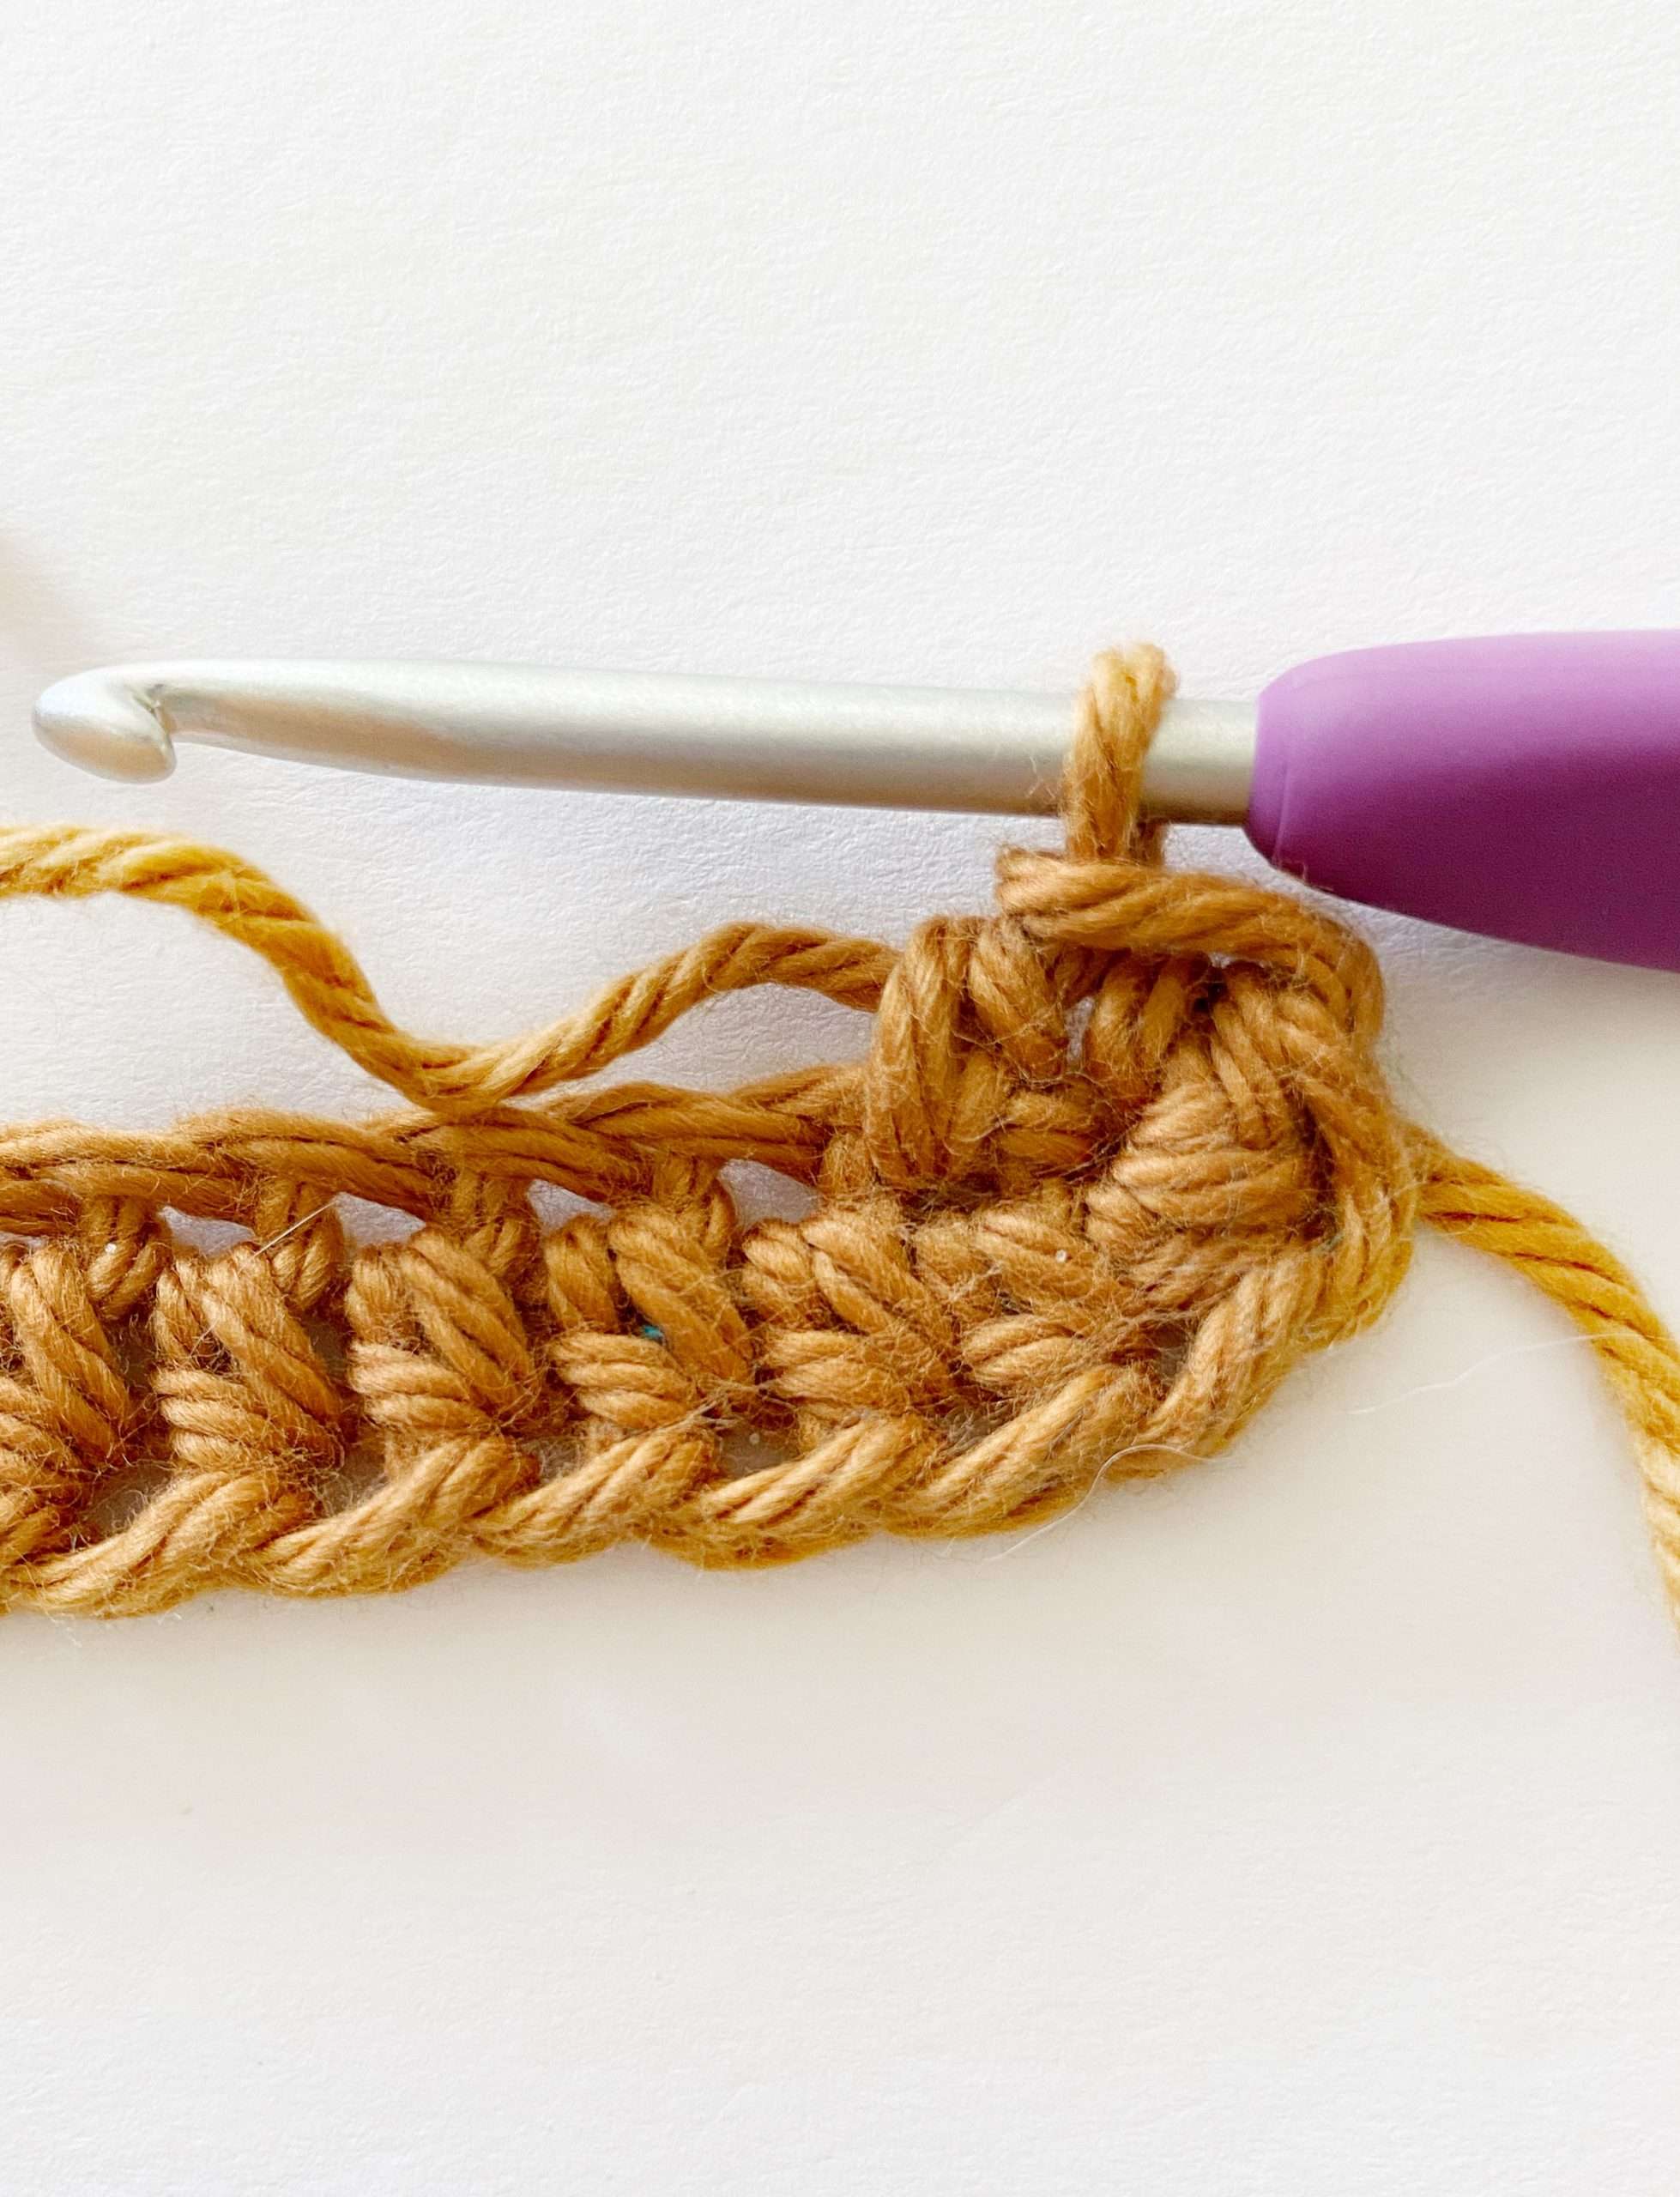
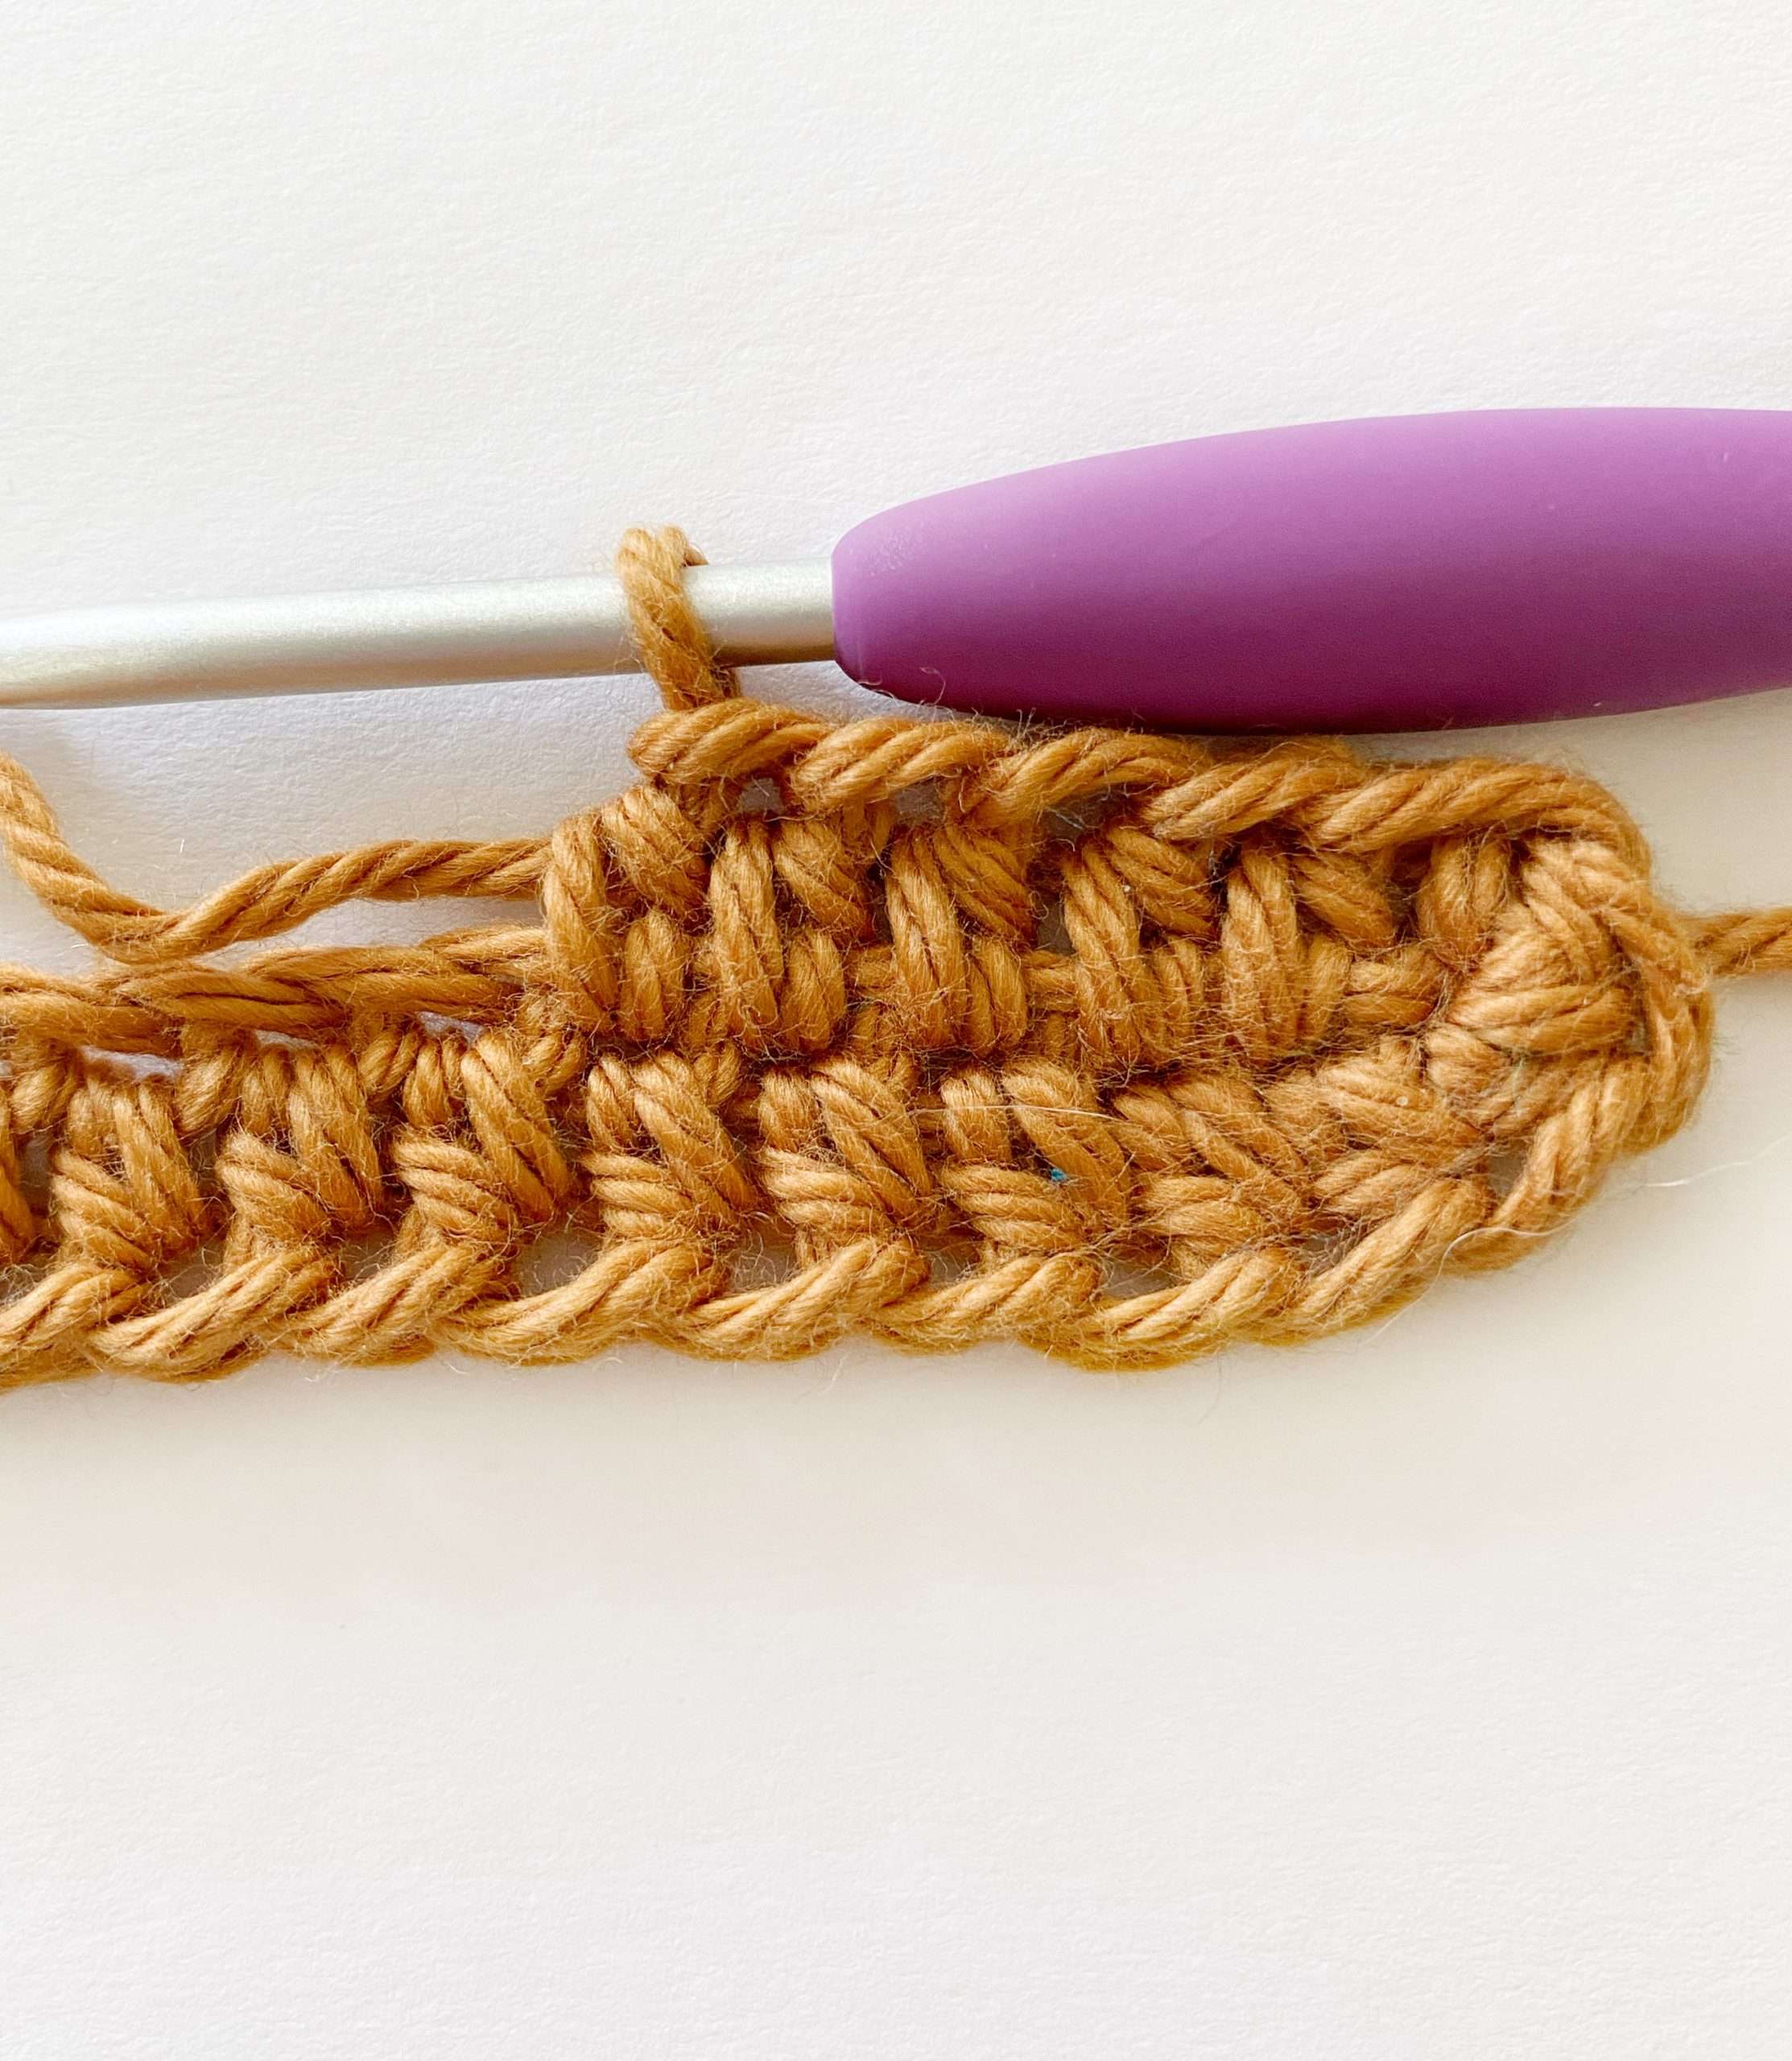
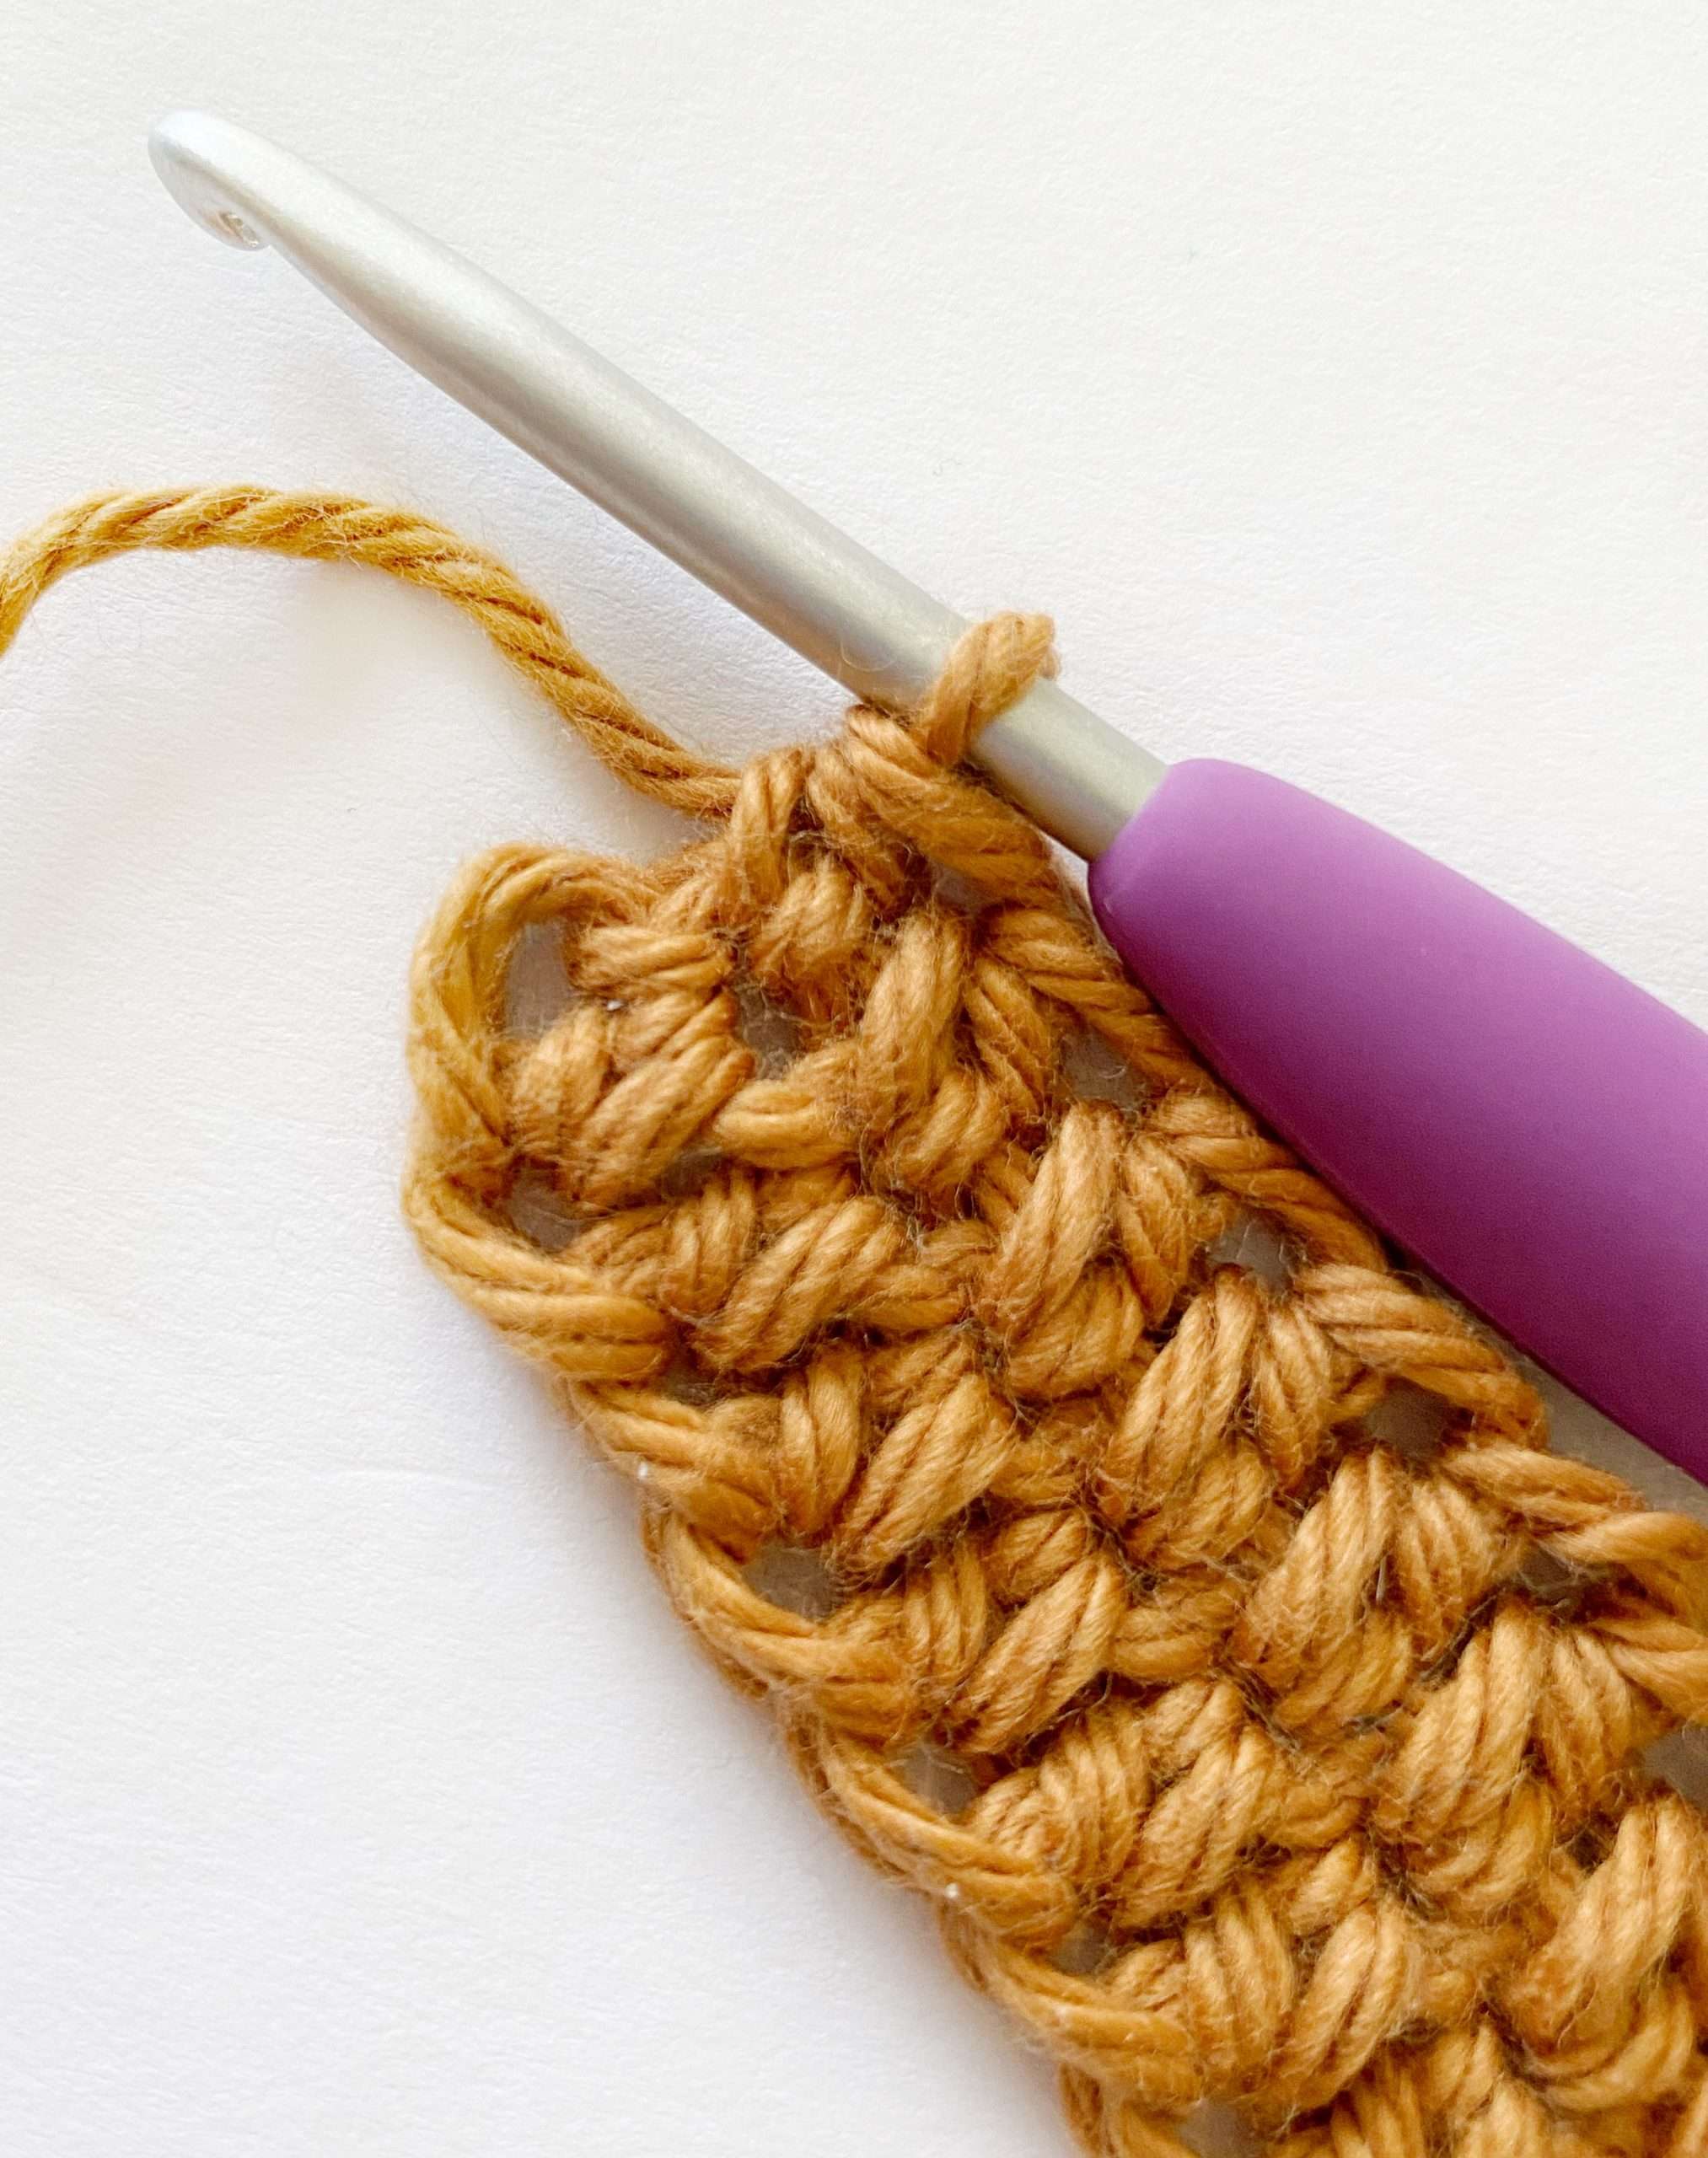
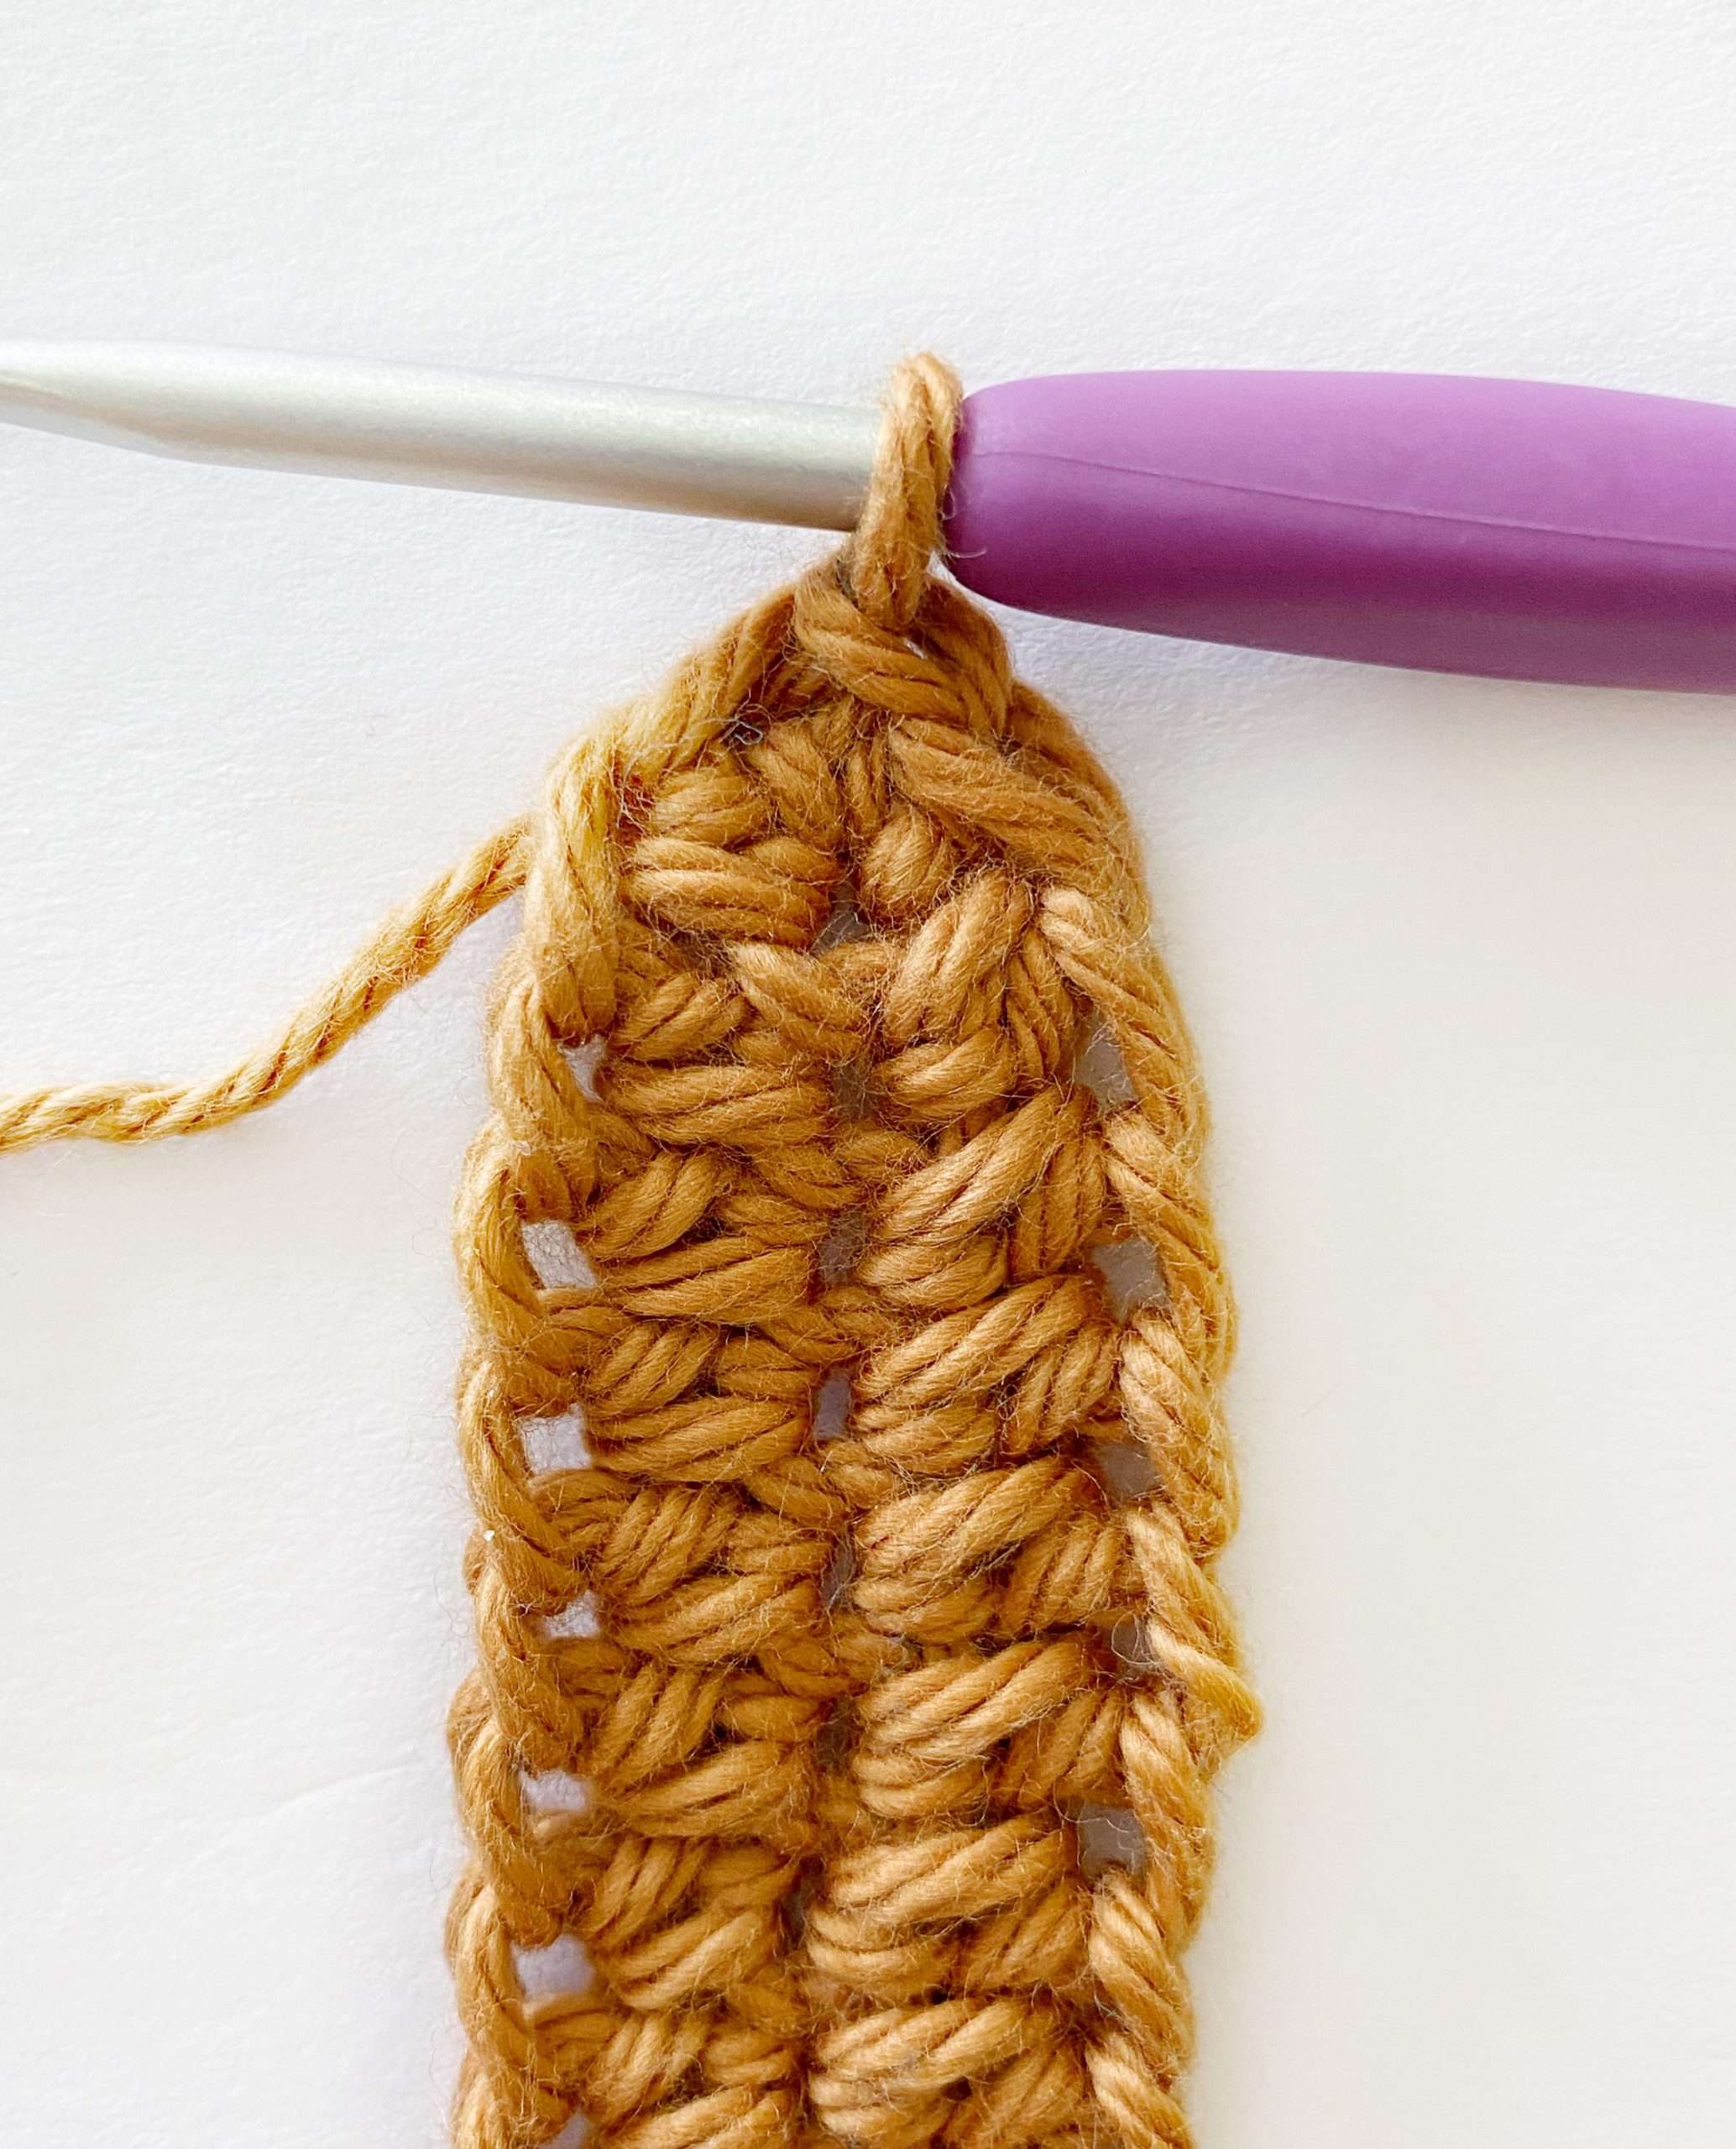
Half Double Crochet Cluster (Hdc-cl):
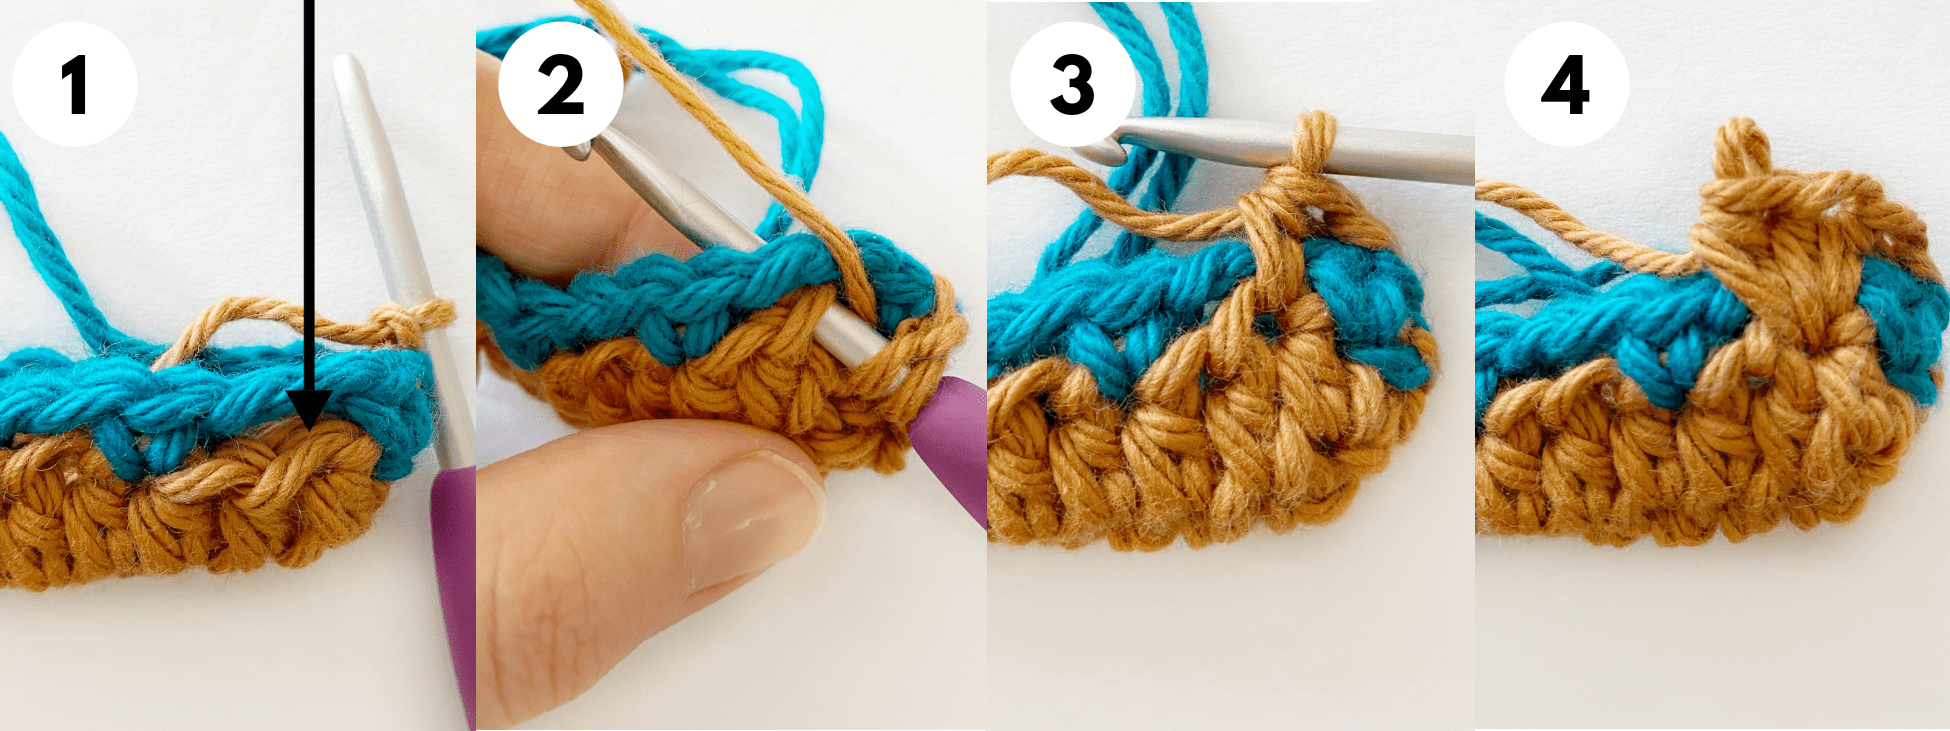
A half double crochet cluster is 3 hdc made into the same st.
- Insert hook into indicated st (Picture 1 & 2).
- Make 3 hdc into the same st, crocheting over-top of the ch-2 from the previous rnd (Picture 3 & 4).
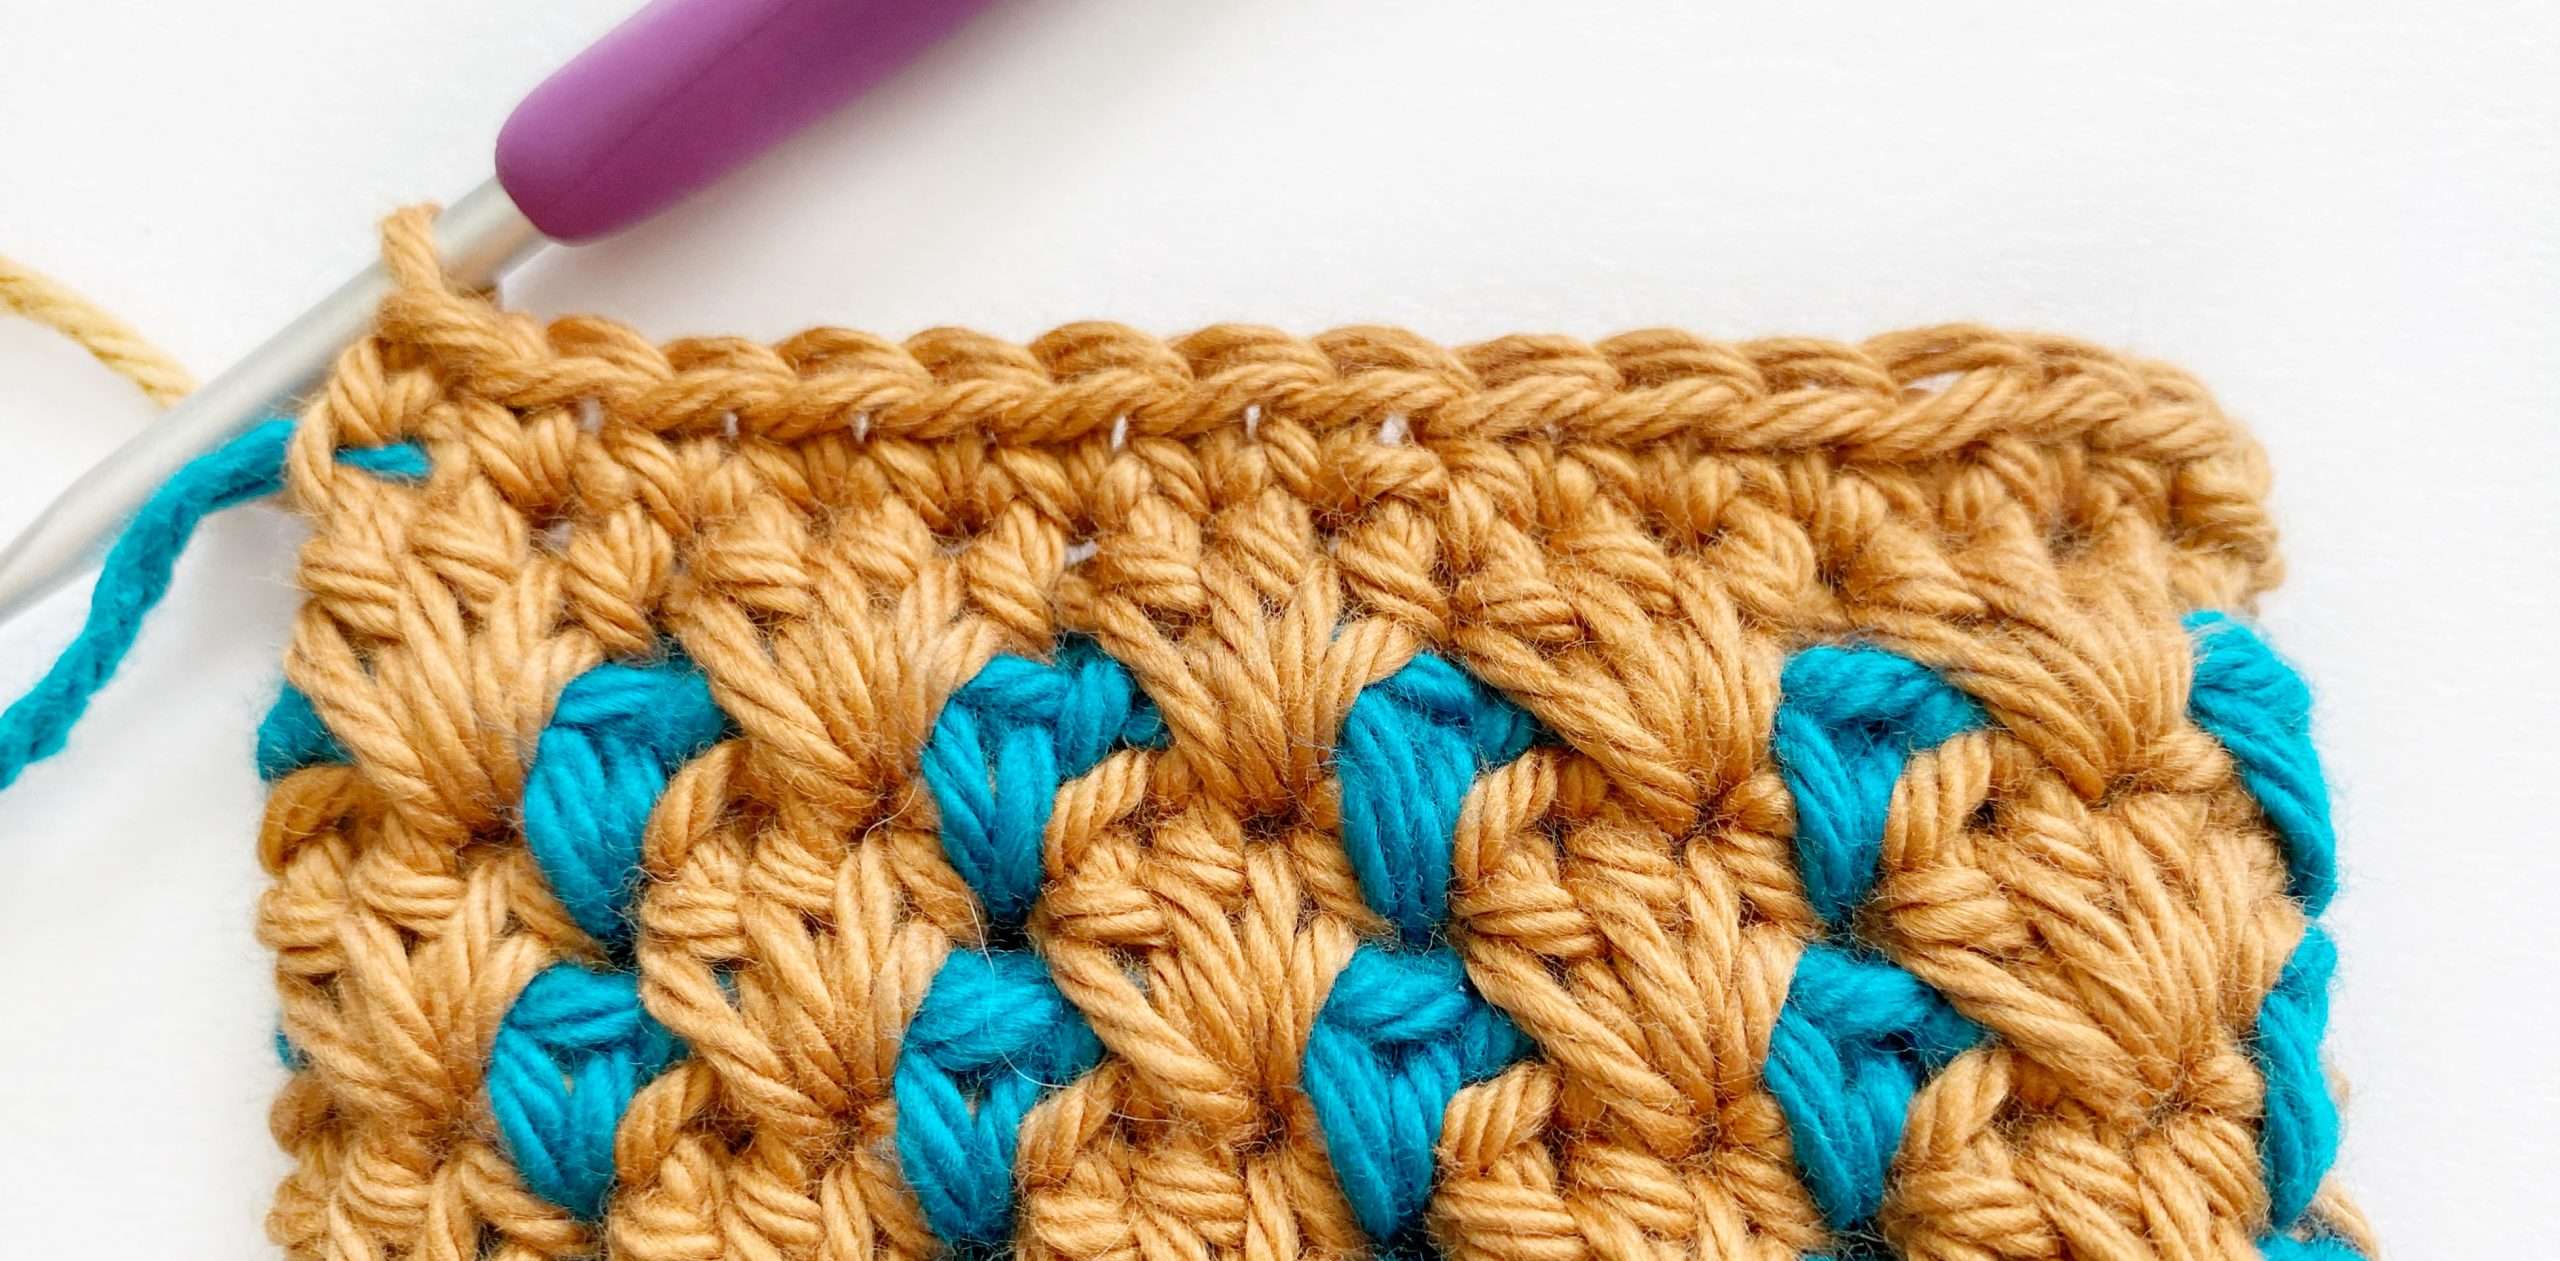
Important Note: Slight Slant
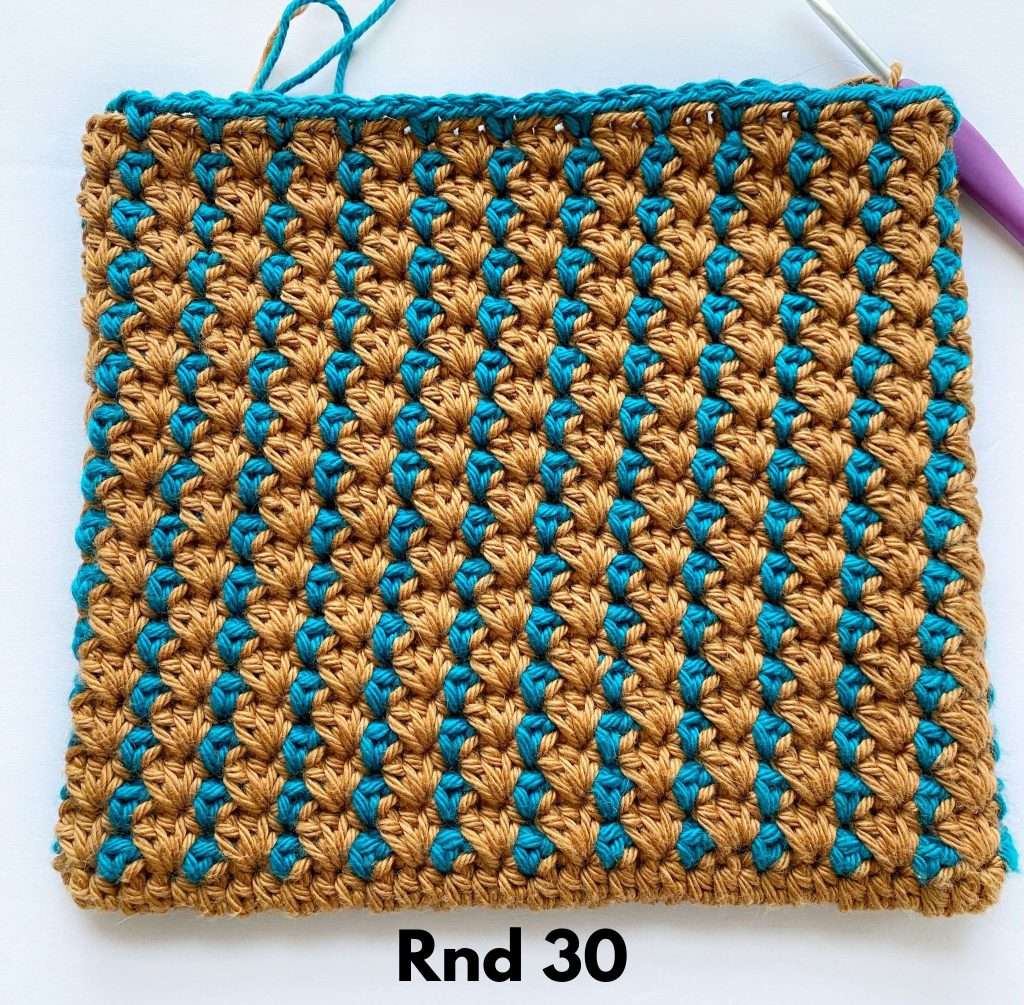
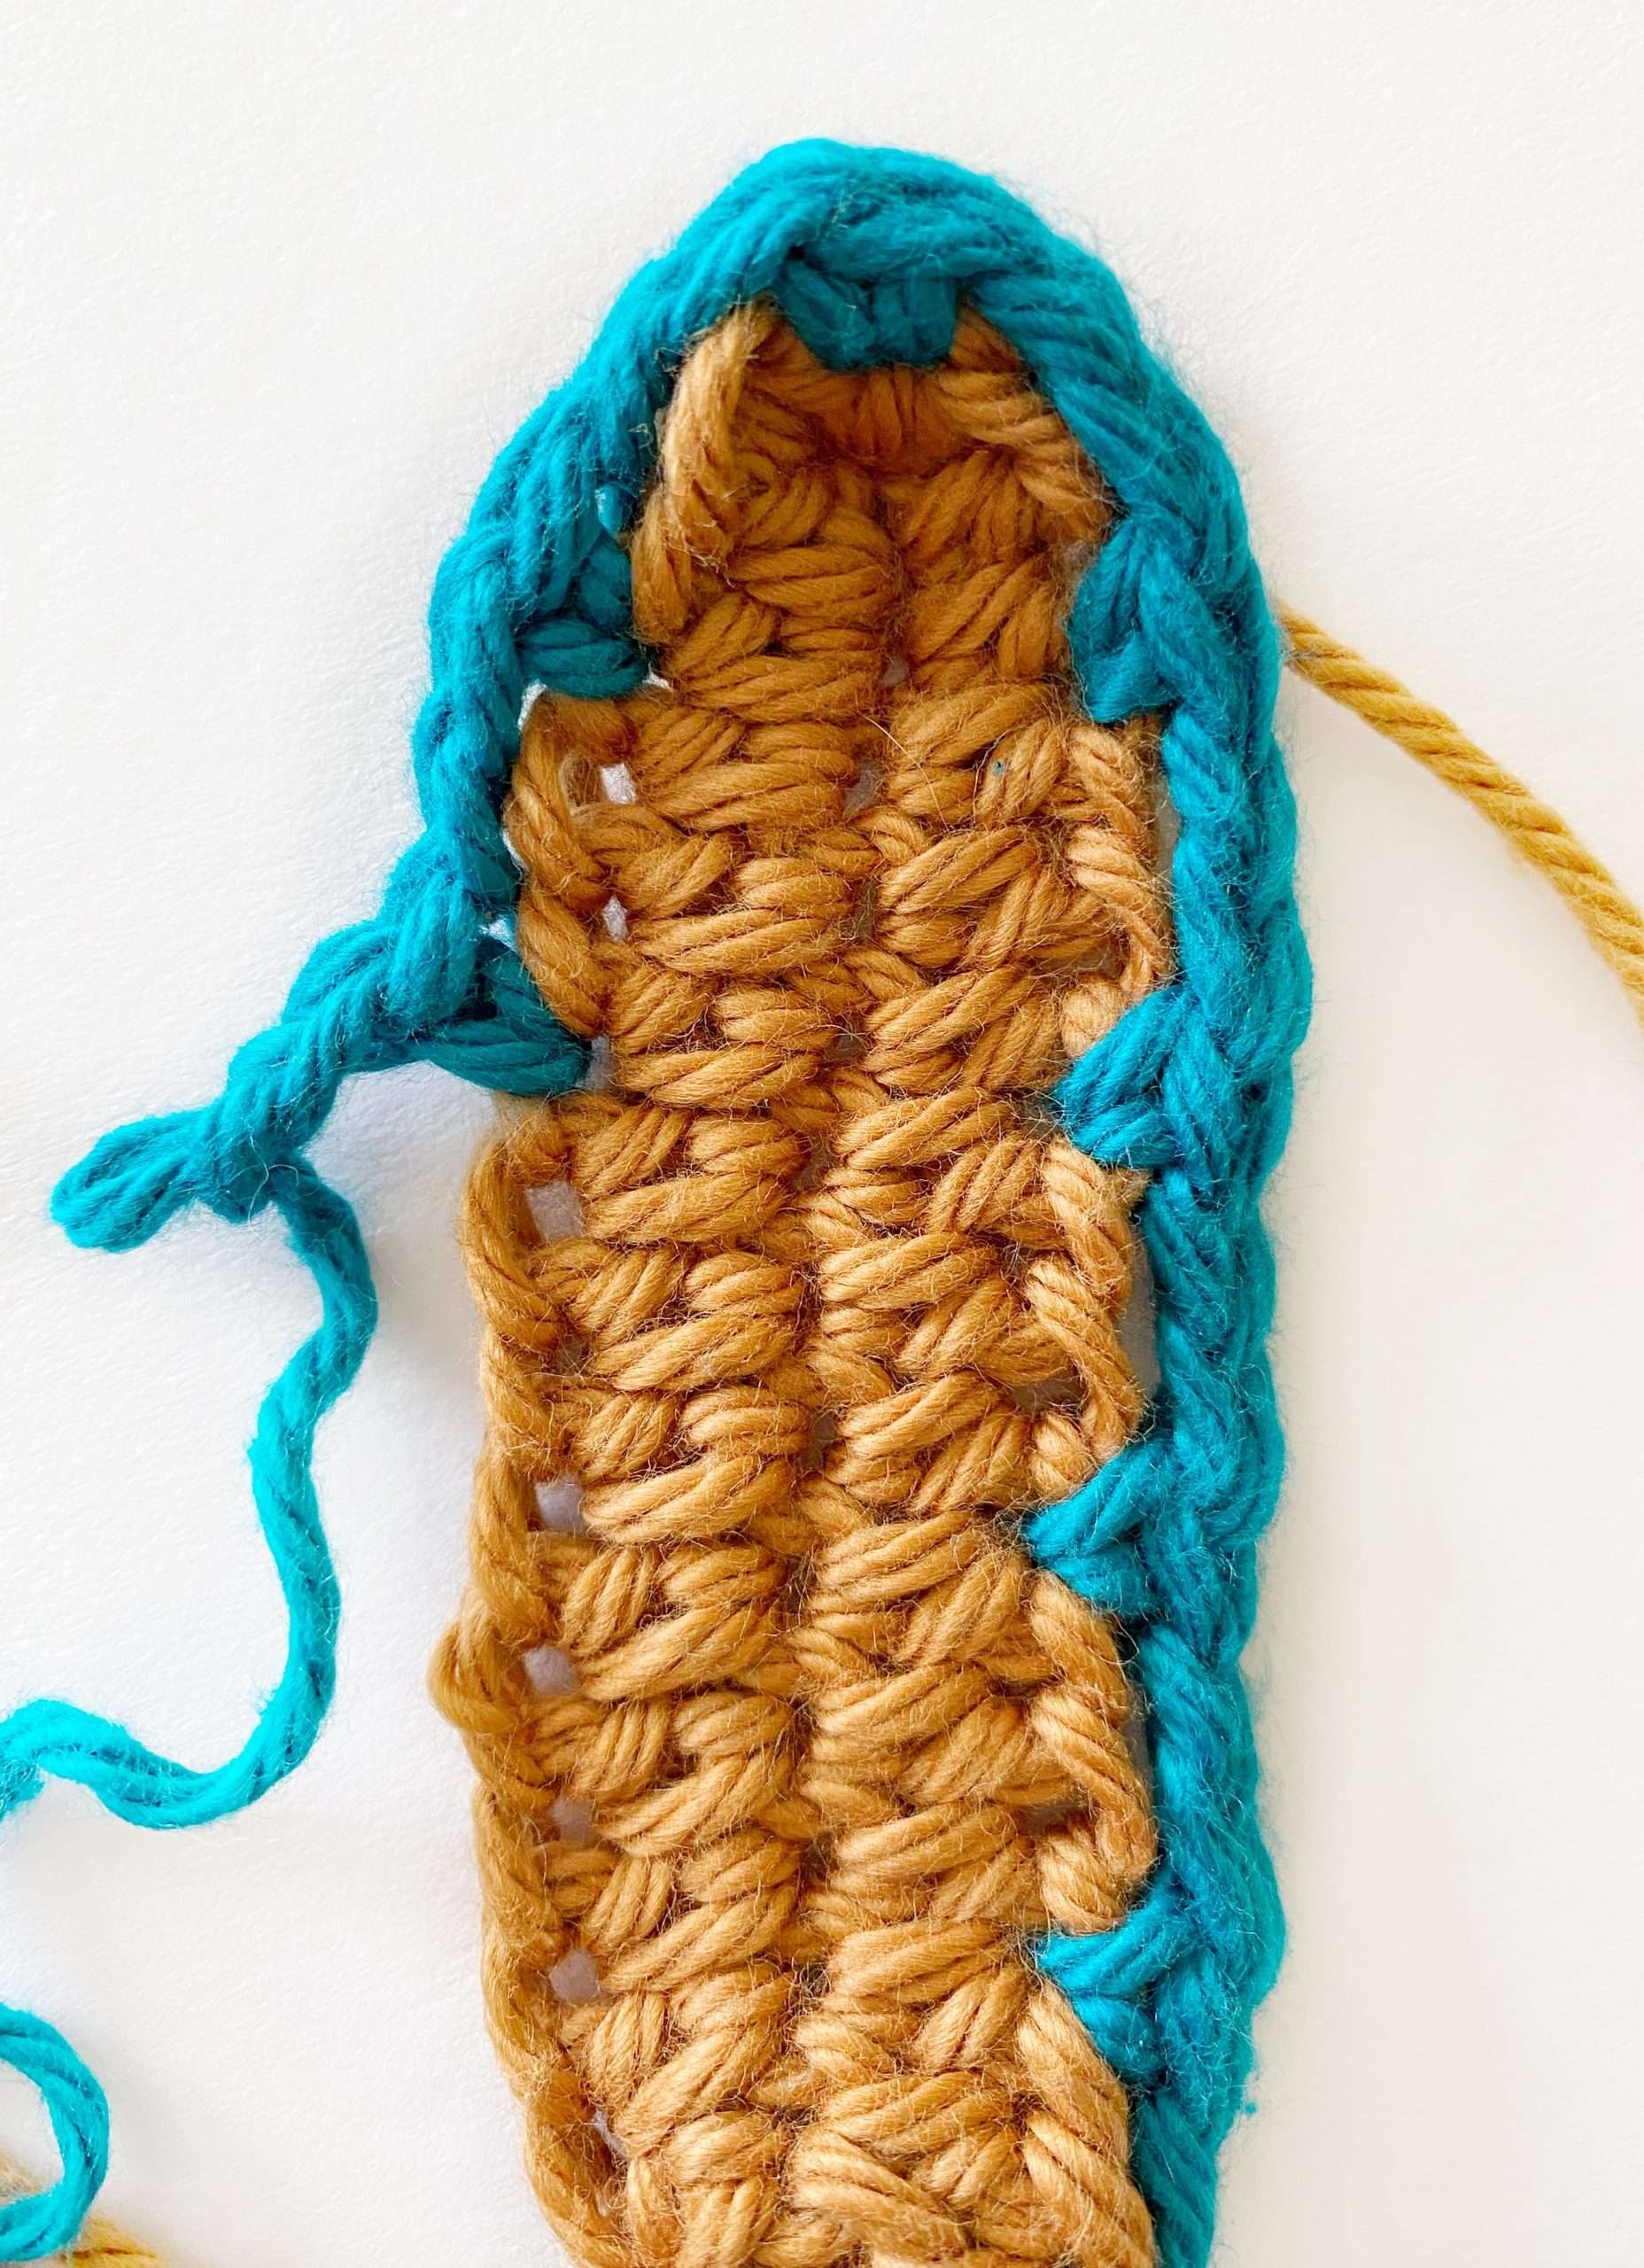
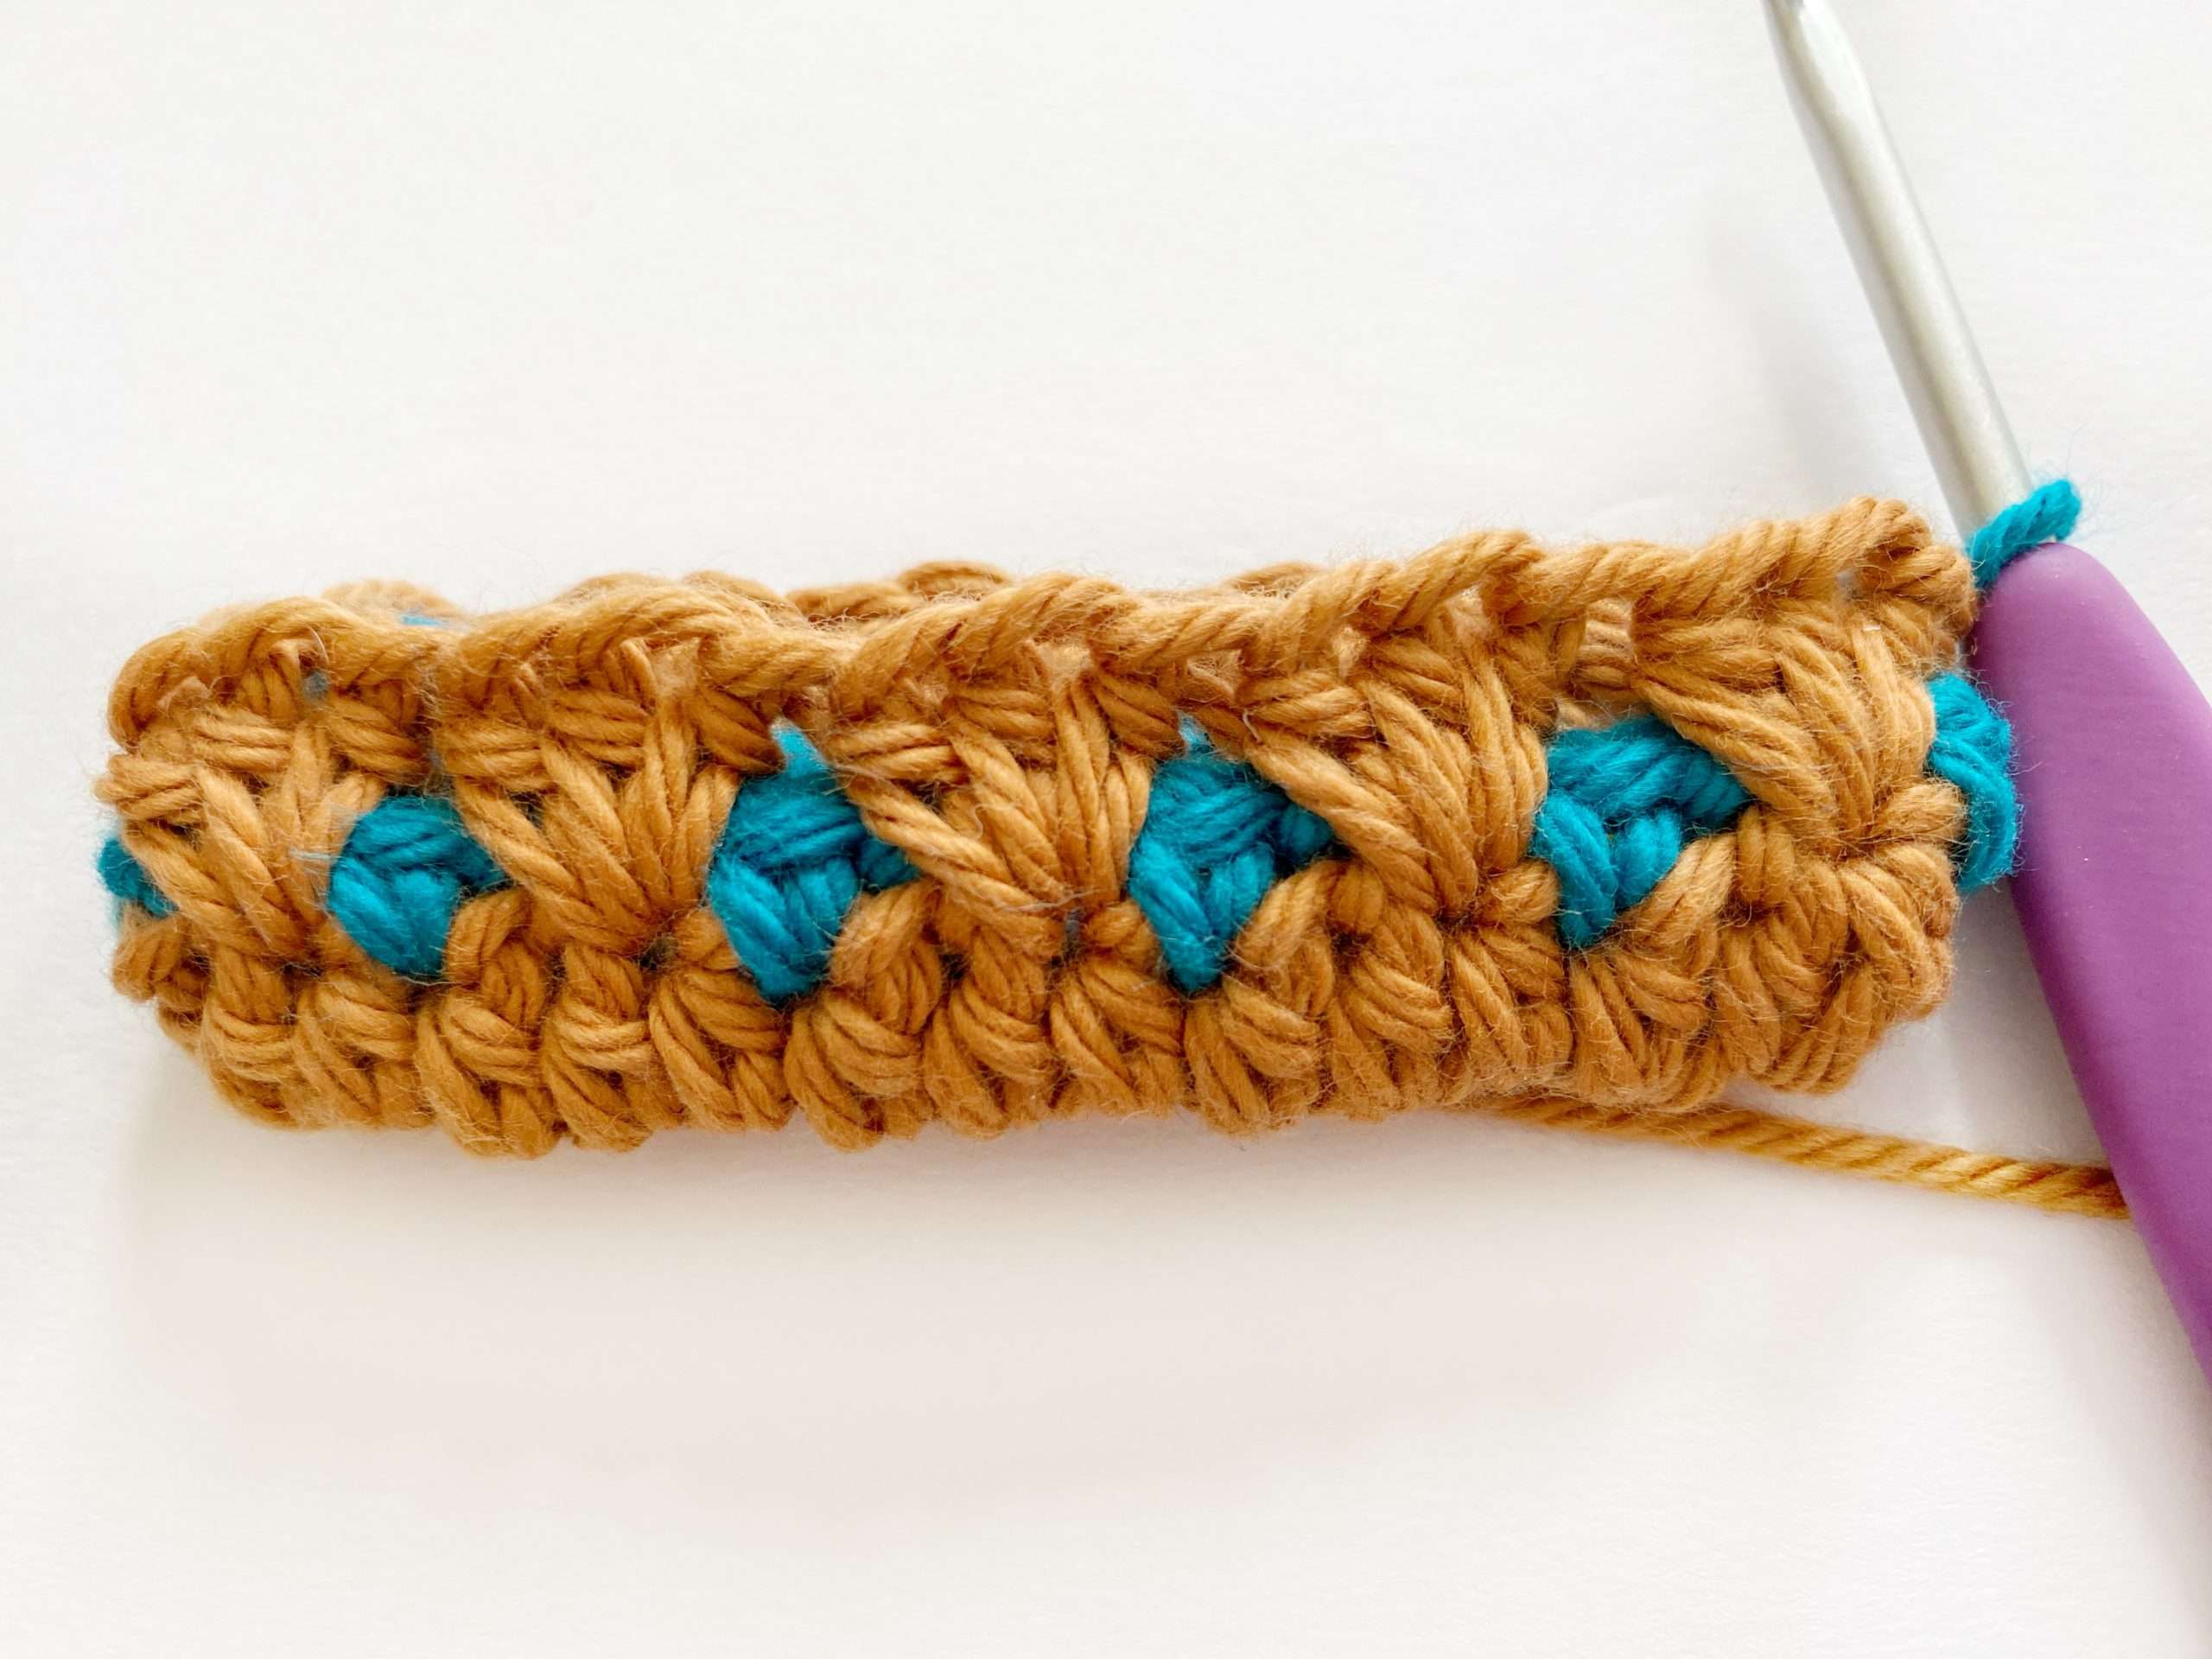
As you crochet more rnds in your potholder, you’ll notice that your stitches start to slant slightly to the right. You can see this in the Rnd 30 picture – the beginning single crochet has moved slightly right as the rnds go on.
This is normal because we are crocheting each rnd without turning, which causes our seam to shift. This will be fixed when we close our potholder because it lines up the stitches and straightens the columns!
Video Tutorial:
Pattern:
- Do not turn at the end of each rnd.
- The beginning ch of each rnd does not count as a st.
- Colour changes happen in the sl st join at the end of the rnd (see tutorial above). After a colour change, leave the strand attached to your potholder because you will need it for future rnds.
- The pattern is written with instructions for the 2 sizes: 6.75″ x 7″ and 8.25″ x 8″. Ex. Ch 31 (37), means ch 31 for Size #1, and ch 37 for Size #2.
- It is normal for your first sc/seam to slant slightly to the right as you crochet. This slant will correct itself when we close our potholder (see important note above).
With Colour A, ch 31 (37).
Rnd 1:
- Hdc in second ch from hook.
- Hdc in each ch across until 1 chain remains.
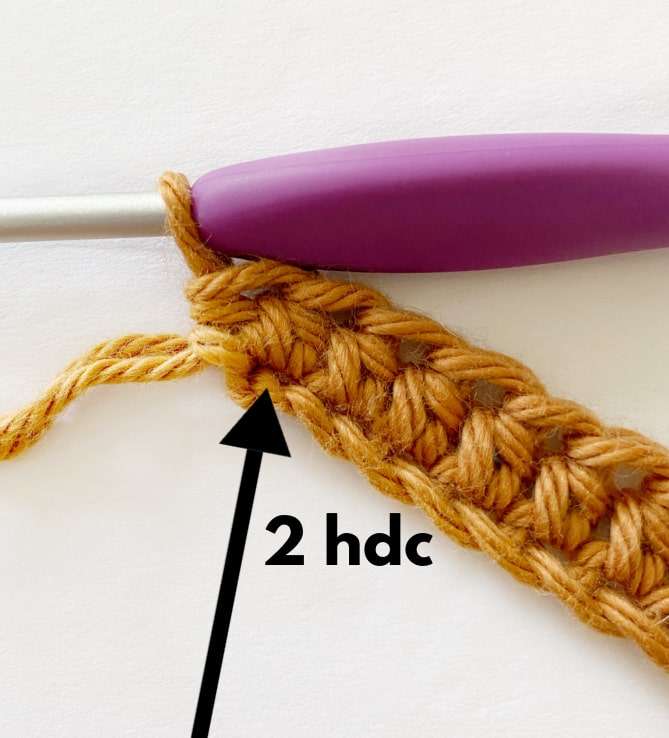
- 2 hdc in last ch.
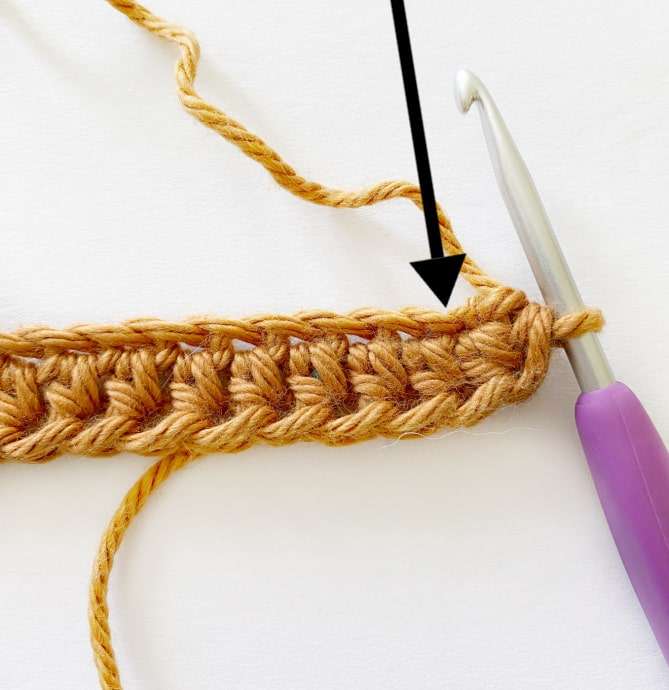
- Rotate your work 180 degrees clockwise, so you are working along the bottom of the chain.
- Sk last ch with 2 hdc. Hdc in next ch and in each ch across.
- Sl st into the first hdc of the rnd to join, and change to Colour B.
Stitch Count: 60 (72) hdc
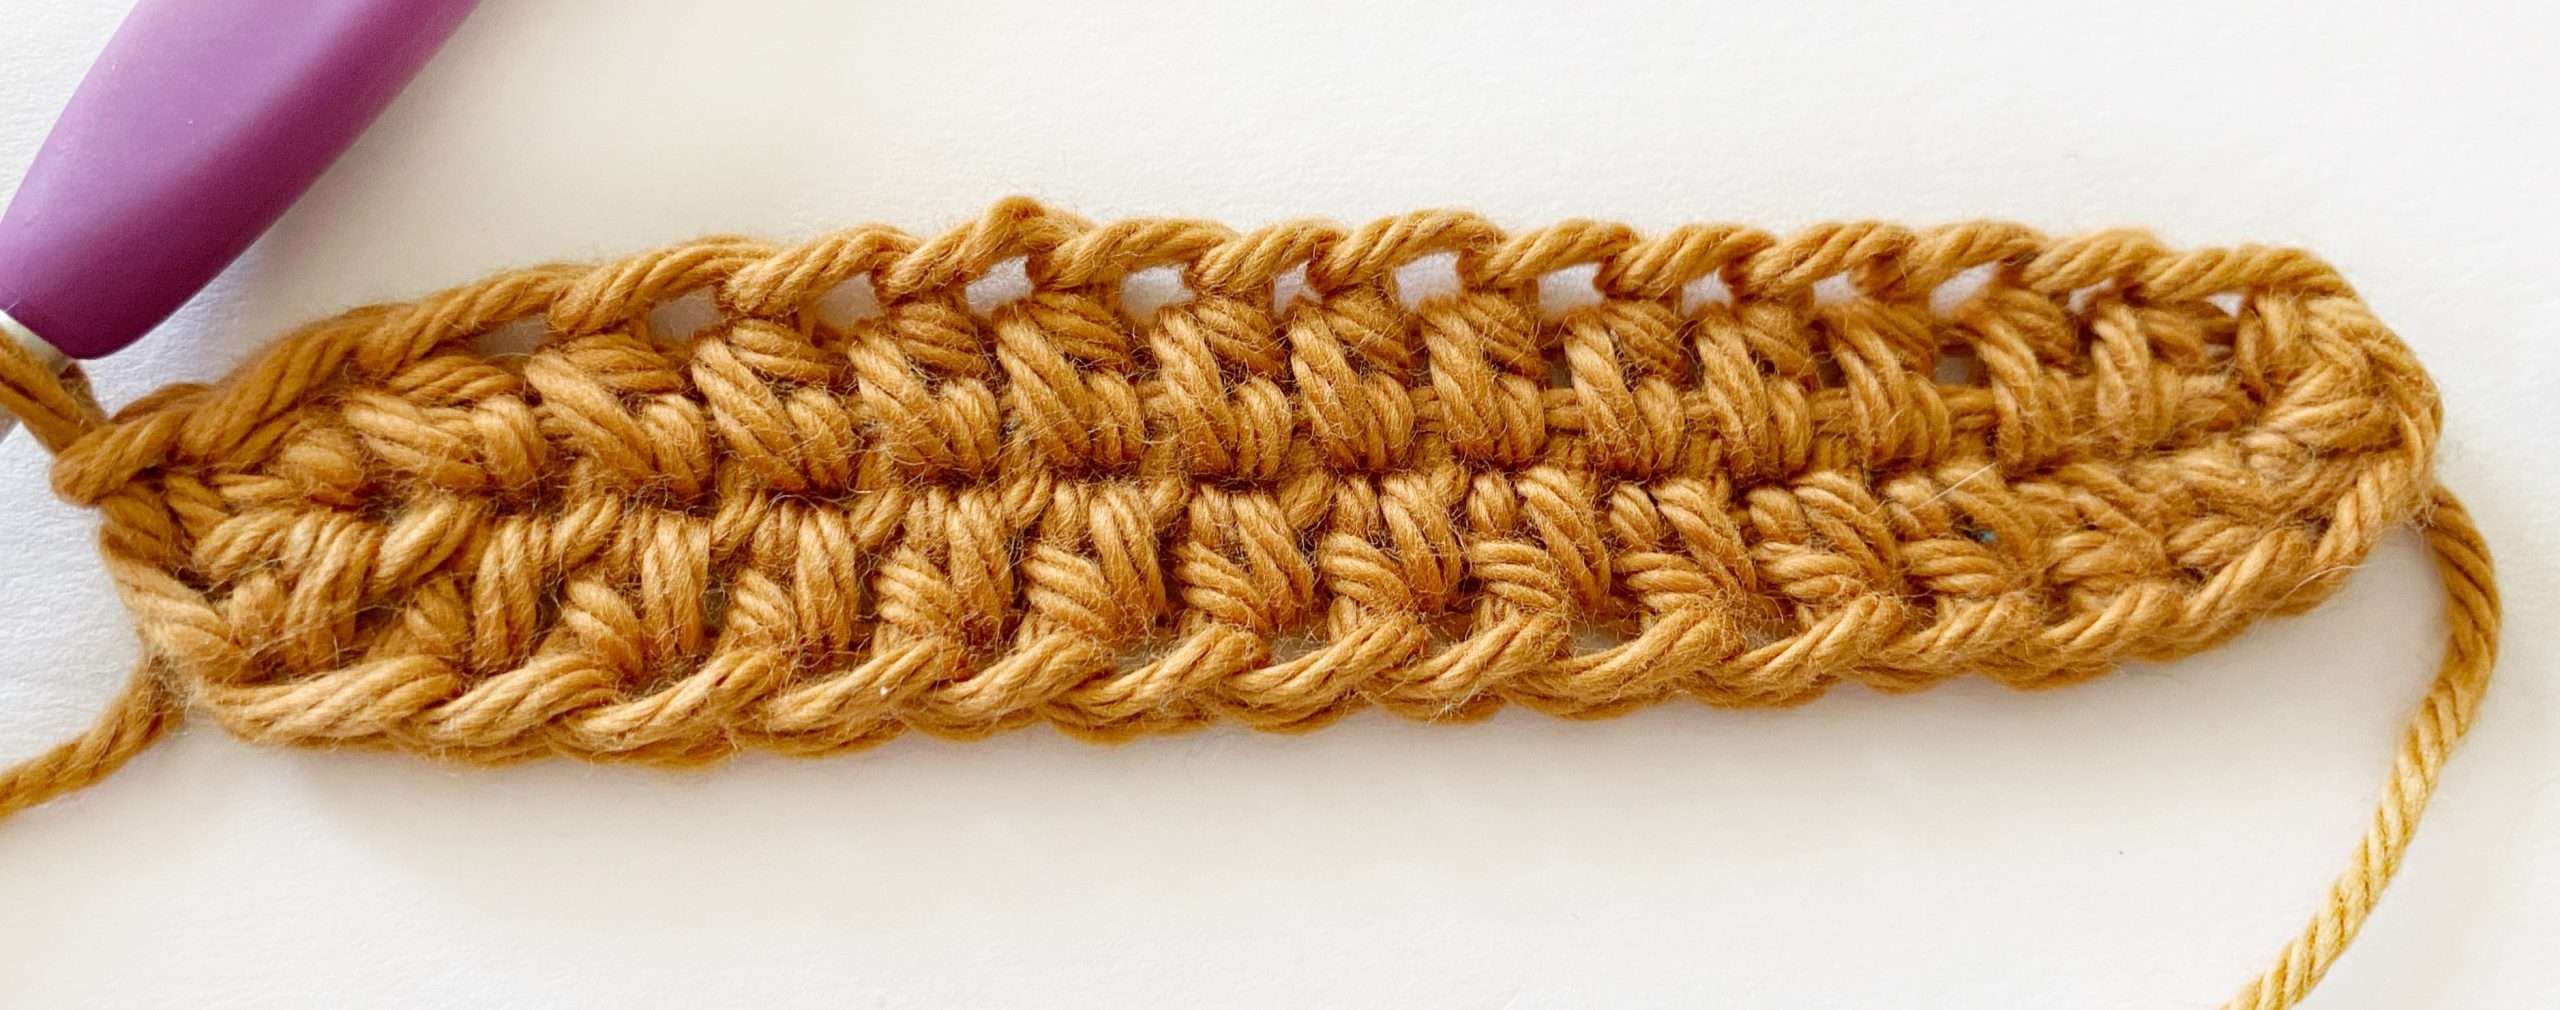
Rnd 2:
- With Colour B, ch 1, sc in first st.
- [Ch 2, sk 2 sts, sc in next st] until 2 sts remain.
- Ch 2, sk last 2 sts.
- Sl st into the first sc of the rnd to join, and change to Colour A.
Stitch Count: 20 (24) sc, 20 (24) ch-2 sp
Rnd 3:
- With Colour A, ch 1, sk first sc.
- [Hdc-cl in first skipped hdc 2 rnds below, sk next hdc and sc] around.
- Sl st into the first hdc of the rnd to join, and change to Colour B.
Stitch Count: 60 (72) hdc
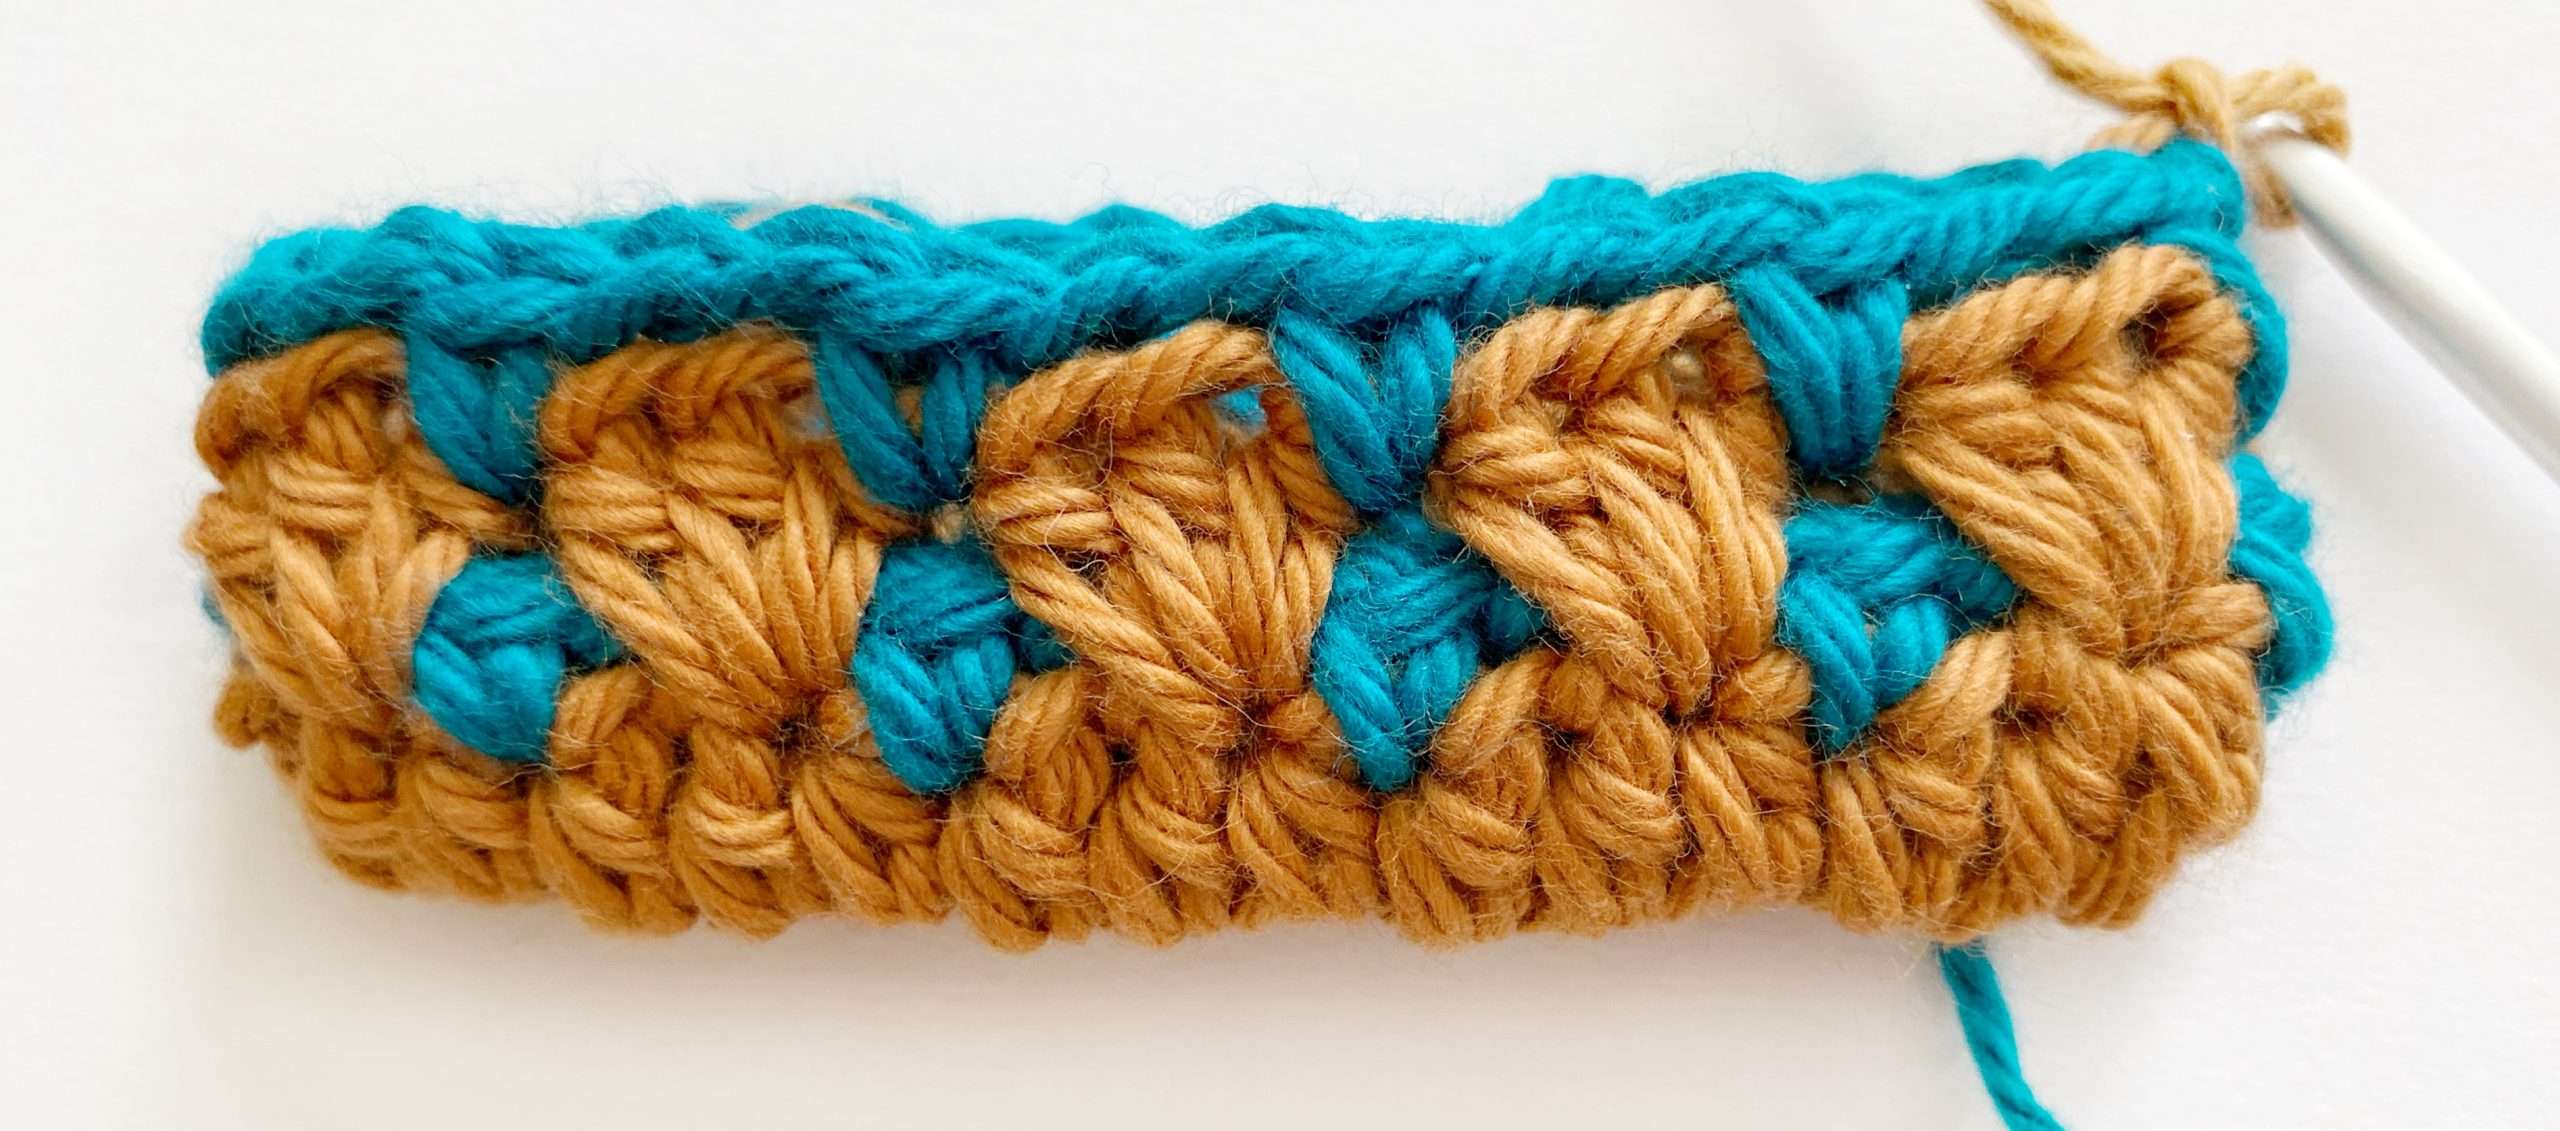
Rnd 4:
- With Colour B, ch 1, sc between first and last hdc-cl – the sc should line up with the first sc from 2 rnds below.
- [Ch 2, sk hdc-cl, sc between next 2 hdc-cl] until last hdc-cl.
- Ch 2, sk last hdc-cl.
- Sl st into the first sc of the rnd to join, and change to Colour A.
Stitch Count: 20 (24) sc, 20 (24) ch-2 sp
Rnd 5:
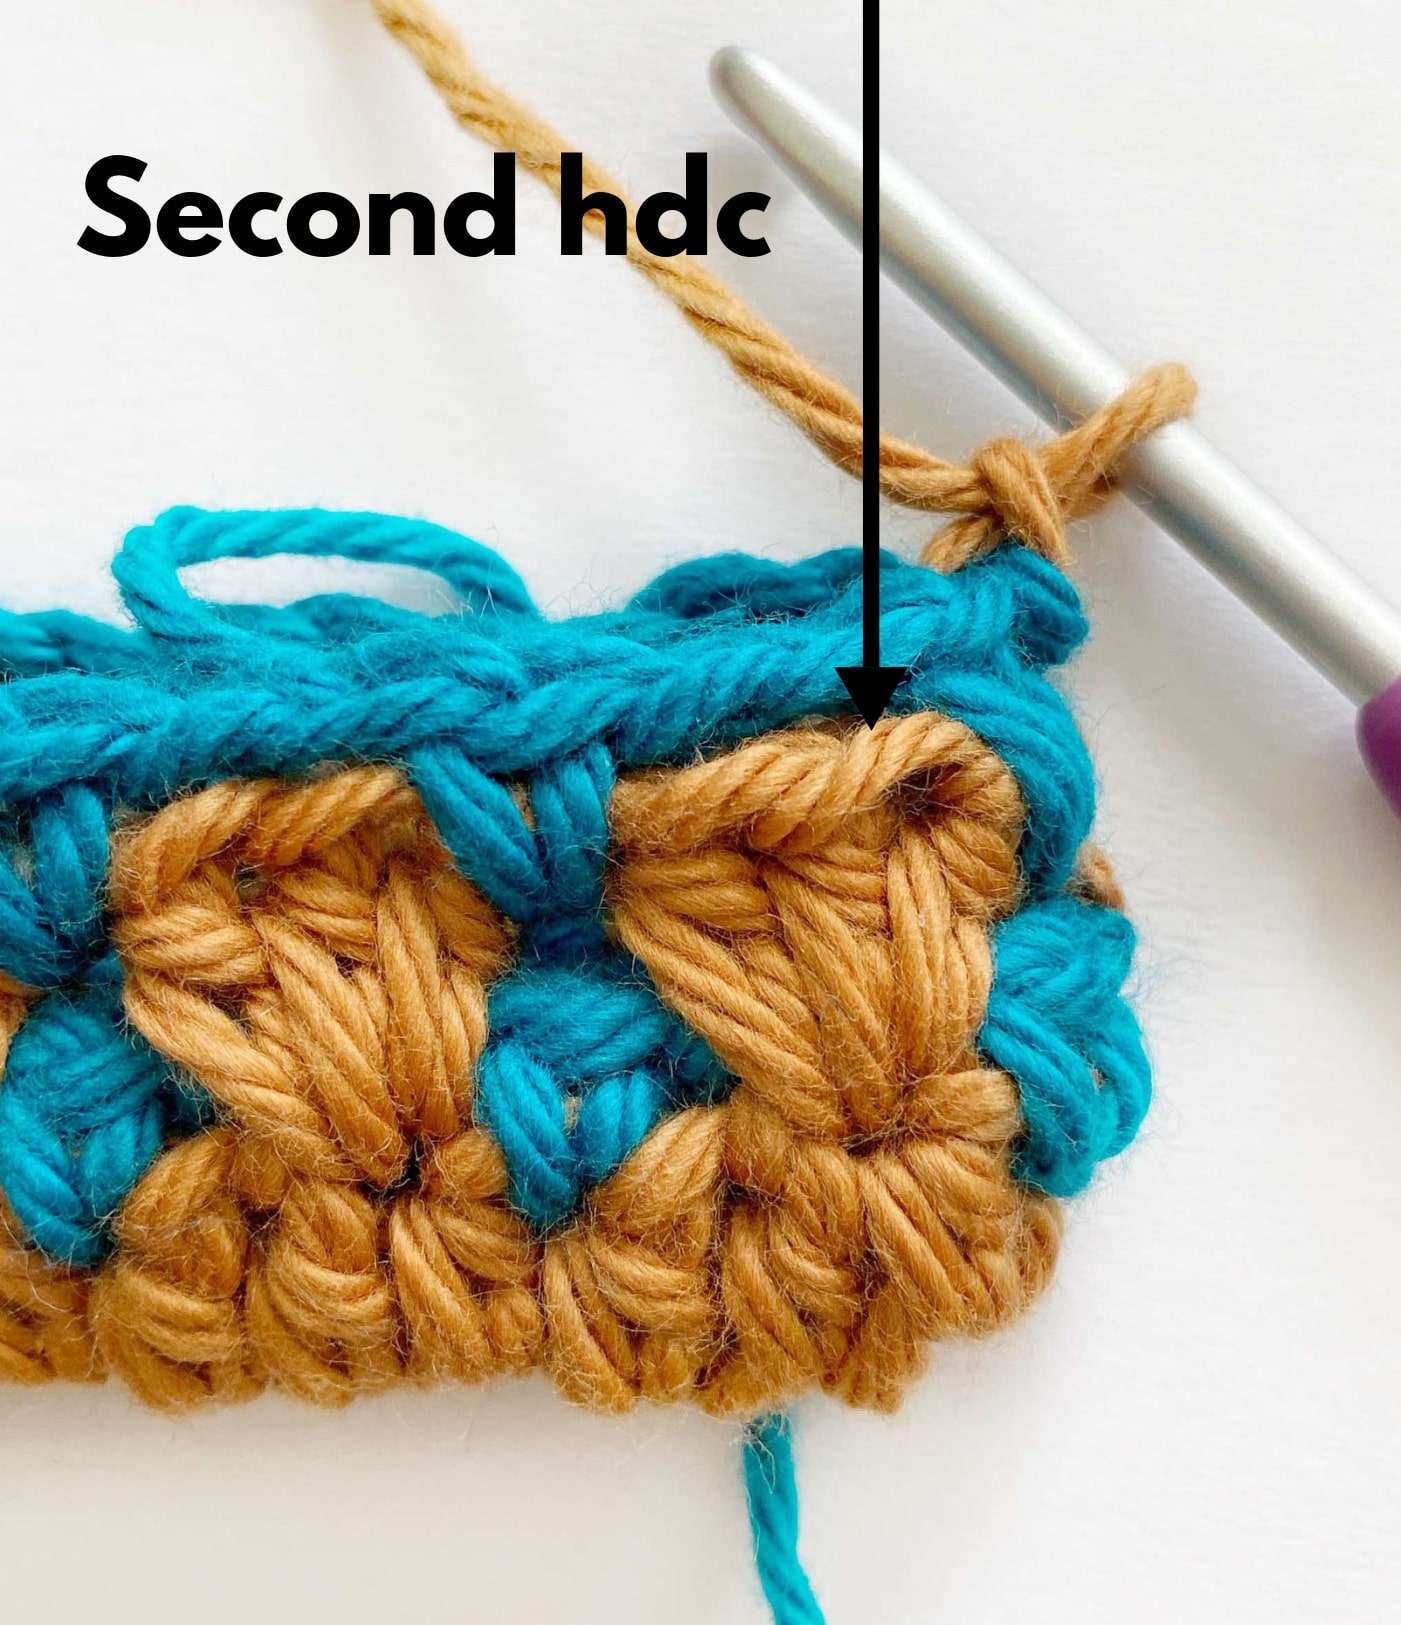
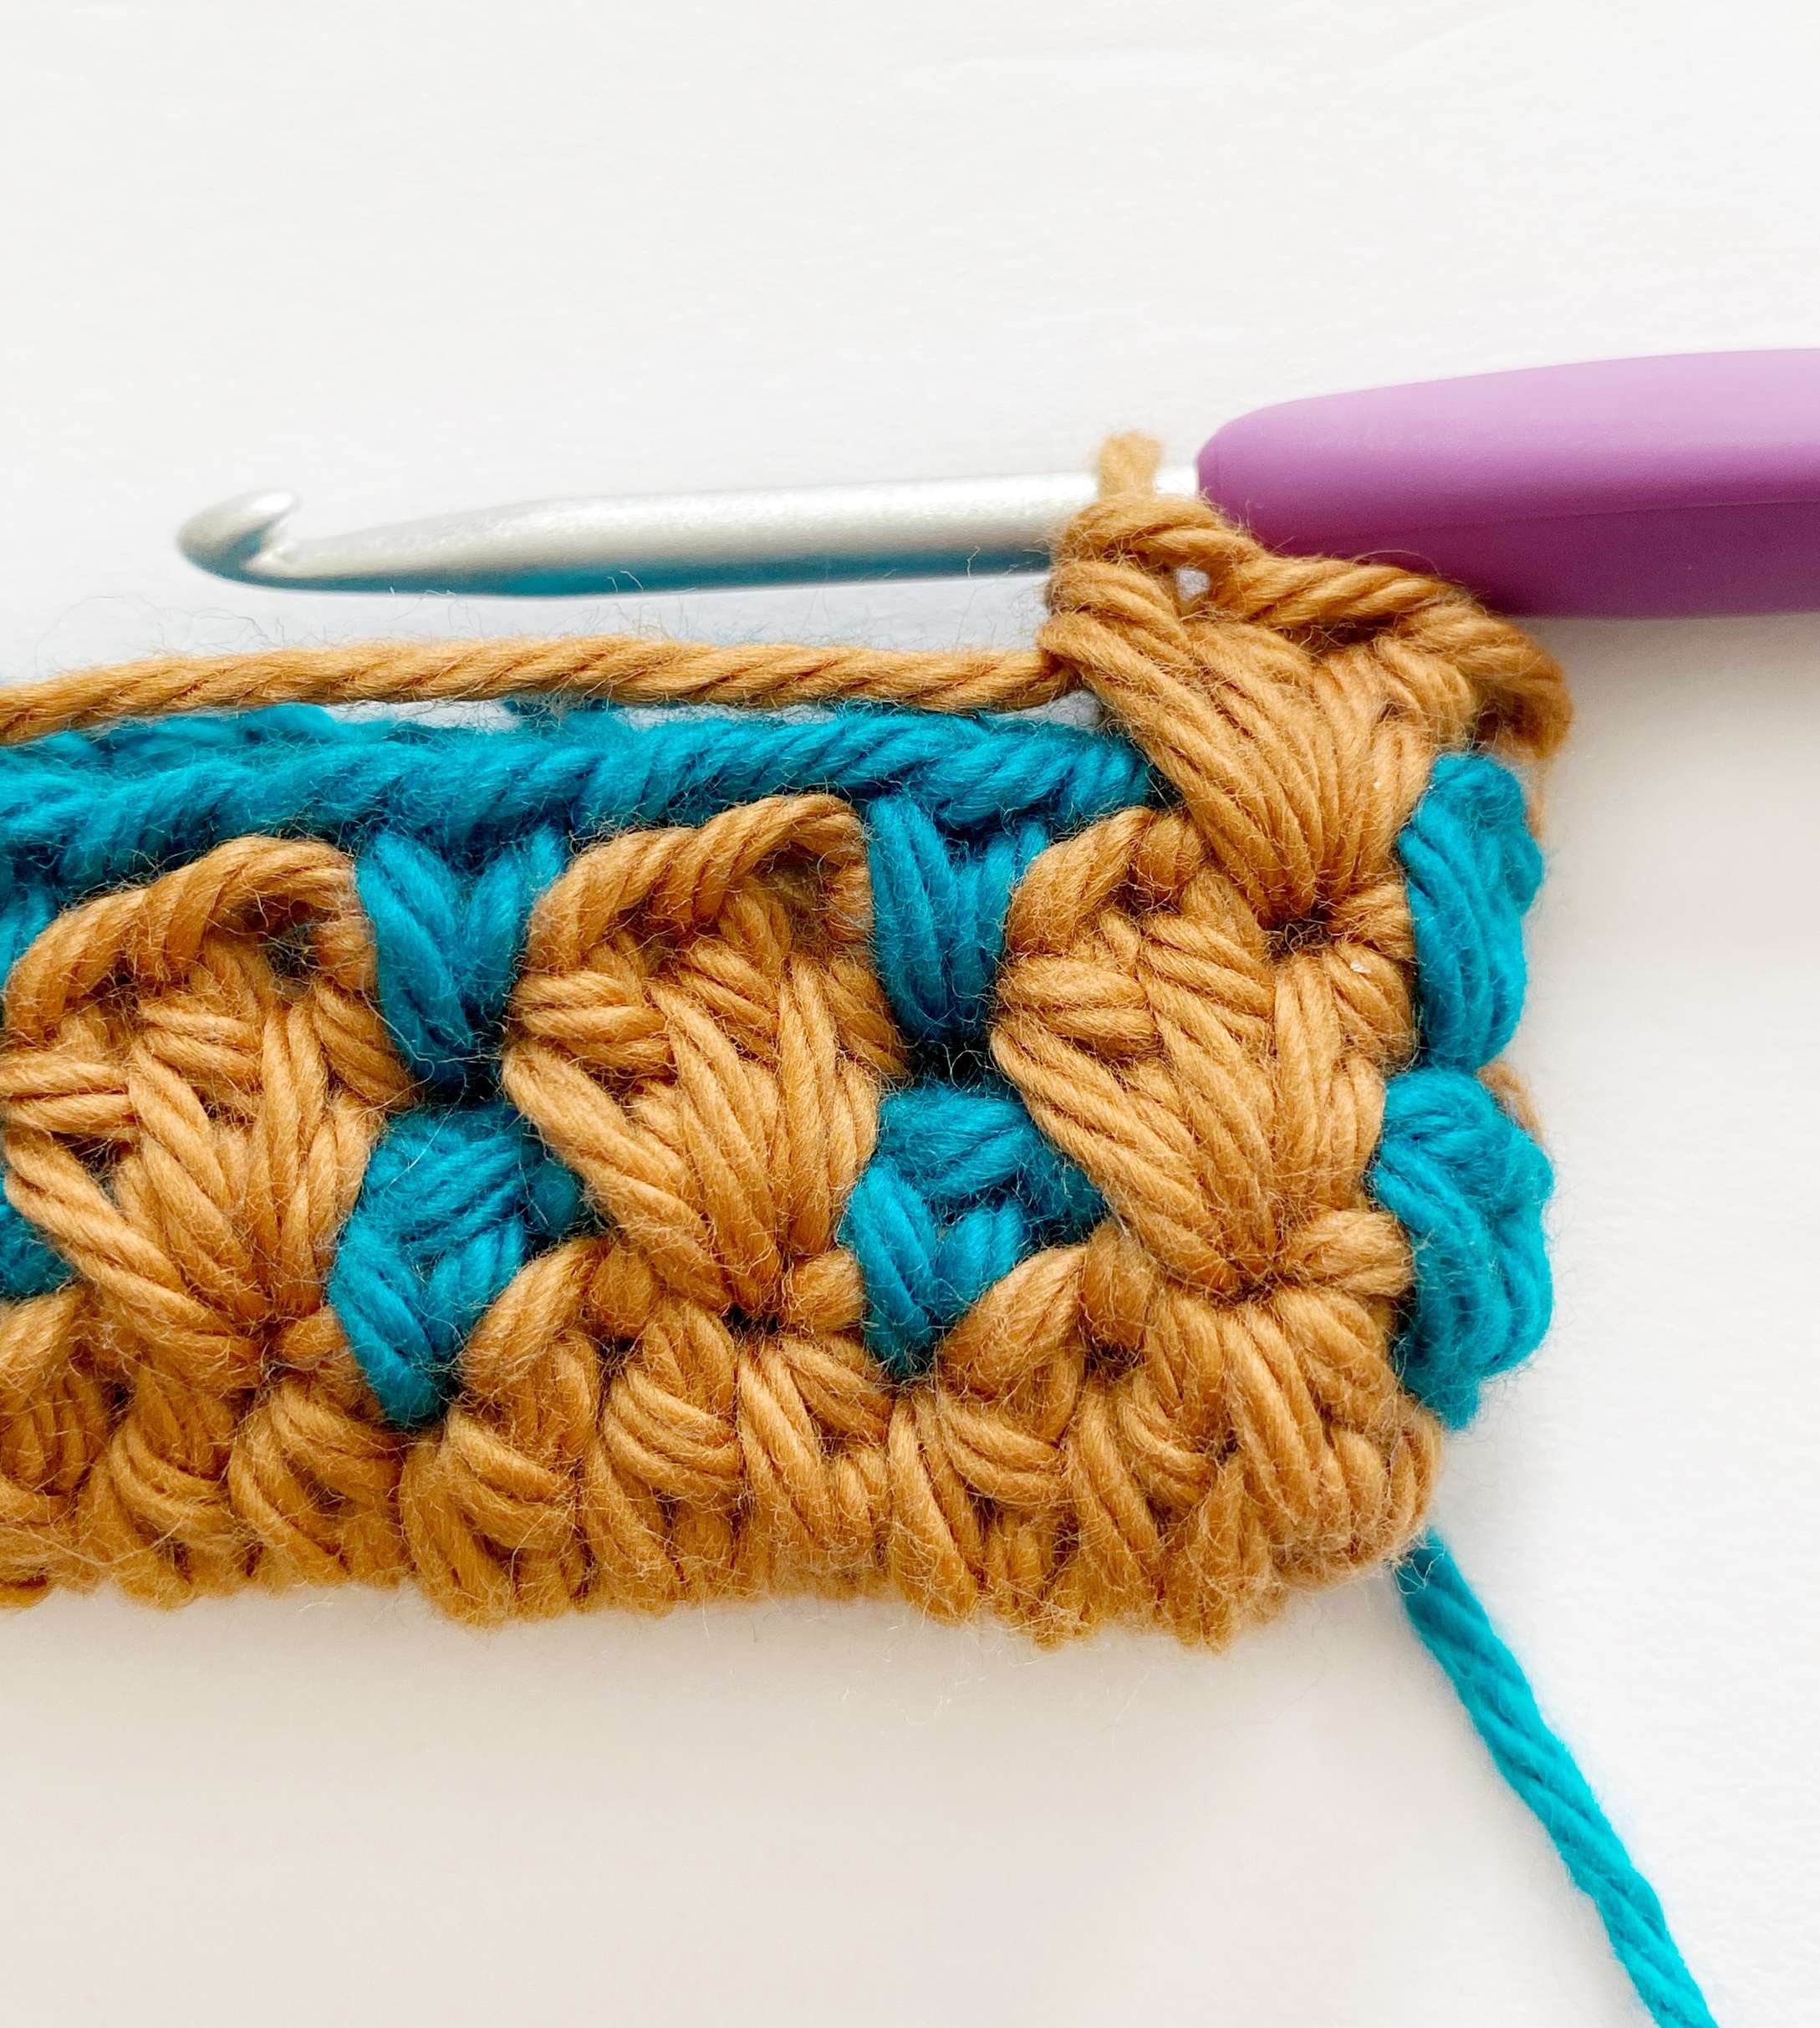
- With Colour A, ch 1, sk first sc.
- [Hdc-cl in second hdc of next hdc-cl 2 rnds below, sk next sc] around.
- Sl st into the first hdc of the rnd to join, and change to Colour B.
Stitch Count: 60 (72) hdc
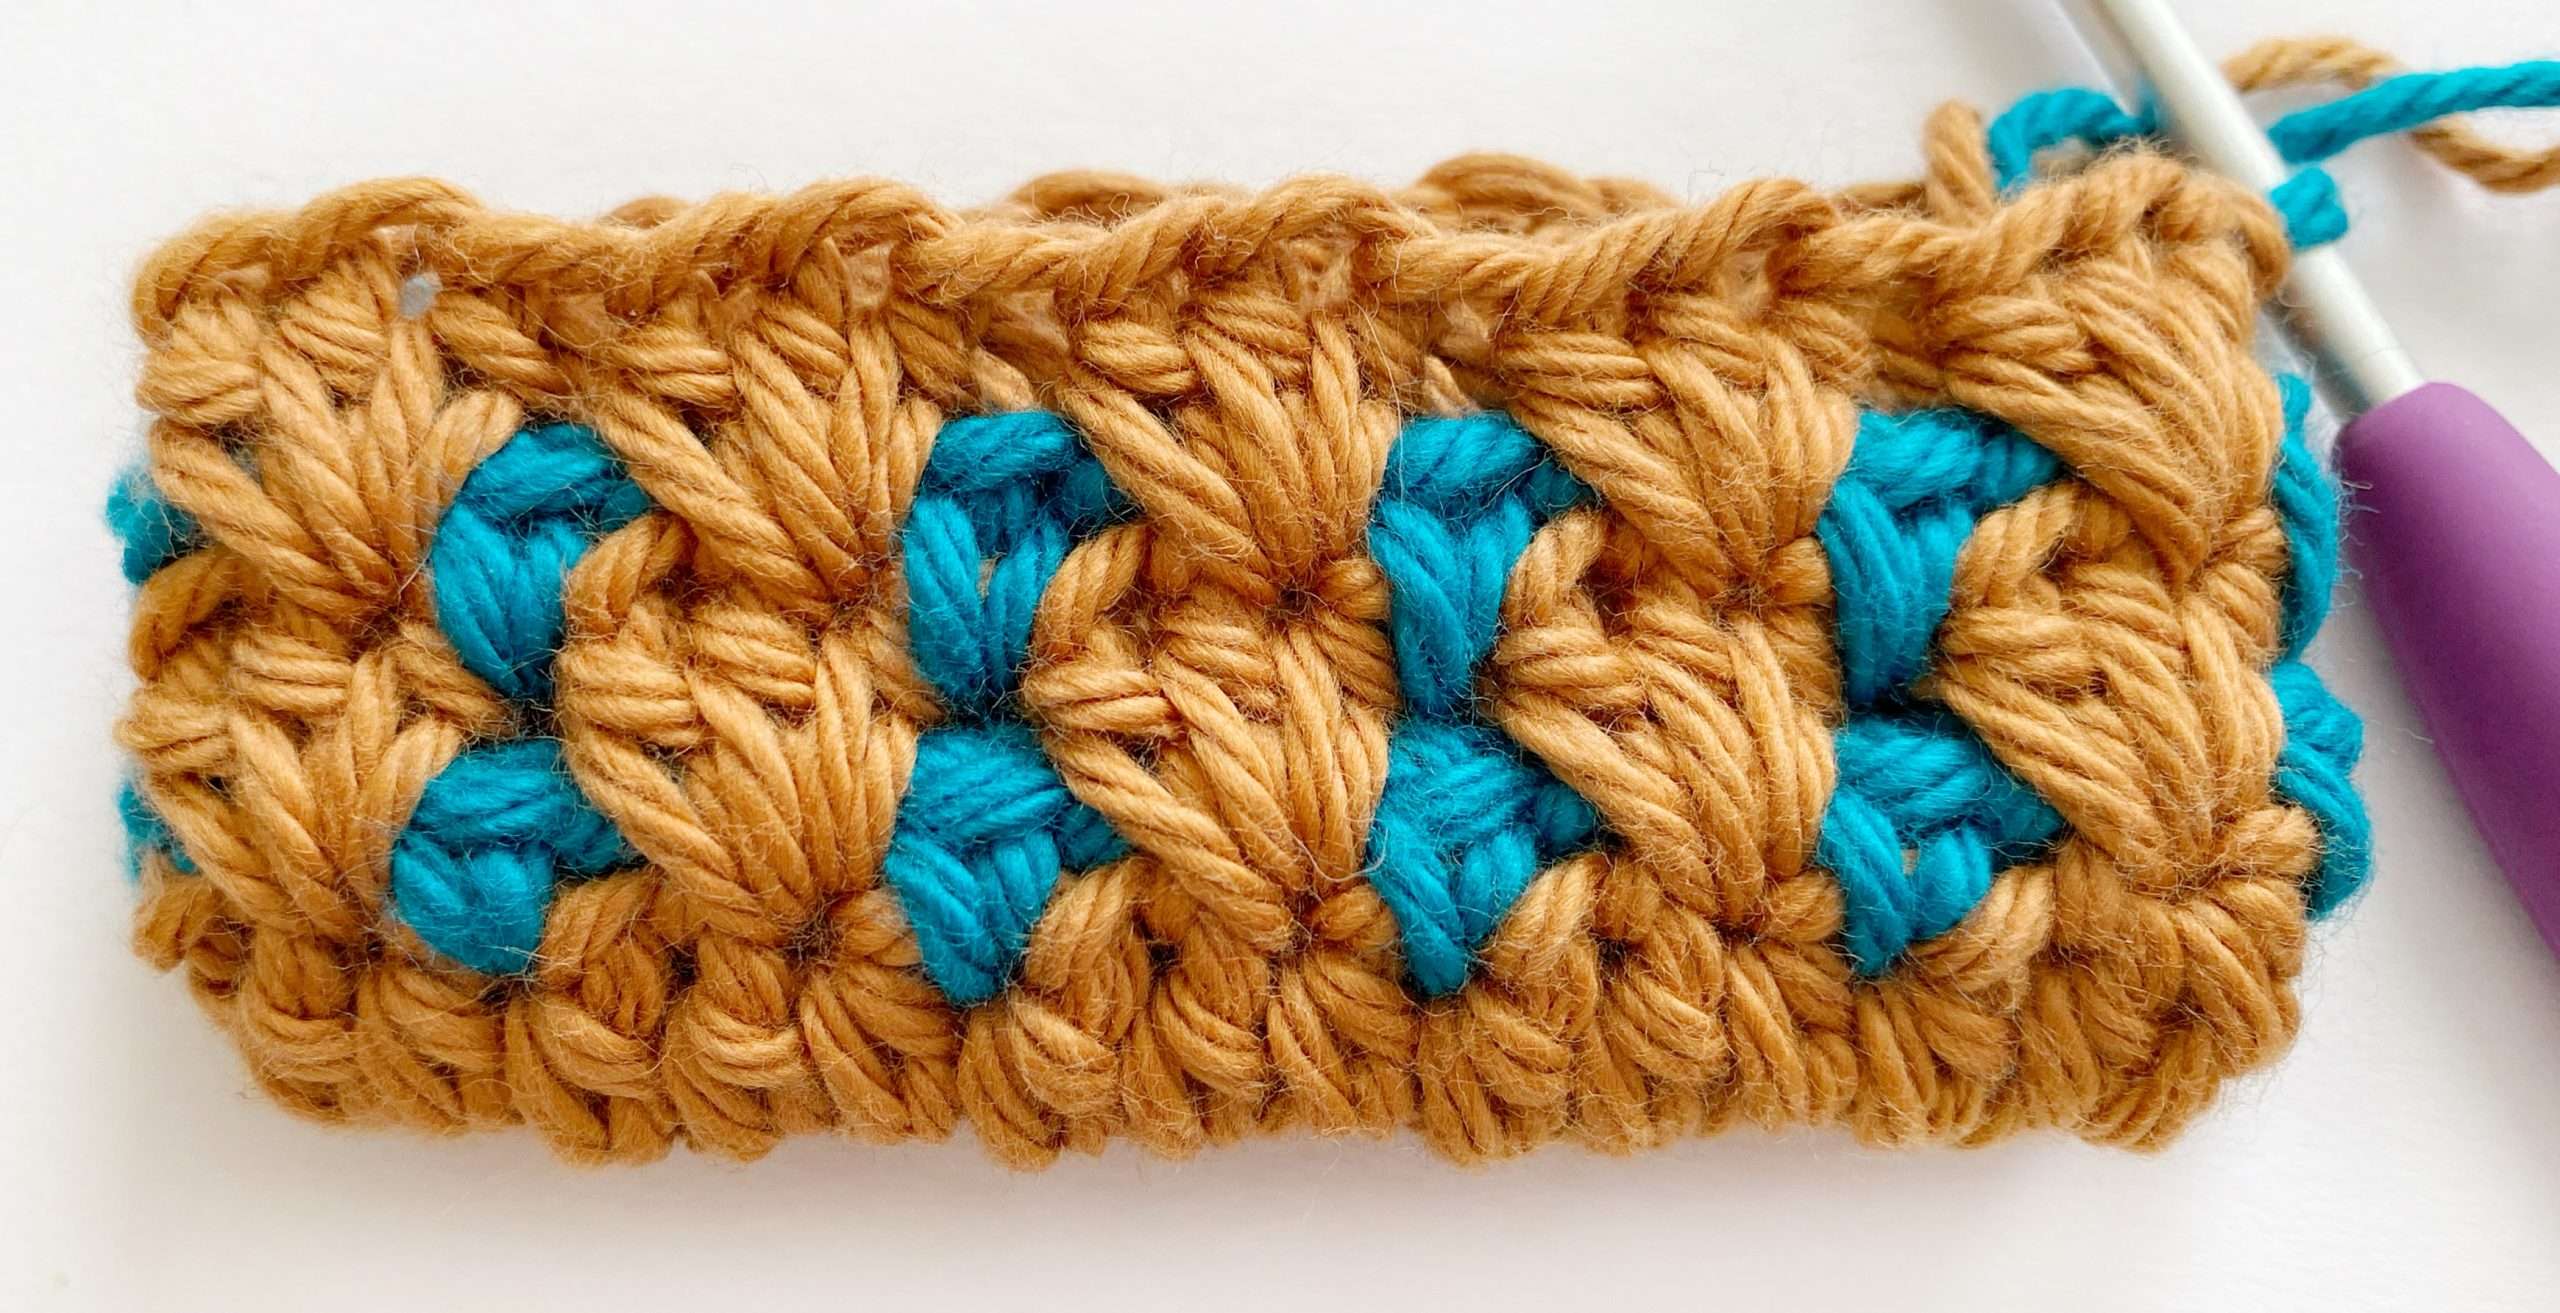
Size #1:
Rnds 6 – 27: Repeat Rnds 4 – 5, alternating between Colour A and B. Rnd 27 is a Rnd 5 repeat.
Size #2:
Rnds 6 – 31: Repeat Rnds 4 – 5, alternating between Colour A and B. Rnd 31 is a Rnd 5 repeat.
Custom Size:
Rnds 6 and on: Repeat Rnds 4 – 5, alternating between Colour A and B, until satisfied with the length of the potholder. End on a Rnd 5 repeat.
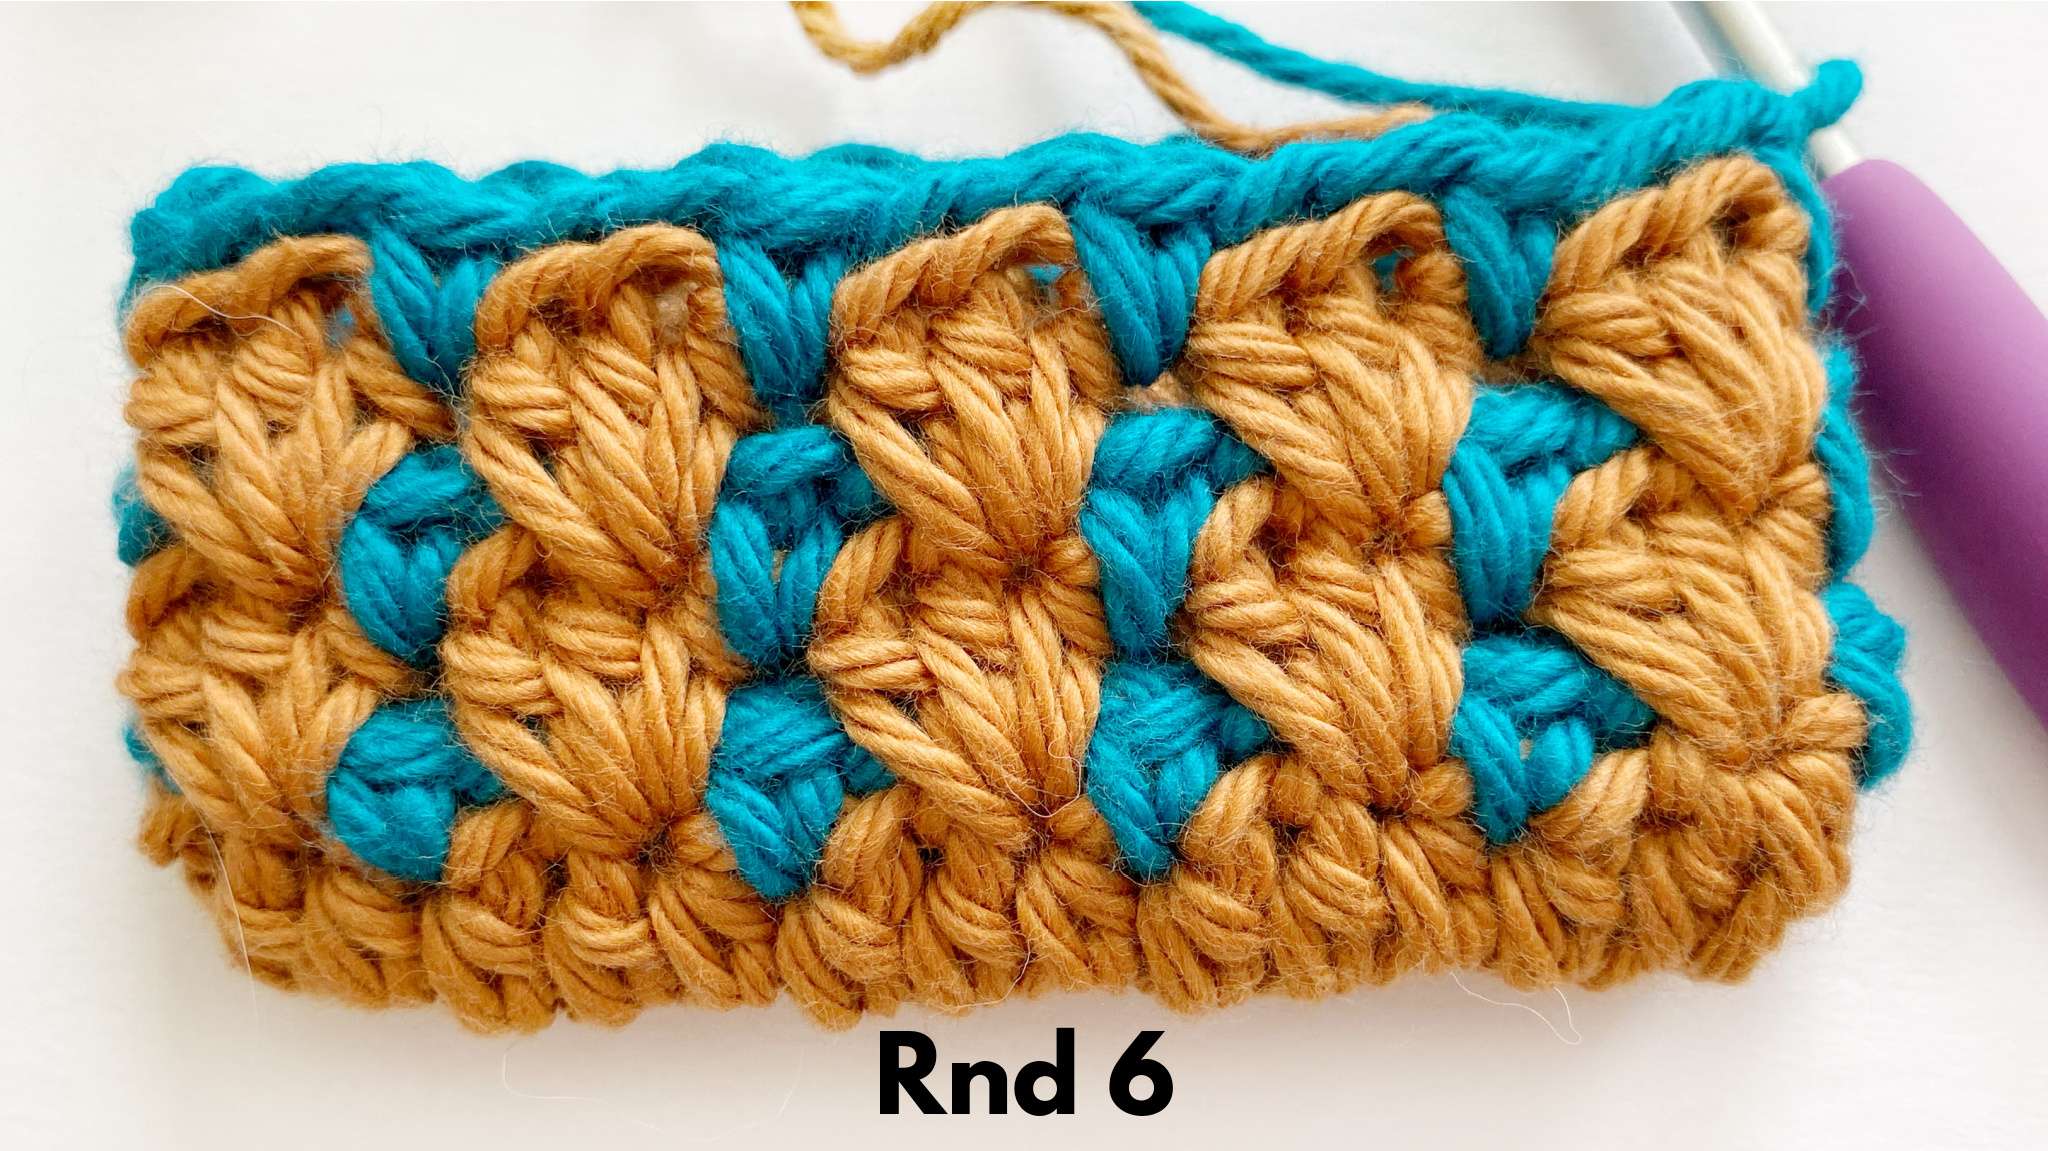
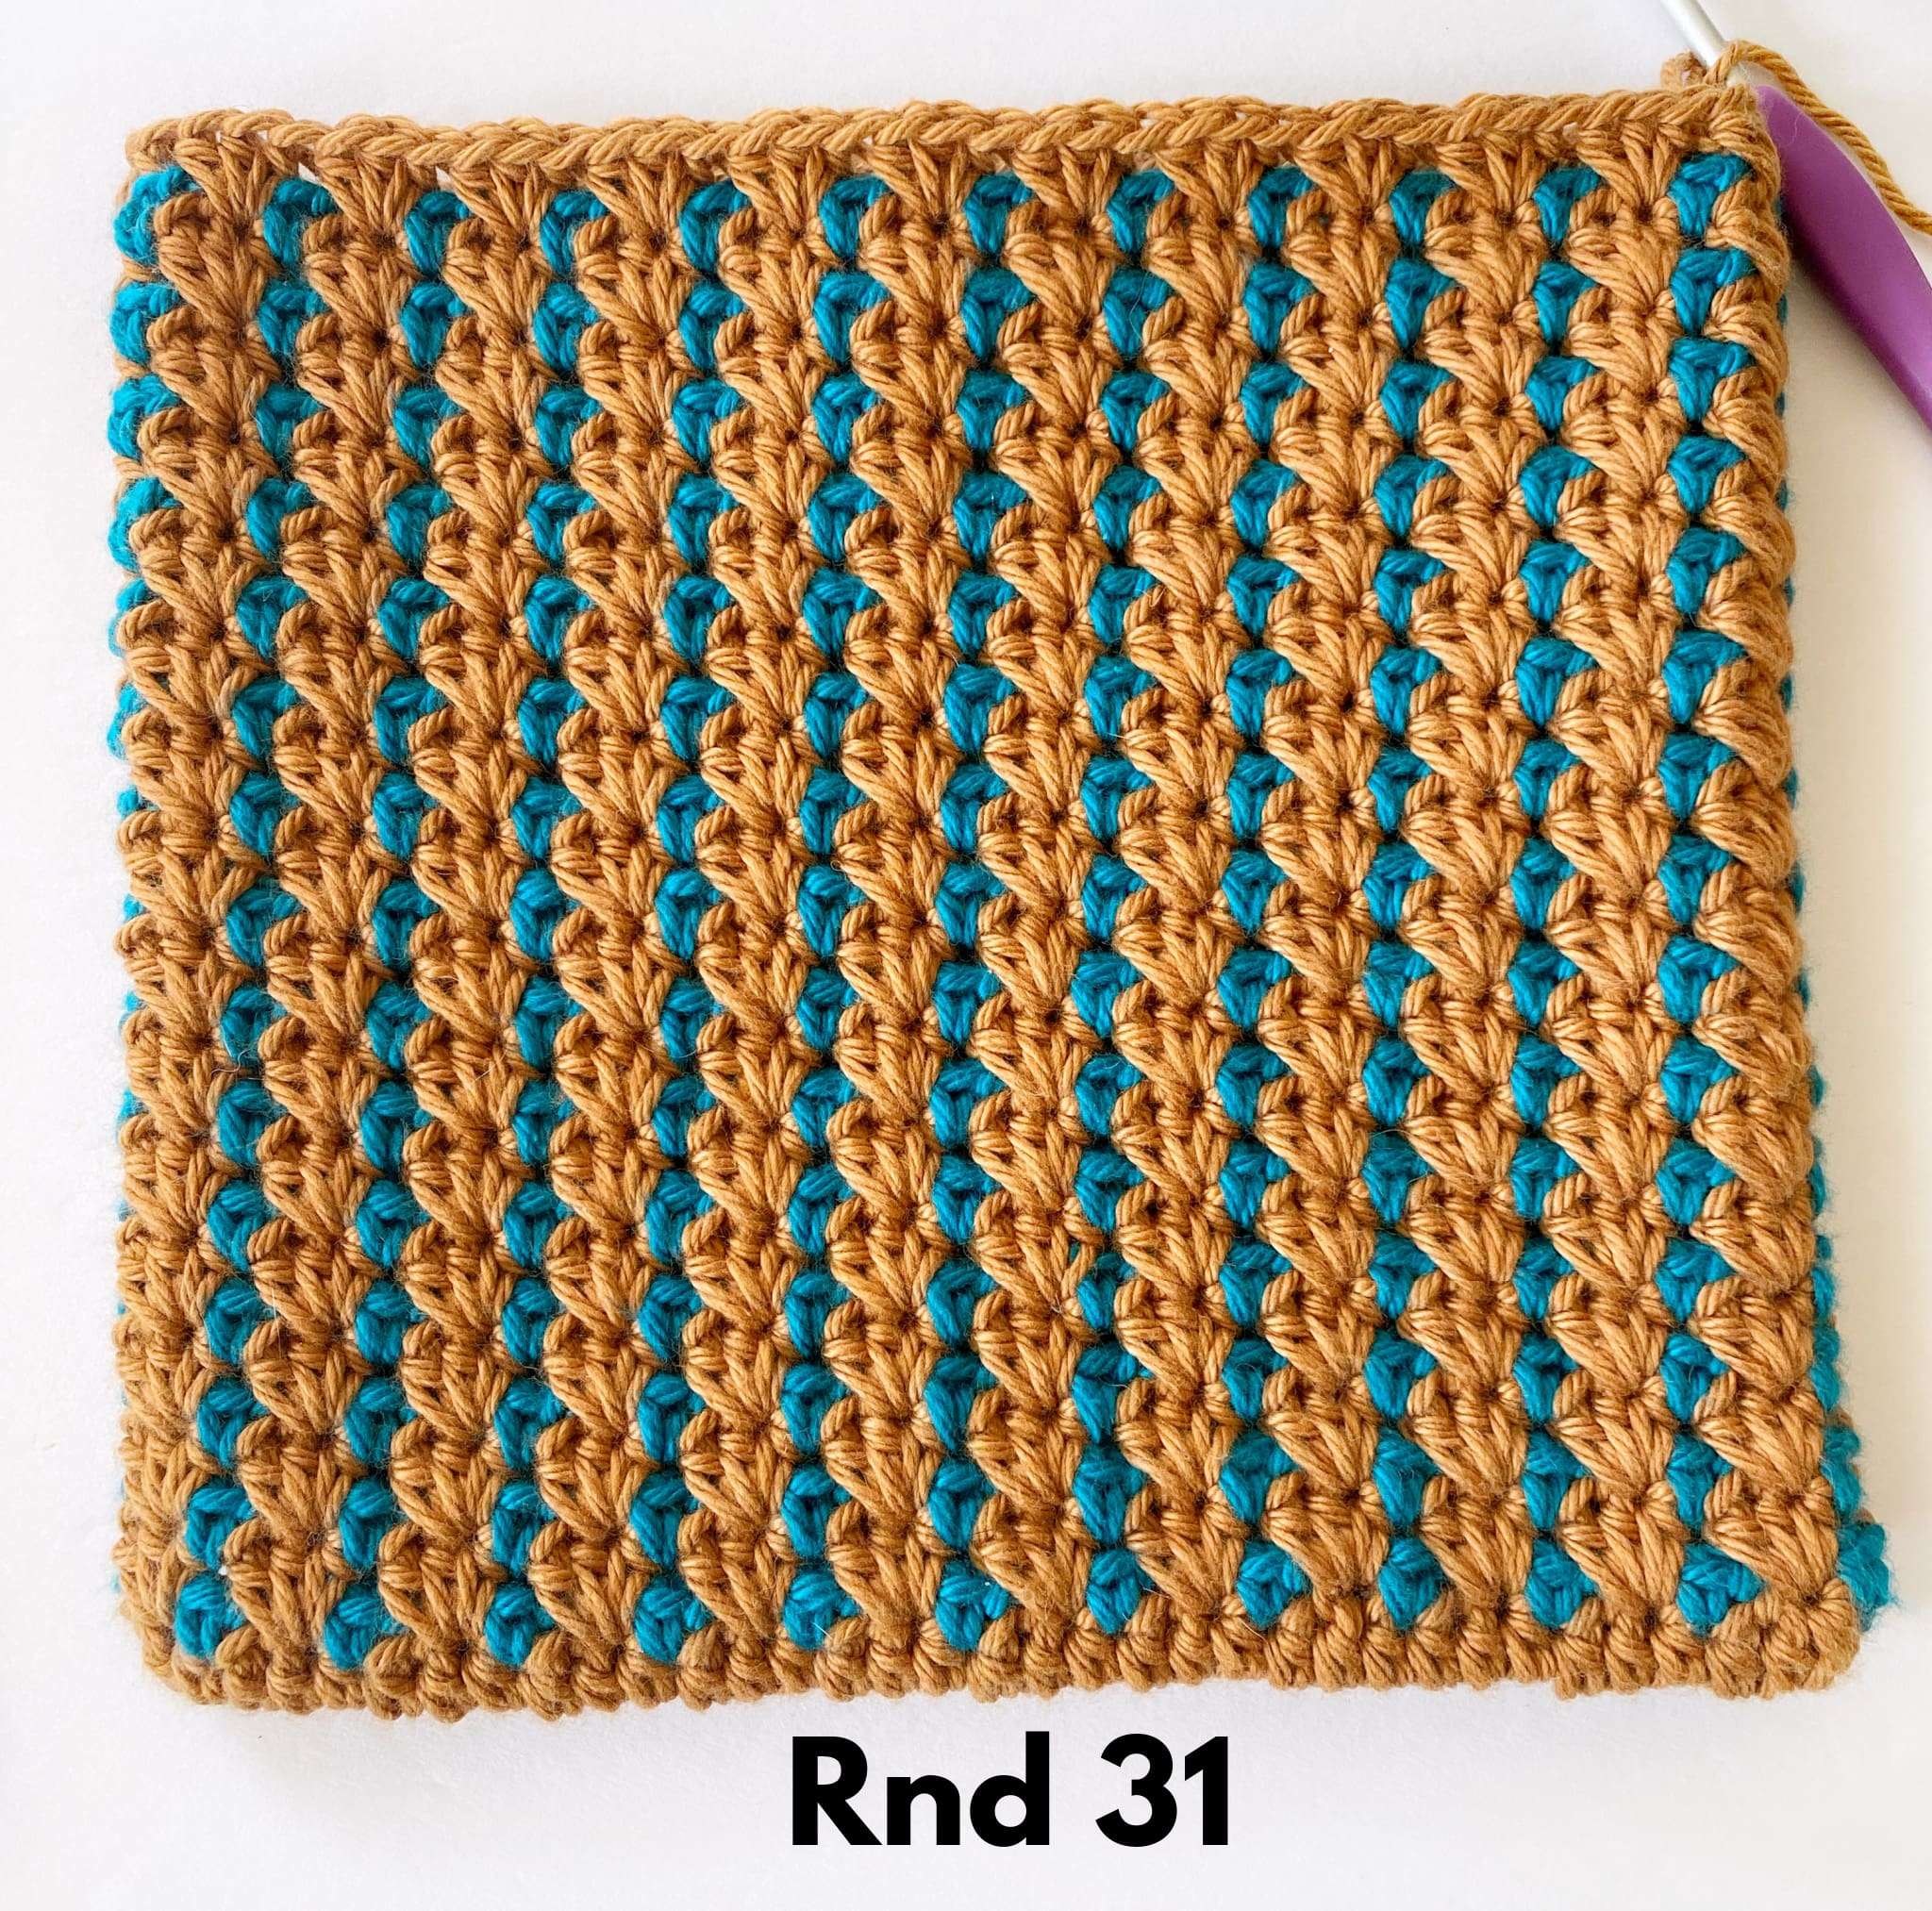
Do not fasten off of Colour A, as you will need this yarn for closing the top of the potholder. Weave in all ends (except for the current yarn strand).
Crocheting the Potholder Closed:
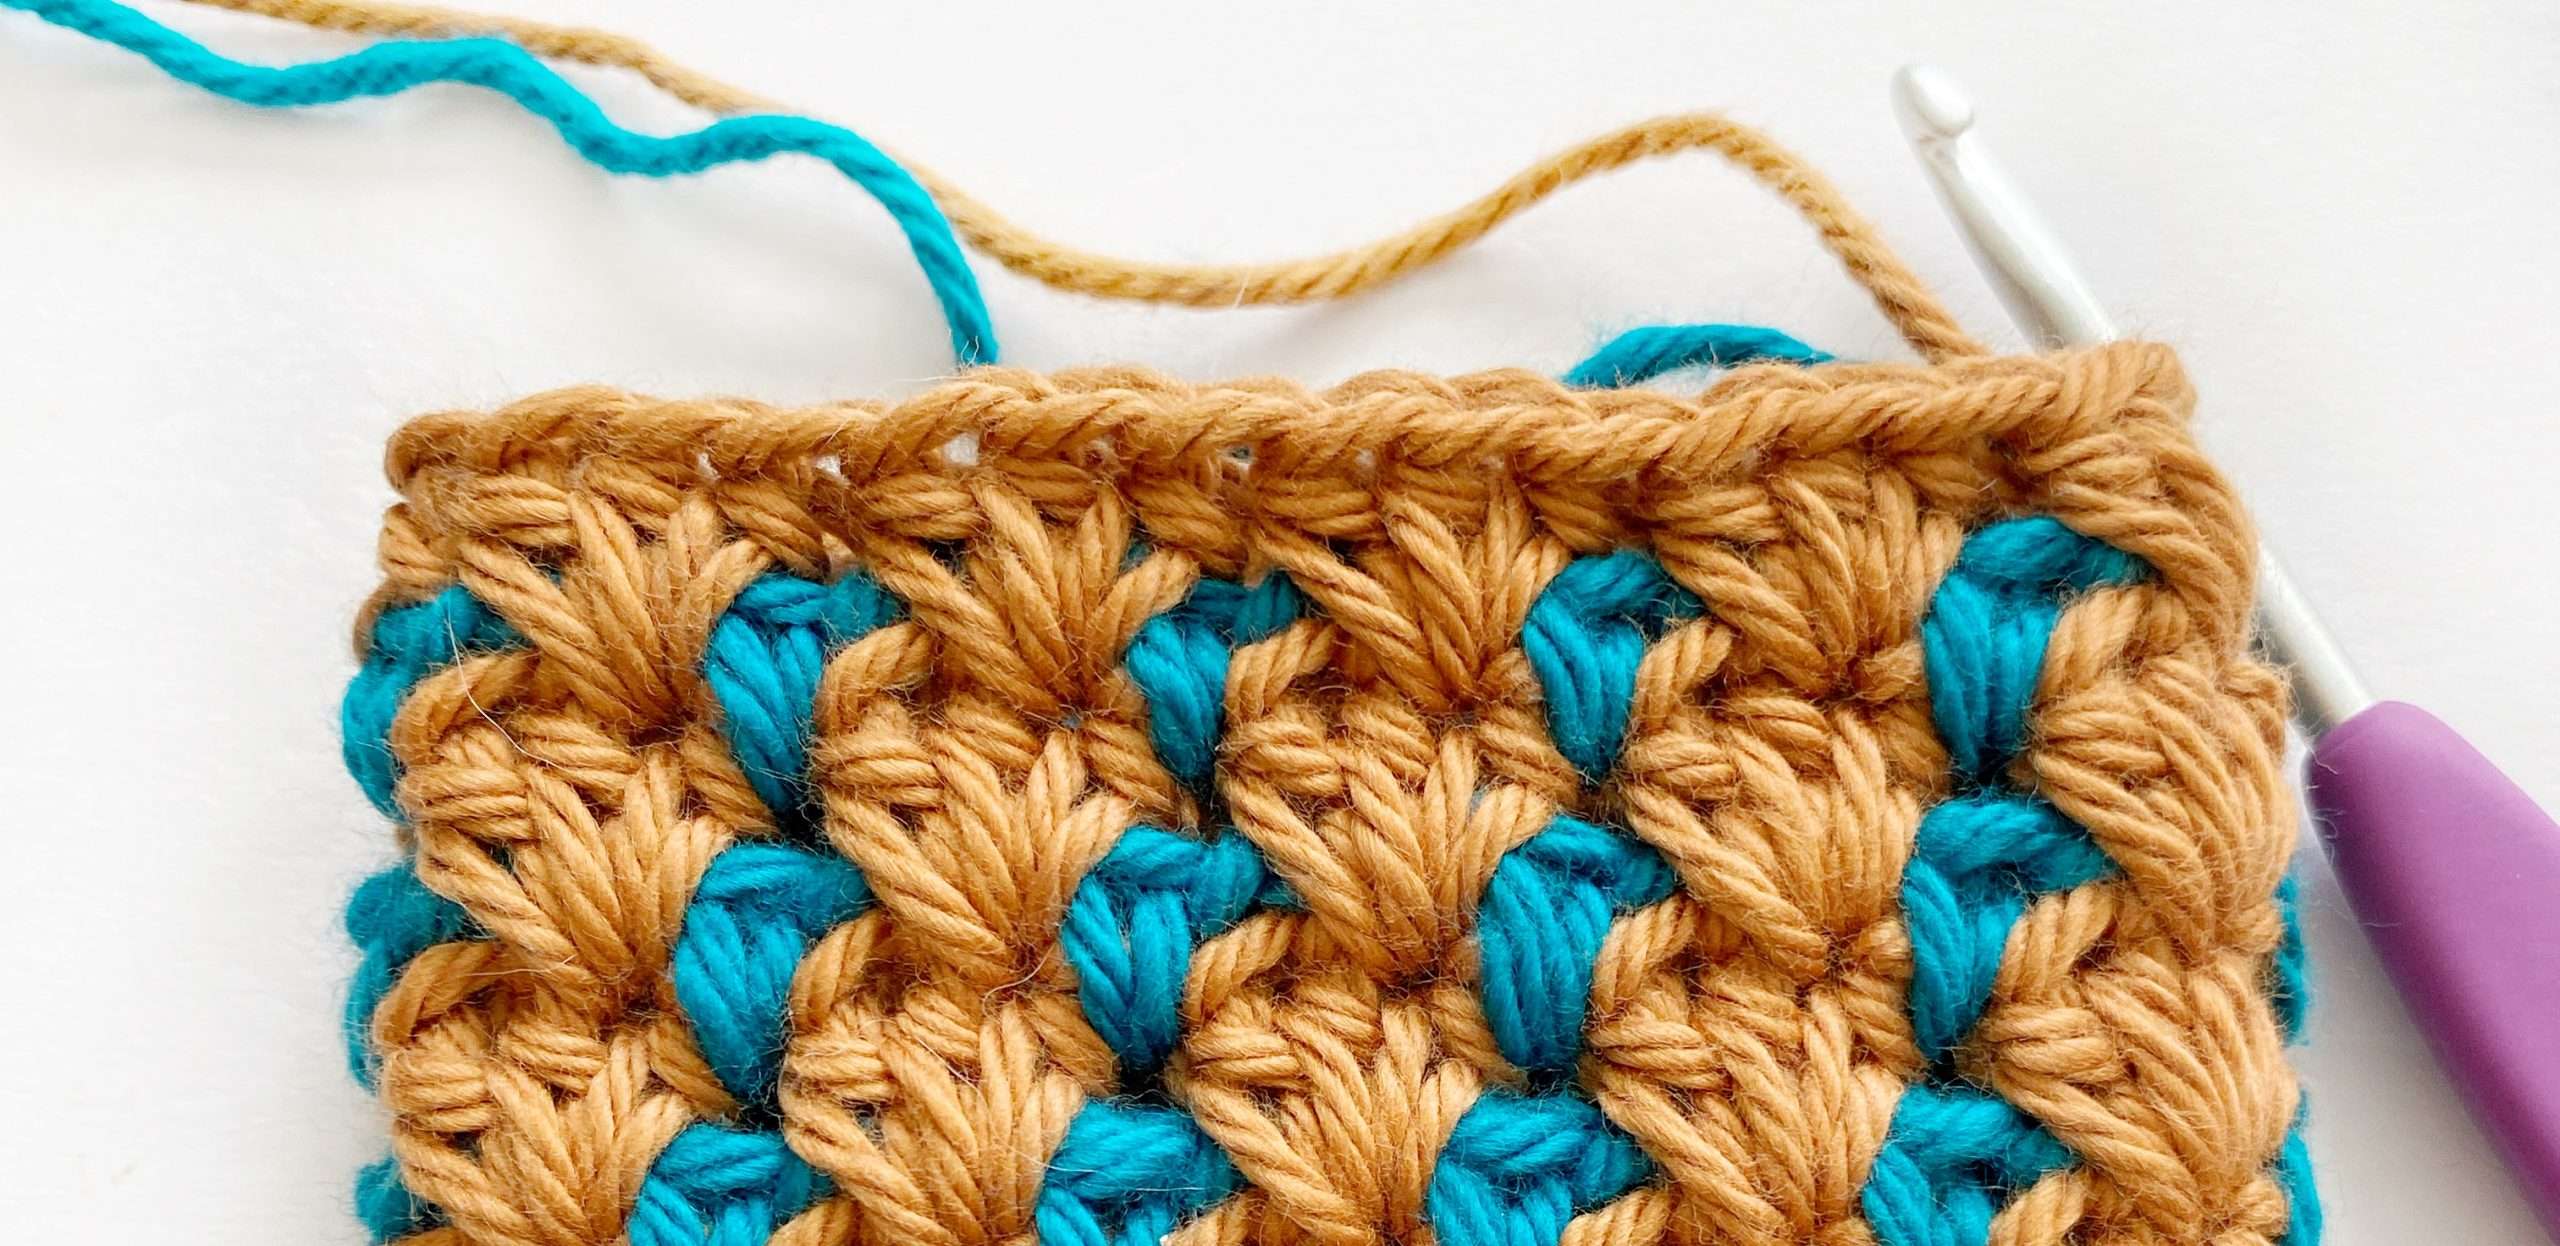
- Lay the potholder flat, making sure the front side of the potholder is facing you, and line up the front and back stitches.
- With Colour A, ch 1, insert hook into first hdc on the front, and the matching hdc on the back of the potholder, and make a sc.
- Sc in each hdc across, inserting the hook into the matching front and back st to join. Do not fasten off.
- Stitch Count: 30 (36) sl st
Adding a Ch-Circle:
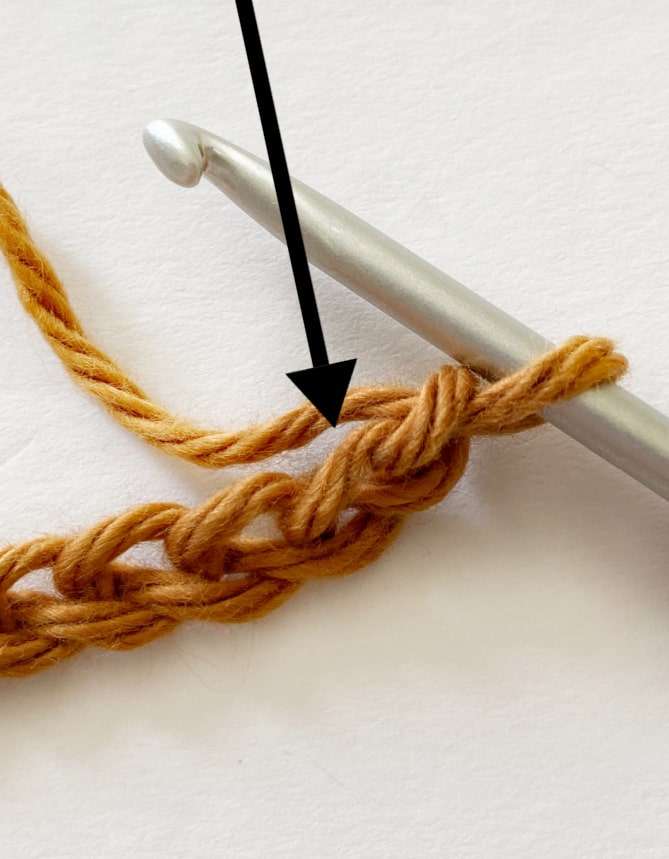
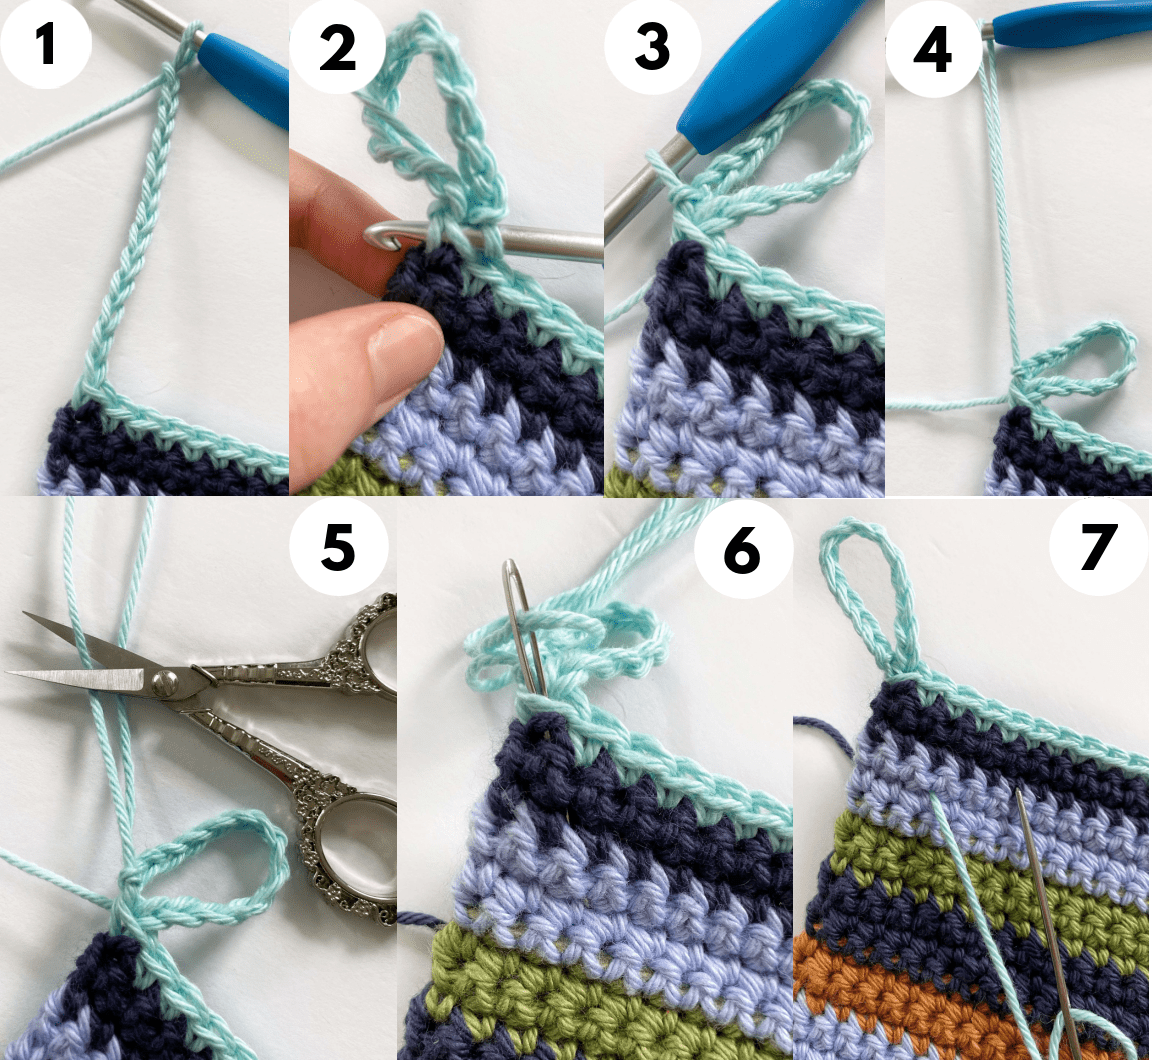
- After making the final sc, ch 13 (Picture 1).
- Insert hook into front loop and first vertical bar of last sc (going on a diagonal). Make a sl st to close the ch-circle. (Picture 2 & 3)
- Fasten off, leave a tail, and weave in the last end (Picture 4, 5, 6, 7).
Questions?
If you have any questions as you work through the pattern, please reach out to me. I am happy to help! Send me an email through my contact page or ask in the Facebook CAL Group.
Other Crochet Potholders You’ll Love!


End Notes:
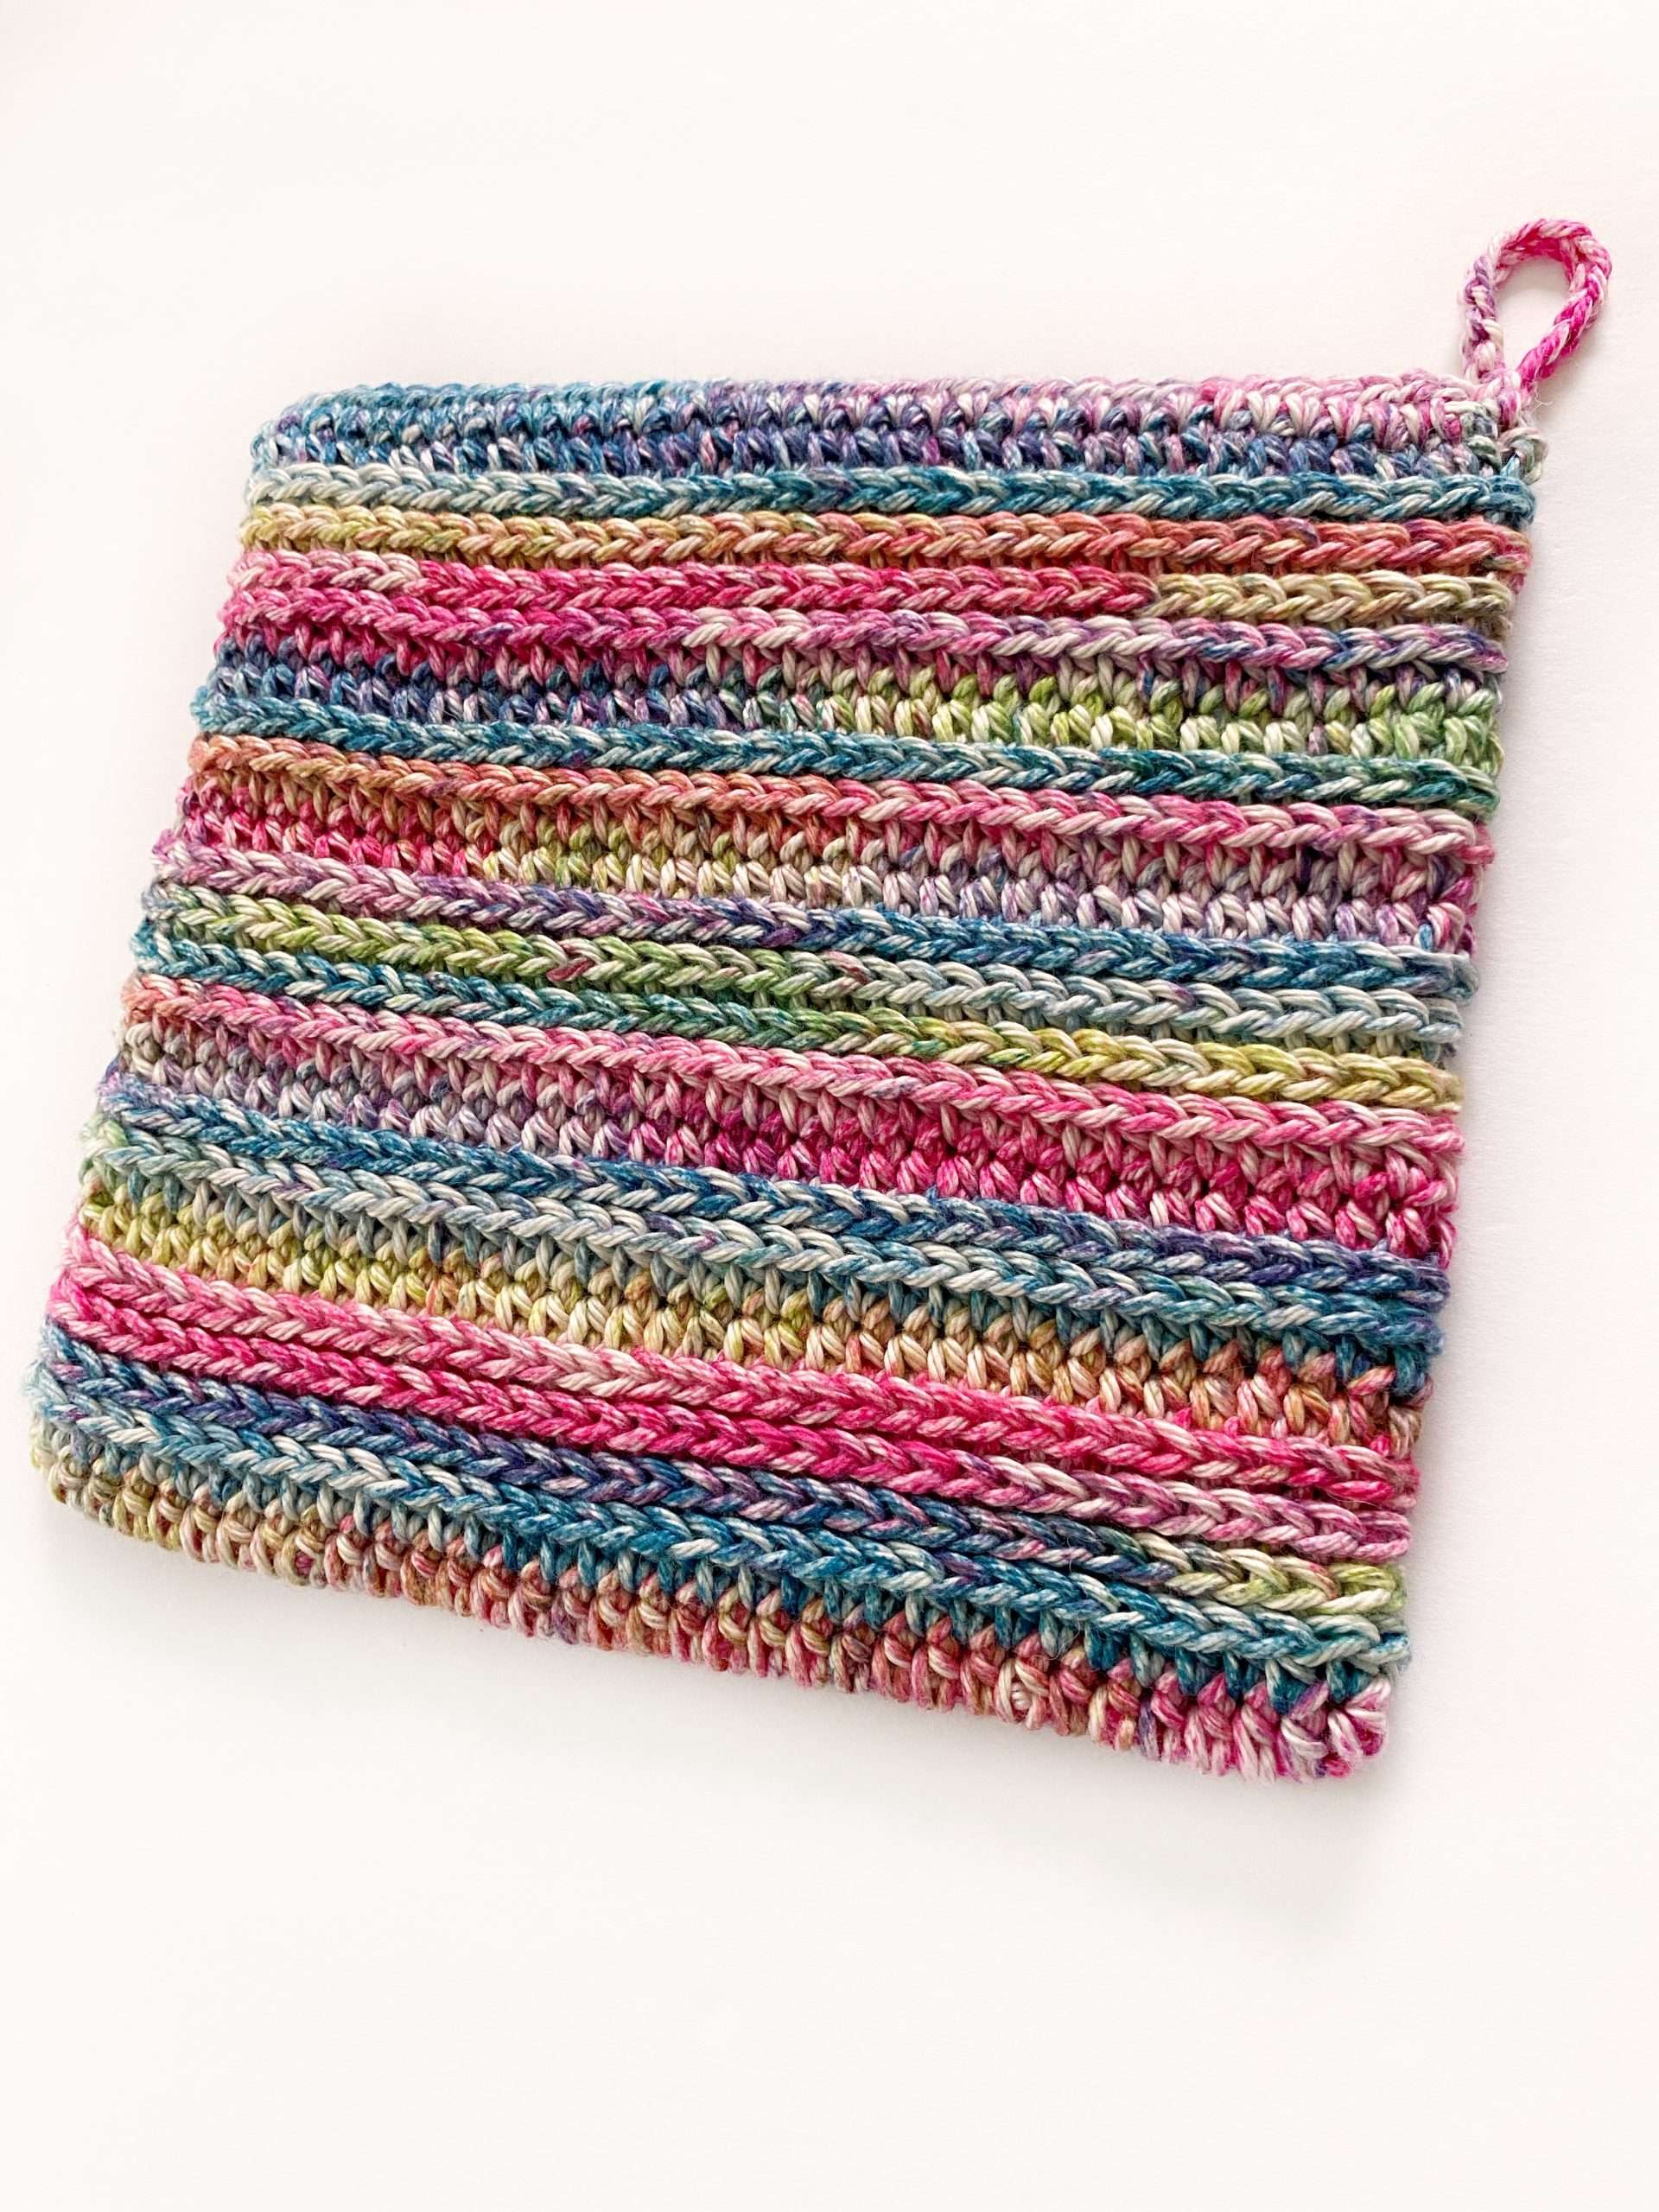
Congratulations! You just finished your first Bejeweled Block Stitch Crochet Potholder. I hope you enjoyed making it.
If you’d like to make more potholders, or other crochet home decor items with your cotton yarn, explore some patterns by clicking on the button below:
The 11th potholder will be released on November 13, 2024!
Disclaimer: You are welcome to sell items that you’ve made from this pattern; however, you are not allowed to use my pictures or sell my pattern as your own (Copyright @ ThisPixieCreates).
Please share pictures of anything and everything related to the 2024 Potholders Galore Crochet-along in the Facebook Group HERE. I can’t wait to see your lovely potholder(s)!
I hope you have a wonderful day, and happy crocheting!
Sincerely,
Dayna
Merci beaucoup pour ce beau tuto. Je vais essayer.
You’re so welcome, Edwige! I hope you enjoy making your potholder. 🙂